How to repair a ‘hypalon’ kayak

See also:
Inflatable kayak glues and repairs
Make Your Own D-rings
MYO alternative to D-rings

lm-pumper

Hypalon is a cool-sounding word and although not made anymore, has become a generic term for the similarly durable synthetic rubber-coated fabrics still in production, like Nordel and Nitrilon. Once upon a time all rafts and were made of hypalon, then less expensive Asian PVC came on the scene. More about IK fabrics.

sw-holes

The other day, while lashing the Seawave to a chopped-down trolley, the bag sagged under its own weight and rubbed on the sharp edge of the hard plastic wheels which wore through the pack and then the boat’s hull (left) ;-((

The trolley had worked fine with my UDB drybag in New Zealand (below left), but that was partly because you can fully inflate a UDB via its one-way oral valve, transforming it  from saggy sack to firm travel sausage.

Ironically, just two days before I damaged my Seawave I’d snagged a BNWT Orlieb RS140 (right) on ebay.
I’d been eyeing up this non-rigid wheeler duffle for a while as a versatile Seawave transporter plus a reliable on-water drybag/buoyancy aid.
With a bag like this, an IK or whatever you got can be transported easily across any wheelable terrain, or carried as a holdall or on its backpack straps if you’re strong enough.


With enough practice applying D-rings, let along bike and moto punctures over the decades, I was confident I could do a bomb-proof repair on my Nitrilon Seawave. In a way, I was even a little chuffed that my 5-year old IK was earning its first battle scars. Plus, in my experience rubber-based IKs like Gumotex, NRS and Grabner glue more reliably than PVC boats. Shiny packraft TPU is even easier: you can just tape it, but packrafts are low-psi boats not normally inflated with mechanical pumps. My adapted Seawave side tubes run 4 or 5 psi.

Things you will need
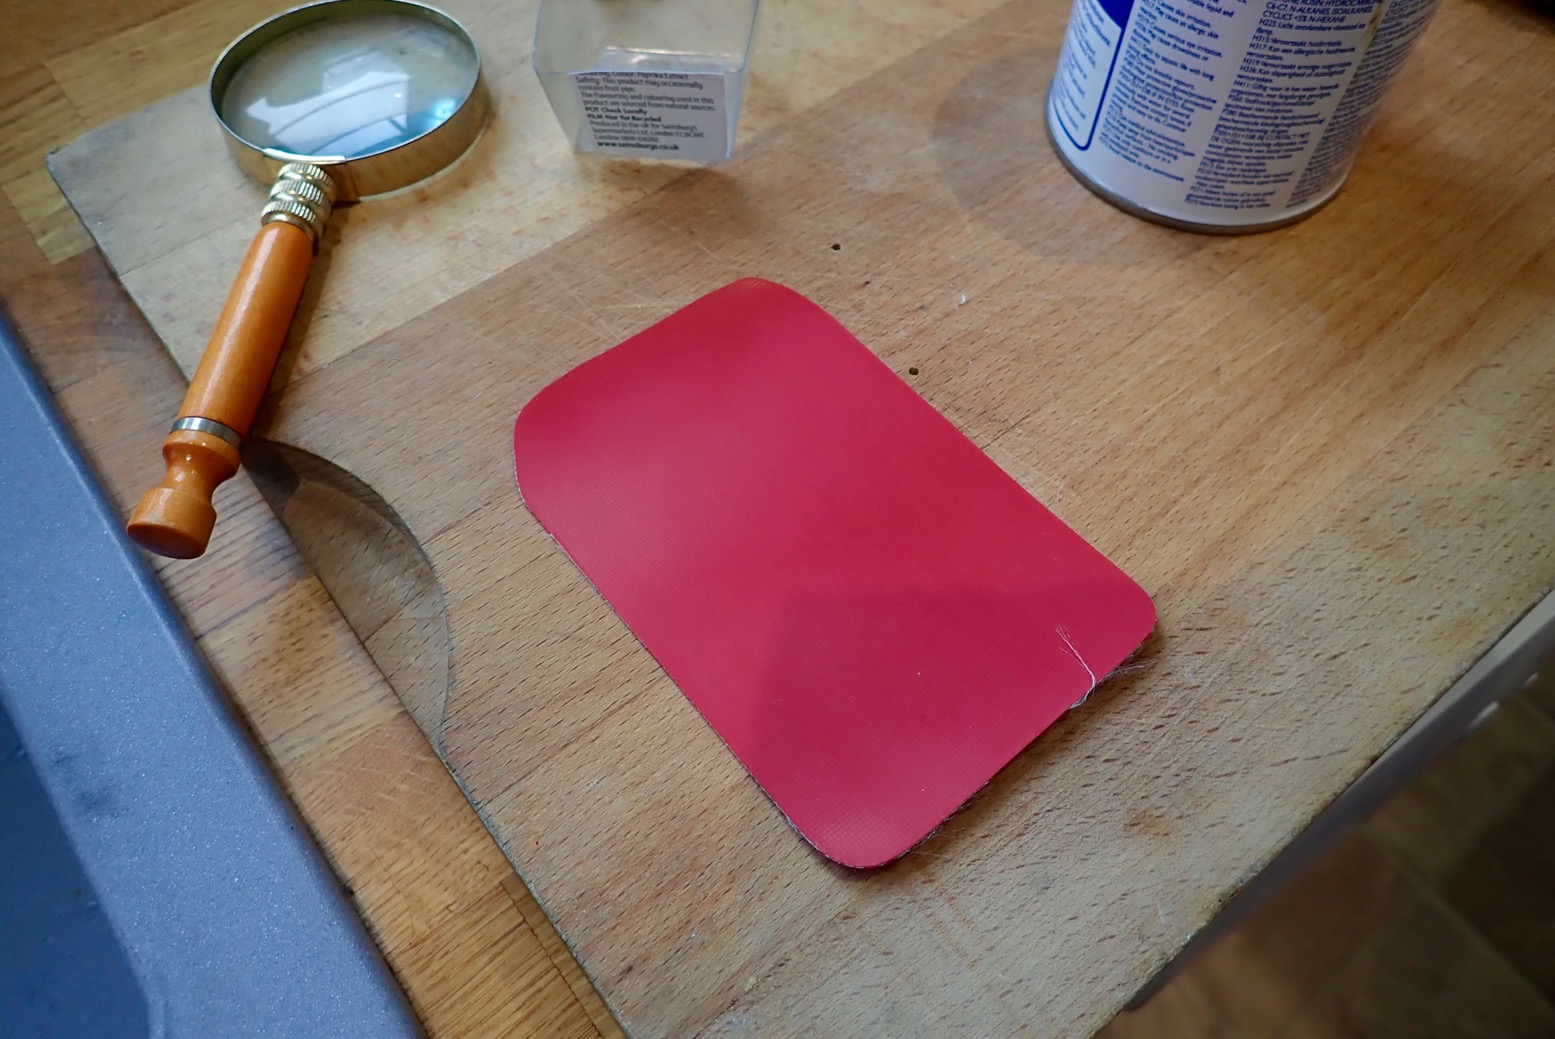
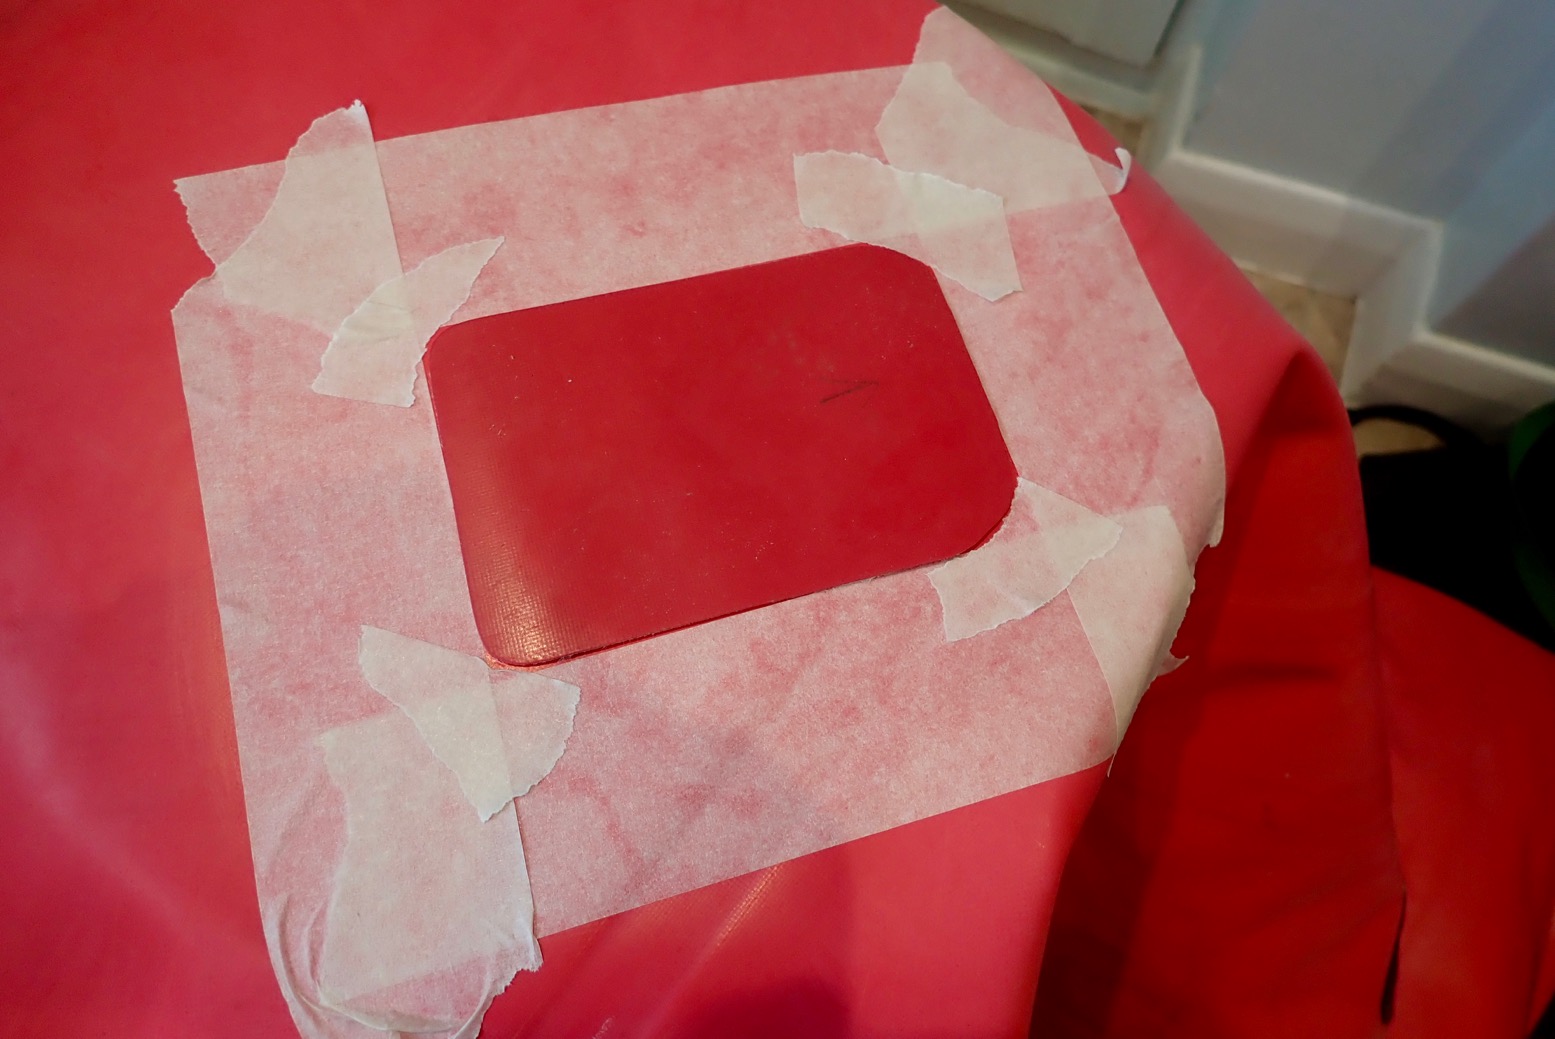
Patch
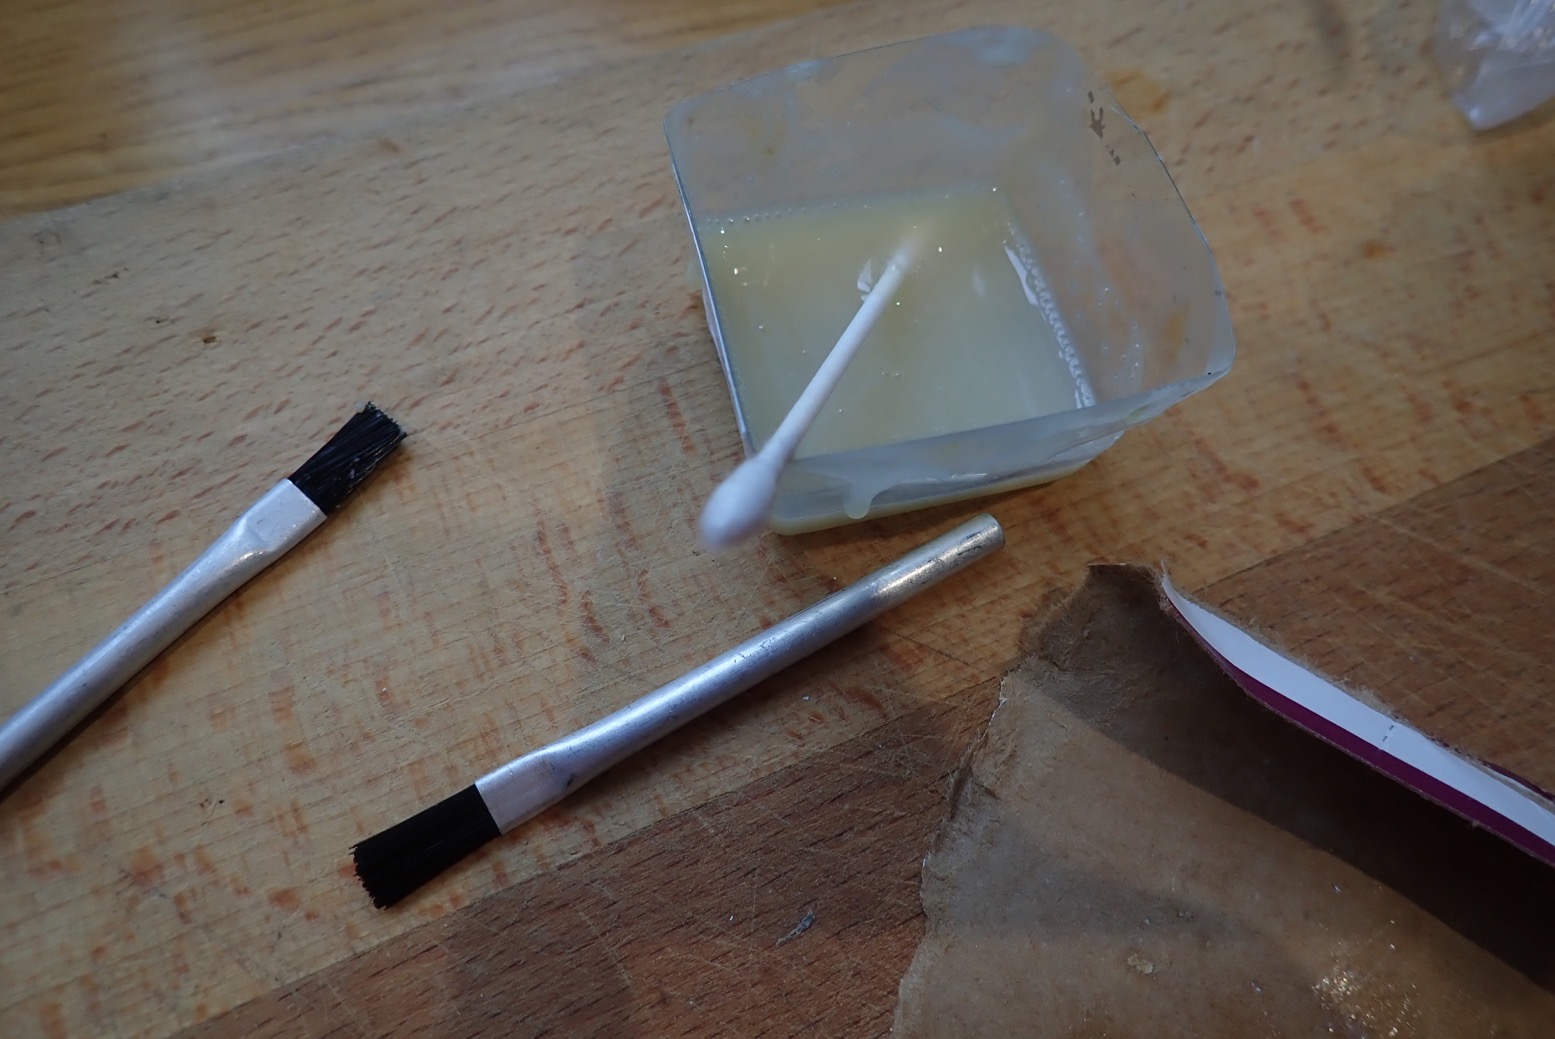
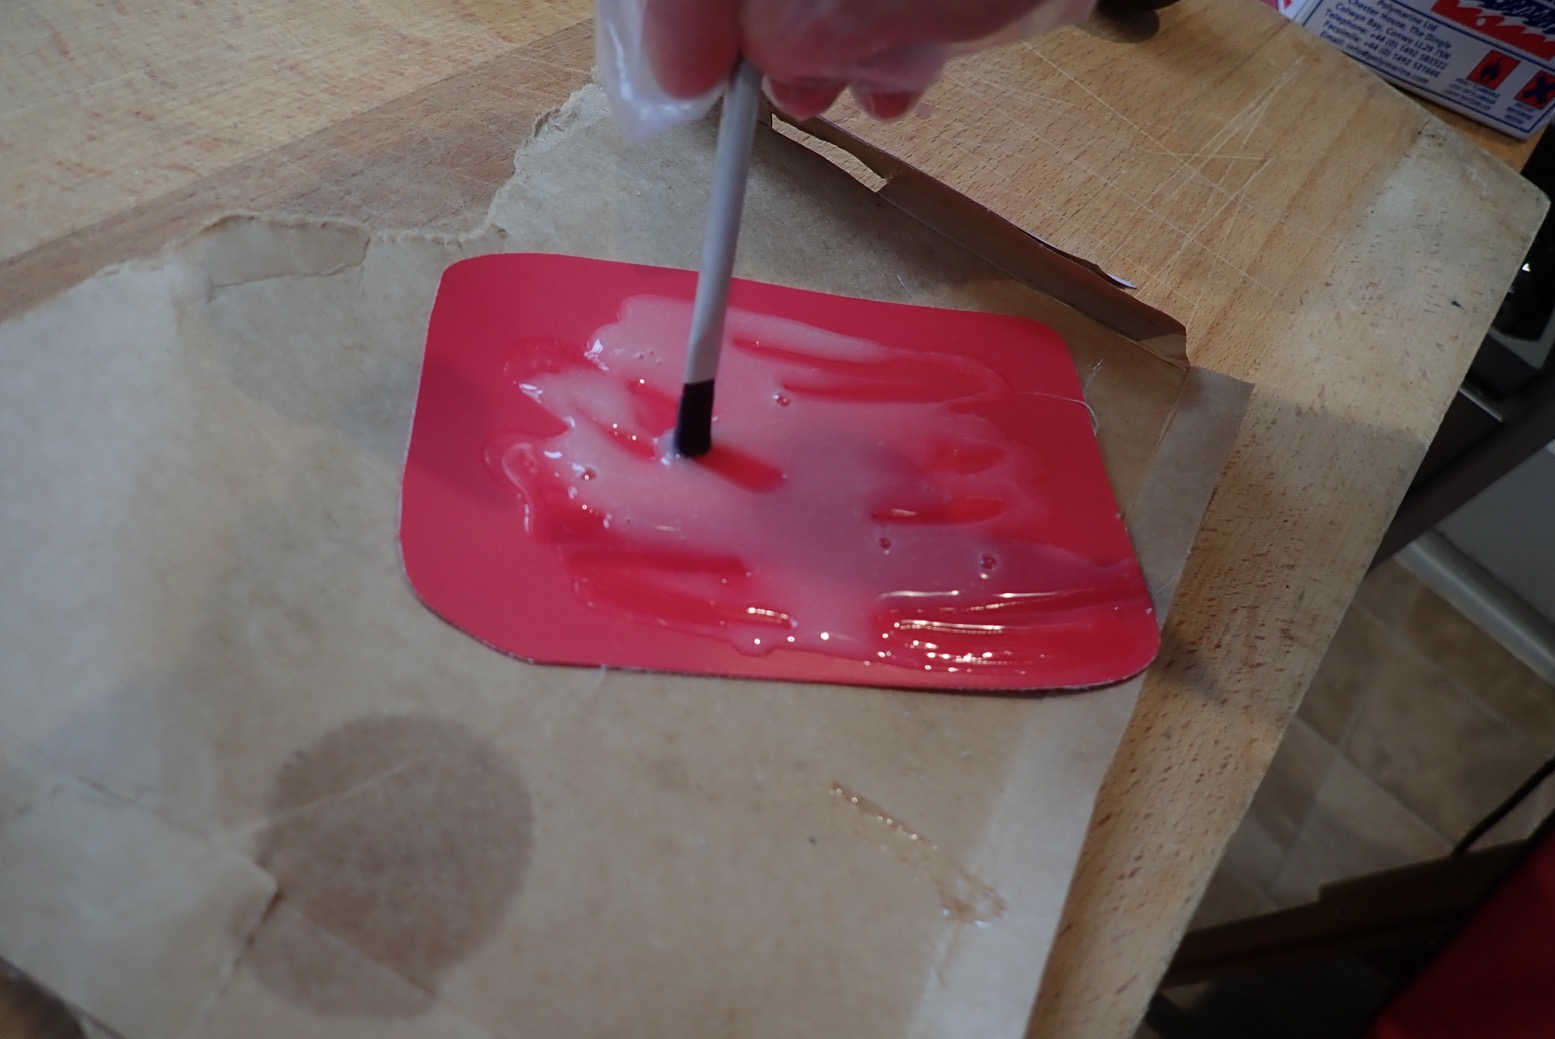
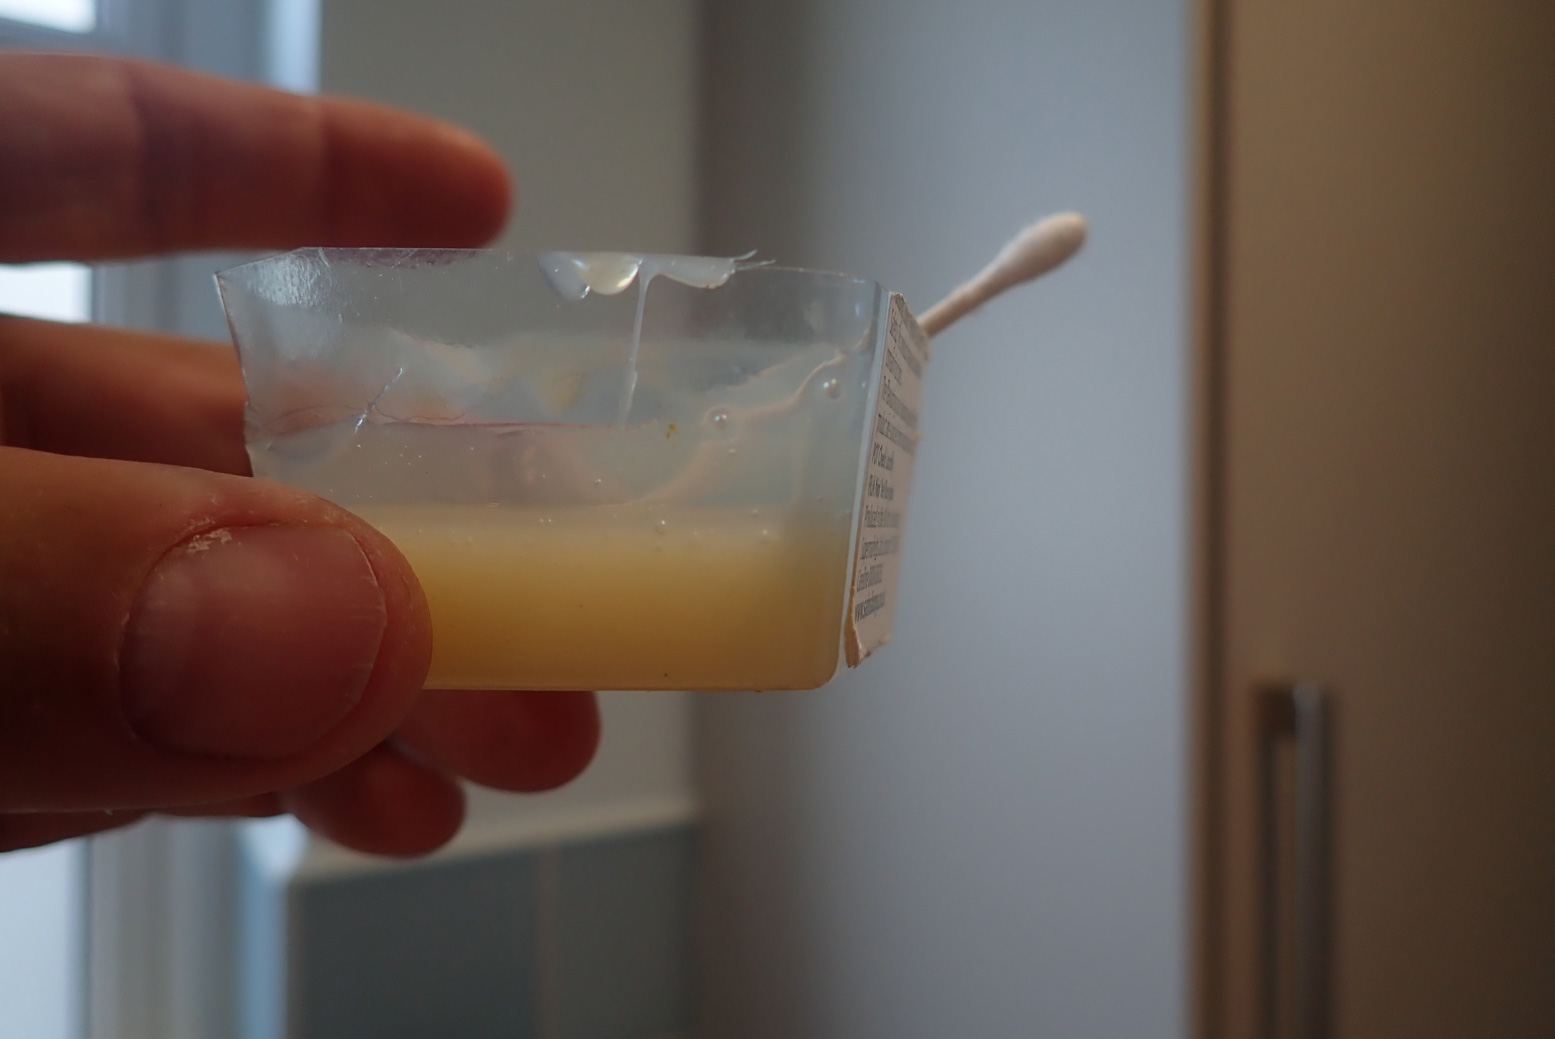
The right two-part glue (below left)
Solvent (MEK, Toluene) and rag
Sandpaper or abrasive foam sanding block (note: Toluene eats foam plastic sanding blocks)
Masking tape
Small brush or wipe-stick
Tyre repair roller (right)
Well ventilated space to do a good job

STEP 1 • Match up a patch from your collection, ideally identical fabric. For a small hole extend the patch at least an inch.
STEP 2 • Clean the punctured area and patch surface with solvent and wipe dry. This time all I had was brake cleaner spray, but ordered some toluene for next time.
STEP 3 • Sand down the two surfaces and then clean and wipe again with solvent. Avoid touching these cleaned surfaces with your fingers.
Some colour coming off is a good sign you’ve removed any sheen or patina.
STEP 4 • Position the unglued patch and mask the perimeter with tape to avoid excess residue and to help with positioning. If the patch is not perfectly symmetrical (like above) mark it – but make it bold – I still got it wrong!
STEP 5 • Mix up some two-part Hypalon (Nitrilon; EDPM) glue. It’s rare than one-part glue works as well, but Aquaseal has worked for me, gluing a skeg-patch to a Grabner.
I found some mini brushlettes in my repair kit box – they must have come free with some glue.
STEP 6 • Brush on the glue thinly to the two surfaces. With Polymarine you then to wait 30 mins for it to cure/dry, then apply another coat and wait till touch dry (5-10 mins). Here’s their full guide: http://www.polymarine.com/advice/hypalon-adhesive-how-to-repair-inflatable-boat-tubes
You can see I made typical errors: mixed up too much glue (but better too much than not enough)…
… and applied too much glue on the patch…
… but a just-right thin later on the hull.
STEP 7 • With the deflated boat repair positioned on a firm surface like a hard floor or better still, draped over a wooden stool, carefully lay the glued patch over the damaged area…
… then – STEP 8 • peel off the masking tape and ROLL DOWN HARD moving from one edge to the other and again at 90° and again diagonally with your Baltic pine-handled roller, making sure the edges have stuck down. It won’t hurt to roll again in 20 minutes and again after an hour to make sure the two parts have well and truly bonded till death do them part. And actually, only about 25% of the glue was wasted.
In 12 hours the repair is cured and ought to last the life of the boat. Never do that trolley thing again!

Leave a comment

This site uses Akismet to reduce spam. Learn how your comment data is processed.