Anfibio TXL Index Page
More Jurassic Coast paddles
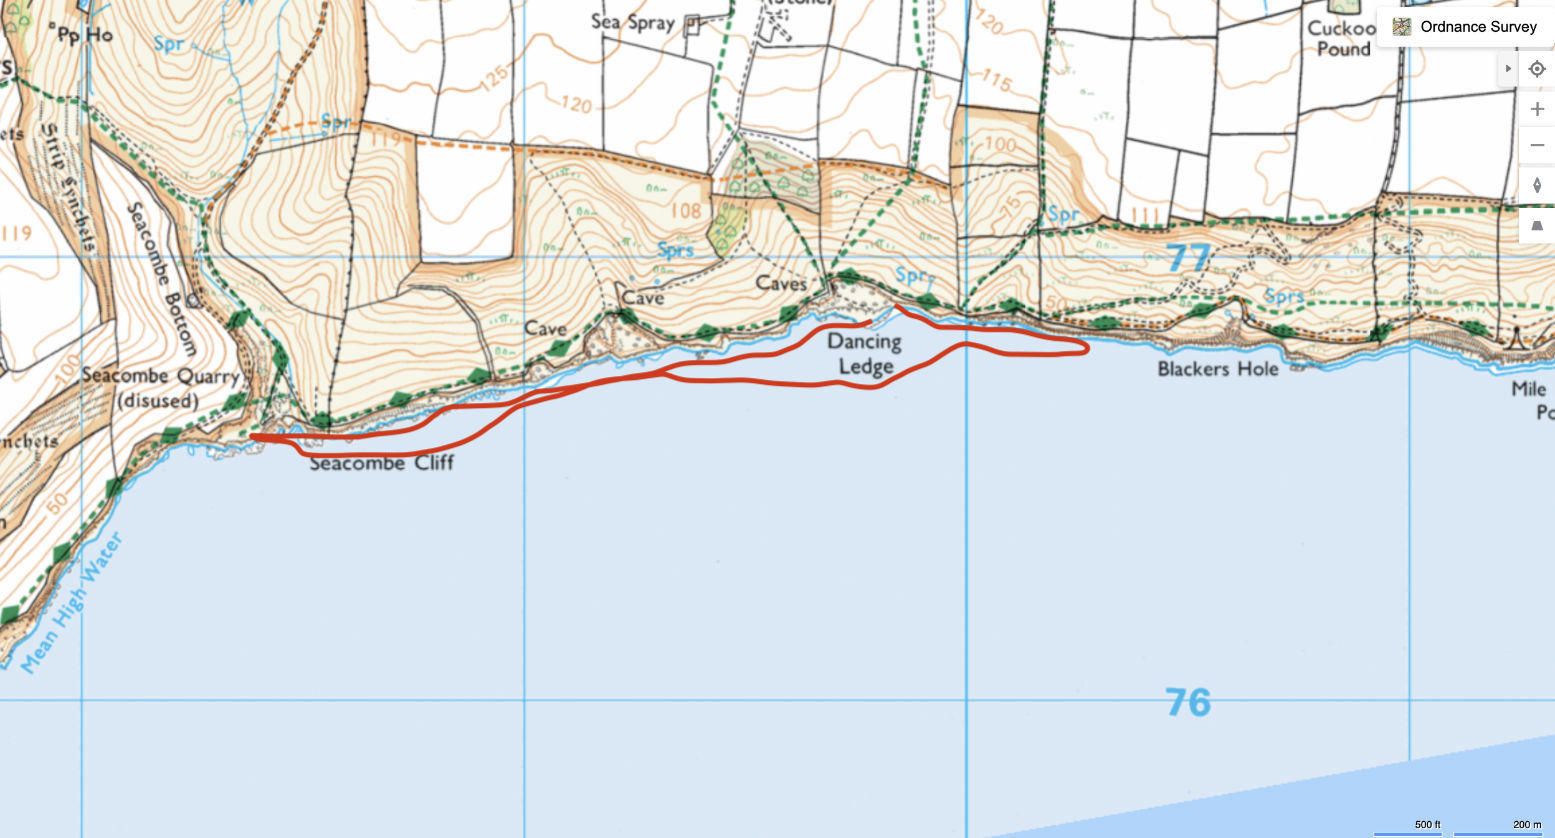
You wait weeks for a calm, sunny day to come along – and then one does. So in my back pocket I had a modest sea excursion planned for the TXL: the cliffs and caves west of Dancing Ledge.
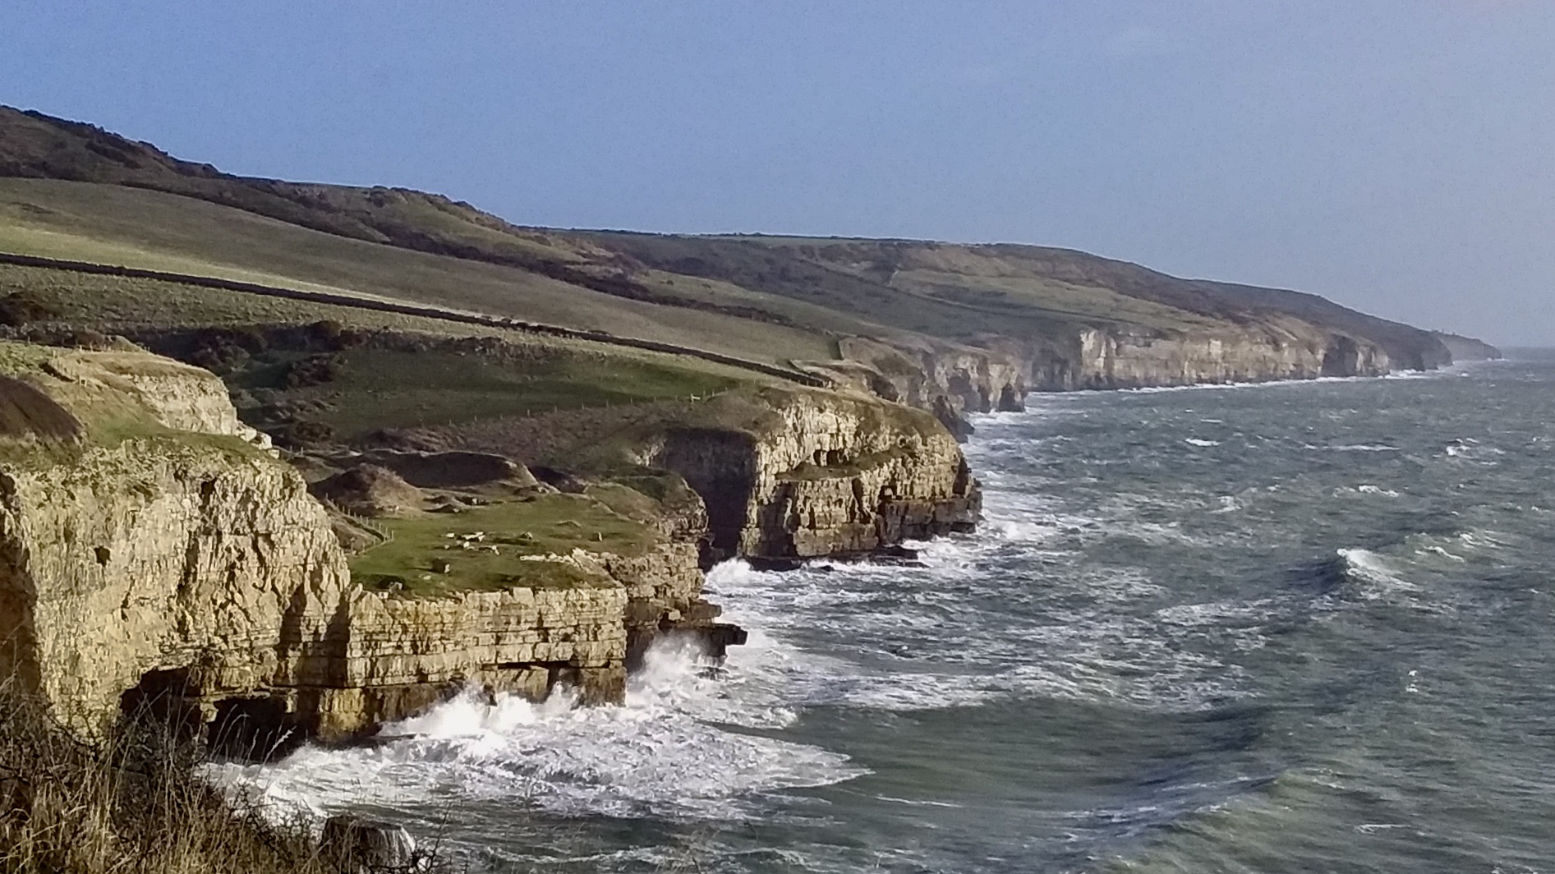
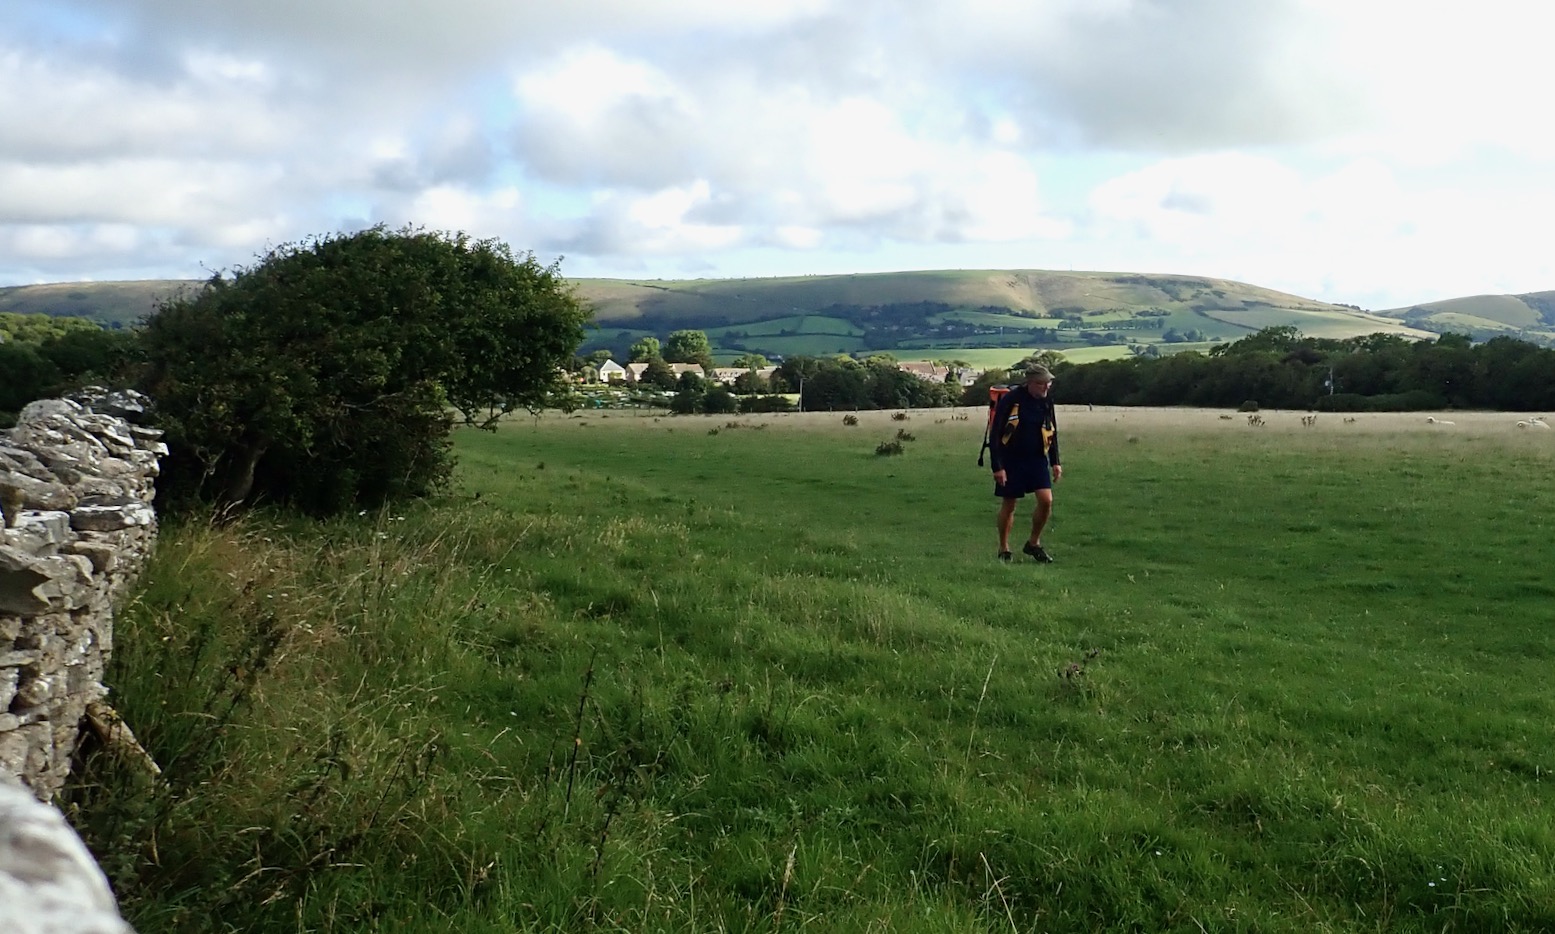
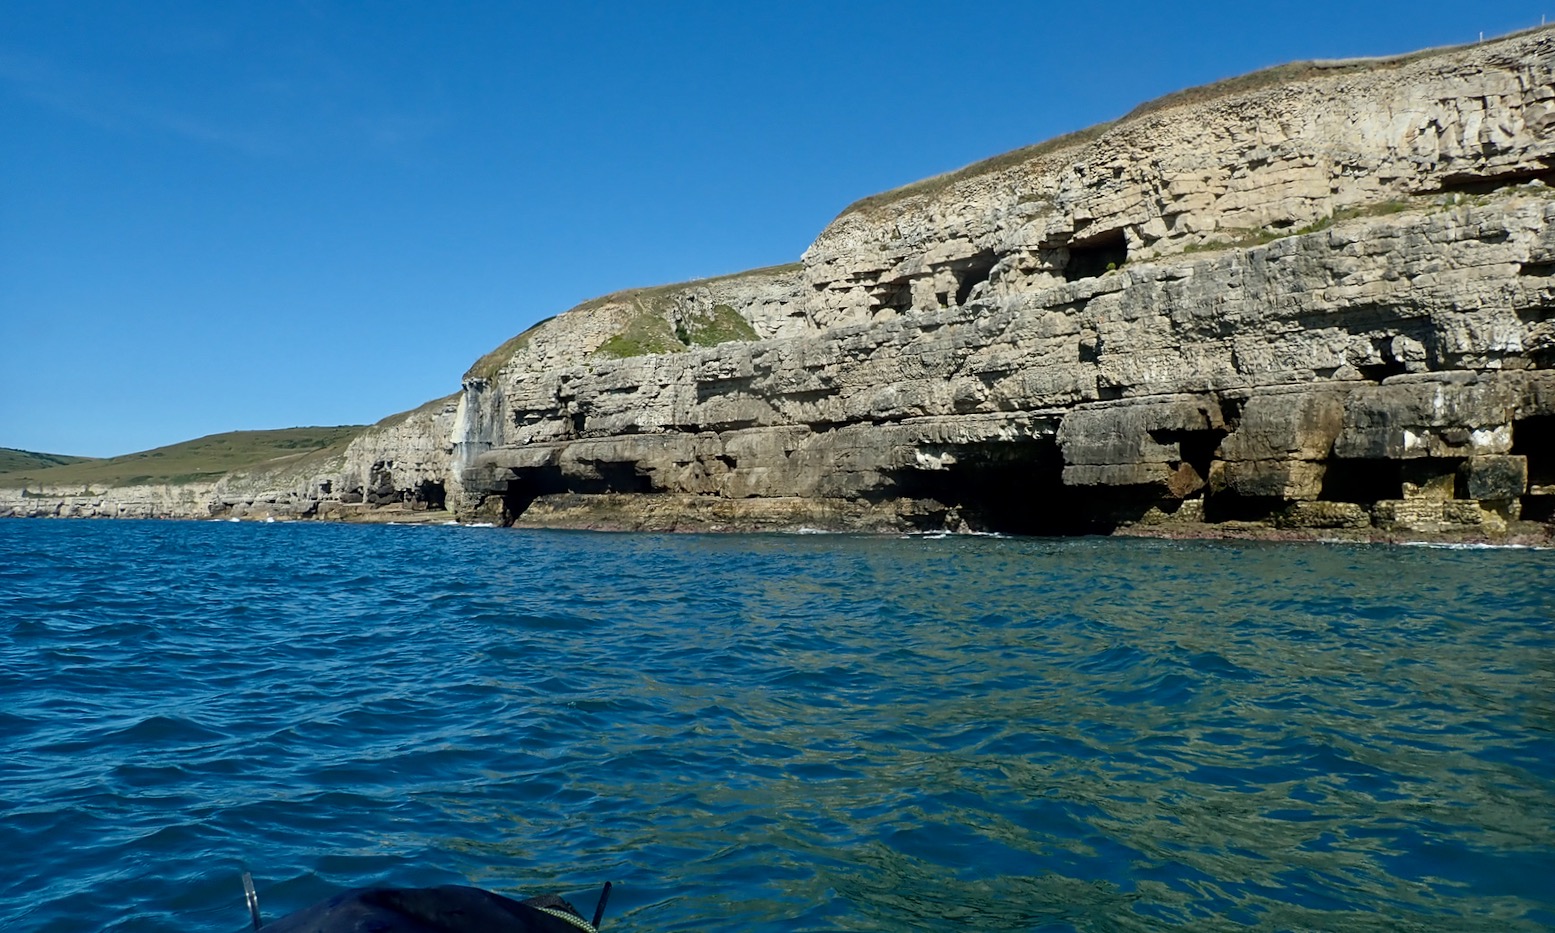
It’s a mile’s walk from Langton Matravers village across the fields to the coast where the downs drop steeply to the former Portland stone quarry. From Swanage, about four miles to the east, Dancing Ledge is the first of the few sea access points along this cliff-bound Jurassic Coast.

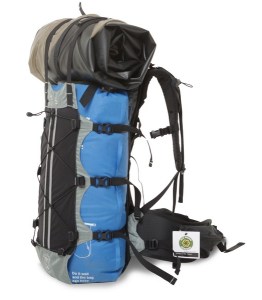
At low tide the lower, natural ledge is revealed, making getting in and out relatively easy. But to reach it you still have to scramble down a small cliff (below). It was easier to chuck the packraft backpack down before descending after it. Alone, rolled up or inflated, getting this far with an IK would be a struggle. This is why we like packrafts – and sea-going packrafts, so much the better.
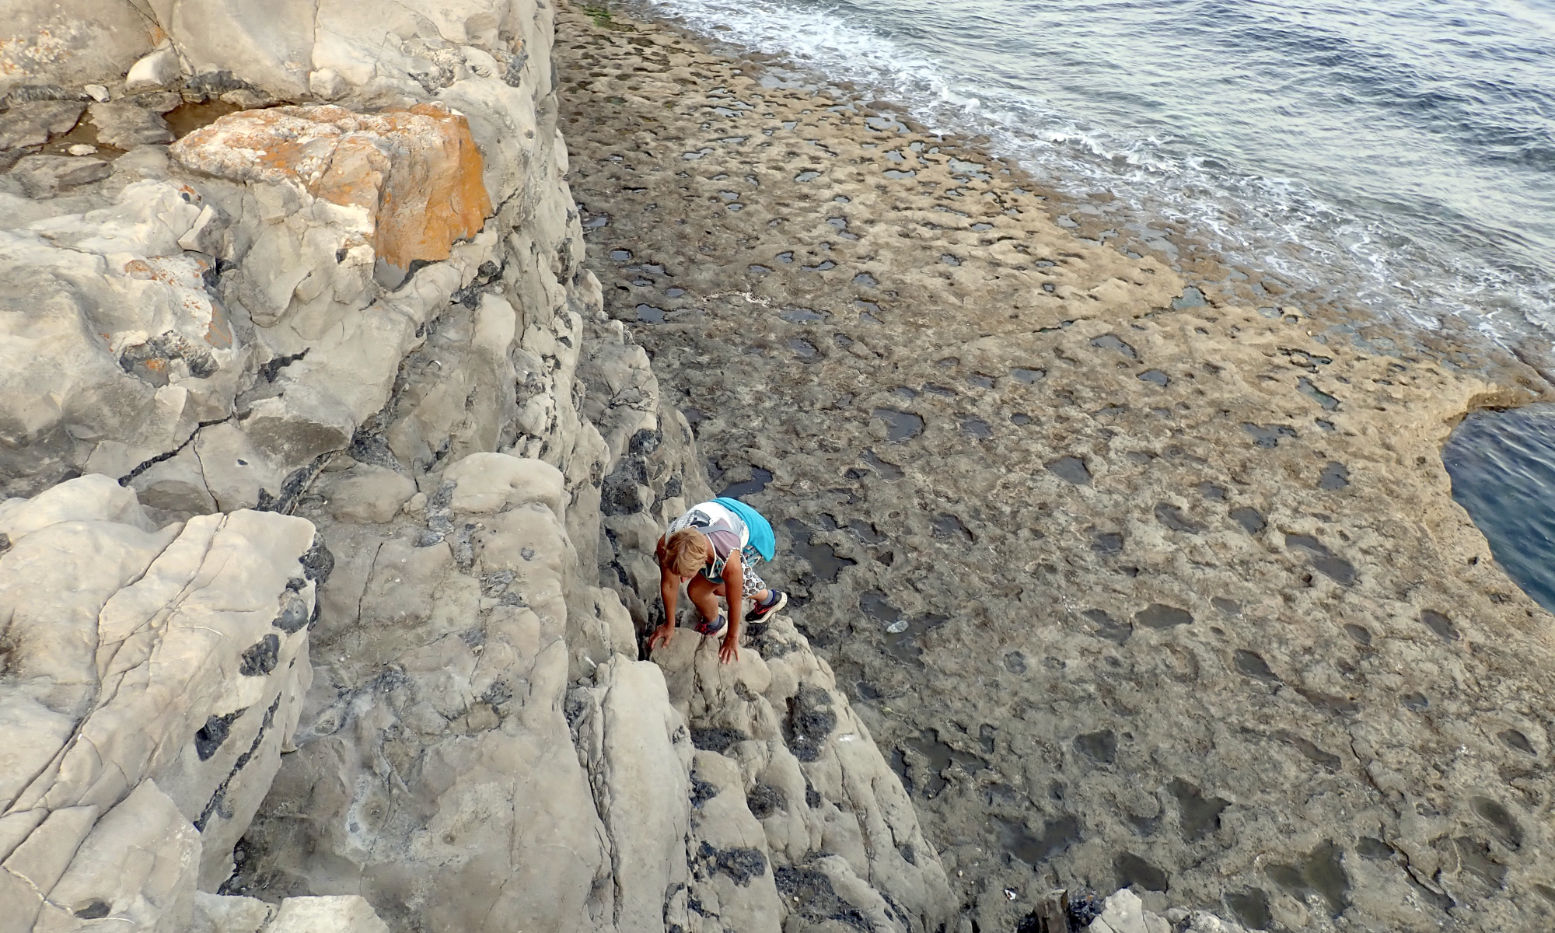

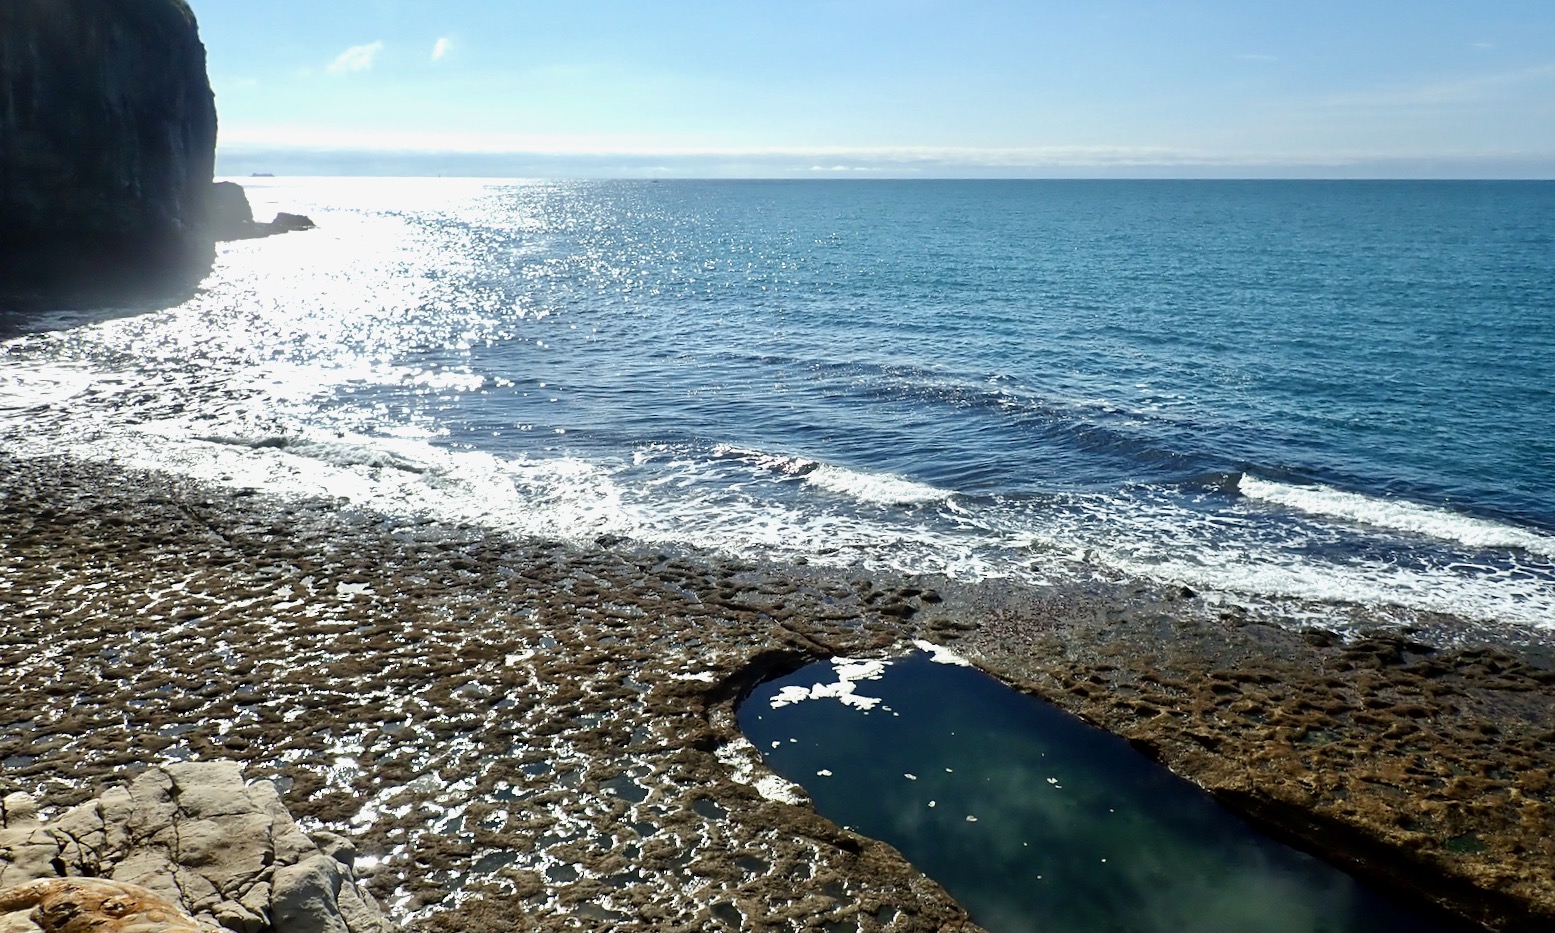
The point where you scramble down overlooks the Bathing Pool (below). It was blasted out of the rock in the late 1800s by the strict headmaster of the local Durnford school in Langton. Pupils then trotted off to the pool each morning for the character-building ritual of ‘strip and swim’, but with a now reduced risk of being swept out to sea.
Decades later, James Bond author Ian Fleming attended the Durnford prep school and endured various torments before moving on to the more benign, towel-flicking environs of Eton. Unsurprisingly his Dorset years left a deep impression and later he named his 007 hero after a prominent Purbeck family, the Bonds of nearby Creech Grange. By 1999, when Bond 007 filmmakers had run out of Fleming’s dozen book titles, they chose ‘Non Sufficit Orbis’ or The World Is Not Enough, starring Pierce Brosnan. It was claimed as 007’s family coat of arms in On Her Majesty’s Secret Service, published in 1963, but was also the real Purbeck Bonds’ 16th-century motto. There’ll be a short exam later.
Back by the sea, even with wind speeds forecast at a lowly ‘4mph’ there was no balmy flat calm today, but that’s just the way it probably is with the wide open Atlantic to the west. Portland Bill or even nearby St Adhelm’s Head don’t do much to reduce the oceanic fetch driven by weeks of wind and squalls.
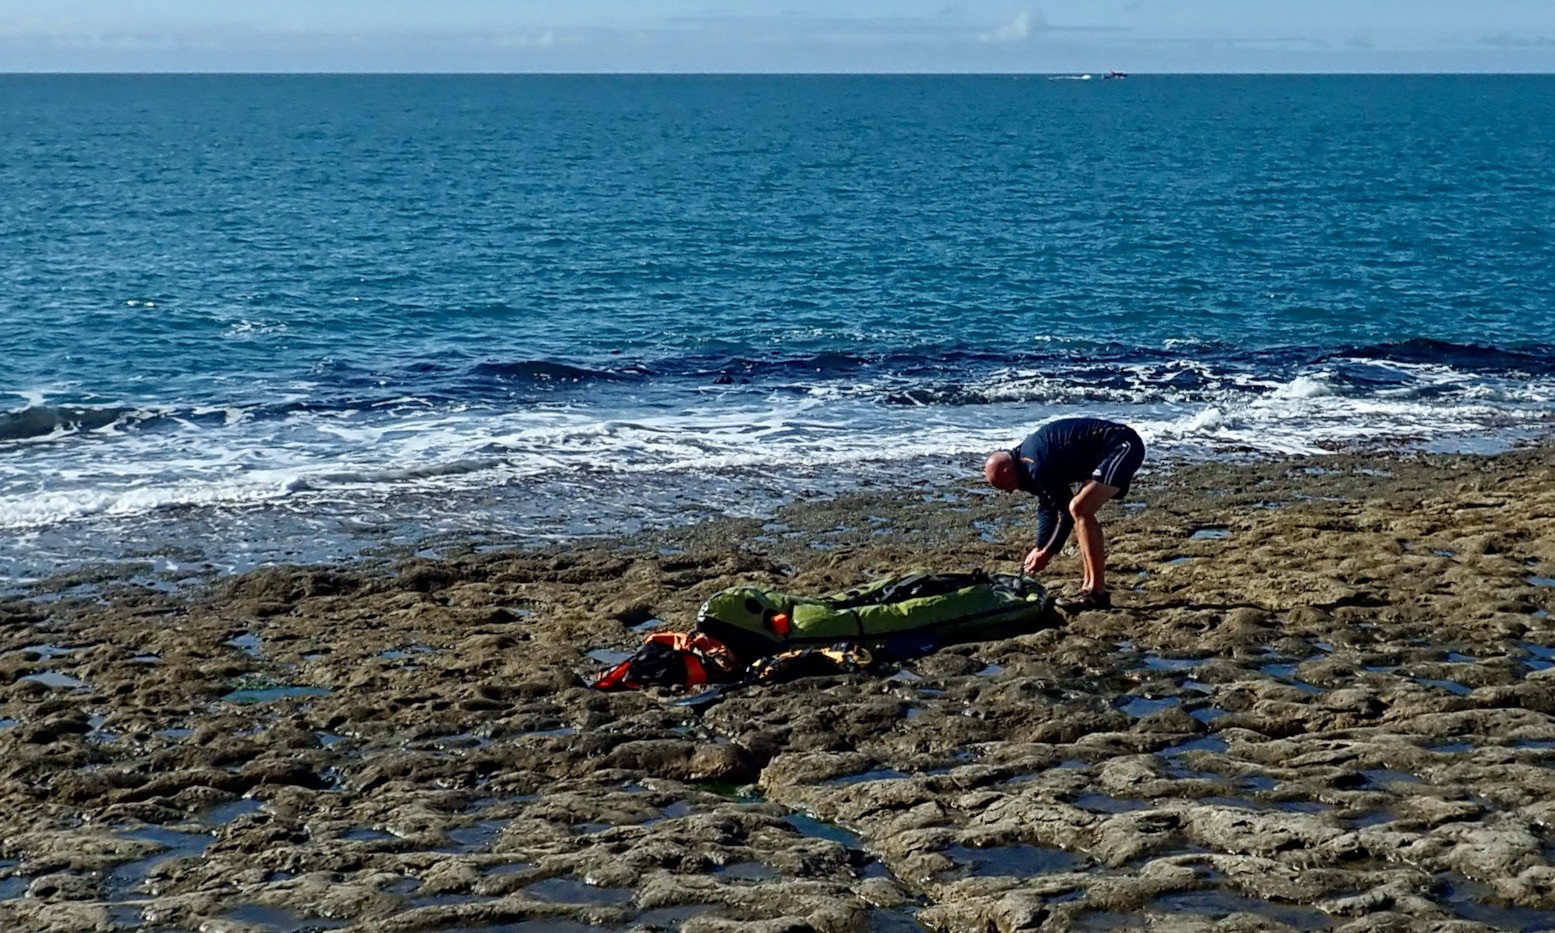
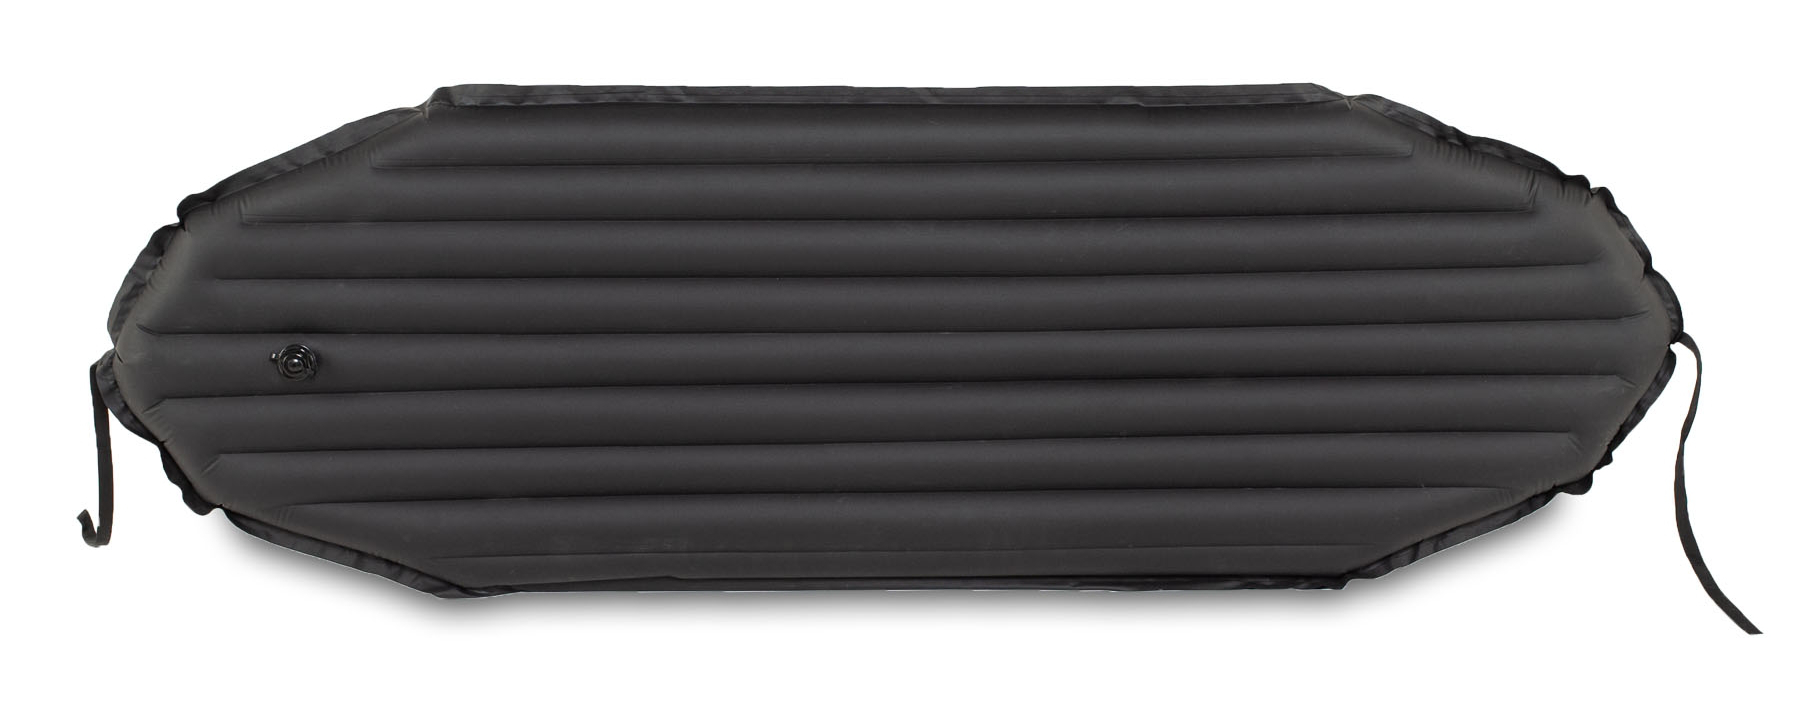
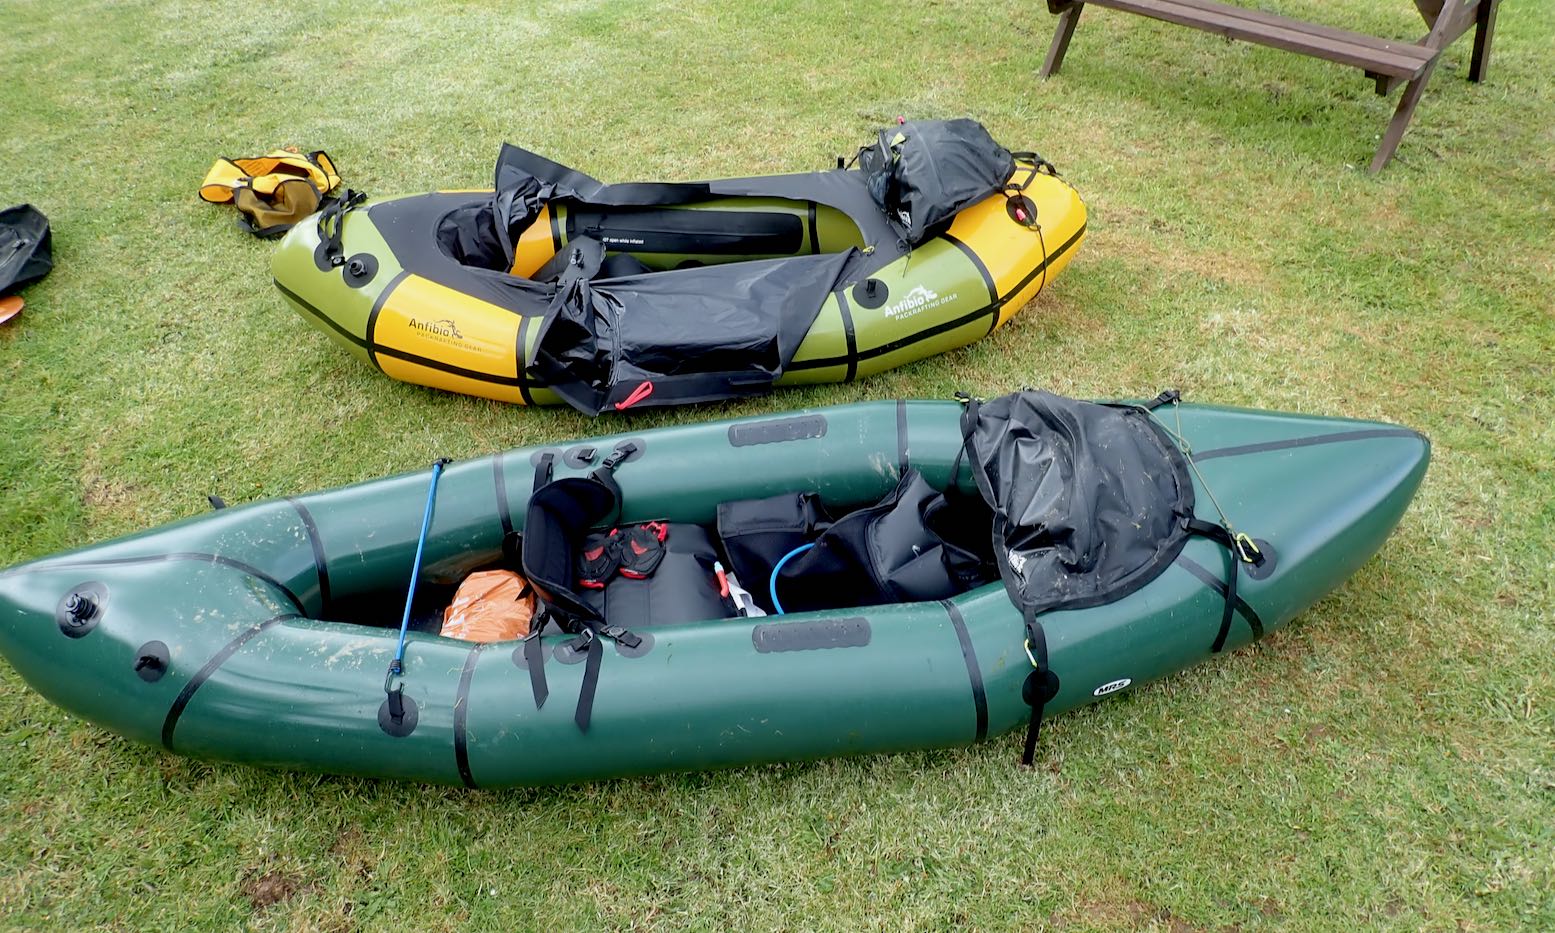
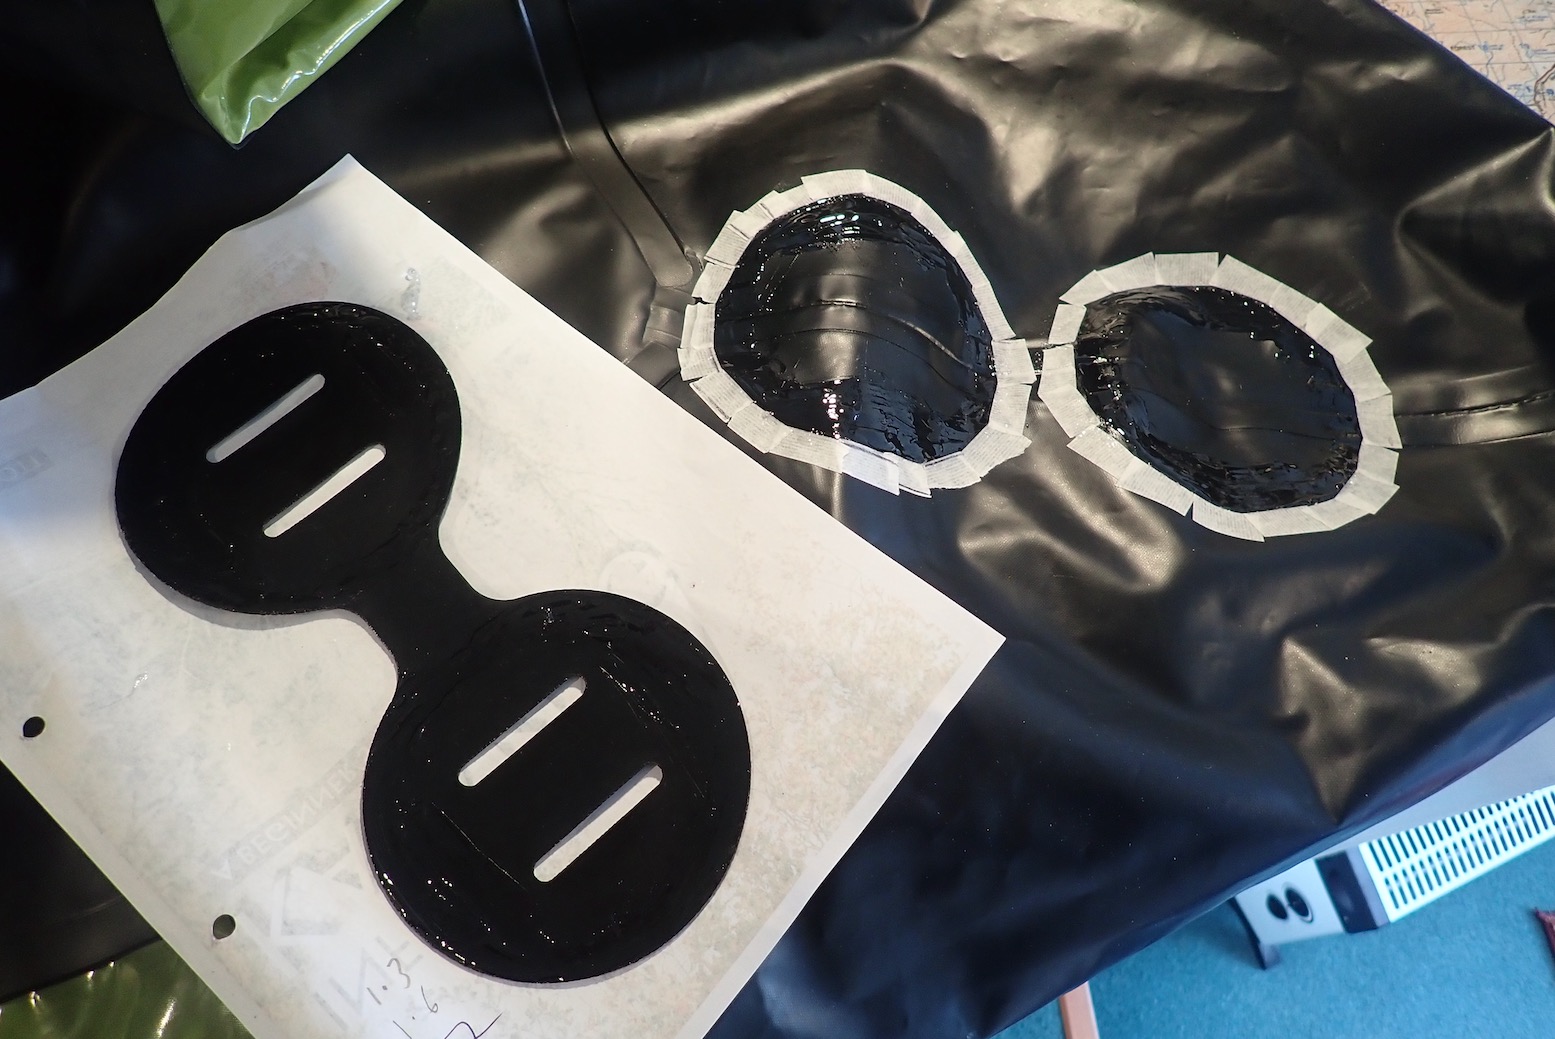
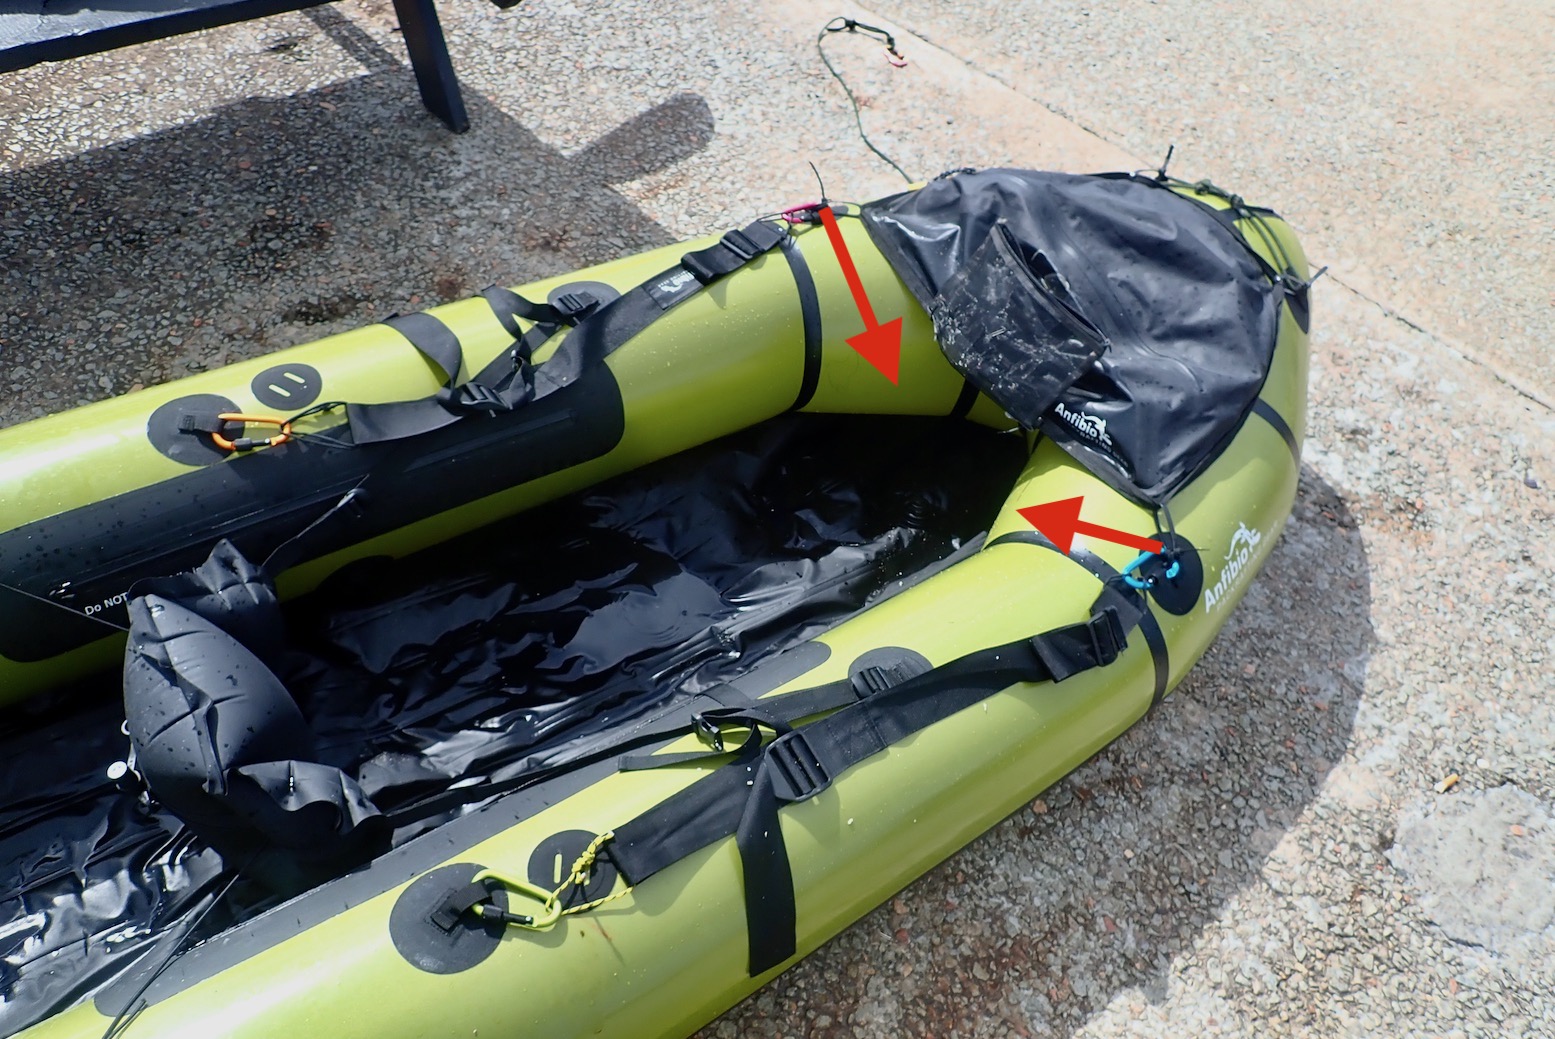
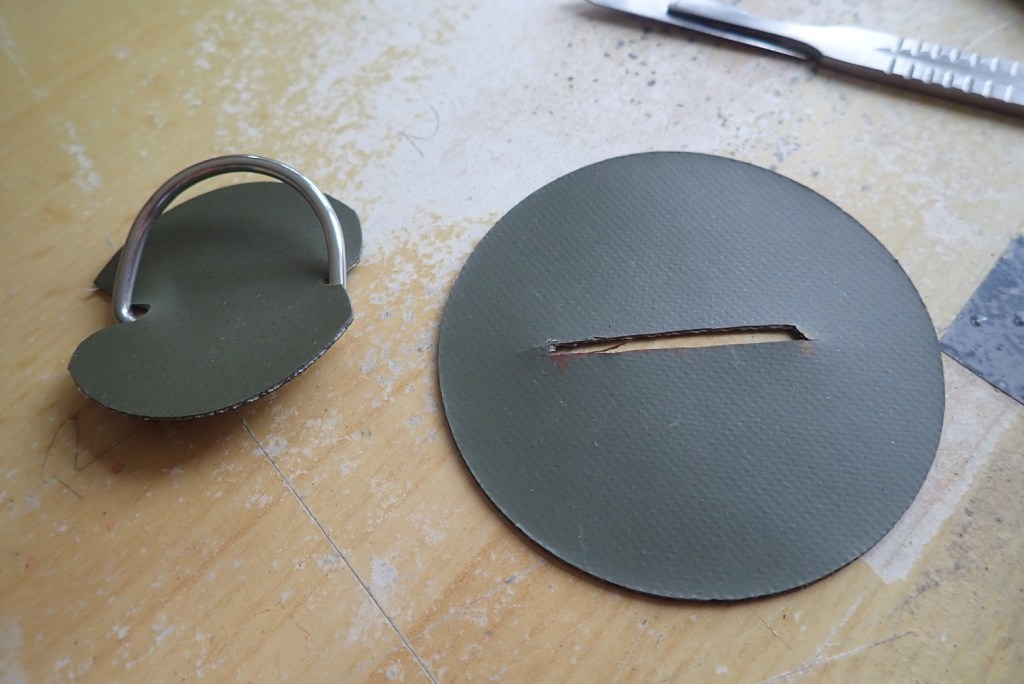
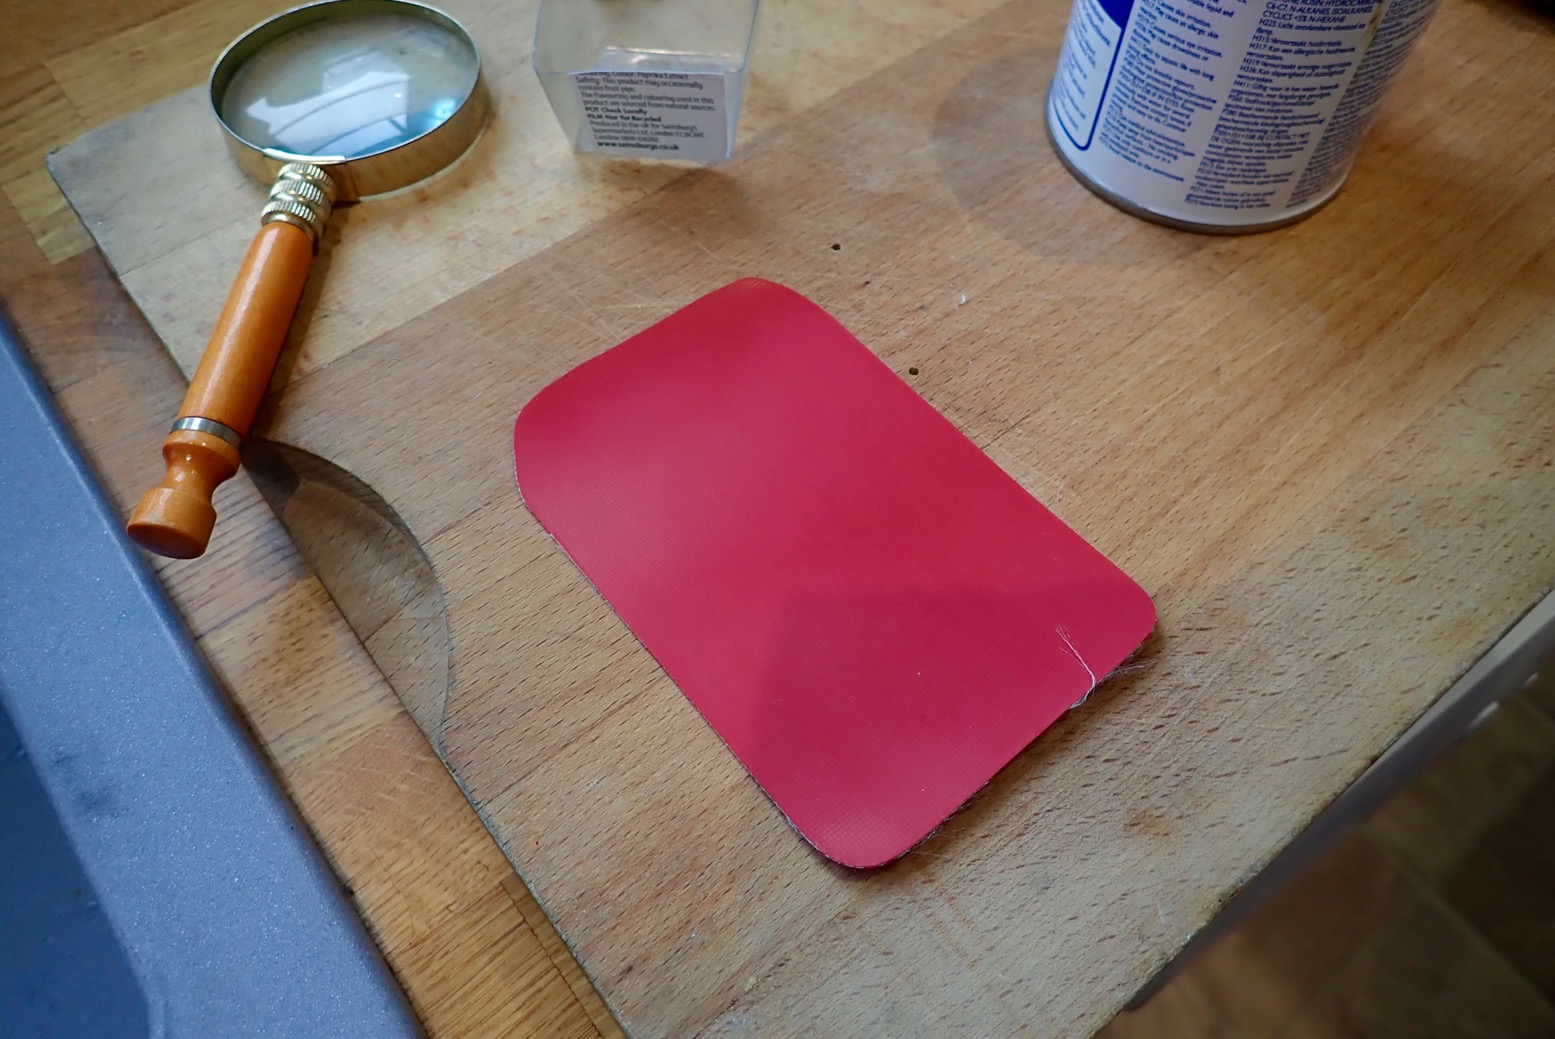
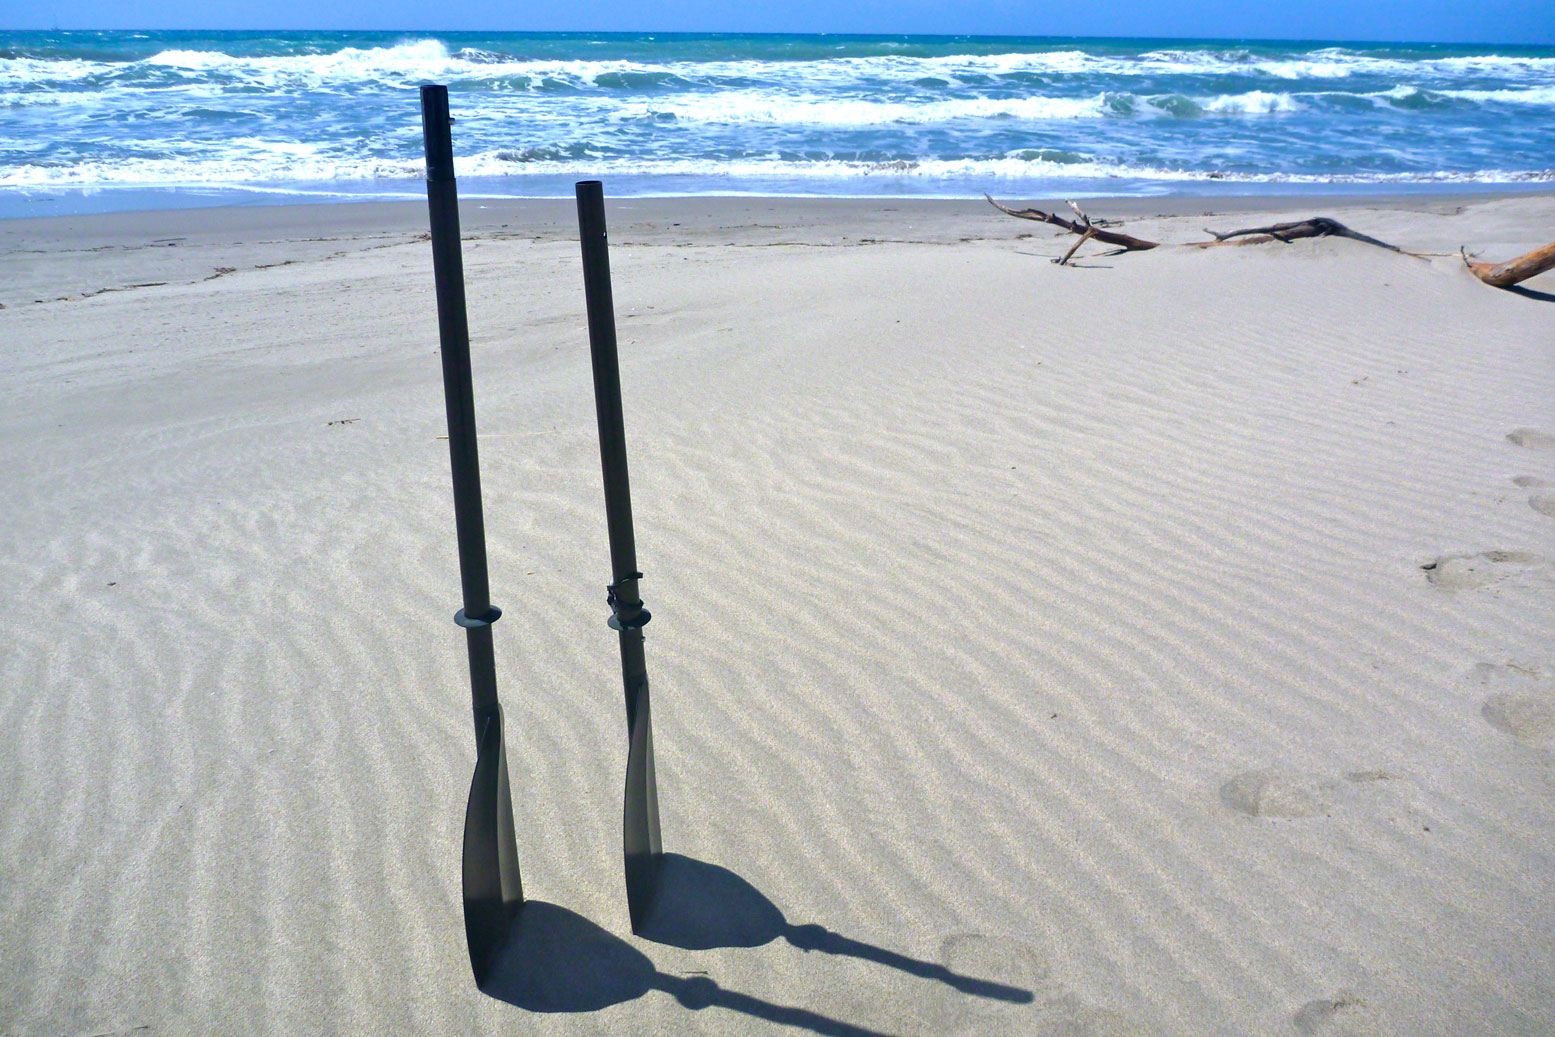
While setting the boat up I find today’s #ForgottenItem was the floor pad (left), which I was wanting to try again, despite being not entirely convinced. Two up, as we did near Skye last year, meant reduced legroom with the mat, but solo with my centrally positioned weight, I still like to think it will limit hull droop and floor sag to improve paddling response. (It does).
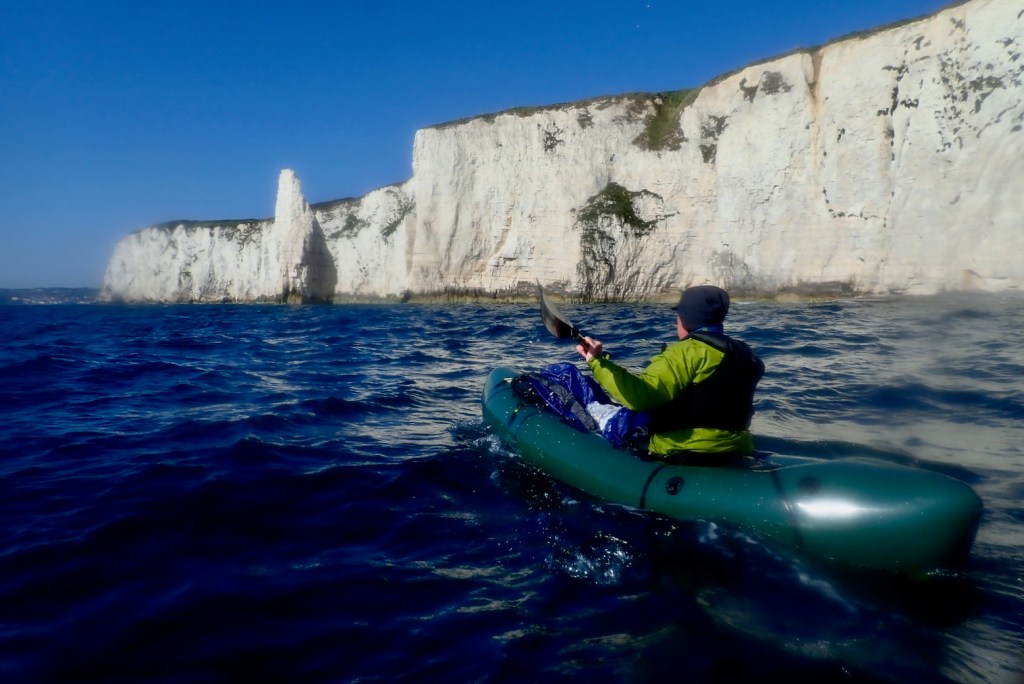
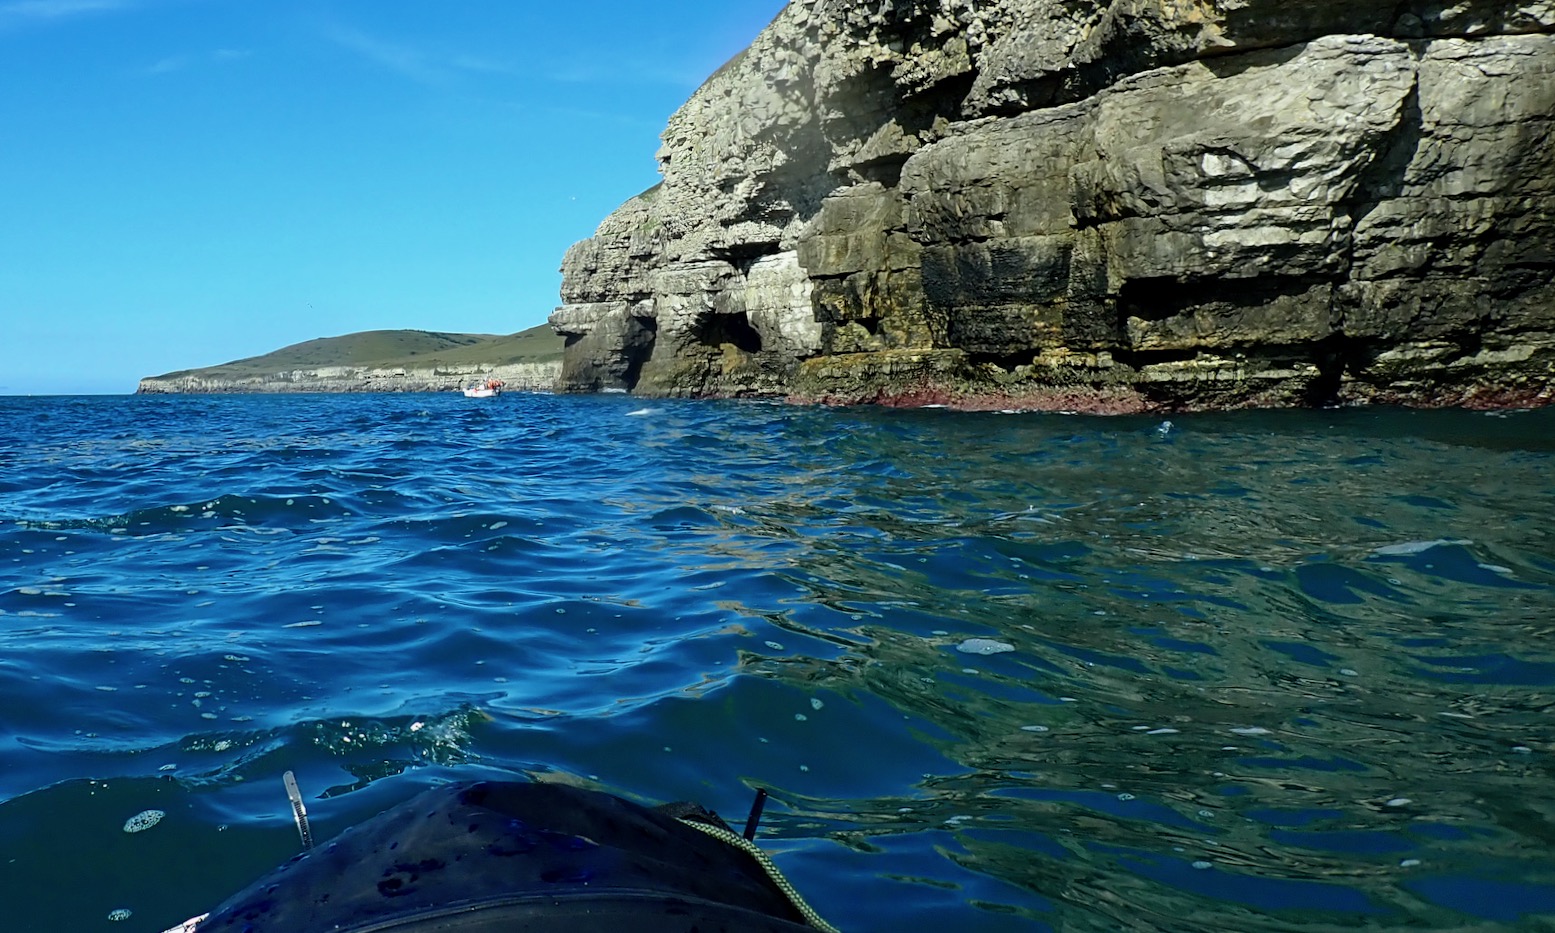
Alone, these exposed sea cliff paddles make me quite nervous, and a regular-sized packraft like my old Alpackas or Rebel would feel even more unnerving. The TXL’s healthy 2.8-metre length reduces that impression with less pitching, but I never fully relaxed today, so was happy it was only a mile to Seacombe inlet at which point I could get out and walk back if I wanted.
Away from Dancing Ledge things calmed down a bit or I just get used to them, but elsewhere I needed to keep an eye seaward as bigger waves rose up.

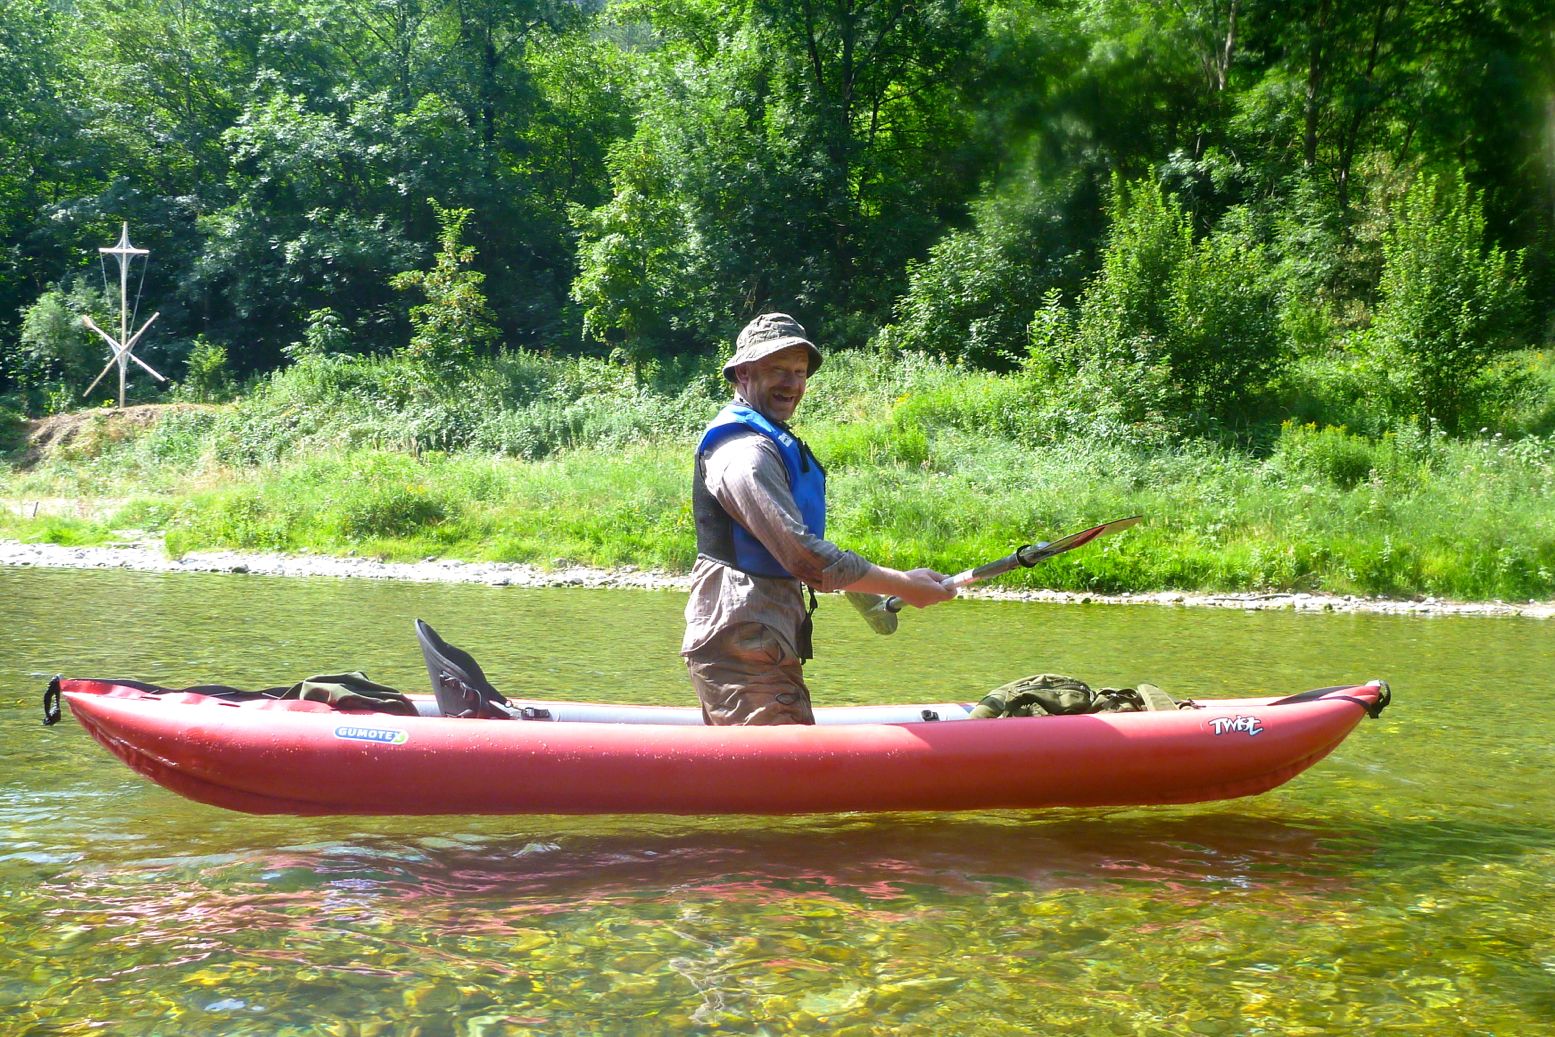
With my old MRS Nomad S1, I learned that with longer, high-volume packrafts like a TXL, no matter how hard you pump them up with warm, ambient air, after 10 minutes out on cooler water, a crease develops midway along the side tubes as the air in the hull cools and contracts and the boat effectively loses a few fractions of psi. Though beginners might worry they have a slow leak, this is normal with inflatables.
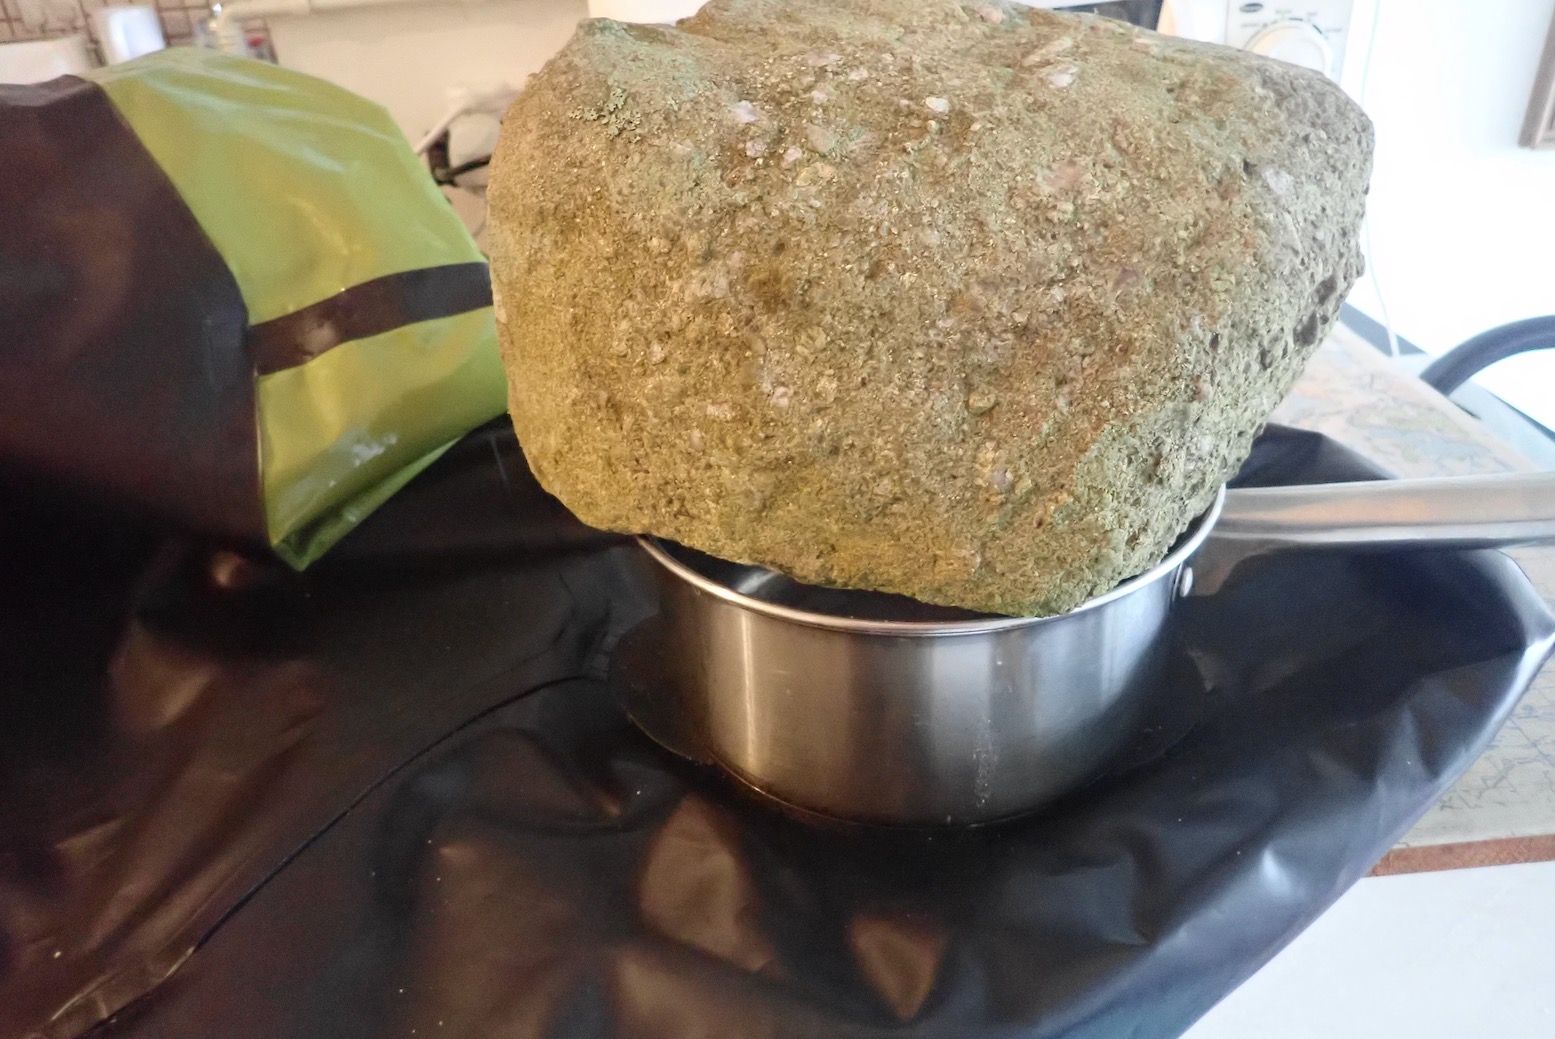
Ashore, I made use of Bond’s Pool of Torment (said to be the next film title) to pre-cool the TXL but knew it wouldn’t really work. Flooding the inflated boat for a few minutes is probably the answer. A little hand pump can only pack in, say, 2 psi at 18°C. Any more air forced in may burst the pump or stress the boat’s seams if done too often. But once part submerged by my weight on 12°C sea water, the hull cools and drops to, say, 1.8psi. It won’t get any lower, but it’s enough to lose its edge and means the boat paddles less efficiently. We can’t be having that!
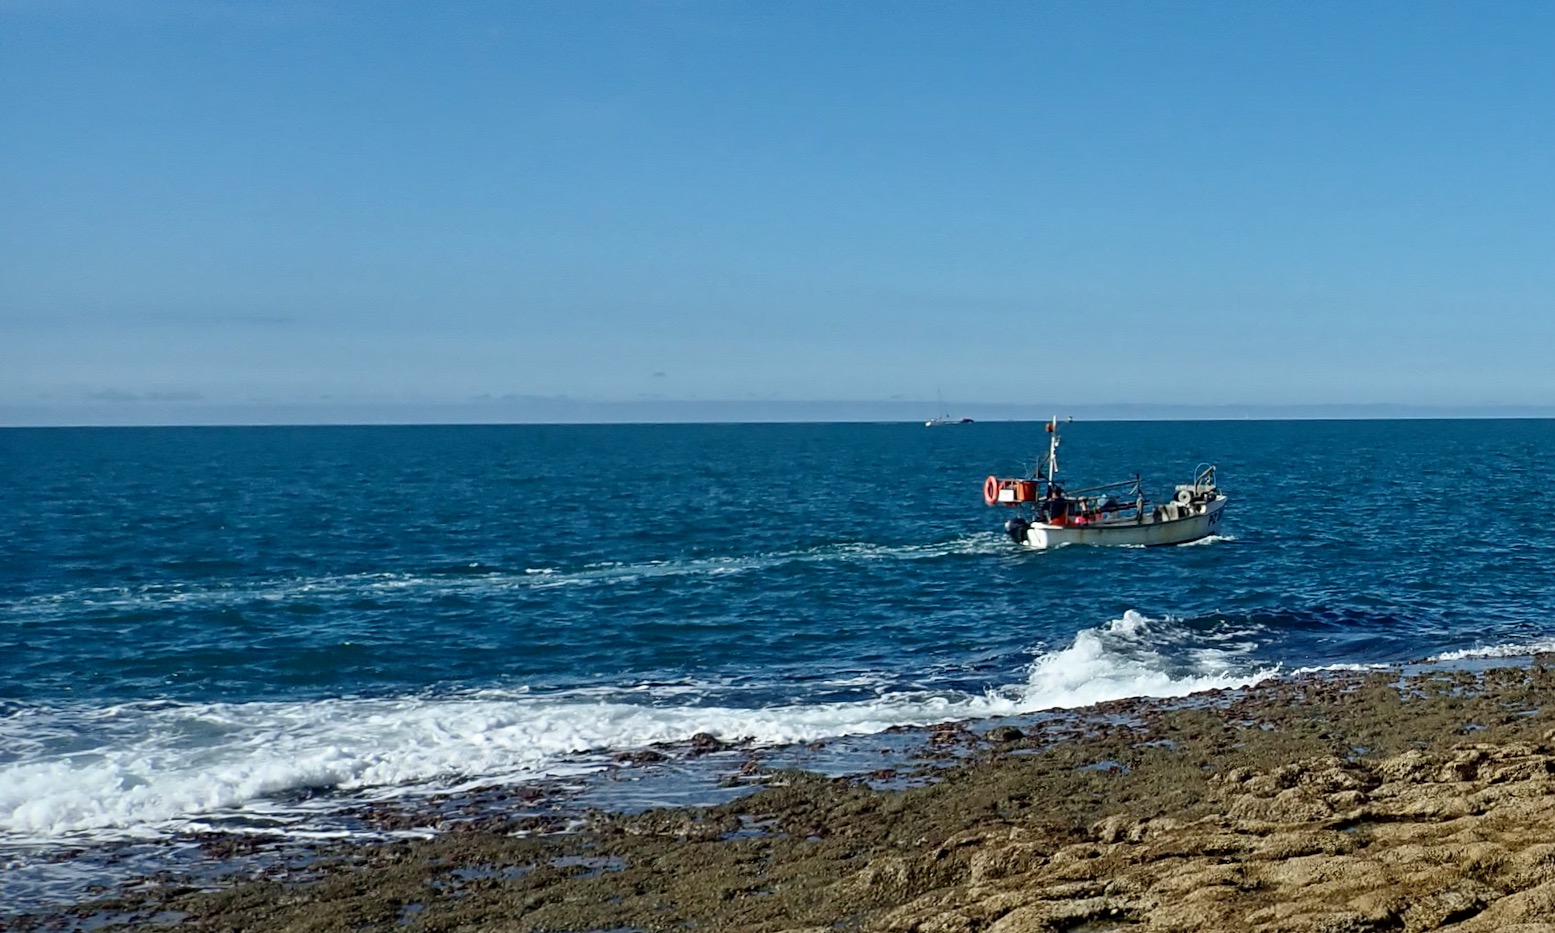
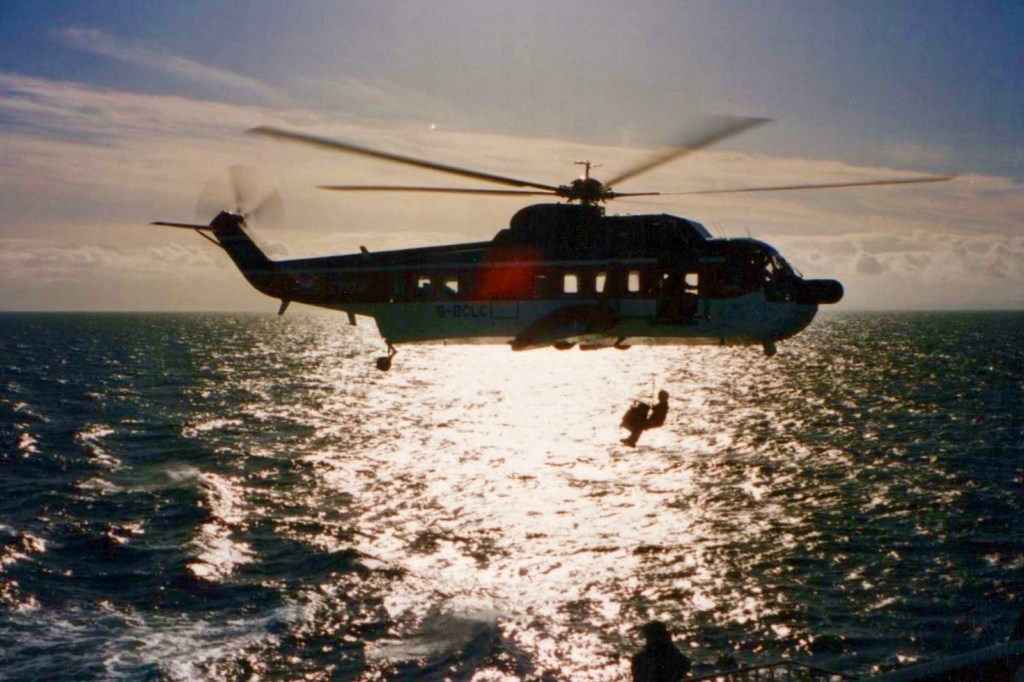
In my heightened state of anxiety at paddling a new, exposed locale, I was pleased to see a lobster boat passing my way (above). Later on I catch up and and meet the Chatty Fisherman. For a while I was worried the tide might turn before I got to drag myself away, but, Purbeck born and bred, he was a local quarryman who used his summer hols to snag a few lobsters and had lots to say about everything, including reduced catches of late.
“We used to get hundreds [of lobsters] here before the seas got warmer. Now I barely get a handful.”
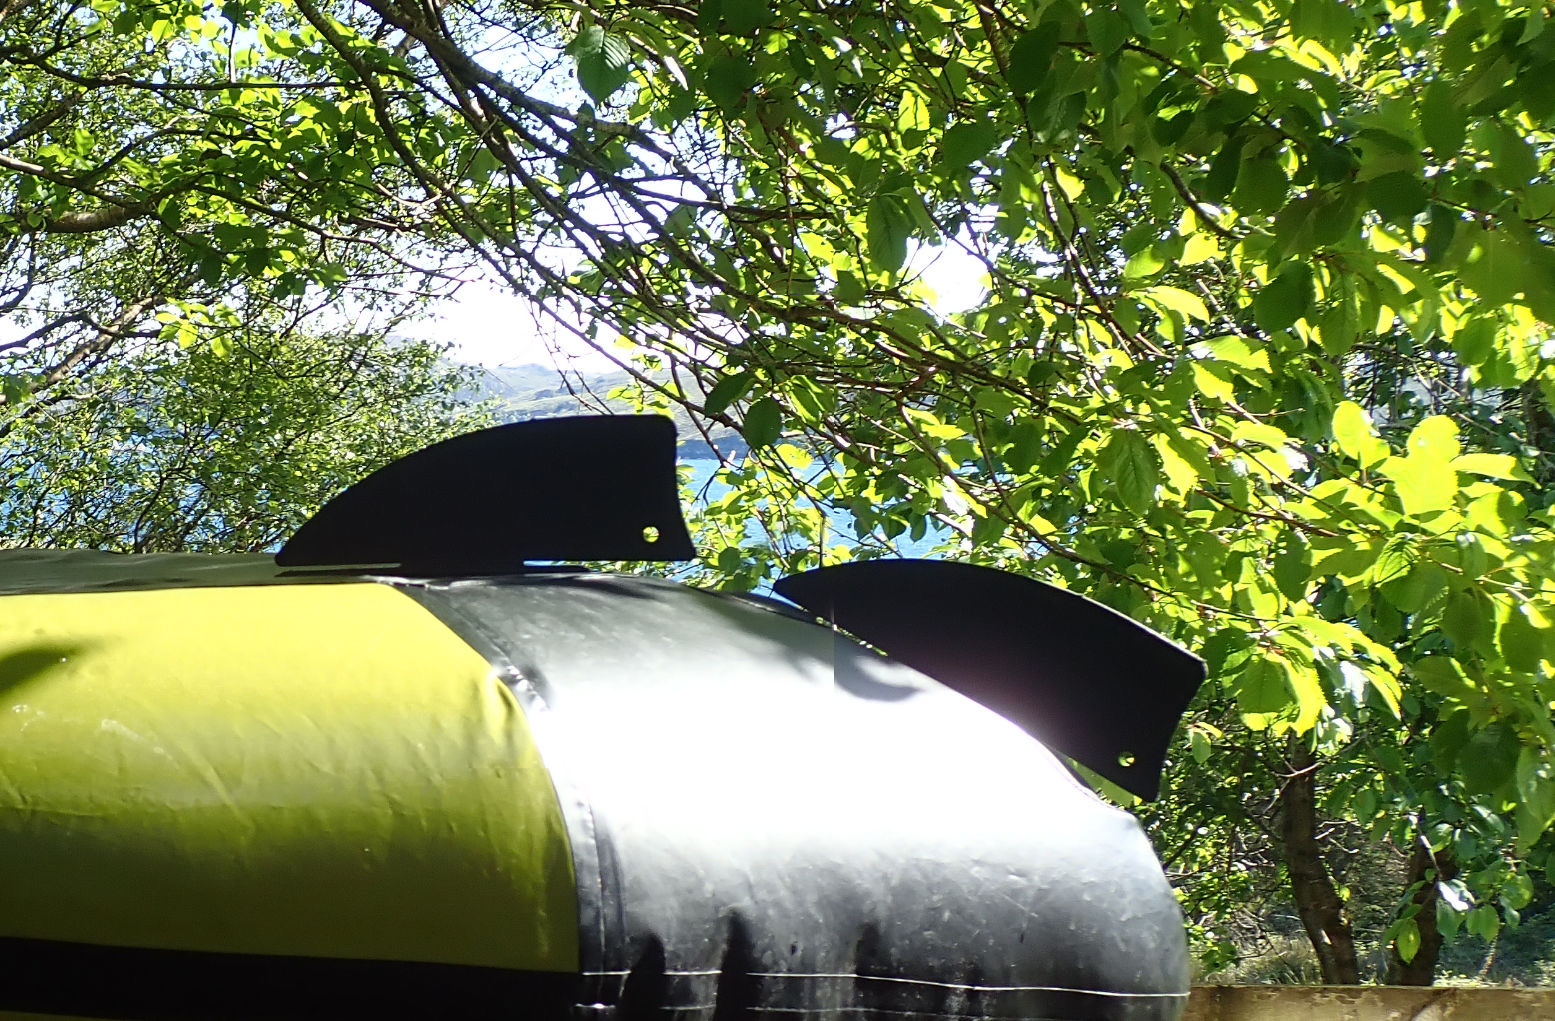
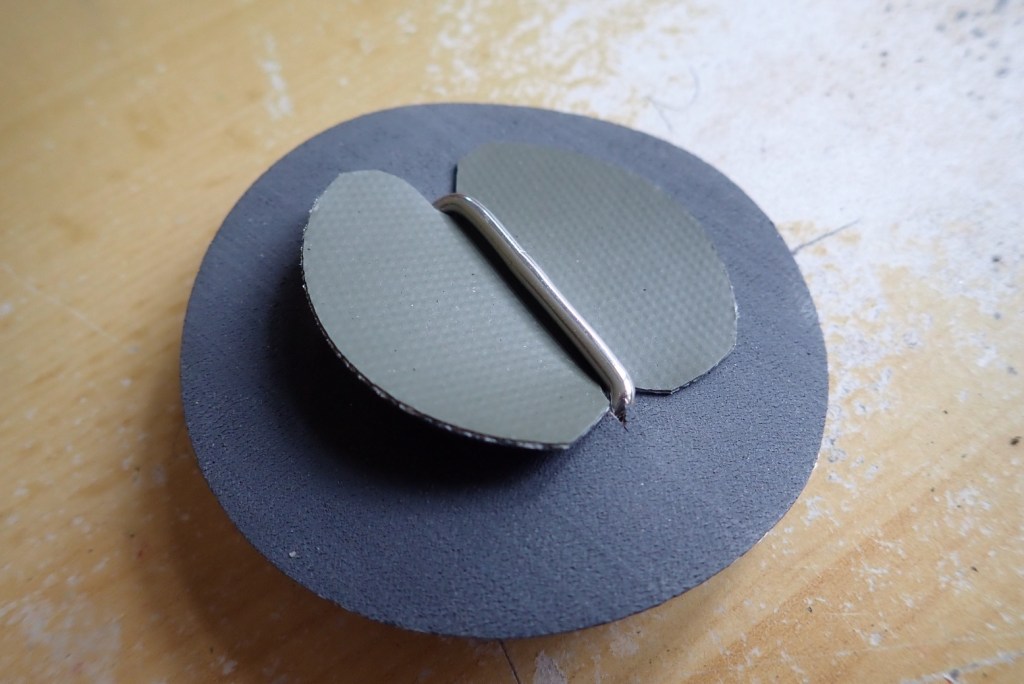
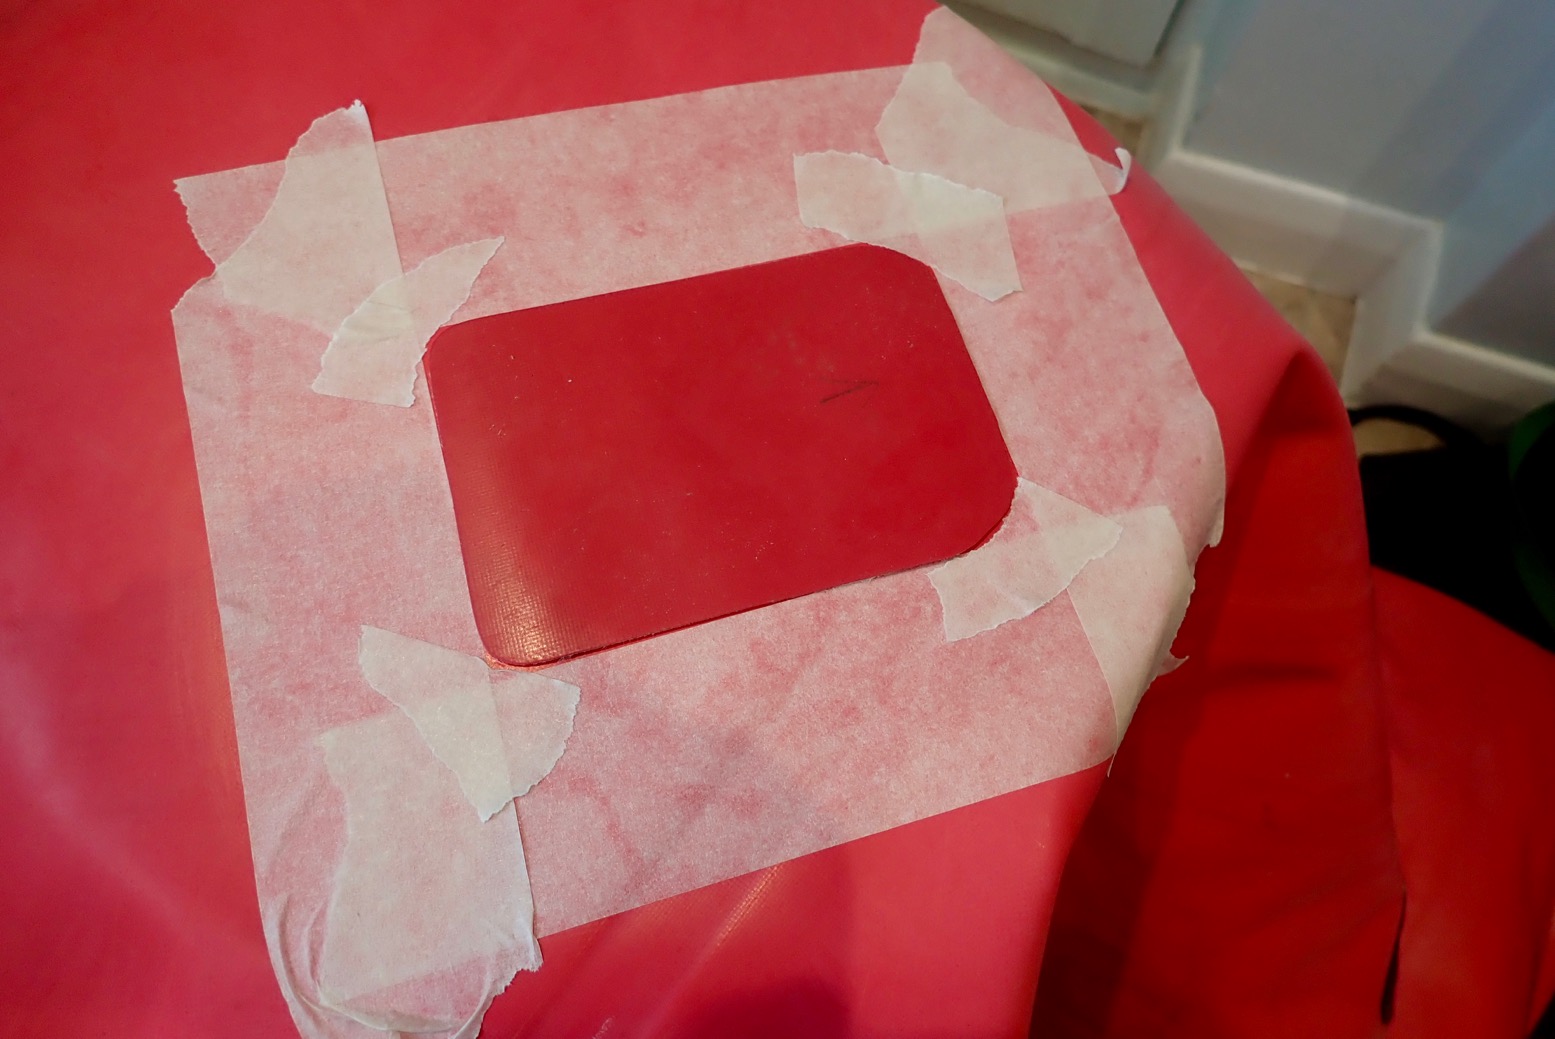
There was no place to hop off and top up the boat, though I could always flip round in the seat and do it on the water. That said, I wonder if longer packrafts like TXLs could benefit from repositioning the inflation valve closer to the central seat, like my old Incept K40 solo IK. The MRS Nomad had the valve on the bow, which was handy. I suppose this might make expelling the air on rolling up more difficult, but we now have mini pumps with suction settings, making valve position less important. With a passenger or another paddler alongside, on-water topping up is less of an issue, but had I thought it through before adding the second skeg patch, I could have glued it at the other end, as the TXL is symmetrical, but then is the bow bag tabs would be at the back. So halfway down one side would be better, Anfibio. Sorry, I did I say something?
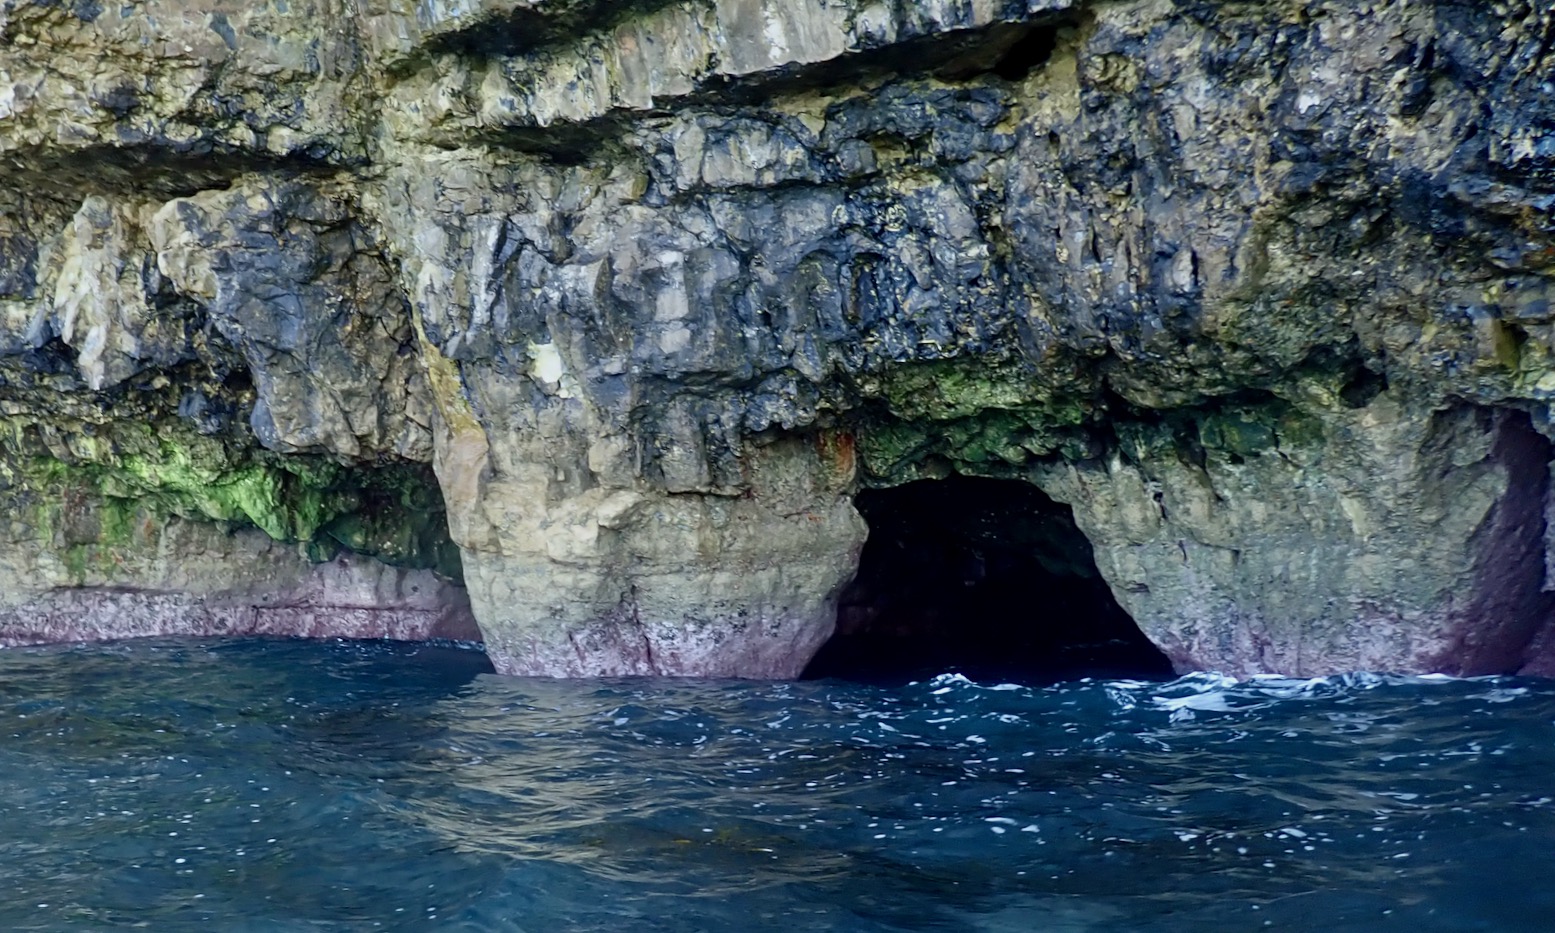
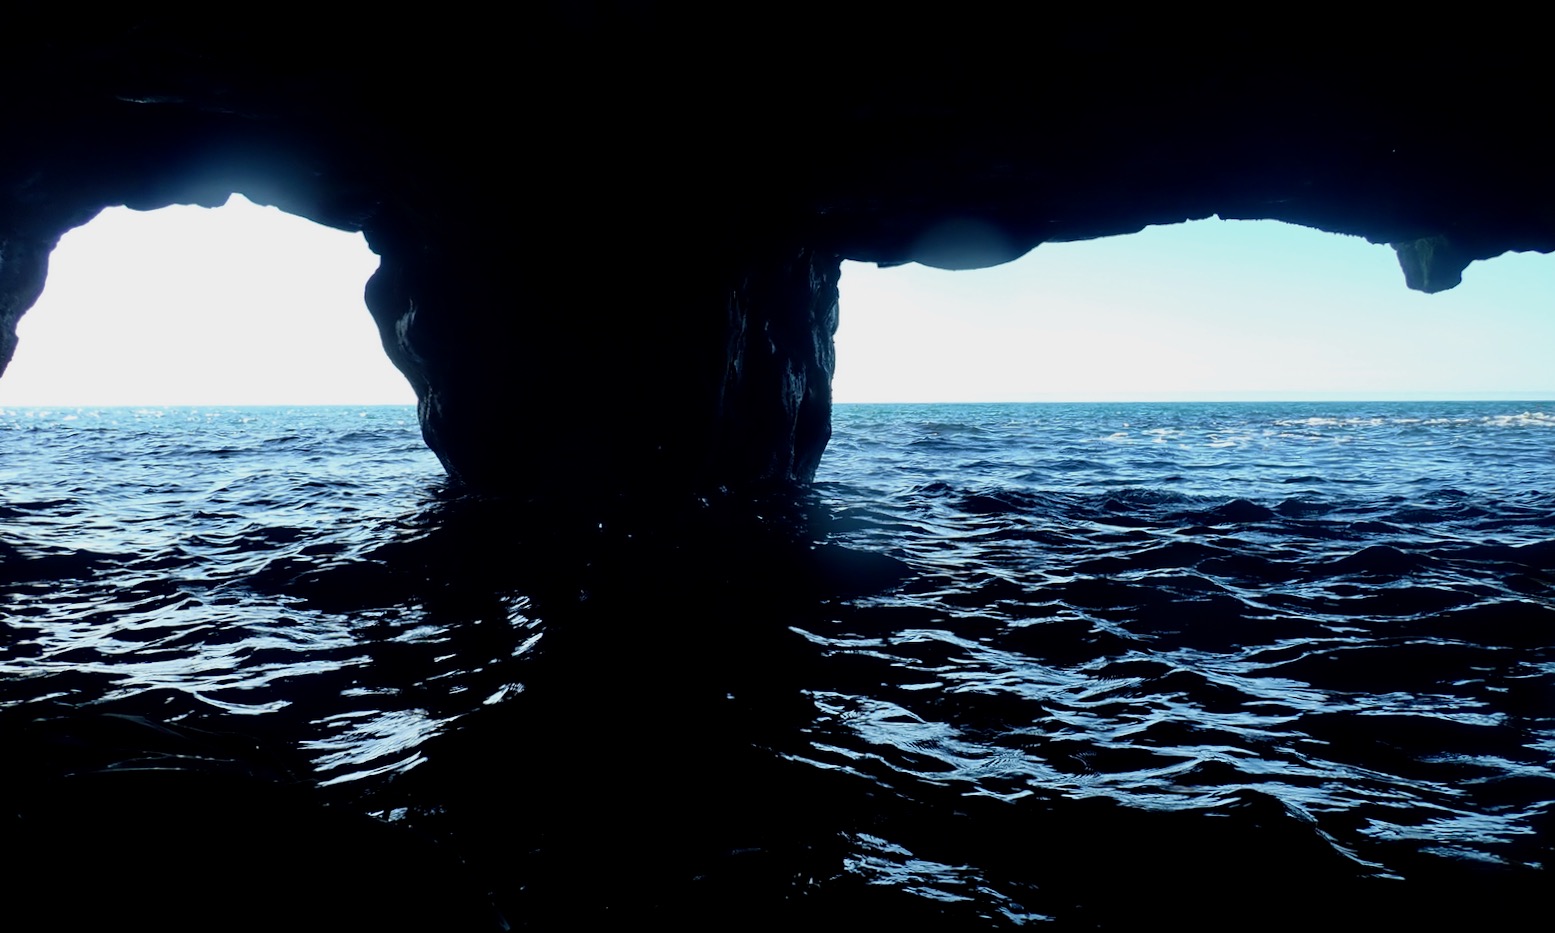
I paddle onward. Most of the caves have too much intermittent swell rolling in to get close, but one twin-mouthed cavern (above) looks like it could be safely threaded in the nippy TXL without me getting lifted by a sneaky swell and knocking myself out on the cave’s roof.
Further west I see a few people wandering about on the foreshore ledges, announcing the inlet at Seacombe, another old quarry. As I get near, I line myself up to get lifted by a wave and dropped onto a ledge. It ought to be easy but ends up a bit of a bundle. Before I can climb out I get sucked backwards into another wave, which drops onto the boat. But though it looks ungainly, timing isn’t that crucial in a stable packraft that’s easy to hop out of quickly. Lord knows how a sea kayak would manage. Up on the ledge I drain the TXL before flipping it back over and giving it a few jabs of the handpump so it’s pinging firm again.
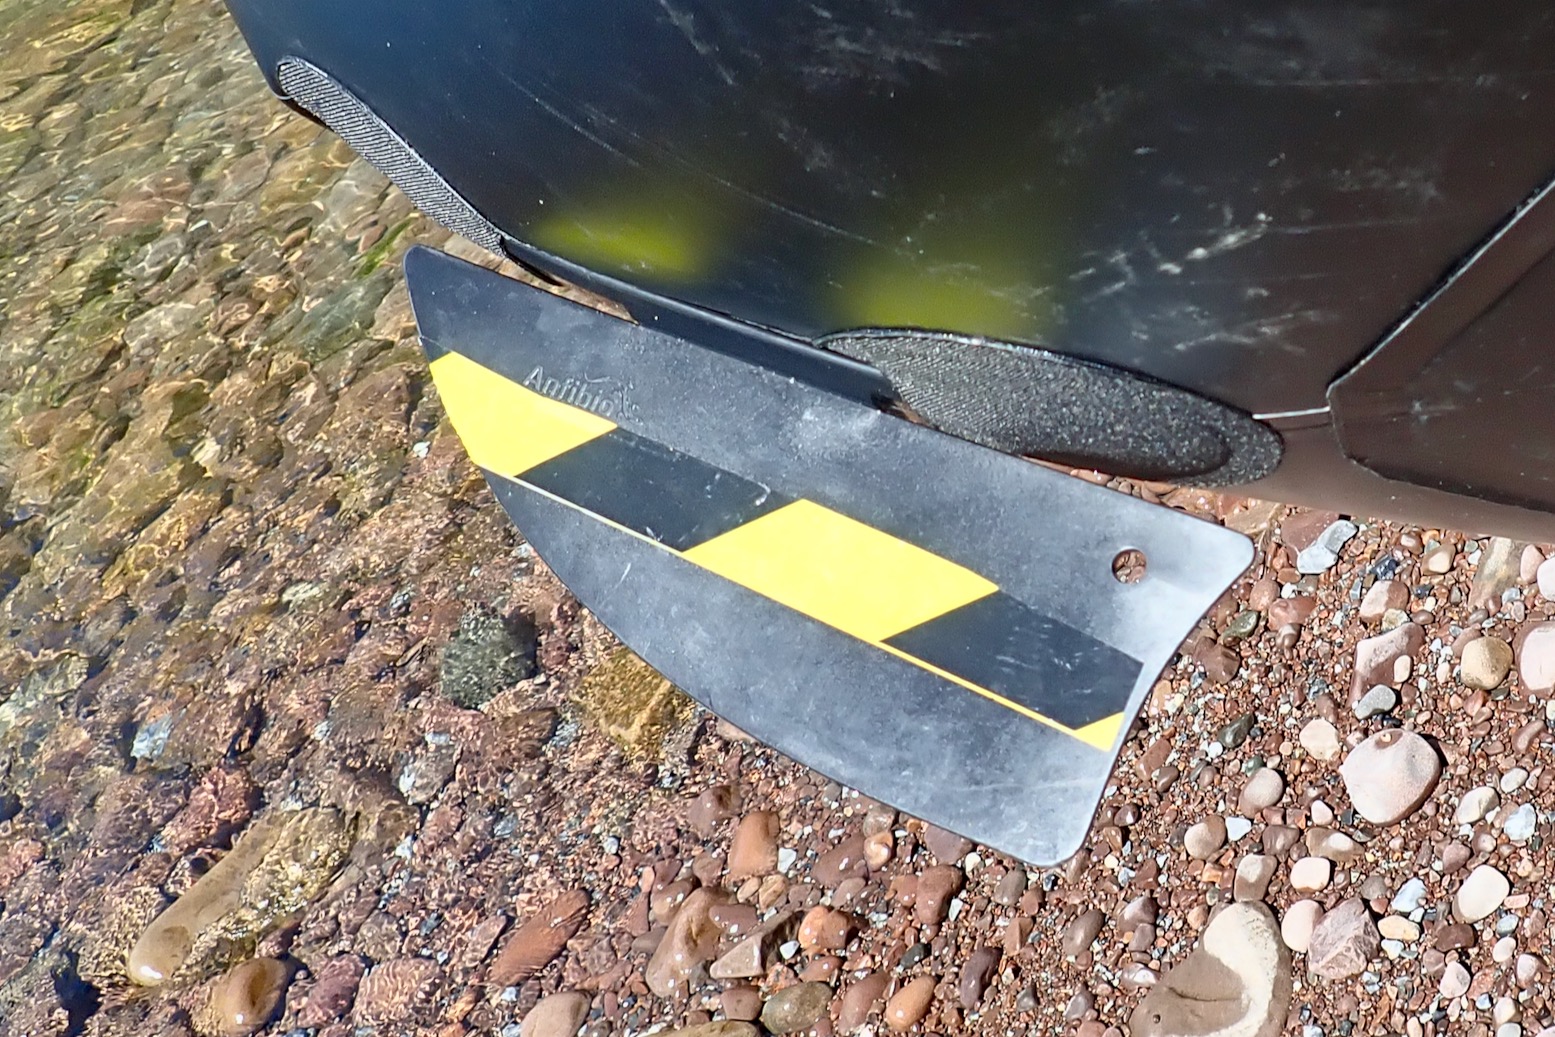
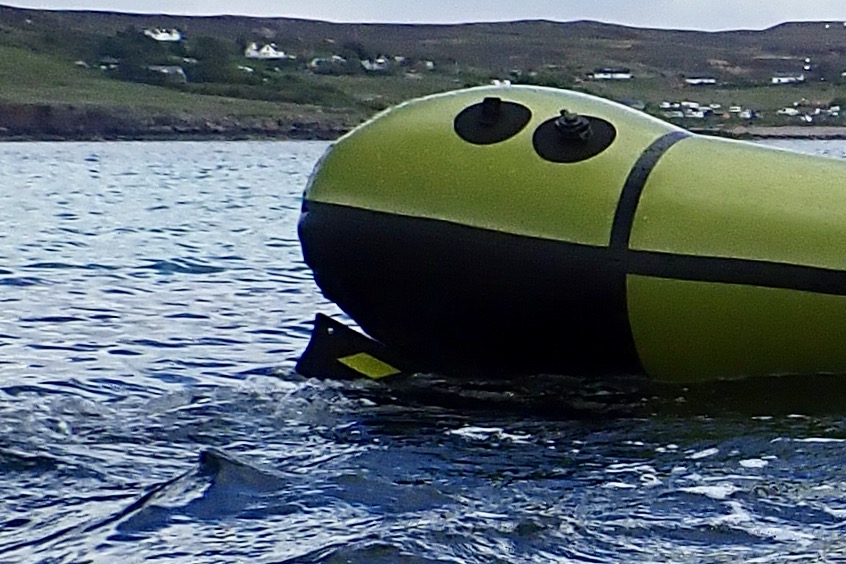
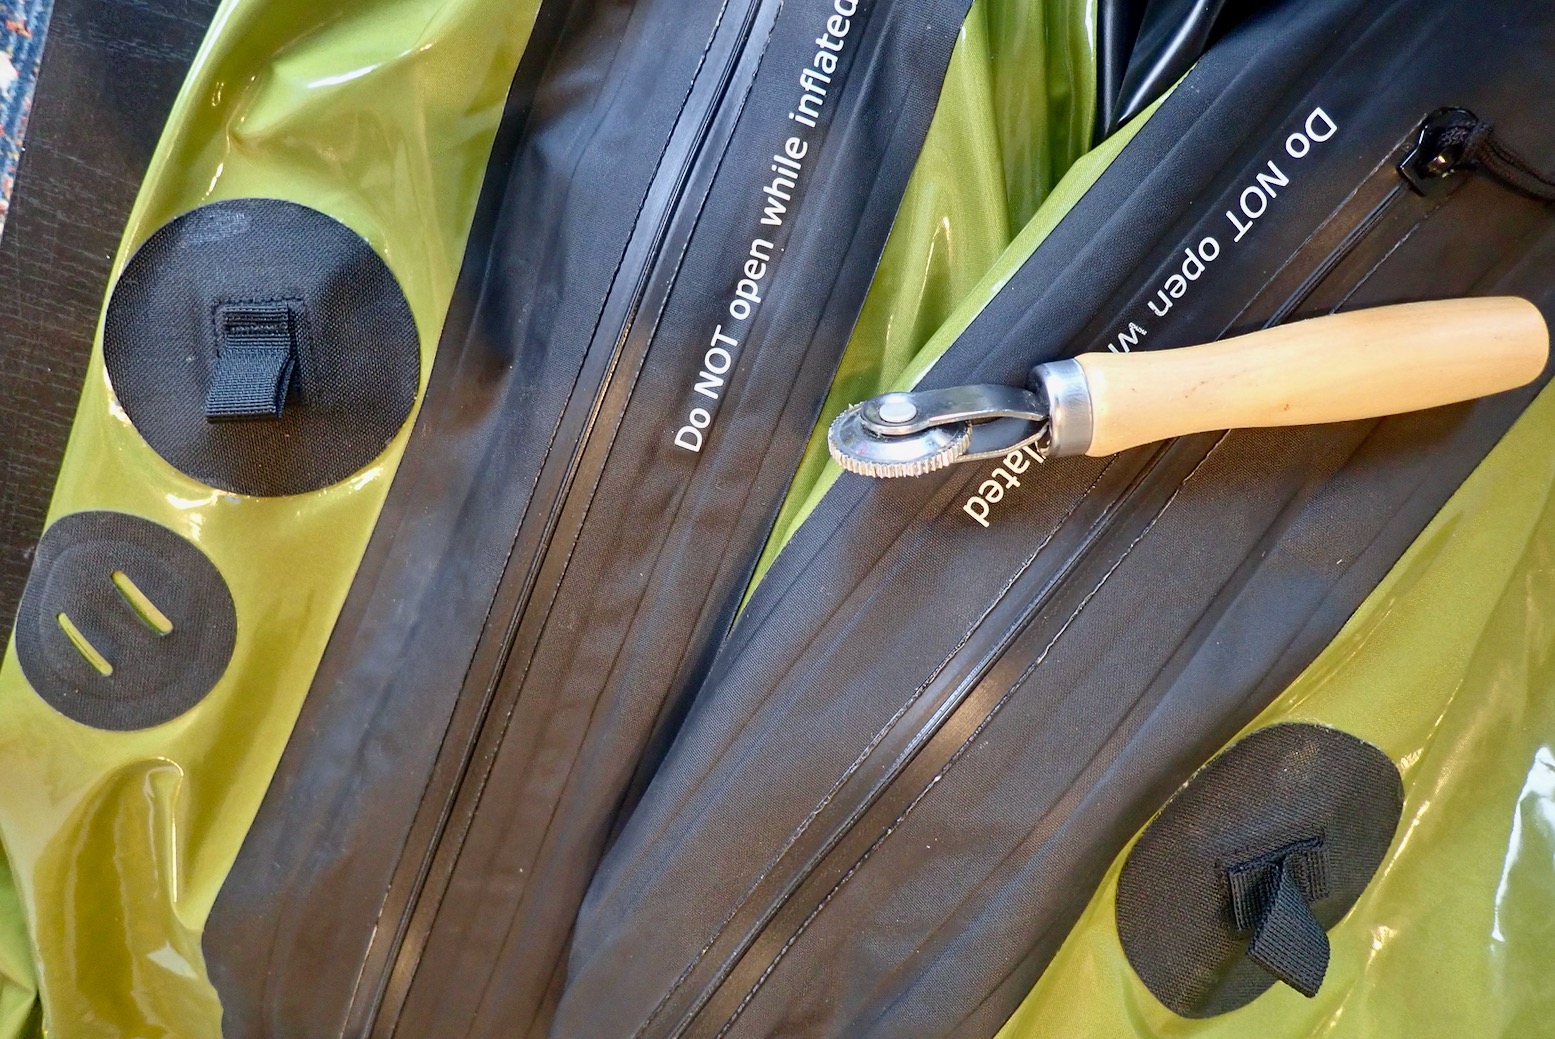
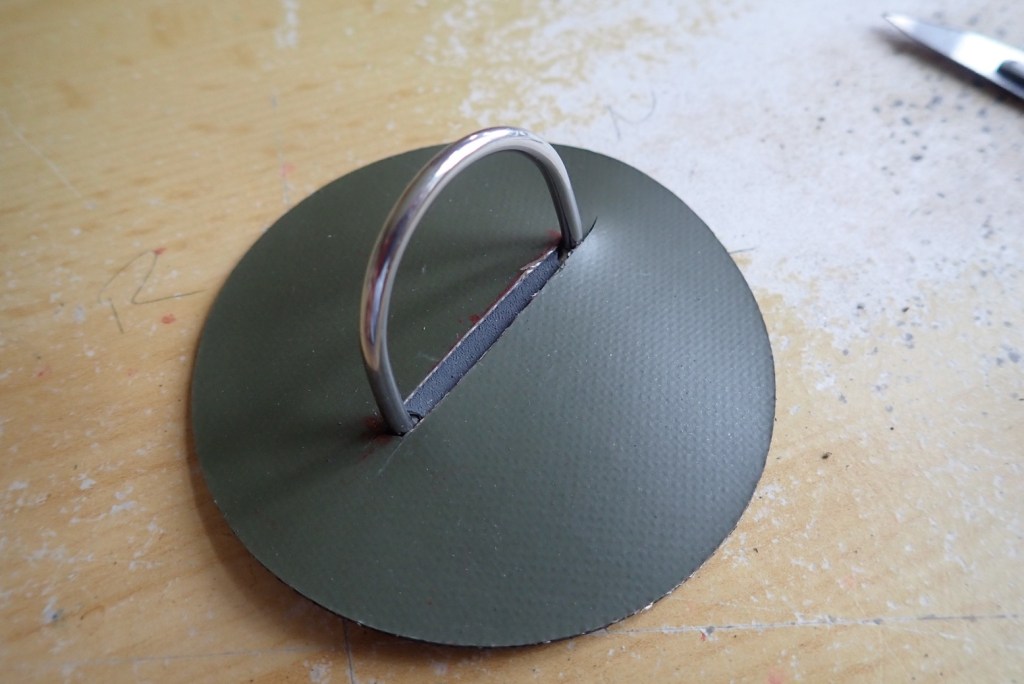
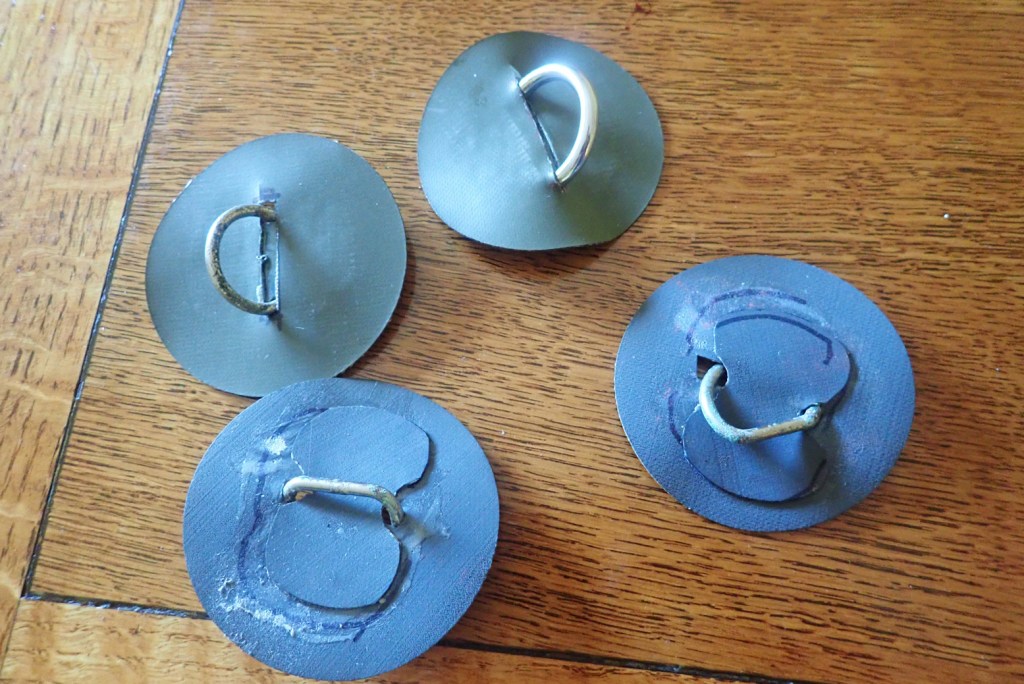
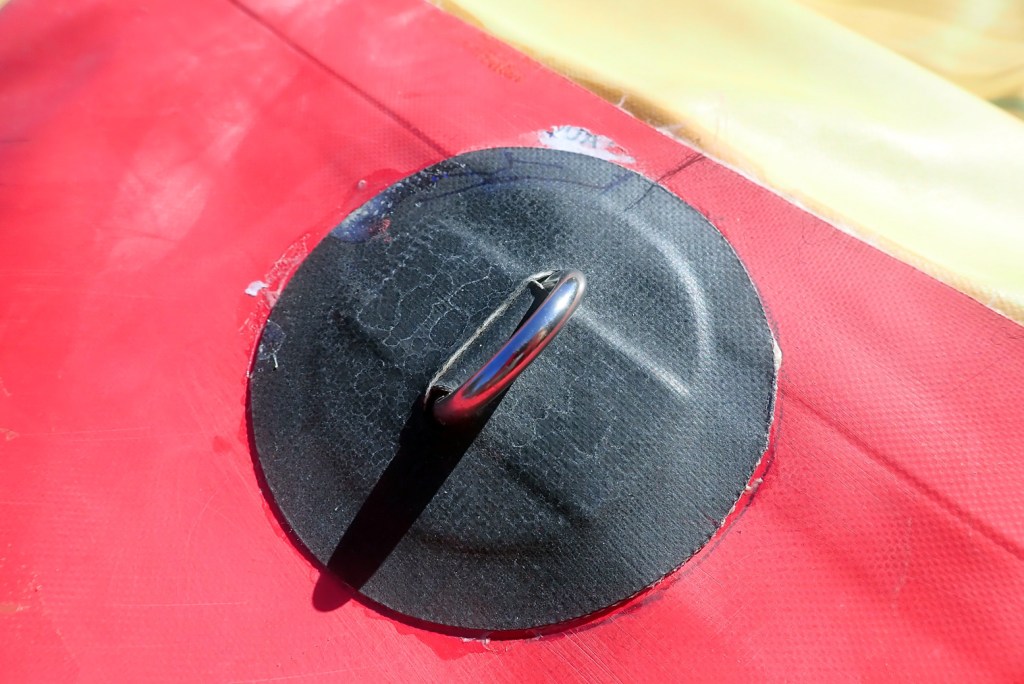
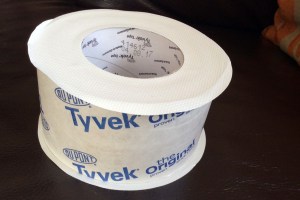
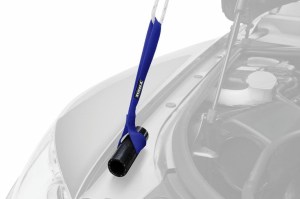
Putting back in, I’m alarmed to see my skeg lying on the rocks. My to-and-fro landing must have dislodged it. (It happened again on my next TXL; this is a fix). It is for moments like these (or, more commonly, distractions while packing up) that I wrapped it in hi-viz yellow and black tape. Had I lost it, the downwind paddle back would have been a bit squirrely, giving me something new to worry about until I realised the cause. Passing the twin-mouth cave I threaded earlier, the tide is already too high to repeat the stunt.
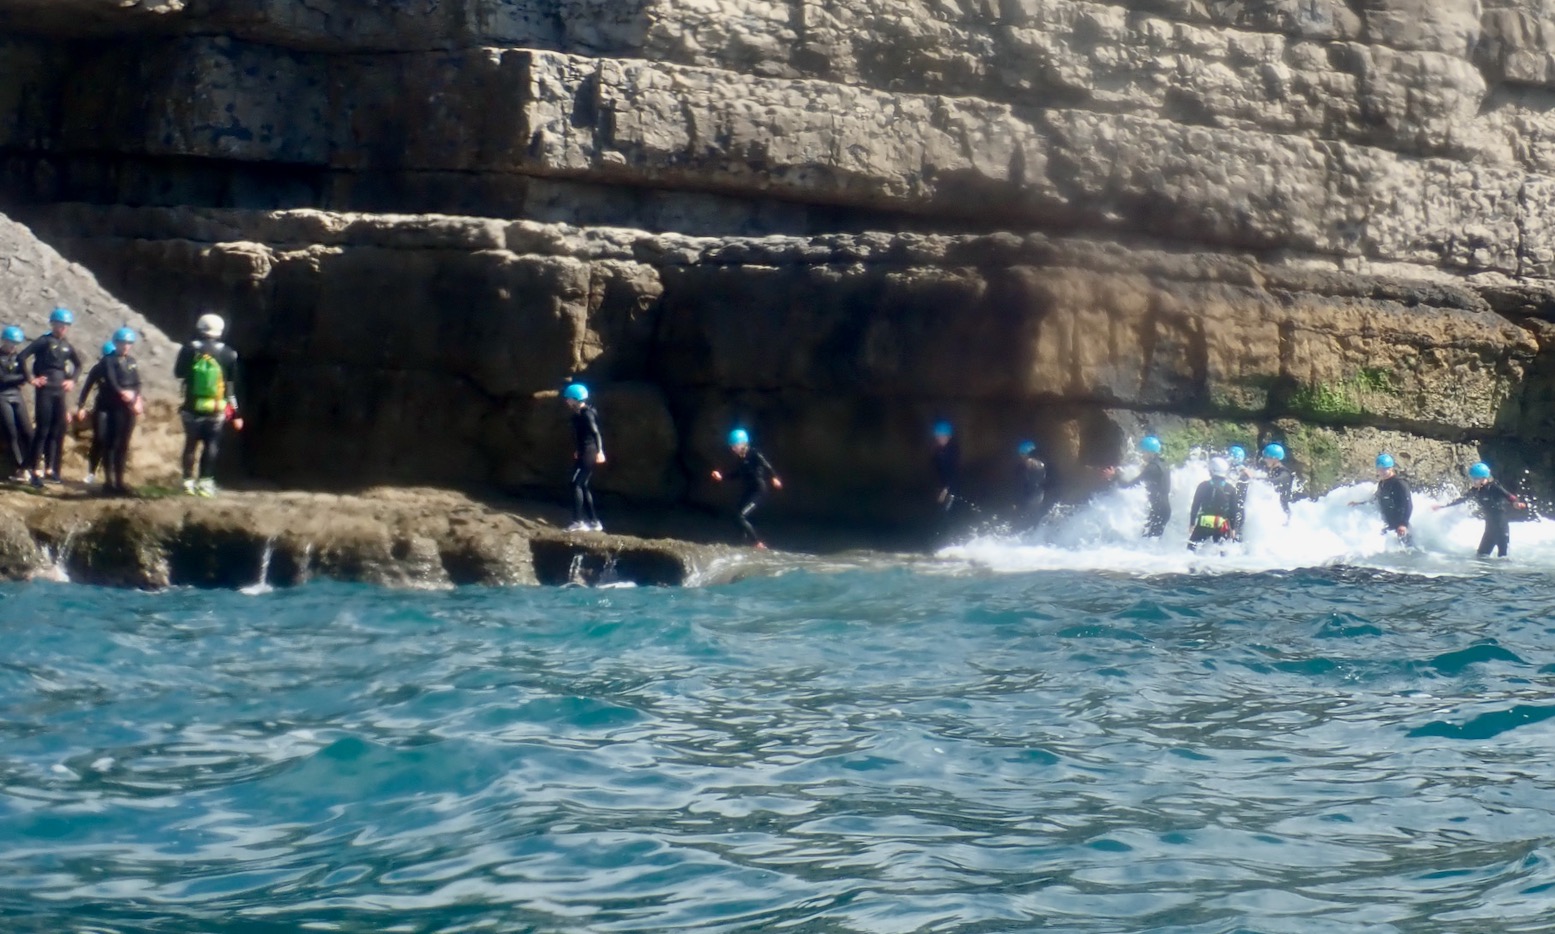
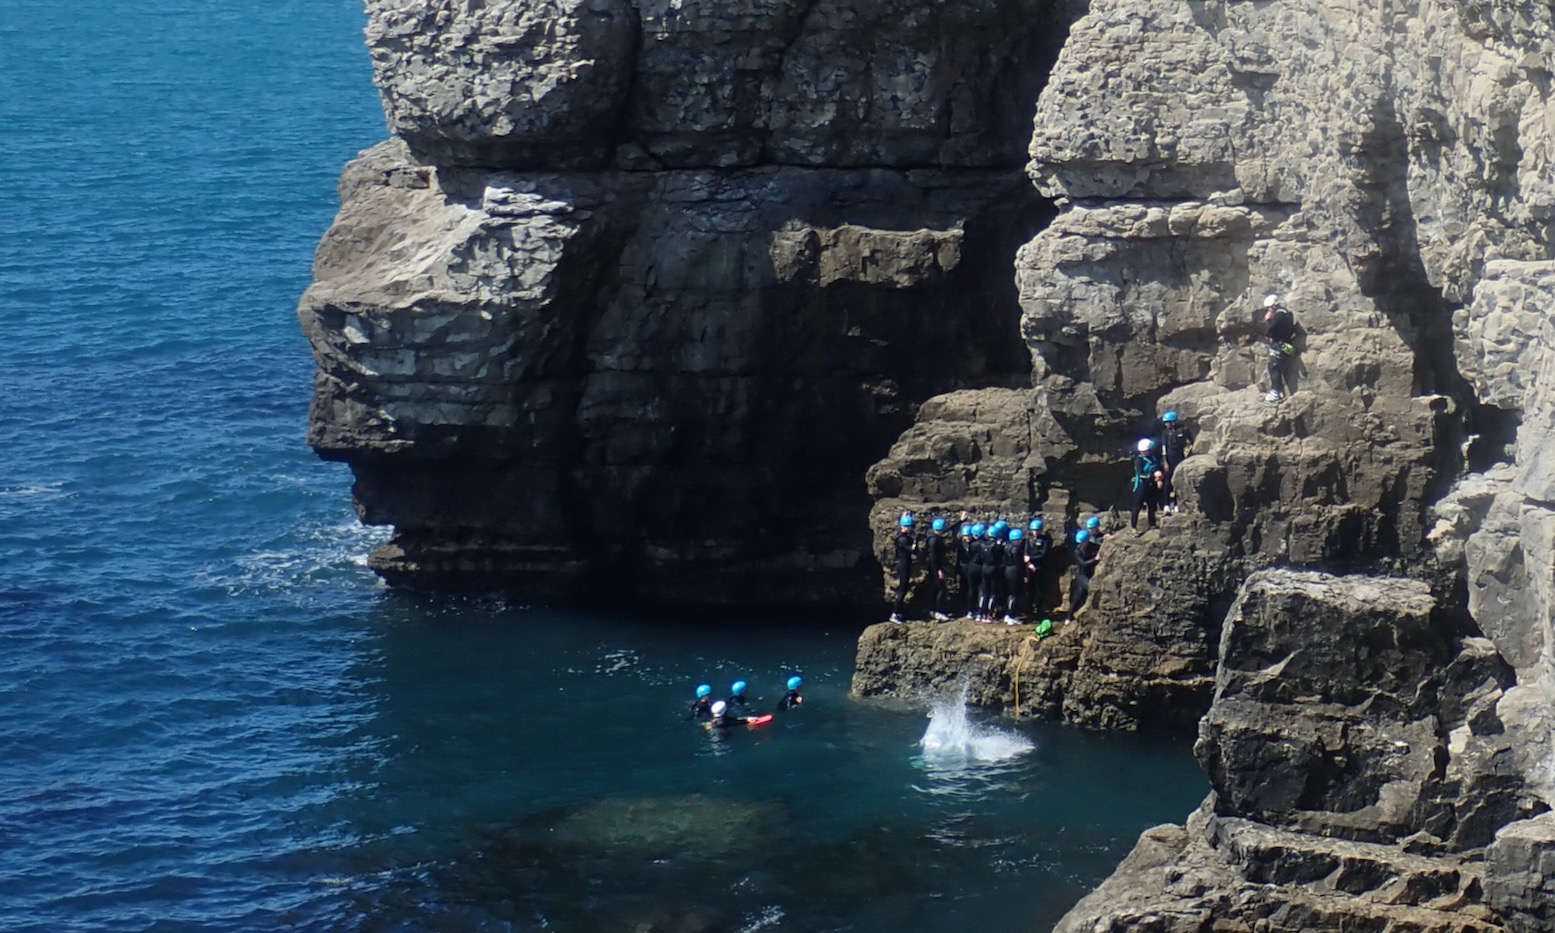
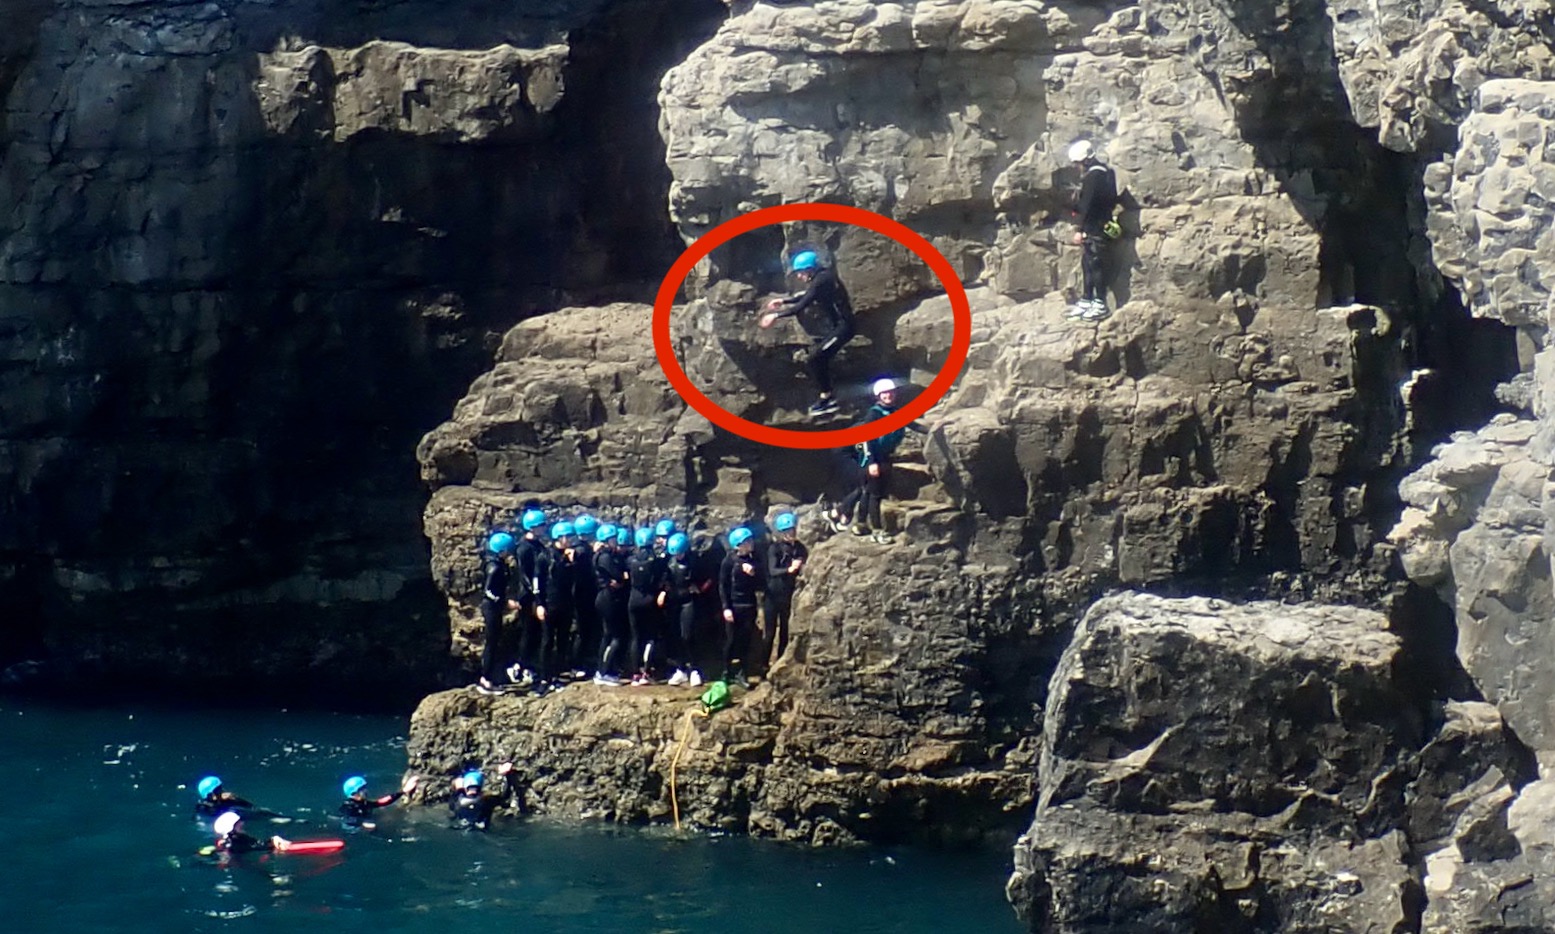
By the time I returned, Dancing Ledge was packed with day-trippers including groups of coasteering wetsuit-clad kids. They inched along the ledges, swam across cave mouths, and then clambered up to a narrow ledge to jump in. The next group was already lined up to follow so it all looked a bit sketchy and congested with just two guides for over a dozen kids (turns out it can be), but I bet they all loved it.
As had happened so many times, a spell on the water without incident calmed the nerves. So I continue past the Dancing take-out and cast a wistful glance eastwards. It was only 2.5 miles, or an hour or so with the tide and wind and cliffs to the Isle of Purbeck’s southeast corner at Durlston Head, before a more sheltered turn northward to Swanage, another mile away over the Pevrill Ledge, the final hurdle into town. One for the next ‘calm’ day perhaps.

Anfibio Plus(+) fabric
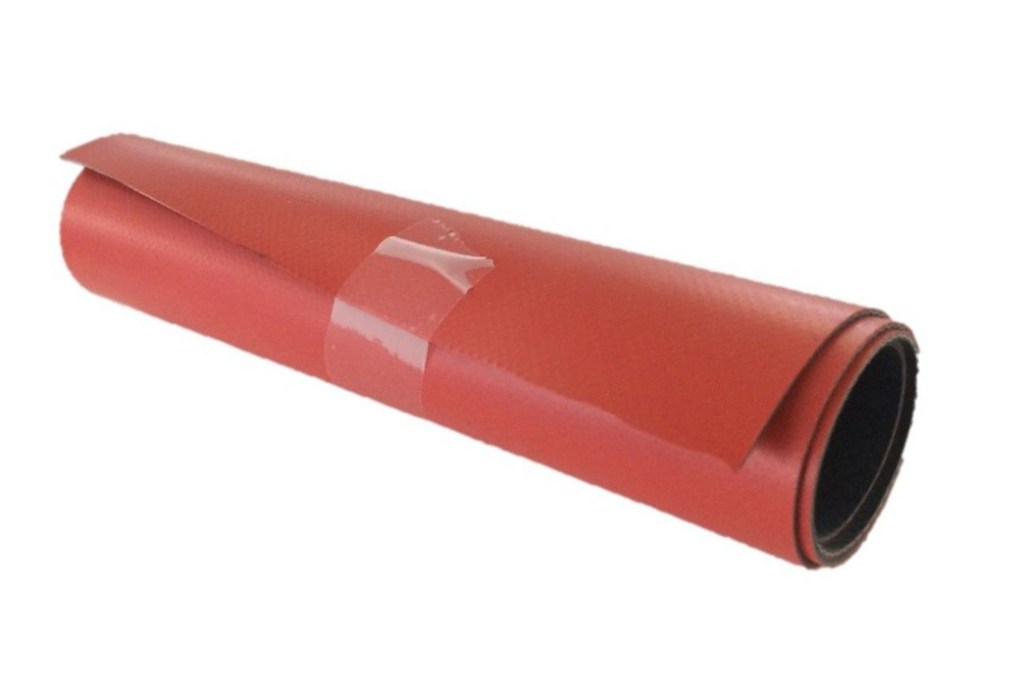
Checking out Anfibio’s TXL page later, I see they’re offering the option of the TXL and similar long/double models in chunkier Plus (+’) fabric. It’s only 17% heavier but 80% more tear-resistant, depending on how you measure that, but costs only €70 extra. It looks like it might be similar to floor fabric or comparable with Alpacka’s much more expensive Vectran option.

Anfibio don’t fully explain why they’re now offering thicker Plus(+) fabric; has the standard proved a bit less durable? I admit Anfibio do focus a bit too much on the ultra lightweight side of things which, alone in a single-skinned inflatable, is not where my priorities float.
From my experience with stiffer PVC IKs versus more flexible rubber kayaks, I do wonder if a Plus(+) TXL or similar might be more rigid on the water without the need to pack it full of air. It may even exclude the need for the 900-g floor pad (it doesn’t). Along with what I estimate to be a <500g weight penalty, I imagine a Plus(+) TXL will roll up less compactly, but other than that it’s something worth looking into.
Quick-deflate seat
While I was never a fan of the mushy, twist-lok stem valves on the early Alpackas, I’m not a huge fan of the sprung, one-way inflation valves Anfibio use on their seats and backrests. Great for easy inflation and holding high pressures, but a pain to deflate when packing up; you have to jam a fingernail in the valve and scrunch the seat while it ever so slowly deflates. At least with an old twist-loks you could suck the air out. And anyway, you don’t need full pressure in a seat. Far from it.
There was talk of Anfibio modifying the seat valves for easy deflation but it’s not happened yet. Now the TXL is my sole packboat, I’m minded to set it up well. I failed to find anything other than Boston valves online. They’d work of course and will dump air really fast, but are a bit OTT and would need gluing in properly.
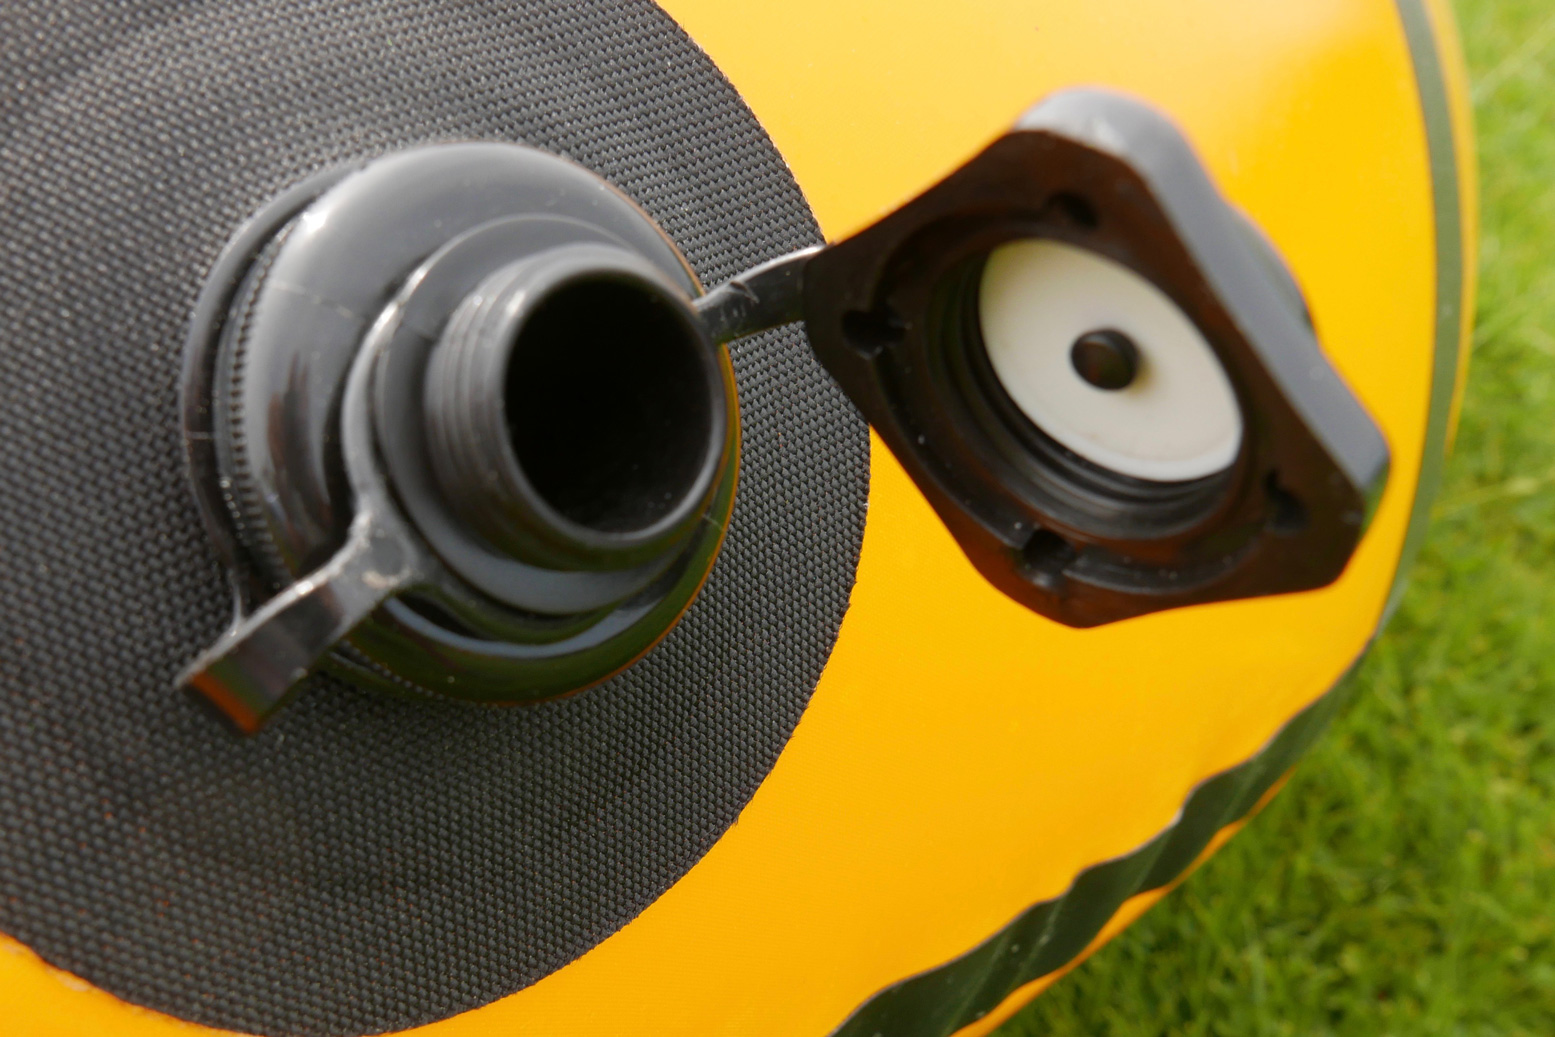
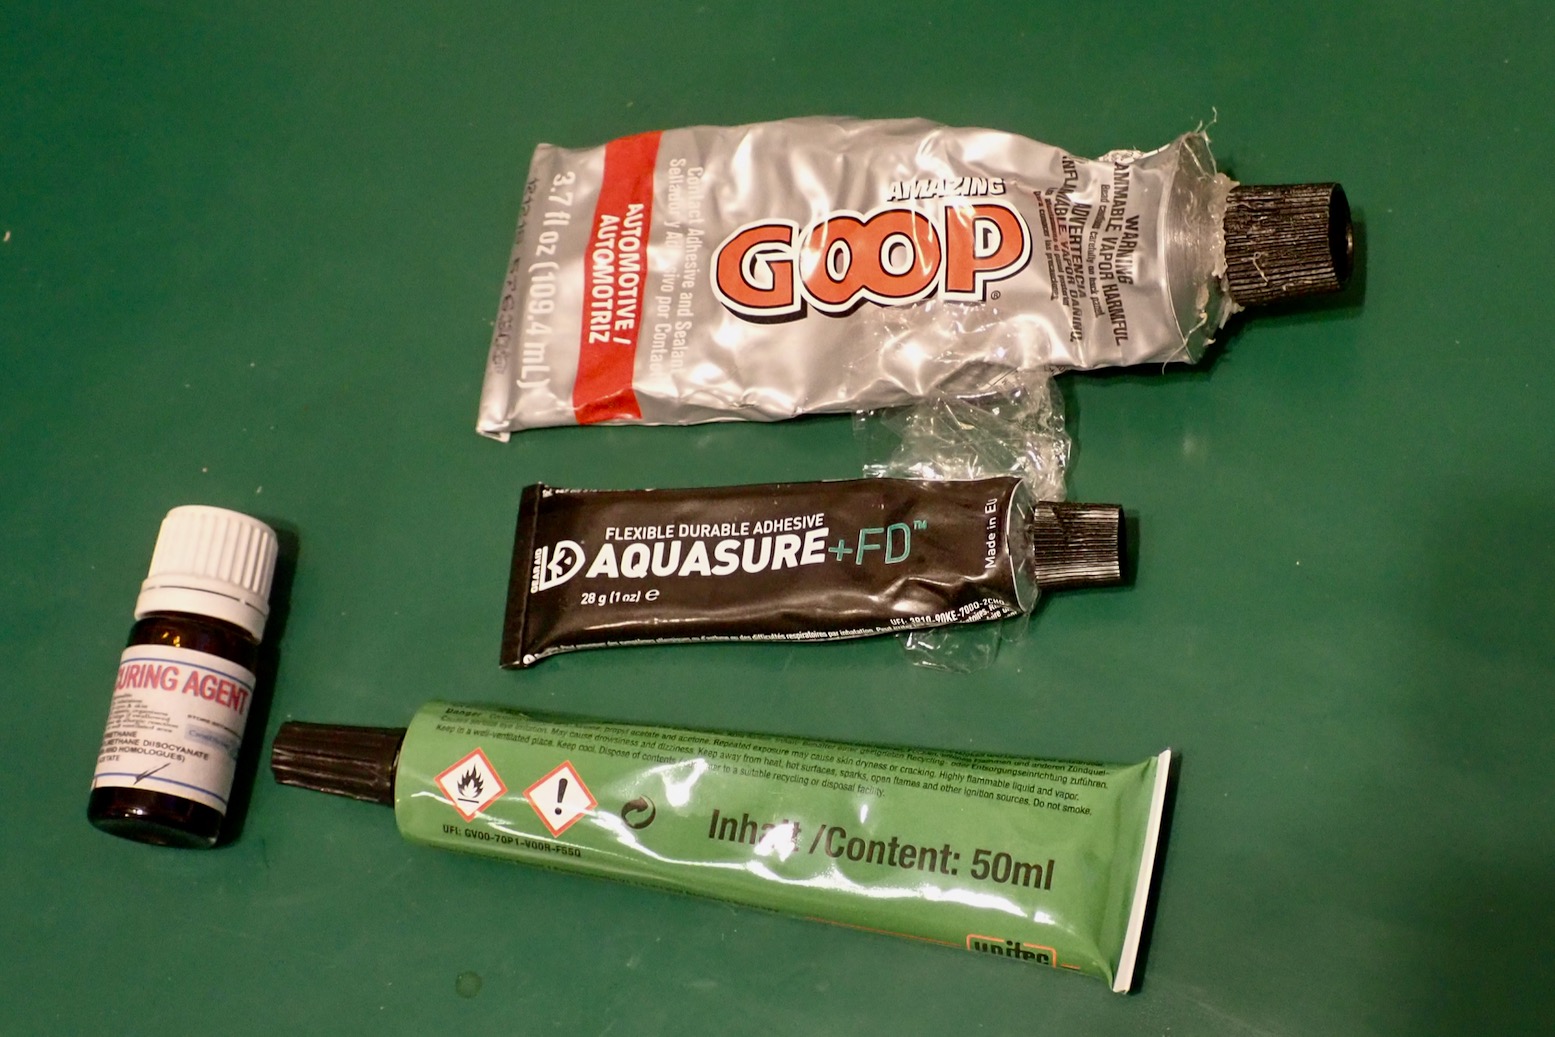
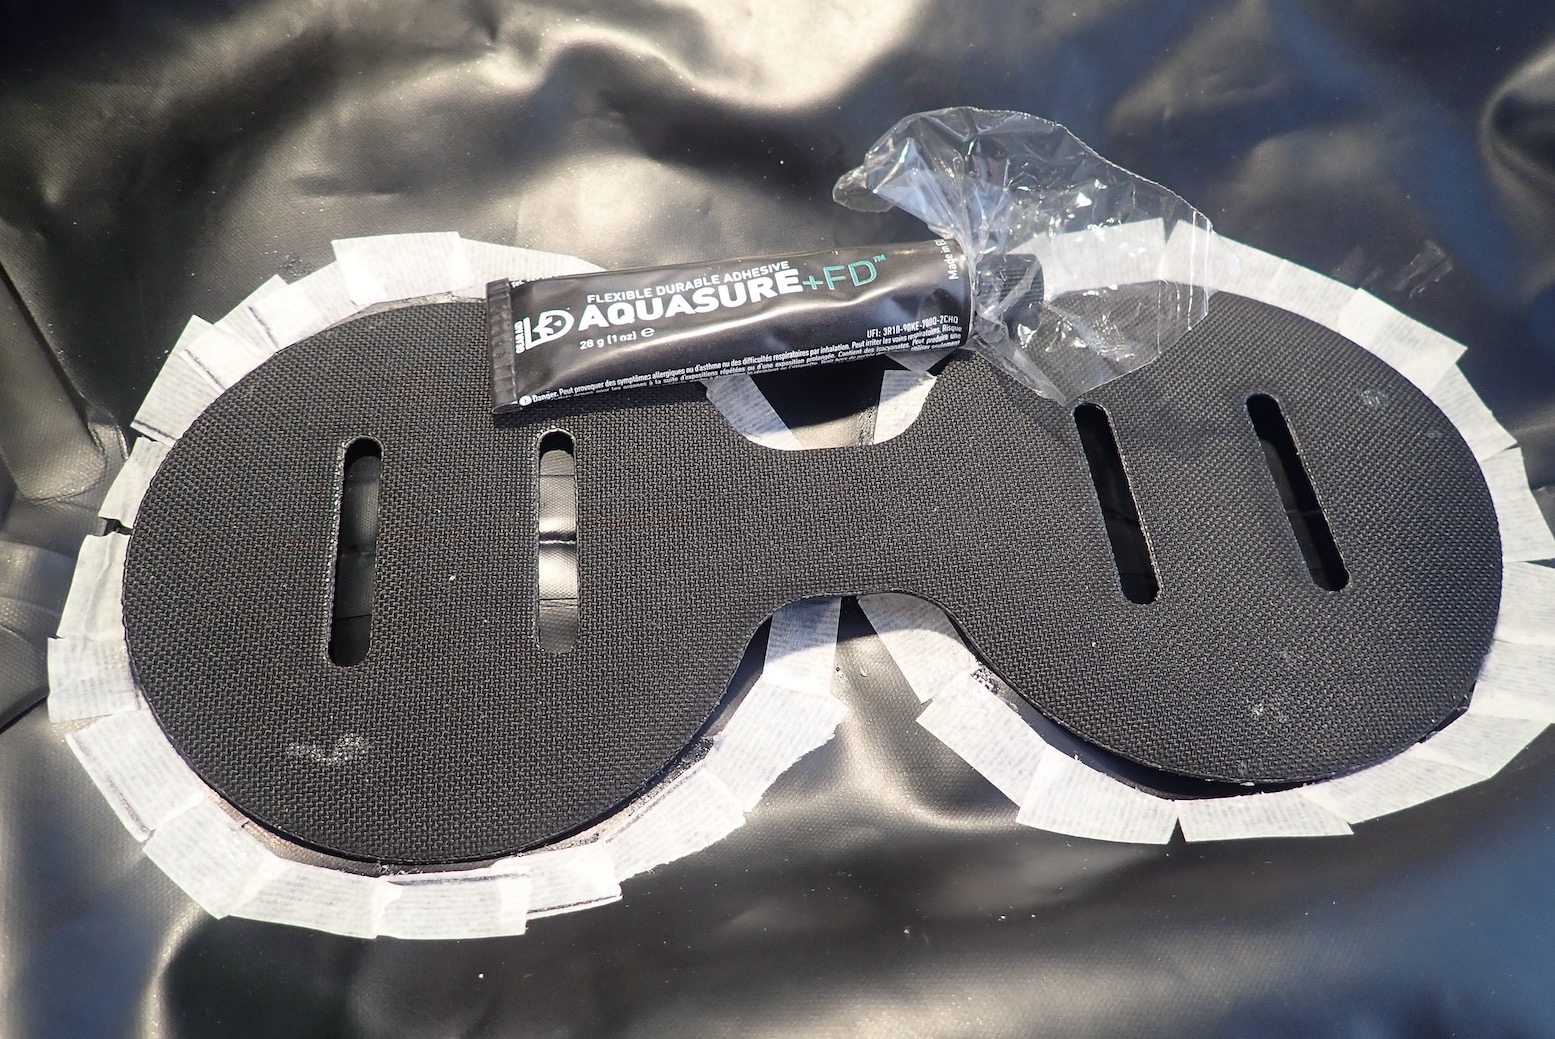
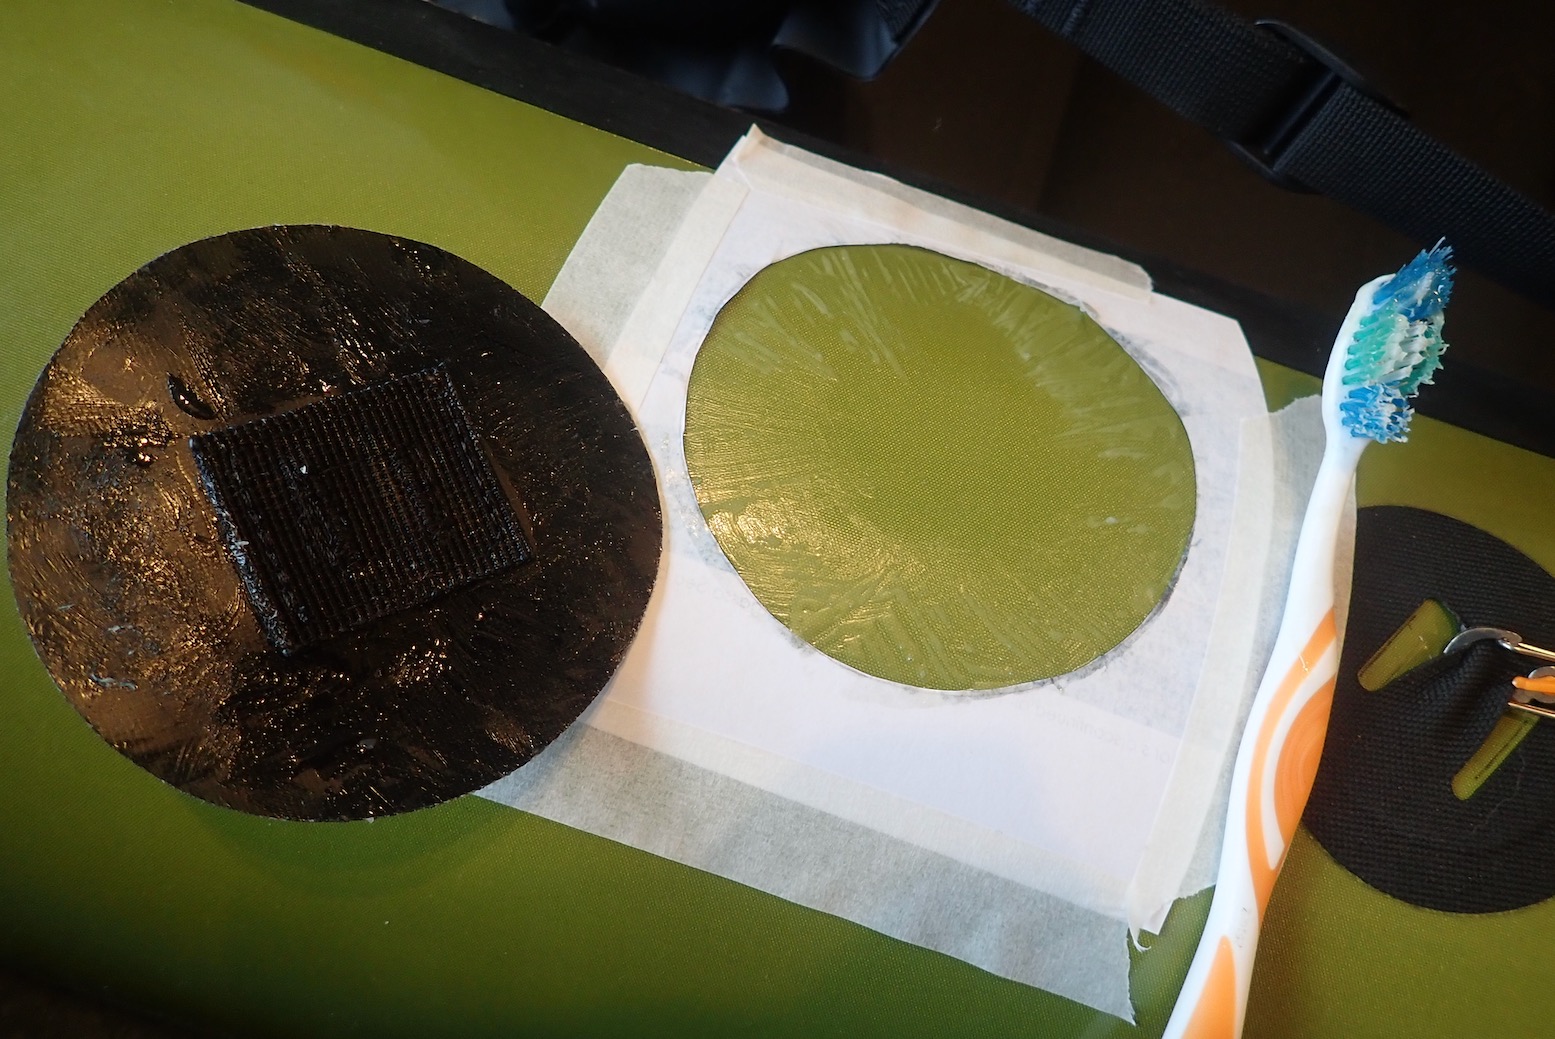
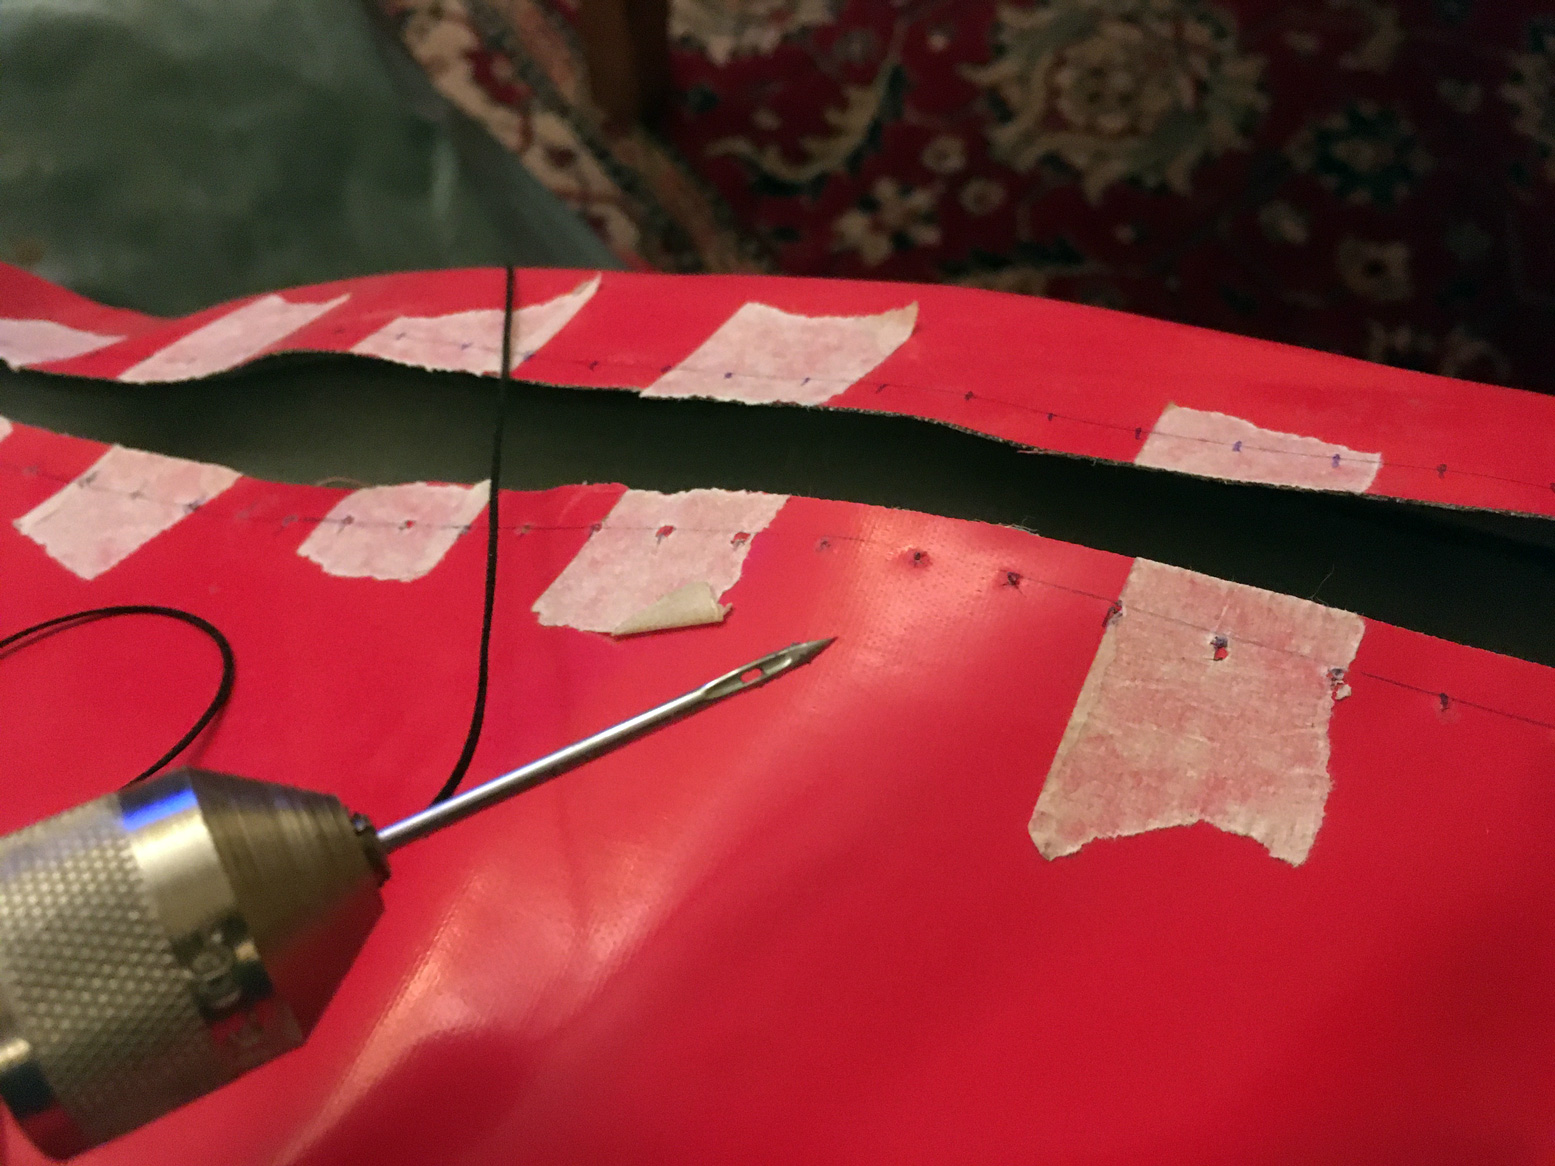
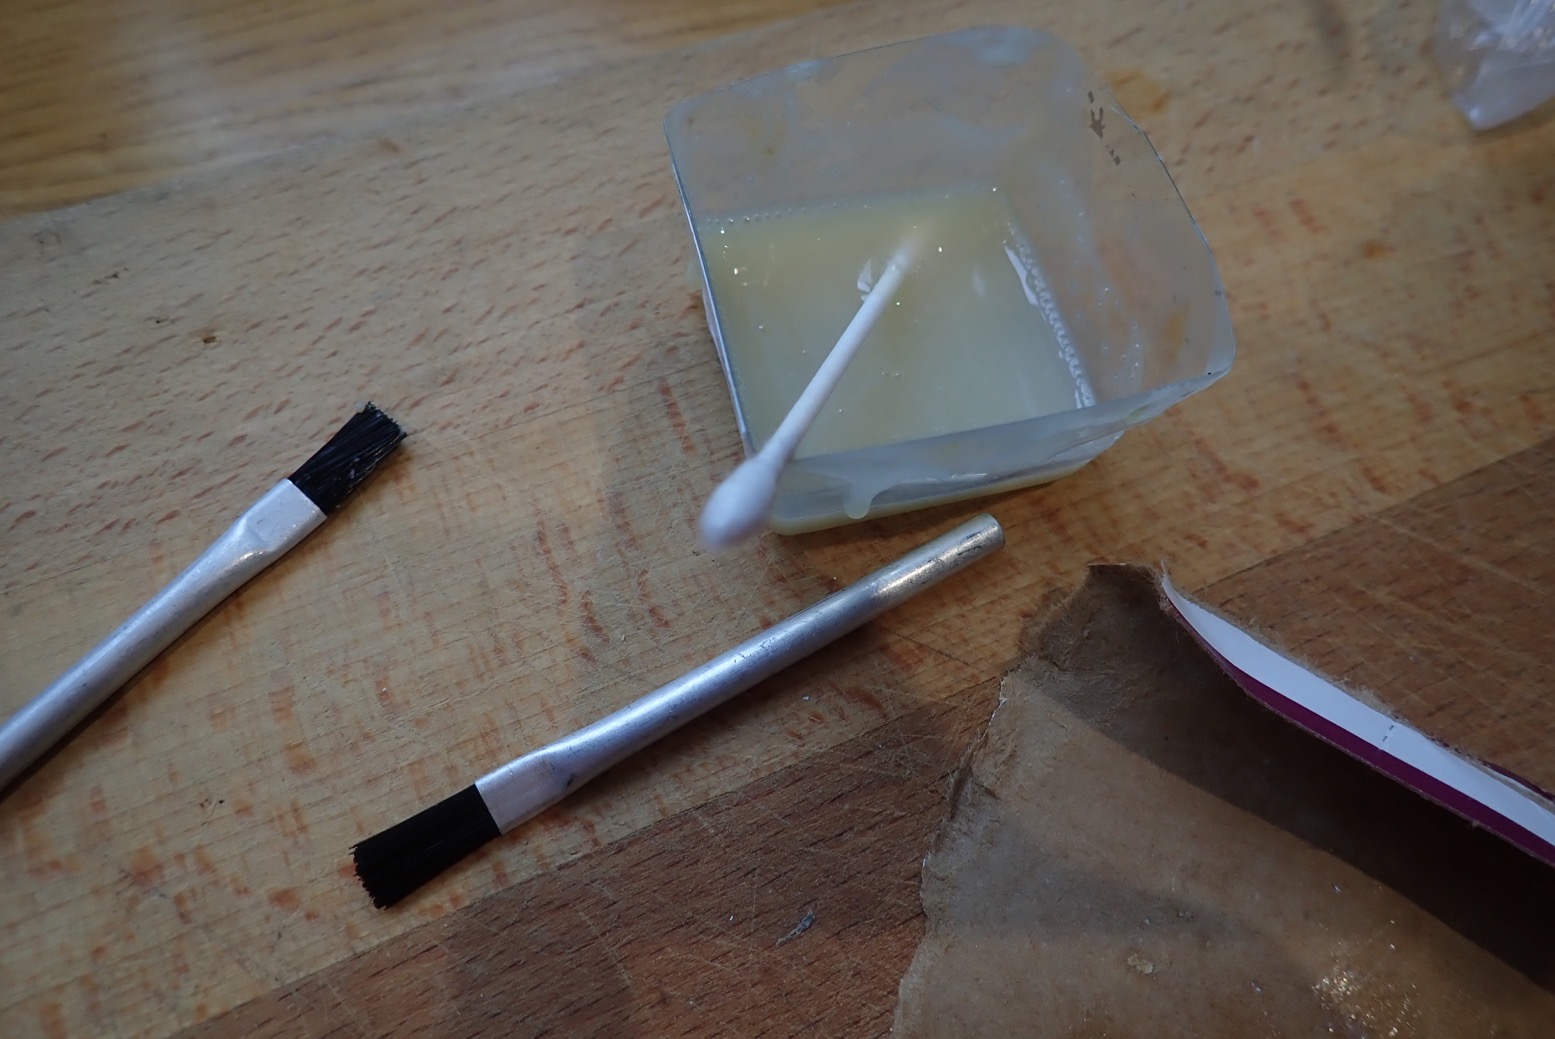
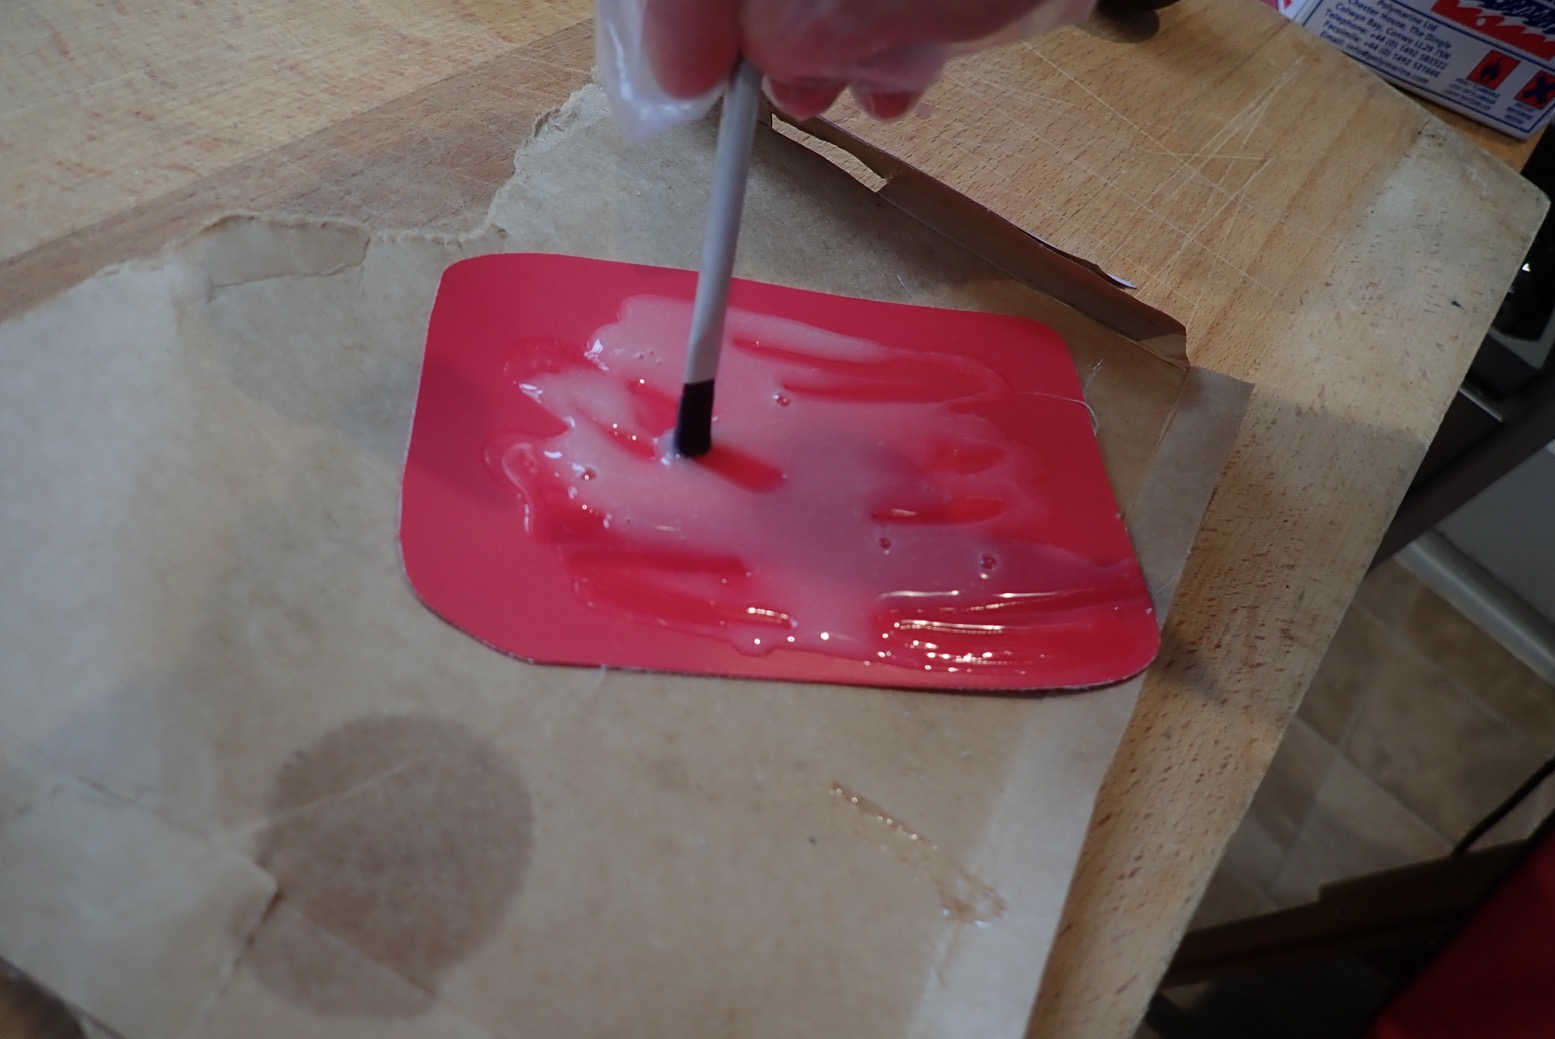
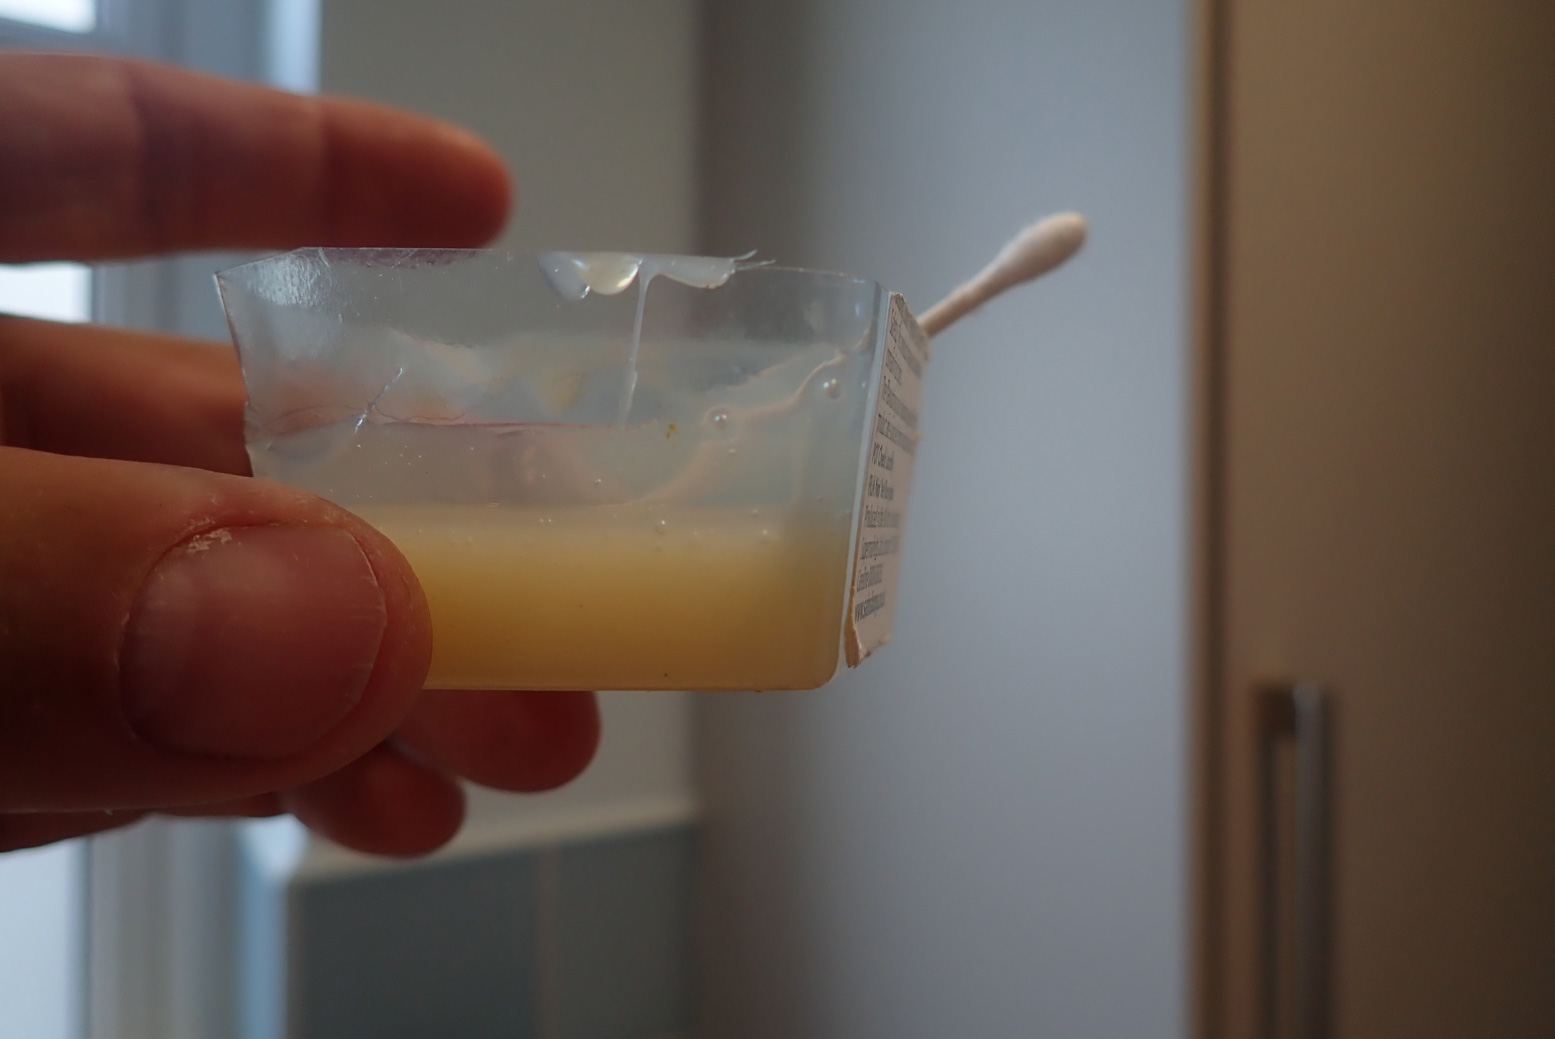
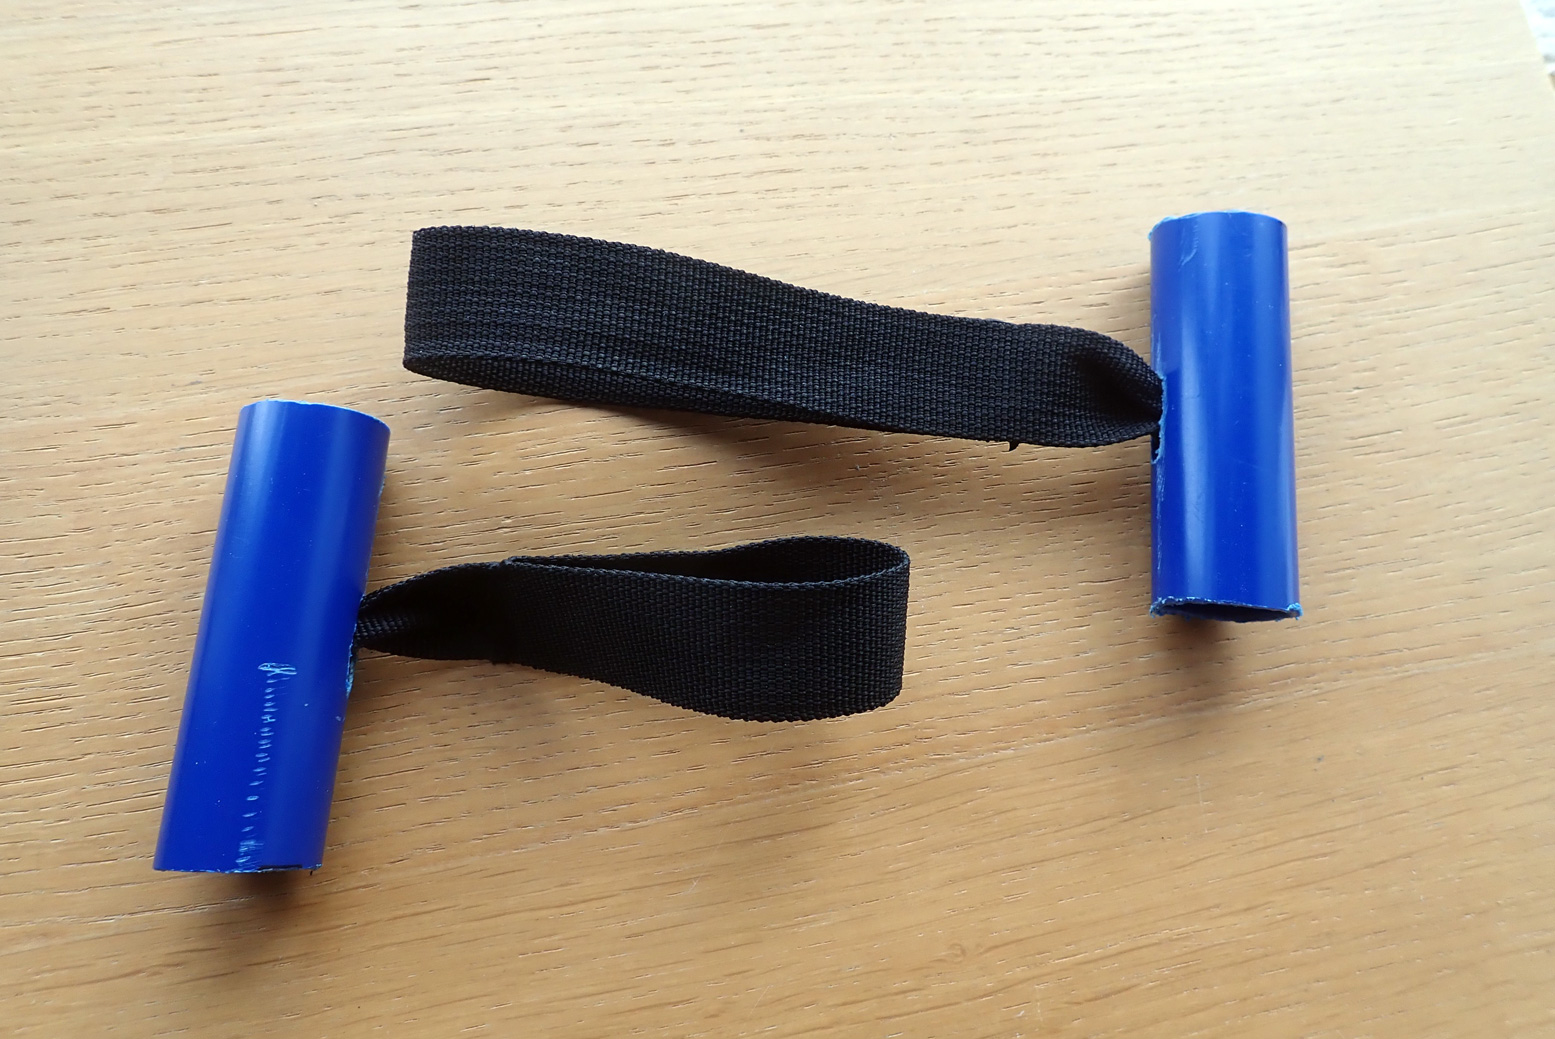
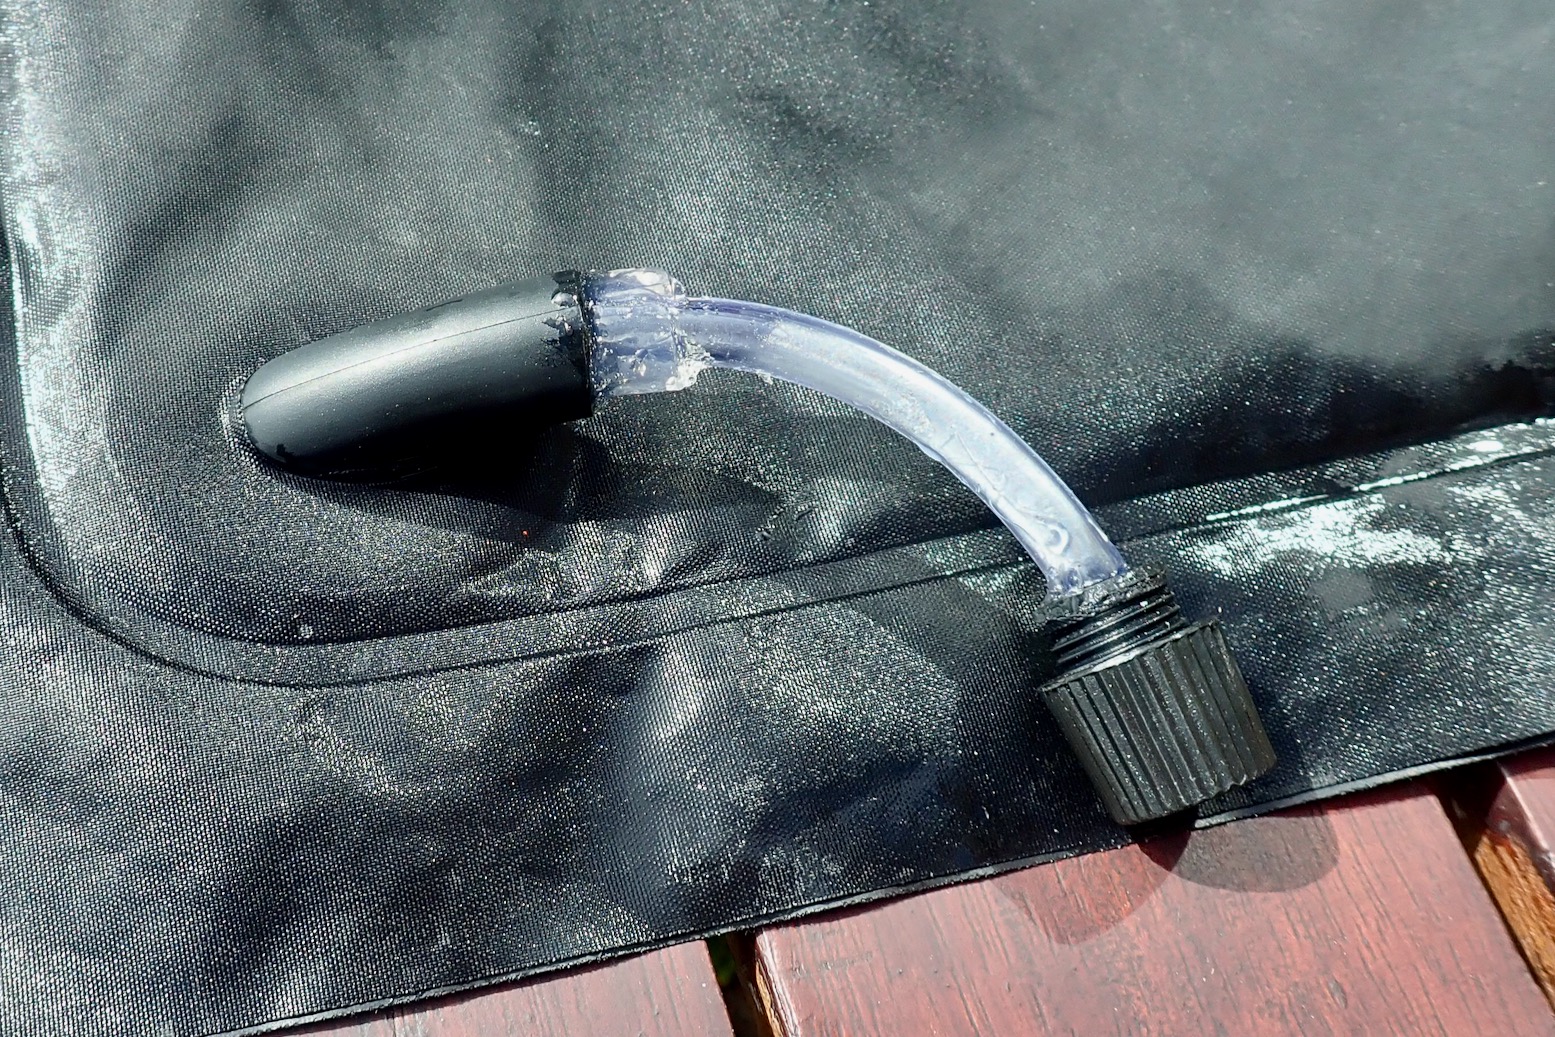
I had a spare dry bag with a neat twist lock valve a bit like Thermarest sleeping pad valves. But marrying it to the chopped off sprung one-way valve in the seat was tricky to do neatly. So I managed to do it not neatly (above left) with a bit of clear tube and lashings of Aquasure. Unfortunately the tube is narrow which slows things down or increases effort; win-lose. For the moment it works; I can unscrew the valve and roll up the huge seat, purging the air as I go. Looking back on this dramatic episode, next time I’ll just cut a hole and glue in a Boston valve (left) which are easily found online for under a tenner.