Category Archives: Inflatable Kayaks

Tested: 4-part kayaking paddles: Anfibio Vertex and Wave review

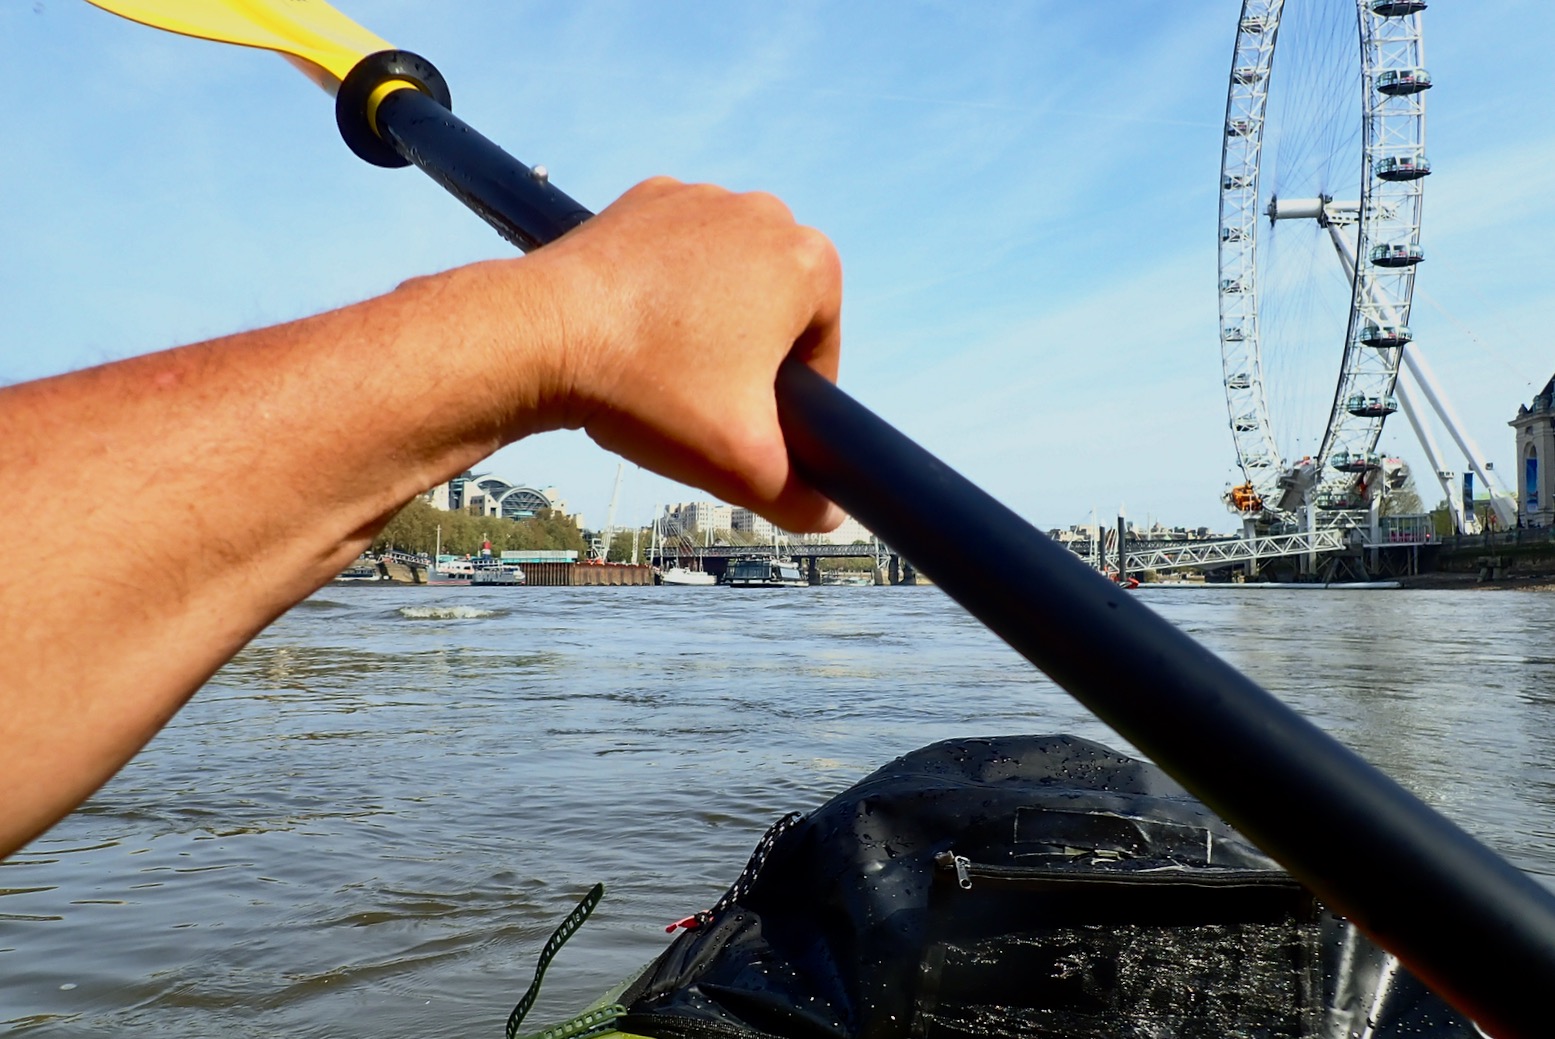
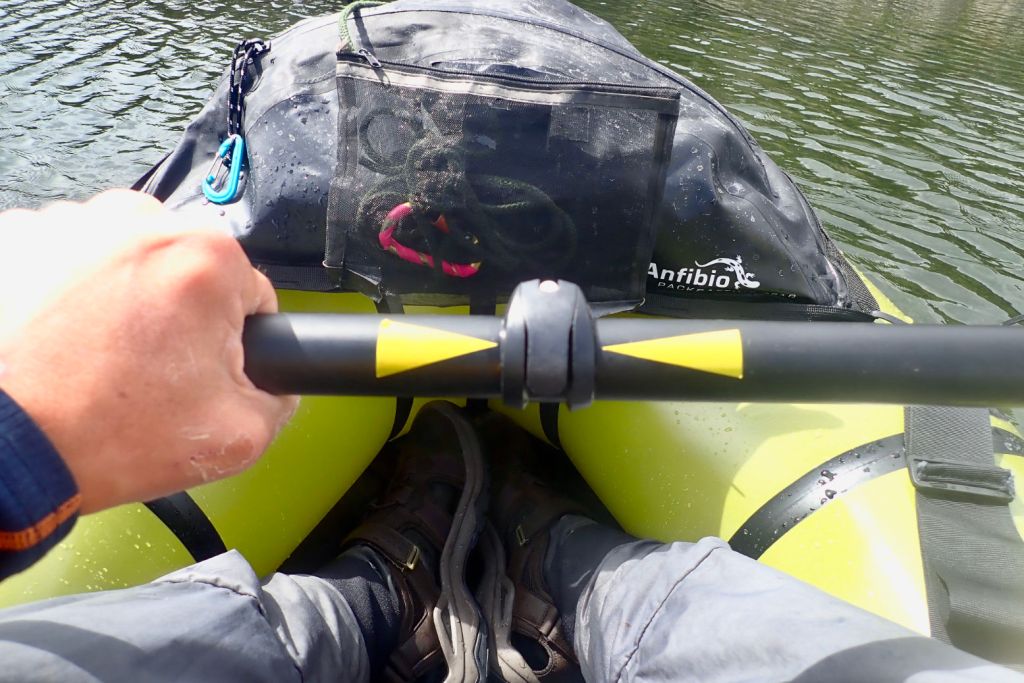
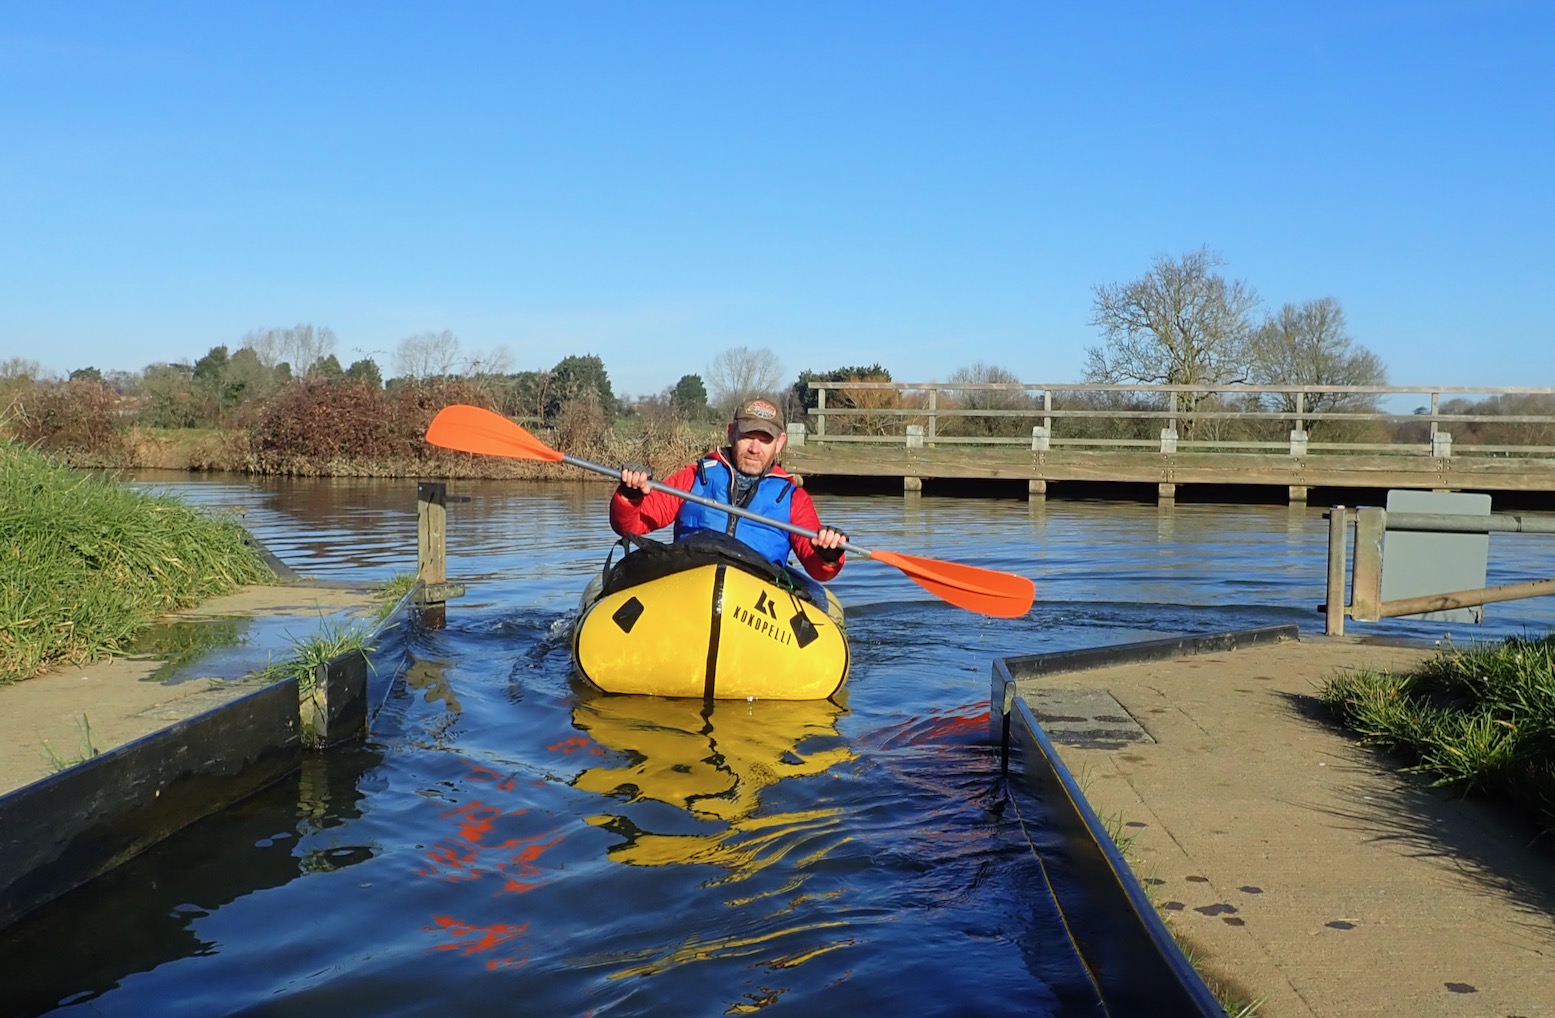
Two good-value, four-part paddles from Anfibio ideal for packraft or IK travels. The yellow Vertex Tour is a newer redesign and a lot lighter, even with a longer range of length adjustments and has a better clamp. But the black Wave (left) has the classic dihedral (two-faced) blade. What is the difference and does it matter?

What they say

Anfibio Vertex Tour
Our new, redesigned Vertex Tour paddle comes with a classic double blade, fine shaft and sub one-kilo weight. Equally suitable for lakes, calm rivers and moderate whitewater. The position length is adjustable from 210cm to 225cm at free angle.

Anfibio Wave
High-quality, lightweight carbon paddle for long tours on calm waters. Freely adjustable in length and angle.

I’ve done several hours with both paddles and for this comparison we took both on a 15-mile paddle down the Wey in Surrey in the TXL. It was a hot day but water doesn’t get any flatter unless it’s an ice rink. Below some weights and measures to mull over.

Weight gLength cmShaft cmShaft
g
Shaft øBlade gmLongest piece cmBlade cmPrice
Anfibio
Vertex
851g210-225118cm303g
fibreglass
29mm274g63cm
(blade)
44 x 19.5cm€108
Anfibio
Wave
1011g210-220108cm283g
carbon
29mm365g65cm
(blade)
44 x 16cm€106

I didn’t notice until I weighed the blades, but the two are made quite differently. The larger Vertex blade – about 650cm2 – has a molded central ‘corrugation’ to stiffen the blade. The Wave has a classic dihedral (two-faced) power face which is said to power smoothly through the water better than a plain flat blade. The Wave blade is also smaller – 600cm2 at a guess.

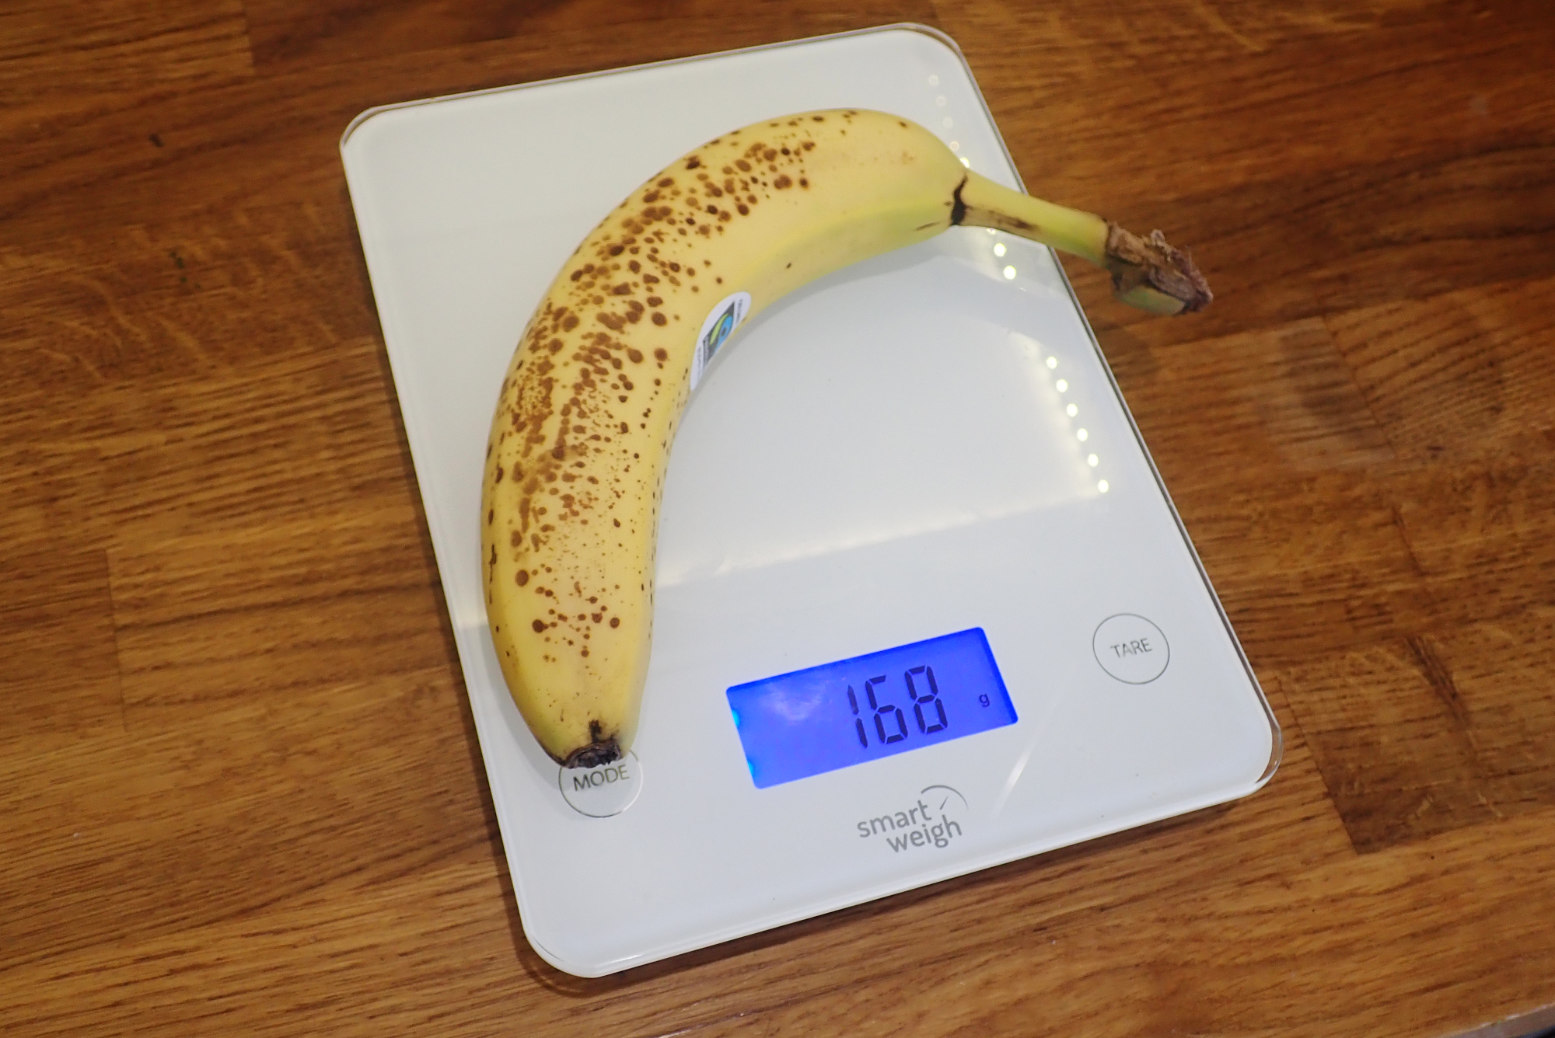
People ask: what is the the weight of a large banana?

So the main differences are weight, blade size and blade face, and I suppose adjustable length and the texture of the shafts. Will you notice the difference in a packraft? I very much doubt it but I think I’d prefer to paddle all day with the smaller bladed and dihedral Wave, even if it’s 160g heavier: the weight of a large banana.

I have a theory with length-adjustable paddles that into the wind or upstream (ie; max effort) you can ‘lower the gearing’ by shortening the paddle and leverage. Meanwhile downwind you can get the most of your paddle by setting it at full length overdrive. It’s good to have the option and one day I will test this theory but really, we paddle as hard as the situation demands. Sometimes easy, sometimes more efortful.

Wave shows the carbon weave; both are 29mm ø, good for smaller hands

Feather angle alignment
My Vertex came with no alignment line on the lever clamp to set the angle against a grid. It took me a while to work this out until I couldn’t and a couple of yellow tape arrows set at my preferred 45°R. Anfibio have since told me this was a production flaw and current Vertex have an alignment marker on the clamp. A permanent alternative to my stick-on arrows would be melting a slot into the clamp with a hot knife. It would be easiest to do this with the paddle feathered at zero (no offset) which is easy to estimate. Think before you melt or use tape!

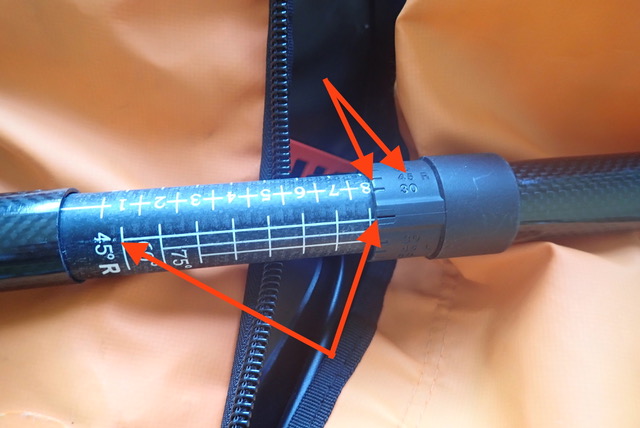
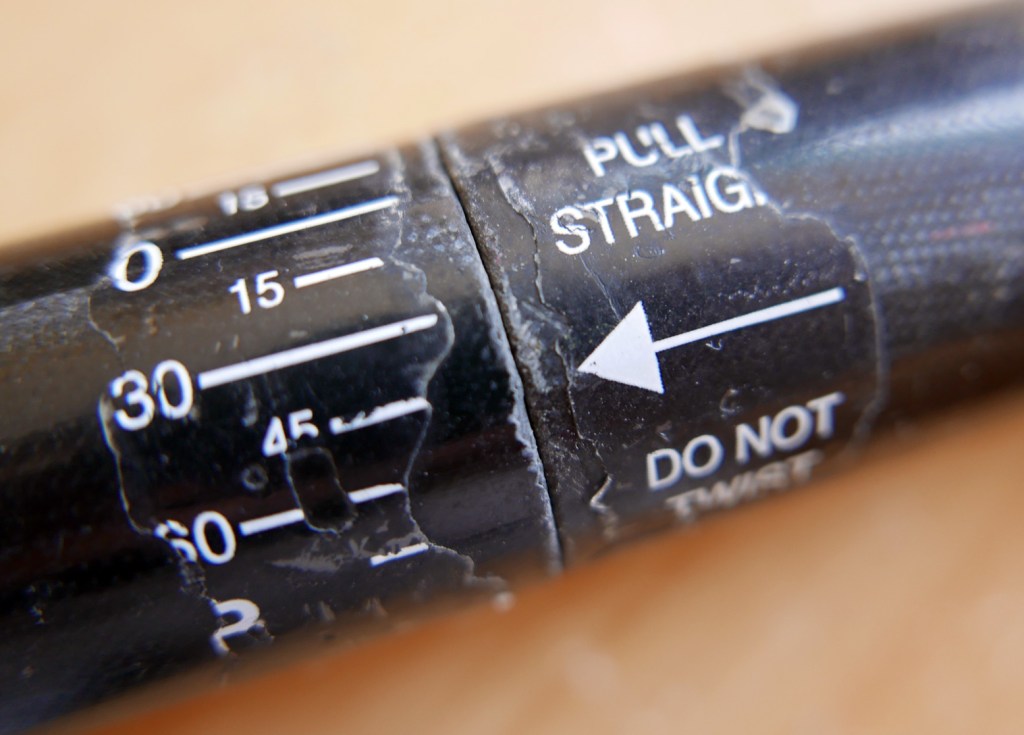
The Wave’s alignment system is as you’d expect. In fact there are two ways: a slot on the clamp to align with the grid; and pre-set angles molded into the clamp to align with the zero line on the grid. As it is, on both paddles the white alignment grid gets slid over at each assembly and will probably wear away over the years so you’ll end up with a tape marker anyway. That’s what I’ve done on my old Werners which had a grid sticker on the outside which eventually peeled off.

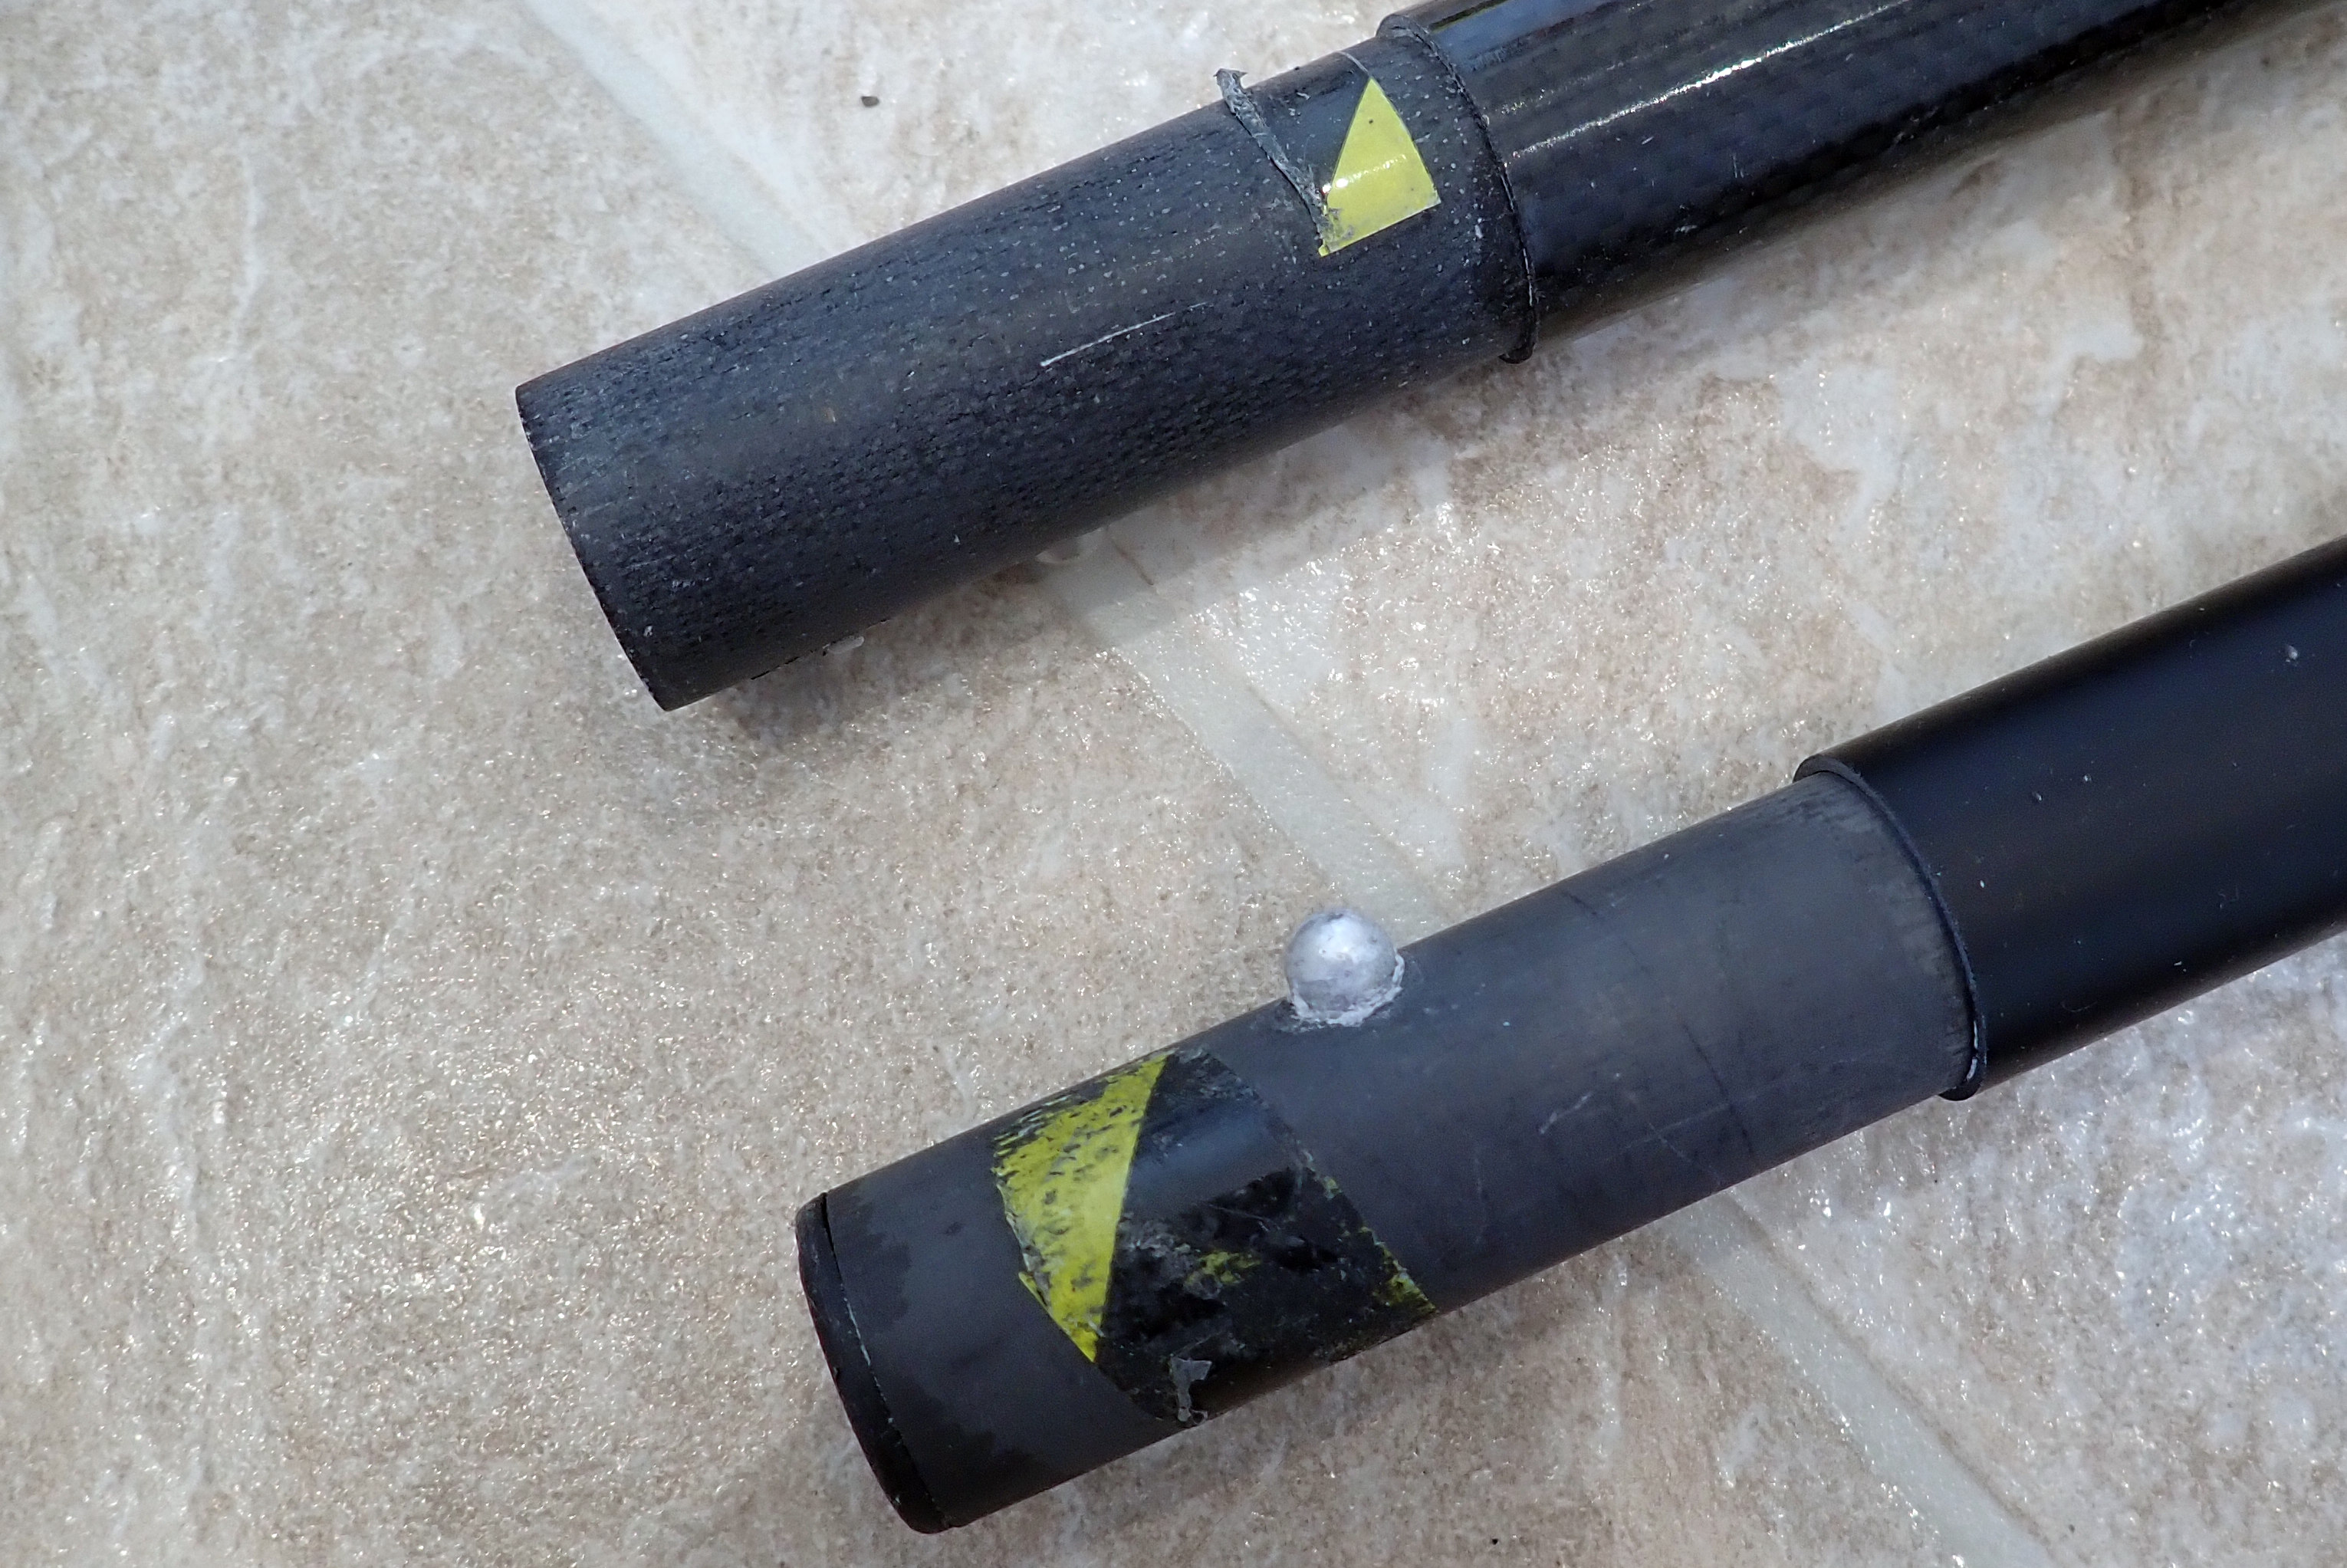
The blades on both paddles felt a little loose once mounted on the shafts. Maybe they’re made that way as the shaft may swell over the years as it did on my carbon AquaBound. It’s unlikely you’d notice on the move but no movement is best. A small bit of thin tape (left; not a full wrap) was enough to remove any play and if the tape wears or pulls off it’s easy to apply some more. Once clamped down there was no play at the shaft join.

On the Wey you might notice the weight swapping from one to the other, but after a while you’re just paddling. In a way the ideal combo would be fitting the smaller Wave blades on the longer, better clamped Vertex shaft, but oddly they’re not interchangeable.

In the end, for €125 you will not be disappointed because either paddle will proper your boat forward, adjust readily and fit easily in your pack.

Incidentally, I did an IK&P survey when I paddled the Wey in 2021. 2022 numbers in red. In over a decade I saw my first every packraft actually being used on the water! An underinflated MRS. I got the feeling the owner didn’t know that airbagging was not enough; you have to top up too. Has he not read my book?!

  • Hardshell canoes: 1 1
  • Hardshell kayaks: 1 8 (group)
  • Hardshell SoT: 1 0
  • Vinyl IKs (rock-bottom cheapies): 5 1
  • PVC (bladder) IKs 3 0
  • Packrafts 0 1!
  • iSUPs: 10+  (mostly women or mixed groups goofing off) 10
  • FDS IKs: 0 (IK&P most read page) 0
Preview: Aquaglide Cirrus 150 TPU hybrid kayak

See also:
AquaXtreme Explorer II
TPU The Mis ing Link
Hybrid IK Buying Guide
IK Fabrics

Nearly two years ago I predicted TPU IKs could be the next step and wrote:

[synthetic rubber is good but] … Packrafts, meanwhile, are mostly made from TPU (as well as PVC), a different sort of polymer coating which has many of the benefits of synthetic rubber: odour-free, smooth texture, light, UV resistant, supple (crease-free), not environmentally toxic. But, like PVC, it too can be heat welded. Since Alpacka got the ball rolling, there are now loads of brands banging out TPU packrafts. In this time the fabric and seam technology have proved themselves to be as durable as PVC or rubber, and capable of running higher pressures too. As someone on the internet observed: ‘Thermoplastic Polyurethane (TPU) is the link between rubber and plastic’.

Now that TPU packrafts are well proven, it could be time to ditch PVC and make TPU IKs, assuming the costs can be bearable. The benefits are principally nothing less than a huge reduction in weight.

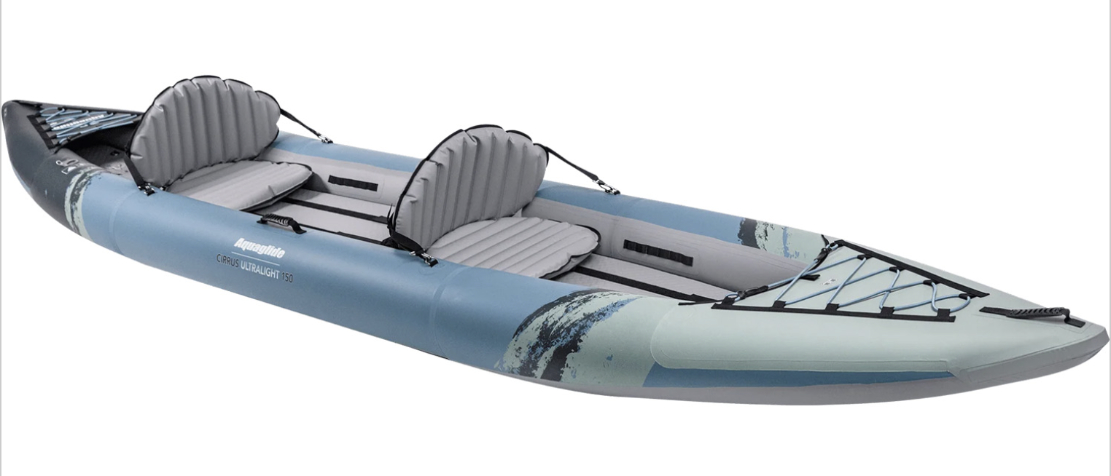
Aquaglide Cirrus TPU IK
On the face of it the new Cirrus IKs seem to be copies of Aquaglide’s three PVC Chelen models (120, 140, 155) – never seen one but they look to be a decent hybrid. The PVC ‘155’ 15-footer weighs a hefty 42 lbs (19kg) and I bet will fill a large suitcase. Although that weight’s unverified, it actually compares well with other long hybrid PVC IKs and even my old 4.5-m Seawave at 17kg. But unlike a Nitrilon rubber Seawave, in my experience the rolled-up bulk of big PVC IKs can be off putting.

Screenshot

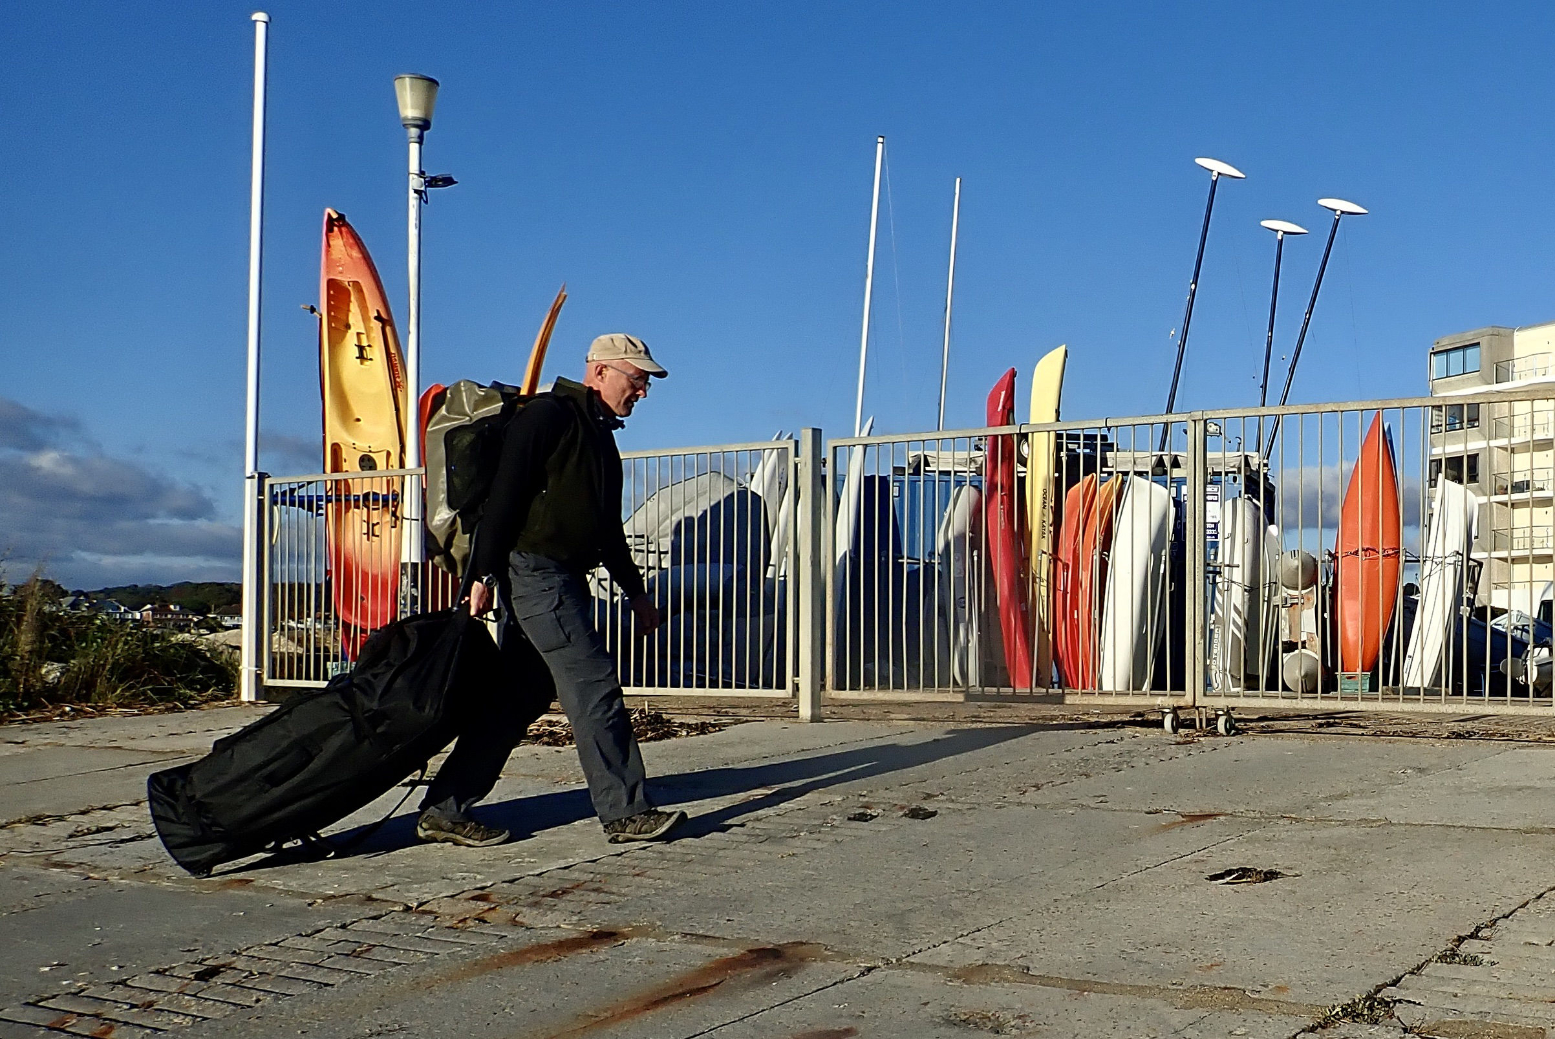
The press release claims the new Cirrus 150 will weigh just 18 lbs (8.1kg); a staggering <50% reduction on the PVC Chelan. The boat is 15 feet (4.57m) long, 35 inches (89cm) wide and claims to handle 600 lbs (272kg). You won’t need a wheel suitcase (left; Sandbanks) to cart a Cirrus around. By 2025 the price in the UK had plummeted to a reasonable £1400 or $1700 in the US.
According to the video above, the tubes are double-coated 70D nylon TPU. This sounds low compared to a packraft’s typical 210D hull, but remember denier is thread weight not coated fabric thickness (’70 x the weight of silk’). In the UK IronRaft sell 70D TPU and this MYO chap used it too. It’s at the very lightest end of the scale; 70D PU-coated nylon is what Supai use, though I’m not sure you can compare PU coating with TPU. The fact that the Cirrus will be double coated (most packrafts are now single coated) ought to provide extra support (more rigidity/less sag) without needing to resort to seam-straining higher pressures. One good thing about PVC is that it’s innately stiff once pumped up – good for performance if not packability.

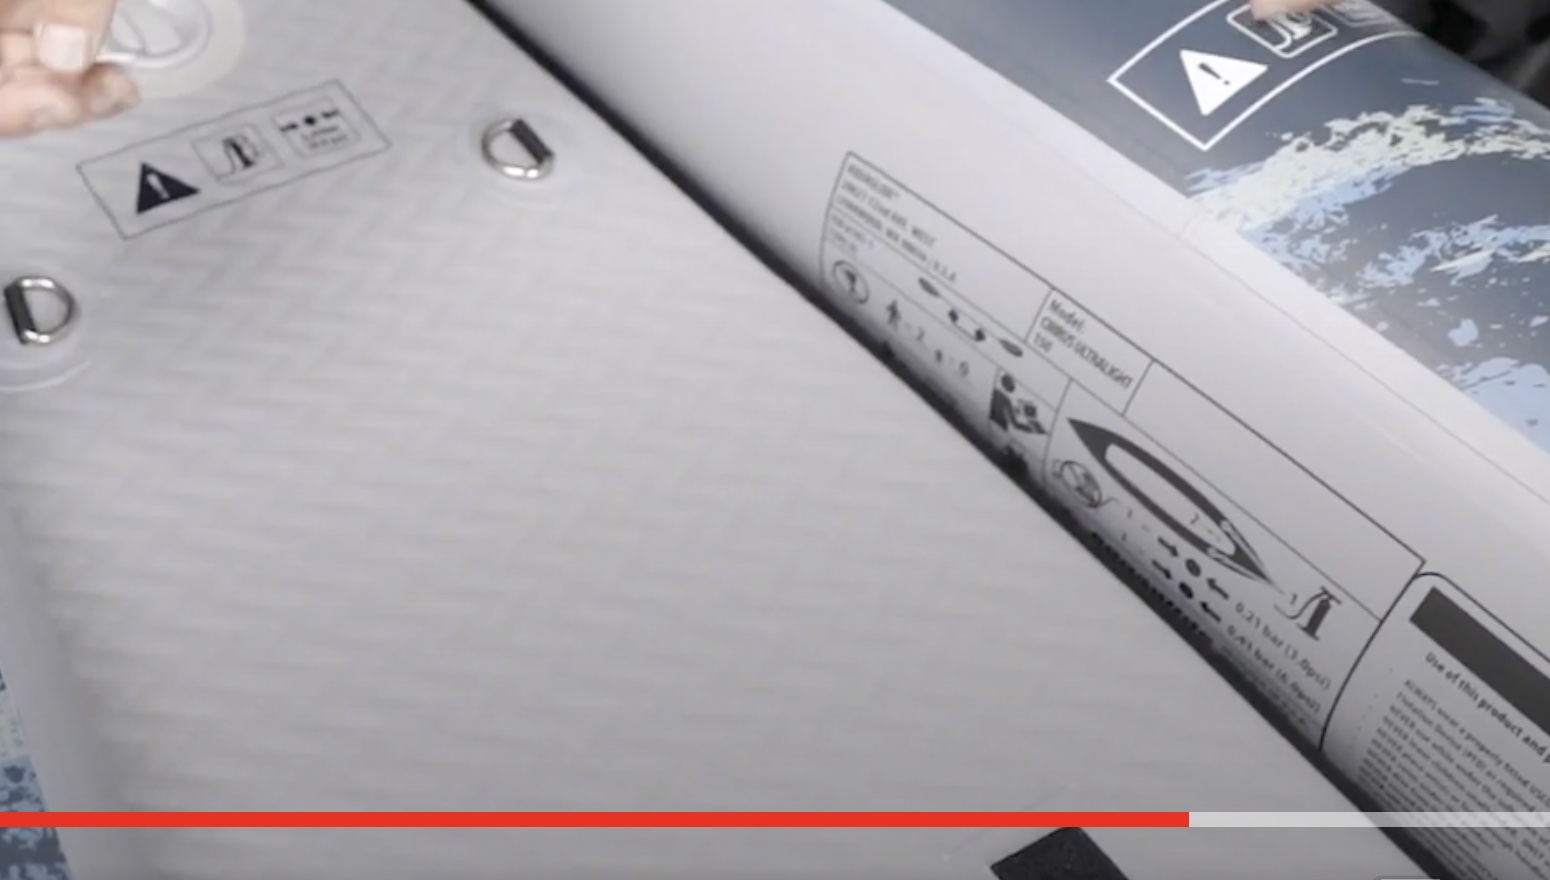
In the vid you can spot the floor pressure is rated at 0.41 bar (5.9psi) and the sides take a healthy 0.21 (3psi) which ought to be enough to give a rigid form without ruptures.

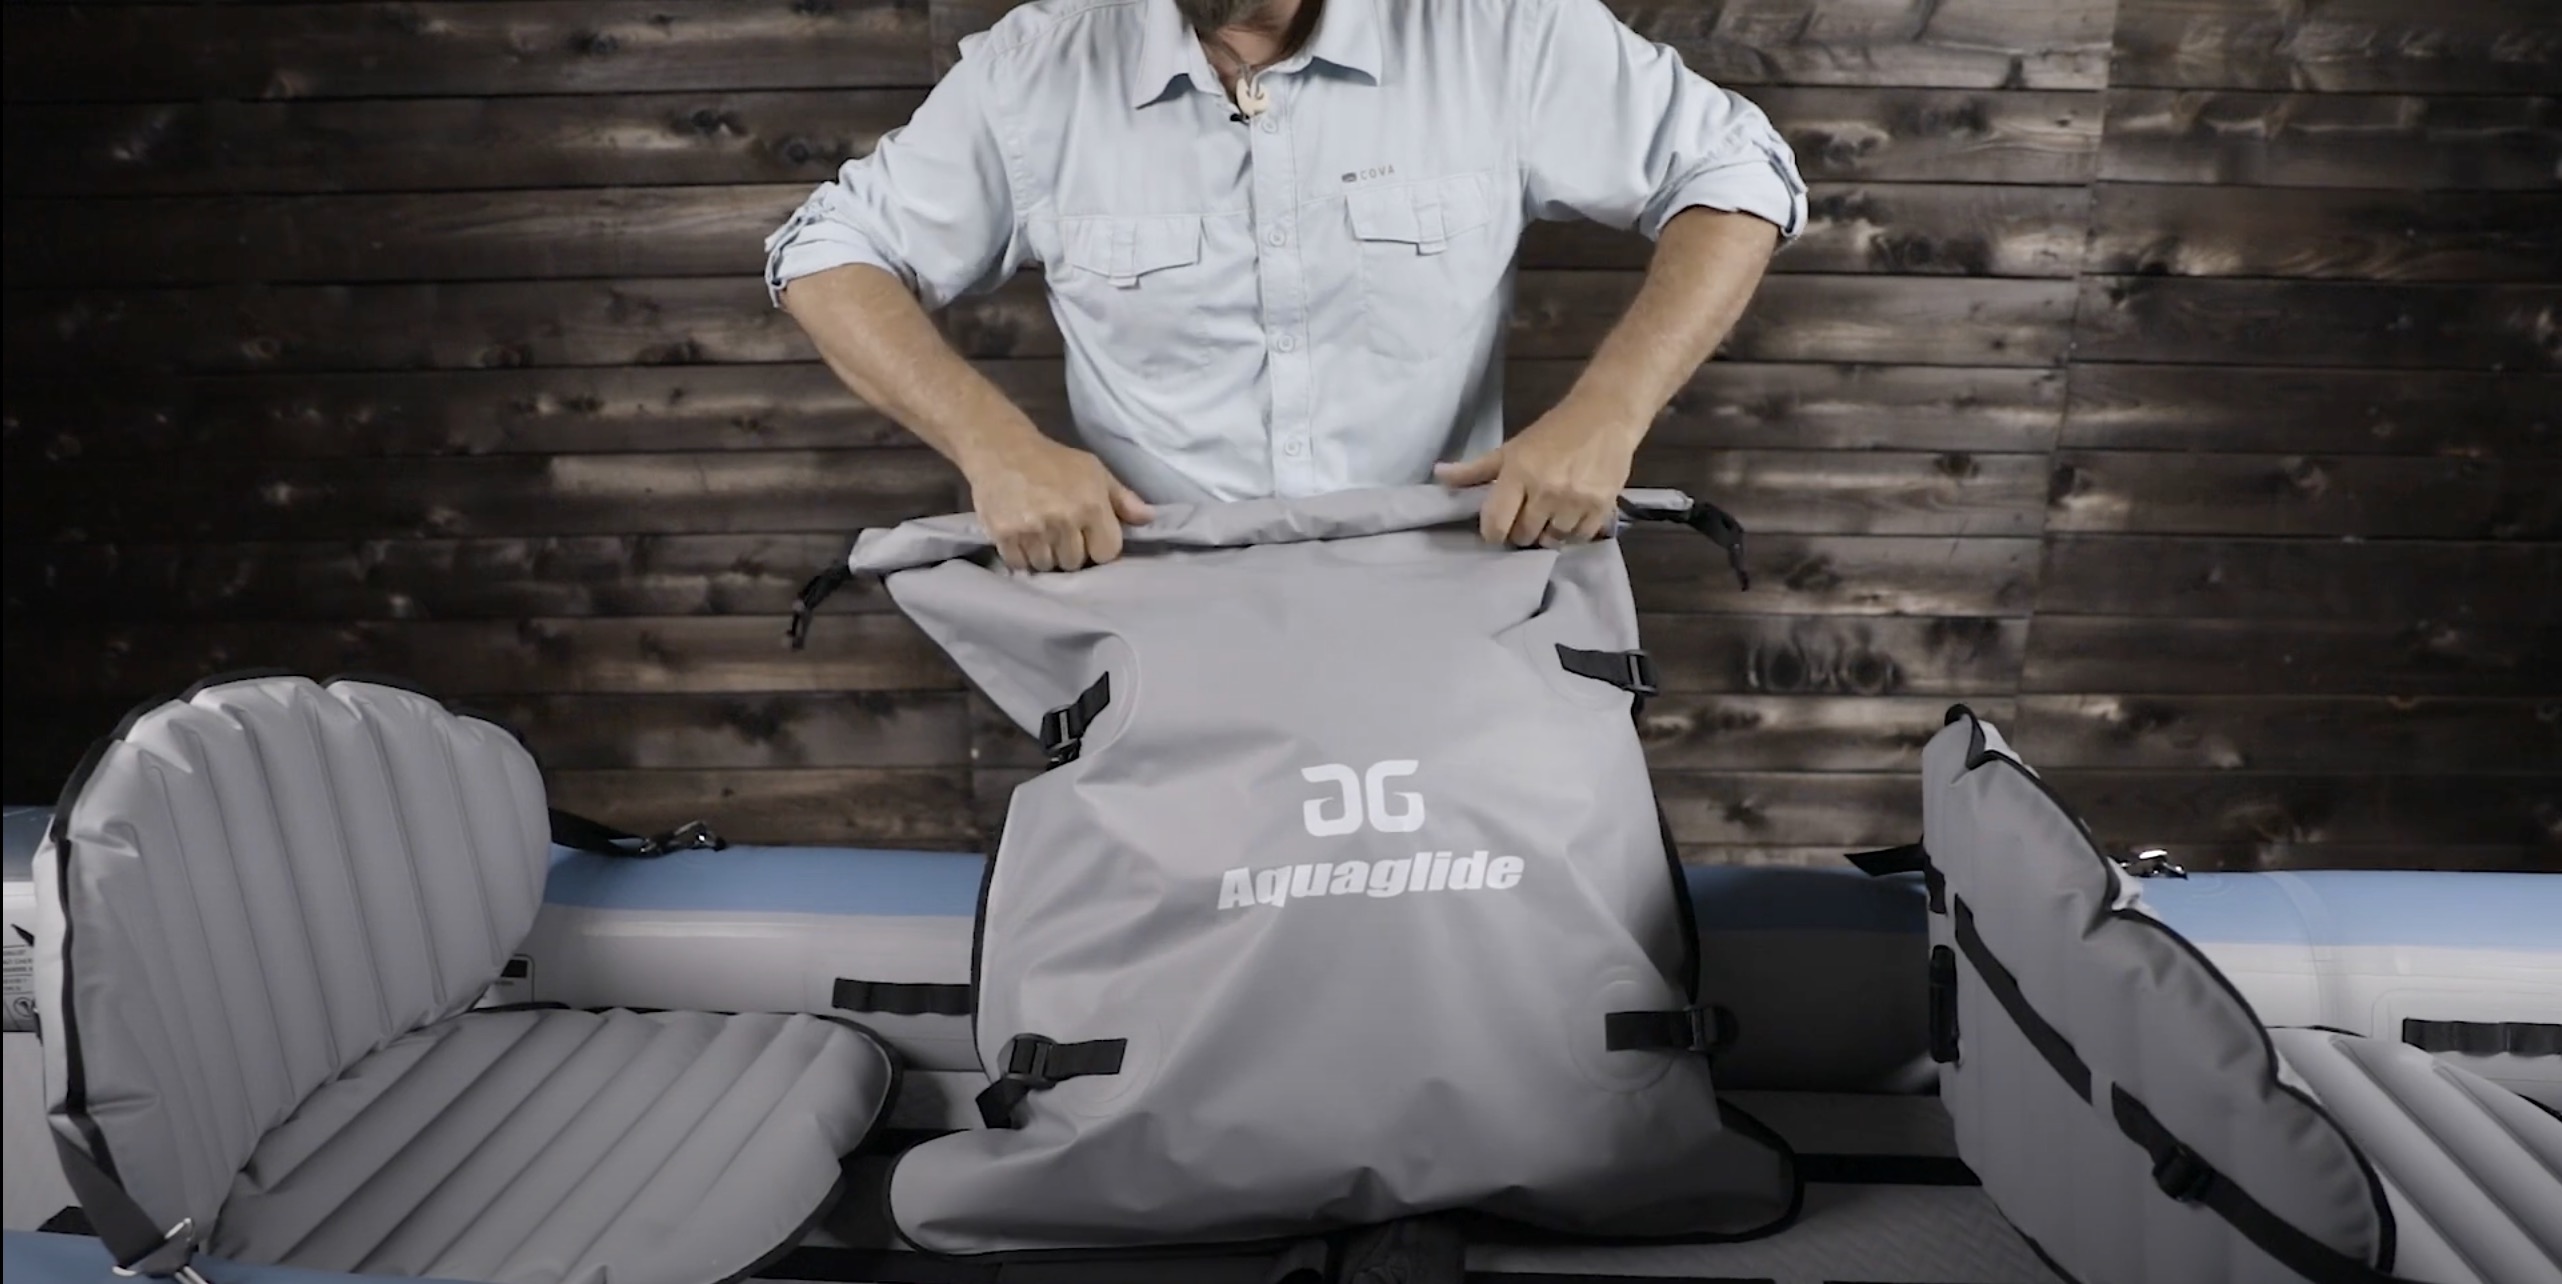
Unlike the Chelan, there appear to be no ‘have-your-cake-and-eat-it’ closeable self-bailing ports which I suspect have dubious value outside of white water paddling to which a 15-foot IK is ill suited. You just get the usual drain port in the back when flipping the boat over will achieve the same purpose. The floor is removable too according to a video comment; a huge benefit for quick rinsing, drying and cleaning. And we’re told the whole boat fits into the shoulder drybag as pictured below.

Price was always an issue with more sophisticated and less widely-used TPU and over £2000 is loads for an IK, but now everything everywhere has become expensive, does this matter less? Who knows but let’s hope this starts a trend towards more TPU IKs for folk who want the benefits of a lightweight tandem packraft like my current Sigma TXL, but in spacious and faster IK form.

Let’s end with something else I wrote two years ago:

A few years ago I predicted that full drop-stitch IKs would become the new thing. This has happened and has driven IK design and sales a long way forward. But, PVC aside, I’m still not convinced by the boxy profiles and packed bulk of FD-S IKs. Until FD-S forms can evolve (as the Itiwit X500 has shown), I think hybrid, drop-stitch floors (D-SF) are certainly the way to go, if an IK is to stay undecked, unlike the X500.

There will always be a demand for cheap vinyl or PVC IKs but I predict the next big thing in high-end IKs will be TPU, including removable D-S floors in TPU. TPU is now well proven with packrafts and blends the heat-welding benefits of PVC with nearly all the better attributes of ‘hypalons’.

Thanks to a couple of IK&P followers who spotted and passed on news of Aquaglide’s new Cirrus range of hybrid TPU IKs.

IK&P Video of the Week: Deep Water Re-entry

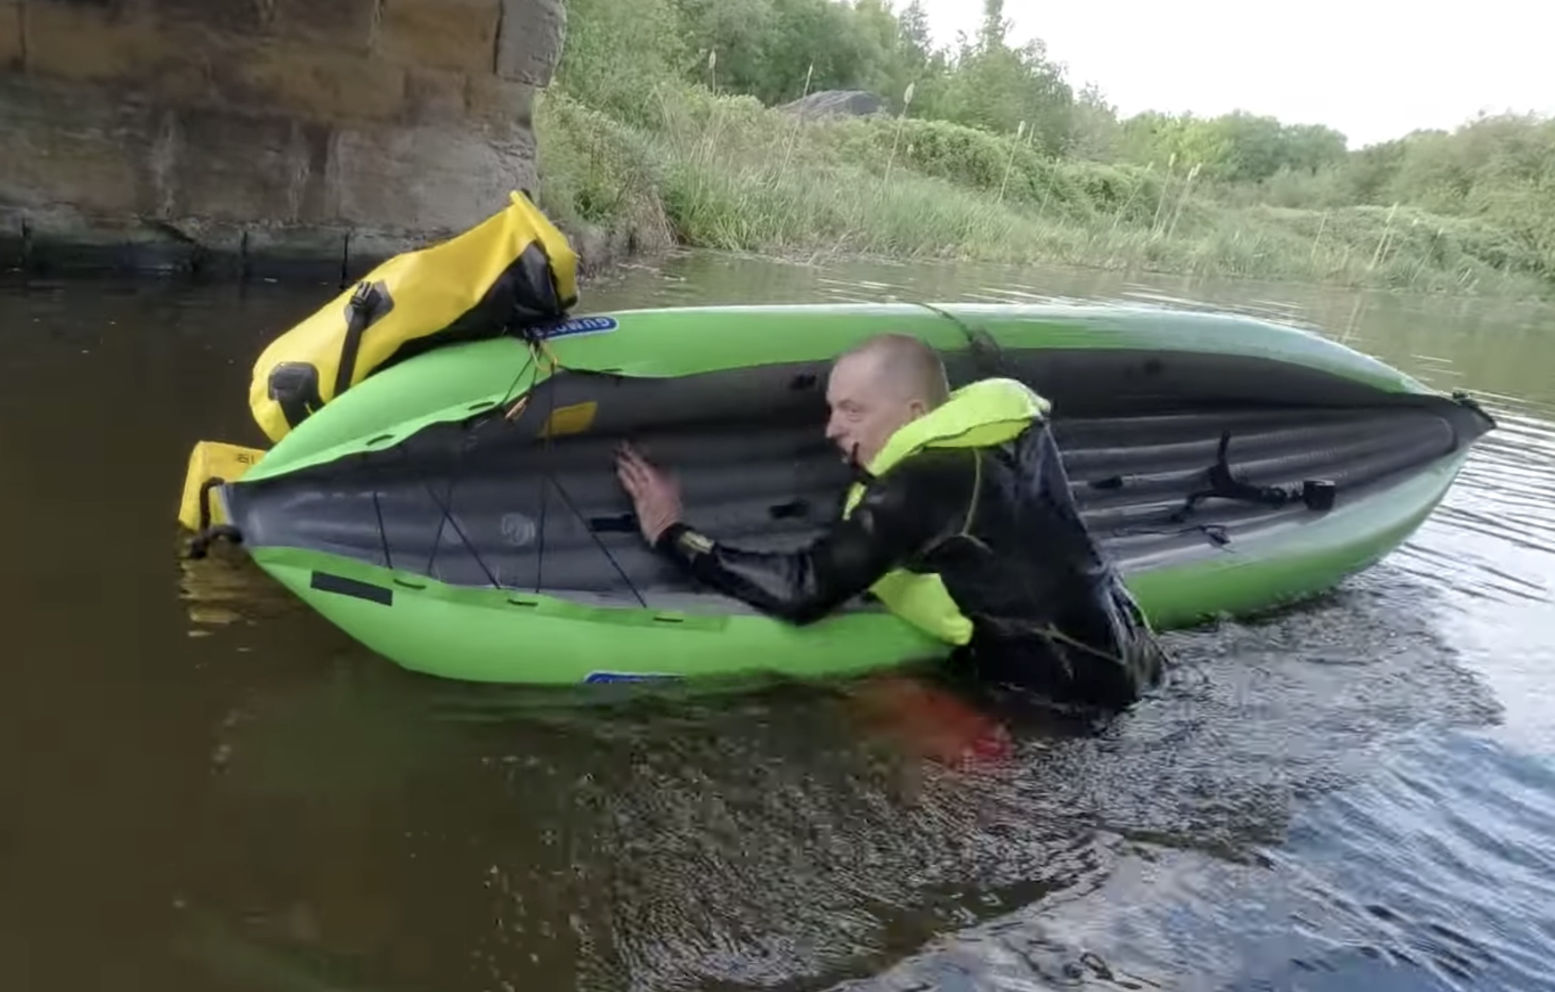
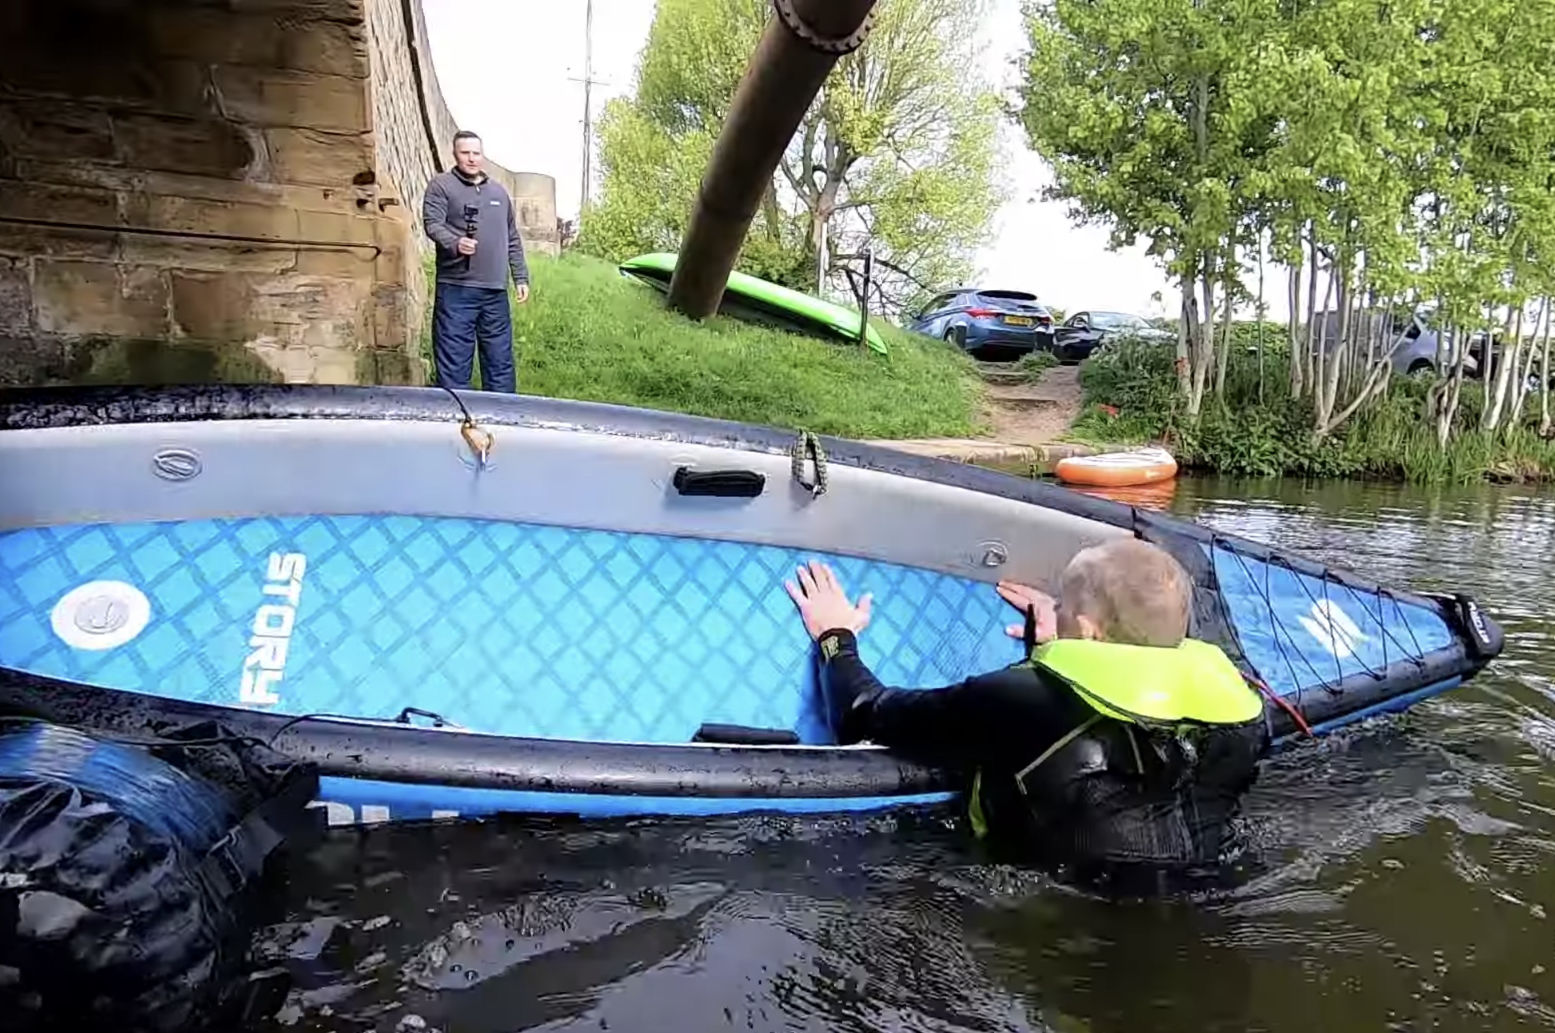
We can all chuckle about IK vlogger Karl’s repeated attempts in practicing re-entering his IKs from a deep canal, but it is definitely something you should try to master before heading out onto open water in a new boat. And note, this means deep water: ie, not being able to stand on the bottom.

Karl is practising in benign, controlled circumstances: calm water and conditions; mate and banks at arm’s reach, warm and buoyant wetsuit. Even so, you can see how the effort and cold water soon wears him down, even in a small canal. Falling out in deep water too far from the shore usually happens in rougher more intimidating conditions.

In the video he tries two different IKs: his Gumotex Twist 2 and Story FDS – and reminds me of me when I was keen to learn new skills in my early years. I’m not at all surprised he found it impossible to re-enter the boxy, high-sided Story FDS. As I’ve seen done with hardshell sea kayaks, crawling up over the bow or stern can work, but good luck with that in choppy waters that just tipped you out.

One solution is a handily accessible paddle float: a blow up bag you slip and inflate over your paddle blade, a bit like water wings. This makes your paddle into a stable outrigger to remount the IK. With no float bag use a suitable drybag (left) or your pdf if desperate. This also needs practising if you’ve found you can’t re-enter you IK normally.

With his non-dropstitch Twist Karl nearly makes it. I found years ago in a similar Sunny that dipping down then launching up and over the side like a breaching salmon works, kicking hard as you go. You need that extra drive from your paddling legs to lift you up and over.

He notes his buoyant, wetsuit-clad legs get pulled under the boat. Too much buoyancy can make moving around difficult in the water. Lying flat on his front with legs behind and driving in from the side might work better. Swim in hard from the side and launch yourself across the boat like a Roman siege galleon.
As with many athletic moves, once you get the knack it becomes easier because you know you’ve done it before. Of course, with someone else around to hold the far side of the boat or using their bow for added support, the whole drama becomes easier. In dodgy conditions not going out alone is the biggest lesson of all, but this is not always possible so we need to learn how to self rescue.

Below: the excerpt from my IK book about deep water re-entry.
And guess what; you can win free copies here!

IK&P Video of the Week: Around the Isle of Wight

Good to see an FDS being used on a multi-day sea trip. The Needles look like a good day out; the same chalk formation as Dorset’s Swanage stacks, 15 miles to the west.
My review of the same model ArrowStream here.

Preview: Aqua Marina Steam 412

See also:
Hybrid (DS Floor) Inflatable Kayaks

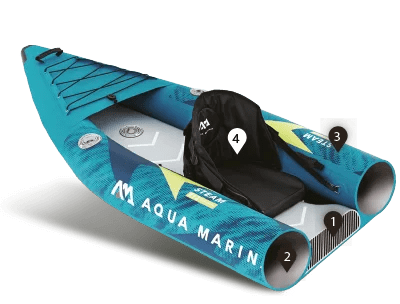
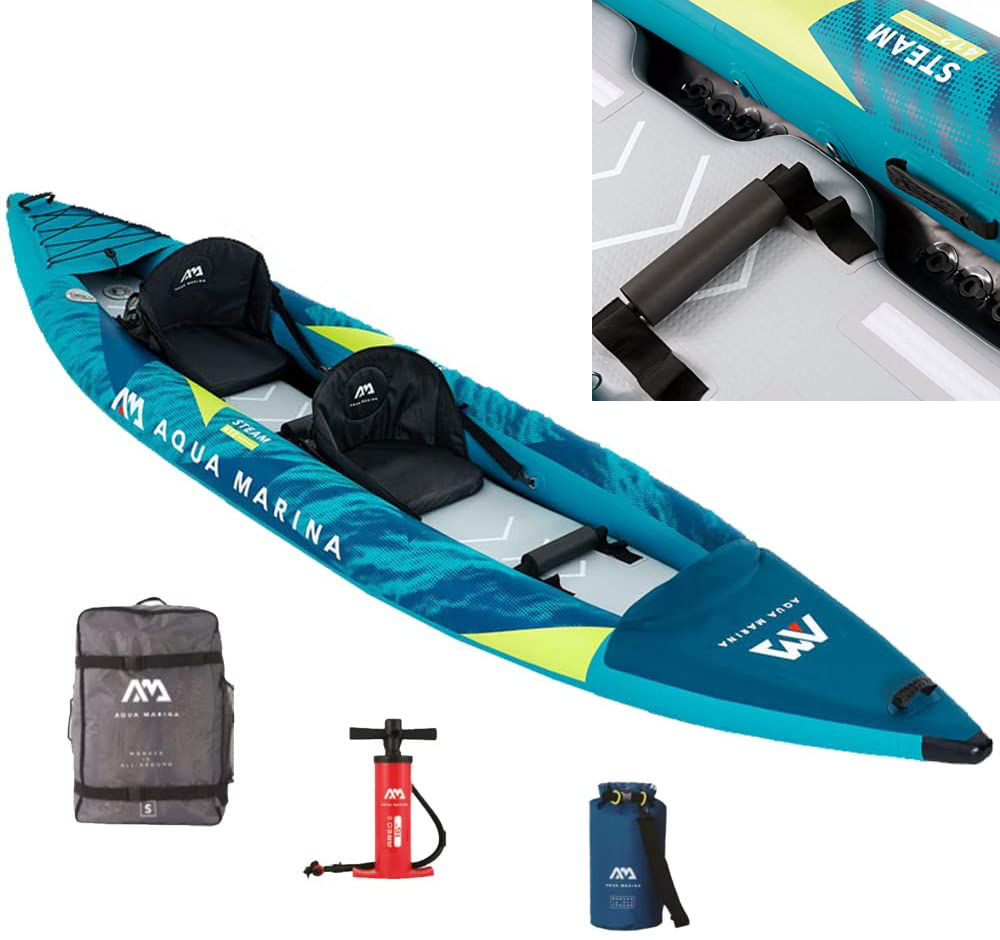
At under £450 on amazon UK, the bold graphics on the Aqua Marina Steam 412 hybrid (DS-F) does seem a lot of IK for your money in the longer, solo/double category we’re into here at IK&P.
Fyi: a ‘hybrid’ is an IK with a stiff, flat drop-stitch floor (DS-F; ideally removable), but with conventional, lower pressure round side tubes (right). In my limited experience it’s a better solution than most FDS, all-dropstich IKs.
*experimental affiliate link

What they say
The STEAM series is one of the best inflatable touring kayaks on the market. The combination of superior hull speed, outstanding durability and tracking capabilities make this kayak best in class. Both STEAM-312 and STEAM-412 mix Aqua Marina super-tough reinforced PVC material and rigid drop-stitched DWF floor. These ultra-stiff materials in the STEAM’s construction make a portable air-kayak so rigid that performs just as good as a traditional hard shell kayak. A perfect choice for long distance adventures and mild river running.

Length is – you guessed it – a spacious and potentially nippy 4.12 metres or 13.6′; width is a reasonable 90cm or 34″, plus a claimed 15.5kg (34.2 lbs) for the boat in the bag with a stated payload of 180 kilos.

High pressure raft valves for 1.4psi?

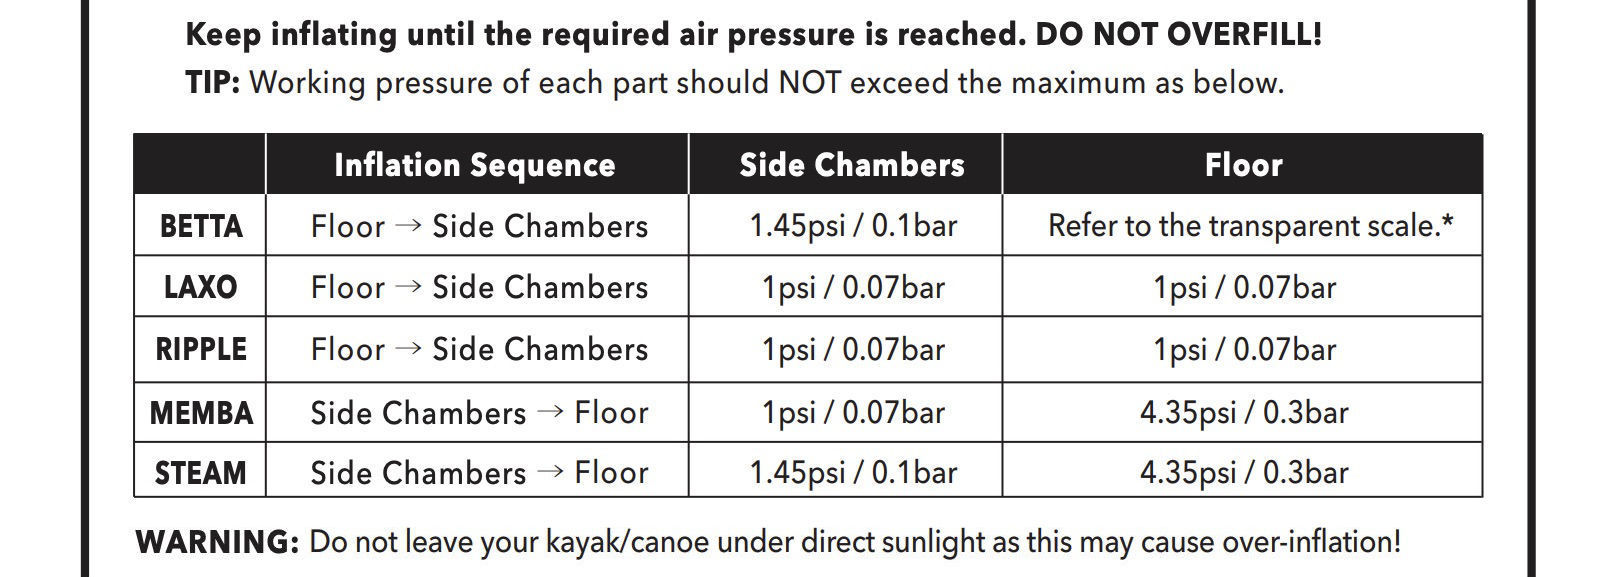
Oddly, the stated pressures of 1.4 psi (0.01 bar) for the side tubes are barely more than a vinyl Intex or Sevy cheapie (or lower end Aqua M IKs). The 4.3psi (0.3 bar) in the 7cm DS floor (AM call it a ‘deck’) is also about as low as DS can be – a Grabner all-tube IK will run the same psi.
I wondered if they meant 0.14 bar / 2 psi? It seems not according to the official website and the Steam product manual (snapshot below). It makes you think the construction may not be up to it, or that they’ve stated hyper-conservative/warranty covering values in case users over-inflate. After all, the sidetubes have proper ‘raft’ or iSUP valves capable of ten times that figure. Oh well, PVC fabric is inherently stiff so you’d hope that ought to make a reasonably rigid boat.

It has to be said the so-called “… Inflatable V-shape keel design…” is not evident in any online imagery that I could find (left, last year’s model) or in the video below. The floor looks as flat as a iSUP board (which Aqua M also make) with two, mid-positioned skegs. Most IKs manage with one at the back, but you can remove them or use just one. A V-shaped keel (like the Optimal FDS) would eliminate the need for skegs, so it could all be just marketing babble.

Best of all, this is not another shell & bladder but a ‘tubeless’ IK, so with the removable floor, cleaning and quick drying ought to be as easy as it gets on an IK. Many IK-ers soon learn the value of this.

The foam footrest tubes have a couple of positions, with the seats positioned on velcro strips. And the closeable bailing ports (see inset above) mean you can take a bit of wave splash over sides without swamping the boat, as the video below demonstrates. But two heavier persons plus gear could also mean you end up sitting in (or hauling) water as the floor is only 7cm thick. Paddling would reveal all, but the ports are closeable.

All in all those ports, the length and tubeless build for four-fifty quid could be a great way of getting into IKs. It comes with a pump, carry sack and a spare dry bag. Add paddles and some water. At worst you open it up on delivery, pump it up in the sitting and realise you’ve made a terrible, terrible mistake. Amazon returns are dead easy.

Read this: floors on 3-panel dropstitch IKs

Full dropstitch IKs
Hybrid IKs

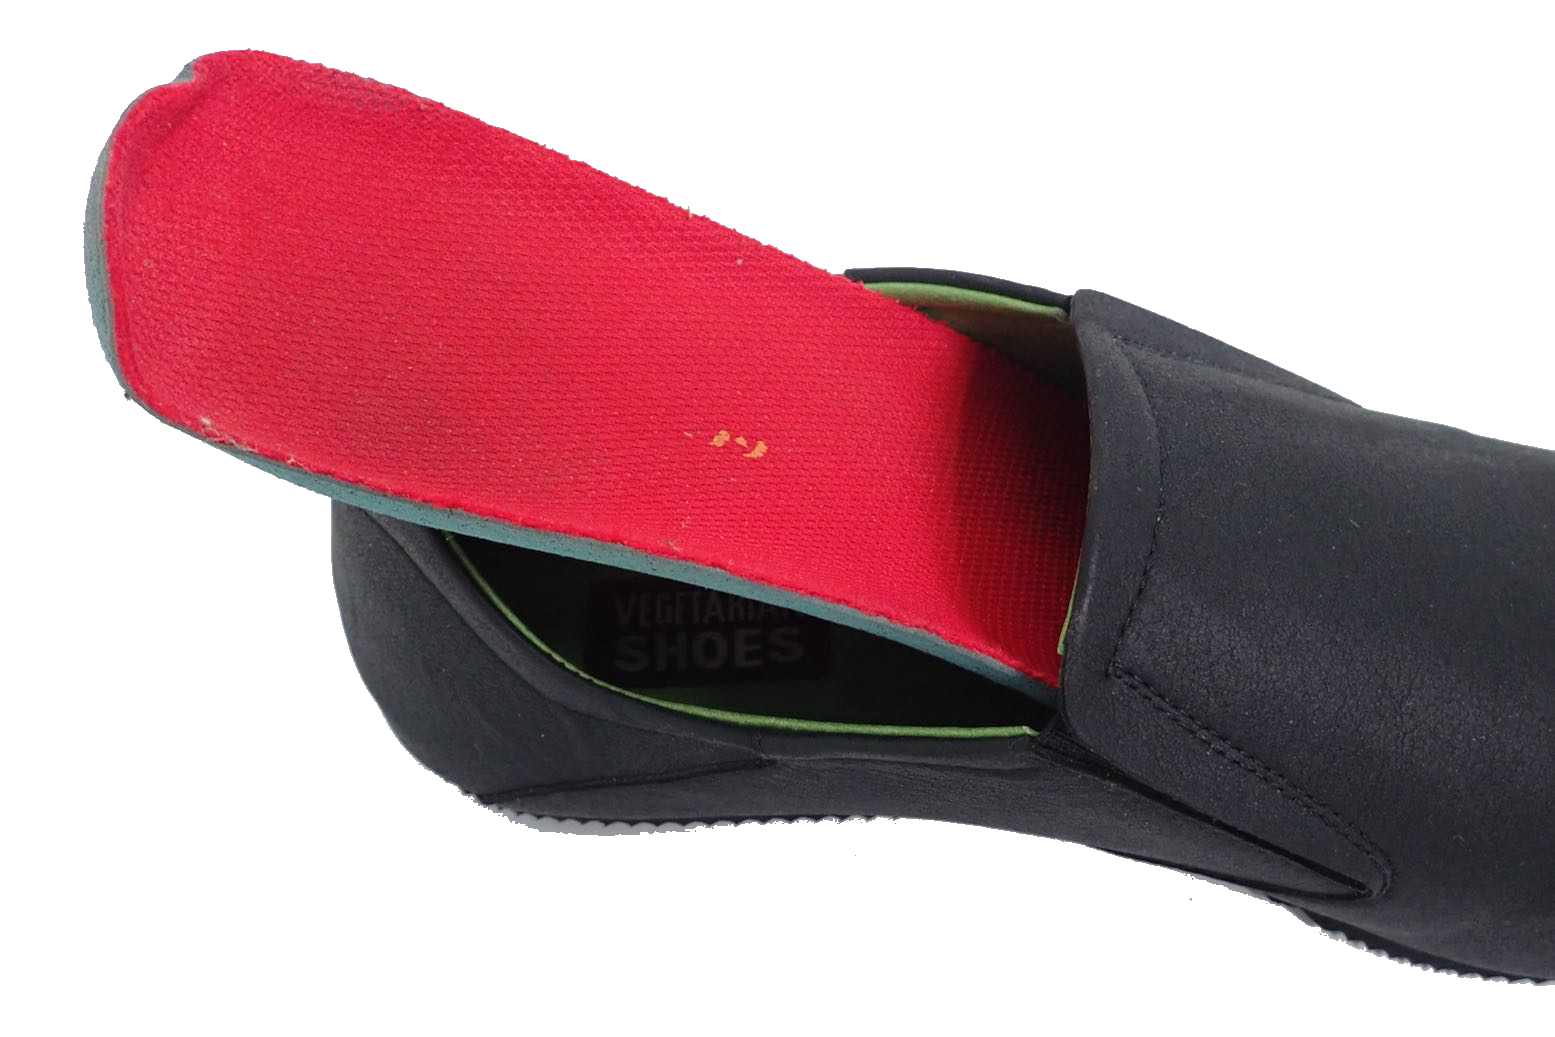
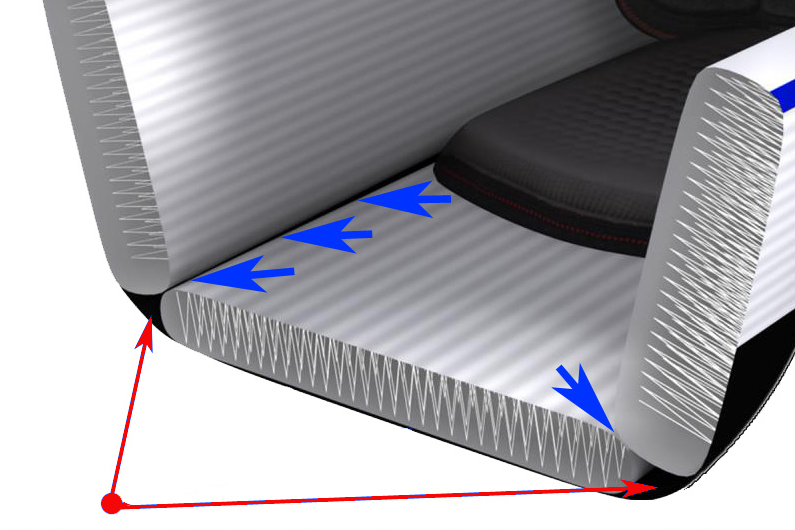
Broadly speaking, 3-panel FDS IKs are assembled by gluing the three DS planks into a wrap-around envelope of more PVC which holds the panels in a boat-like shape. Some floors are removable, a bit like a footbed slips into a shoe. This makes the hull skin’s inner floor accessible for easy cleaning, rinsing and drying before storage: an important part of IK care.
Not everyone may see drying as the deal breaker I make it out to be. Much depends on where you live in terms of climate and storage space.

Unless a glued-in floor is fully sealed along the sides, water and grit will collect in the side cavities. But for deflation reasons, this cavity cannot be sealed off.

Less good but almost universal with three-panels is a DS floor permanently glued to the floor skin but not fully sealed to the side panels. See the two images above: at the bow and stern where the tape stops, water and debris run down into the side cavities.
A drain valve helps water to run out when flushing before deflating. Some boats feature several capped drains along the sides, which is either odd or a ‘more-looks-better’ marketing gimmick. After all, unless you’re an oligarch, your bath has only one plug hole.
Don’t mistake these multiple drains as self-bailing ports, no matter what clueless vendors may claim or owners may think. Open the drains when afloat and the boat will part-fill with water. Until I realised this, I was baffled by these drains. So it seems were actual owners.

Such a boat is nearly as much of a pain to dry properly as the bladdered IKs I go on about. There will always be moisture in the long, inaccessible side cavities along the floor edge which you’ll struggle to dry properly. Proper rinsing and drying matter if you want your IK to last a long time, especially after you’ve been at sea when sand and other debris can get in the boat. Seawater causes mildew, staining, slime and odours. So does trapped organic matter, while in the long term, trapped grit might rub unseen against the soft PVC until it wears right through (this will probably take years).

Tubeless rubber IK: dead easy to dry

A theoretical way to eliminate these issues is by fully sealing or ‘wallpapering over’ the floor gaps the bow and the stern as shown in green above. To drain and dry such fully sealed boats, you simply flip them over to shed the excess water, then deflate, spread out and wipe dry, just like the round-tube Grabner on the left.
A boat modified like this would have no crud-trapping, moisture-retaining cavities. The flaw with this idea would be the air trapped in this sealed-off cavity would make the boat impossible to pack compactly: like trying to roll up a partially deflated inner tube. It needs a breather hole: a simple plug would work. Pull out the plug when deflating, plug up once inflated to keep water out.
Fyi: this is all hypothetical but an Italian chap with a BIC FDS told me he had just this problem: gravel and grit collecting in the cavities. One solution of his was to stuff the openings each end with a dense sponge. Water may still get in but bigger grit won’t. Good idea.
For the moment it seems most manufacturers are happy to settle on fitted floors with drains, just as some buyers are either oblivious to- or not bothered by this issue.

Protracted KXone cavity drying instructions using what seems to be a hidden floor drain valve (6, 7).

Actually there is a worse option: supposedly ‘self-bailing’ 3-panel FDS IKs which have little side cavities on the edge of the fitted floor and simple drain holes in the outer skin. There are no closable drain valves.
A tellingly unused and unbranded FDS IK (left) I saw on eBay was like this. I had to check with the seller as there were no photos of the floor. Within an hour it sold for £700, but once on the water the new owner will find their boat filling up from below. It may only be a couple of inches, but that water will slosh back and forth as you paddle along, adding several kilos of weight and upsetting stability. You could easily tape up the holes in the outer skin, but this is why what look like FDS bargains come unbranded, badly designed and without guarantees.
As said above: not everyone may see drying as the deal breaker I make it out to be. Much depends on where you live in terms of climate and storage space.

Tested: Anfibio Vertex Multi Tour paddle review

See also: Packraft Paddles

In a Line
Four-piece paddle 890g in kayak format with 15cm of length adjustment, fully variable feathering and includes T-handles to make a pair of canoe paddles, a long SUP paddle, a tarp pole or even an MYO packstaff.

Where used?
Paddles on the Thames, Dorset coast, Wey and in northwest Scotland in my Sigma TXL.

What they say
Revised, redesigned paddle combination for two-person packrafts, usable alone or in pairs. The very light fiberglass double paddle can be transformed into two paddles and even into a SUP paddle using two extenders. Continuously adjustable in angle and length (210cm to 225cm).
Price: €175

Good value, light 4-parter
Variable length and feathering
Two canoe or a SUP paddle included
Max 63cm length
29mm shaft will suit smaller hands
Get a Vertex Tour for €125 if you just want a packraft paddle

Blades a bit loose; fixed with bits of tape
No index mark to set feathering angle
29mm shaft narrower than the 32mm I’m used to
Smoothish fibreglass surface is a bit slipperier than my other paddles

This paddle was supplied free in exchange for editorial work on the Anfibio website

Review
A quality two-piece like my ageing Werners is usually my first choice for a day out, but for travelling with a packraft, especially on public transport, a 4-piece paddle makes sense. You won’t go any slower or get more tired; it just won’t feel as efficient and solid as a good two-parter – and feeling efficient can give you confidence, even if there’s nothing in it. Now sold, my Aqua Bound Manta Ray carbon shaft was at least ten years old and still hanging in there, and that was my second one after selling the first to an envious mate. It wasn’t as stiff as my Werner but it got me across the water all over the world, while doubling up as a packstaff.

Anfibio’s Vertex Multi Tour really does try to cover everything: kayak paddle, two canoe paddles and even a SUP board paddle – if you own all those it could be what you need. I don’t, so used the canoe handle extenders to make a Mk2 packstaff. Did I mention packstaffs yet?
I did notice the spring-button blade connection was a little slack; a matter of a fraction of millimeter clearance and fixed by a bit of tape, easily removed. Maybe the paddle will swell into a tighter fit once repeatedly wetted? (The Manta Ray blades tightened up over the years).
It took a while to notice the Vertex also has a slightly thinner 29mm shaft – less comfortable to grip for me. Smaller handed persons will prefer this. It’s also smoother which makes me think a little texture aids grip without raising blisters on long outings.

Length adjustment is something new on me and I like to think is not a gimmick. On our windy Dorset paddle I ran the paddle short (210cm) into the wind, and longer (220 or so) downwind; a bit like low and high gearing, using a higher cadence on the short length when working into the wind. I need to try this a few more times to see if it really makes a difference, or I just think it does. With the lever clamp, you can adjust in a couple of seconds.

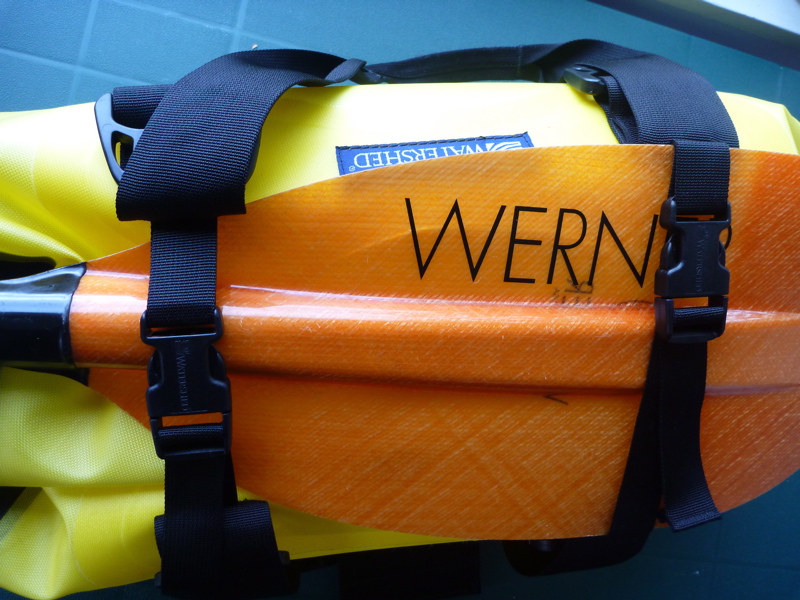
Like most paddlers I am right handed and paddle with the left blade rotated forward: 45° R. But unlike my Werners (below left), there is no sticker or other index alignment marker to set your feathering angle on the Vertex. It seems this was a production oversight and current Vertex paddles have an alignment marker – make sure yours has.

I also realised it matters which blade you attach to which shaft for your shaft feathering alignment sticker to have consistency. After sticking on some yellow alignment arrows (as I’ve done to my older Werner’s where stickers peeled off), I added more tape on the left blade and the section of shaft with the lever clamp. Match yellow to yellow and you are good to go.

The Vertex’s blade looks like a fairly standard 650cm2 and should take the usual beating of being pushed off rocks and so on. Once you’re paddling the finer points of paddle response fall by the wayside; if you’re moving into the wind and waves and current at the end of a long or hard session you will feel tired. But once you add some stickers, for the price and weight and versatility the Vertex Multi Tour does it all, and is in stock in Europe right now, unlike many American-branded paddles.

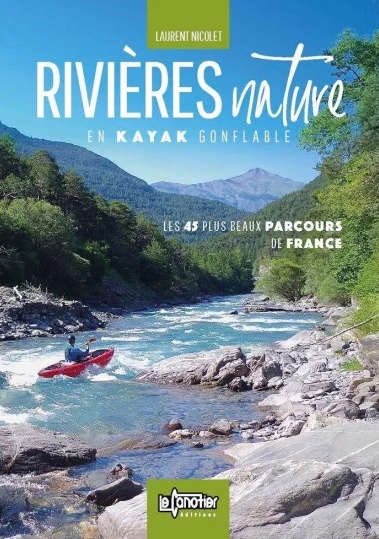
Book review: Rivières Nature en France by Laurent Nicolet

See also:
Packboating in Southern France
Best Canoe Trips in the South of France guidebook
Bradt, Paddling France guidebook

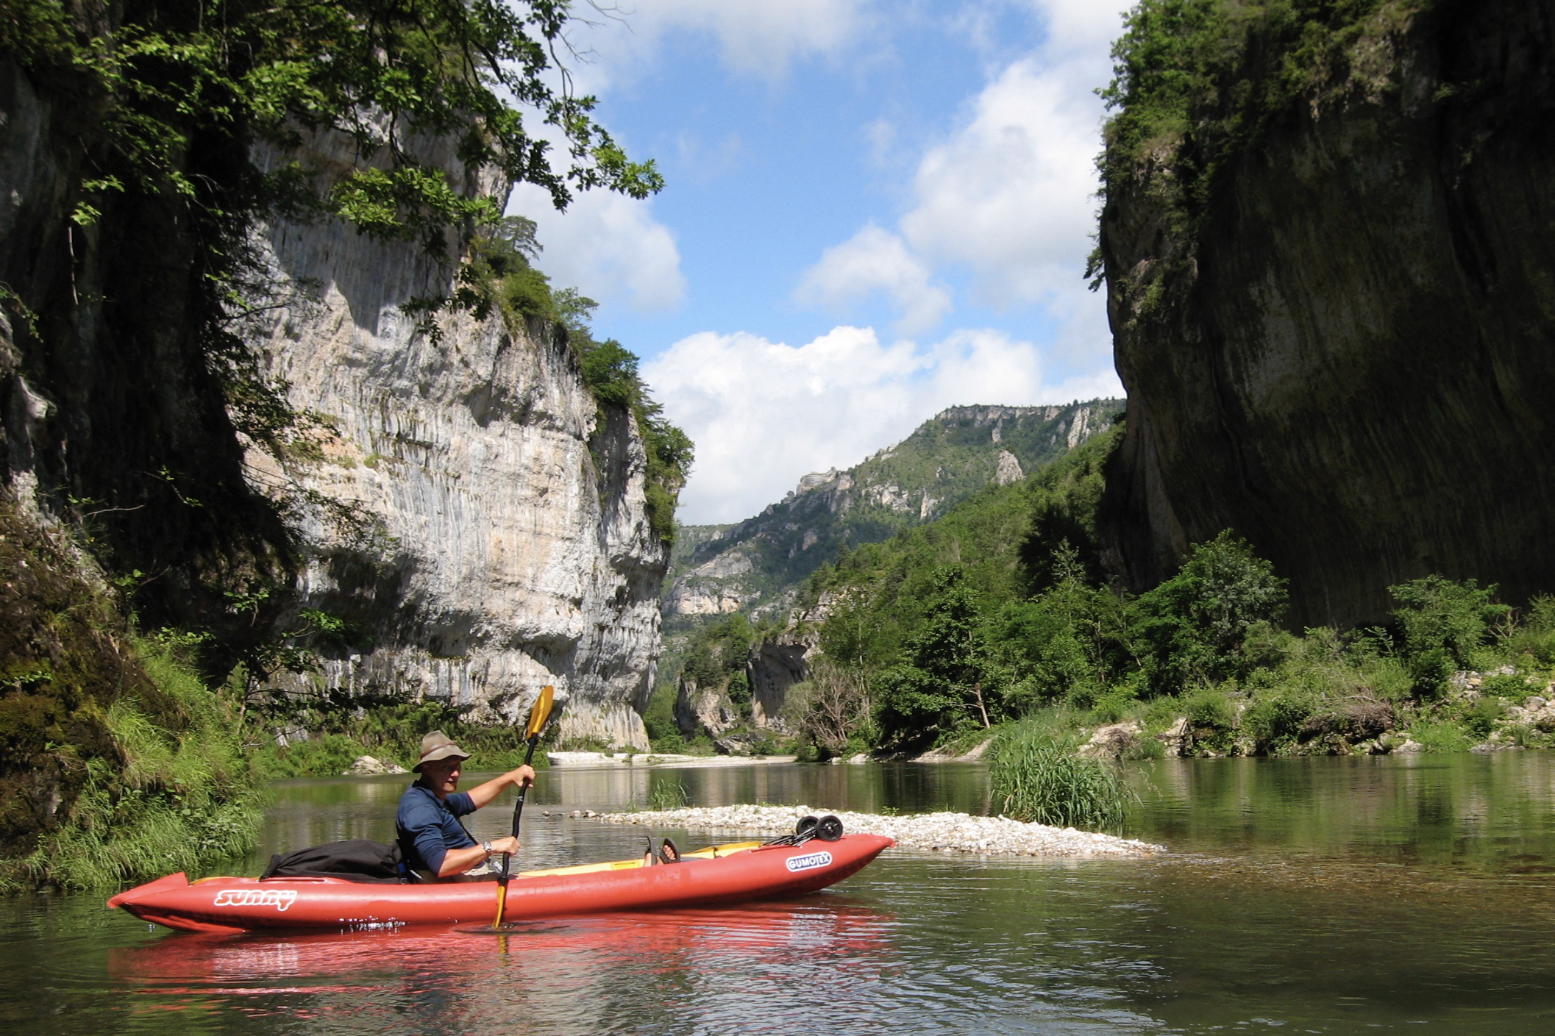
For reasons of topography and size, France, particularly the south and west, has some great paddling rivers. Mountainous areas not immediately adjacent to the sea produce long rivers along which you can choose the gradient and level of difficulty that suits your ability. And you can do so for days at a time. You can also add unfettered rights of way on the water, though that’s an unfortunate anomaly unique to England and Wales.

What they Say [translated]
RIVIERES NATURE EN FRANCE answers all the following questions.
For each route, you will find:
• level of difficulty (easy to intermediate), the length and duration
• specific regulations for the route
• minimum, maximum and ideal water levels, and how to know them
• access points with gps coordinates
• QR codes to map access ponys and water level stations
• description of the route (km by km, focus on difficulties)
• short hikes off the river (canyons, caves, viewpoints, etc.)
• specific safety advice
• useful addresses (campsites, visits, service providers)
• detailed map with an IGN topographic background

• Must be the ultimate guide to southern French rivers
• The author has been there and paddled it – all bar three of the hundreds of photos are his
• Very nice full page maps detailing portages and rapids
• Parallel river summaries in German
• More IK photos than you can point a paddle at
• With a mobile signal, QR codes for put-ins go straight to your device’s map
• Numerical waypoints also given
• Nice paper and great value per gram
• Printed in Belgium – better sustainability

cros

• It’s in French – domage
• The design can be a bit dense
• Packrafts (and SUPs) not seriously considered

Review
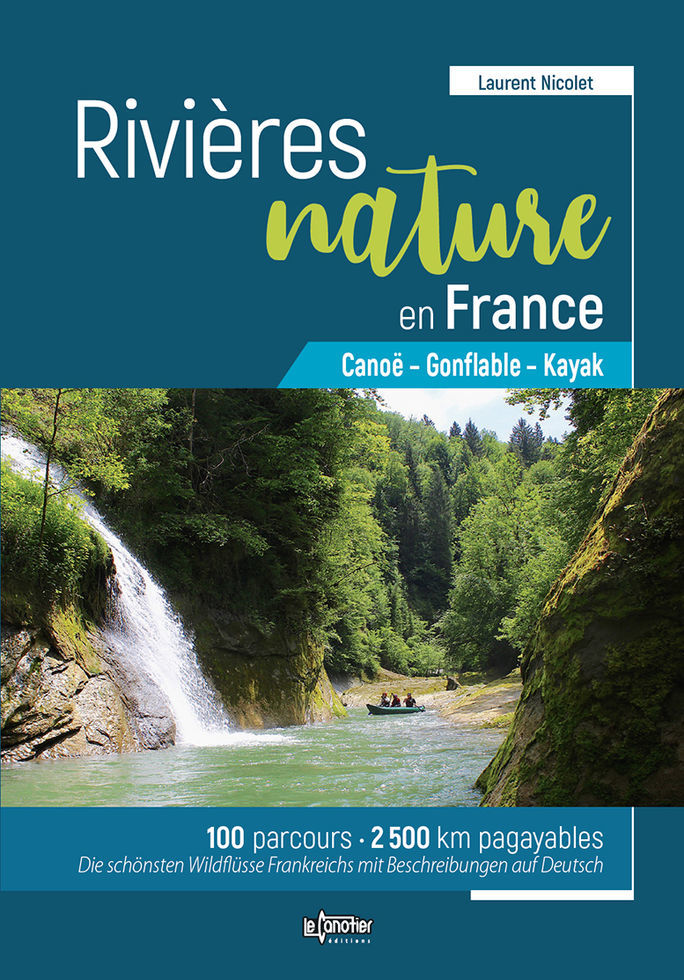
Rivières Nature en France is a similar if far more comprehensive title to the dozen rivers in Best Canoe Trips in the South of France (left) which I’ve used myself. This 416-page book compiled by Laurent Nicolet (distributer of Gumotex IKs and Nortik packrafts in France) lists no less than 100 routes over 63 rivers mostly in the south and west. It also shows parallel short summaries for each route in German and is sold on amazon UK for under £25. The book has more images of IKs than have probably ever been printed – even after my book came out ;-)
This edition seems to supersede an earlier title published in 2018 called Rivières Nature en Kayak Gonflable which is Nicolet’s day job. For years he’s produced videos validating the utility of ‘kayak gonfables’ or KGs in French. It might well be the same or very similar book, but reprofiled away for IKs towards all paddle craft.

All the great rivers of the south are here: Tarn, Ardeche, Dordogne (ideal for beginners), Verdon and the sportier Allier, as well as a whole lot you’ve never heard of. Up front you get a location map (above), after which each river is listed alphabetically and described over a few pages.
There’s the usual advice on what gear to take and safety tips like never tying yourself to the boat (SUP leashees take note) or shooting weirs without checking first. That’s unless there’s a portage-dodging passe canoës or canoe chute (left) – a common feature on French rivers which add greatly to the fun. There’s also an interesting rant against official censures against solo paddling “Imagine such restrictions on walking and skiing!’ Quite right, mon brave.

The author covers the full range of kayaks and canoes, hardshell or inflatable and even packrafts and SUPs (translated above). But less versatile SUPs and packrafts are virtually excluded from the book’s copious imagery, though a decked or bailing packraft could probably managed all the whitewater shown, and there must be some easier rivers which could be ‘boarded. On p379 I’m not sure the bloke balancing upright on some sort of dropstitch picnic table is on a SUP as we know it.
There follows the usual advice on ‘leave no trace’ including using Le Poop Tube en sauvage, an explanation of Class 1-6, the vigicrues website for reading live river levels and which I discovered one time on the Allier, and advice on organising shuttles – all much eased if not eliminated outright by using portable packboats.

I won’t pretend to have read this book cover to cover, were that even possible – I speak French a lot less badly than I read it. But I only recently realised the ease at which a page can be translated with a translation app using a tablet or phone camera, or dropping an image into Google Translate. Reading a translated A4-sized page on a phone screen would be tiresome; easier to do back home on a desktop and print out. Some examples below. Note you have to excise the QR codes or Google goes there.

As a test example, I can concentrate on a river like the Tarn which I’ve done a couple of times both in a packraft and with IKs.

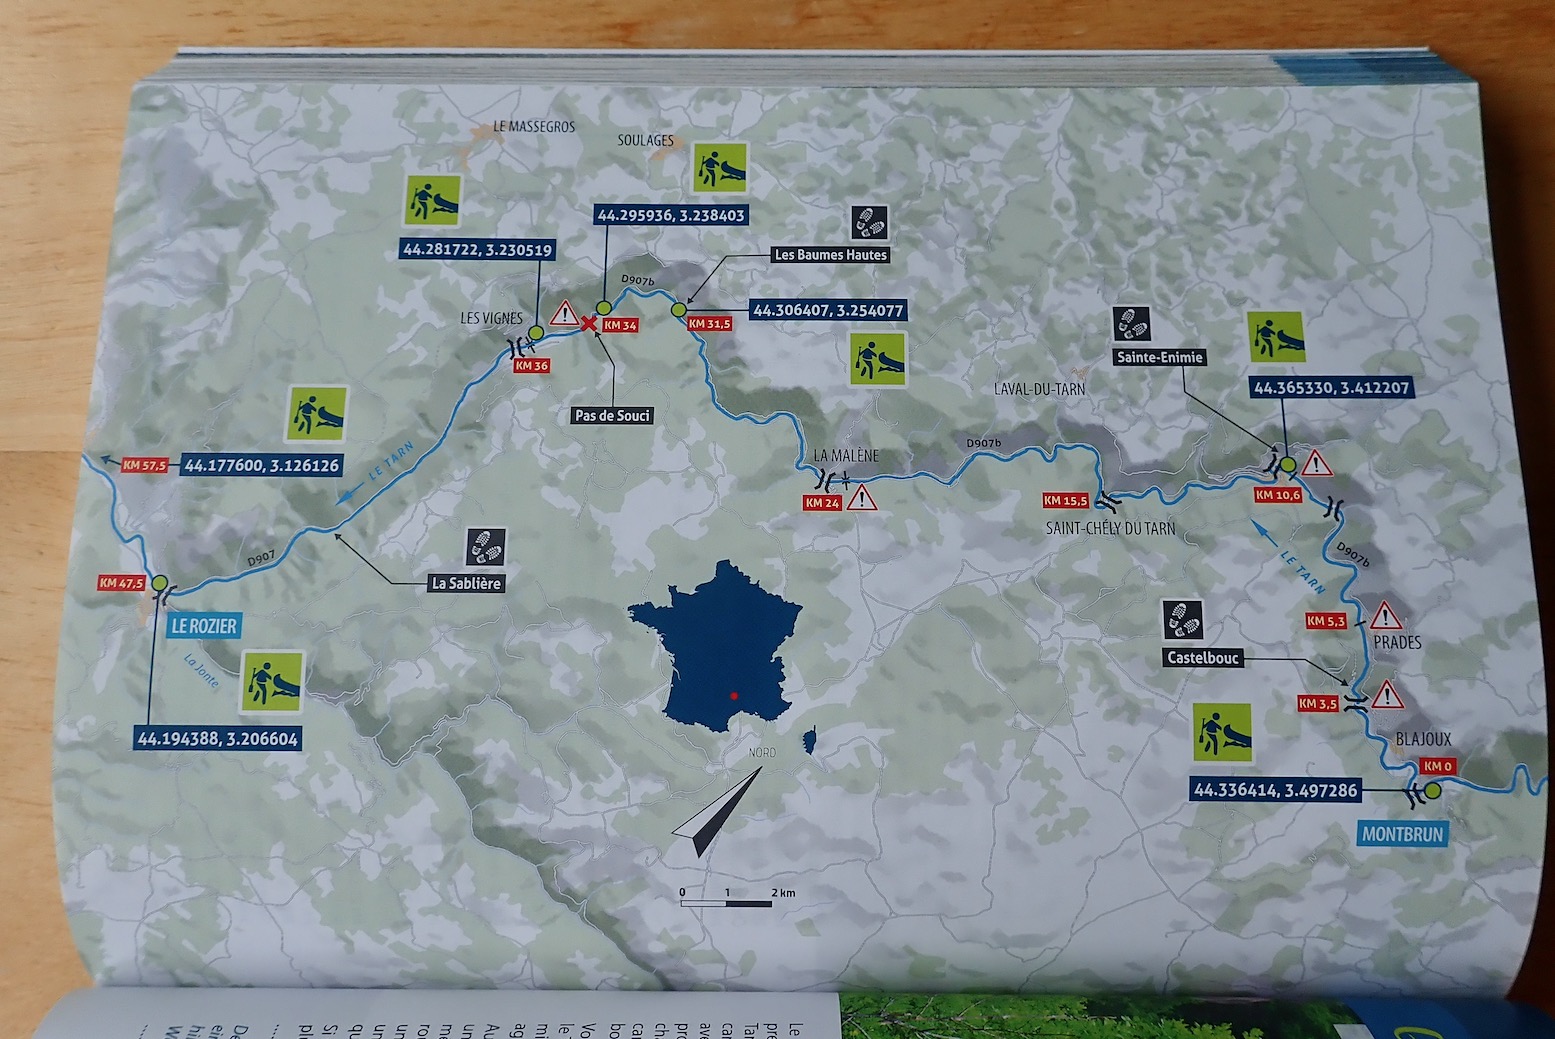
Tarn map. Fairly intuitive icons but no explanatory key and no campsites labelled.
Le Sabiliere – as hard as it gets on the Tarn

The Tarn description focuses on the most popular 57km section from Montbrun to Le Rozier. I have to say I made that 47km measured off Google Maps on my big Tarn map which covers the full 84km run from Florac, 18km upstream from Montbrun, to Millau, 19km after Le Rozier, Using public transport, I found both Florac and Millau better choices to start and end a Tarn packboat paddle. Anyway…

Tarn summary

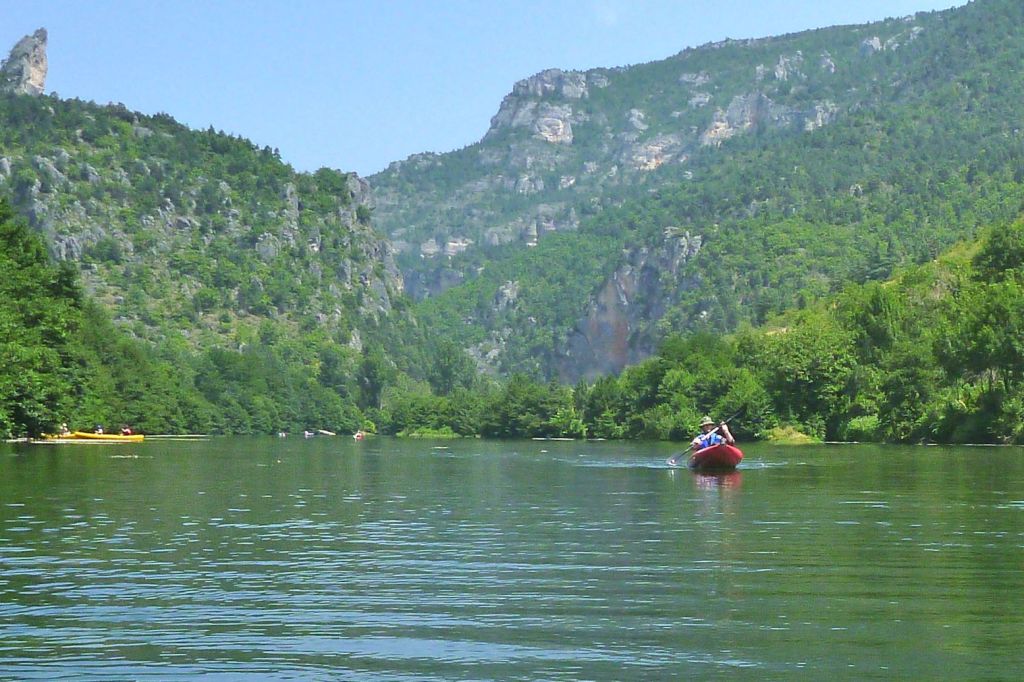
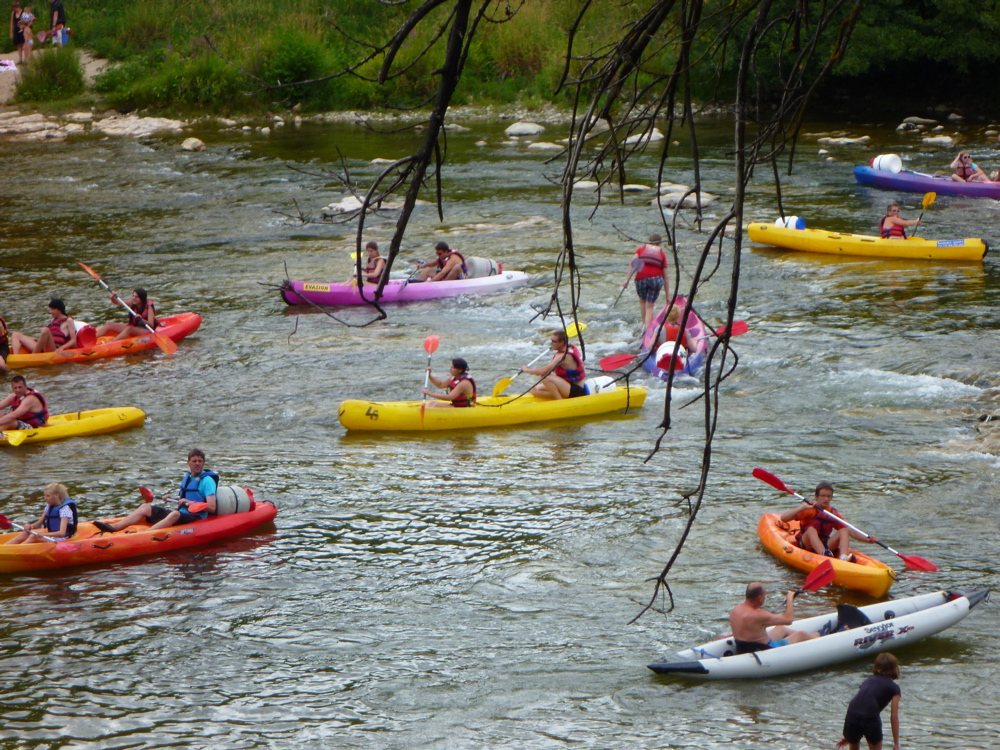
The first thing they advise is avoid the peak holiday period when the Tarn can become a logjam of hardshell rentals and yelping kids (left; actually the Ardeche below a busy campsite). While I’d certainly avoid the Tarn (and indeed France) in August, as a foreigner I found the occasional hullabaloo in July all part of the fun if you just paddle through it. Packed-out campsites along the stage described will be as bad as it gets. And they are packed out.

Tarn – Les Detroits

You then get a river summary: best time of year; regulations (if any); water levels with min, max and ideal levels, plus a QR code going direct to vigicrues – a good use of this idea; the best type of boat; environmental protection (if any); wilderness and tranquility; off-river pedestrian excursions, and where to sleep, but with only a selection of campsites including websites and a phone number. These could have been much more usefully added to each route’s map.
Selected put-ins/take outs have more QRs linked to waypoints which are also printed in old-style DMS (44° 56′ 15.5″ N…), followed by the much less error-prone decimal-degrees (DD: 44.9376297, 2.321622…) format. Google still uses both but the sooner we all get used to simpler DD the better.

Kayaker caught putting-in below the Soucy rock-jumble by the Google drone
St Chely

Next is the main route description: KM0, KM22.7 and so on. ‘En aval‘ was a new expression on me: ‘downstream’. If your French is a bit ropey – or cordée – it would be worth translating page images in the planning stage, as suggested above, so you don’t find yourself in l’eau chaud. Doing so you’ll come to learn handy expressions like en aval and so on.

Tarn Route description

The book goes on like this, river after river, with enough photos to help you identify what looks appealing. It celebrates a newly opened passage of the Allier from Naussac all the way to Brioude (114km), though you may want to miss the initial 22km of “no less than 55 distinct rapids [up to Class 4]” which end at Chapeauroux.

Coming up the train line from from Brioude, it was from Chapeauroux one June that I blundered rather naively down the Allier in my early Sunny days, after having found the Dordogne a bit of a doddle the previous year.
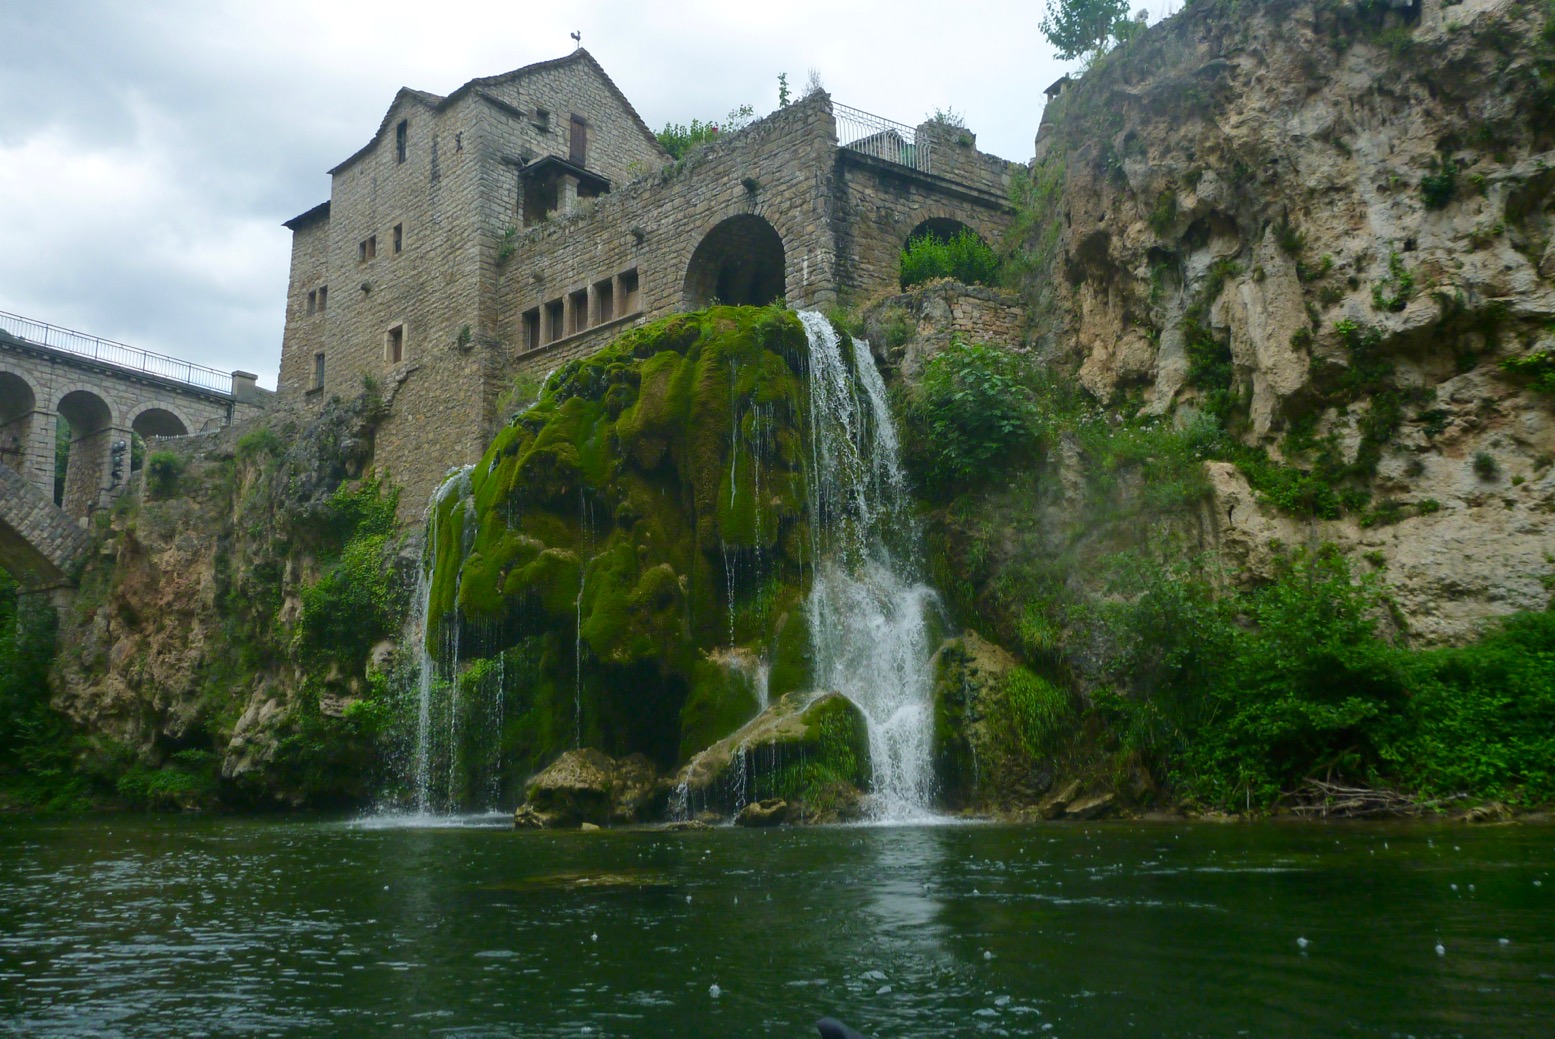
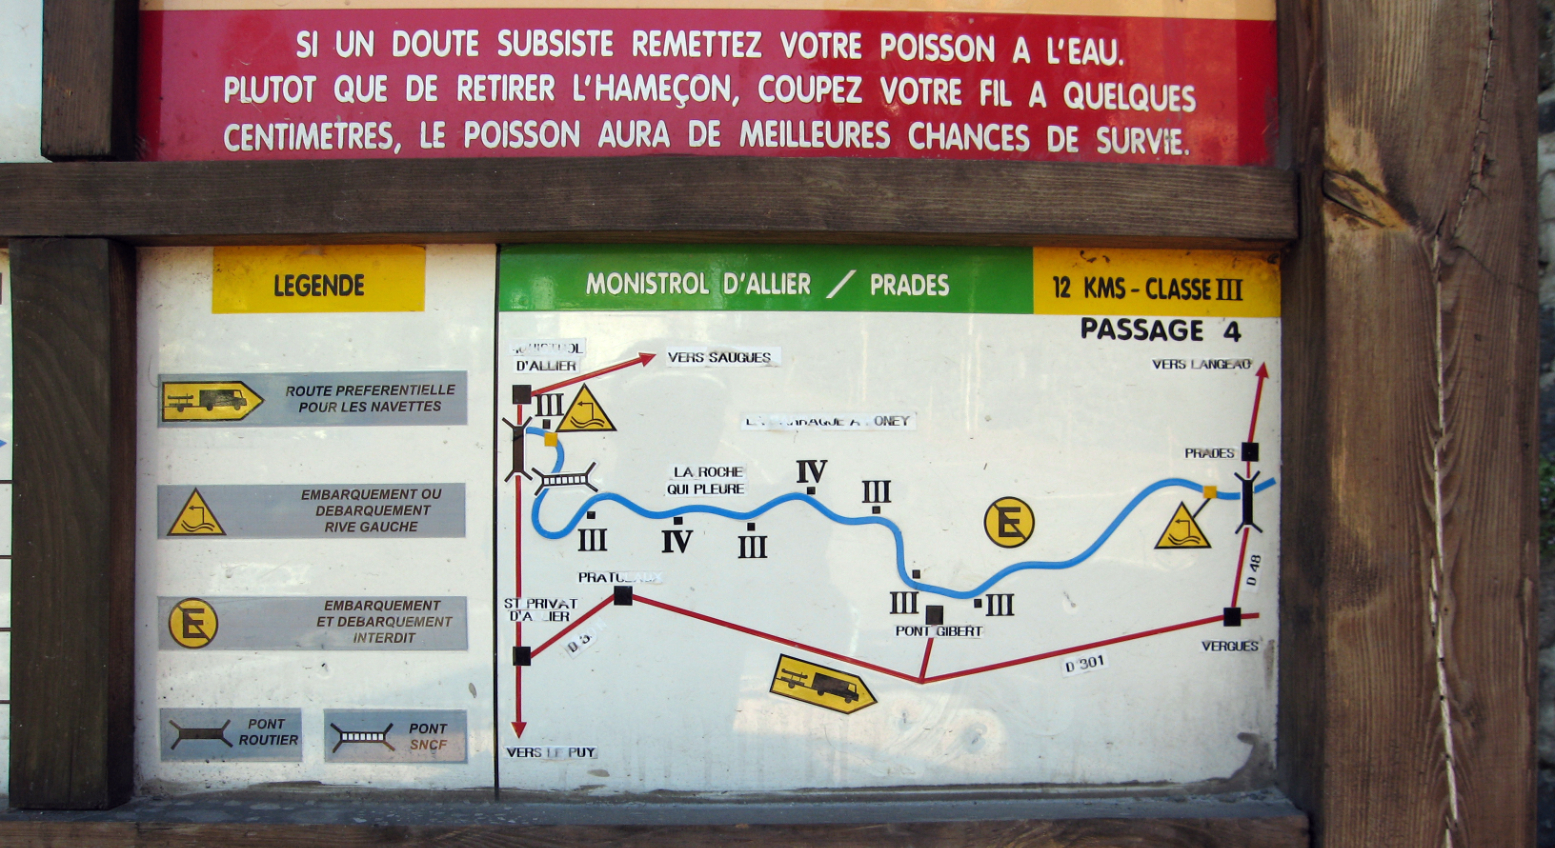
As mentioned elsewhere, a dam up from Monistrol (30km below Chapeuroux) has by been rebuilt lowered to salmon-friendly levels so that the long taxi portage I had to do around the now non-existent reservoir from Alleyras is now just an awkward portage down the new dam face at Poutes. (At the back of the book is an article entitled: ‘Hydro-electricity; the least renewable of renewables’). For the 12km from Monistrol to Prades (above left) you’ll again want a deck or self-bailing boat, otherwise you’ll find yourself as I did, pulling over to pour the water out of your boat. From Prades it’s all a less fraught and as enjoyable two days to Brioude.

You can have a lot of fun with the English Rivers Publishing guidebook – in some ways I find the basic design and layout a bit less dense. But once you’ve seen it and done it all, Rivières Nature has many more paddling suggestions in the fabulous south of France.

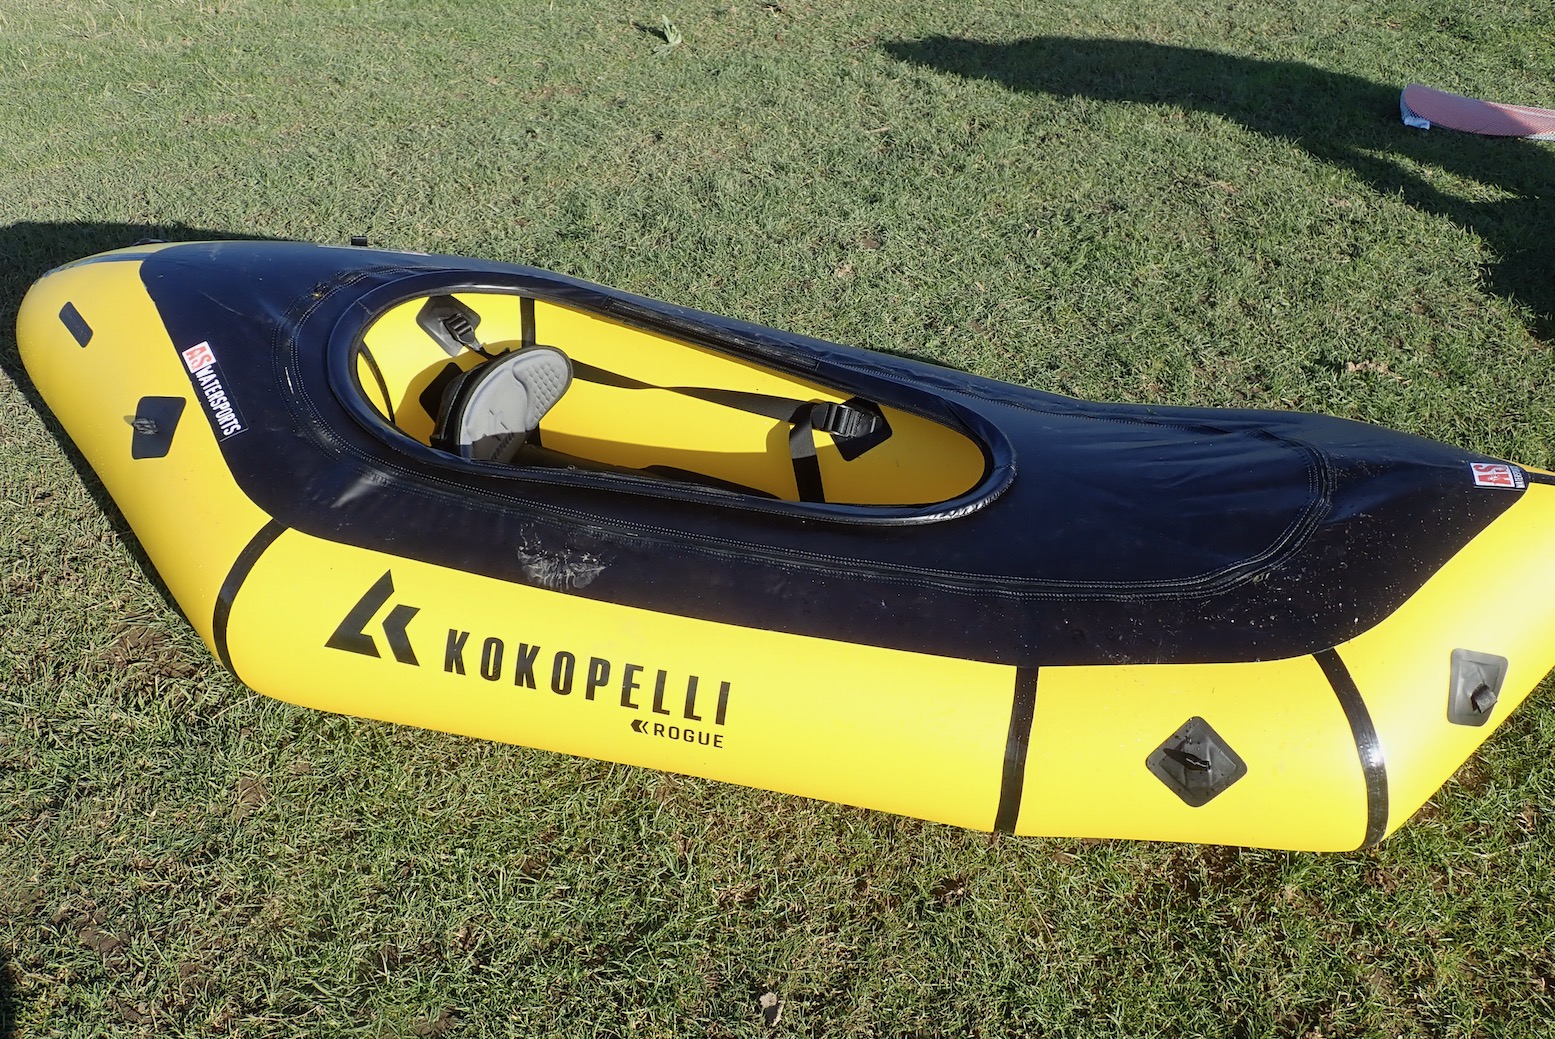
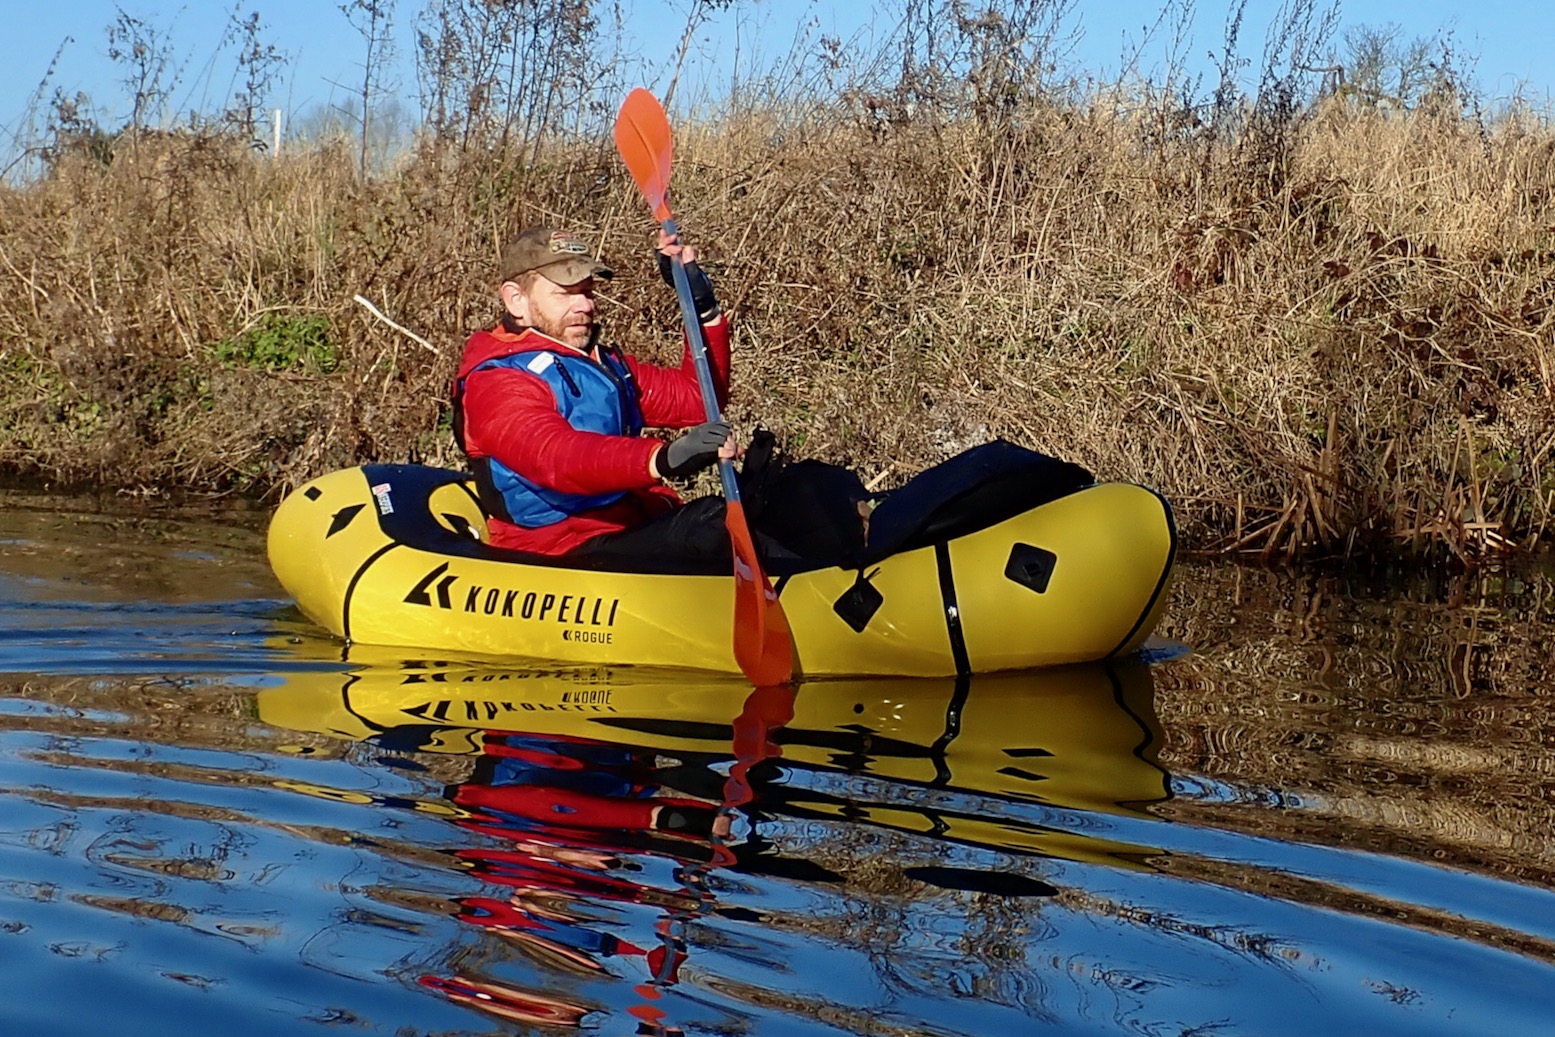
Tested: Kokopelli Rogue R-Deck packraft review

In a line
Robust, well-made and comfy, but hefty and expensive.

• Thick 210D fabric has a chunky, solid feel
• Counter tensioned seat band gives great back support
• No overhang with the fixed deck sections (less snagging)

• £1199 ($1199; €1400)
• Relatively bulky and heavy
• As usual, some of the Kokopelli online specs (below) seem miles out

What they say

We took our most versatile, best-selling packraft, and upped the game. The Rogue is award-winning for a reason. (A handful of reasons, actually). Weighing in at only 9.1lb (4.1kg), and packing down to the size of a (large) roll of paper towels, it’s become the standard for portability and durability. 
We kept the best-in-class 210d DuPontTM Kevlar® Aramid-Nylon Blend* reinforced floor system for increased durability on the water. We kept the 210d TPU + Nylon sidewalls for the perfect combination of strength and weight. We kept the spraydeck to keep you warm and dry, and add extra reinforcement in high-wear areas – perfect for bikepacking.
… Rated up to Class II rivers, the Rogue R-Deck is now THE packraft for bikepacking, backpacking, high alpine lakes, fishing, climbing, travel, whatever you can throw at it, wherever you can throw it.

  • Hull: 210d TPU + Nylon
  • Floor: 210d TPU + DuPont Kevlar Aramid-Nylon Blend
  • Leafield D7 push-fit, twist open
  • Valve (Seat): Stem
  • Weight (Boat): 7.9lb (3.6kg)
  • Weight (Boat + Key Accessories): 9.1lb (4.1kg)
  • Weight (Boat + All Accessories): 10.0b (4.5kg)      
  • Length: 90in (229cm)
  • Width: 37in (94cm)
  • Inner Length: 57in (145cm)
  • Inner Width: 16in (41cm)
  • D-Rings: 6
  • Packed Size: 16 x 8in (41 x 20cm)

I rented this boat from AS Watersports (not all accessories were requested)

Out of the box

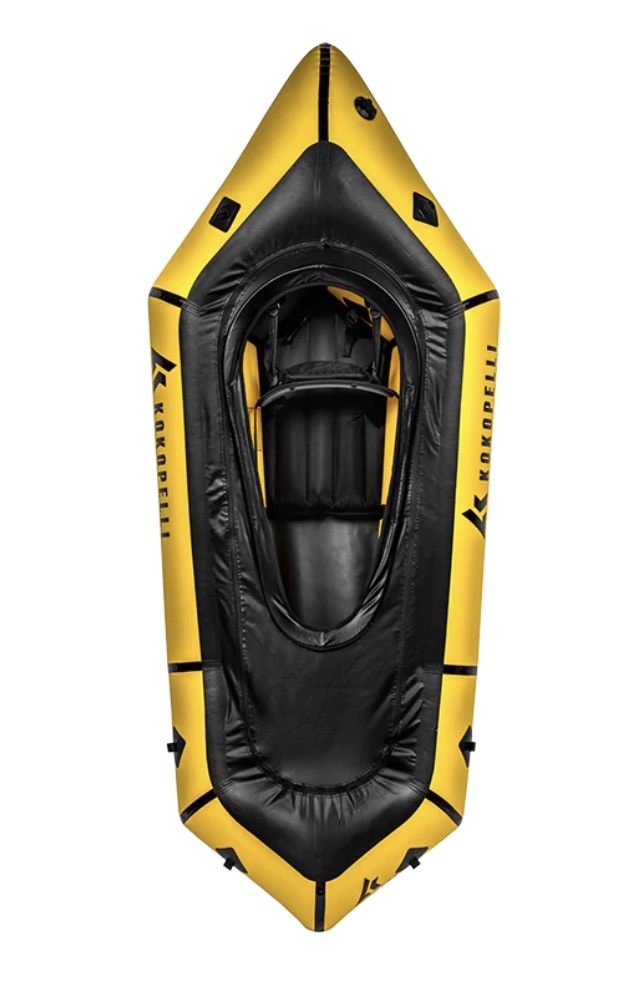
Kokopelli are the other well-known US brand of packraft that’s maybe even more widely distributed worldwide. Their distinctively angular 8-panel design, like Alpackas – also originally made in Colorado – have been put together in China for some years now, with models in both PVC and TPU.
Out of the box the boat feels big and heavy, but the thick, waxy TPU also adds an IK-like robustness. Interestingly, they describe the fabric as 210D all round, which just goes to show how misleading Denier ratings (relative thread weight) are, once you apply lashings of TPU.

From the start Kokopelli have used Leafield D7 ‘raft valves’ in their boats. These are push-fit, like on old Gumotex, not modern not bayonet style, but for the low pressures you pump in a packraft they work fine and if a nozzle blows off it’s a kind of pressure release valve. The seatbase has an old style twist-lock valve, but again, with a sturdy quality I don’t ever recall on my old Alpackas. I used my mini electric pump and mini handpump to inflate the Rogue.

The seat is a similar and proven system I adapt on my IKs: a big, inflatable seatbase which attaches to the hull via a strap, and a chunky EVA foam backrest with a rear mesh pocket and which is tensioned from front and back to stay upright. It means that even if the 130-cm cockpit is too long for you, you can shuffle the seat as far forward as necessary to get a good, braced position with your feet against the bow.

The separate deck goes on with a perimeter zip, and the 90-cm long hatch coaming is held in shape with a bendy nylon rod, with no creases, just like the Moki IK we rented a couple of years ago. Curled up, this rod does make the packraft a bit awkward to transport (but it may have been two-piece inside the hatch’s sleeve)

Inside there is a thick valance or edging band between the floor and the hull which I’ve not seen on a packraft. It’s a nice touch and is sure to keep crud out of this join, though does make the boat a stiffer to roll up. The floor we’re told is 210D TPU with a Kevlar Aramid-Nylon blend (they missed a chance to use the word ‘ballistic’) with a broad four-inch overlap against the hull. No buttpatch needed here.
Old-time Kokopellards tell me fit and finish wasn’t always this good in the US-made-era, but what I have here all adds up to a durable-looking boat, that’s as well made as any packraft I’ve seen and may partly explain the price.

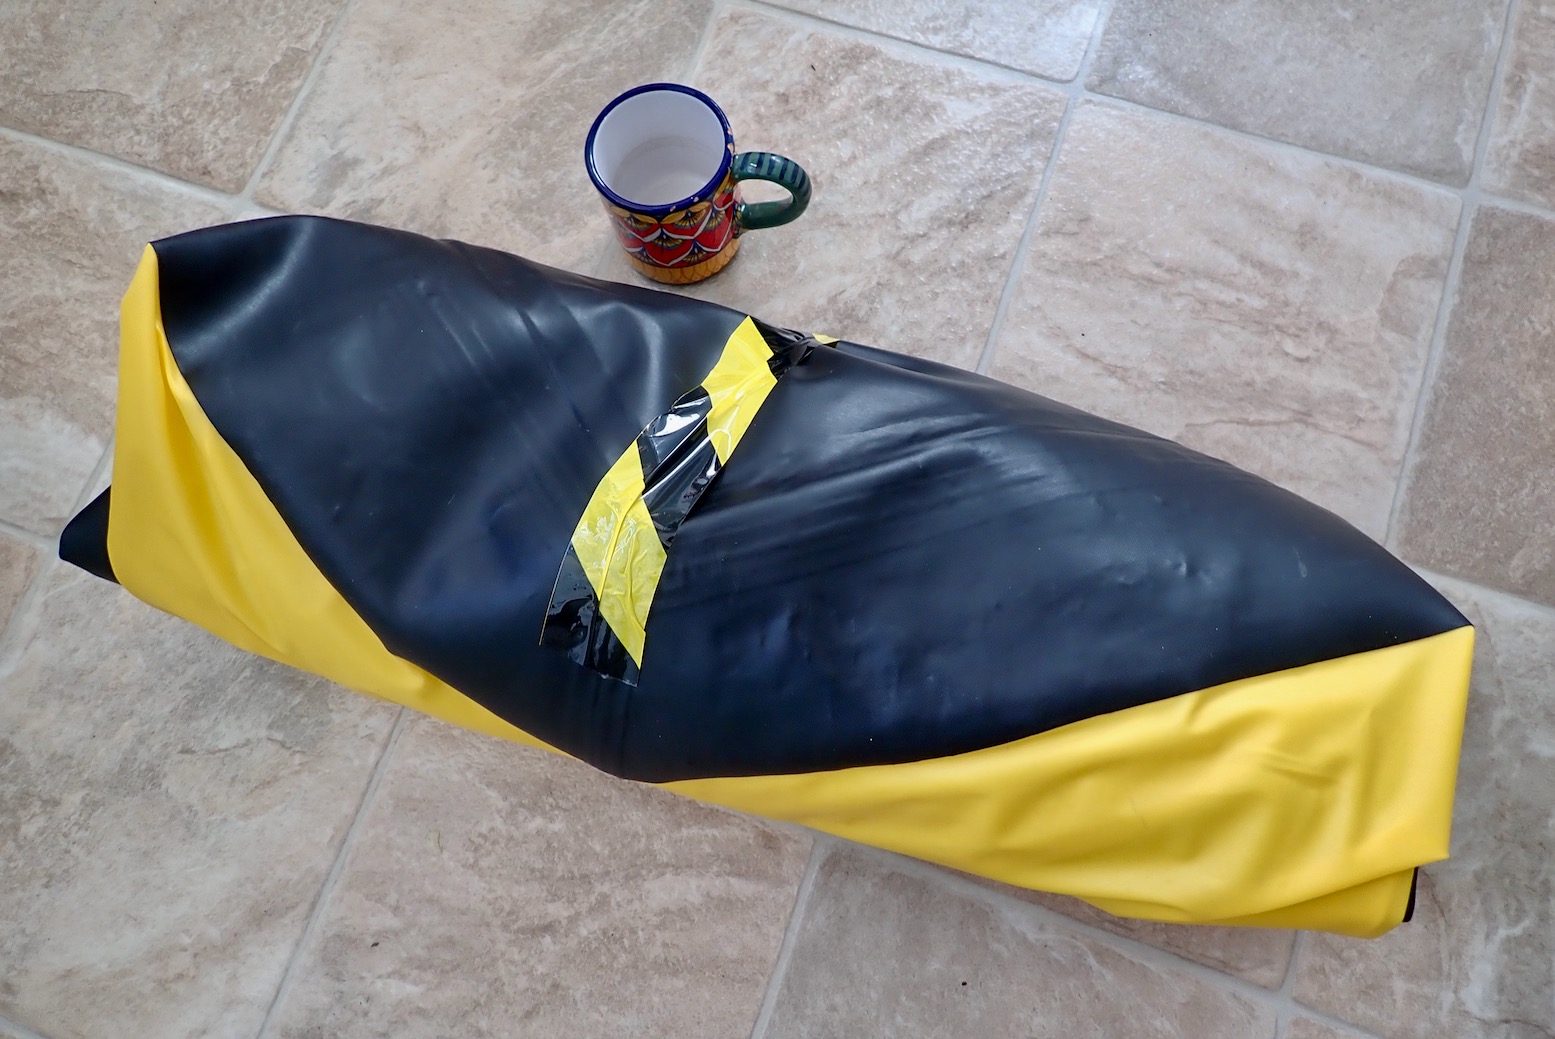
packing down to the size of a (large) roll of paper towels…” Really?

On the Water

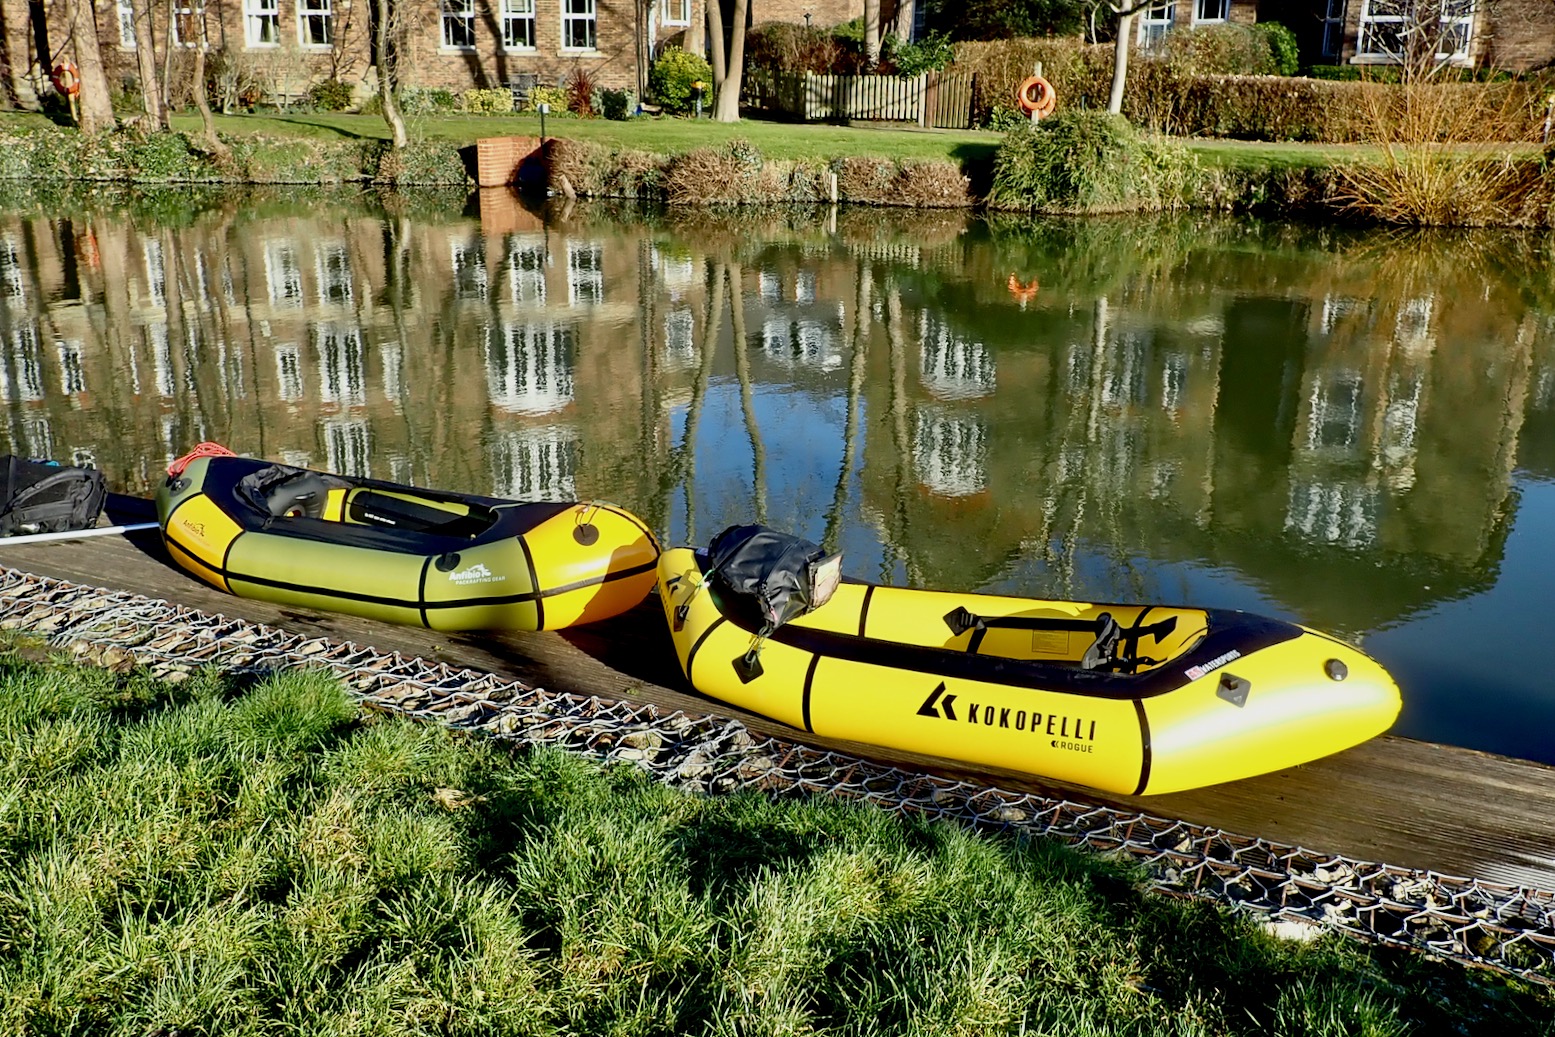
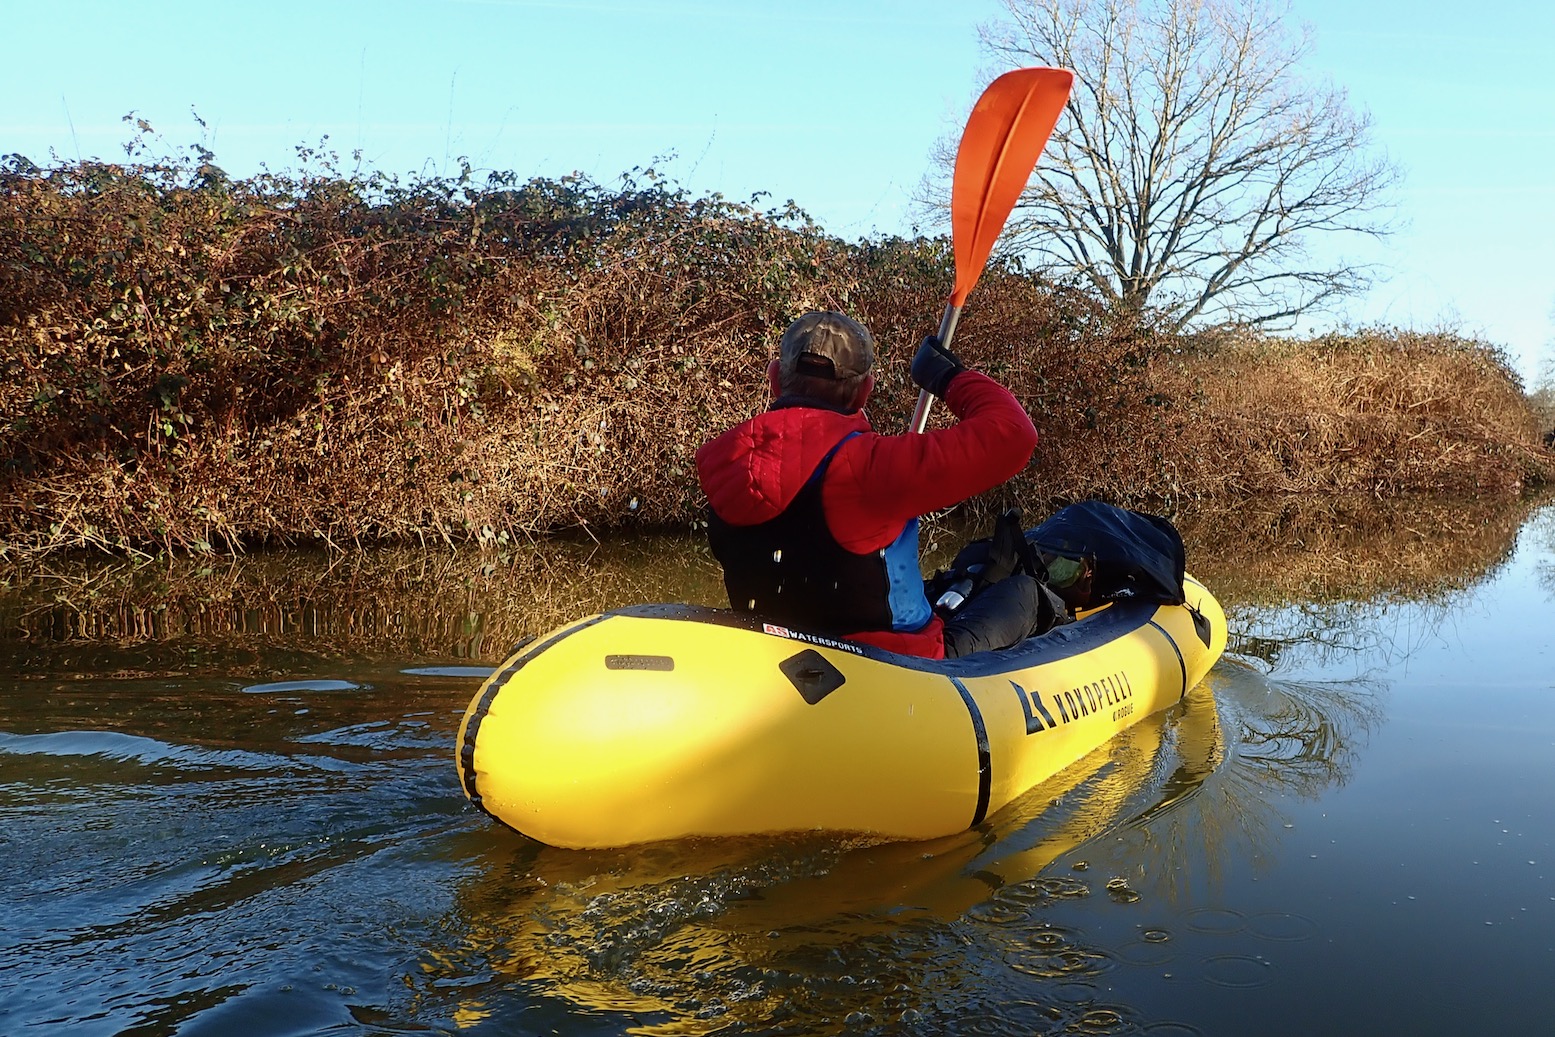
A wintry pre-dawn start saw me and Robbo on the water at Tonbridge by 10am. Once on the move it was clear the Rogue was a bit faster than the Rebel, even though both are the same length. It could be down to the Rogue’s tapered bow, though I suspect the longer stern which sits the occupied but otherwise unloaded Rogue level on the water has something to do with it – compared to the back-heavy Rebel.

We are more or less the same weight, but watching Robbo (lately unpractised in packraft paddling) yaw along in the symmetrical Rebel (ie: identical bow and stern) underlined the rationale behind the extended stern idea which Alpacka came up with over a decade ago and which positions the paddler more centrally, as in a kayak. Then again, the Rebel was being paddled without it’s skeg which may have reduced yawing, but not fixed the trim.

Once hitched up into the small of my back, I also found the backband gave very good support, just like on my Seawave (possibly helped by the orange holdall shoved behind it). It may be down to it’s solid, non-inflatable form, but the EVA foam does make it bulky and twice as heavy as the Rebel seat. Then again, Robbo said he found the Rebel more comfortable.

As I was zipped up in my drysuit, I didn’t paddle the Rogue with the deck zipped on but, at a push, I think it could be zipped on on the water. It all just about crammed into the bow bag with the coaming rod.

There’s not much more to say about the Kokopelli Rogue R-Deck: it looks like a packraft and paddles like one: it tracks well and doesn’t yaw that I noticed. And it’s very cleanly put together but is on the heavy side for my sort of use. At the four-figure price, you sure hope they’re paying them well back in China, because they’ve done a darned good job.