Rudder rationale discussed
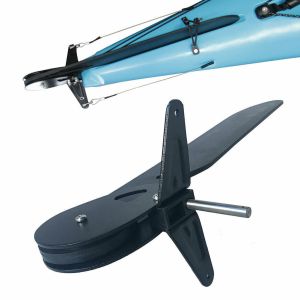
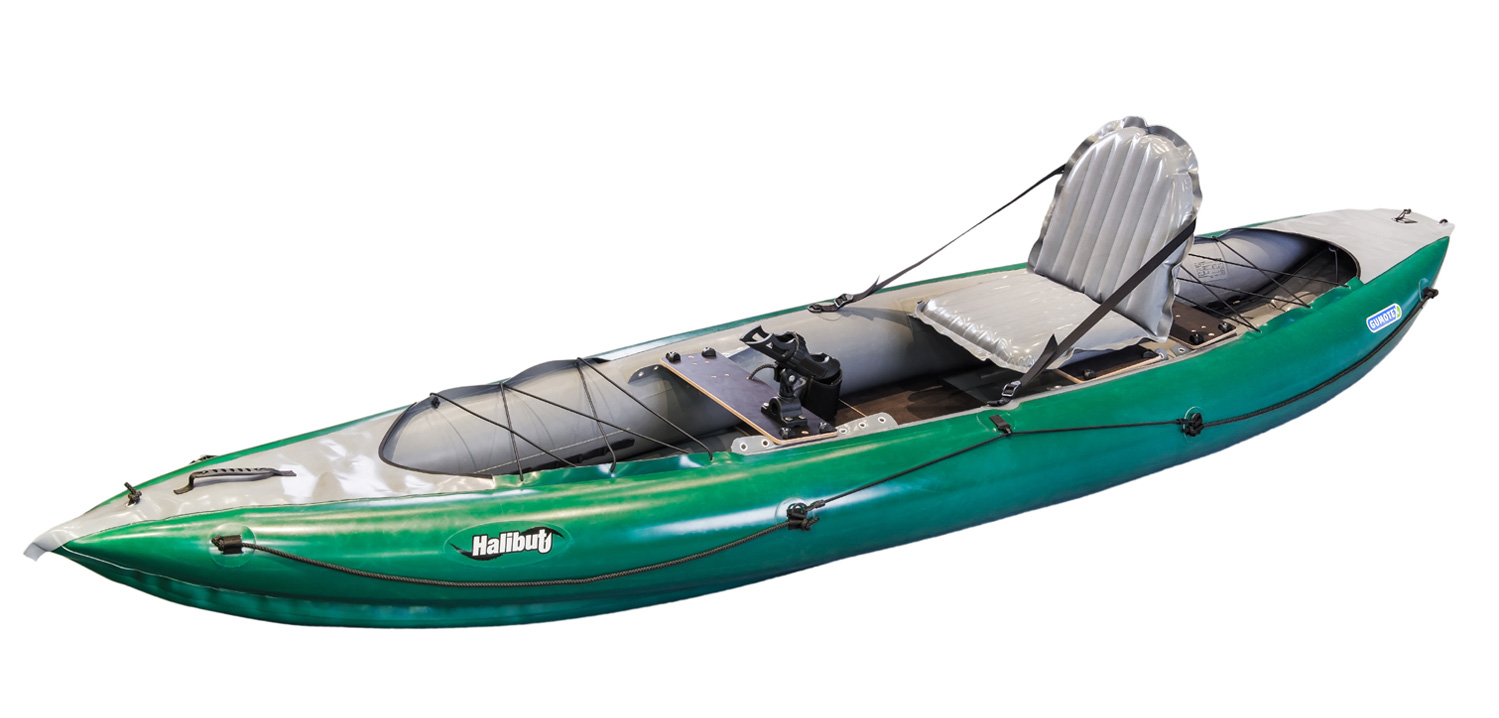
Gumotex’s 2016 factory version
Making the Mk1 prototype rudder
Testing the Mk1 prototype
Update 2019:
I’ve not used my MYO rudder since I made it in 2016 and sold it with the boat in 2020. Partly because I’ve only done day trips predicated on nice weather, but also it’s all just more faff and clutter, not least the lines and footboard. As explained earlier, for multi-day trips you must deal with the winds you’re given so a rudder is a good idea. But even then, you only notice your relative lack of speed (due to sidewind paddling correction) alongside others. Alone, you’re as fast as you are [grasshopper].
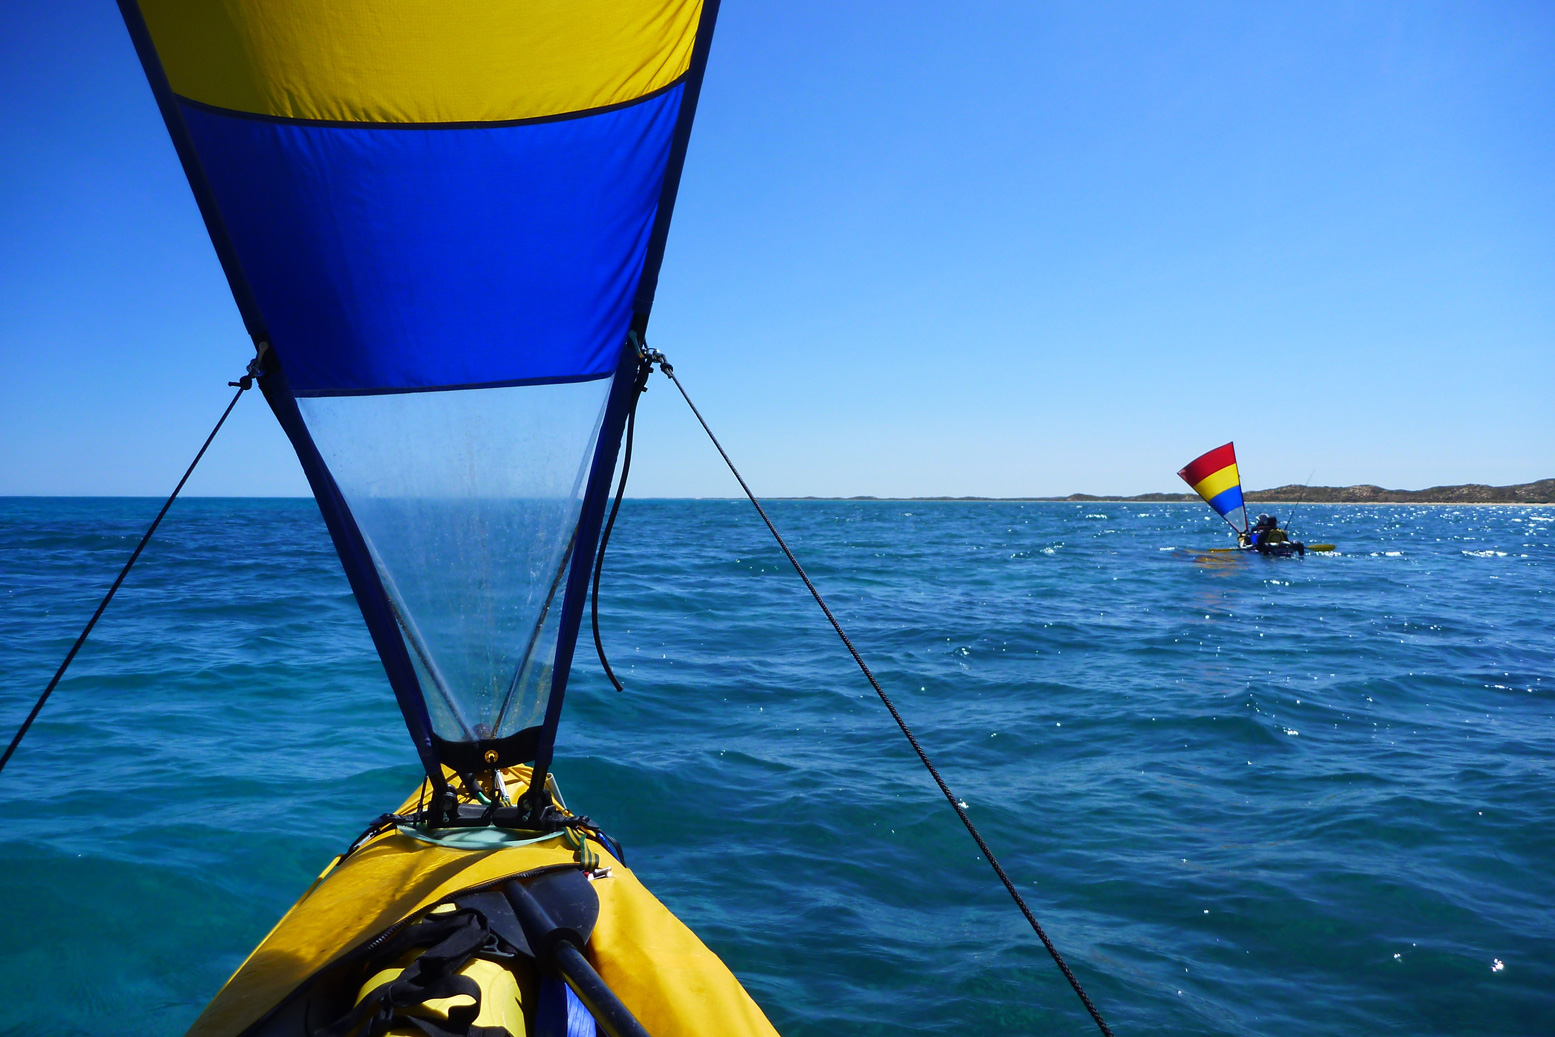
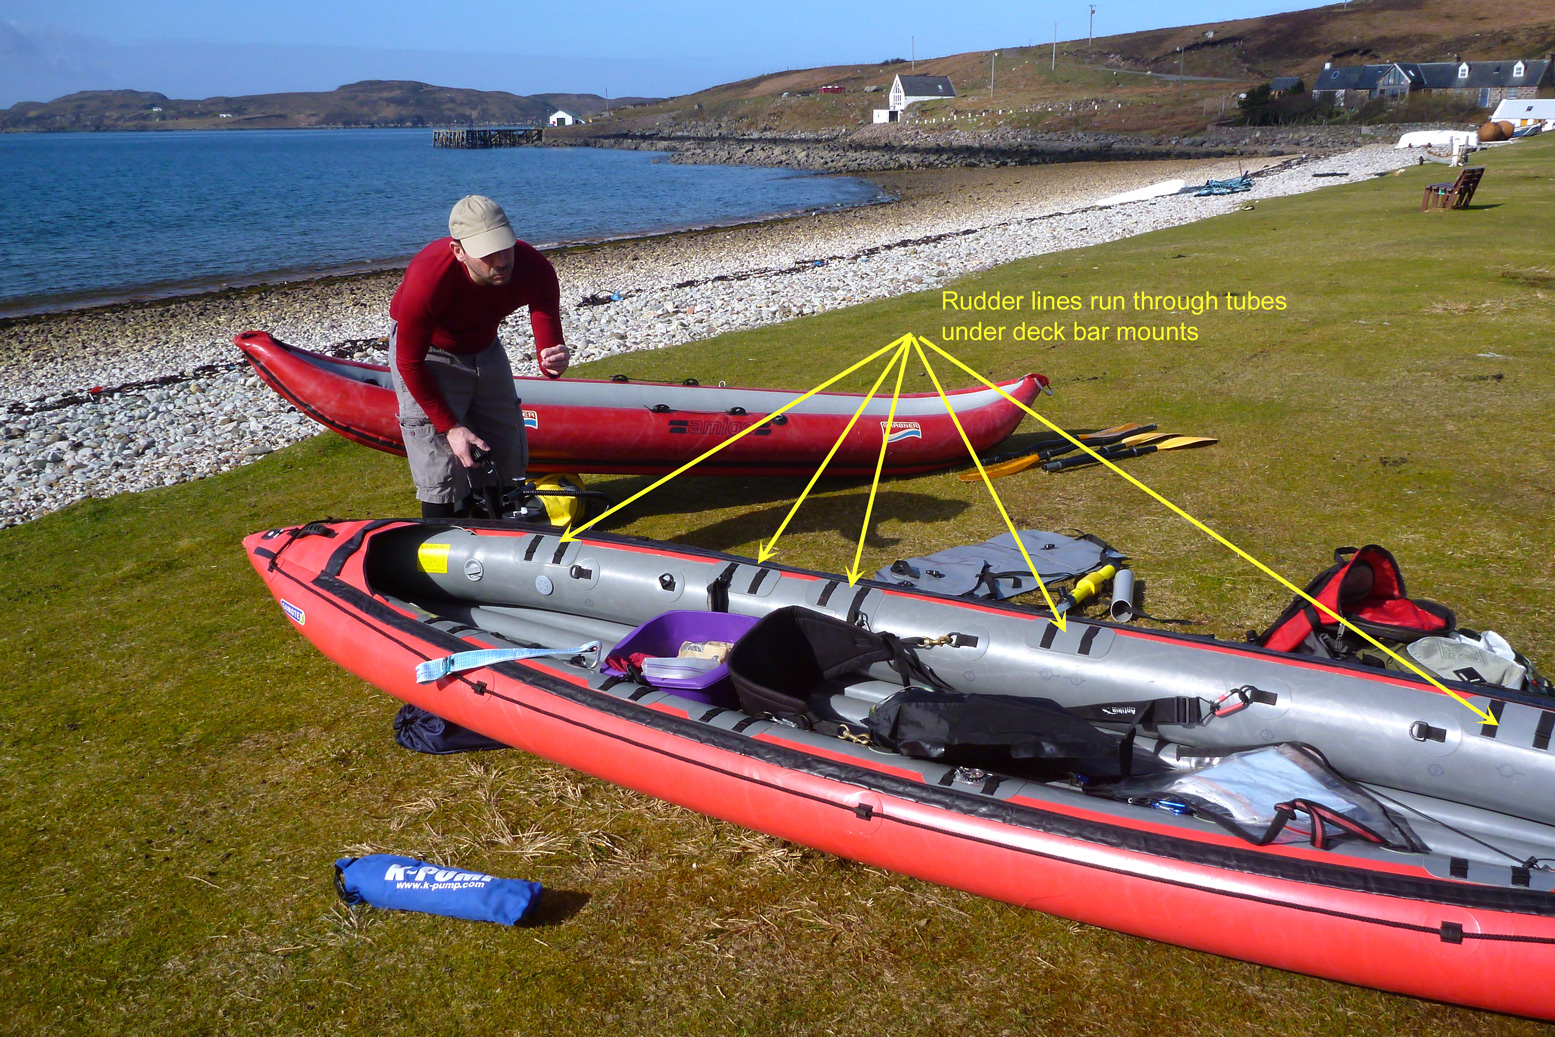
Rudders are not about steering as they are on powered boats; in a kayak they’re about enabling efficient, balanced paddling on both arms by compensating for the boat’s deflection by side winds.


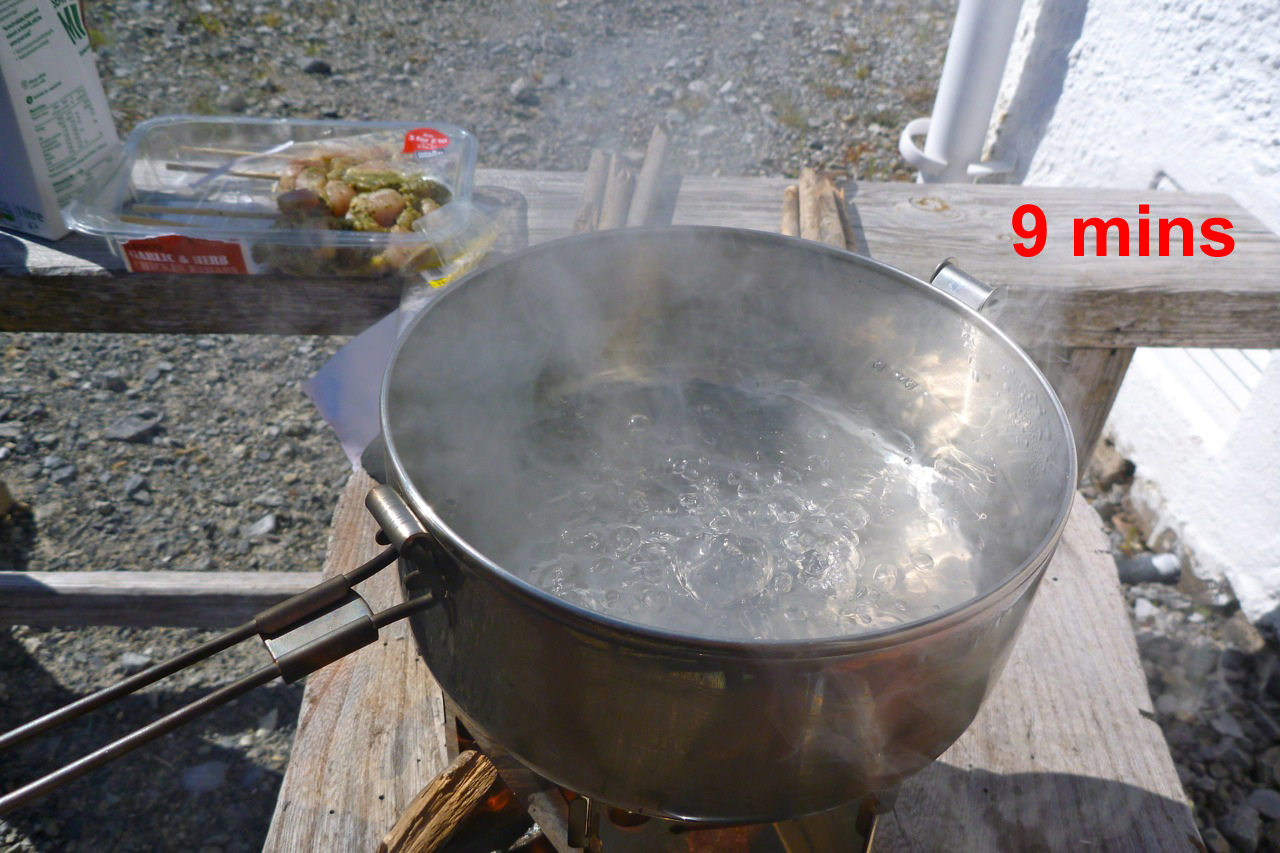
While waiting for rudder bits to turn up, we went out for an evening paddle round Eilean Mullagrach. It was pretty calm but at no point did I think, ‘Darn, I wish I had a rudder’. When it came to turning corners we just paddled hard or dragged a blade and round we came.
But the Seawave rudder project carries on like a supertanker with a jammed… rudder, if for no other reason than it’s fun to experiment and a rudder can also work as an articulated skeg when locked out – something I may look into when it’s all done.

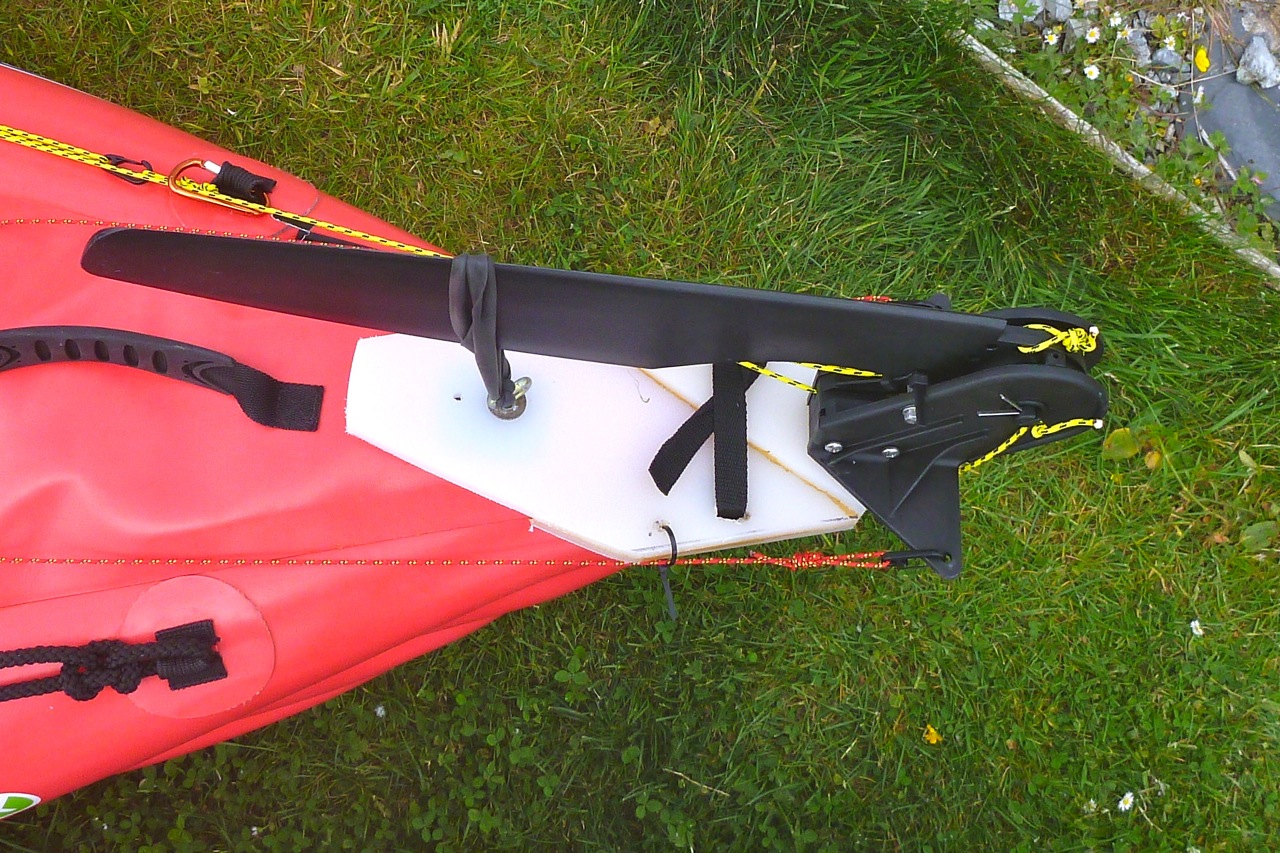
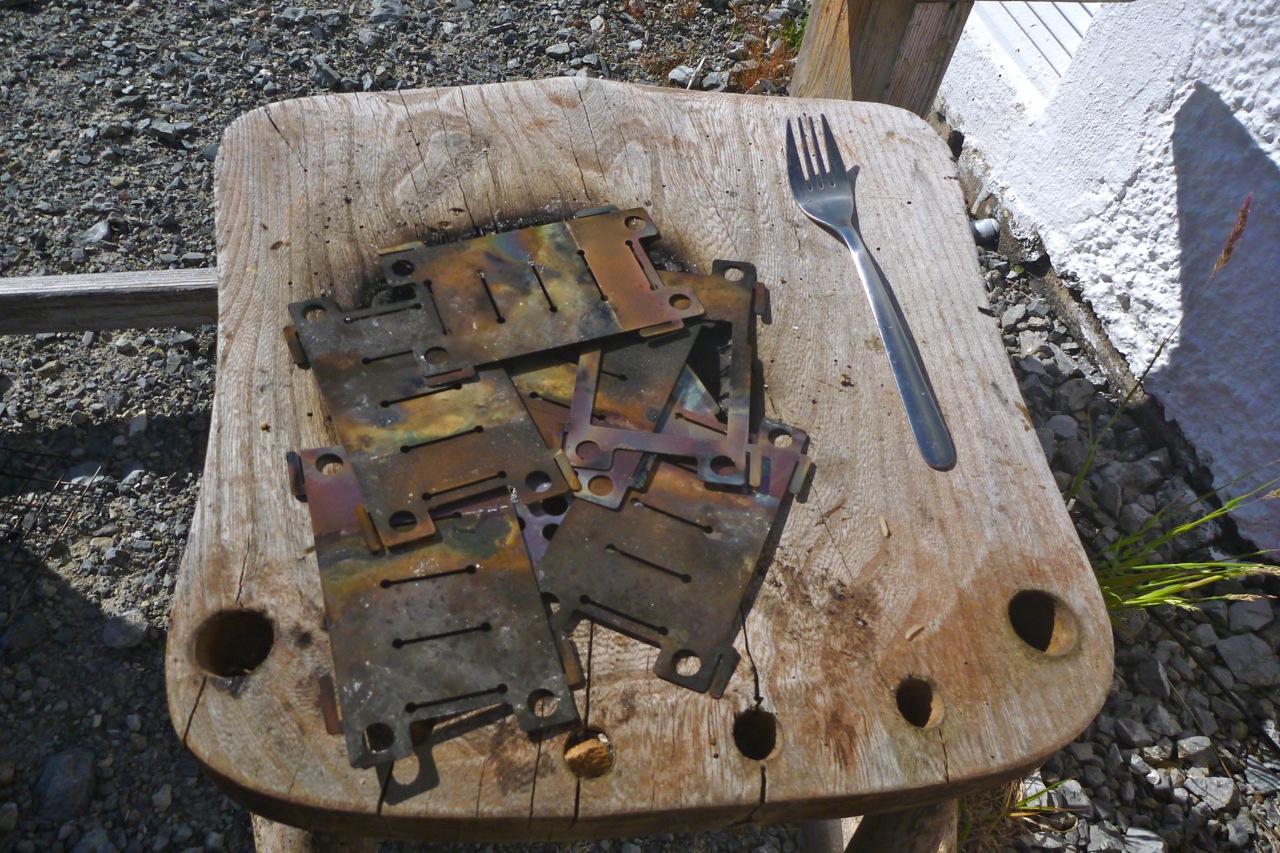
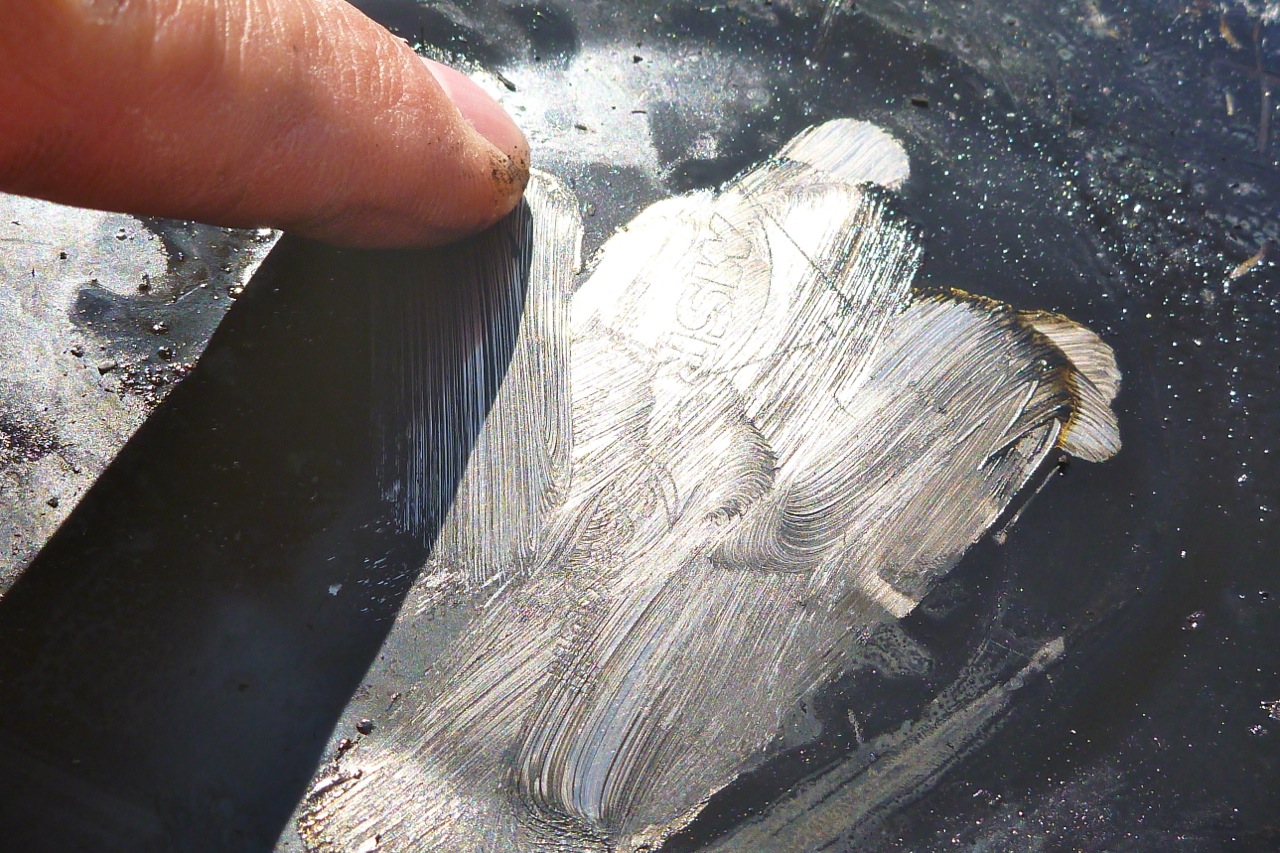
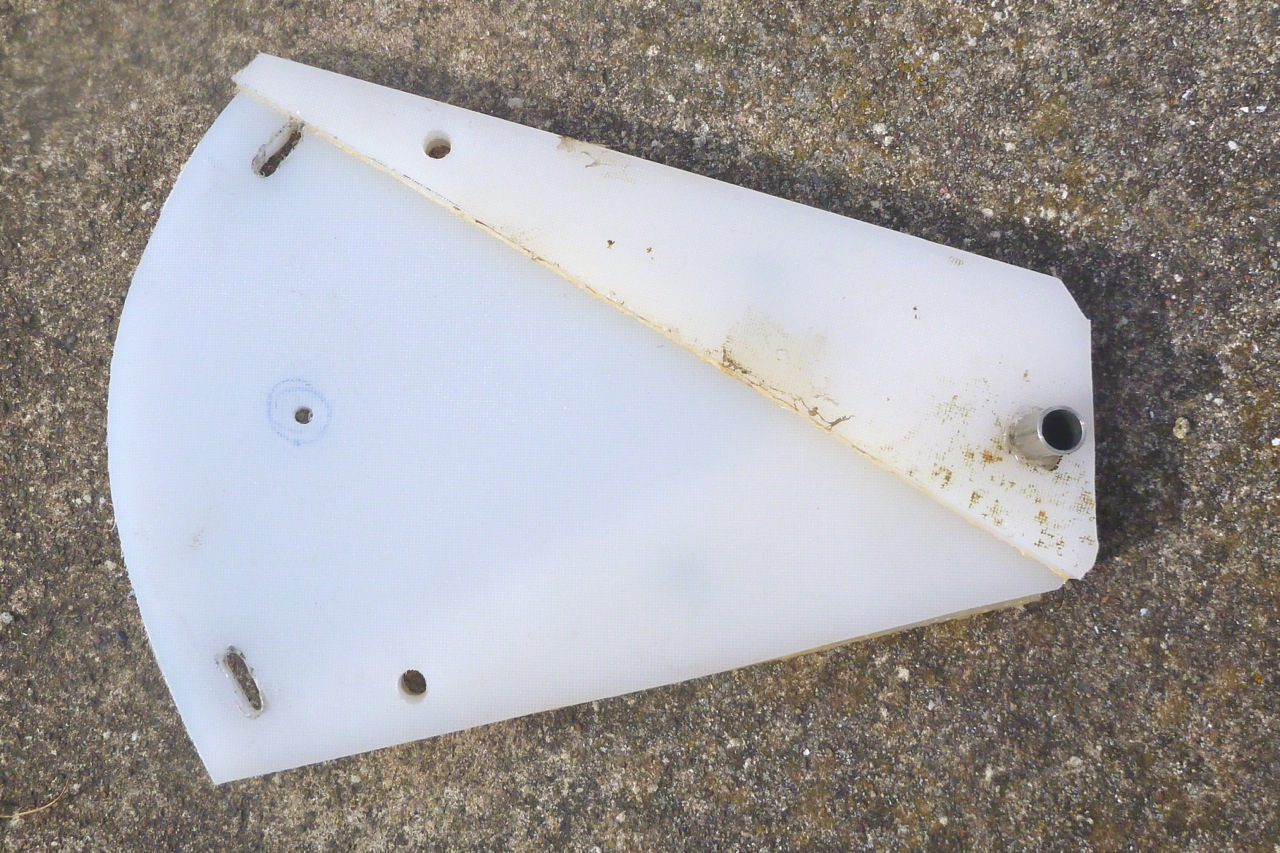
Ironing out the flaws with the prototype added up to attaching it more securely at the back and making the pedal board out of something more responsive and durable. By coincidence, all these components can be sawn from a single piece of 450 x 300 x 12mm LDPE chopping board (above) which costs from £8 on eBay in a range of colours. This is 50% thicker than the smaller board I used on the prototype plate so doesn’t need doubling up and gluing to make it rigid.


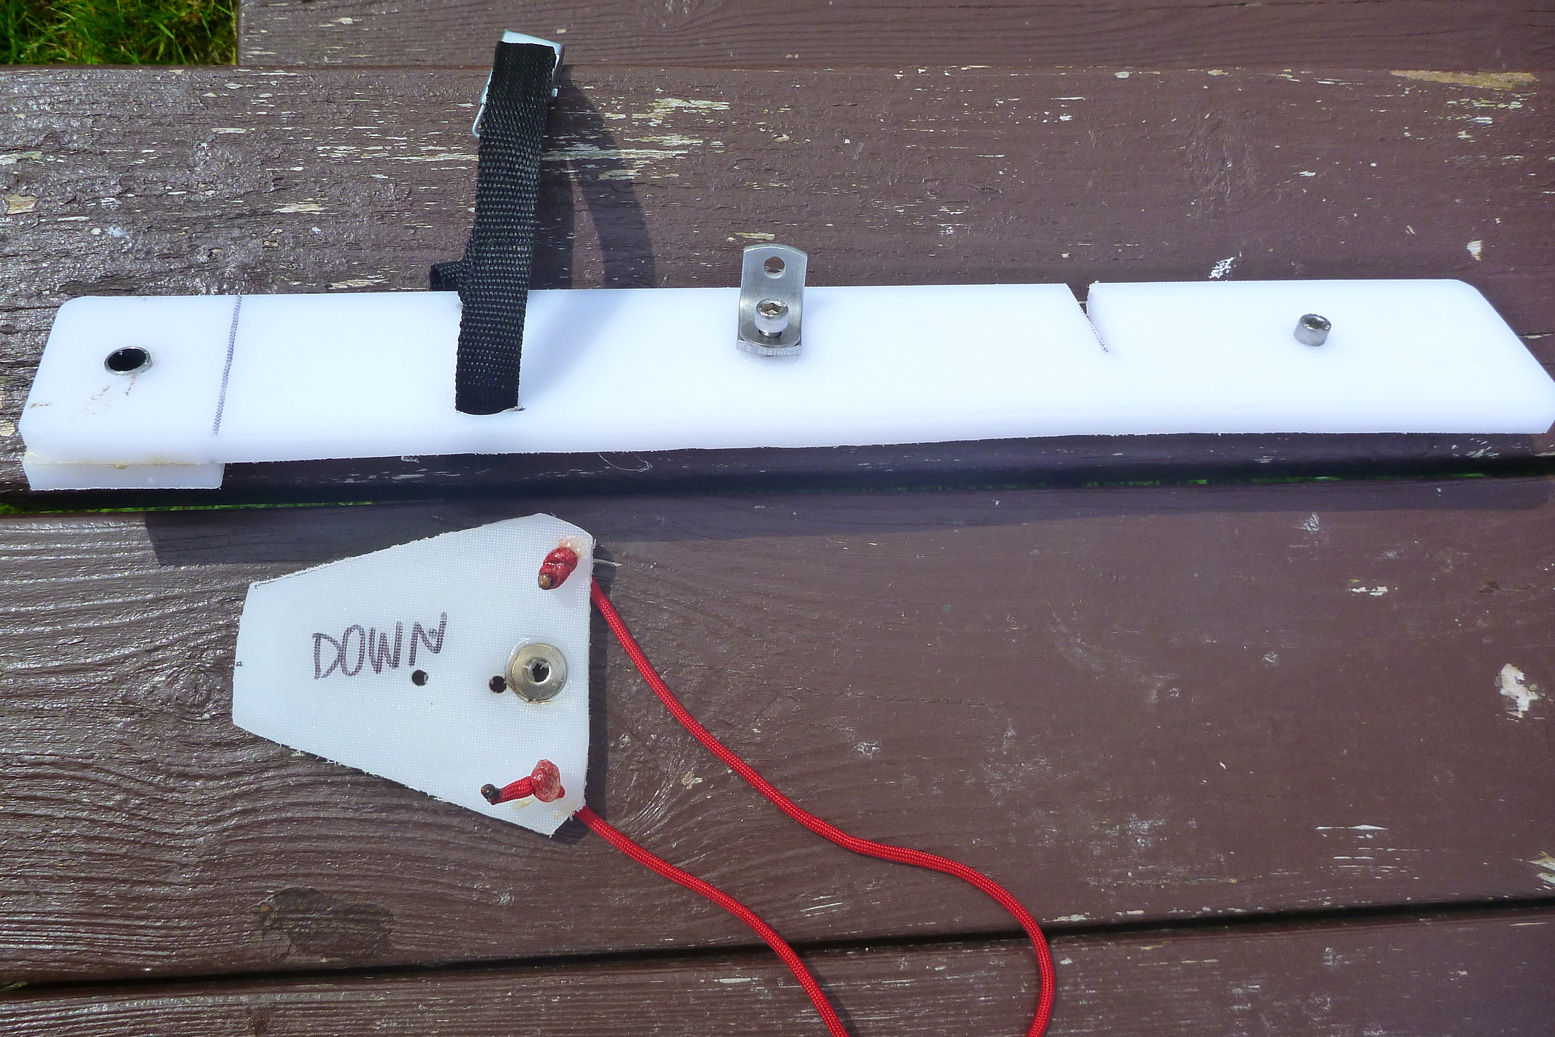
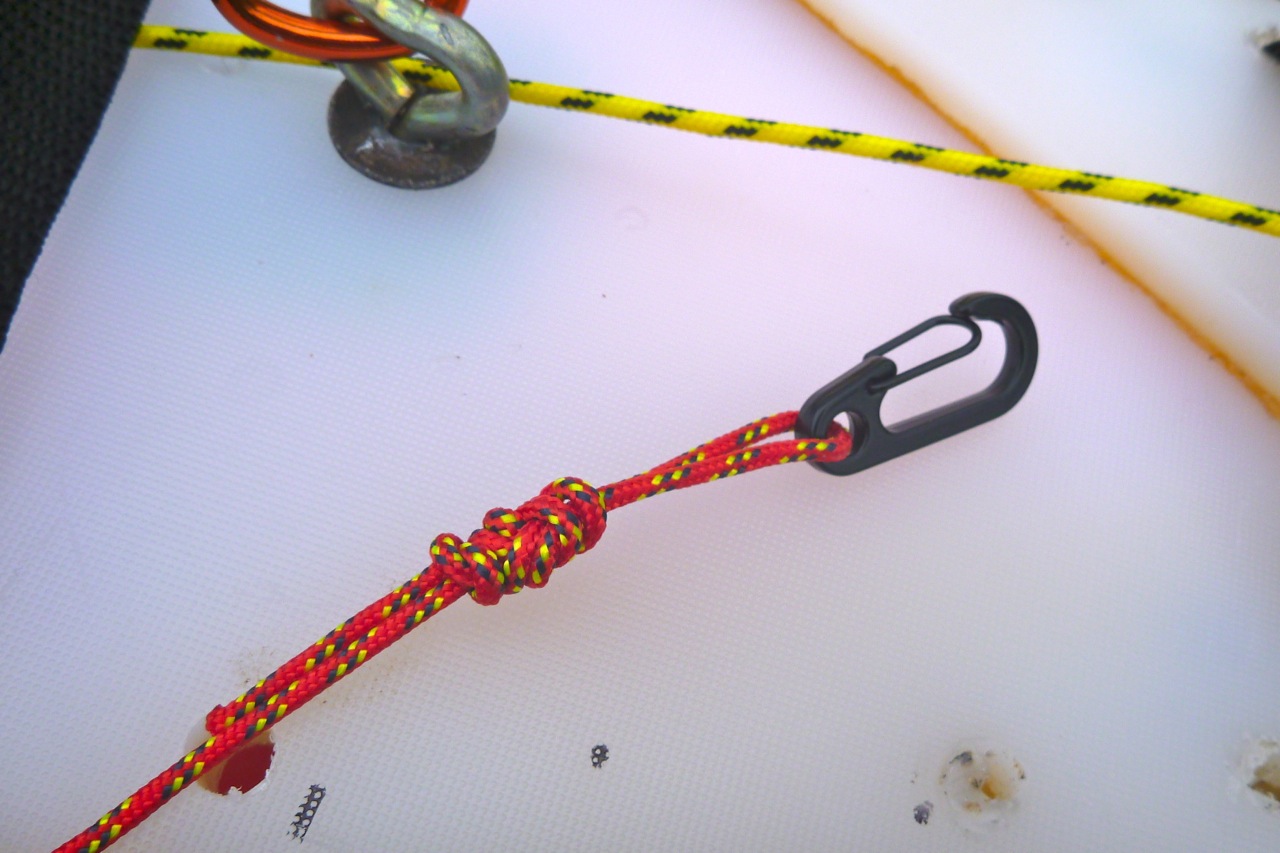
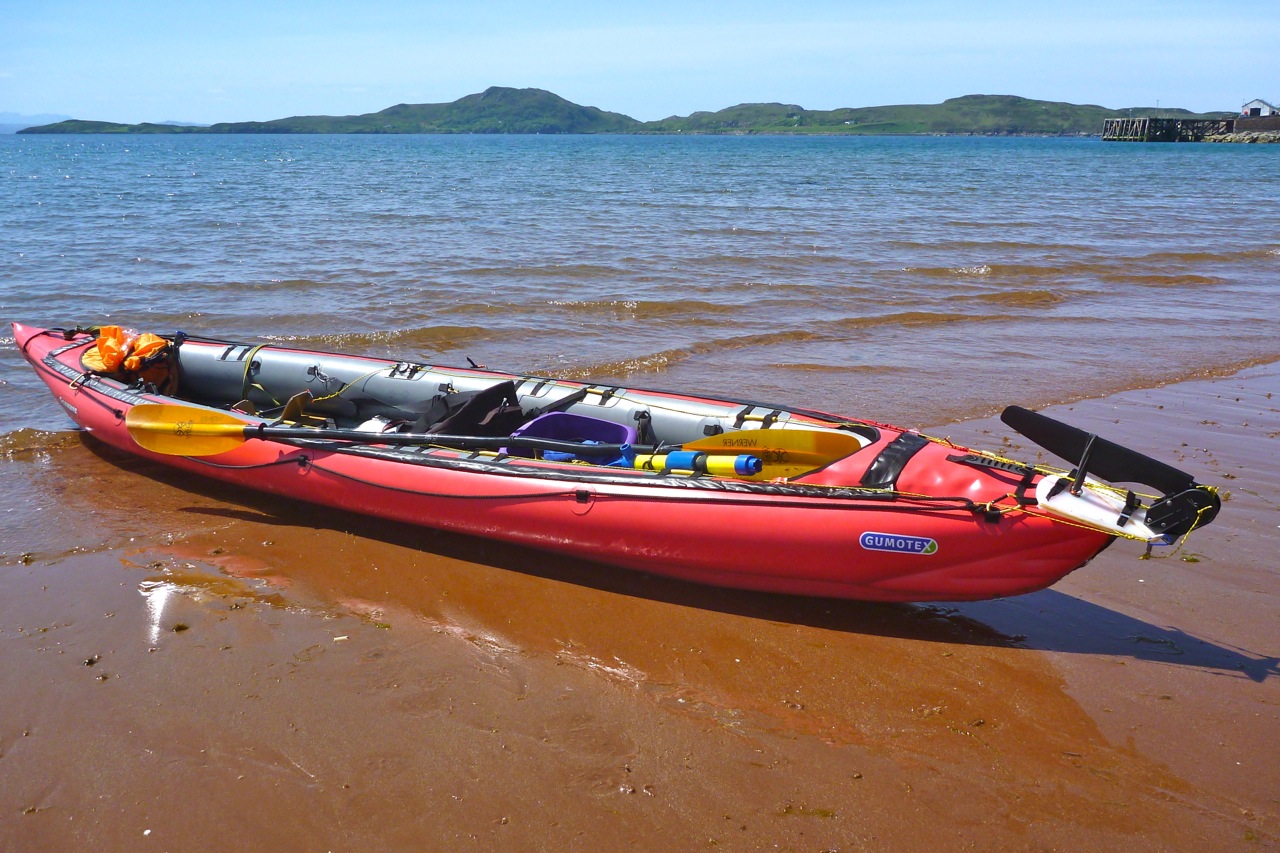
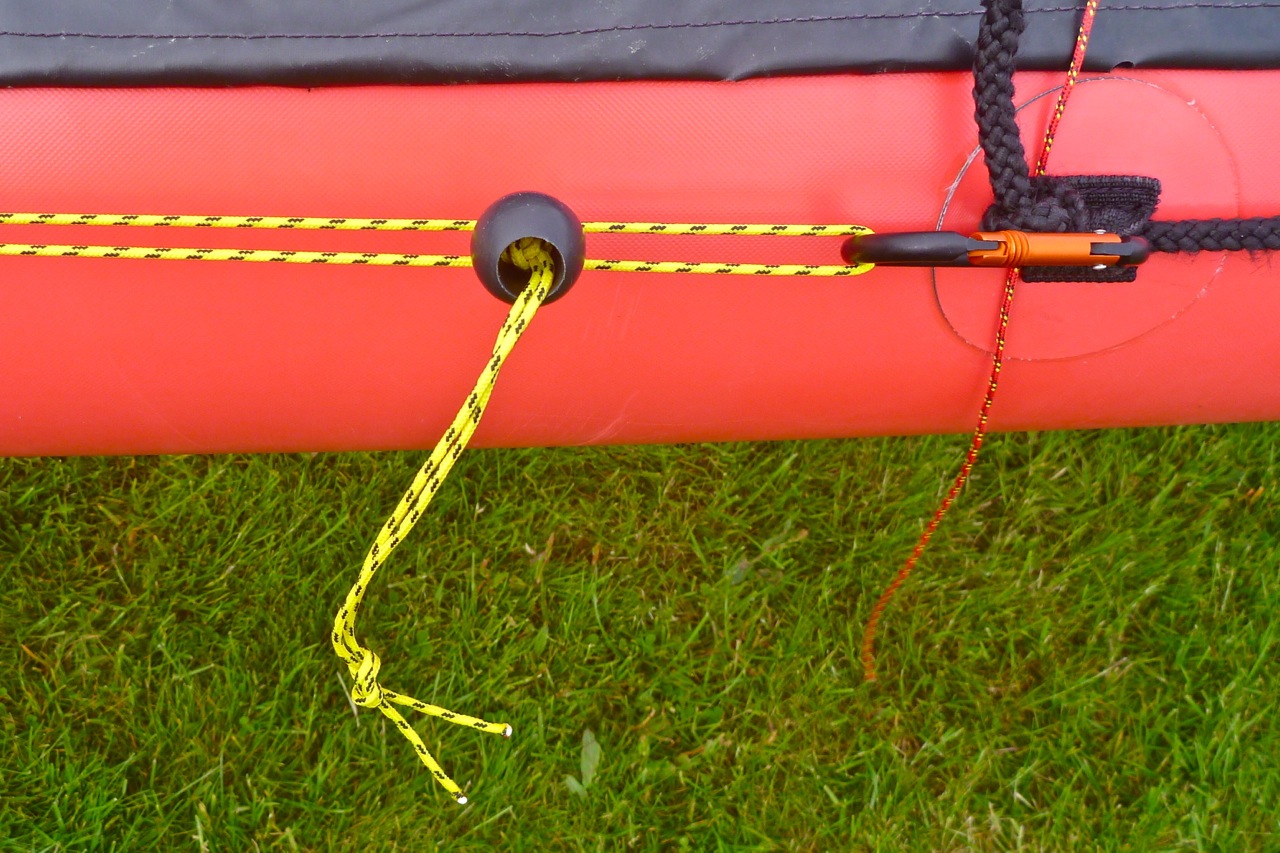
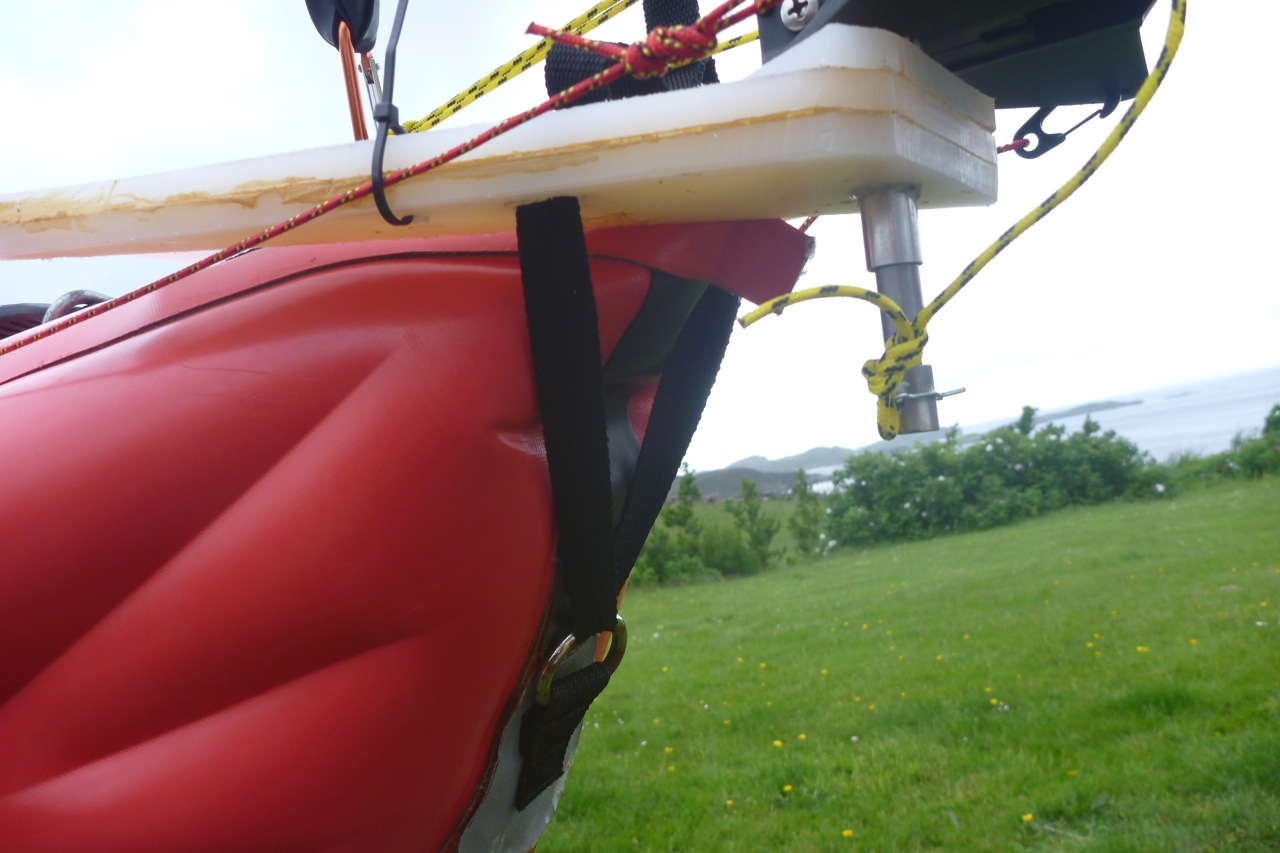
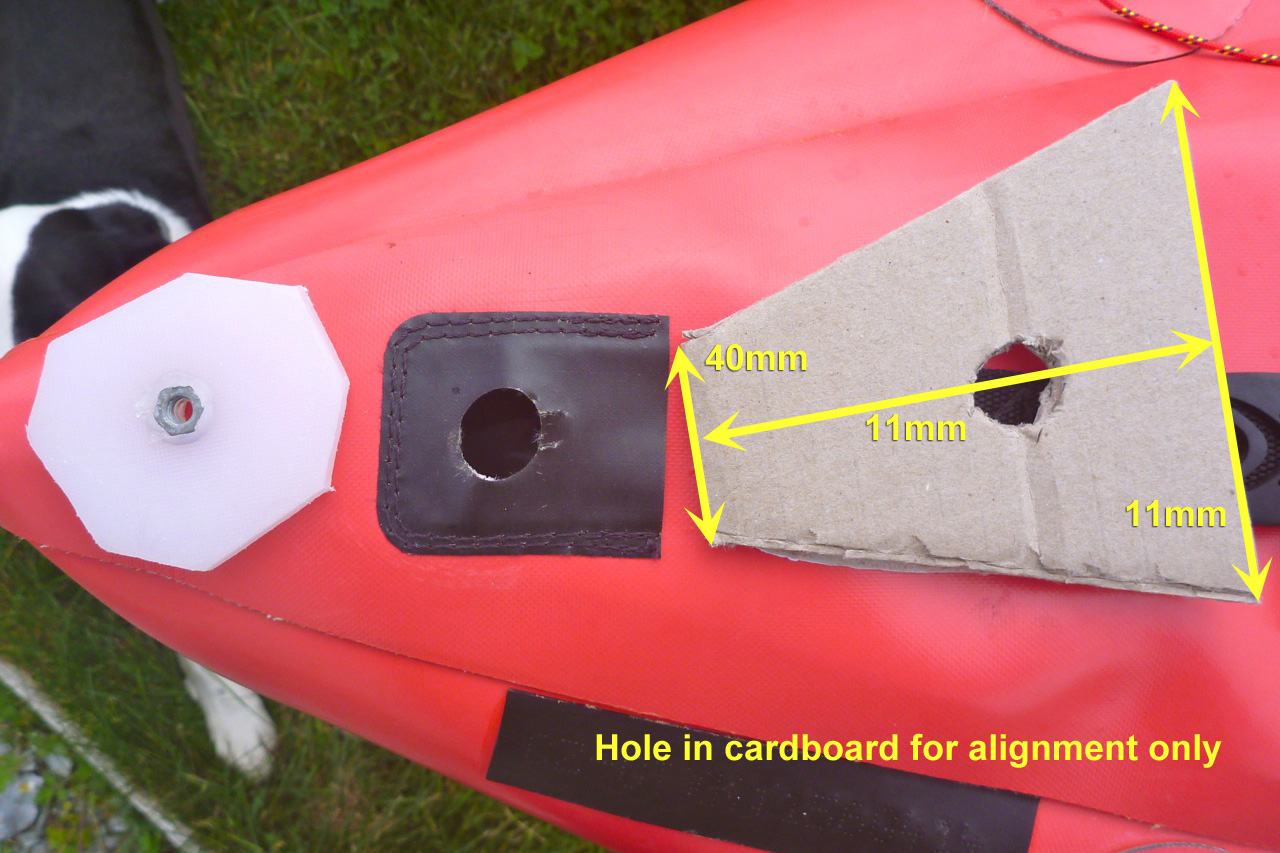
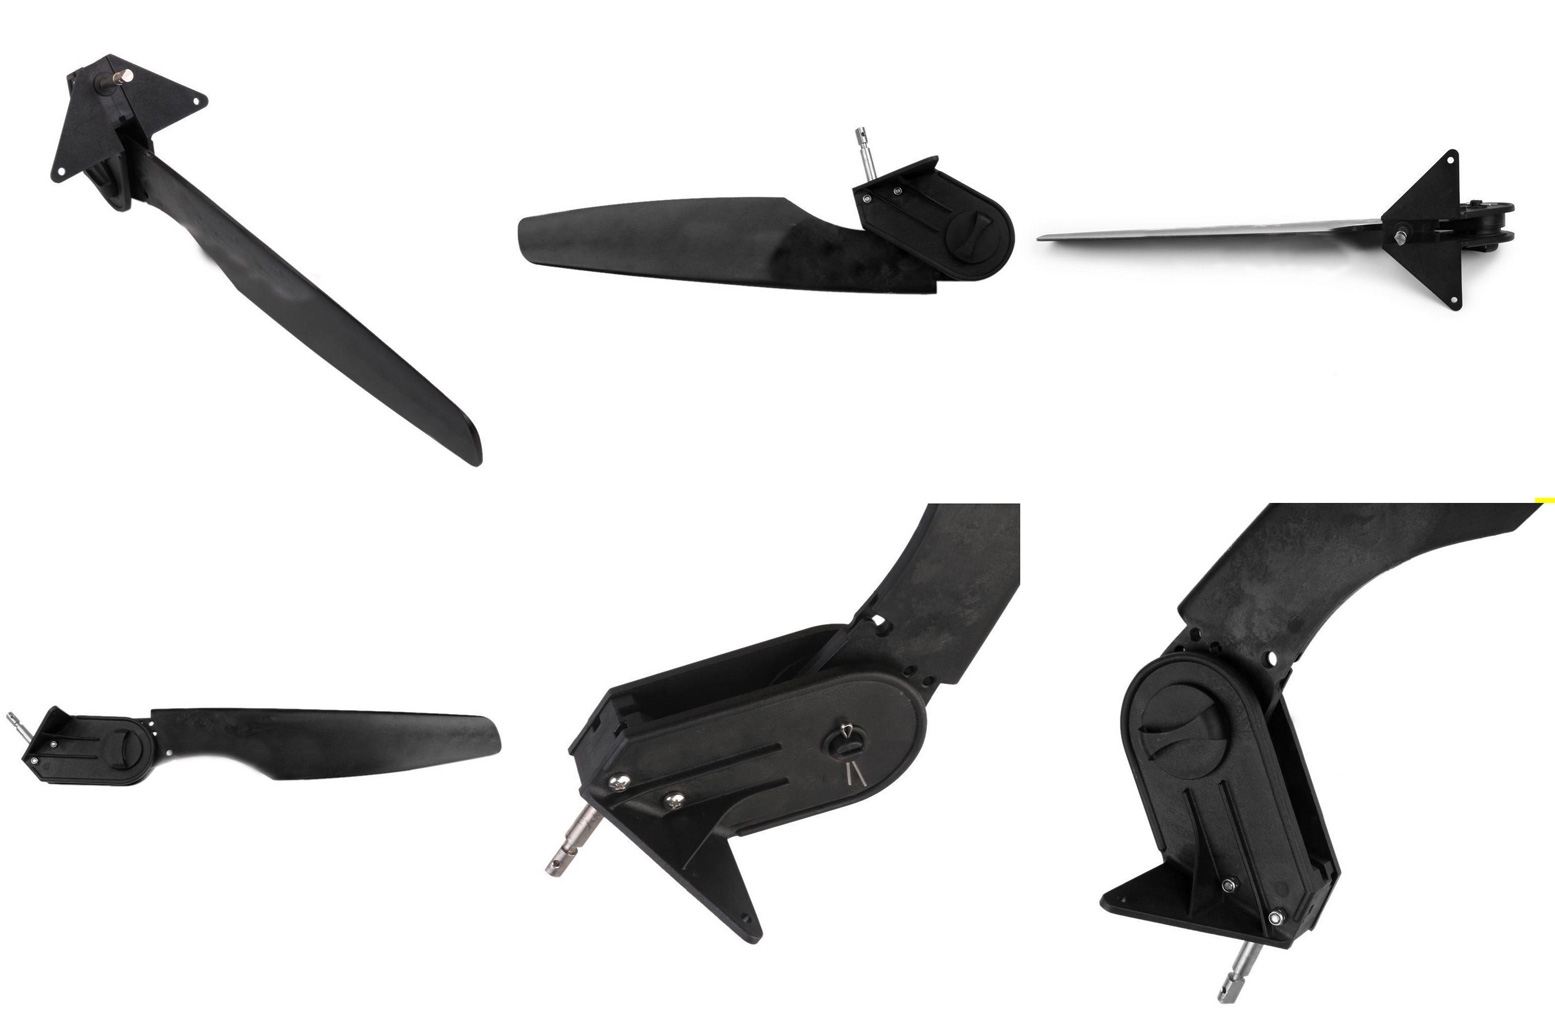
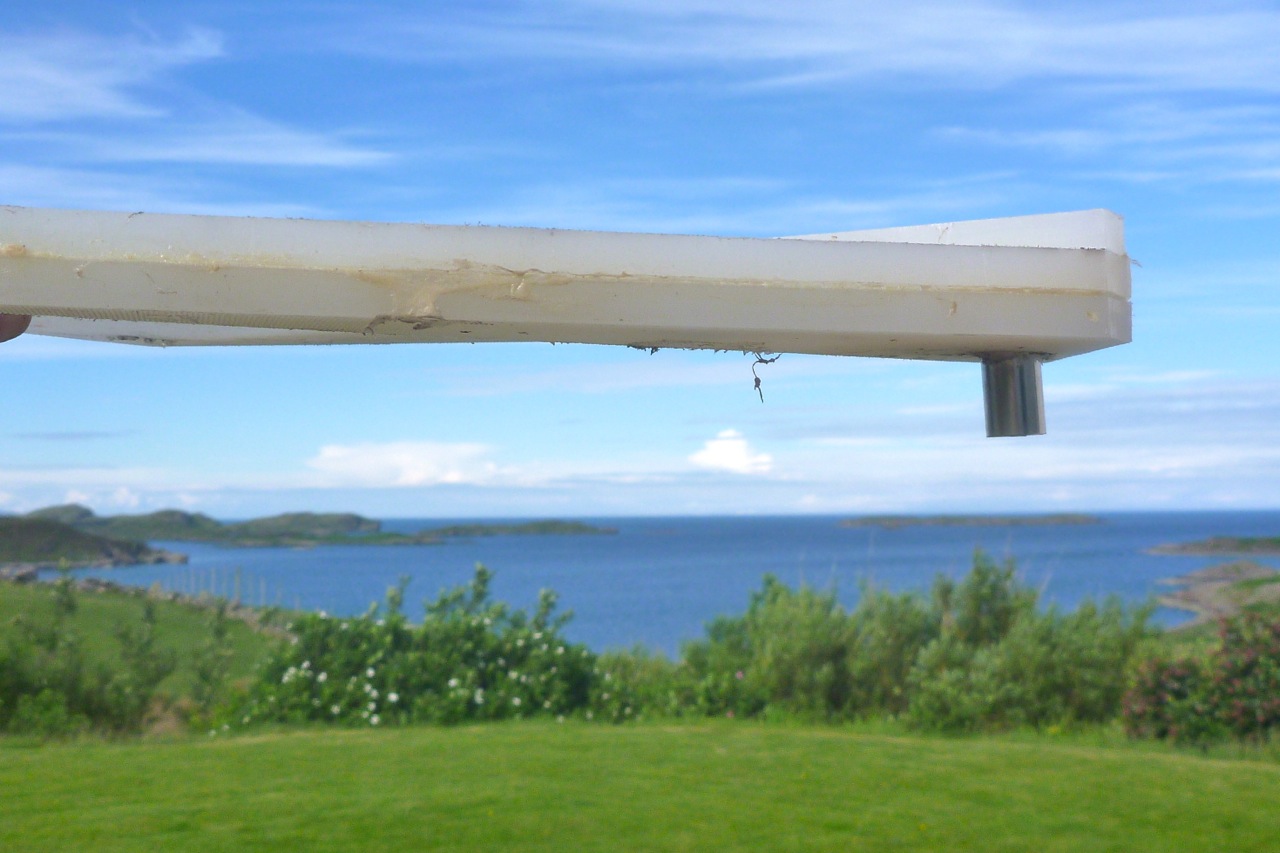
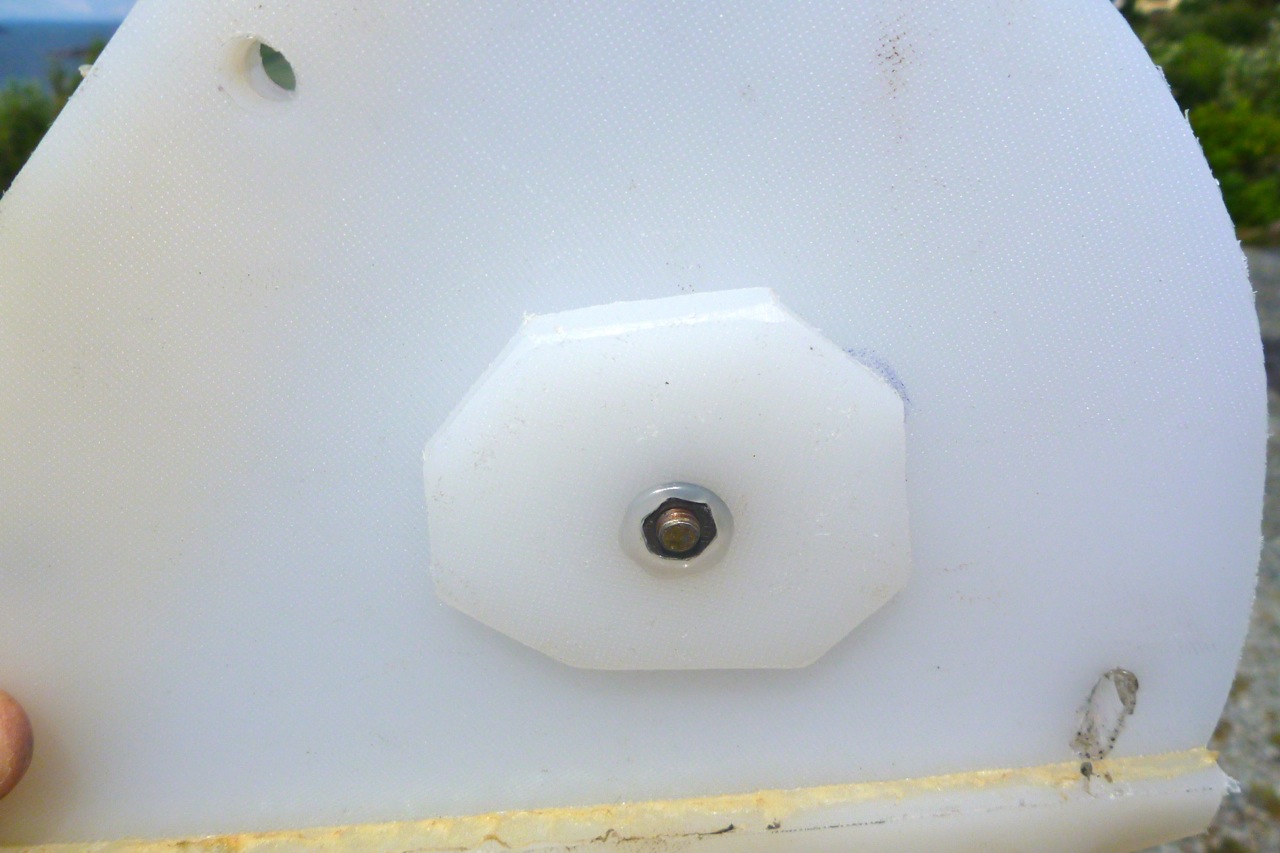
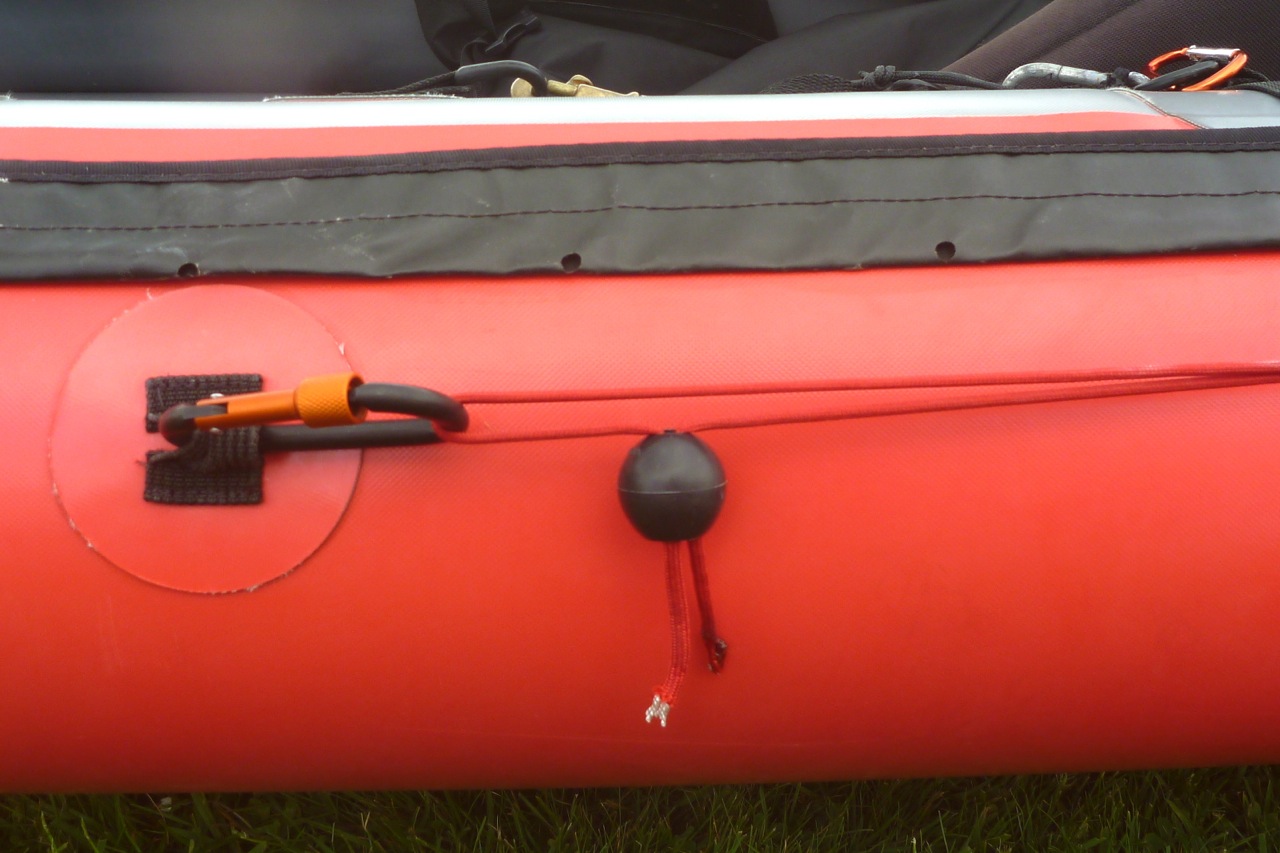
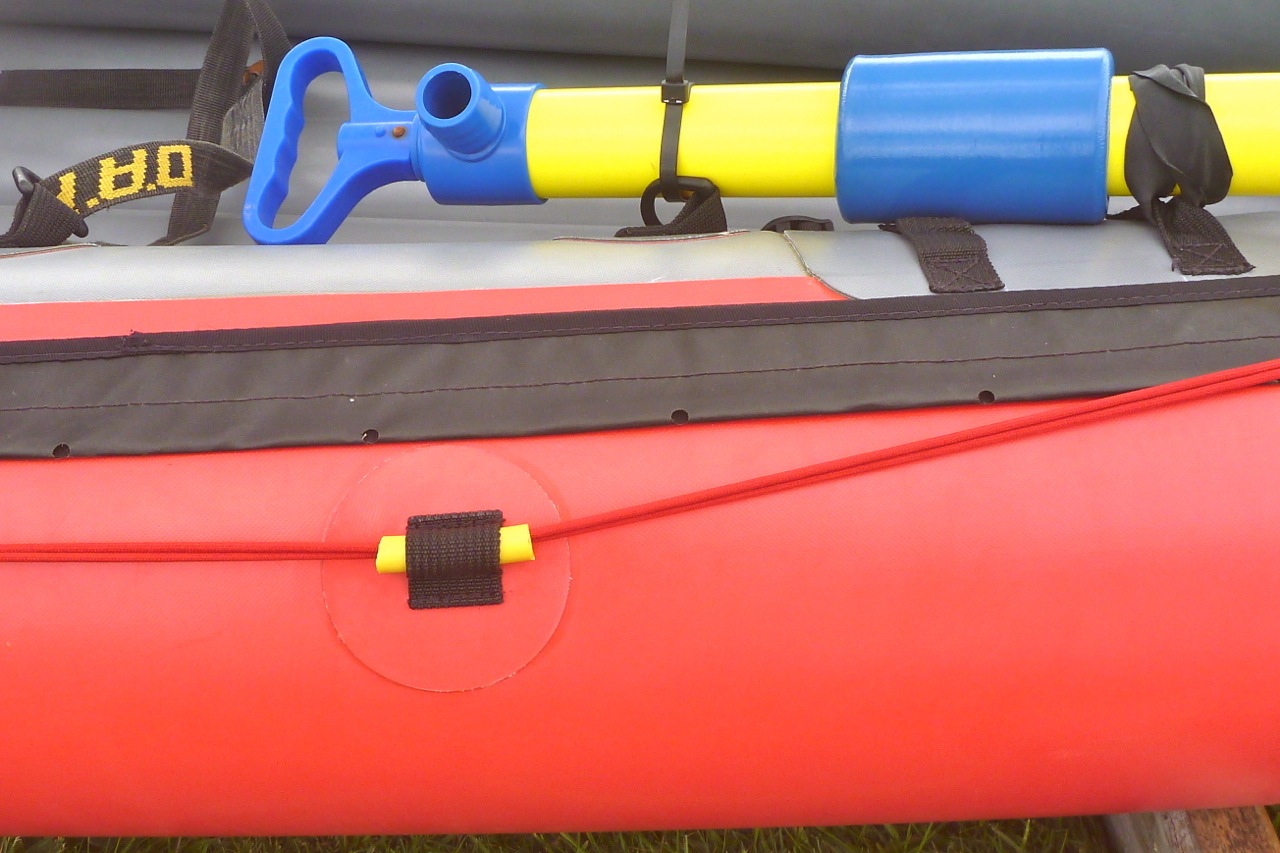
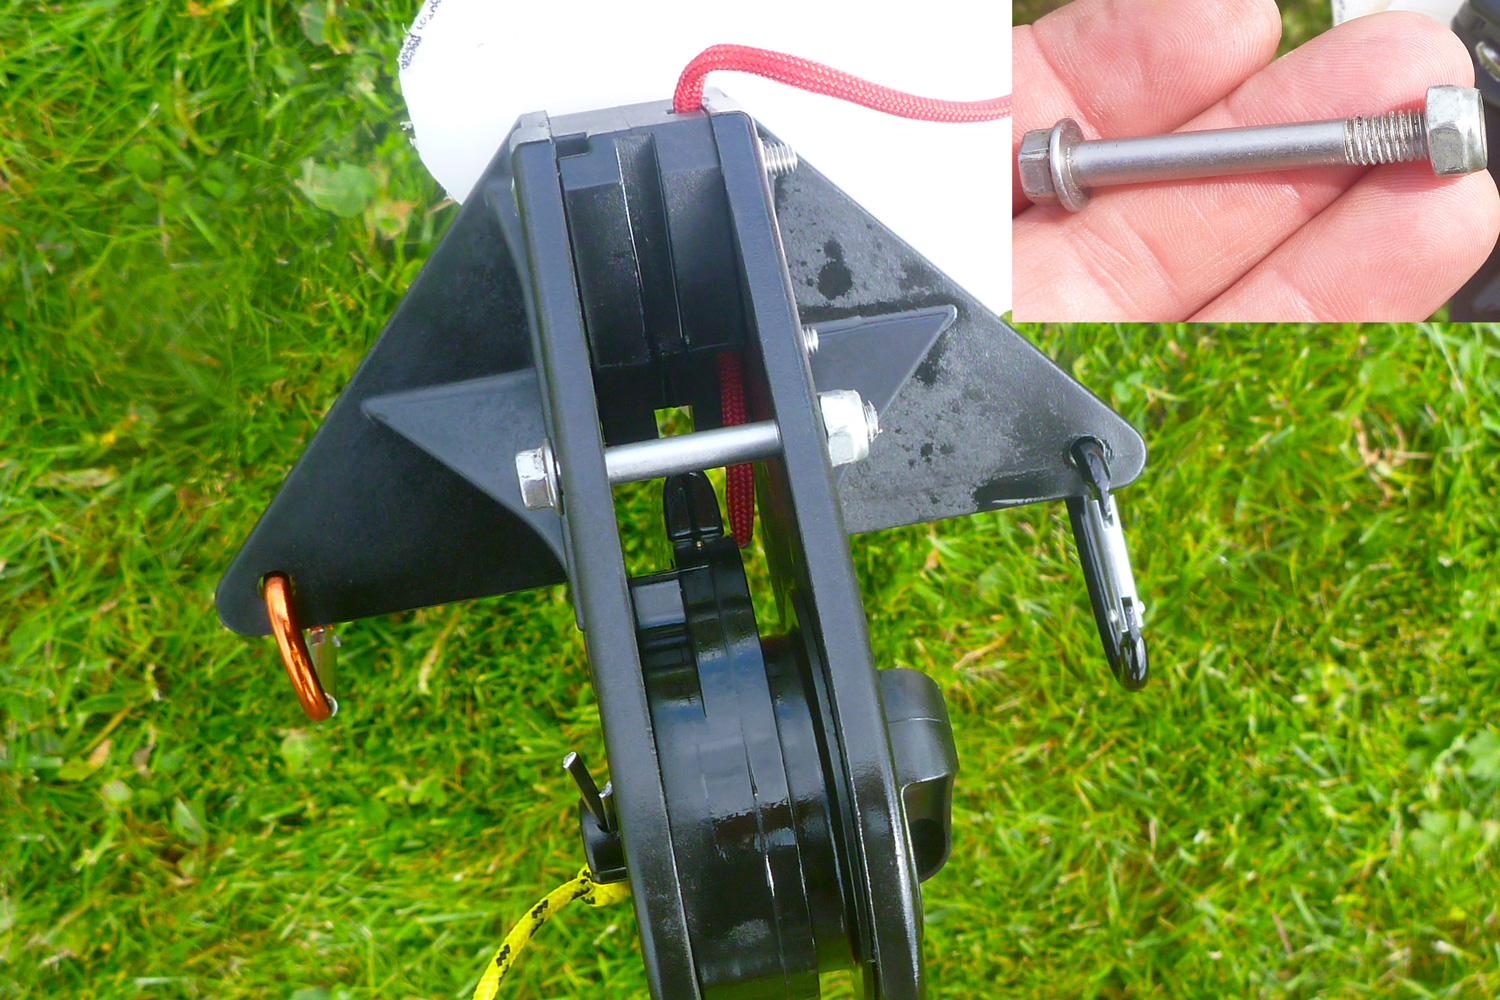
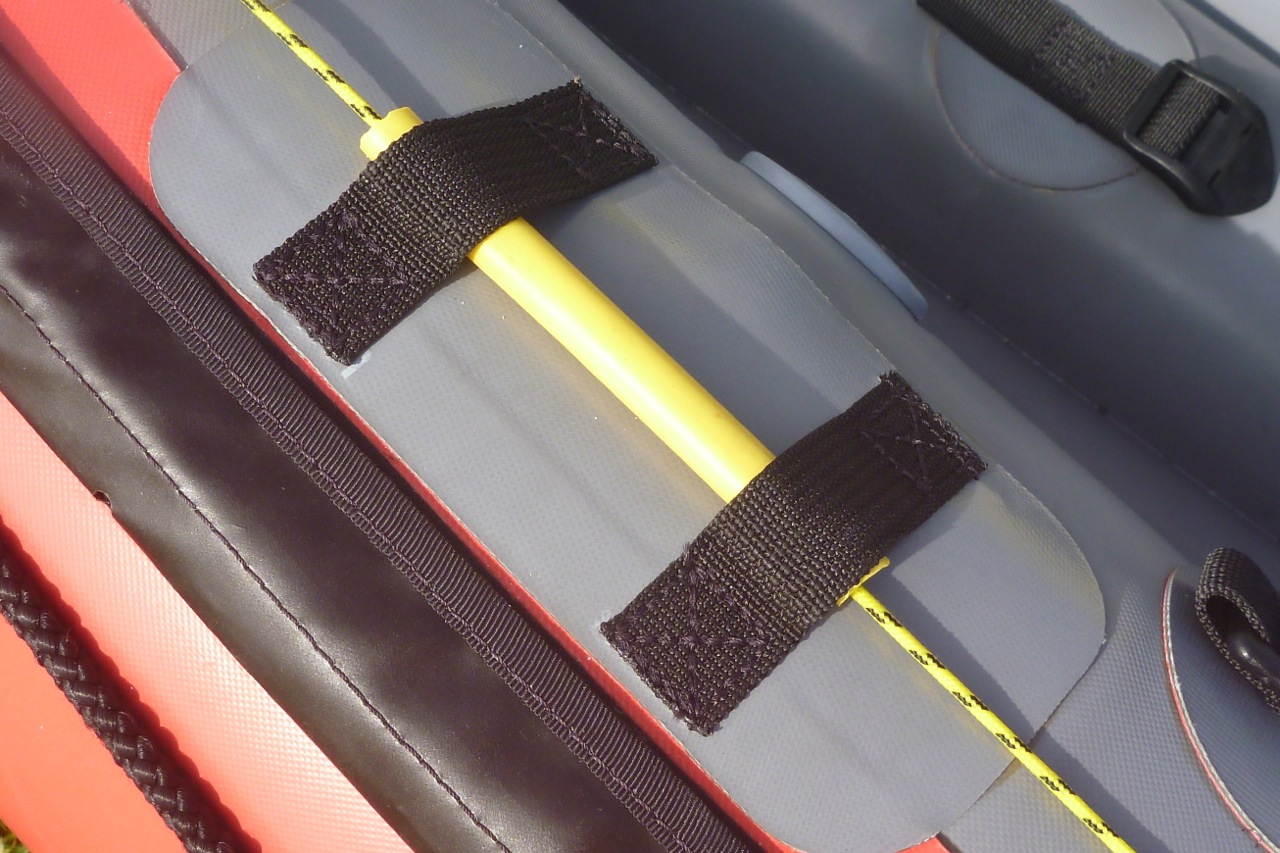
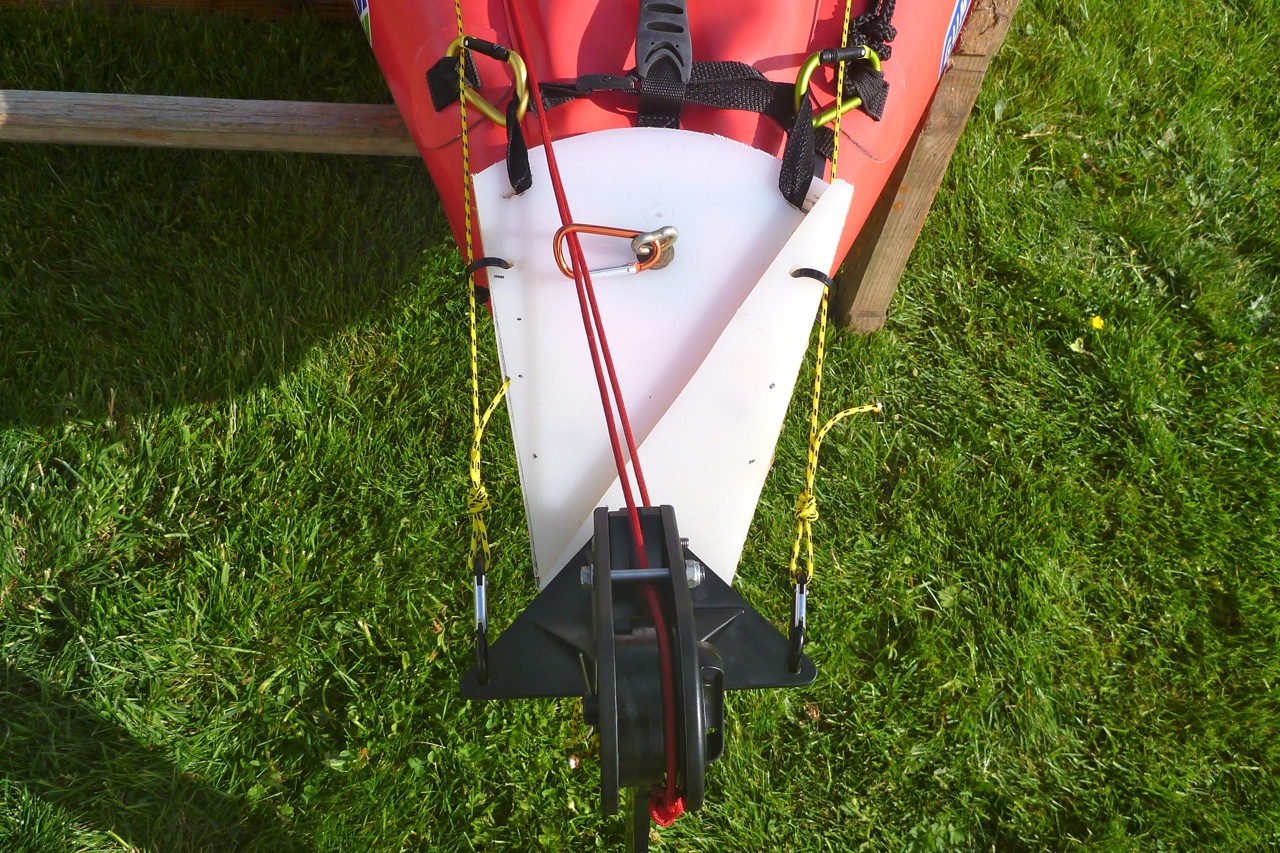
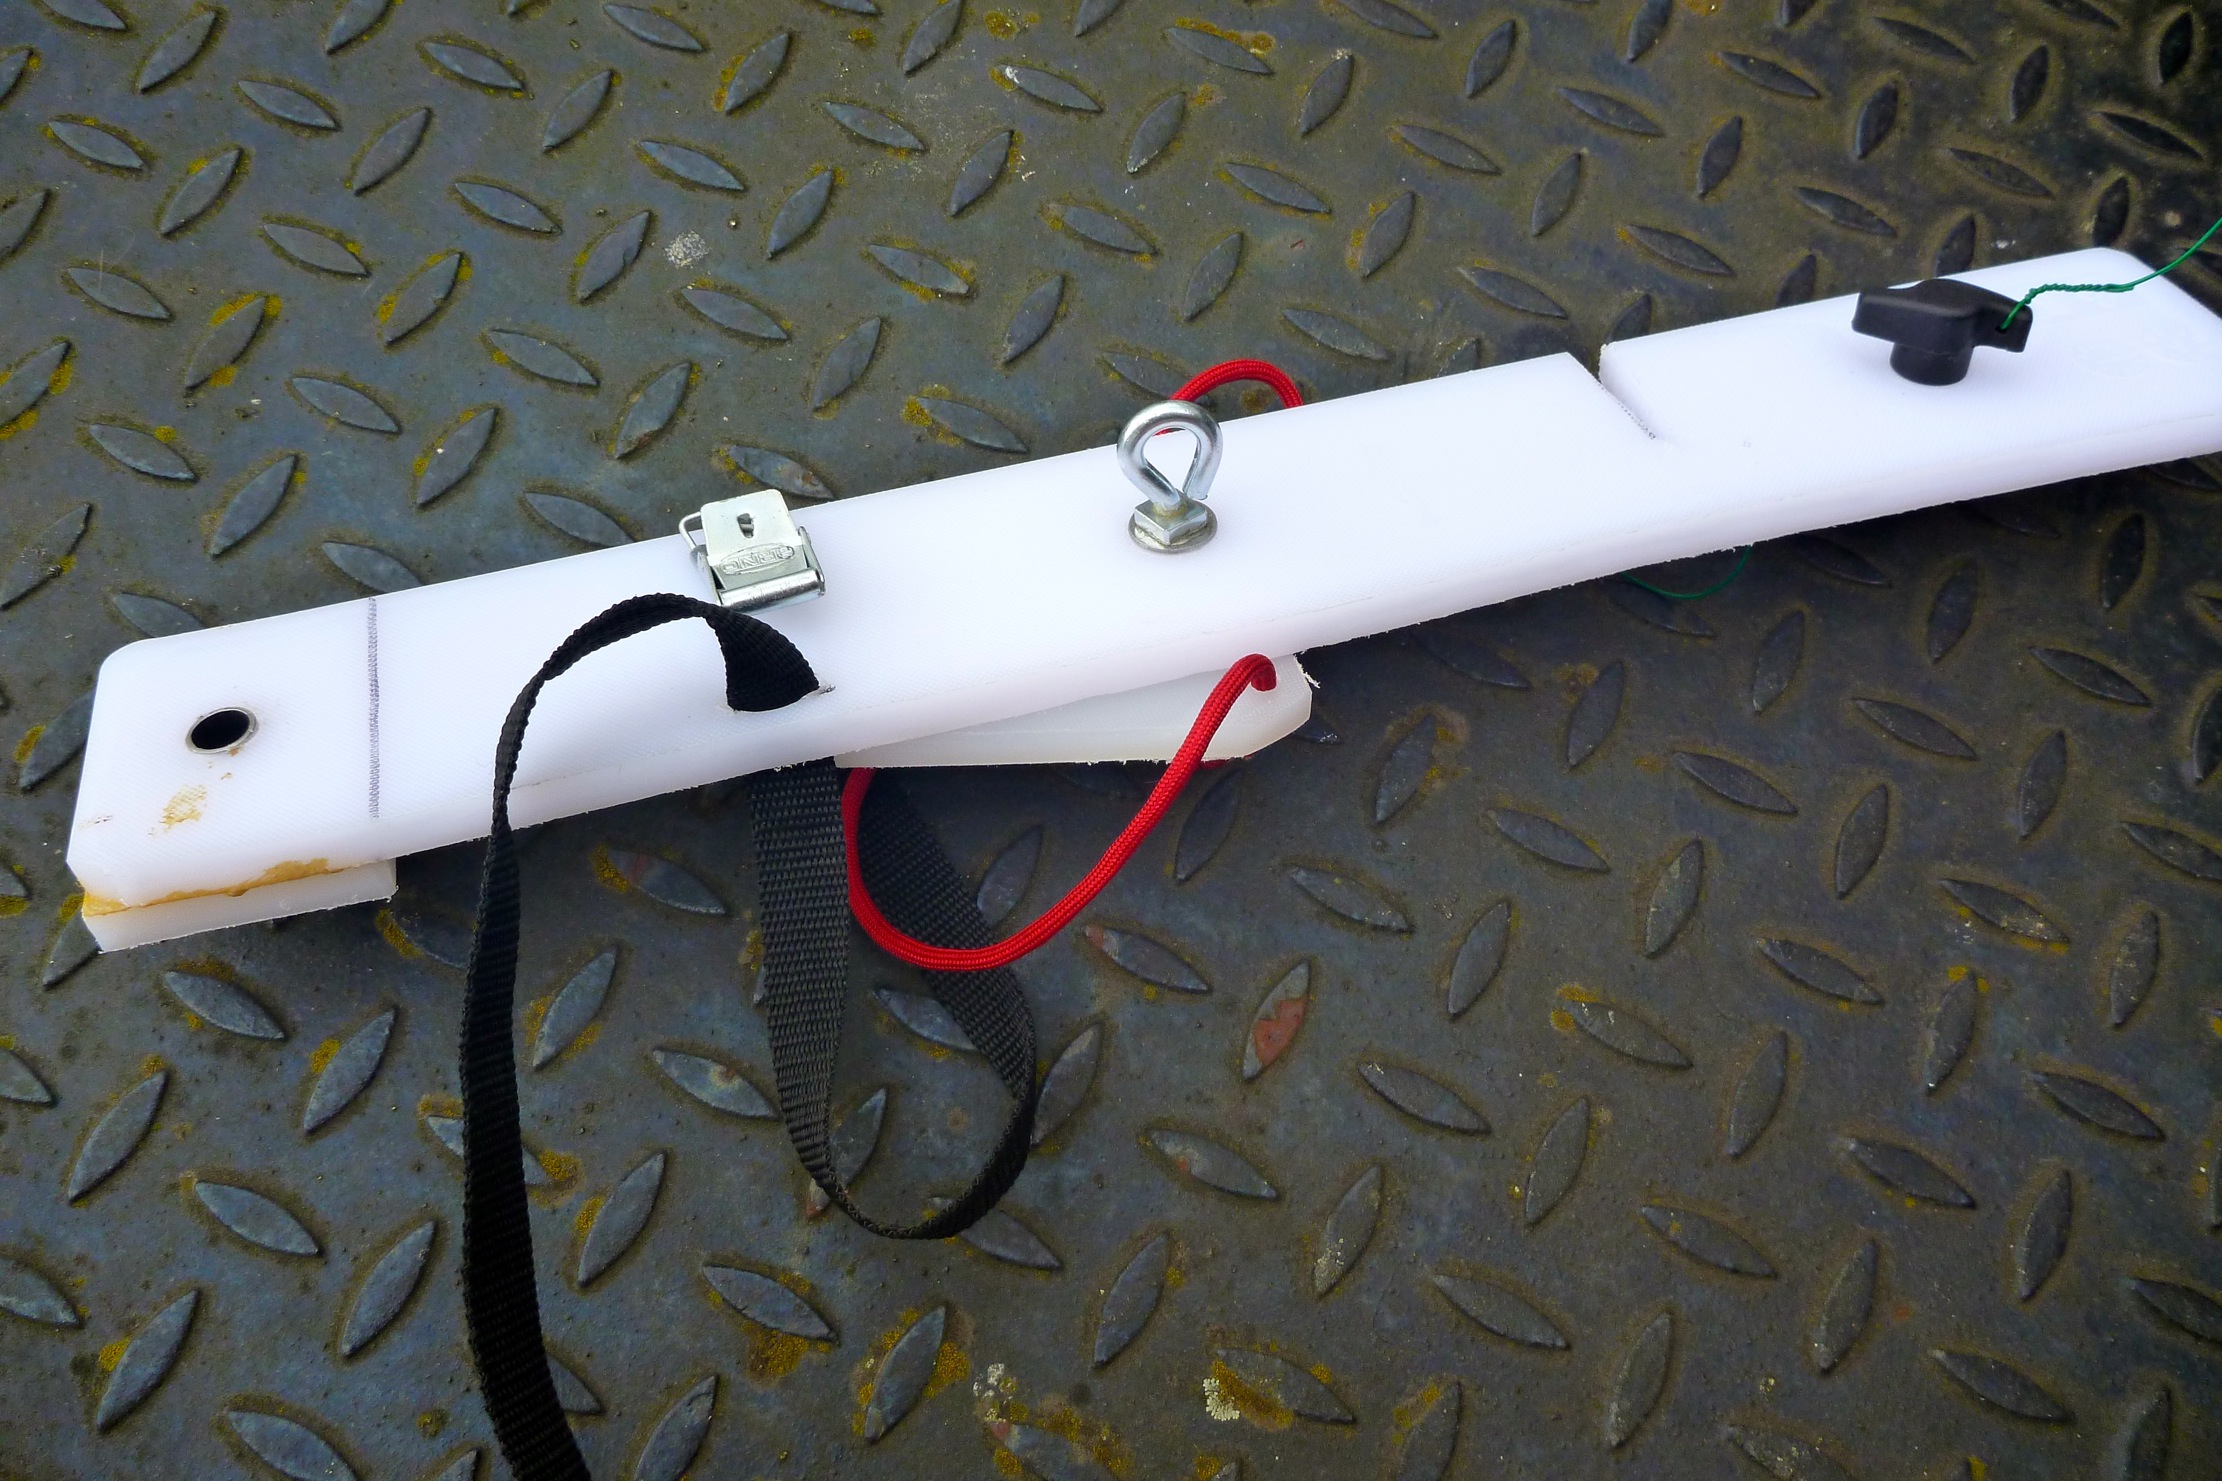
At the back I slimmed the rudder plate right down to a simple strip of 65mm x 450mm, glued a block on the end to better support the gudgeon swivel pivot sleeve and added the crucial second fixing under the portaging handle (above left). I also added a triangularish screw plate underneath (left, with red cord) so it all sits snug in the stern. With the hardware and saddle strap that now adds up to 306g (the rudder unit weighs 450g with its running lines). Even though it’s slimmer than the proto plate, it weighs about the same because it’s now 12 mil. But looks a whole lot neater.


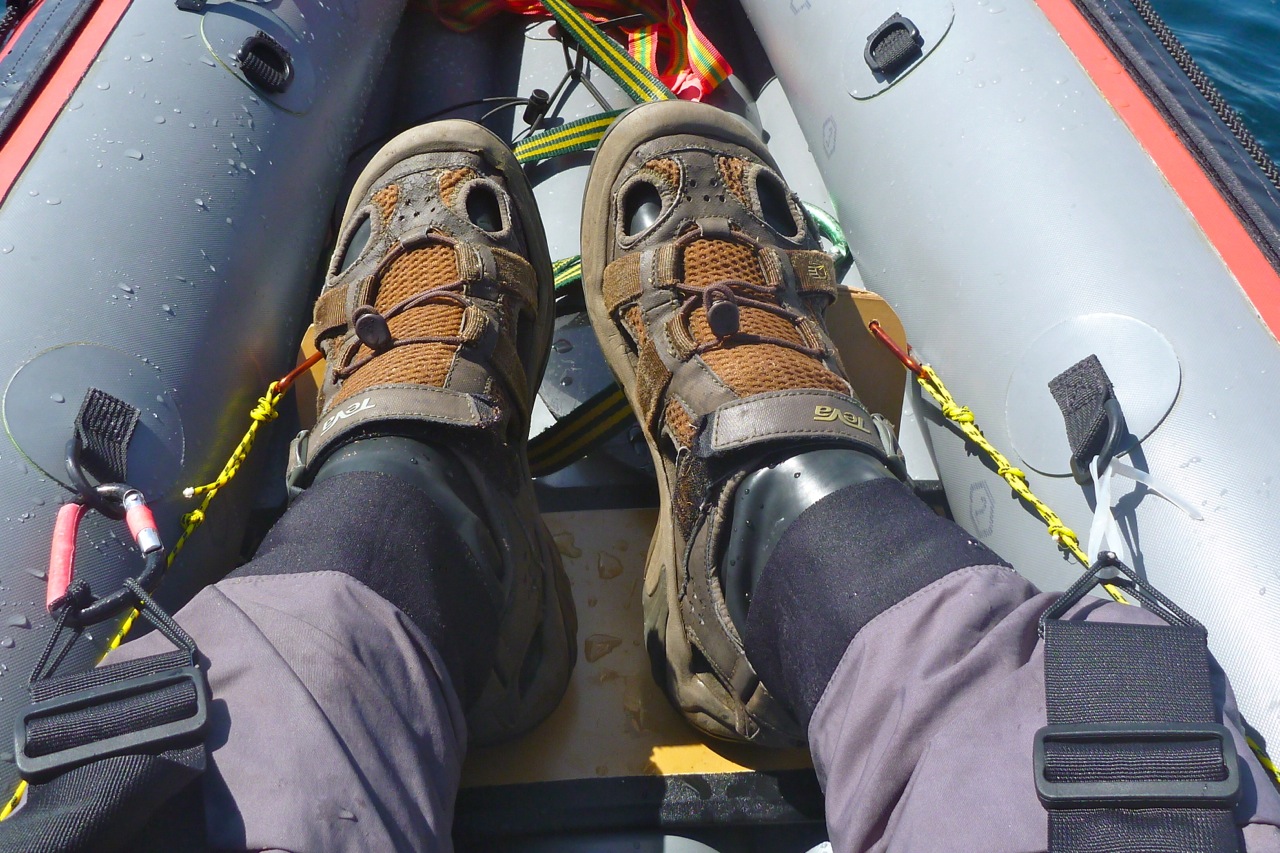
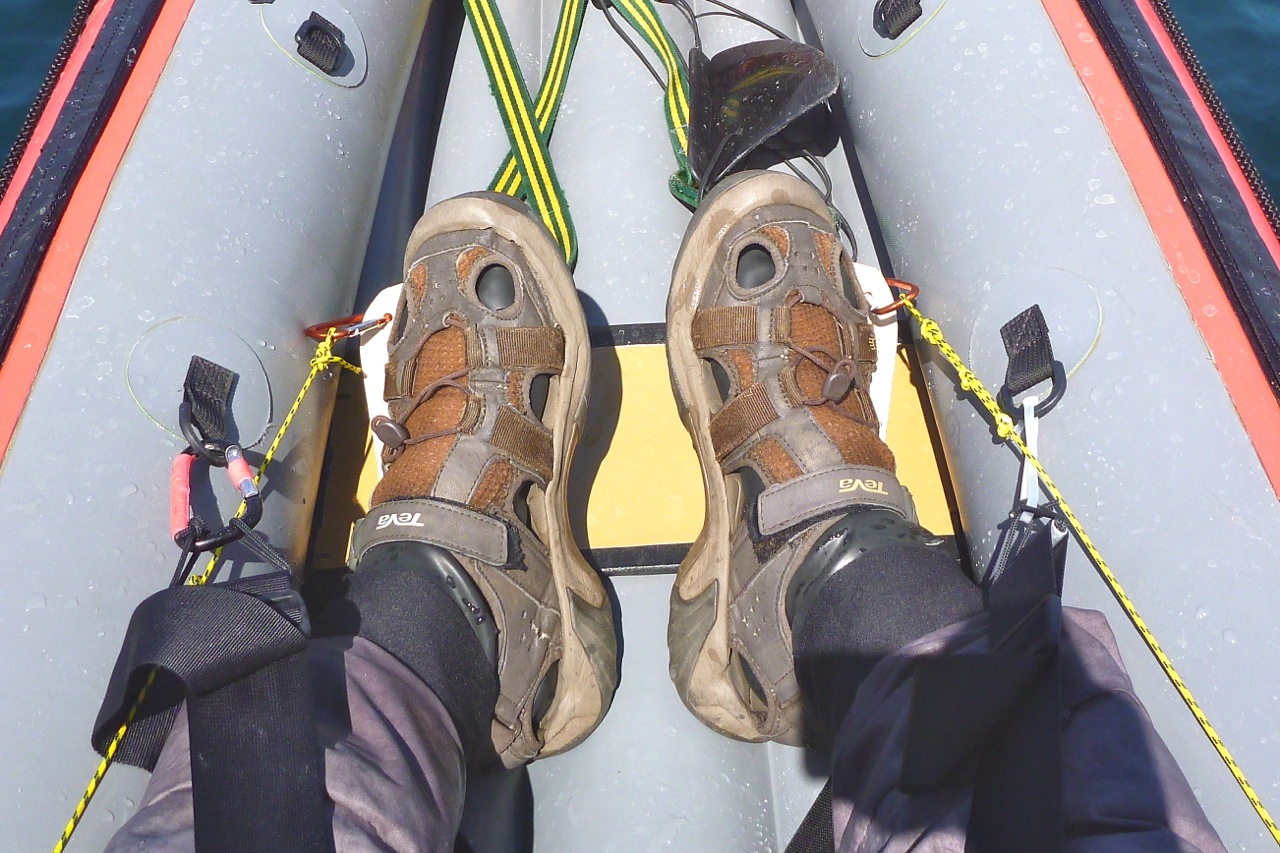
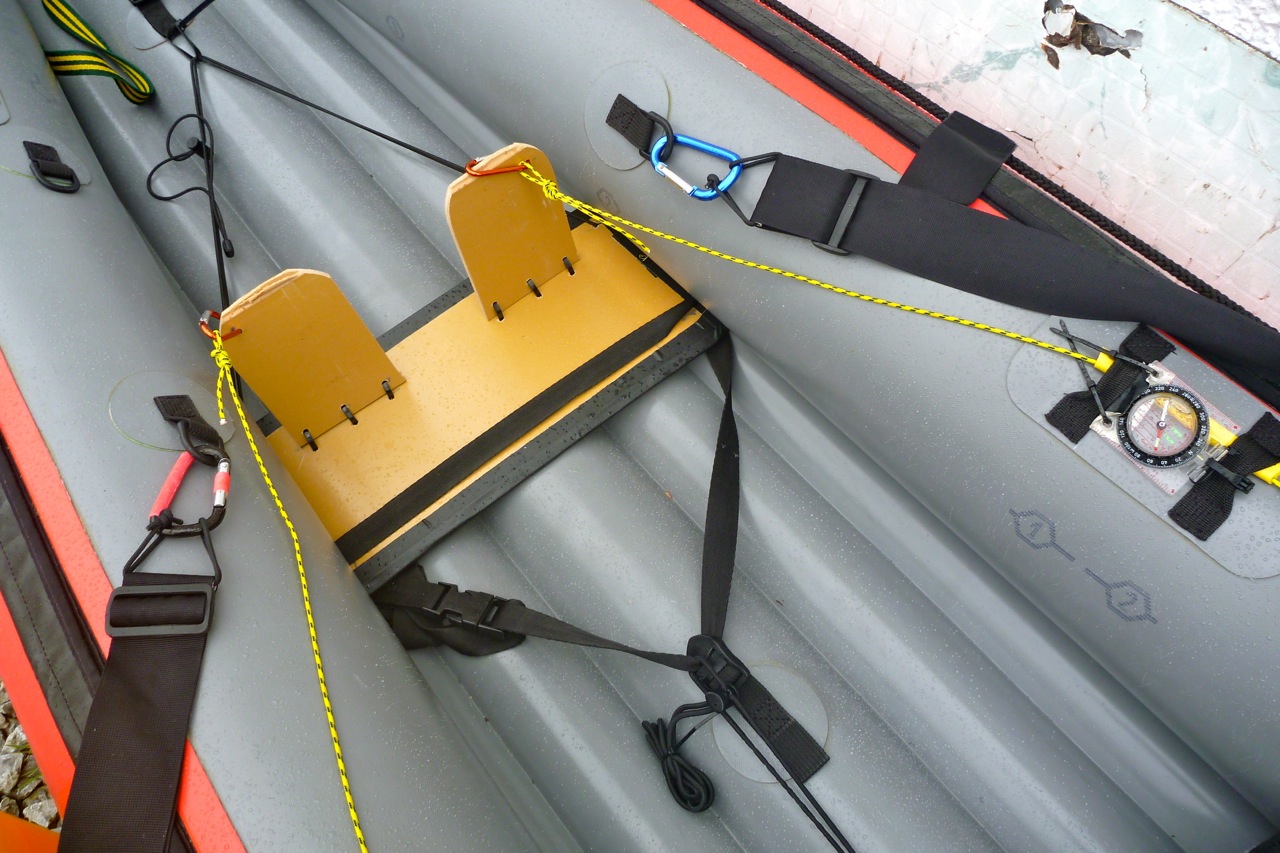
The pedal board is from the same slab but uses stainless hinges, not zip ties. I’m reminded, you’re constantly making small adjustments as you paddle so pedals need to be as taut and responsive as possible. Once I’d trimmed the board and pedals a bit (left), with hinges it came in at 660g.
The board and maybe the pedals could have been made from 8mm if there was some to spare – but an 8mm board wants to be ~450mm wide to sit snugly in the boat’s side channels. Like the rudder, the pedal board will be subject to strong forces in heavy seas so also needs to be solidly jammed in. Meanwhile, I noticed the floor-laminate prototype board (right) gained nearly 15% in weight after getting wet – a sign it won’t last long. Still, it made a good template.

I do wonder if something like the Grabner rudder pedal bar (left, similar to Gael’s old H2) would be much lighter, as solid and as effective as my board. It costs €70 plus €30 for a pair of Zoelzer pedals.
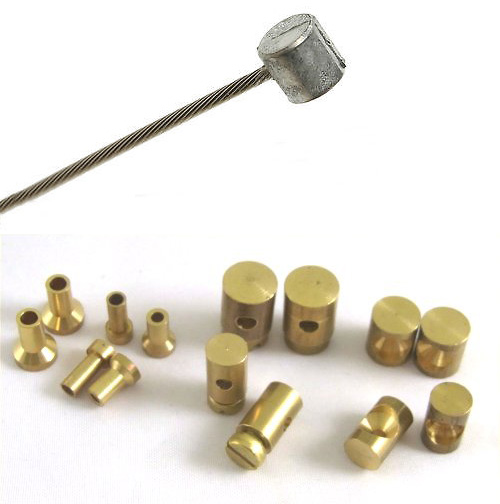
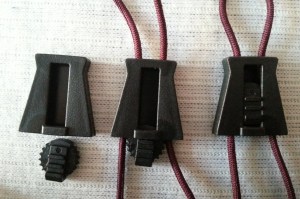
I can’t really see how I could replicate that alloy footrest bar – out of copper tube filled with resin perhaps (like this motorbike rack)? It’s held securely in place without fittings by being jammed in the channel cavity between the floor and the sides (like my board), but a check with Gael advised me against it. As it happened, I’d pretty much decided the same mid-test run (below). A sliding ally bar plus seawater isn’t a great combination and might bend or break, or the pedals snap. I know the ally backrest bar on my Amigo wasn’t up to it and Gael’s backrest broke (though it was ancient). My plastic version may weigh double but should be solid. Interestingly, just as a bag of clam cleats turned up to make a quicker way of fine-tuning the rudder pedal lines from the cockpit, I see left that Grabner use them – a good sign.


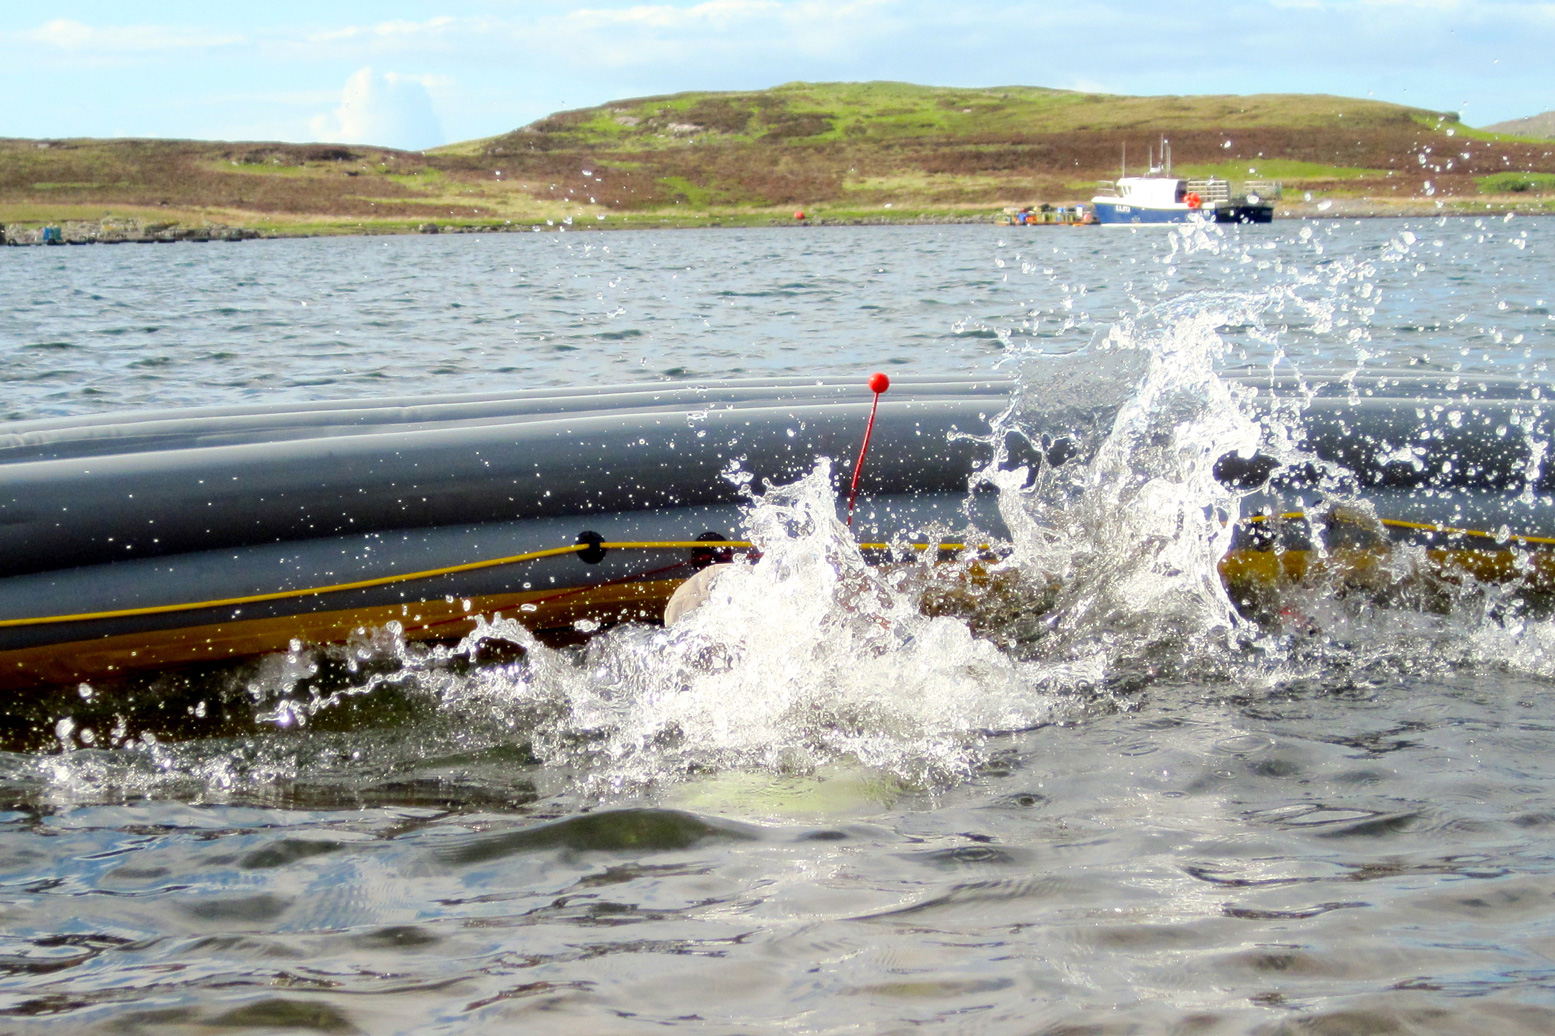
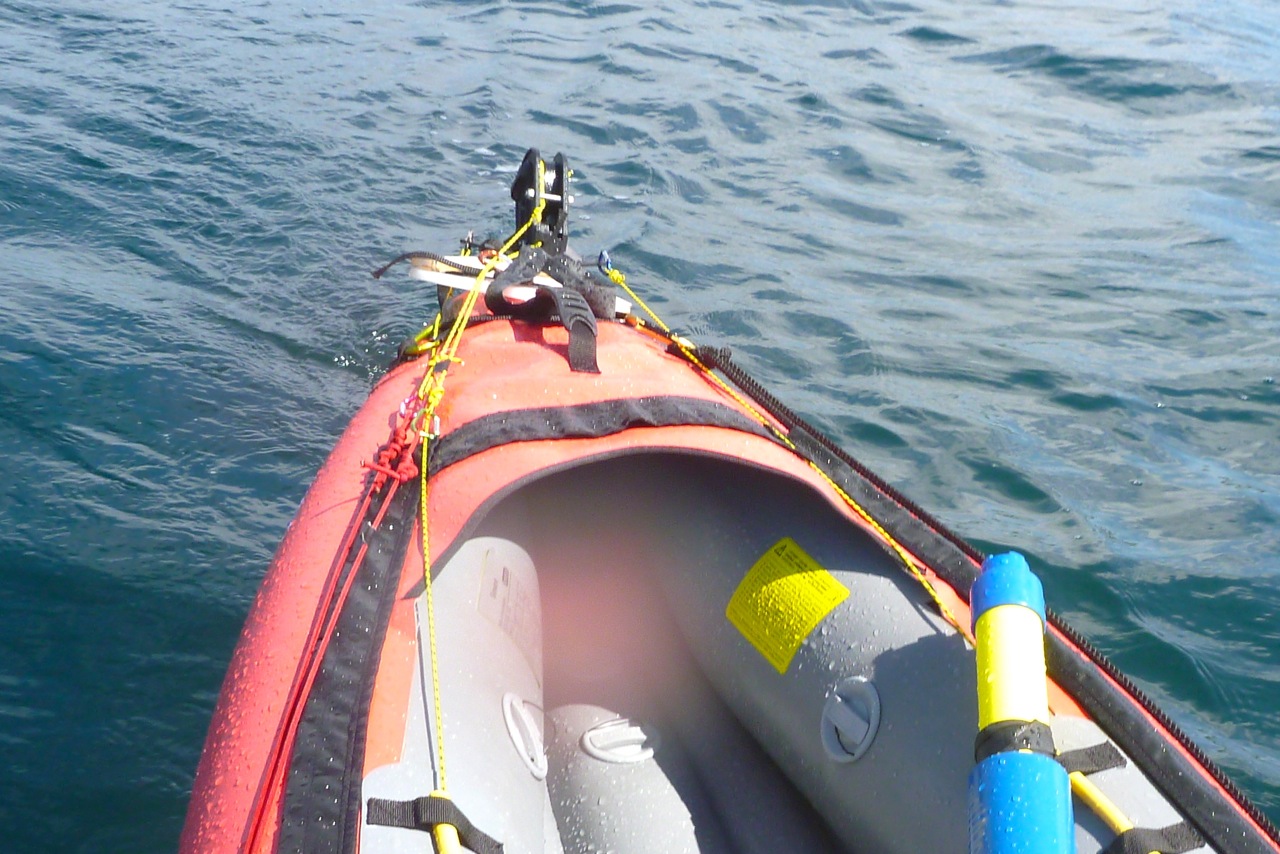
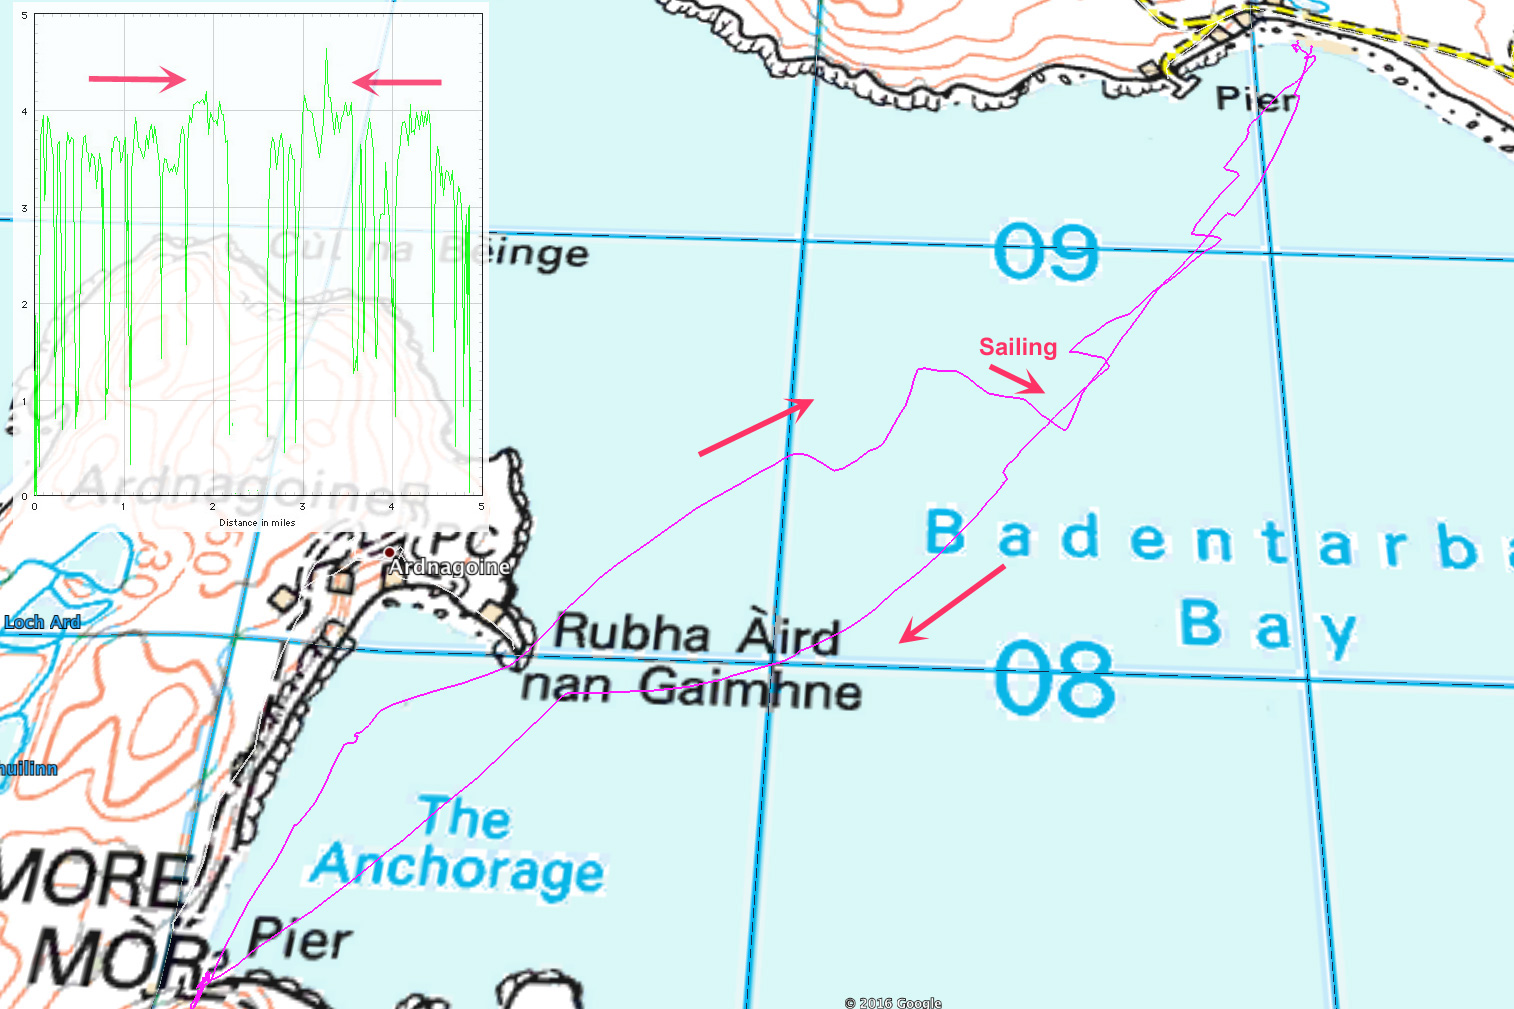
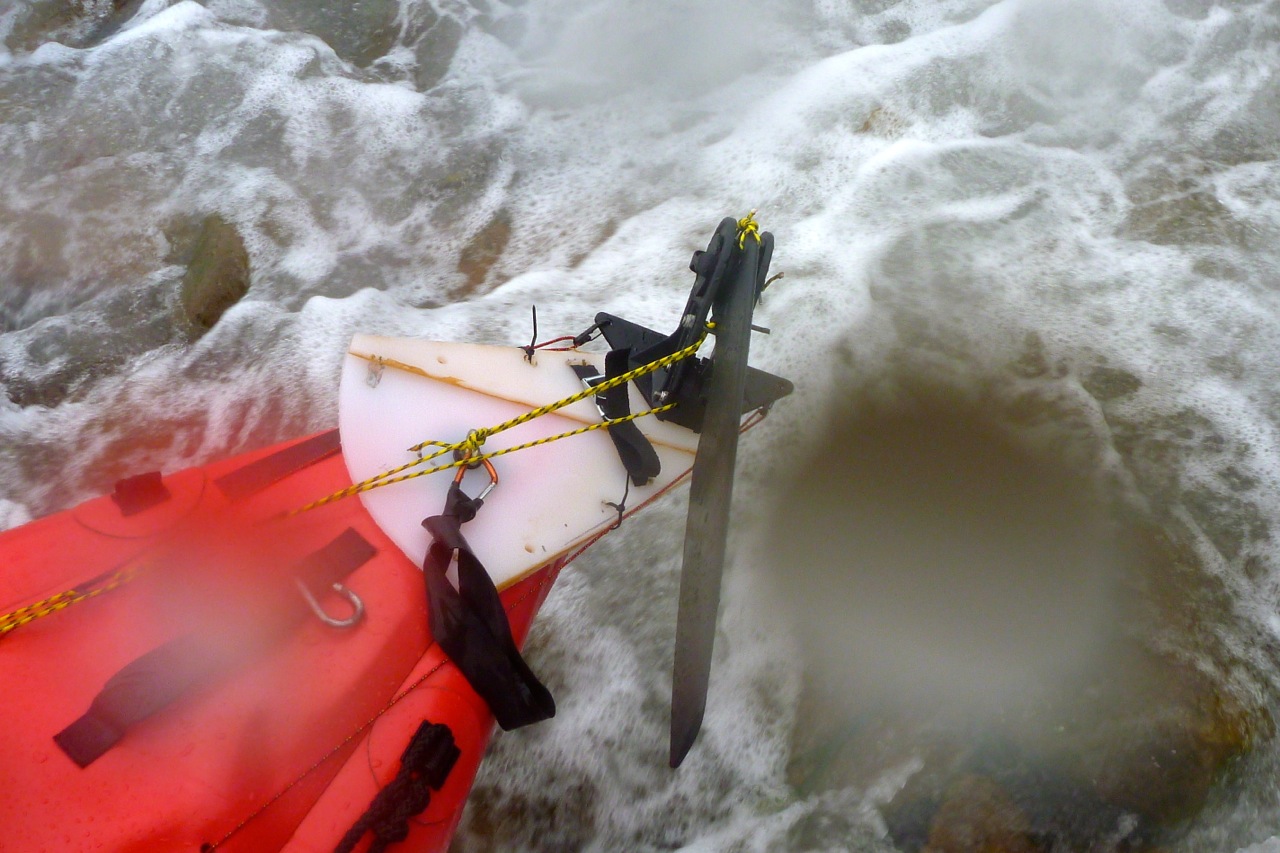
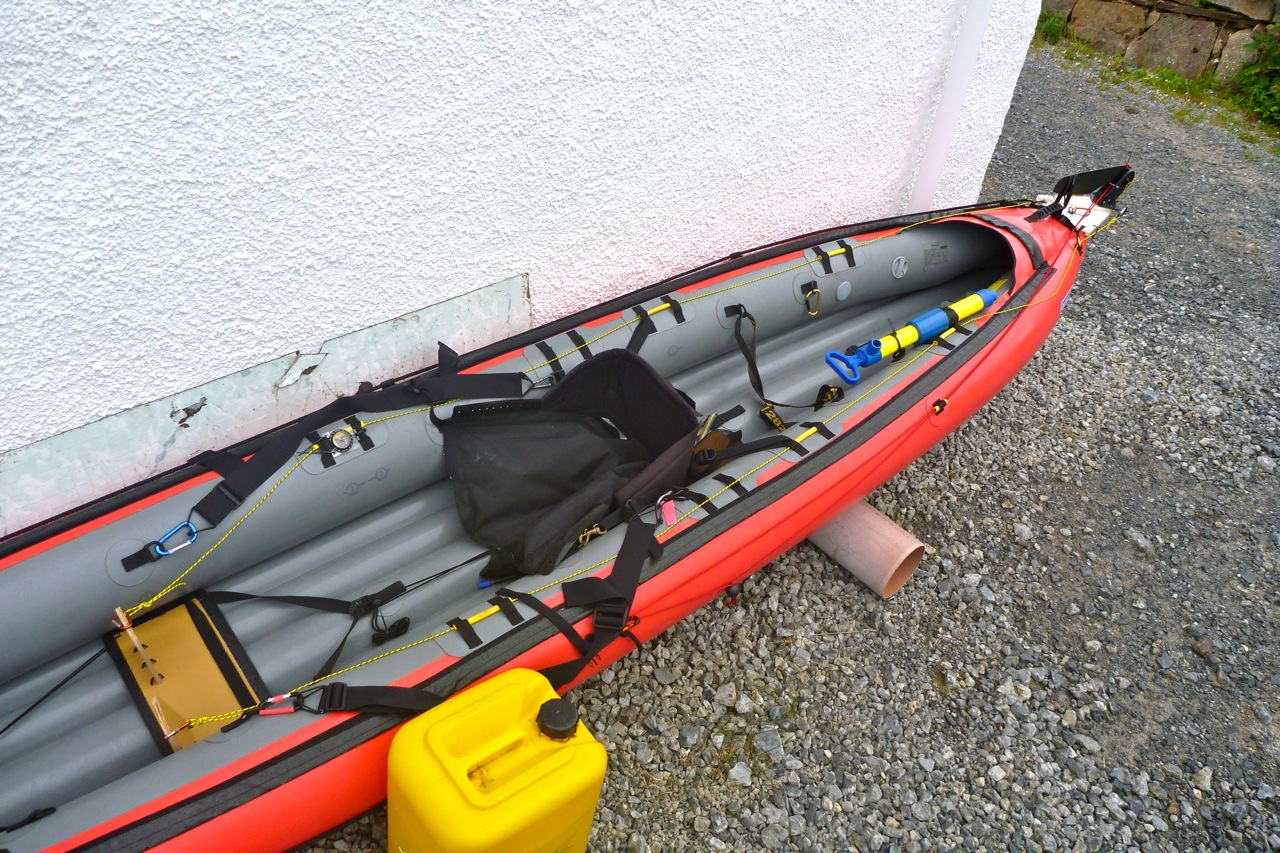
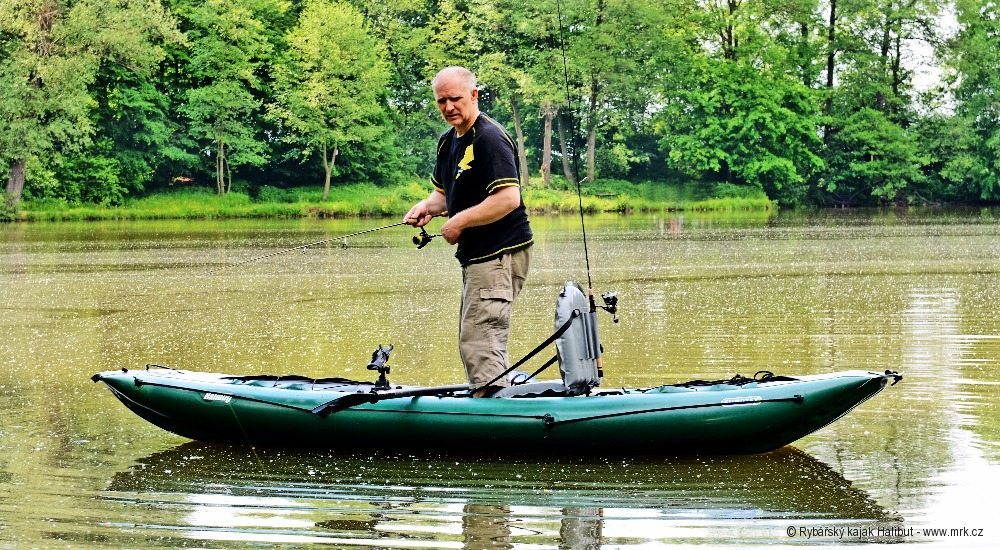
The weather here’s about to crack and then we’re moving south, so in a rush I took the revised rudder plate out for a test with the creaky waterlogged pedal board. Heading towards Horse Island tidal passage, I didn’t need a weatherman to know which way the wind blew: from the WNW at about 12mph.

Initially, the boat needed constant small corrections to maintain a course, and there was some stiction, hopefully down to the zip ties on the soggy pedal board. I tried a few tight turns and marvelled at the control and how sharply the boat swung round like a pedalo. The rudder plate is now as rock solid as anything fitted to an IK can be. Again, I consciously tried not to correct with my arms, just my feet, which were twitching regularly.

At Horse Island I was way too early to pass through the passage, but as it was probably my last paddle here till next year, I decided to head for Badentarbet. Turning north, closer into the wind the micro corrections were no longer needed and the boat ran as if on a skeg, but without arm corrections. I’m pretty sure paddling 20–30° off the wind would have required arm steering, but I just hacked away towards Rubha Dunan on the mainland as the wind increased. When I tried a bit of downwinding, protracted rudder juggling was needed to keep the back-end in line.
I passed through a channel on the headland and the NW wind got steadily stronger so crossing the bay to the beach seemed to take ages of effort. By now the small corrections I’d been making were no longer necessary, perhaps something had bedded in, the knots had tightened up or, like riding a bike, I’d just got the knack of minimal rudder movement to keep the boat on track. But upwind paddling is comparatively easy so I tried across the wind, now running over 15mph, and a bit more downwinding which gave me that unsettling Ningaloo feeling. This must be the weak point of a buoyant, windprone IK (especially when unloaded), and maybe all kayaks and canoes too. The chop was only a foot high but were there a swell of a metre or more, the rudder would be briefly lifting and the stern sliding. I wonder if in such conditions a combination of rudder and skeg (which is always submerged) might be a way of limiting weathercocking? Or perhaps just more practice is required. There’s also another solution that might arrive here in time to try out.


As I neared the beach the wind was hard in my face but I realised I was actually on good form, unlike on the Tanera run with the prototype. So I hammered away with all I had until my strake hissed onto the sands. Paddling hard is all helped by my brilliant, bent-shaft Werner Camano paddle, no less than ten years old this summer. It still clips together with a satisfyingly ‘clunk’ and has very little play. If it ever got lost or abducted by aliens I’d buy another without hesitation. I was glad I’d got stuck into a longer test run than planned, and am now confident my MYO Seawave rudder is in the ballpark. Hopefully, the new pedal board will complete the job.
- Total weight: 300g rudder plate + 450g rudder + 660g pedal board + ~100g rigging = 1.51kg (3.3lbs), or < 10% of the boat’s weight
- Total cost MkII version: £20 rudder + £15 rigging + £8 LDPE board + £10 hinges + £2 fittings = £55

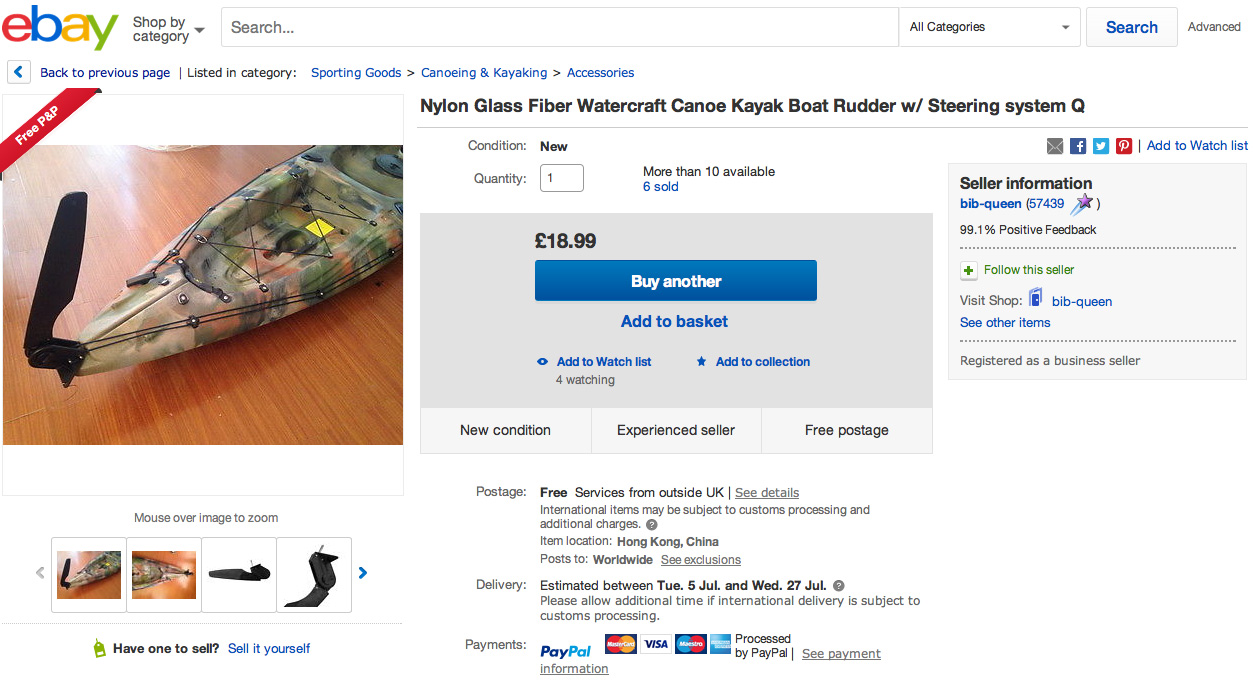
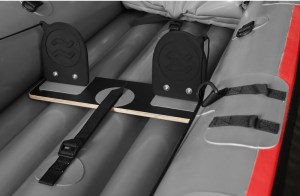
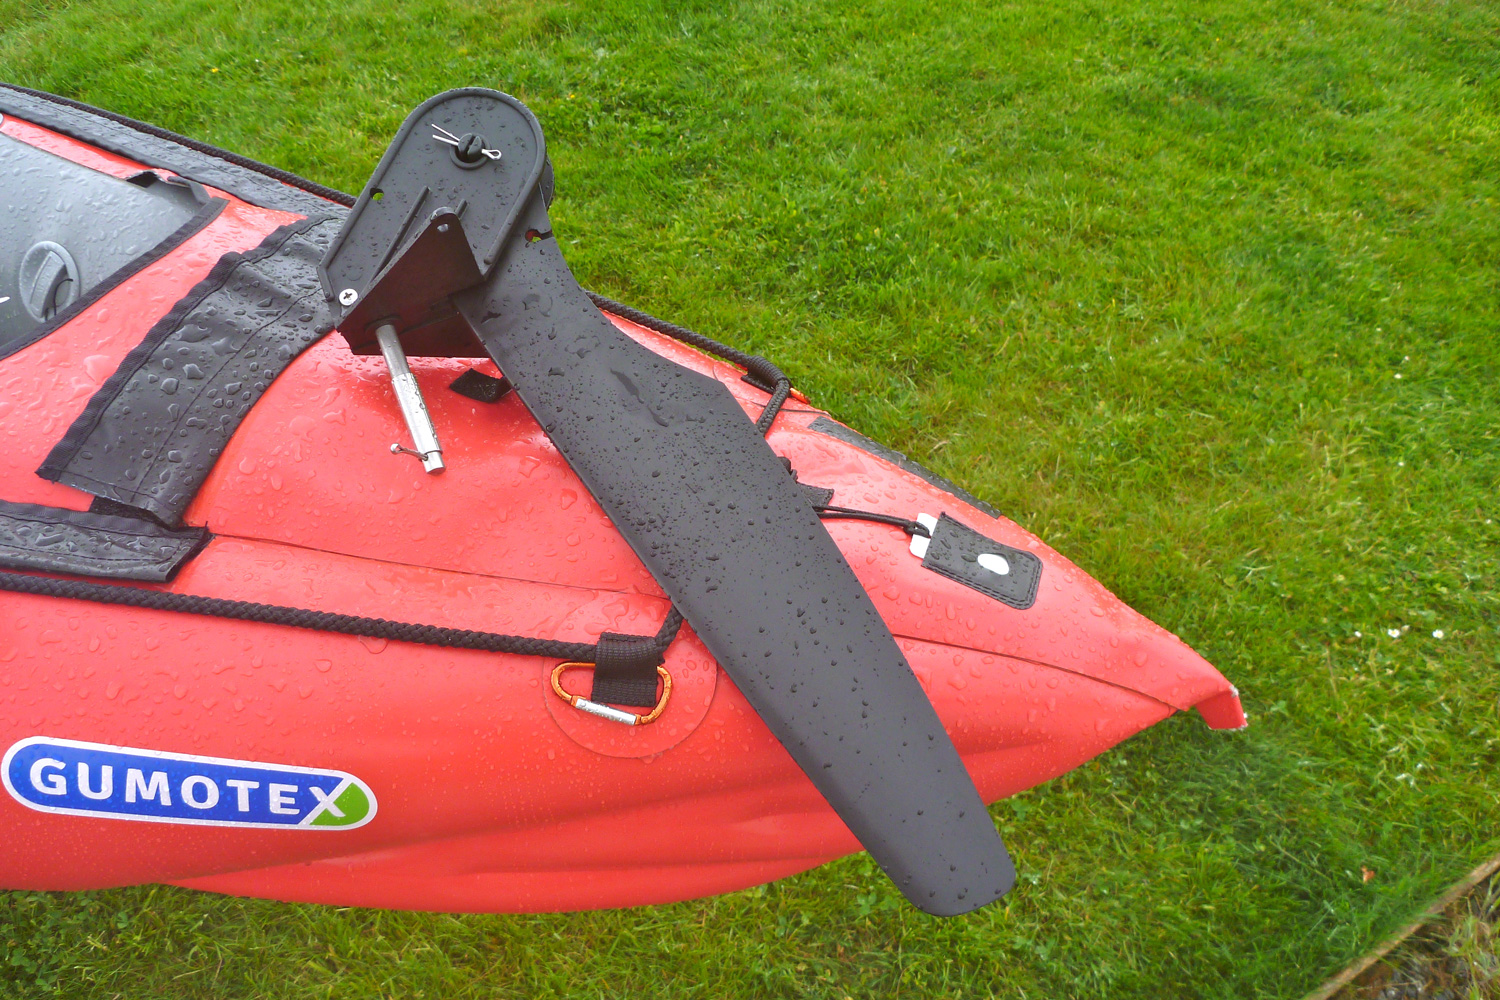
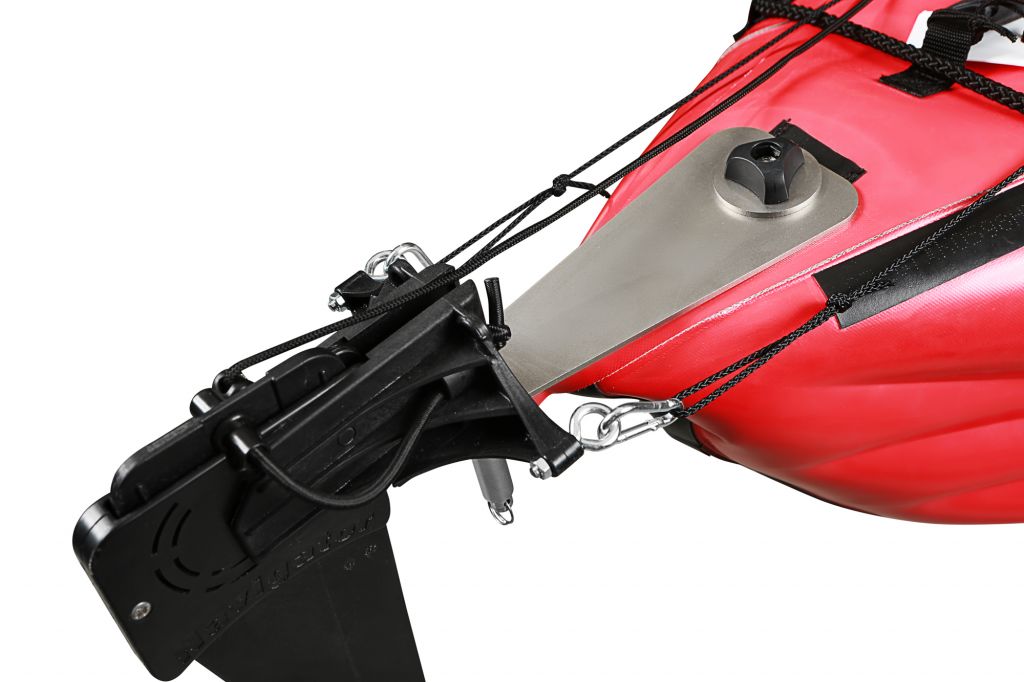
For about £200 posted I could have installed a 2016 Seawave rudder kit, but from all the images I could find at the time it was unclear exactly how it secured at the back – there must be their version of an unseen triangular underplate, but even then it’s still a stressed-out single point attachment. My additional under-handle fixture eliminates any chance of pivoting.

And the plywood Gumotex footboard (right) appears to sit loose and seemingly will also pivot on that single strap. Production versions may differ and let’s not forget that adding all this complexity also adds a risk of breakage or damage. The simplest solution is usually the best, but the 160-g skeg will always be clipped in the boat as a back-up and a Seawave is controllable (if much slower) with no tracking aids at all. It’s worth remembering: a rudder isn’t about day-to-day tracking, it’s about maintaining a course when the boat gets pushed about in stronger winds. In such conditions a skeg is essential and a rudder is an improvement, as explained here.


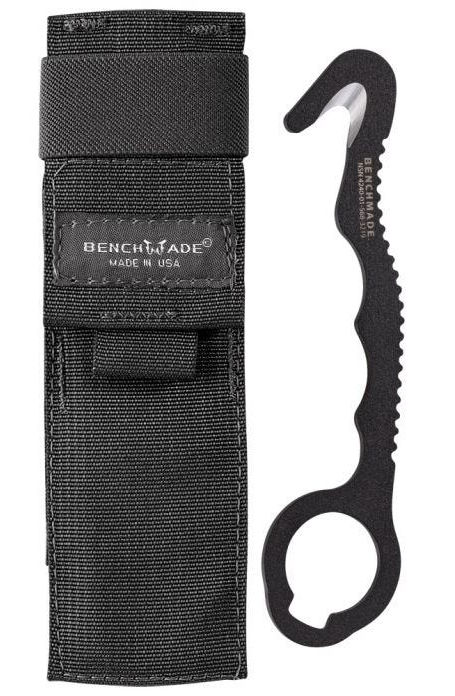
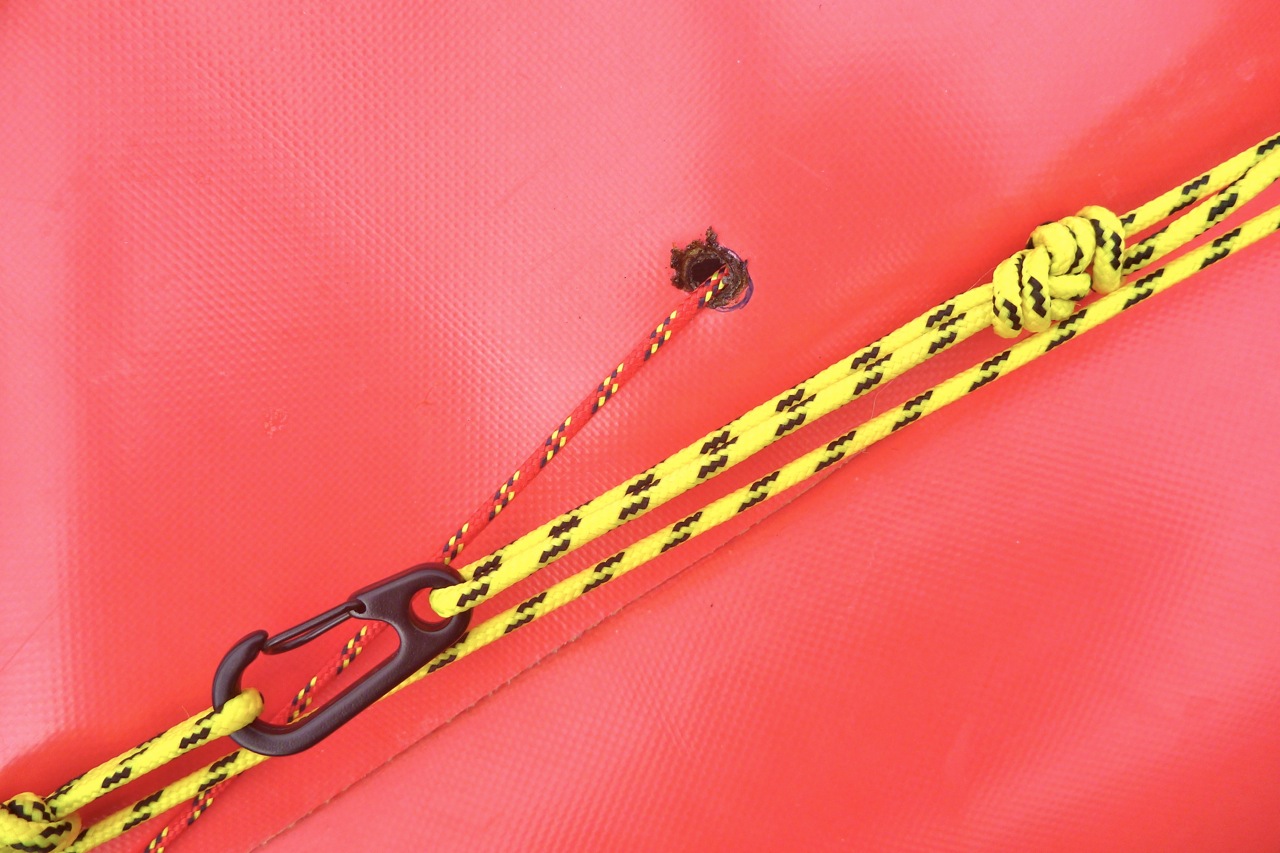
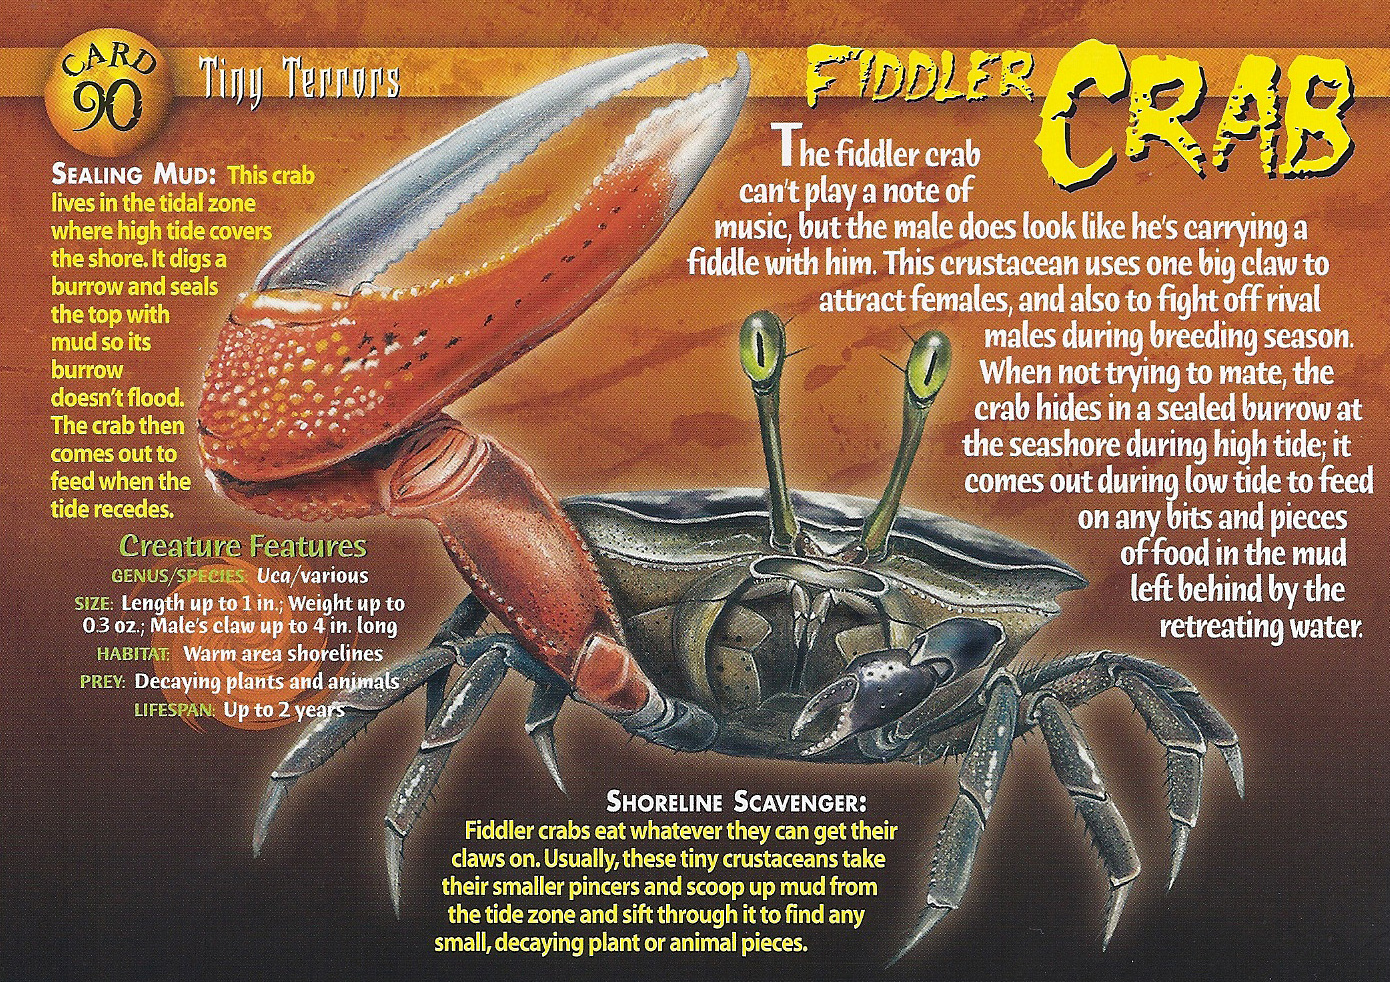
On the beach, prior to lugging the boat over seaweed-clad boulders, it took only 30 seconds to unclip the rudder mechanism from the plate to pre-empt stumbling and damaging it. Since then I changed the rudder plate mounts with tool-free knobs and an eyelet (above). When rolling the boat up it was best to pivot the rudder plate around the drain hole 90° to pack better.