Tag Archives: packframe harness

Using your paddle as a packframe

See also
Pack & Bags

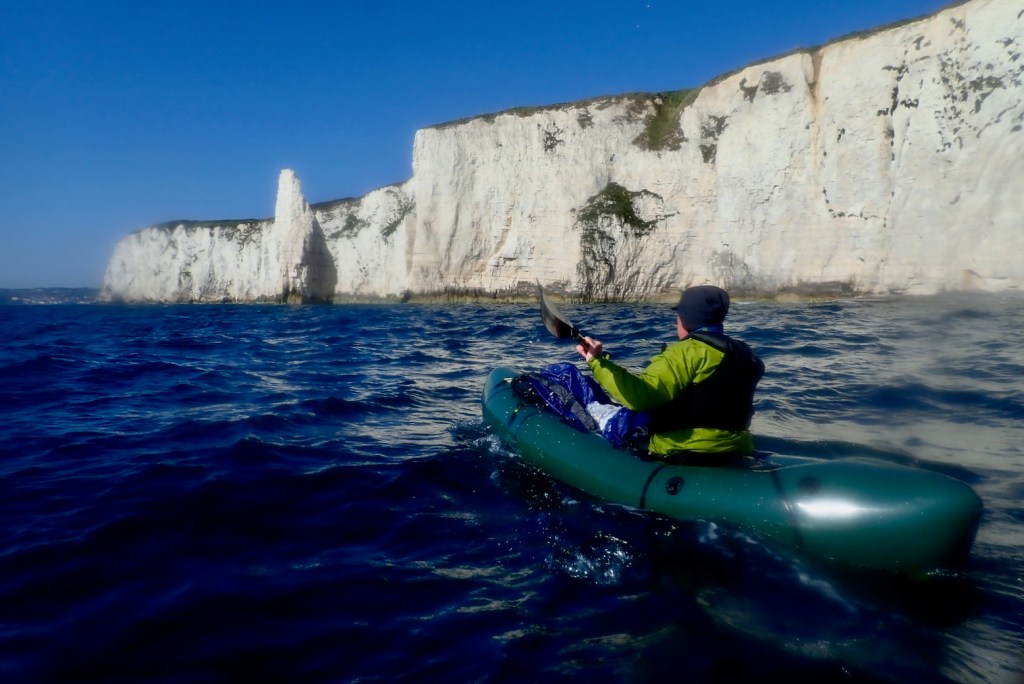
Walking back four miles along the Jurassic Coast the other evening (left) was a lot more tiring and took longer than paddling nearly the same distance to get there. That’s not so surprising. A steady paddle on a calm day with only your arms is a lot less effort than walking 340 metres of elevation gain, carrying the boat on your back.

NouadhiWhat? Hello?

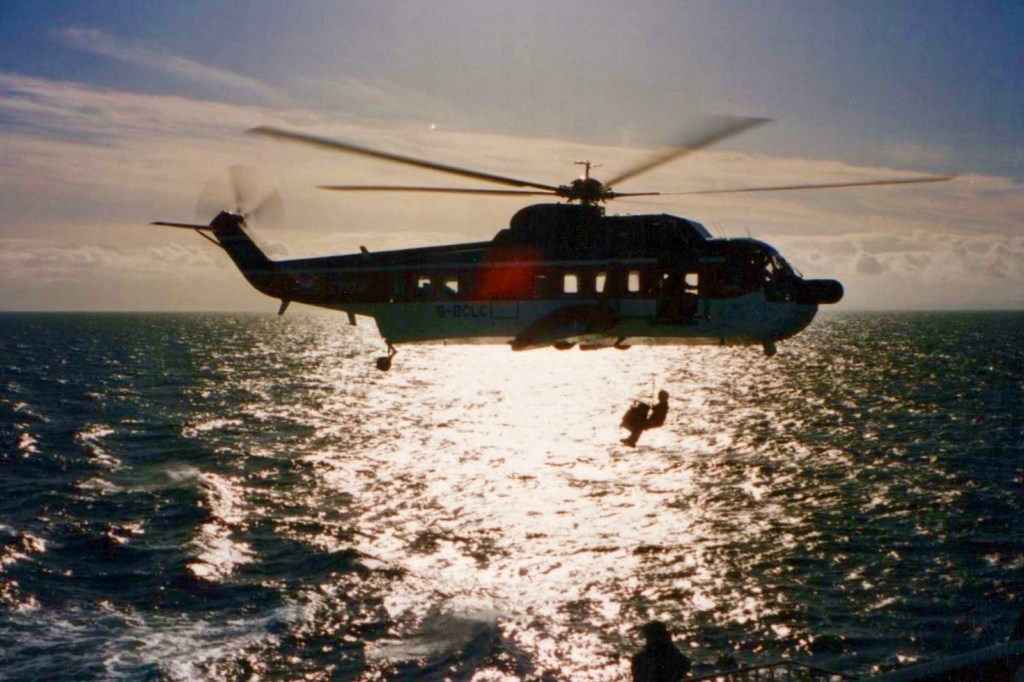
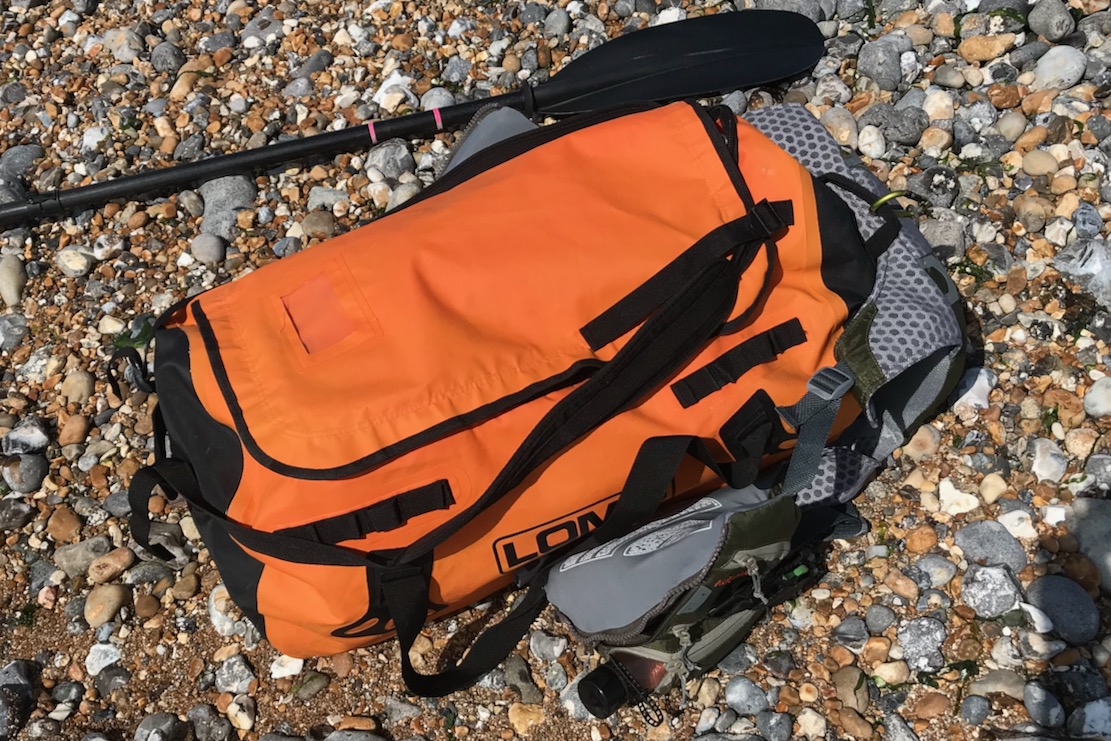
It wasn’t helped by the fact that the TXL was in my Lomo Blaze, a holdall with basic backpack straps, so the whole weight was hanging from my shoulders. I like my Lomo; unlike a rucksack the bag is made from heat-welded PVC which is waterproof. Yes it may have a regular zip for the lid, but it cost 40 quid and is a lot easier to load, access and see what I’ve forgotten this time. I’ve even used it as a ditch bag on desert trips (left; sadly I needed to ditch that time). But Lomo is not a great backpack for long. As I neared Kimmeridge, mesmerised by the setting sun, I had a vision of a Better Way…

I’ve been through this all before
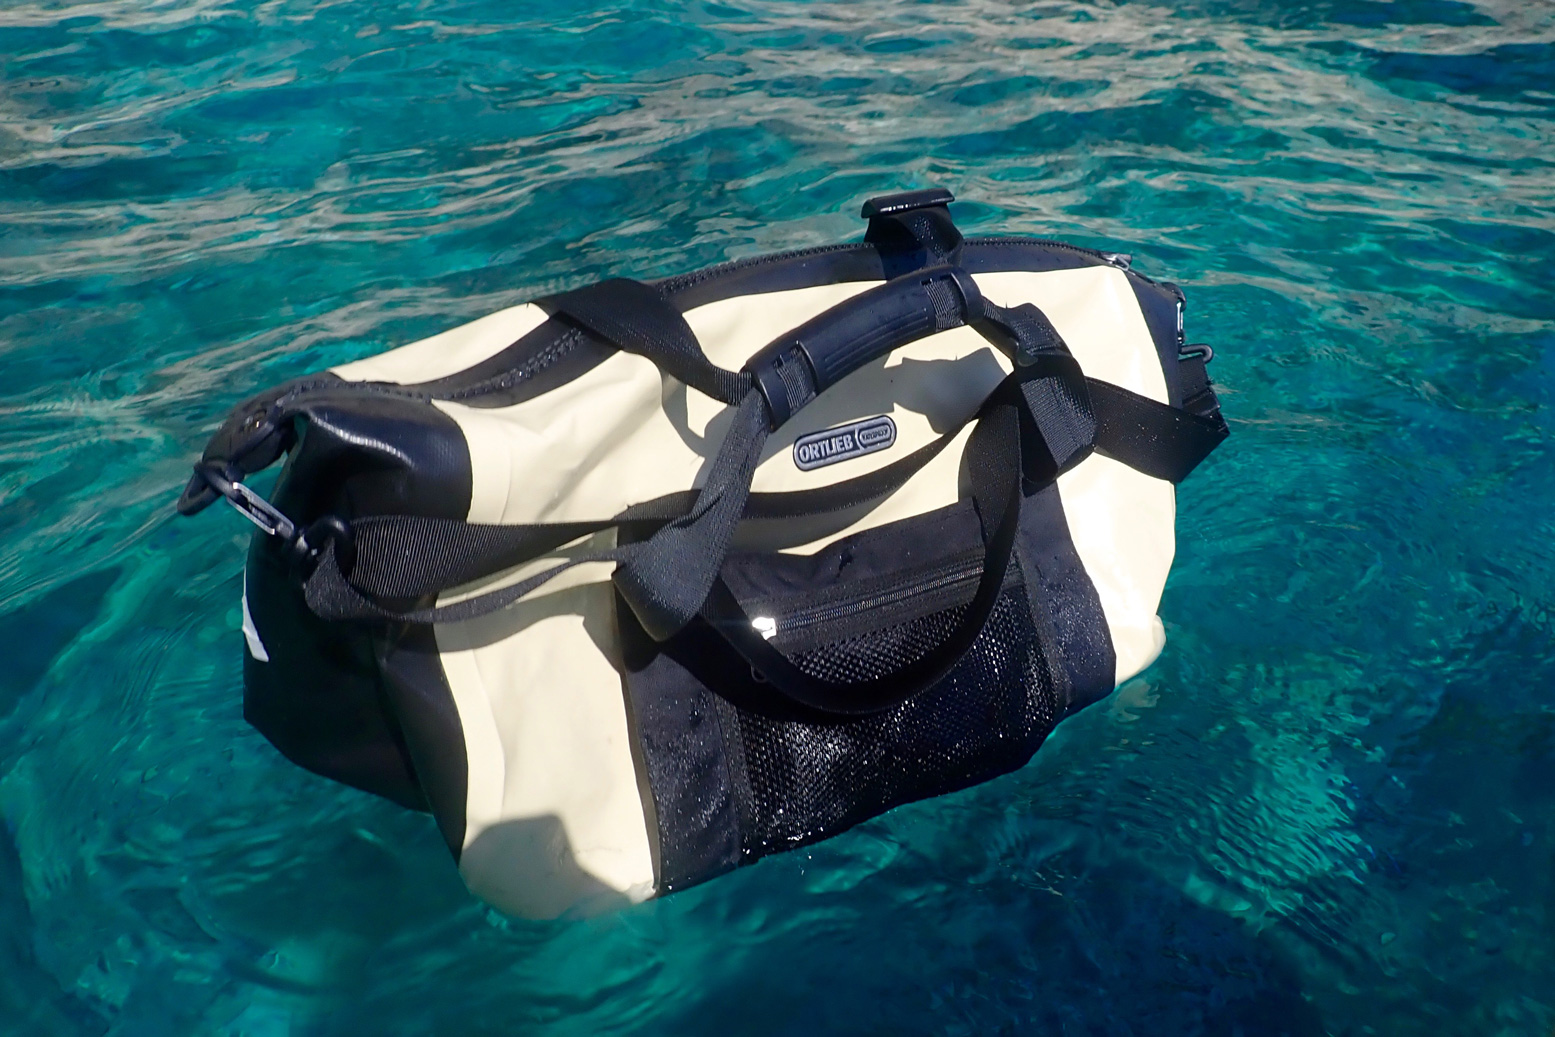
…how to carry the boat and gear sustainably over land and water. Besides trolleys for train trips, there are packframes like the Lastenkraxe fit to carry a well-fed moose calf, pack harnesses like the NRS Paragon and Six Moons Flex PR which wrap around anything. Even my huge, airtight Mk1 Watershed UDB sausage bag became semi rigid when ‘pressurised’, but had a rubbish, ill-placed ‘harness’ (so needed an NRS). The wheeled Ortlieb 140 could also be backpacked – but not long term.

You want a stable, well-supported pack on terrain like this: ie; a proper backpack or harness with chest strap and hip belt

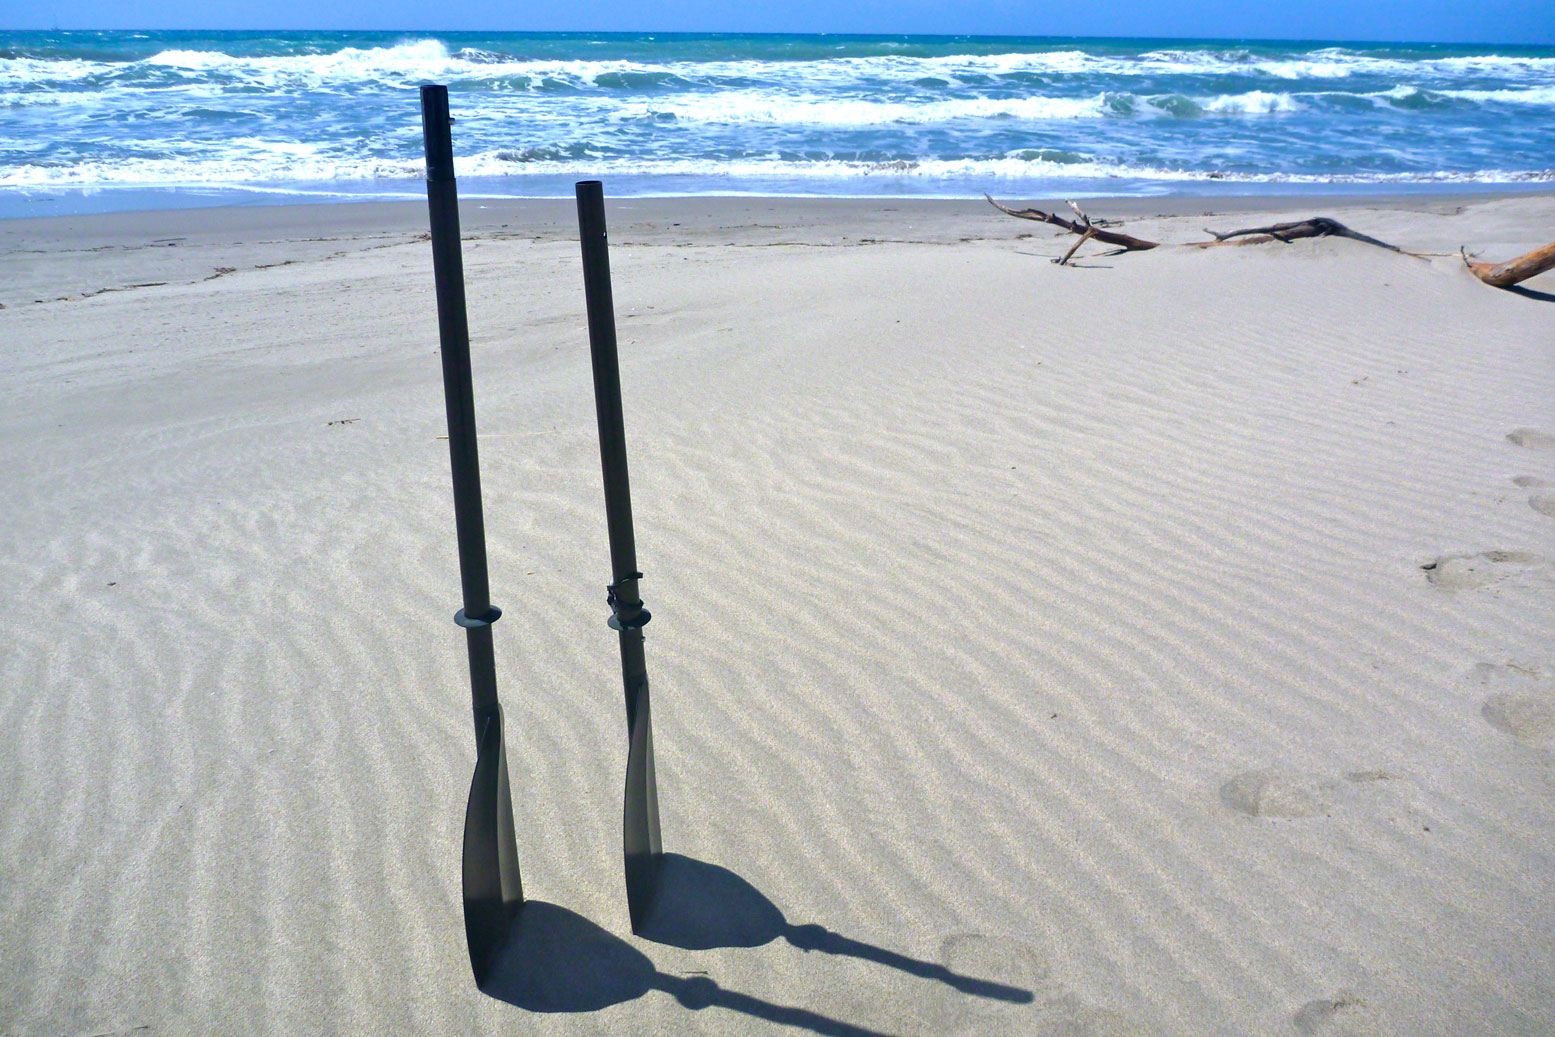
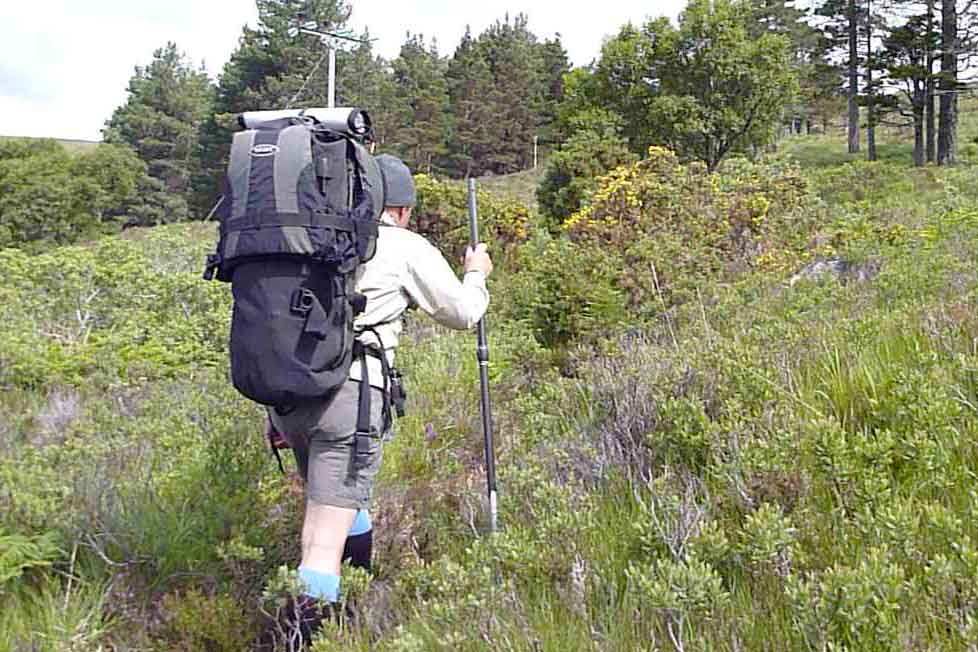
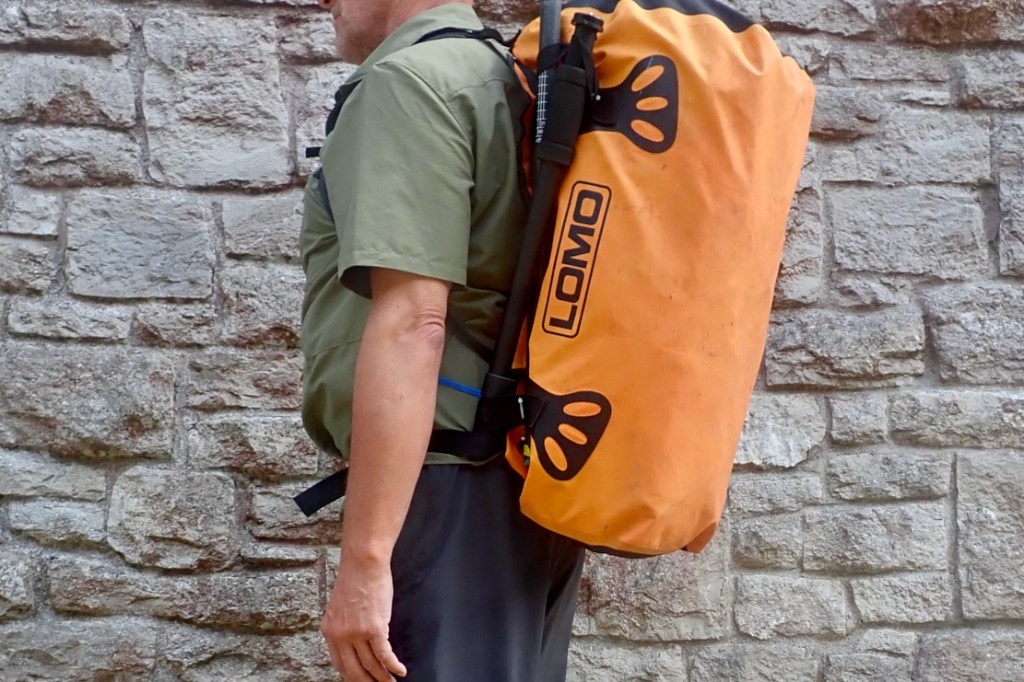
For a multi-day trip, mixing walking and paddling (aka ‘packrafting‘), like we did in Knoydart (above), packframes or just a proper rucksack make sense. But for day paddles they’re overkill and awkward to stash or keep dry on the water. My brainwave was using the paddle shafts as an external packframe to create a rigid rod from the top of my holdall to the waist (below).

Paddle shafts twisted into the Molle on the left (top of pack; not load), and then ziptied to the Molle (right) where the weight will rest on the paddle’s collar.

As we should all know by now: for longer walks over rough ground weight supported low on you waist is more sustainable than hanging high from your shoulders. It makes you less sore and much more stable which adds up to less fatigue. That’s why both the heavy hauling Lastenkraxe (below left) and Six Moons Flex come with such generously padded hip belts: it’s where most of the weight is carried.

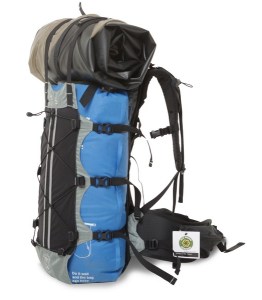
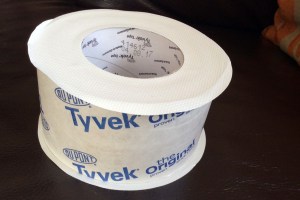
The Lomo 60 Blaze is just a holdall with backpack straps and handy grab handles at each end; it doesn’t have a hip belt but it does have a run of Molle webbing lashing points (above right) to which I sometimes strap my paddles. The shafts from a 4-part paddle could be lashed to the Molle each side (or even a whole 2-part paddle), with the lower sticks hooking into any waist strap or belt. Though it would be nice, for a couple of hours with 8 kilos there’s no need for a fully padded belt with pockets and an SOS ripcord.

Paddle shaft zips to the bag’s Molle loops then tucks in behind any belt, even the one holding up your trousers. Minimal and reversible adaption: the bodger’s Holy Grail ;-)

The shafts are zip tied (blue) to the Molle at the lower end, so the weight rests on the shaft’s collar (above). The shaft then tucks behind a belt and the weight should at least partially be spread onto the hips, not all hanging from the shoulders.
While I was at it, I decided to cut off the Lomo’s redundant carry handles. They get in the way when groping around for the backpack straps which can perform the same carrying function. I ‘zip-sewed’ the loose ends into loops (left) to take a half paddle or two on each side.

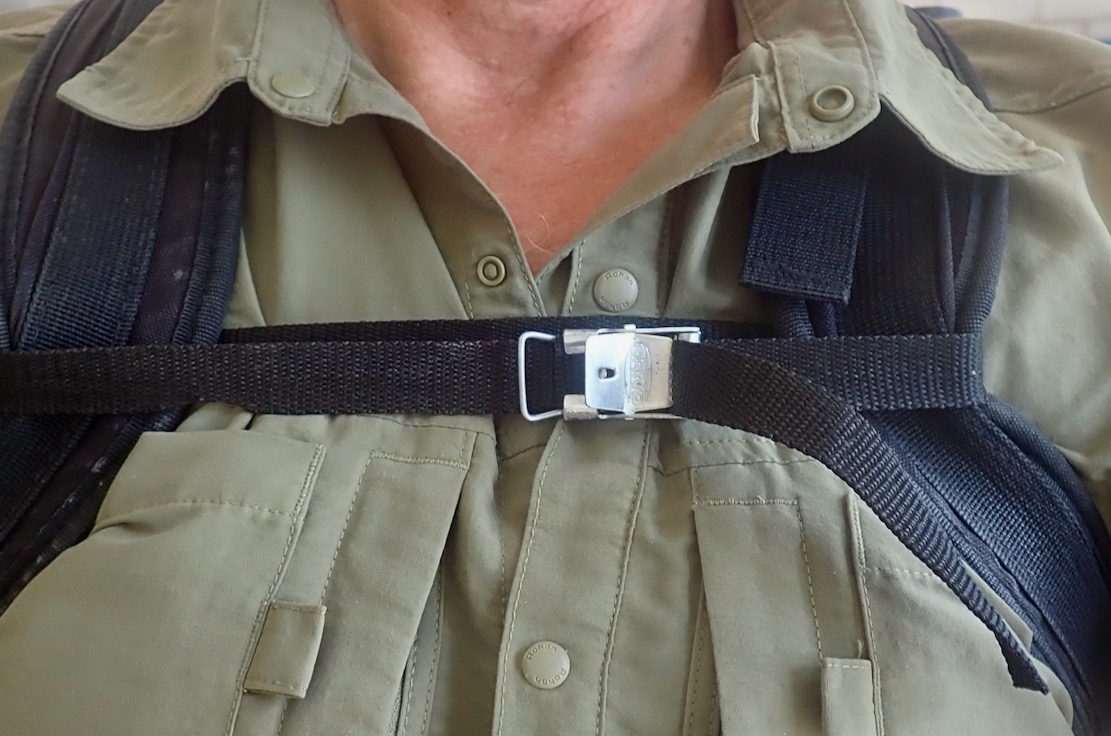
All that was needed was a chest strap (left and above left) to pull the weight in close. This alone makes a big difference to stability, I find.
Tested outside with the Lomo loaded for a day paddle, it felt pretty good considering the minimal effort involved. Best of all a belt doesn’t have to be attached to the bag in any way and could even be your trouser belt. Just tuck in the shaft ends, tighten up and jog forth.
The advantage is that for a day paddle ending in a walk of a couple of hours, no extra gear is needed, bar a belt or strap. In the boat the near empty holdall and belt are rolled up out of the way or stuffed in the Deckpack. Assuming you’ve not repurposed your paddle as a packstaff, your day-paddling outfit ought to be a lots easier to carry, especially over rough or steep terrain.


Six Packrafting Essentials

Packrafting Quick Guide
Packboat rescue and survival aids

fx-gear

The basic gear you need for packrafting adventures so you don’t end up as above, or simply just inconvenienced and wet.
For general camping kit (sleeping, eating, washing) you’ll find lists all over the internet and beyond. Mixing paddling with walking, I prefer a 1-kilo down bag, a compact tent, a thick, full-length air mat and a Pocket Rocket-like burner with a big Tatonka or MSR 500ml+ pot/cup and a Gimp stove for back-up
Below, I suggest cheap alternatives in green. A cheap alternative to a proper packraft is of course… a Slackraft but you’ll only every buy one once.

1. A pack for your raft

paragonnrs
nrsparagon01

Do you use a regular hiking backpack packed with your boat in or outside, or a purpose-made drybag pack with usually a rudimentary integrated harness, or use a separate packframe harness as pictured?

If you’re a first timer and own a regular hiking backpack, make do with that, but having tried both I prefer a harness. You’re on the water so (unless you can store in the hull, waterproofness trounces all-day carrying comfort. A submersible UDB duffle is tougher, as airtight as a packraft and provides high-volume back-up flotation should you get a flat on open water; exceedingly unlikely but important and reassuring.

For short approach walks like on the Tarn, or the Kimberley, I used my UDB’s basic integrated harness: just sewn-on straps. For Turkey which was mostly walking, I fitted it into NRS pack harness (above left; no longer made) whose load capacity easily exceeds its straps and your back.
In Germany Anfibio Packrafting now sell the more sophisticated US-branded Six Moon Flex Pack (left; new 2021 design), a ‘drybag hauling system’. You can lash anything that fits within the straps, including your rolled-up boat. ULA Epic is another one. In Europe such harnesses seems unknown.
Remember: with any big backpack the key to support and comfort is a stiff board or frame connecting the hip belt and shoulder strap mounts so the weight can be carried low on your hips, not hanging from your burning shoulders.

Cheap alternative: any old rucksack and a tough bin bag.

2. Four-piece paddle

pad-abmr

Get a paddle that breaks down into four pieces for easy transportation. A paddle like this may not be as stiff as a good two-piece, but the Aqua Bound Manta Ray left or the Anfibio Wave (right) will still be under a kilo and anyway, you’re in a slow packraft not a razor-thin surf ski. Some four-parters don’t like being left assembled when wet; don’t leave it out of the water more than a day or it may be very hard to separate.

feather

Even cheap alloy-and-plastic ‘shovels’ come with adjustable feathering; an ability to offset the blades. Flat (zero offset) works OK, but most find a bit of offset makes paddling more efficient. I’ve got used to 45° Right (left blade rotated 45° forward) over the years. Whitewaterists prefer 30°. Left handers will go the other way. The Anfibio Wave had infinite feathering and 10cm length adjustment.

Cheap alternative: A TPC 2-piece or similar.

3. PFD (‘personal flotation device’)

bbuey
499_1

A proper foam pfd is bulky in transit but is essential for remote solo paddles or whitewater (as is a helmet and a whole lot more if you’re really going for it).
For flatwater paddles and calm, warm conditions Anfibio’s lightweight inflatable Buoy Boy (left) has twin inflation chambers, rolls down to less than a litre in volume and comes with handy net pockets and a useful crotch strap to stop it riding up when you’re flailing around in the water. At any other time, you’ll barely know you’re wearing it. Note It does not claim to be a CE-rated buoyancy aid.

Cheap alternative: A used foam PFD.

tevafloater

4. Wet shoes
I’m on my second pair of Teva Omniums (left) which are do-it-all wet shoes that are OK for unloaded walking. If trekking the wilderness for days with a full pack over rough terrain, you’re better off with proper lace up trail shoes or boots, but bear in mind that anything with a breathable membrane takes ages to dry once soaked inside out. I use membrane-free desert boots. SealSkin socks are another solution, while they last. More here.

Cheap alternative: Old trainers or Crocs.

5. Day bag or case

P1290855
peli11

You want something light to carry your valuables when away from the boat in populated areas. Choose a bag or case which fits under your knees without getting in the way. Whatever it is, it will sit in water, get splashed or even submerged, so it needs an airtight seal. If it has handy external storage pouches or pockets, so much the better.

Recently in France I tried an Underwater Kinetics box (22cm x 16 x 8; 540g, above left) used on ebay for under a tenner. It’s about the size of a Peli 1150 but a bit less deep and took my Kindle Fire, camera, wallet and bits. It’s light enough to carry away from the boat and also happens to make a handy camera stand. 
But most of the time I use a 20-L Ortlieb Travel Zip (left) which zips open easily and stores loads. As for a camera? This is what you want.

Cheap alternative: large, clip-seal lunchbox and a plastic bag.

6. Repair kit

A couple of feet of Tyvec or similar tape and a small tube of Aquaseal is probably all you need for quick repairs. Something I’ve never had to do in all my years of packrafting.

Cheap alternative: Pieces of vinyl tape stuck to you spare repair patches.