See also:
NRS Paragon
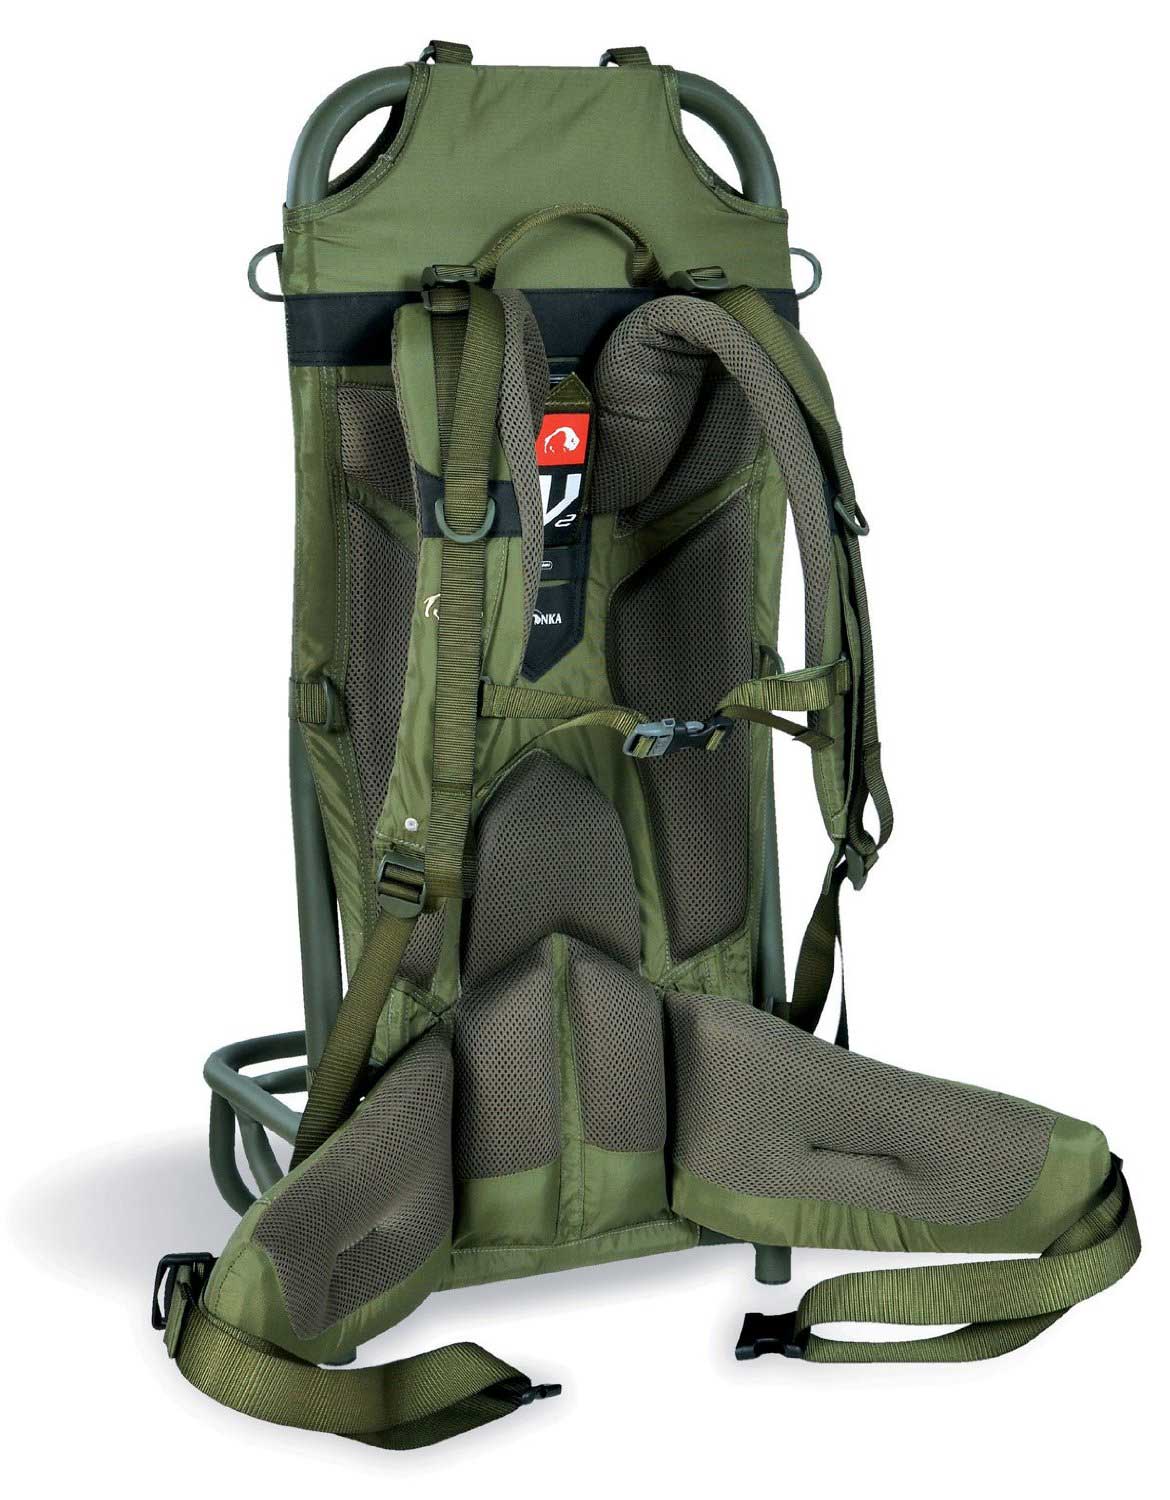
Tatonka Lastenkraxe
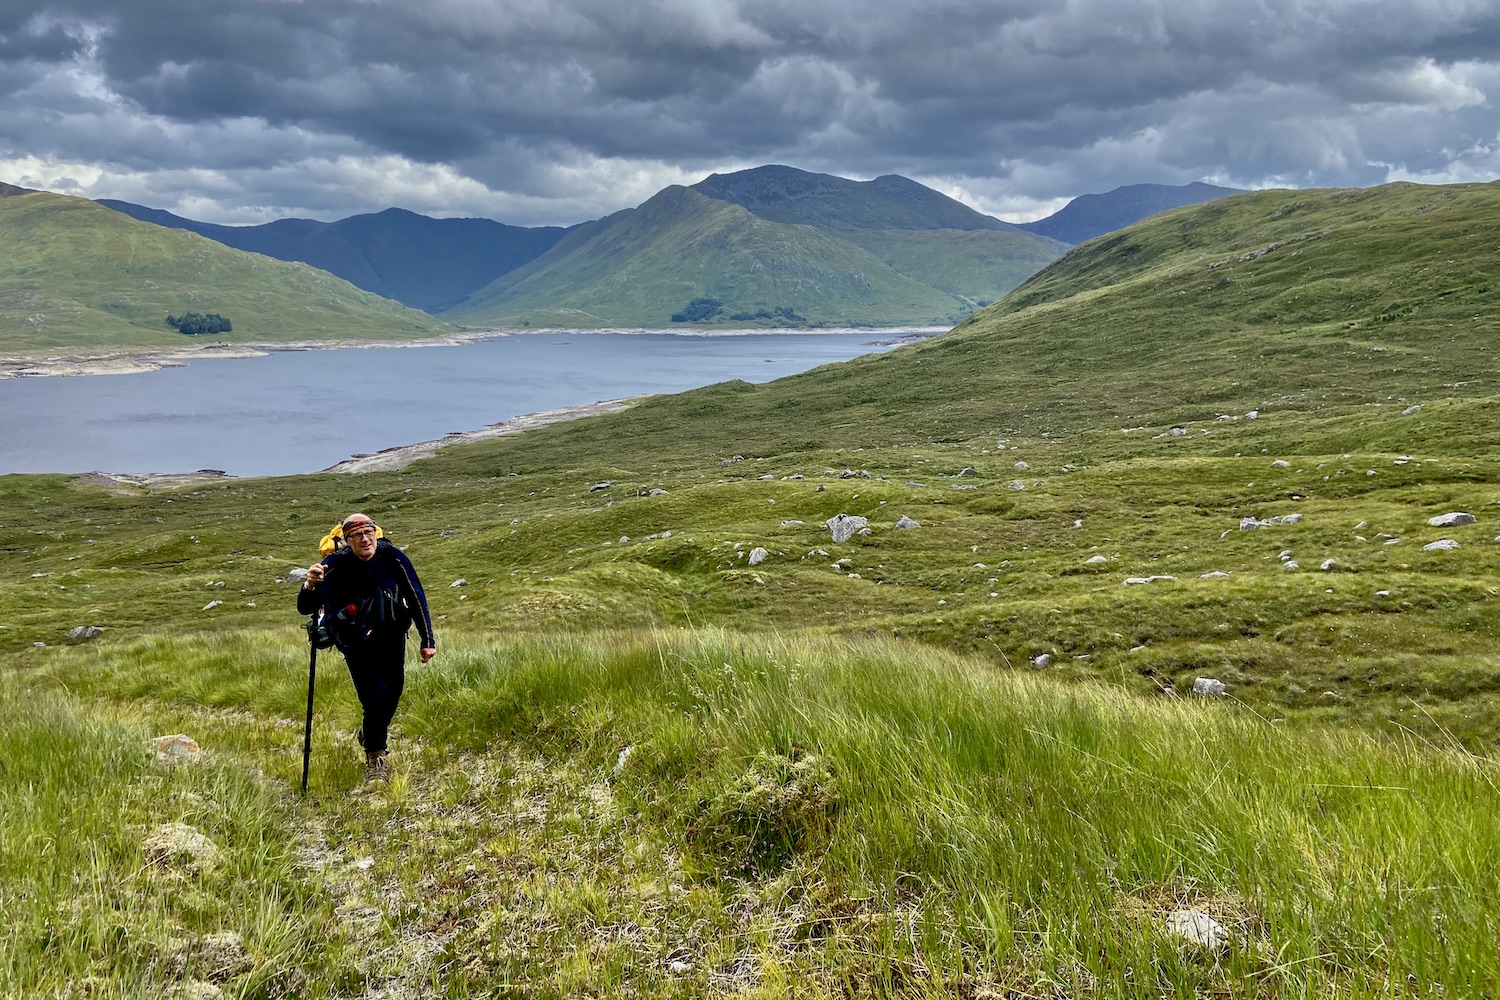
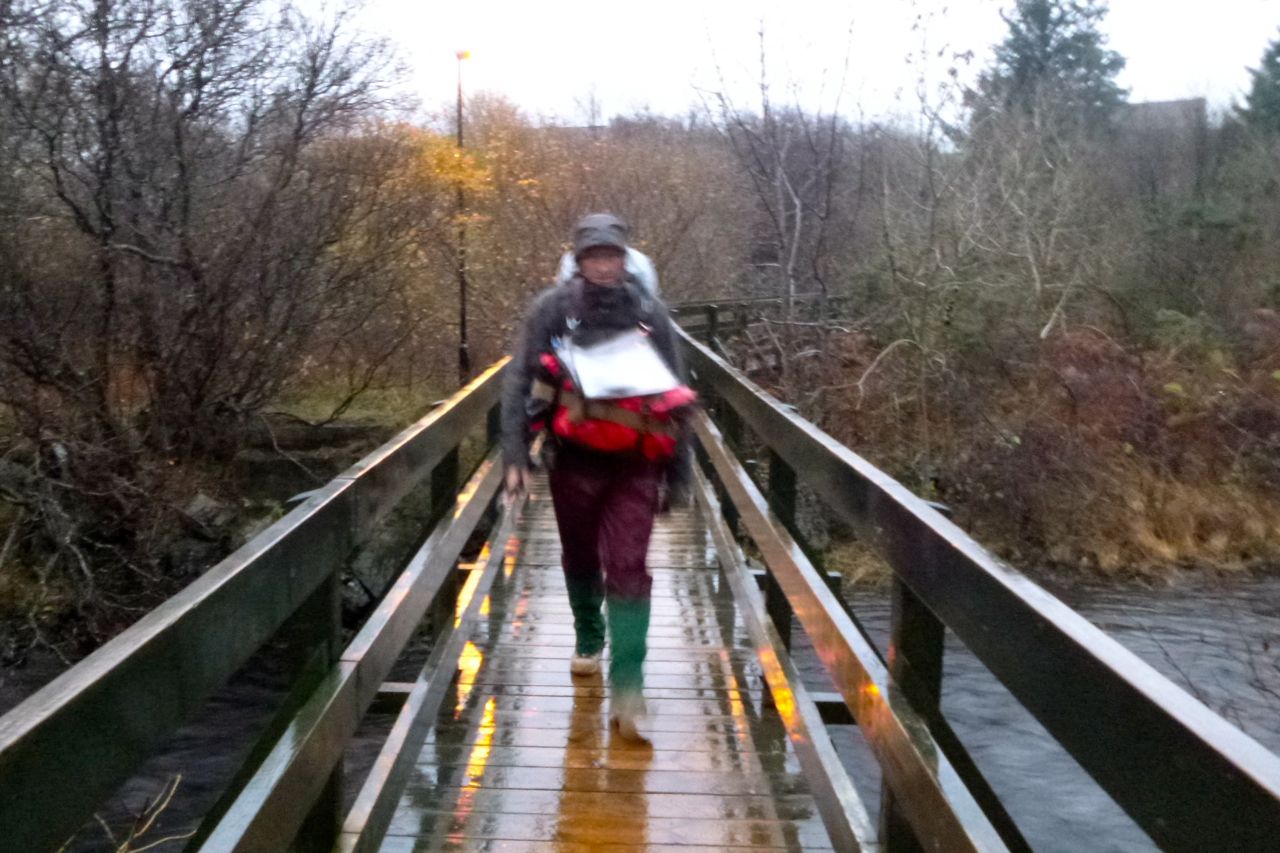
Knoydart: Land Sea & Loch
Updated summer 2025
In a line adaptable, adjustable and comfortable heavy-hauling pack harness designed for packrafters, but could do with one more redesign.
Cost $213 Six Moon, USA; €250 Anfibio Store Germany.
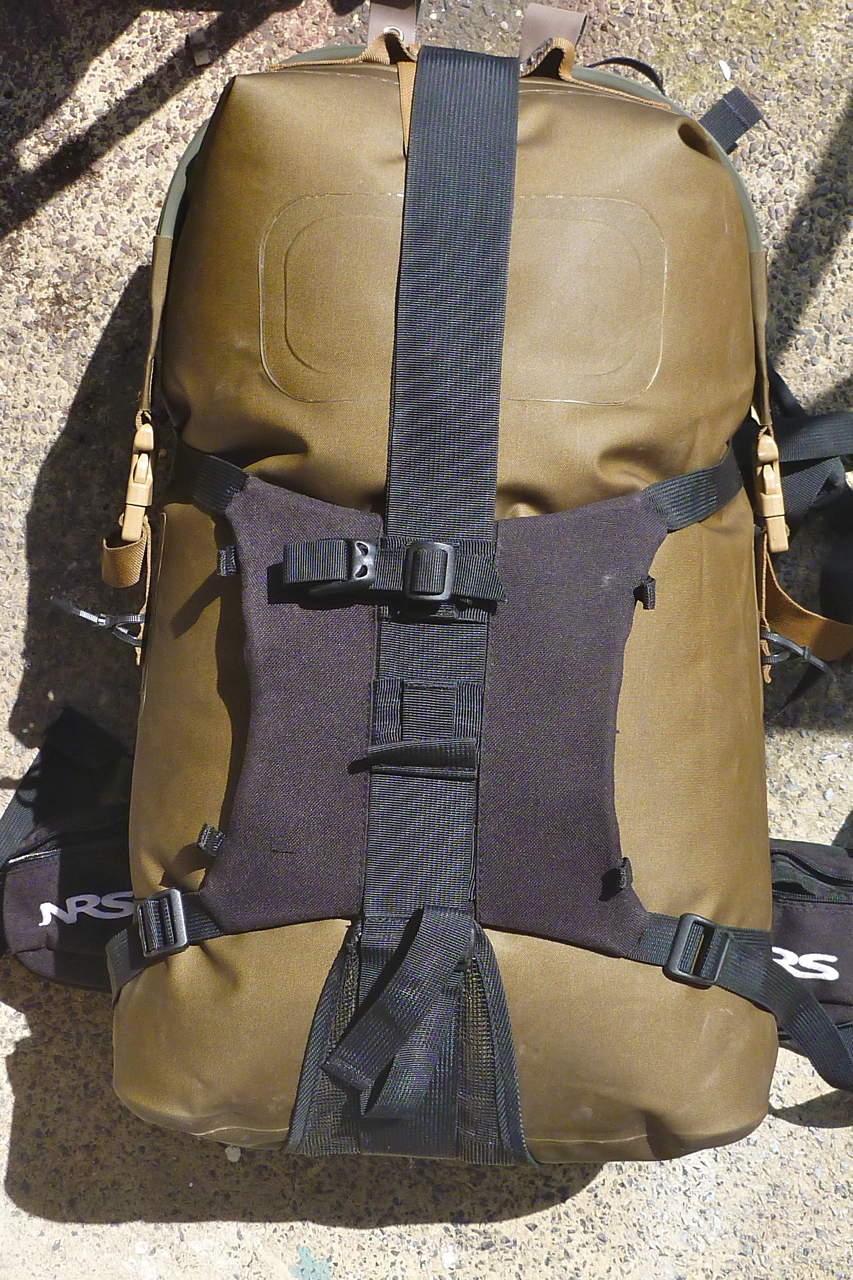
Weight (verified): 1525g in Large (shoulder straps 212g; hip belt 376g; back panel 937g). Used with Sea to Summit 60L dryback; 316g. Usable total 1840g.
Where used Four-day packrafting recce on Knoydart, covering about 50 miles, and another 3 days packrafting there (about 25 land miles).
The Flex PR was supplied free for testing and review by Six Moons and Anfibio

• Carries heavy loads like a proper rucksack
• Includes no less than nine pockets
• Four-strap adjustable hip belt
• The price dropped by 25% around 2025

• Loads of black buckles with very long black straps on the black back panel (a 1-star review on the 6M website also mentioned this).
• Fixed shoulder-strap mini-pockets too small and too high for me.
• Wide outer panel means too much slack to cinch down the side straps fully
• Refitting once back on land takes more time and buckling about than just shoving it all in a regular backpack.
What They Say
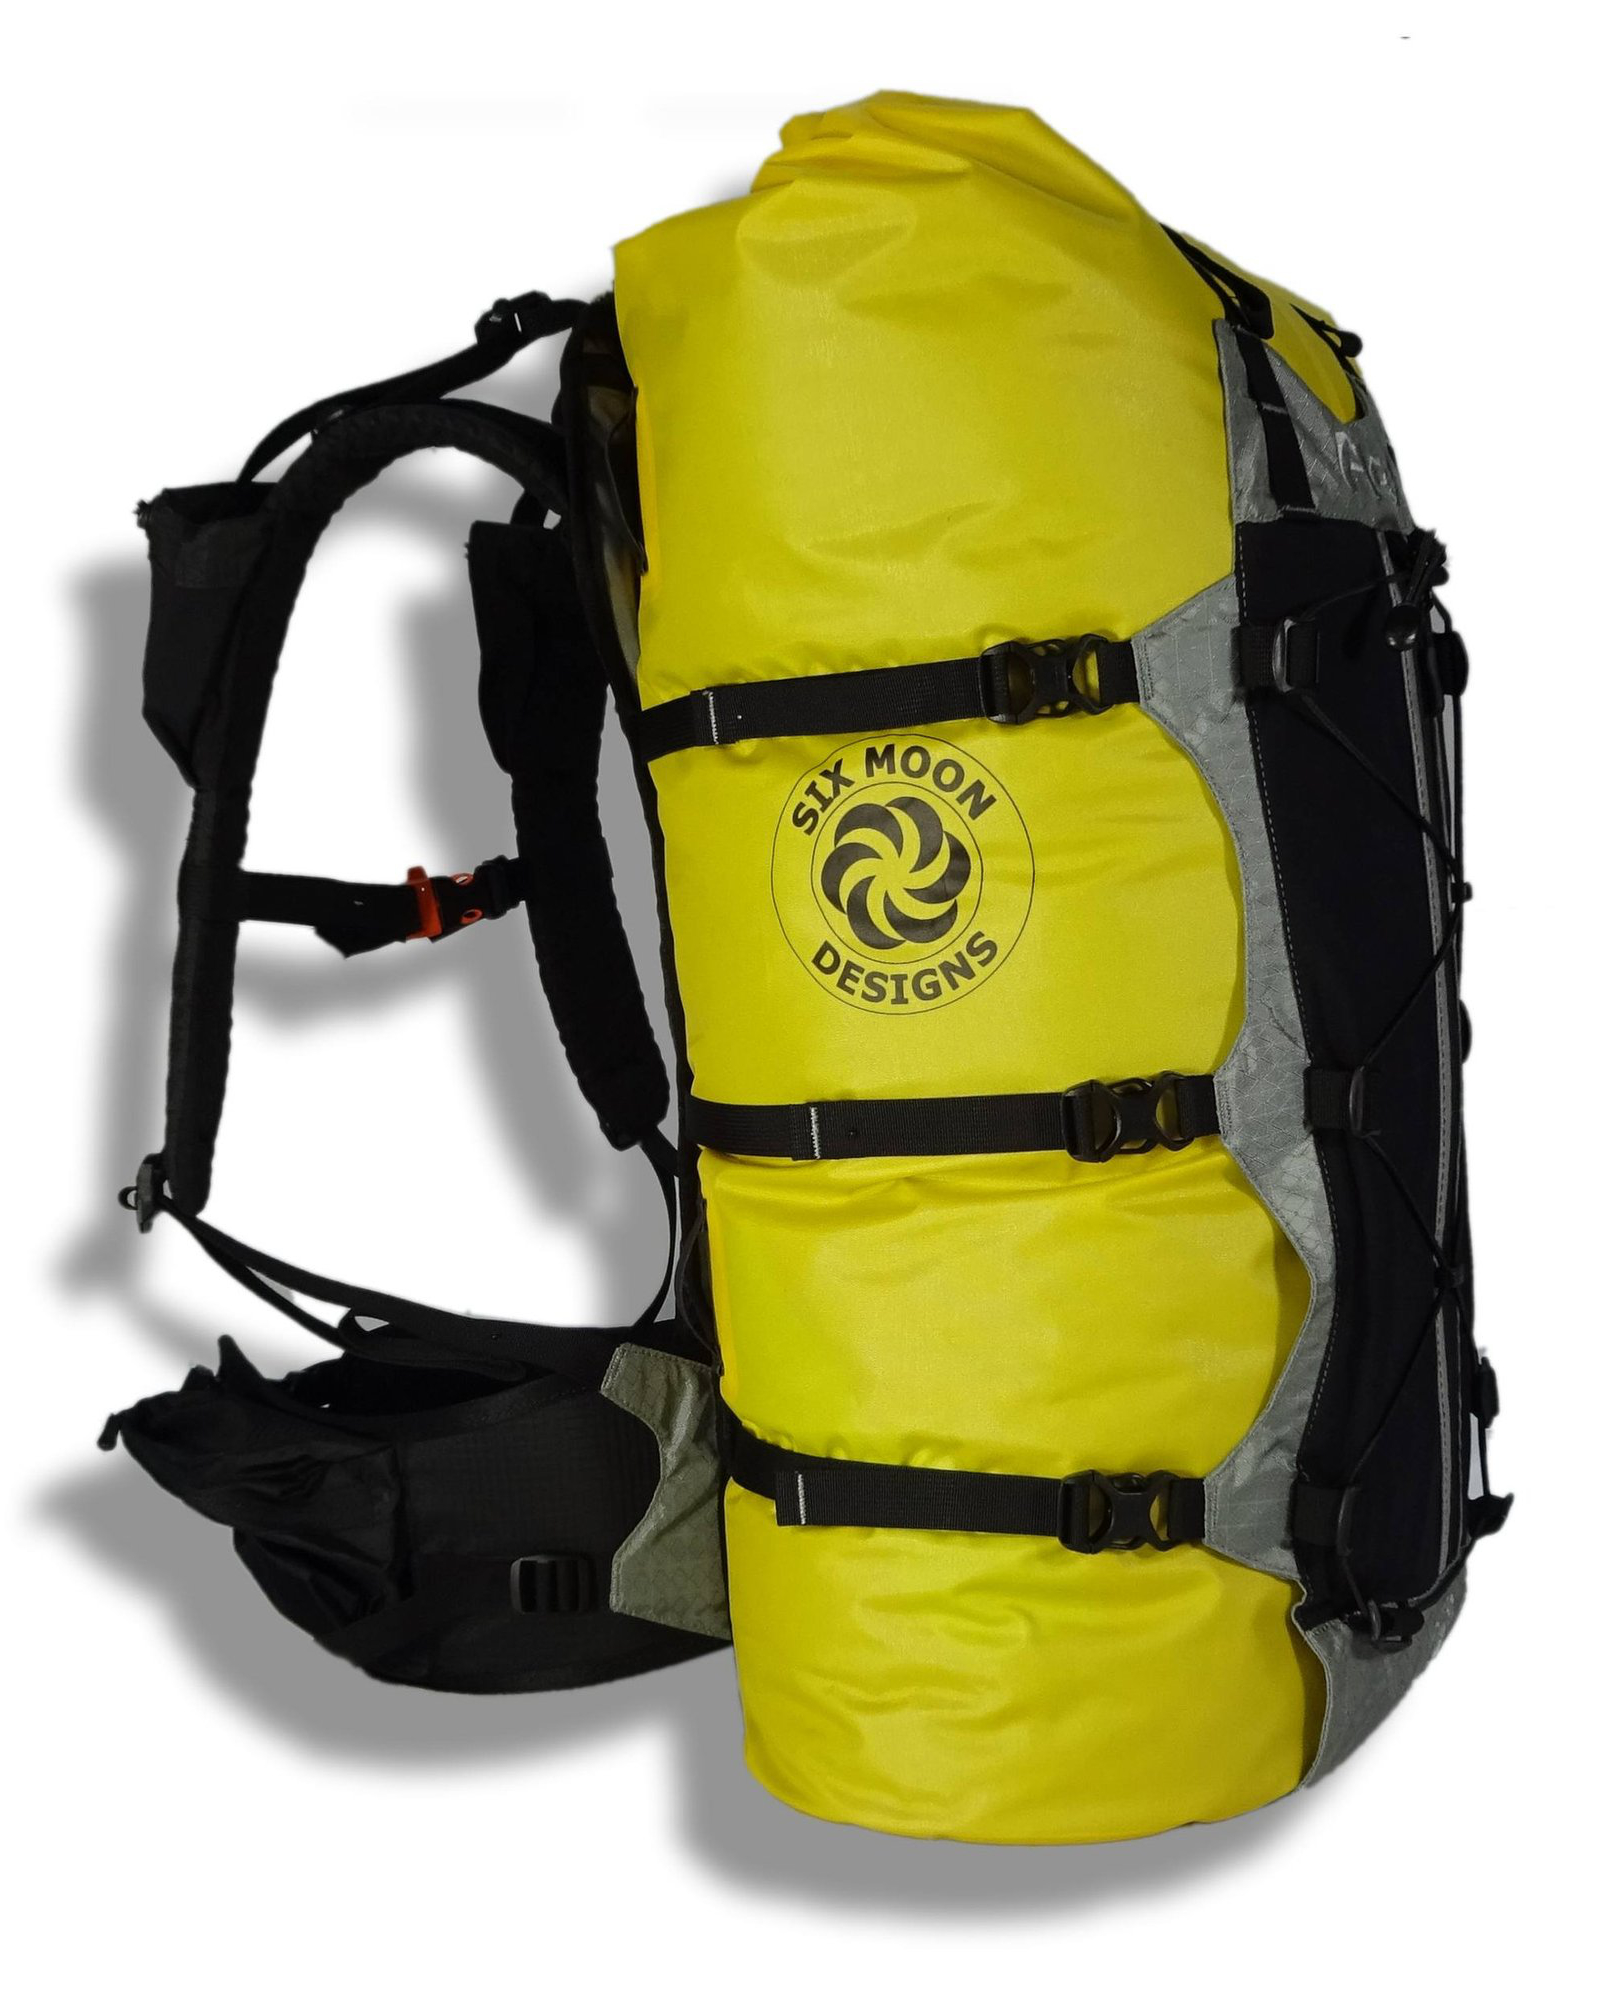
The [new for 2021] Flex PR is a multi-use pack specifically designed for pack rafters. The Flex PR is a 50L dry bag with a removable suspension system designed for carry heavy loads in comfort. Whether you are portaging on a canoe trip, hunting in the backcountry, or doing trail maintenance, the Flex PR will keep your gear dry, your accessories handy, and your back comfortable.

Review
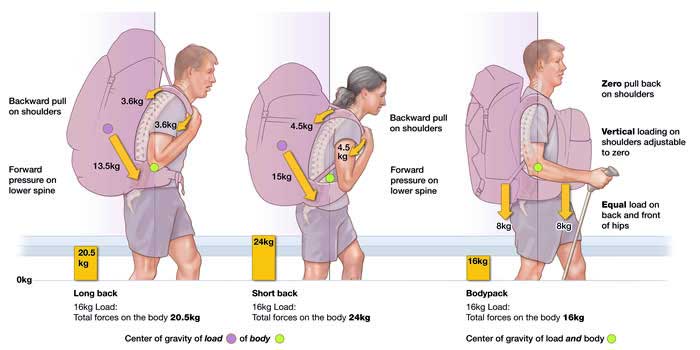
I’ve long been a fan of pack harnesses as I call them; aka: portage packs or multi-use packs. Once combined with a bombproof dry bag like my aged Watershed UDB, your packrafting load-carrying needs on land and water are solved for under 2kg. Lash all you needs to the harness and hit the hills.
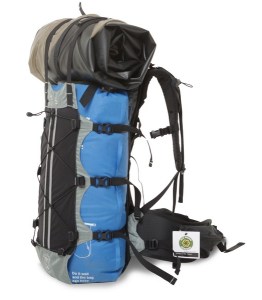
It took me years of experimenting with ex-military and hunting-focussed metal-framed versions before I discovered backpacking-oriented ‘soft’ harnesses like my NRS Paragon. No longer made, the Paragon was a basic 100-dollar harness and a bit on the small side for me. The fully adjustable Six Moon Flex PR is up there with the best hiking load-carriers.


What’s wrong with a regular rucksack? Well, they’re not waterproof like a PVC dry bag can be, and if you have a proper dry bag likje NRS above, you’ve less need for a backpack which is just more bulk. Plus, once you account of 4-5kg of rafting clobber, it won’t all fit in a normal hiking rucksack and on the water you may end up with a soaking backpack, or one which is hard to cram into hull storage.
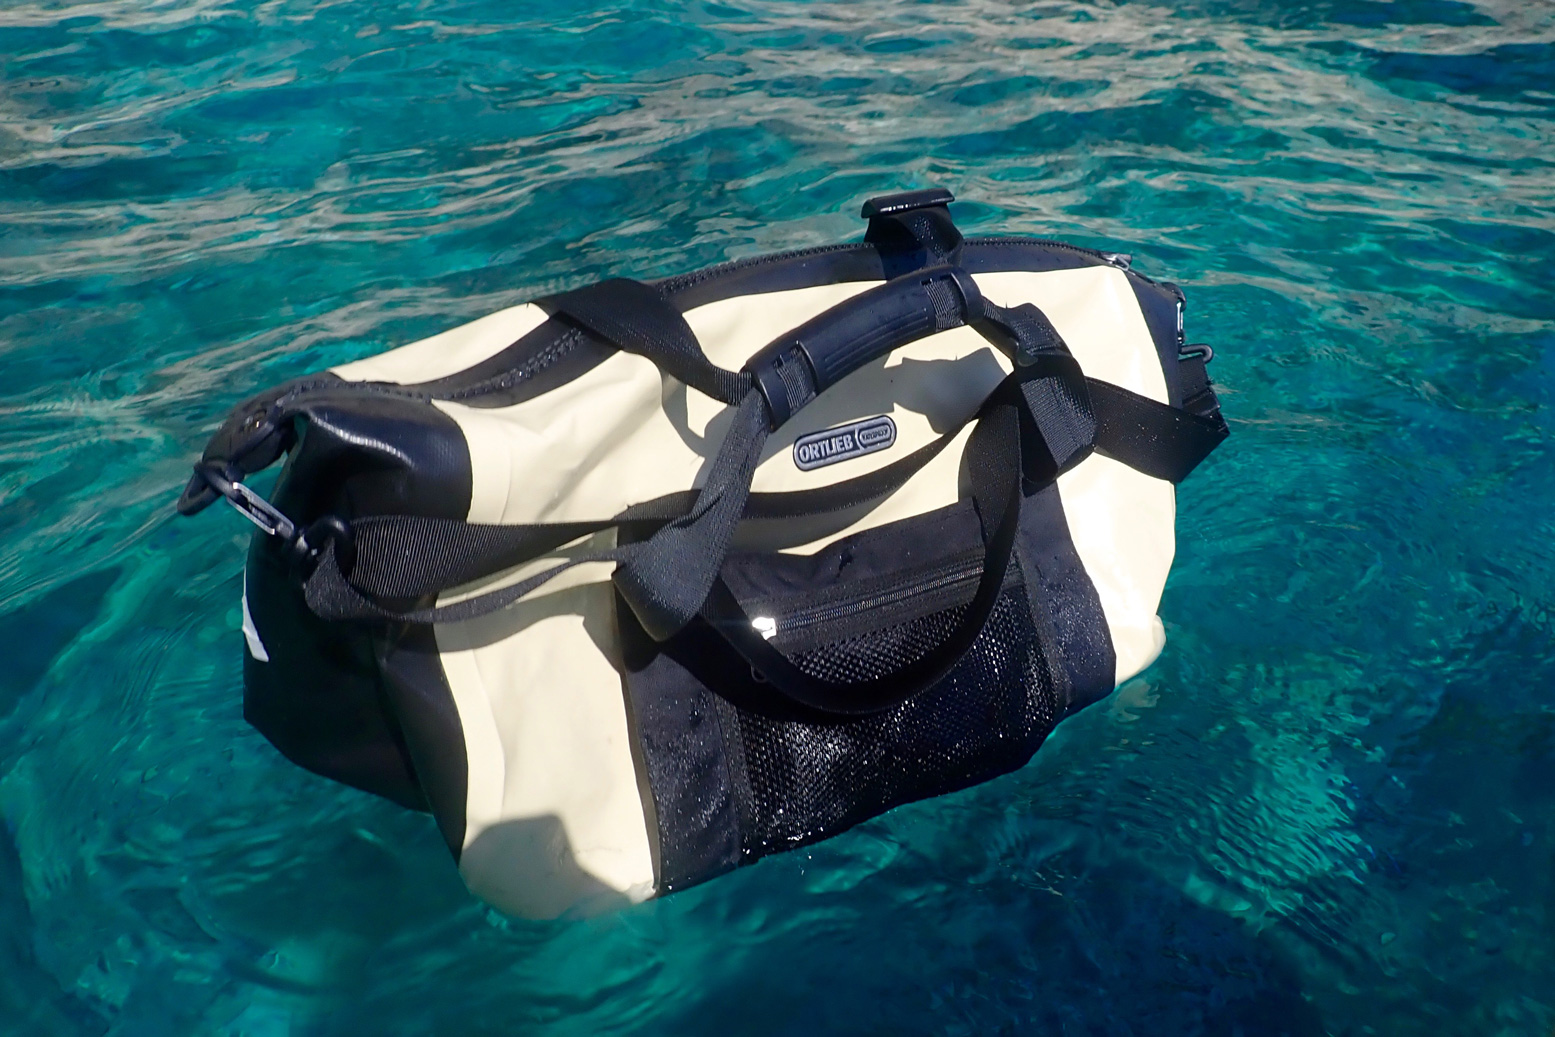
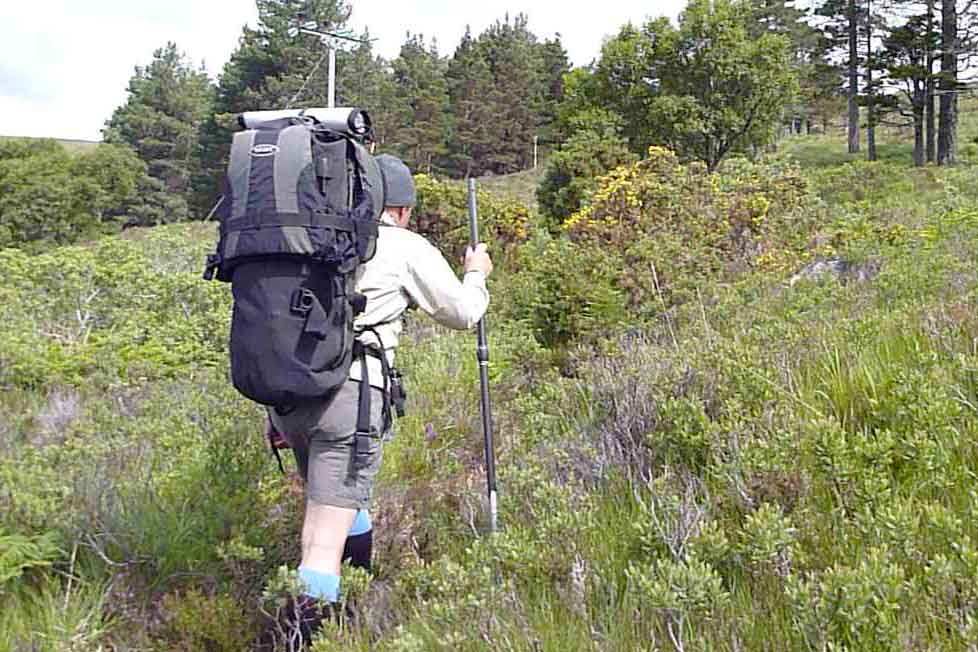
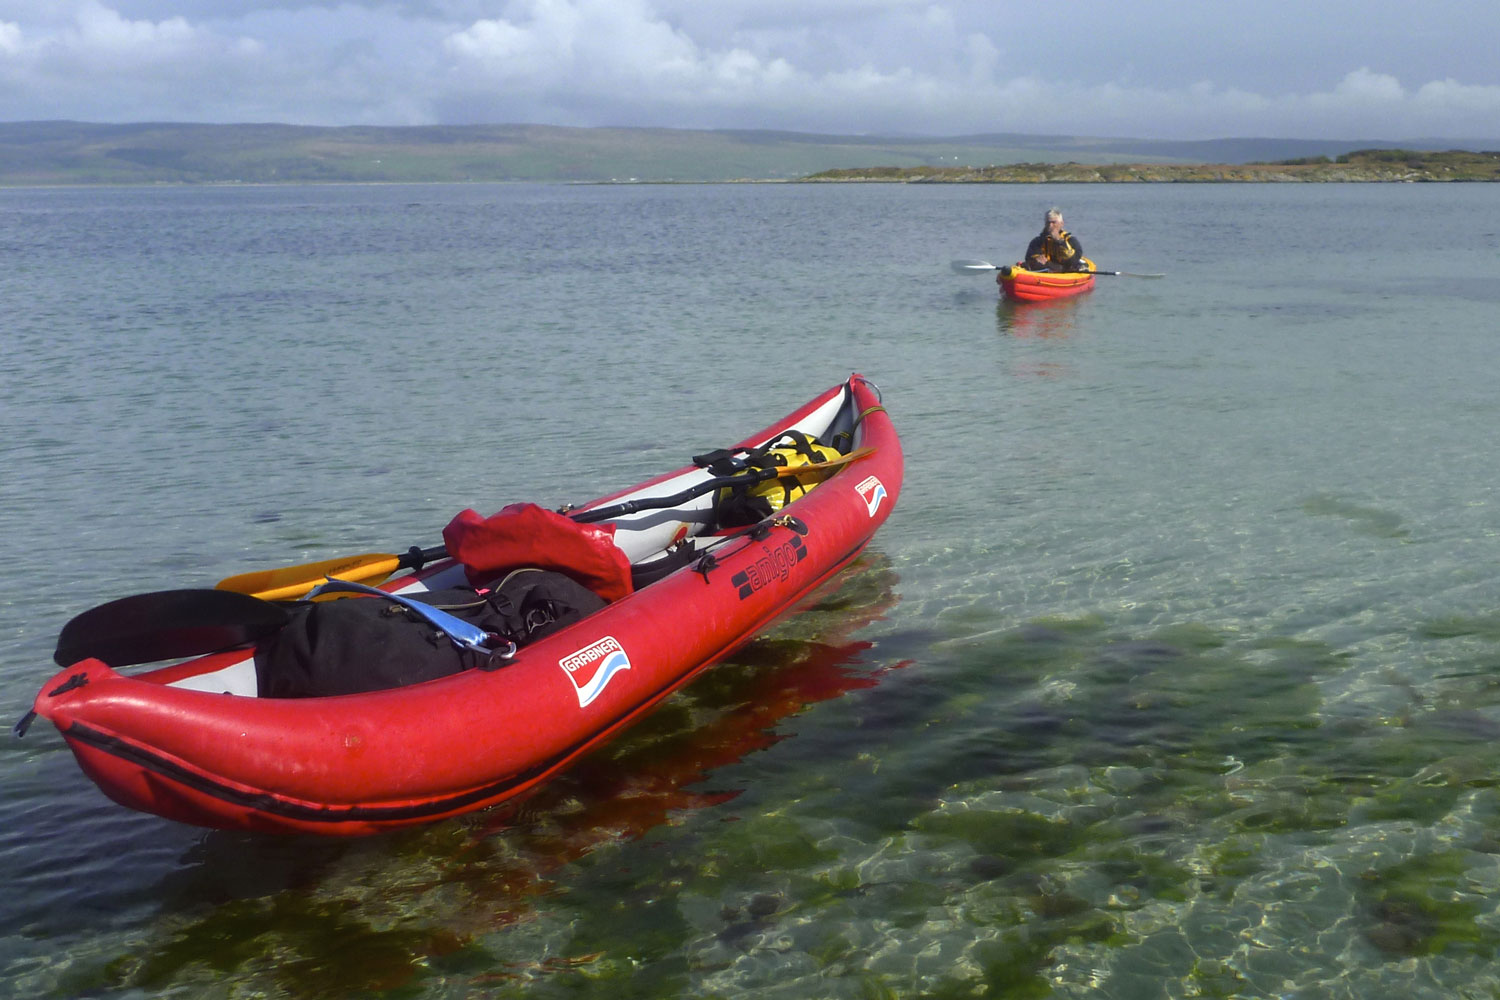
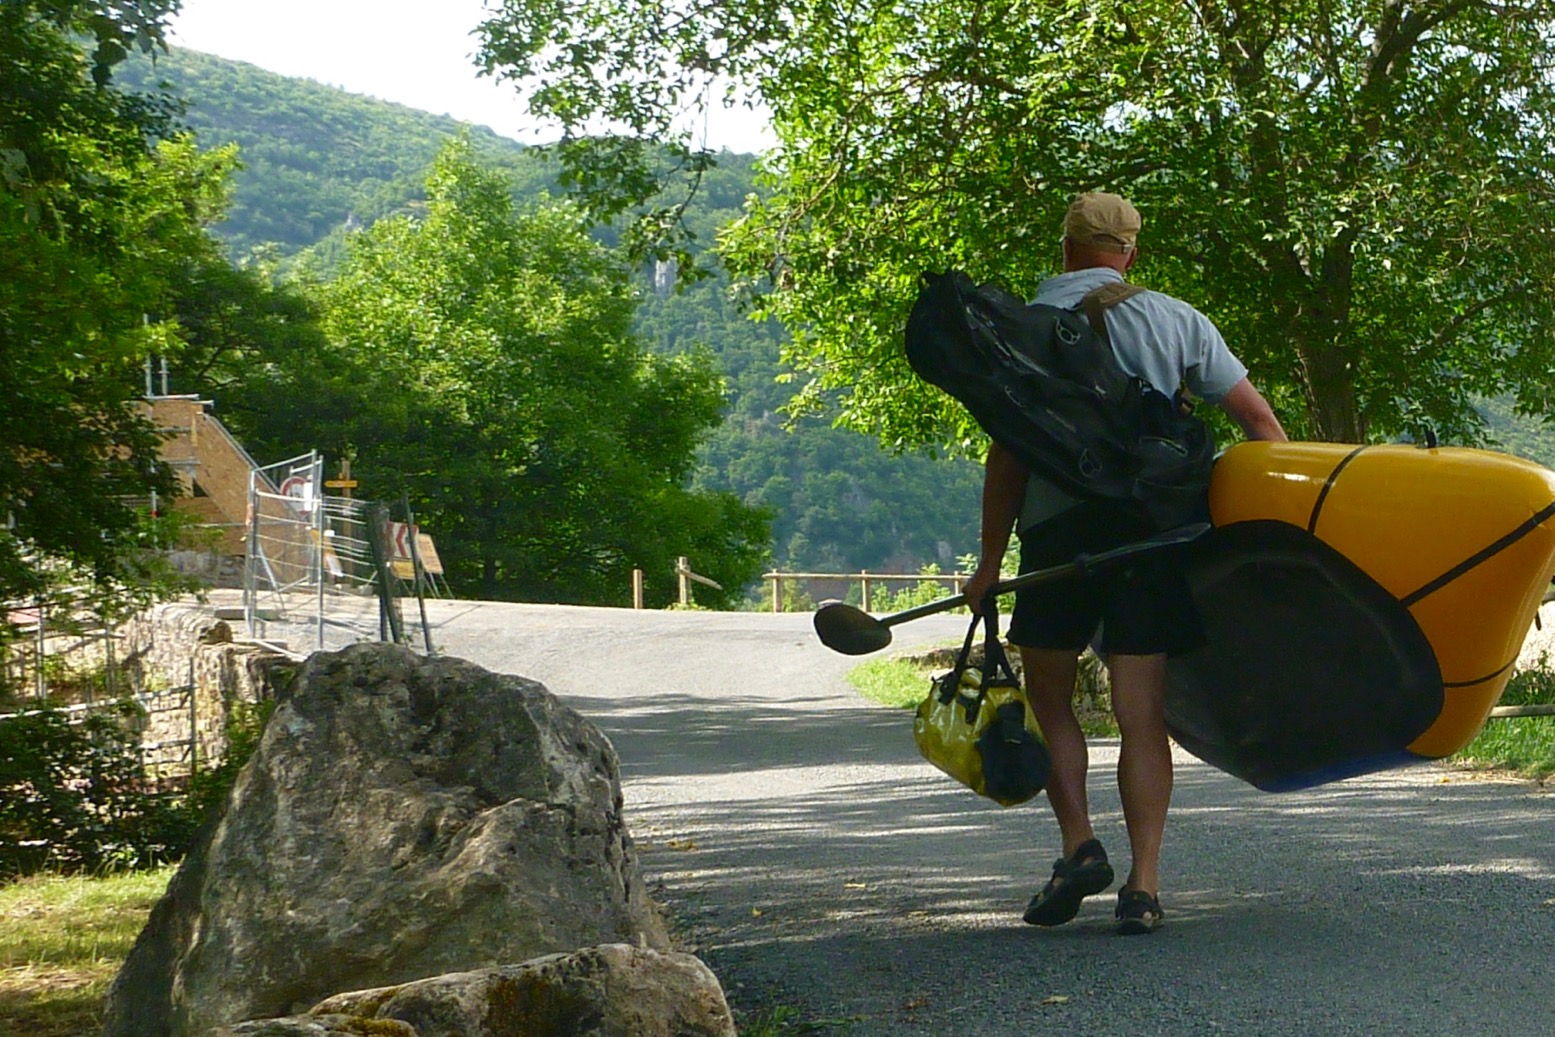
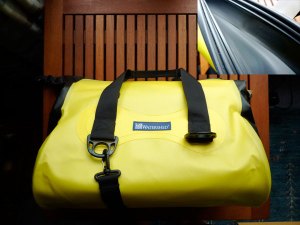
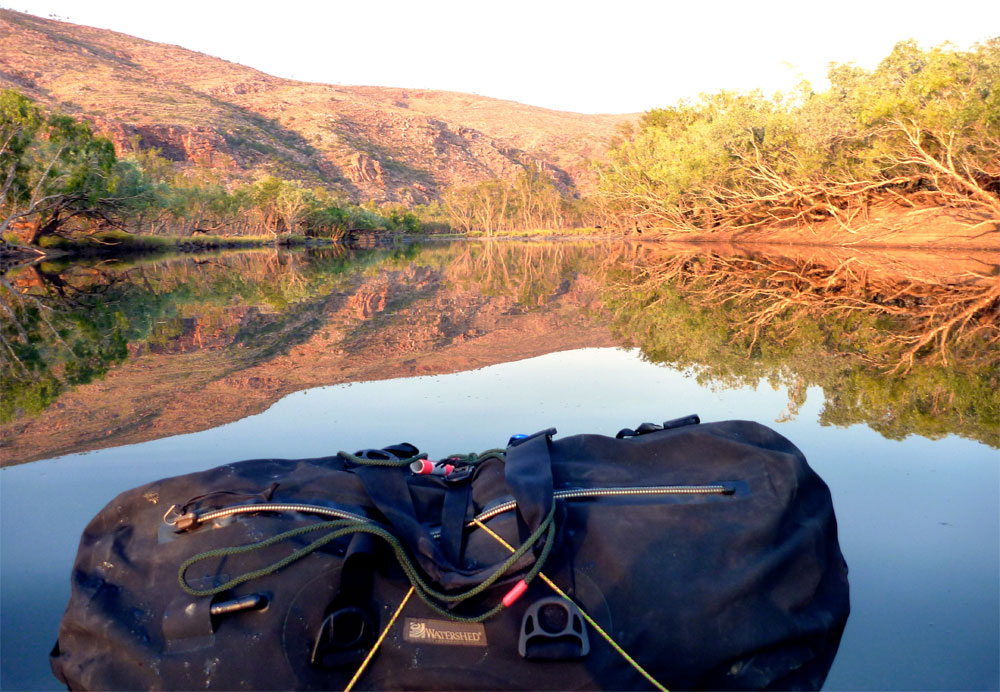
I tried this on my very first multi-day packrafting adventure from Morar to Rannoch Moor way back in 2010 with my Alpacka Llama, carrying a huge roll-top vinyl dry bag (left; like the NRS bags). I was stronger then and it sort of worked, but once you get into it, a dry bag lashed to a pack harness works best. Wet things are separated or more accessible.
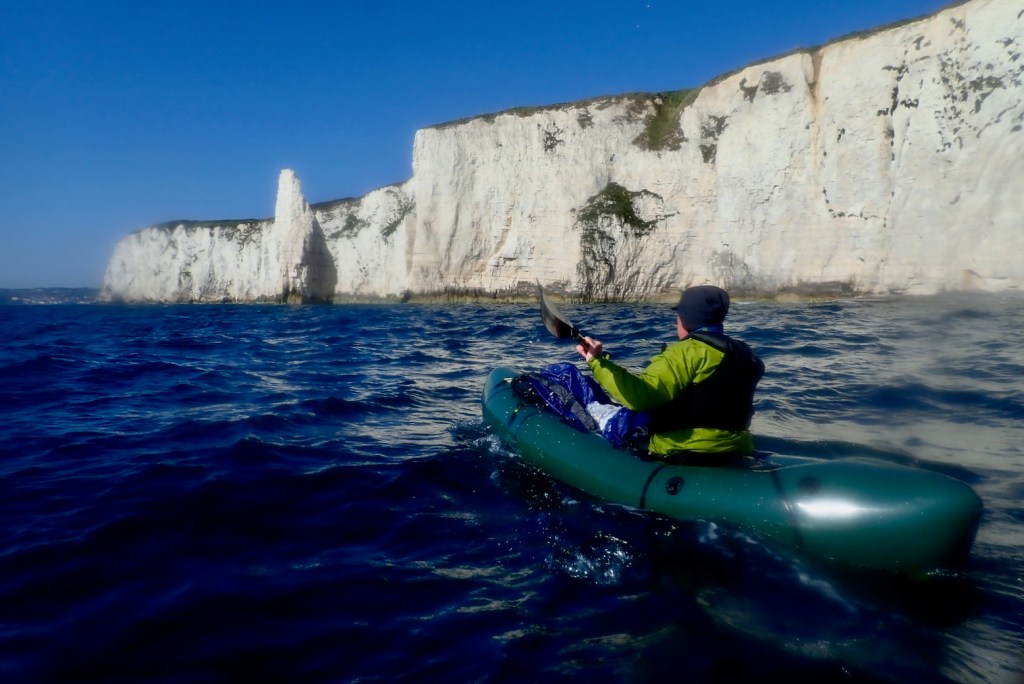
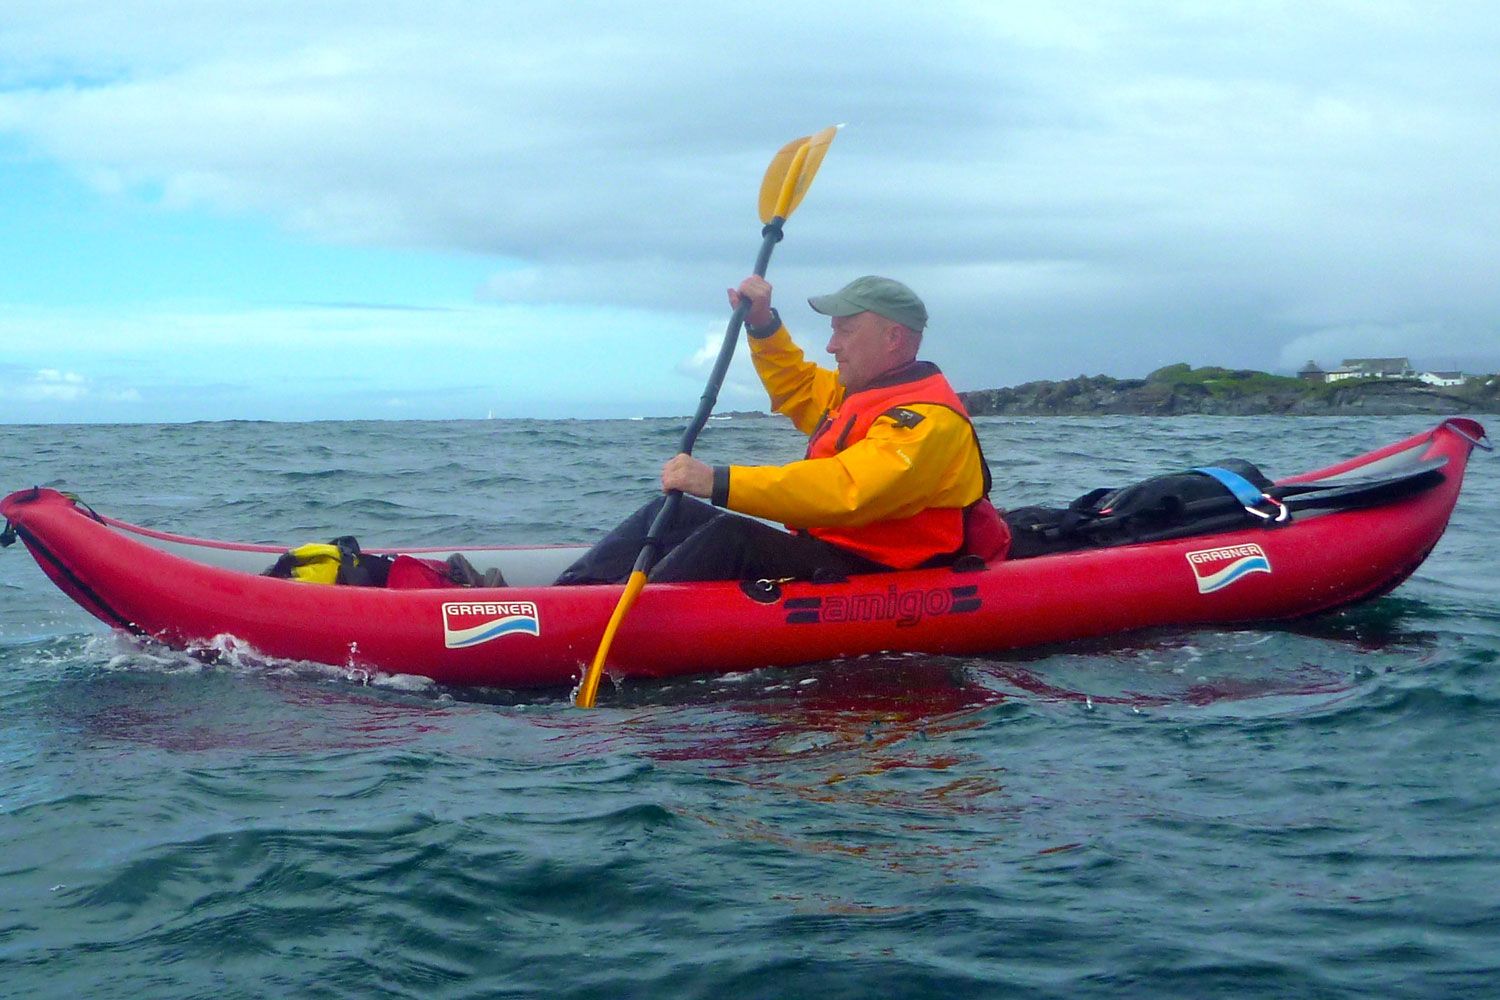
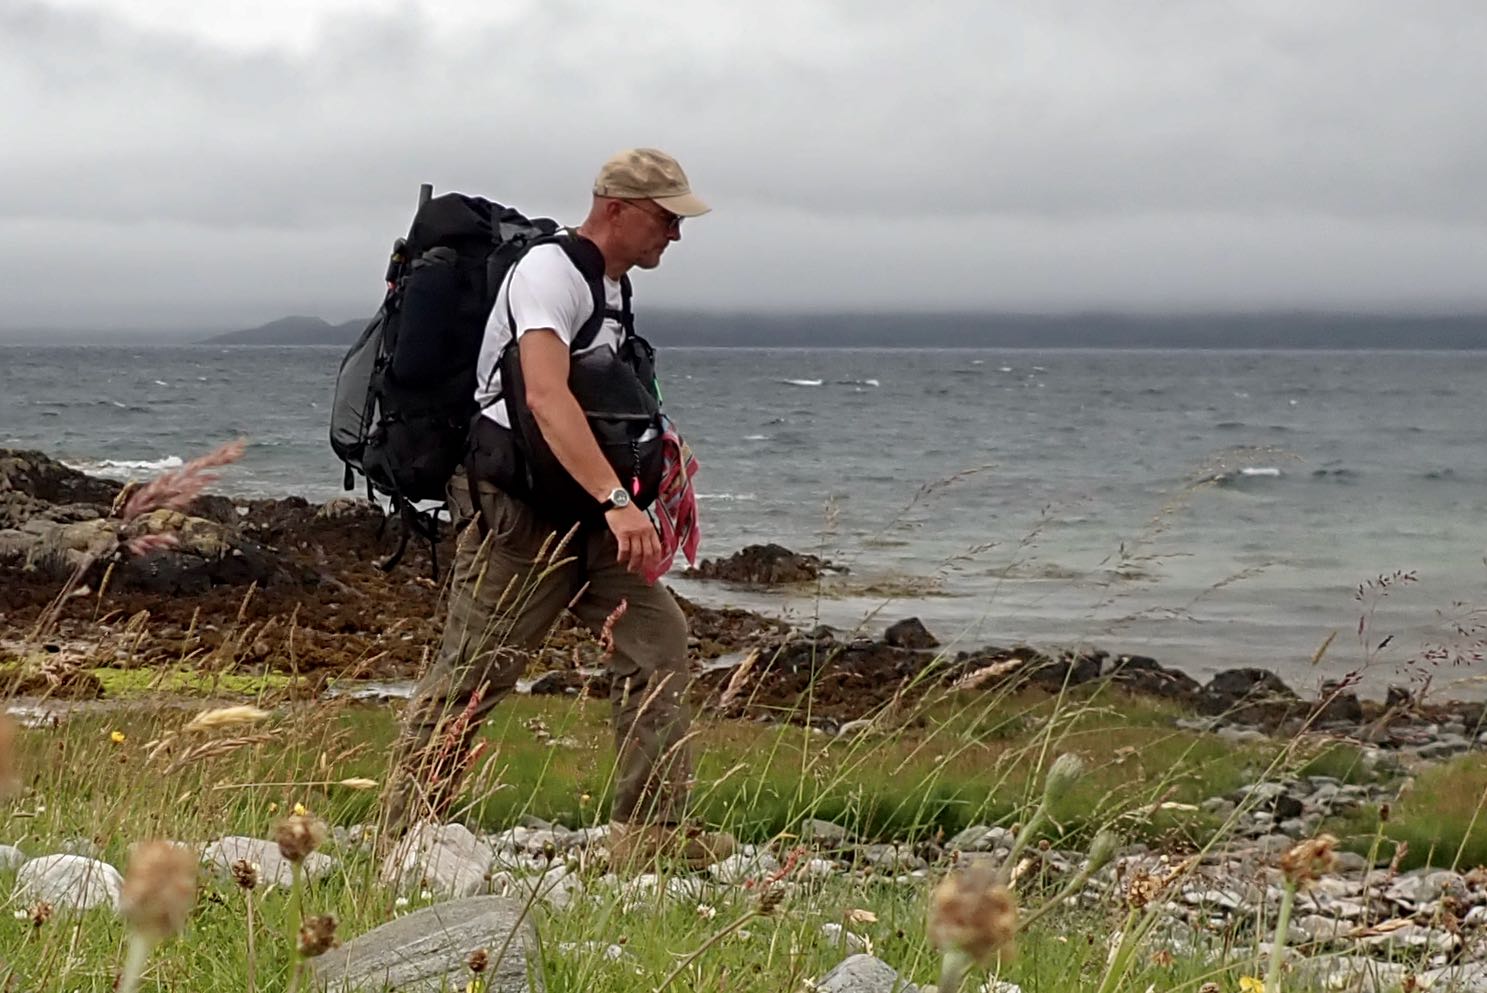
I jumped in the deep end with my Flex PR, carrying an initial load of 18kg on a four-day tour of the Knoydart peninsula with my Rebel 2K. My plan was rather over ambitious for a new area, so it turned out to be more walking than paddling. I came back to do it better a couple of weeks later so the Flex PR got a week’s heavy hauling, covering about 70 miles.


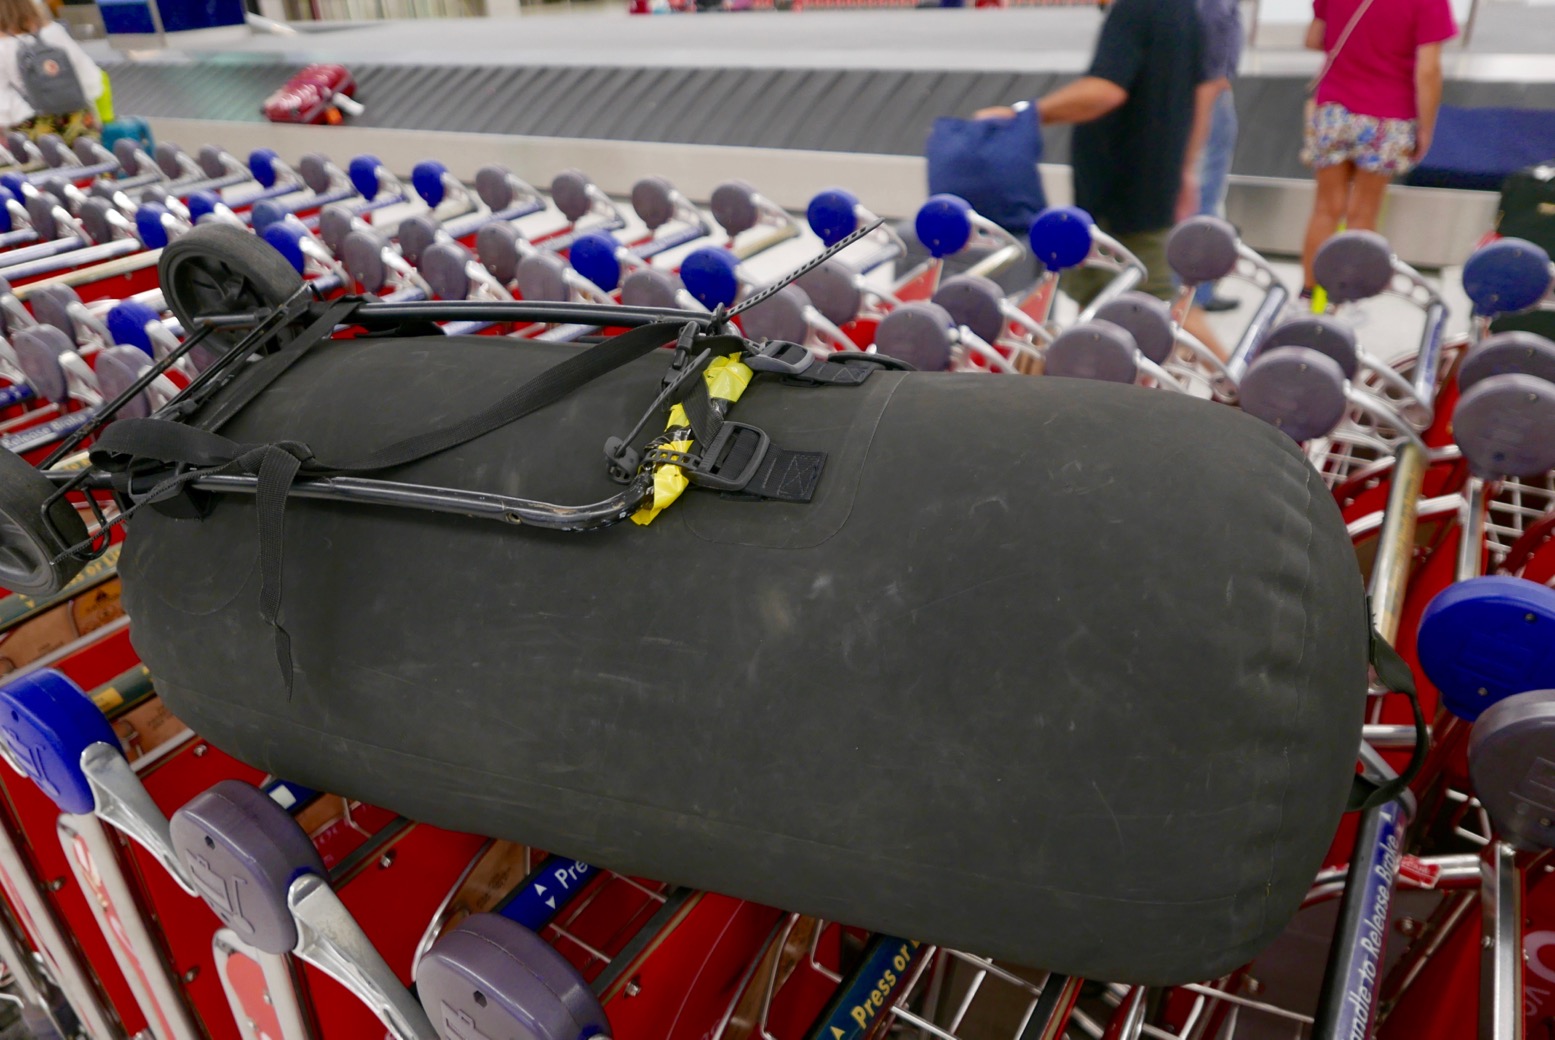
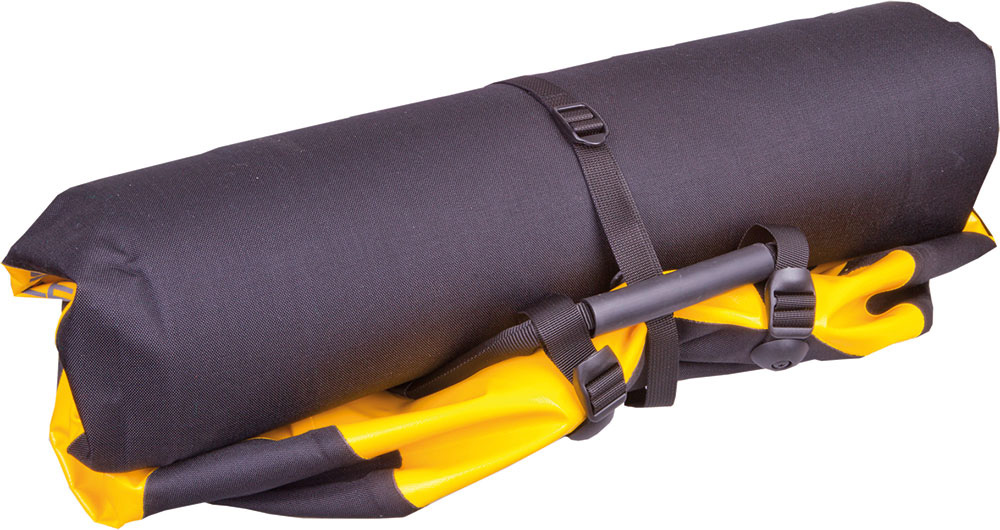
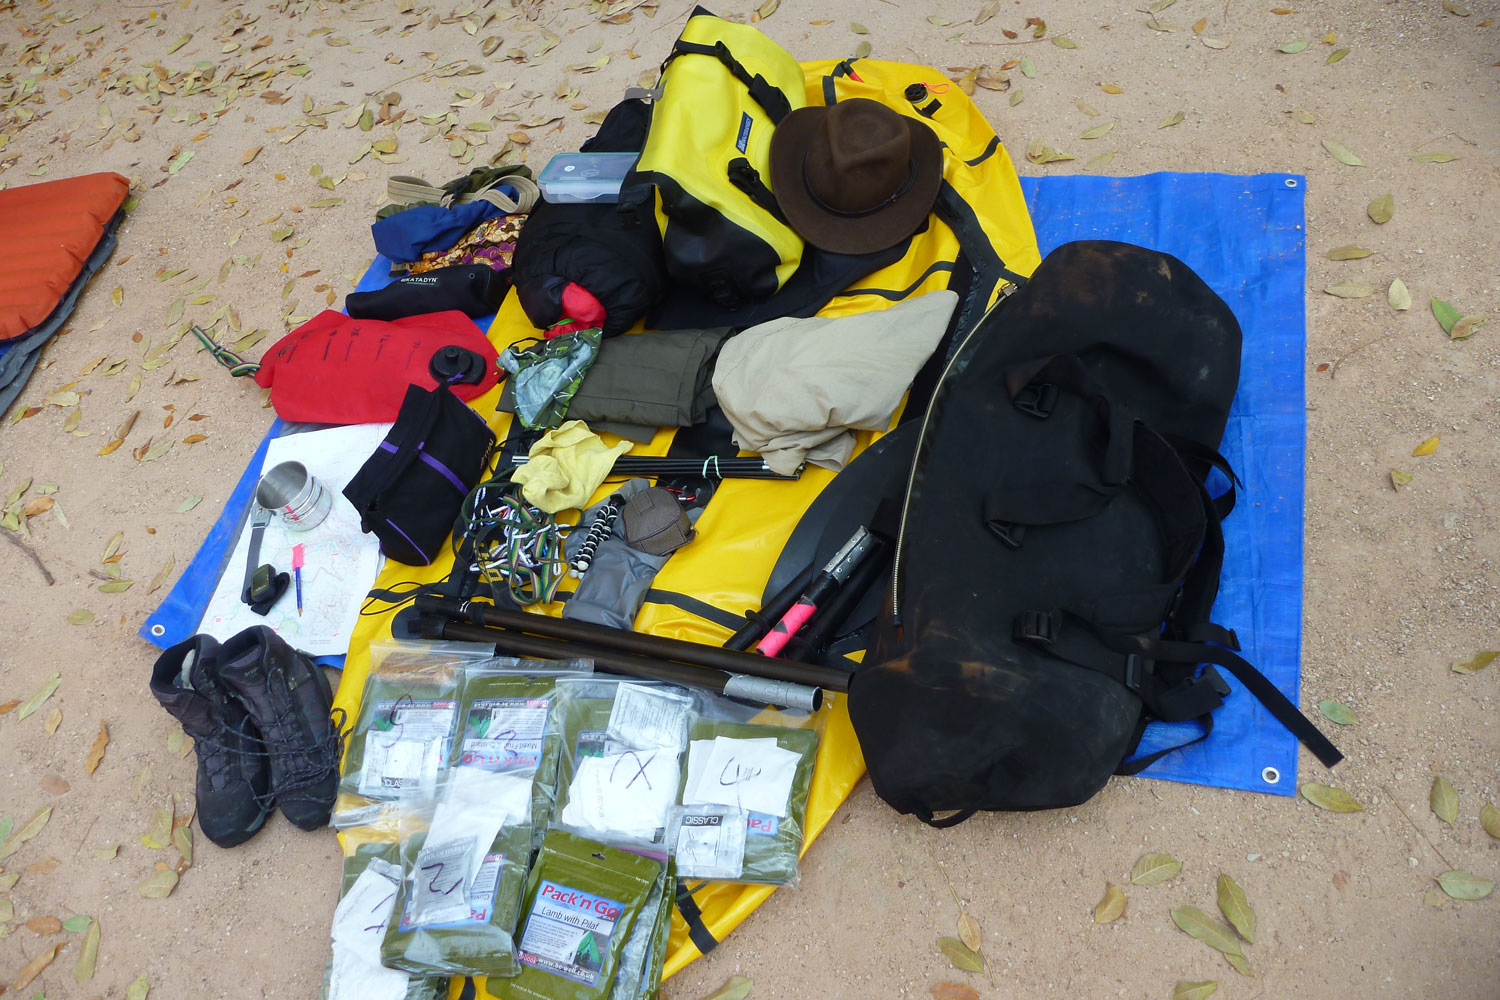
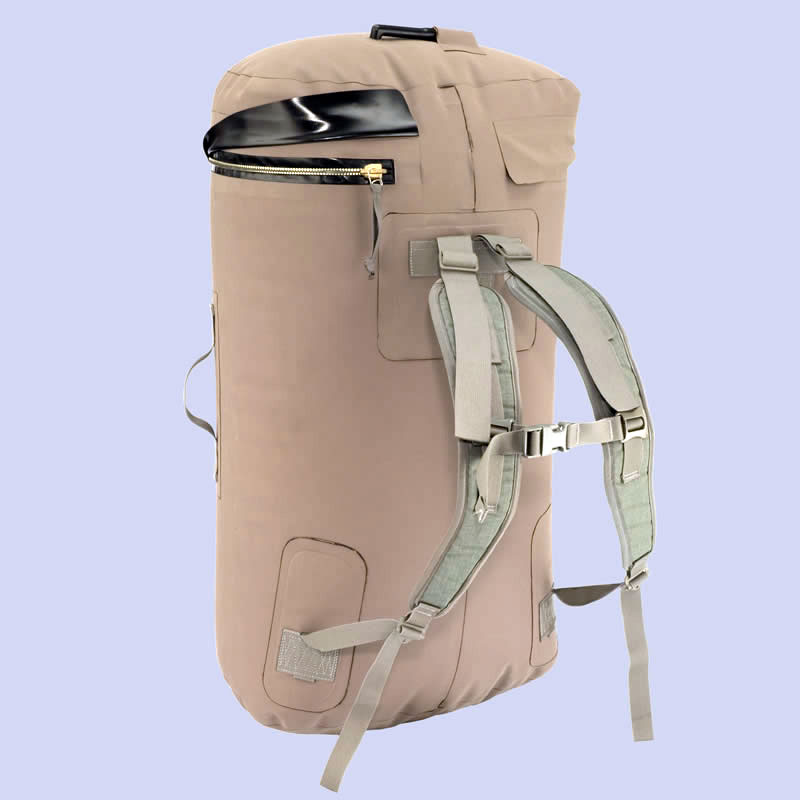
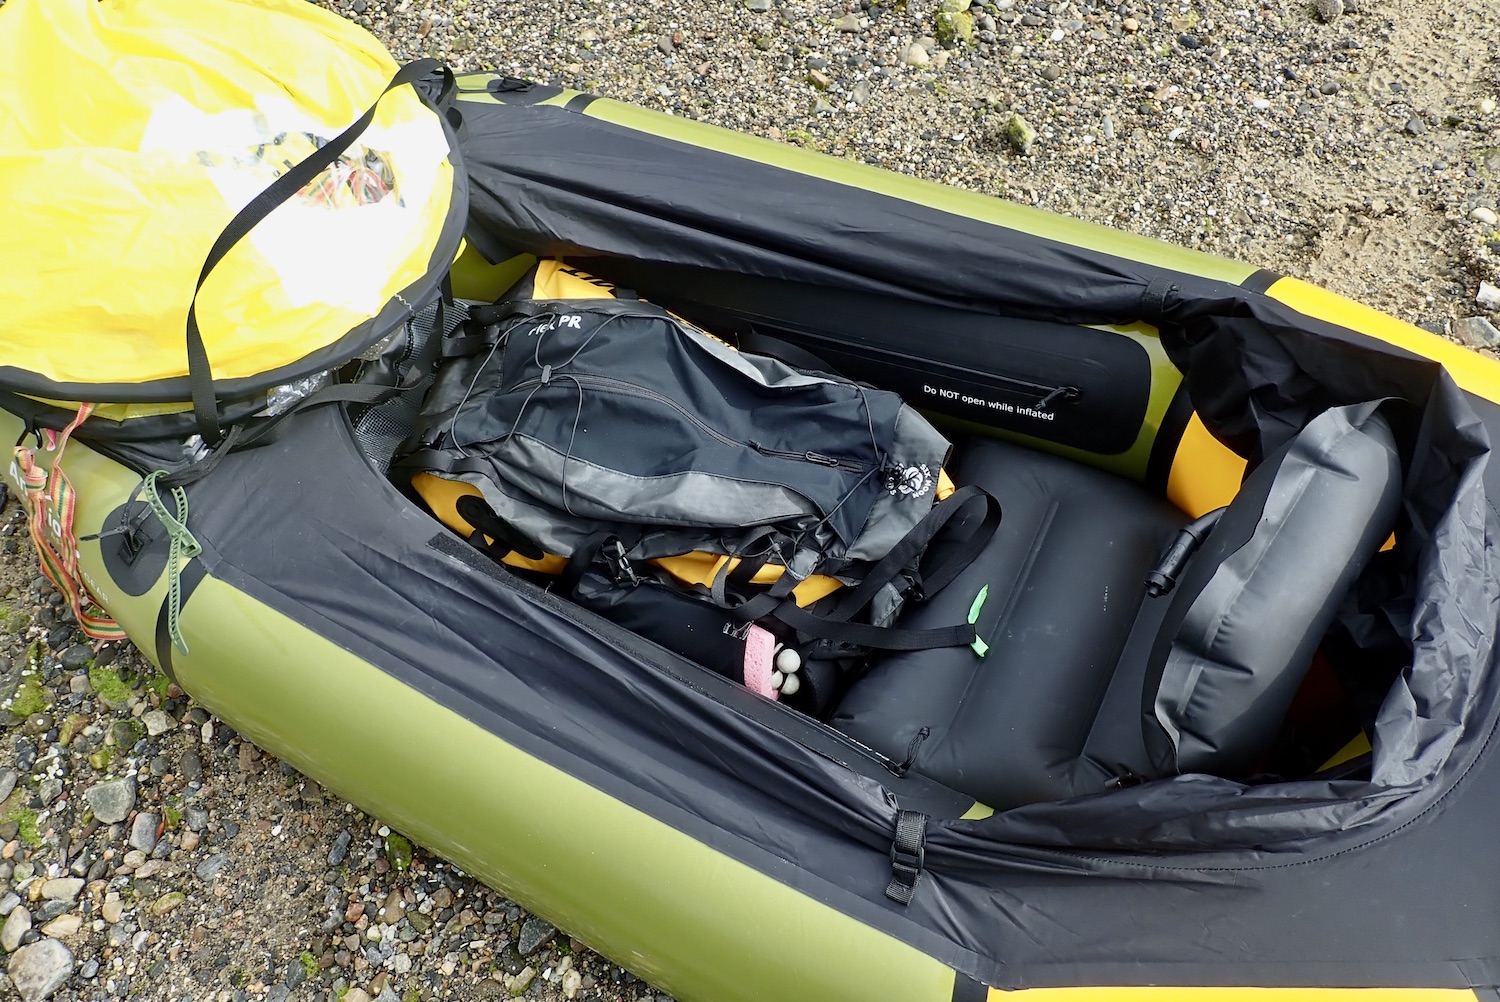
Out of the box the Flex PR comes in three sections: the load-carrying back panel incorporating the fabric strap-down flap which wraps up and around your dry bag and then cinches down at the sides. The lumbar panel is supported by a removable, pre-bent ribbed alloy stiffening rod which you want to take care not to bend. The wide hip belt slips in through a sleeve at the base of the back panel and velcros in place. And the shoulder harness slips down into another velcro sleeve with various adjustment marks. At 6′ 1″ (1.85m) and after some experimenting, I settled on the longest setting, as below left.


I do wonder how securely velcro will hold the weight after a while, but it’s not like you’re undoing it several times a day, and most of the weight rests on the hip belt with velcro on both surfaces.
The PR has loads and loads of straps: six on the hip belt; twelve plus a bungie on the back panel, and three on the shoulder harness. With your own dry bag it will take a while to configure the PR to your liking, but after that you can leave it be. You may also be tempted to snip off the excess on the straps, but initially it’s better to knot them up or try and tuck them out of the way until you know for sure which ones are really too long. Better too long than too short. (The foot-long shoulder-top tensioning straps are primary candidates for the snip.) After a day or two, in an effort to reduce strap overload I detached the removable stabiliser ‘Z’ straps. Six side straps and two over the top ought to do the job. These Z-straps had some interesting removable buckles (above right) I’ve not seen before.


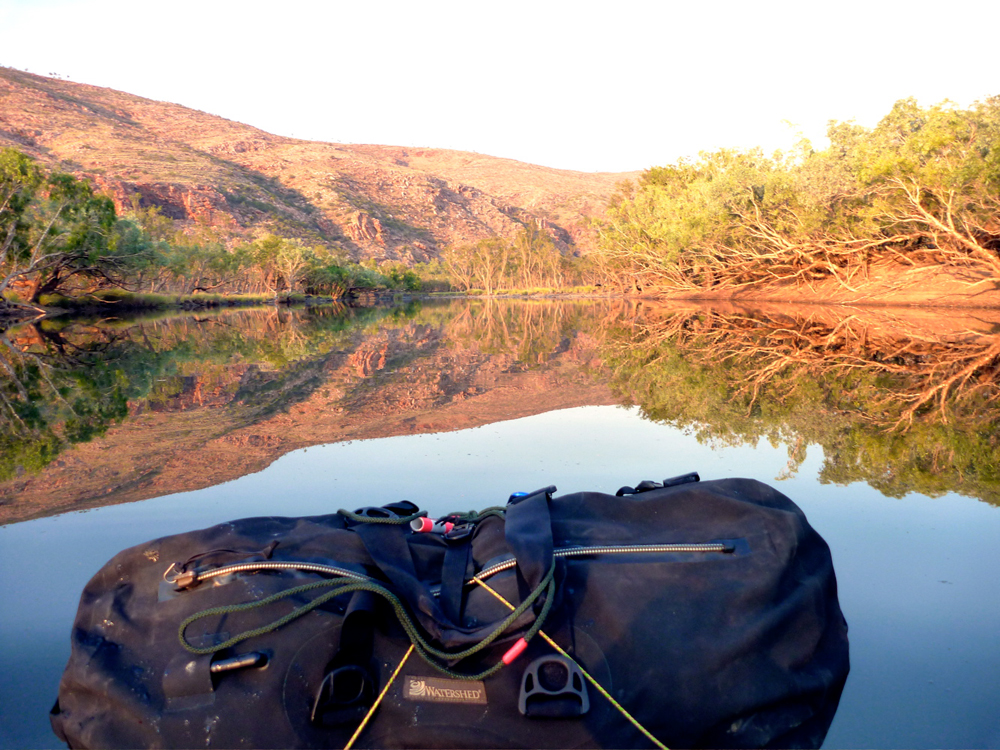
You’ll need a rugged and dependable dry bag to handle prolonged rain, persistent waves and rough handling, although with my Rebel 2K I’ve lately joined the ranks of packrafters stowing baggage inside the hull, not out on the bow, so on the water a submersible-grade dry bag becomes less critical.
The Flex PR is designed to be used with 6MD’s 50-litre, 227g (8oz) roll-top dry bag (another $45; left) which includes four side loops which match up with the harness’s side straps. (I didn’t ask for, or use this bag.) What it’s made from or coated with is not stated on the link above, but one review listed ‘210D TPU-coated Nylon’, which sounds the same as a lightweight packraft hull. It includes a purge valve which will release any air after the bag is rolled up for packing and as you cinch down. Nice touch.

Although the Flex PR has generous external storage and additional lashing options, I do feel that 50-litres is a minimum for a few days out in the back country. Better a larger bag and add another couple of rolls of the closure.
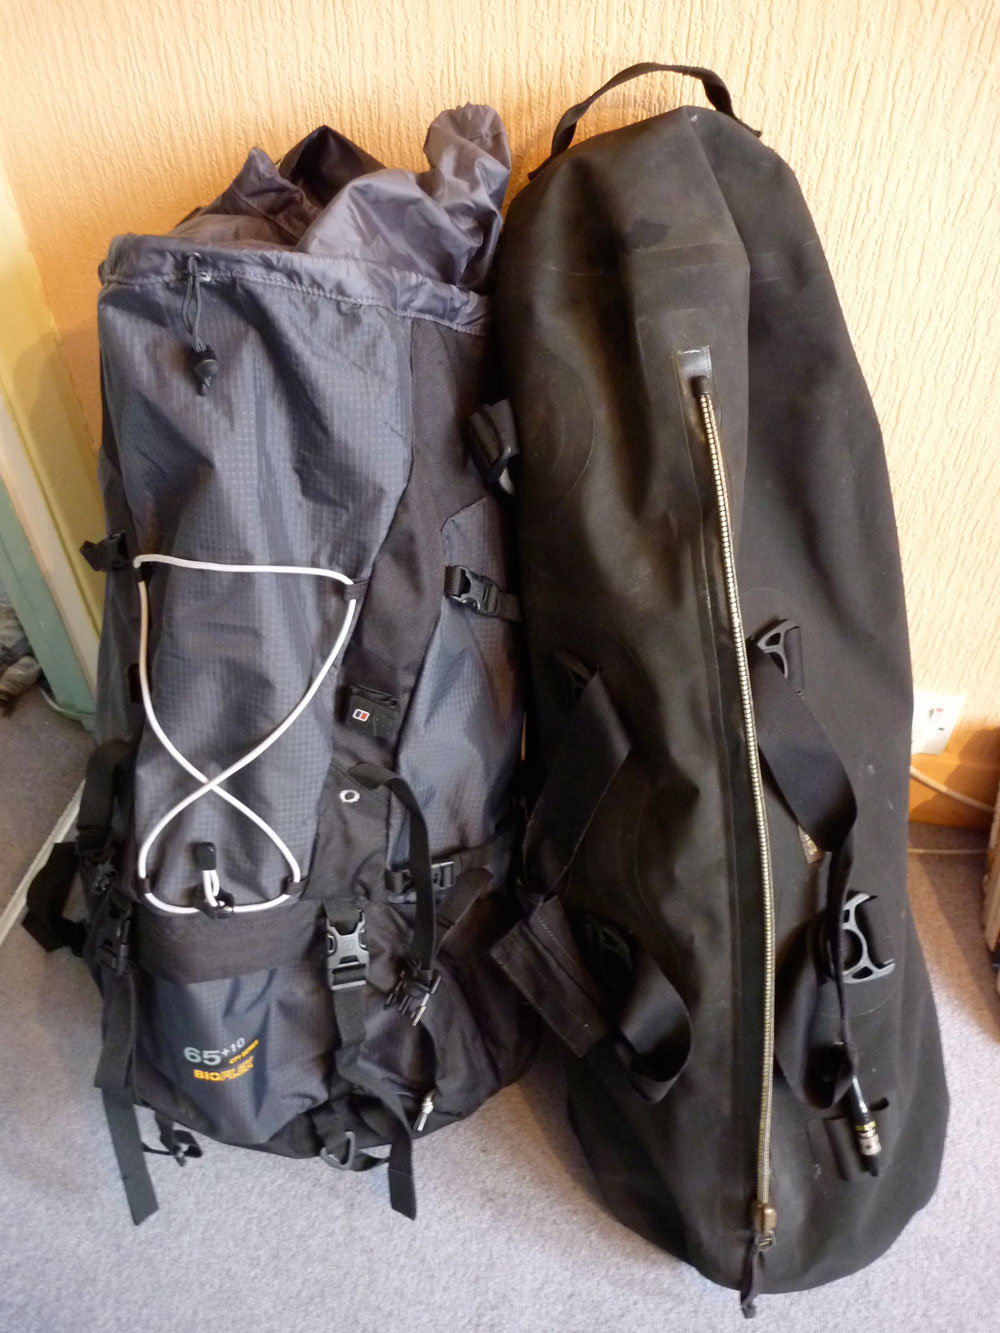
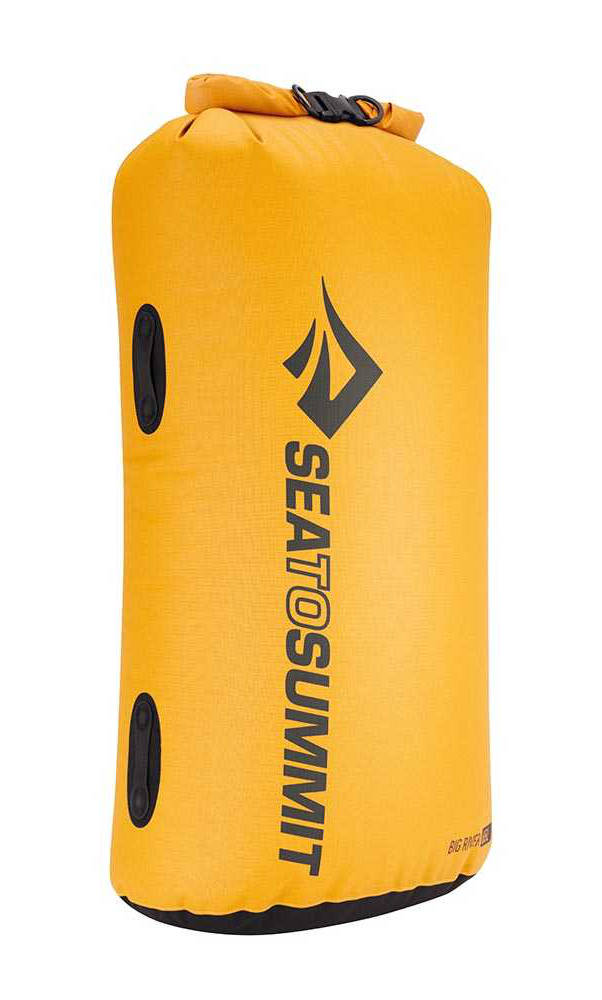
Something like the ovalised Australian Sea to Summit Big River 65-litre TPU roll-top (left). This is TPU laminated on 420D nylon with a white lining and a textured, ripstop exterior. It weighs 315g (verified) and has hypalon side loops which more or less line up with the Flex’s side straps. It now costs £80. Compare it to S2S’s 75-litre Big River Dry Backpack for £150 of less, with a thin hip belt.
It took the first Knoydart recce trip to realise my large, sausage-like UDB duffle wasn’t suited to the Flex. And much as I prefer a top loading holdall-style bag, every morning I had to re-lash my black UDB into the harness, made harder by everything being black. When bothered by swarms of midges or rain, you don’t want to have to think about re-lashing the pack correctly each time, and there were times my long, thin load felt lopsided because the tall bag lacked girth.
I’ve since tried to tidy up the set-up by tucking in unneeded loose ends and tying coloured ribbons to the important cinch straps, just like better tents have colour-coded markers for poles, but I couldn’t tighten the UDB down properly so it was often lopsided.
So I bought myself the S2S Big River 65 dry bag, top-loading, like a rucksack. As mentioned, the Rebel 2K’s massive 140-litre in-hull storage capacity now makes a bombproof, over-the-bow dry bag like my trusty UDB redundant.

Back home, I dummy rigged three dry dry bags (above), but I can see it might still be a faff lashing on each time, just with added colour. However, one benefit of this multi-bag idea would be they pop straight into the 2K’s capacious TubeBags with no emptying and repacking. That would be handy on a trip where you’re switching between walking and rafting more than once a day.
Pockets
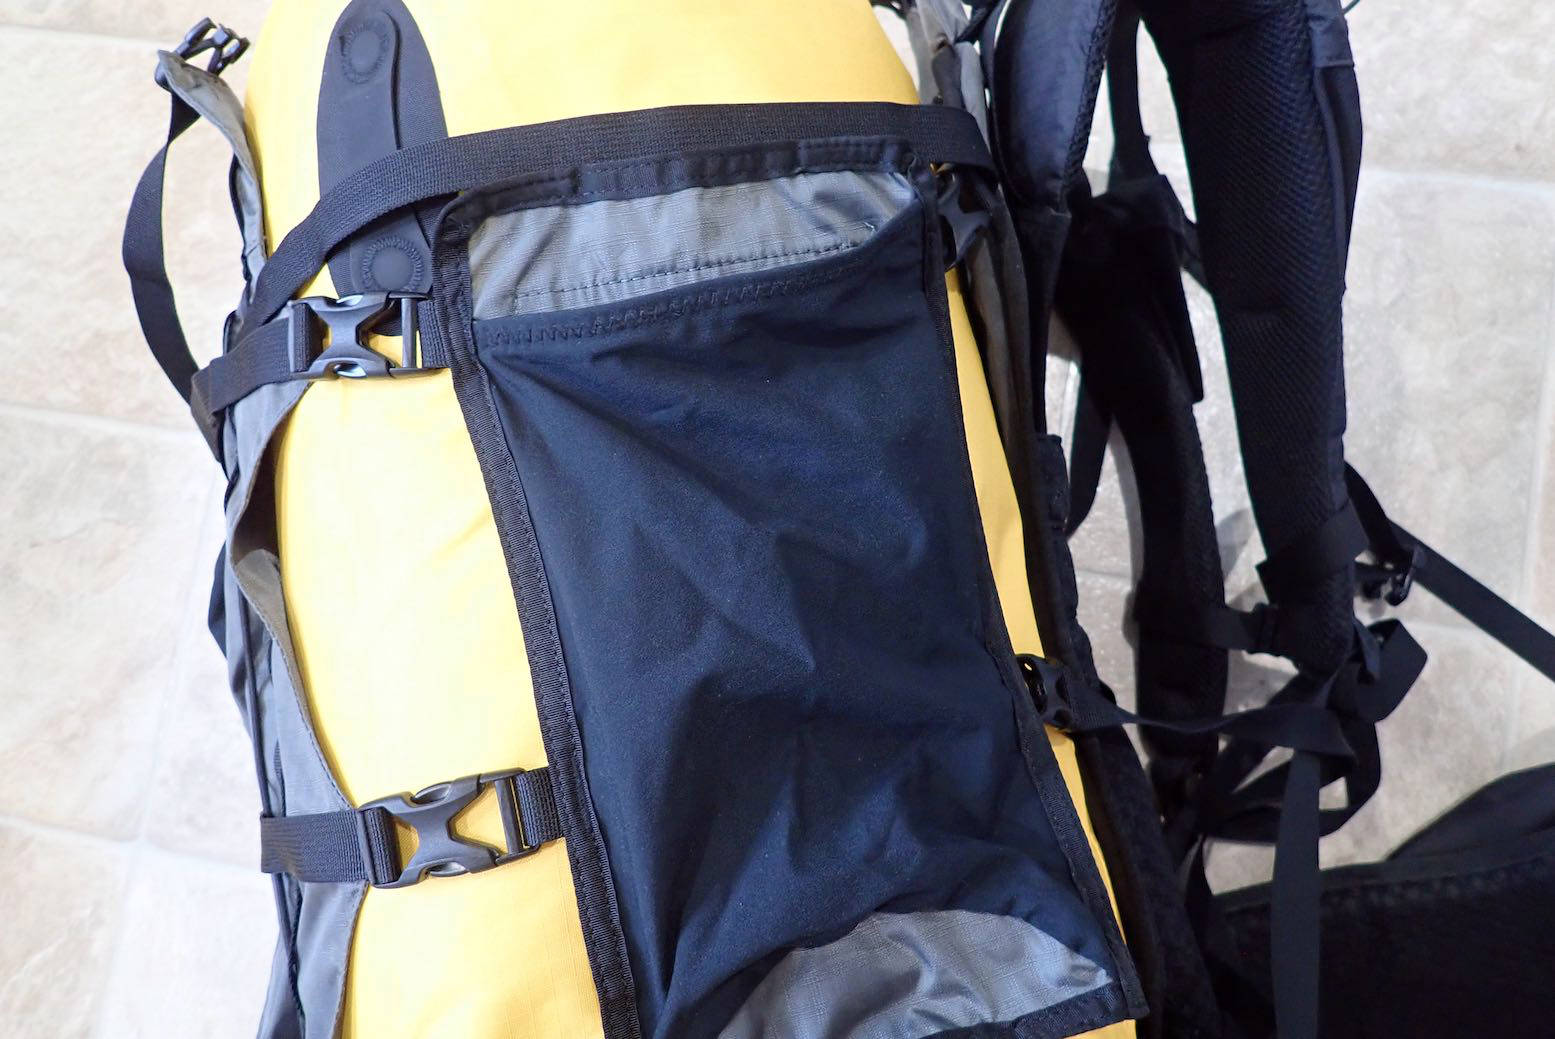
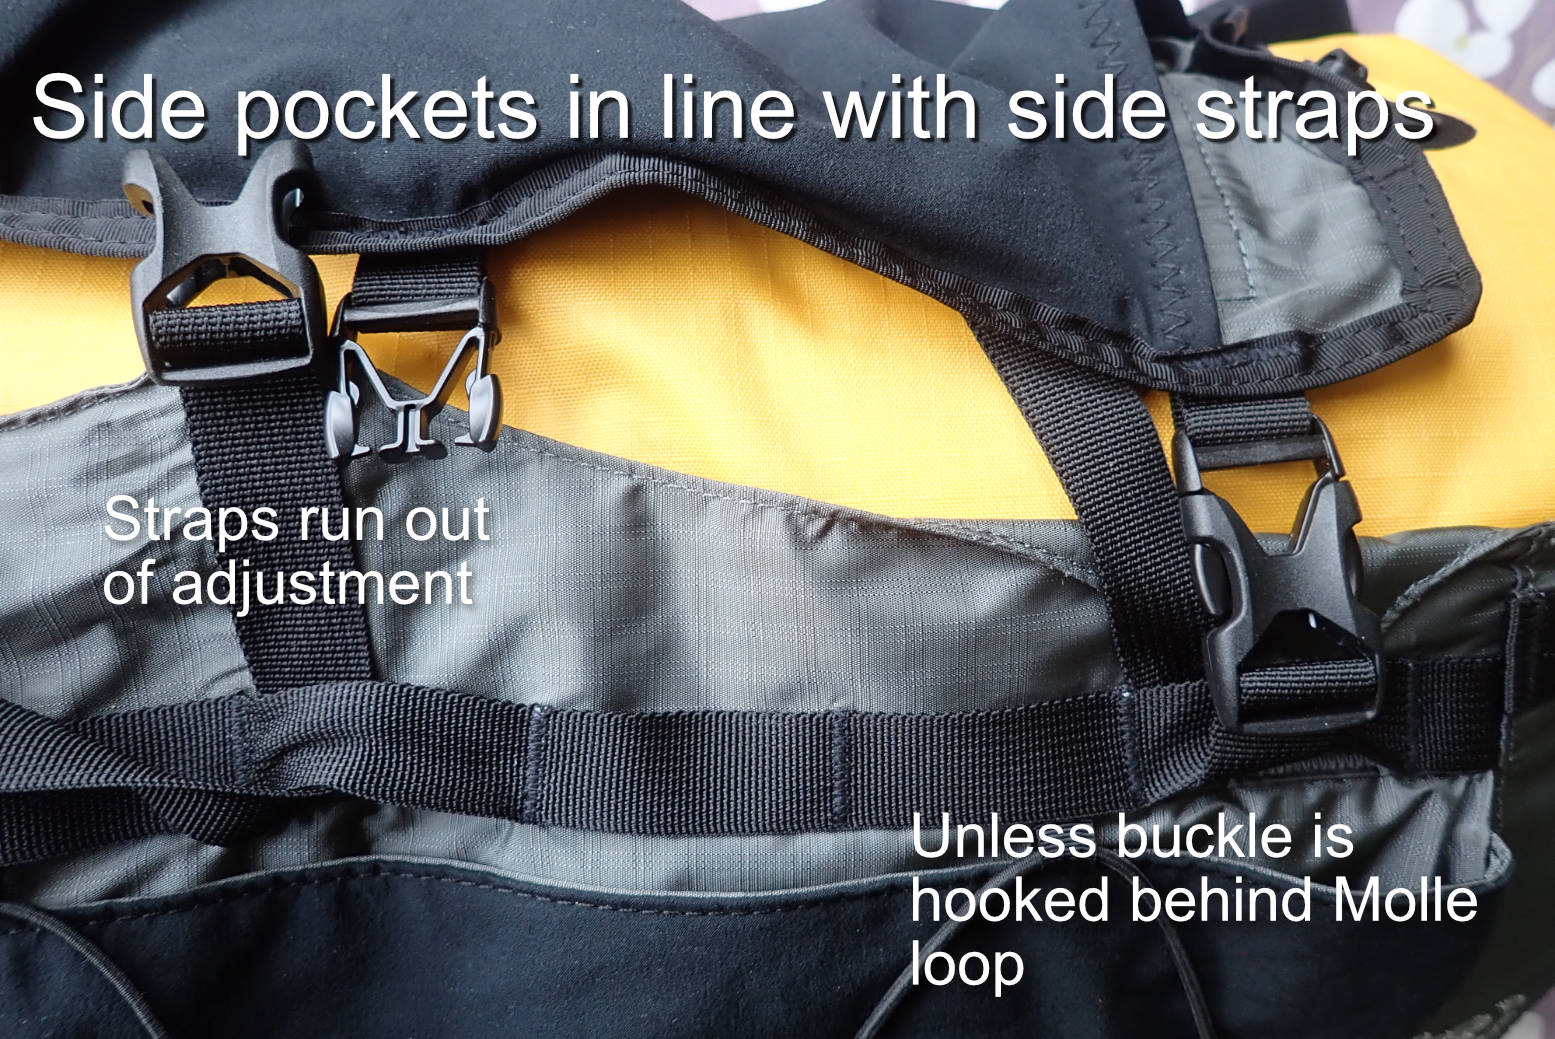
One of the best things about the PR are the numerous pockets which do their best to replicate a regular backpack, adding to convenience on the trail, something I missed on the Paragon. There’s a small hidden zipped pocket inside the back panel, two big fist-sized zip-ups on the hip belt and two detachable side pockets. With a stretchy outer fabric, these will easily each take a 1.5 litre water bottle or a rolled up cag. They can clip in line with the side cinch straps (below left), or can be Molle’d (daisy chained) from behind. Attaching them in line would make tensioning easier, but unless your load has a massive girth, the width of the pockets combined with the wide back panel makes it difficult to fully tension a normal sized pack properly before you run out of adjustment. Maybe my Sea to Summit bag was an odd shape, but it’s 30% bigger than the 6MD dry bag. Setting the rear panel buckles two inches further towards the centre would do the trick. One way round this might be to slip you paddles down the sides to add girth.
Next, you have stretchy cinch-up pockets sewn to the shoulder straps but, as others have noted, they’re too small to secure anything bigger than a Garmin InReach or maybe a midge net, and are set oddly high. On me they were level with the tops of my shoulders. Although they have to dodge the chest strap which can be Molle’d up or down in five positions. It would be better if the pockets were Molle-backed too. As it is, it’s easy to buy accessory shoulder-strap pockets for your bigger items.
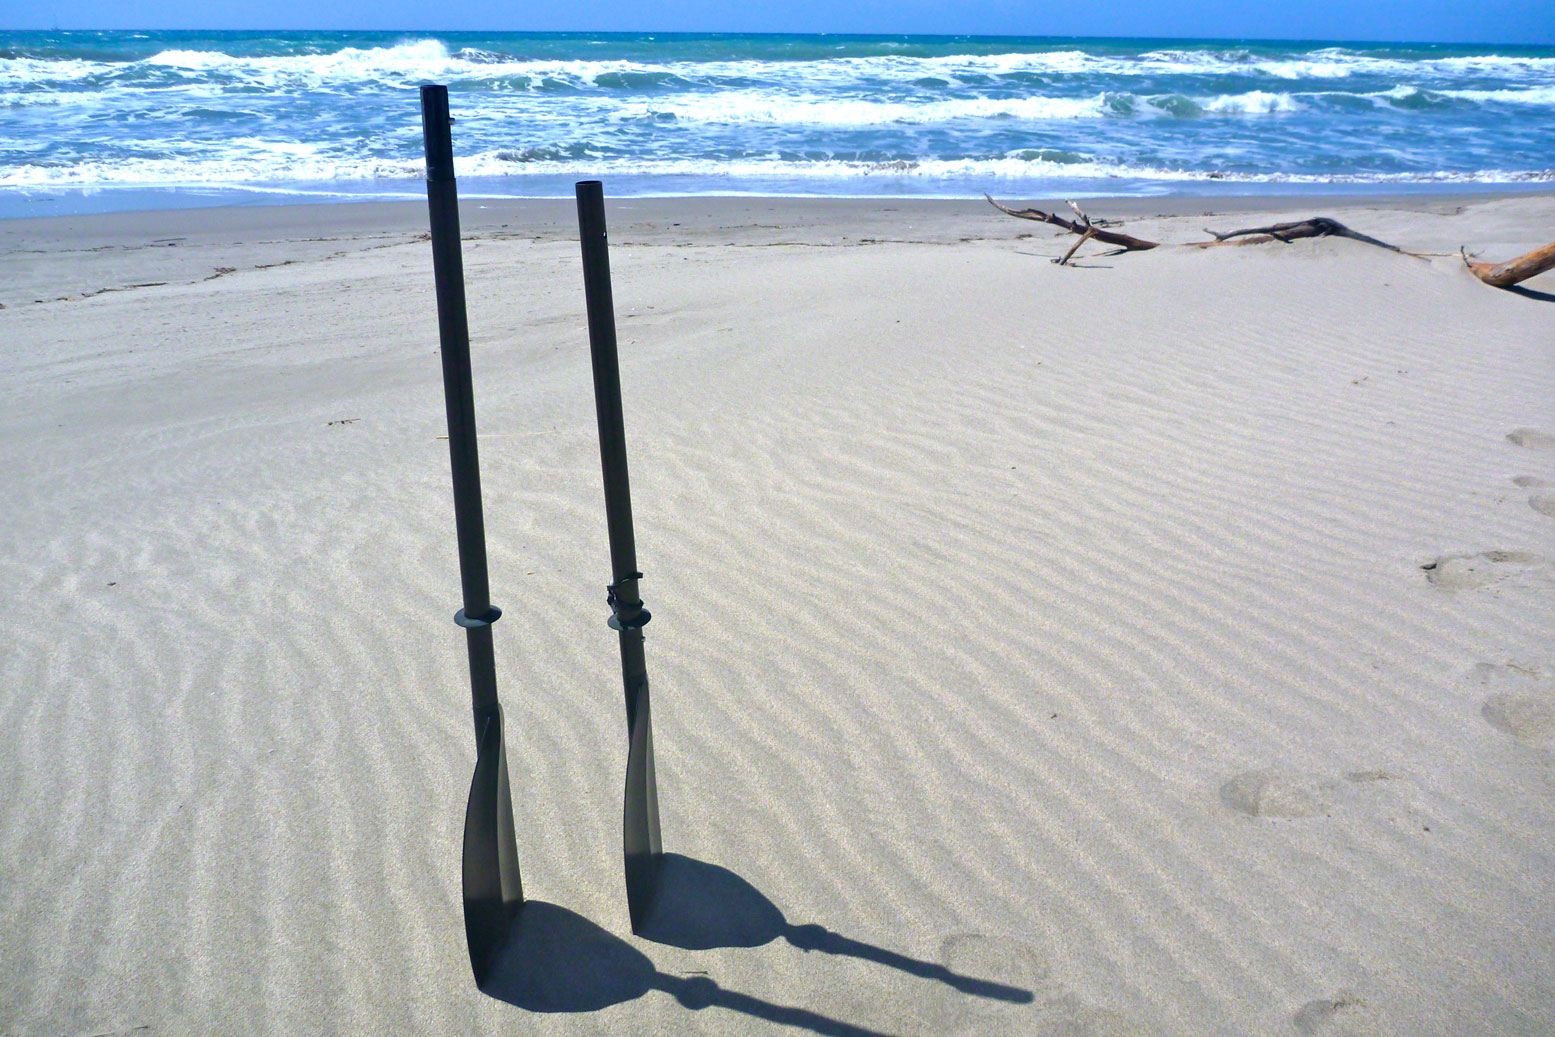
Not done get. The wide outer cover has a big open sleeve which swallows a four-part paddle, and in front is a long stretchy, gusseted zip pocket for more of whatever you’ve got. On top of that is a criss-cross elastic cord which I used to attach a WindPaddle.


My walk was quite hard: 18 miles on day one, followed by a tough crossing from sea level up to 1500 feet and back down to sea level. While I got a few initial aches from old injuries initially carrying over 18kg, at no time did my shoulders get sore which proves the stiff harness panel was taking the weight at the hip belt (and from there down to the hard-pressed feet).
And the hip belt is particularly good: the pockets aren’t waterproof but are a useful size (unlike the Paragon), and the twin straps each side mean you can cinch it in snugly, whatever your hip shape. I’d have preferred a bigger hip belt buckle and in fact found all the Flex’s clip buckles oddly hard to link; they didn’t readily clip together, possibly due to relatively soft, bendy plastic.

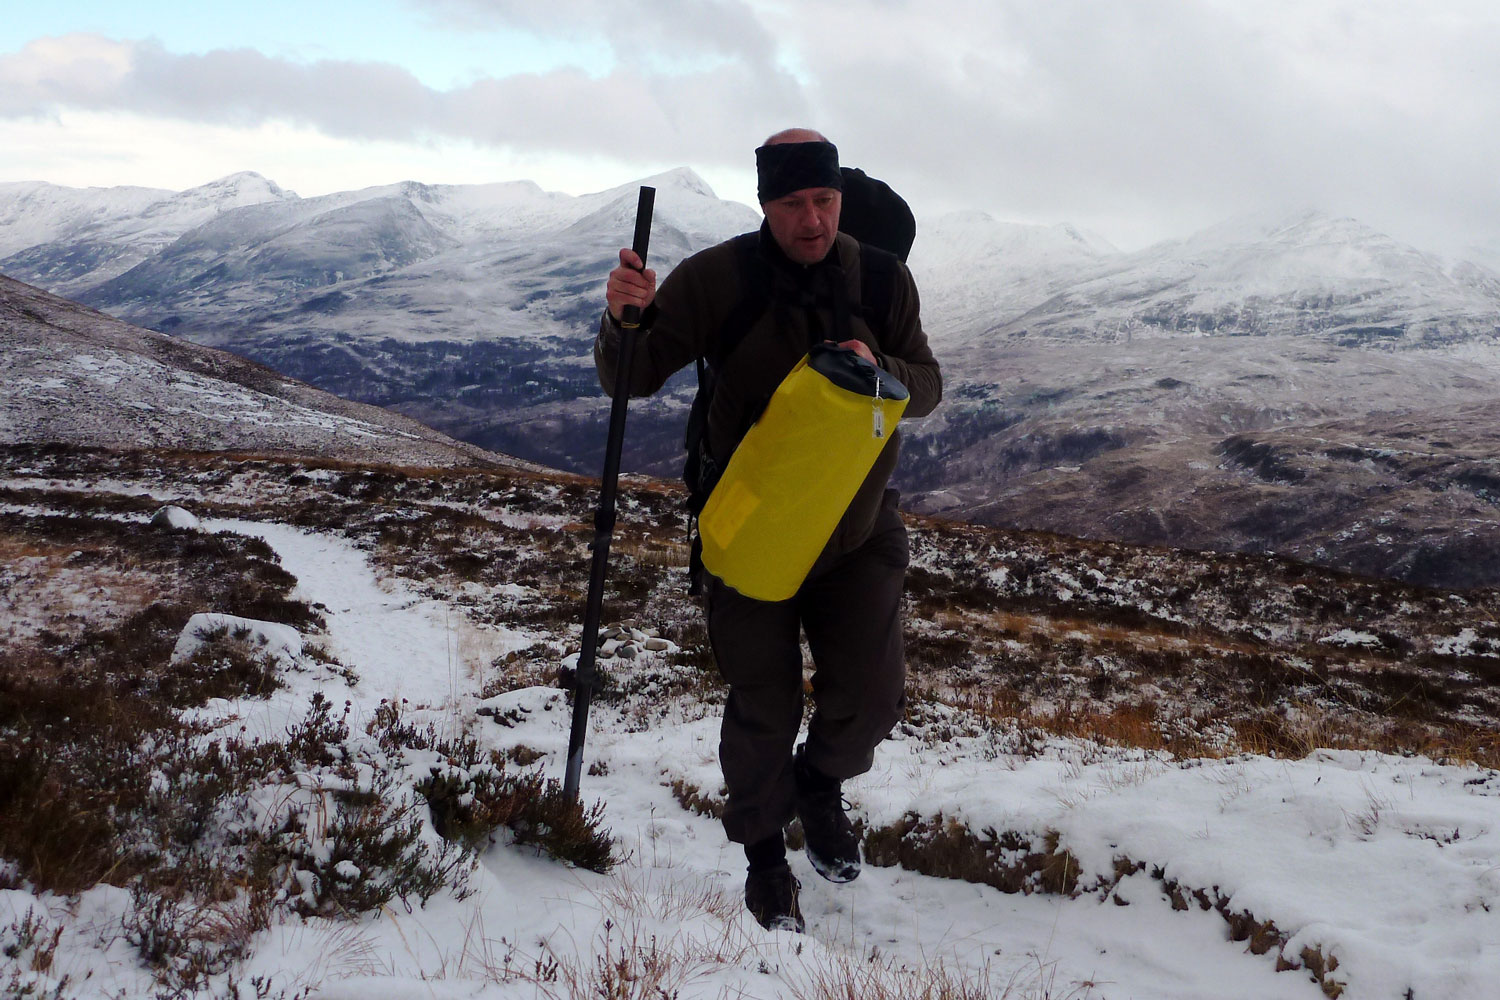
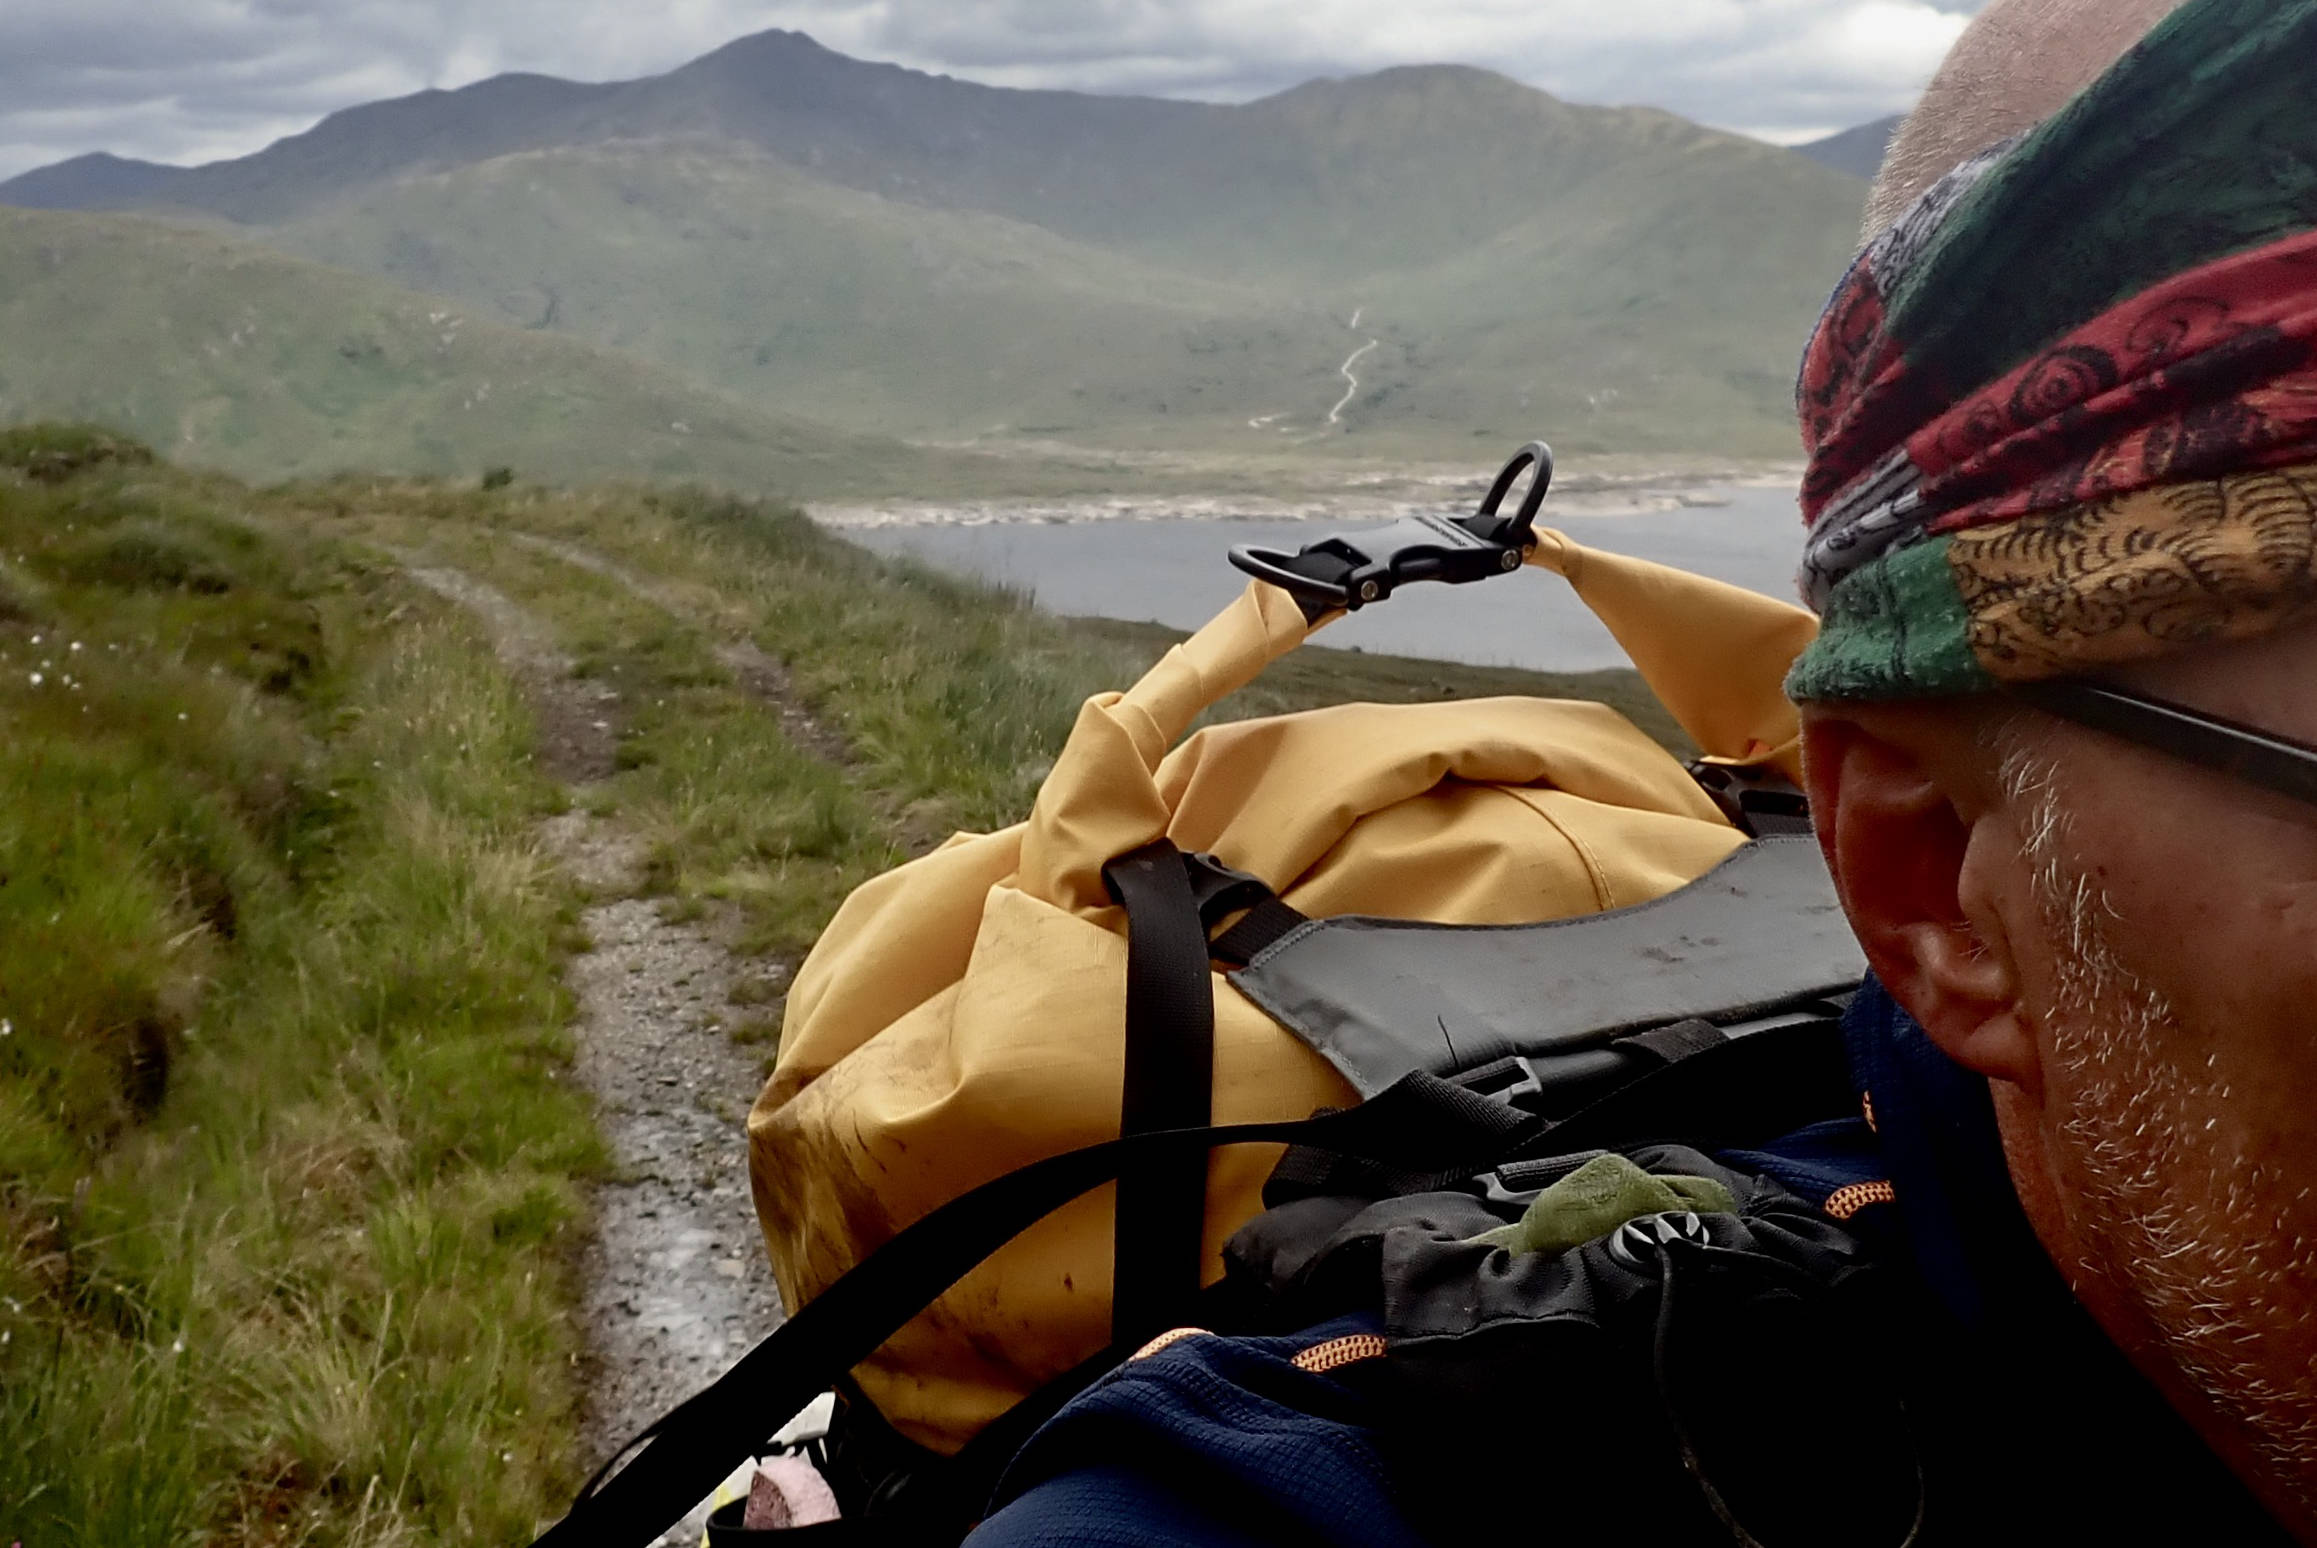
On the way back to the Inverie ferry I decided to take the packraft out of the UDB and strap it underneath (above), using the fitted straps for this purpose. Surprise, surprise, the lowered load carried much better. Hung outside and quite wide but out of sight. But the rolled-up boat is vulnerable to getting snagged on barbed wire fences, farm gate latches, or when being hauled about in transit.
Knoydart Trip Two
I returned to Knoydart with a chum and the 65-litre S2S Big River (below). Left attached in the harness’ side straps, this made the Flex work as intended like a regular rucksack; no need to re-lash or adjust too much every morning or when swapping from walking to paddling.

Using the 65-litre bag, I did wonder if 50 might well be adequate, but this was with minimal and compact camping kit. Any warm- or spare clothing or a dry suit would soon need more volume in the dry bag.
We had two half-days of lashing rain; my mate fitted a shower cap over his regular rucksack and I found the water had seeped only a little way through the rolled folds of the Big River., as it does with most roll tops.
The bigger your bag the more tight rolls you can make on the closure, but actually in pouring rain it would be fairly easy to tuck a cover over the closed dry bag rolls to stop any rain getting there.


With everything within the pack loaded into six bags, it took just a minute to transfer them into the Rebel 2K’s hull and zip it up. I then used the chunky Gumotex dry bag which held the packraft as a footpad on the packrafts’s floor (to stop gritty boot heels prematurely chewing up the boat’s floor) and found I could easily shove the empty harness under my knees and zip up the deck. This made repacking the Flex at the shore relatively quick easy, though it always takes 20-30 minutes to get going.
The Flex PR now carries its load as well as can be expected and the S2S Big River added capacity for cold weather gear or a dry suit. I must say I didn’t really miss the lack of a purge valve; you burp the bag in the usual way then roll it down. Any spare air will be squashed out by the compression of the straps.
The combination now offers reliable waterproofing on foot, while the pack would work OK on the bow, though in-hull storage (if it fits) and harness under the knees is more secure all round.
PS: On both trips I used my roomy 20-litre Anfibio DeckPack (below) as a handy day pack for which it worked very well. The stuff inside is behind a waterproof zip, is easily accessible on the move and up to a point, keeps the lashing rain from wetting out your cag.
Second opinions from She-ra Hikes and TheTrek
Thanks to Six Moon Designs and Anfibio for supplying the Flex PR.