Category Archives: Boat reviews

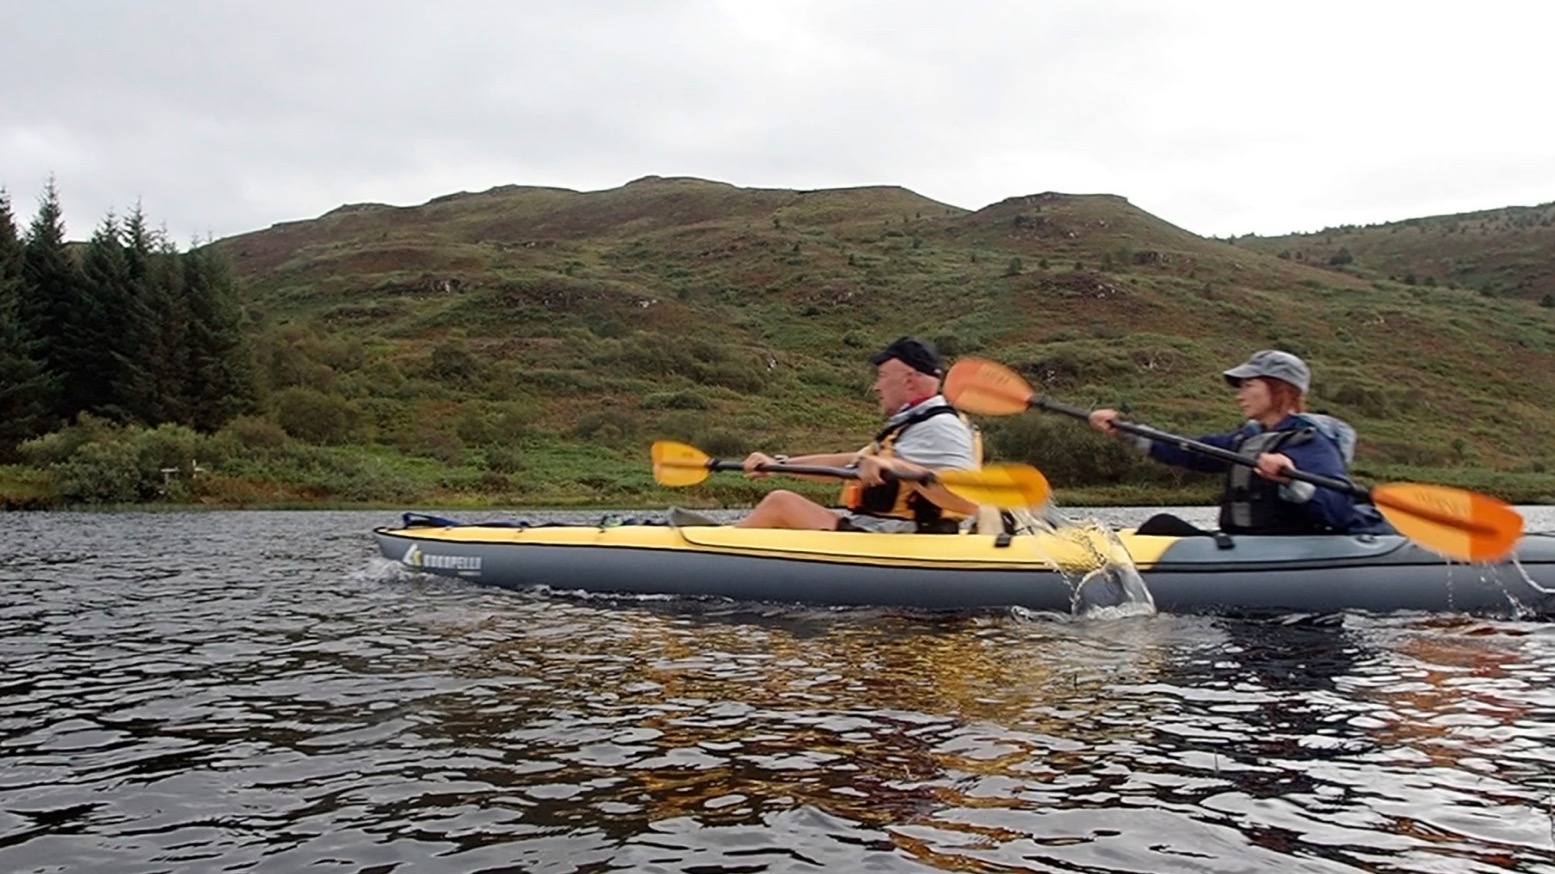
Tested: Shipwreck ArrowStream dropstitch kayak review

See also:
Full dropstitch inflatable kayaks main page

September 2026 – No longer sold

In a line
Was a great value full drop-stitch tandem IK with all the kit

• Great price
• Not excessively wide but stable enough
• Everything in the box except a lifejacket and some water
• Clean, crease-free finish and assembly
• Supportive backrest
• Pumps up fast


• Folded-up, the boat is massive
• Very hard to turn with the skeg fitted
• Felt tippy with (removable) seat pad in place
• White surfaces may get grubby
• Seat base is hard (as is the floor)
• Footrest tubes too small and bendy
• Wide sides rub as you paddle

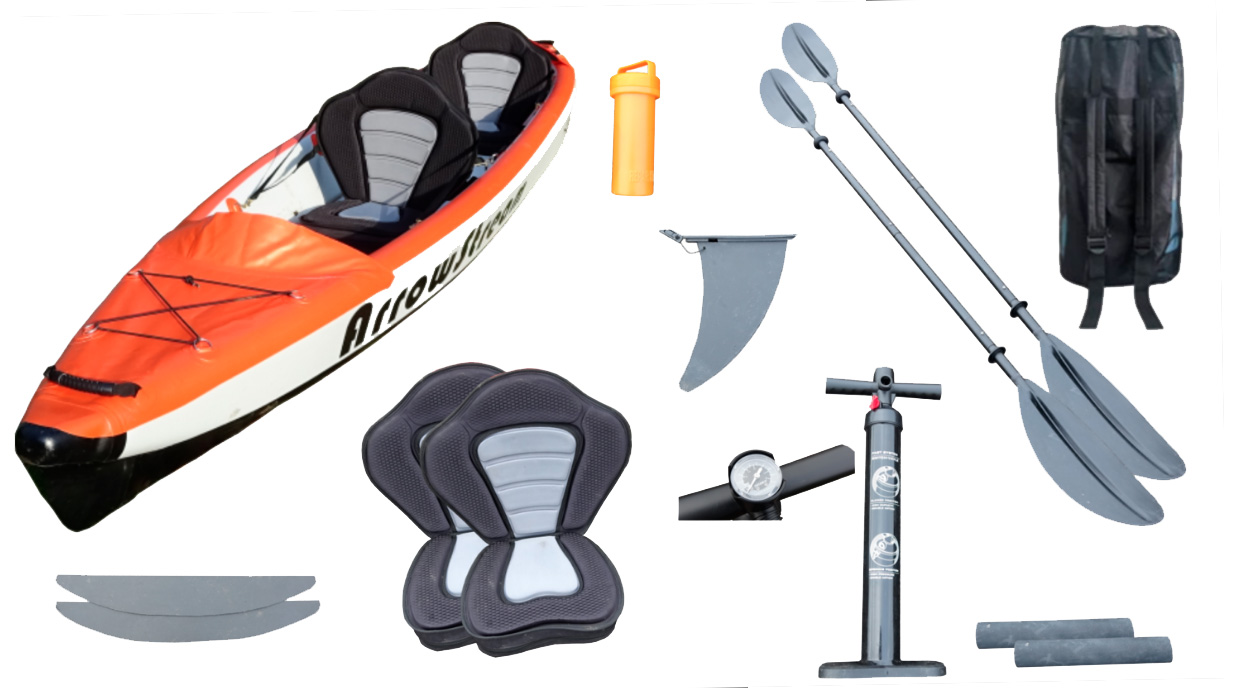
The original 2020 model I tried. New for 2022 version is 5cm wider

What They Said
High quality drop stitch kayak comes with everything you need to get started on the water.

  • Inflated: 440cm long, 80cm wide
  • Deflated 85cm, 50cm 22cm
  • Kayak : 18.3 Kgs
  • Total : 24 Kgs
  • Maximum load 340Kg
  • Price: £549 (at time of review; now £779 £689).

I am told the 2022 model is 5mm wider, now 85cm according to the website and still great value.

Test boat loaned for review by Shipwreck in December 2020

Out of the box

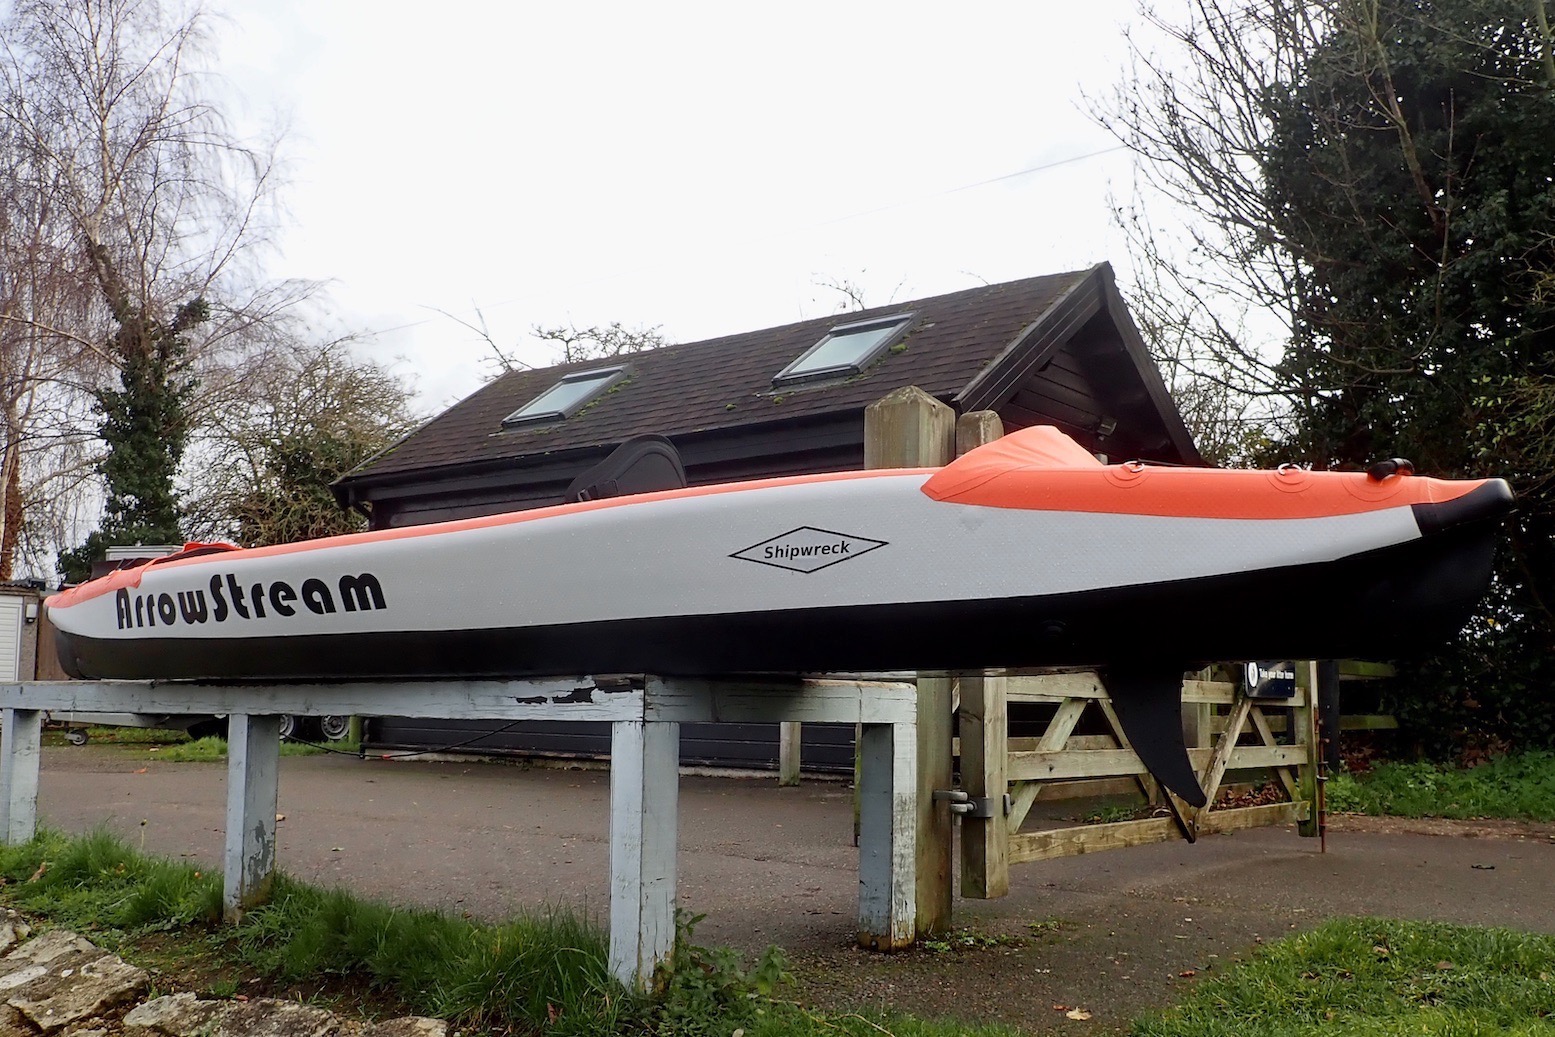
Shipwreck is the latest contender in self-branded full drop-stitch (FDS) IKs customised in China to an importer’s specifications. With the ArrowStream – not a bad name – you get all the kit including two four-part paddles and a two-way barrel pump.
The box it came in weighed a staggering 29.5kg – I could barely get up the stairs; it’s twice the volume of my Seawave 2. But once unwrapped, the whole kit: everything in the bag, weighs 25.4kg.
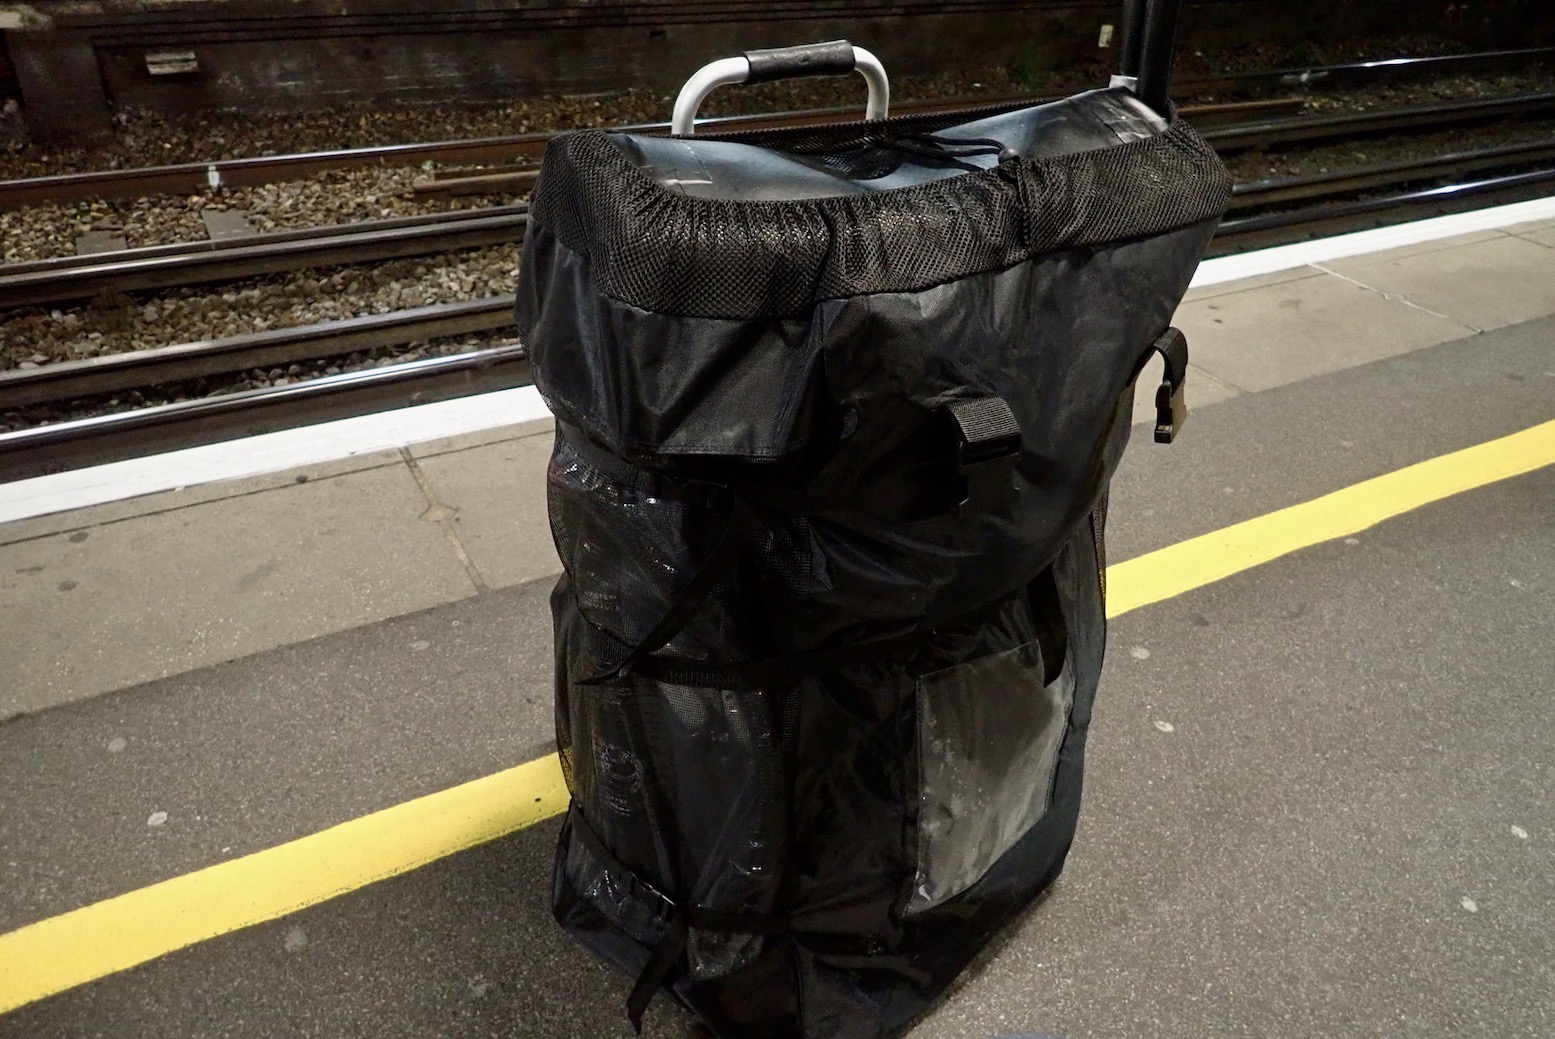
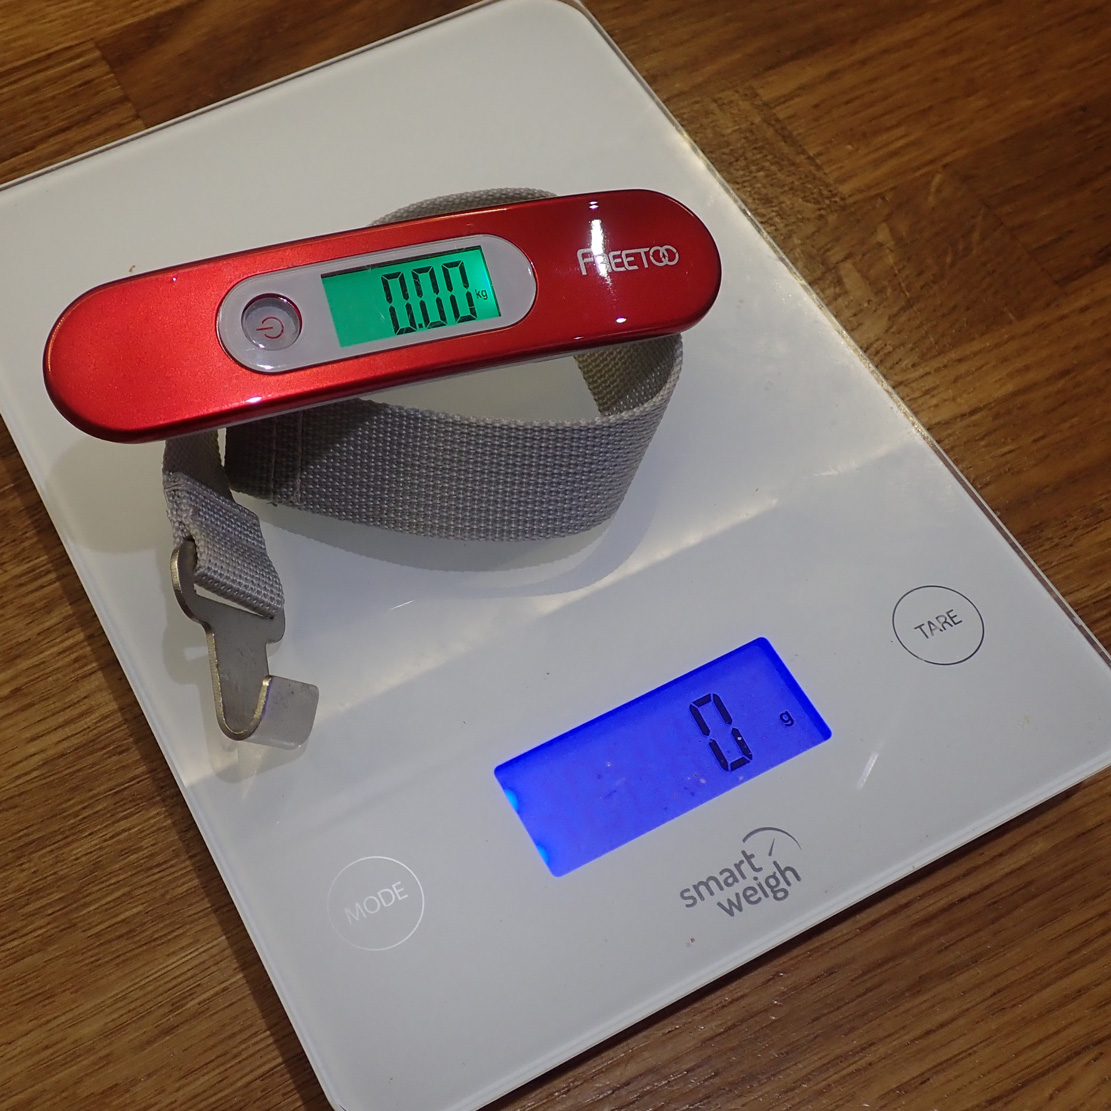
The bare boat itself is only 17.8kg, and with one seat and footrest, the splash vizors and the skeg comes in at 19.7kg on the water (plus pump and bag) according to my kitchen and suitcase scales. By comparison, had I kept the stock seat and footrest on my Seawave 2, it would have been 17.7 kg on the water, so that’s not as bad as the bulk – about 90cm x 70cm x 35cm boat alone in the bag – might suggest.
According to my tape it’s 431cm long and 83cm wide. That gives it an LxW ratio of 5.19 which, compared to the table here is also pretty good. And don’t forget the maximum width is measured high up on the outward-angled sides; the actual width at the waterline is around 60cm or 23.6 inches – fairly slender by IK standards. More on that later. The big advantage with these slim, 10cm-thick side panels compared to round tubes is loads more space inside. The interior width is 45cm at floor level and 66cm at the top of the sides.

The seats include a hefty 9cm-thick seat base incorporating a firm, 6cm foam block which can be zipped out. I can see that foam feeling a bit hard sat on the hard, 10psi floor after a few hours, but it could be easily replaced with something softer or lower. Or you could even zip an inflatable cushion in there to reduce the packed volume, but it will wobble a bit. The backrest is tall and wide, with loads of tensioning straps to get the position and angle to your liking. You can reposition a solo seat in the middle, a big benefit with any open tandem IK.

The footrests add up to a couple of 4cm ø hard foam tubes. This diametre is too small for a secure foot placement and they squidge once you push on them. For the test I replaced it with a section of 10cm PVC drainpipe. There are two pairs of D-rings on the floor to attach the tube, presumably with the two packing straps supplied. But that means adjustment is only forwards, away from each seat. So if they’re too far away for your feet you’ll need to adjust the seats forward which may not ideal for trim. However, in the tandem video above the attachment D-rings appear to be in the right spot, even if the trim at 2:09 appears a bit front-heavy. For my solo paddle I joined the two straps into a loop (above left) to use the footrest pipe. Pushing off a proper footrest makes sitting more comfortable and less slouchy. The important thing is the D-rings are there.

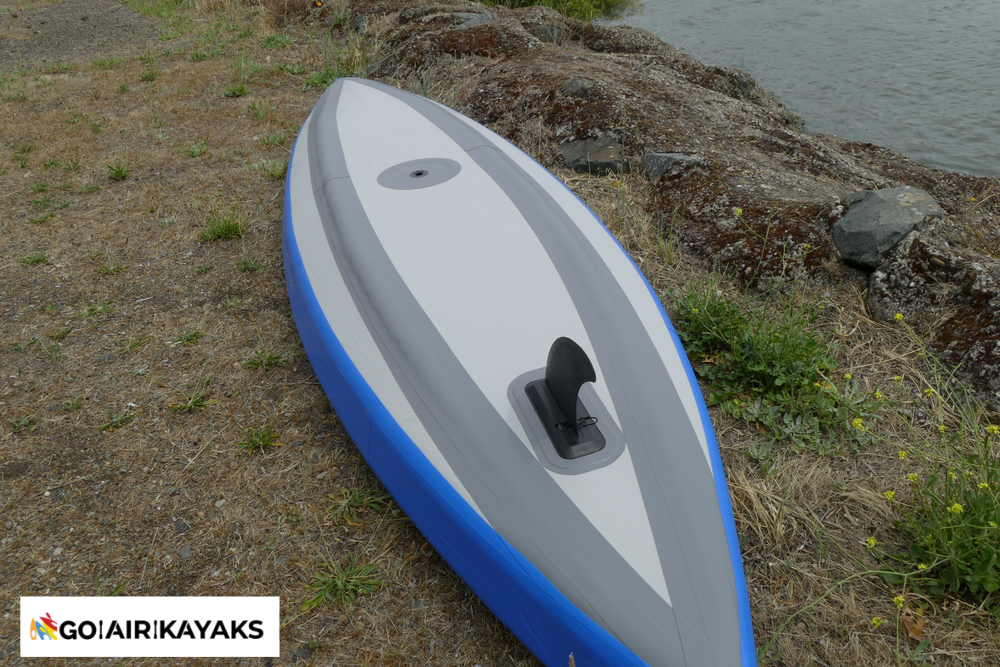
Flexible plastic splash visors slip under the rims of the short decks, and the slot-in skeg is the usual (for this type of boat) 9-inch monster. There are handles at each end and a pair on the sides.

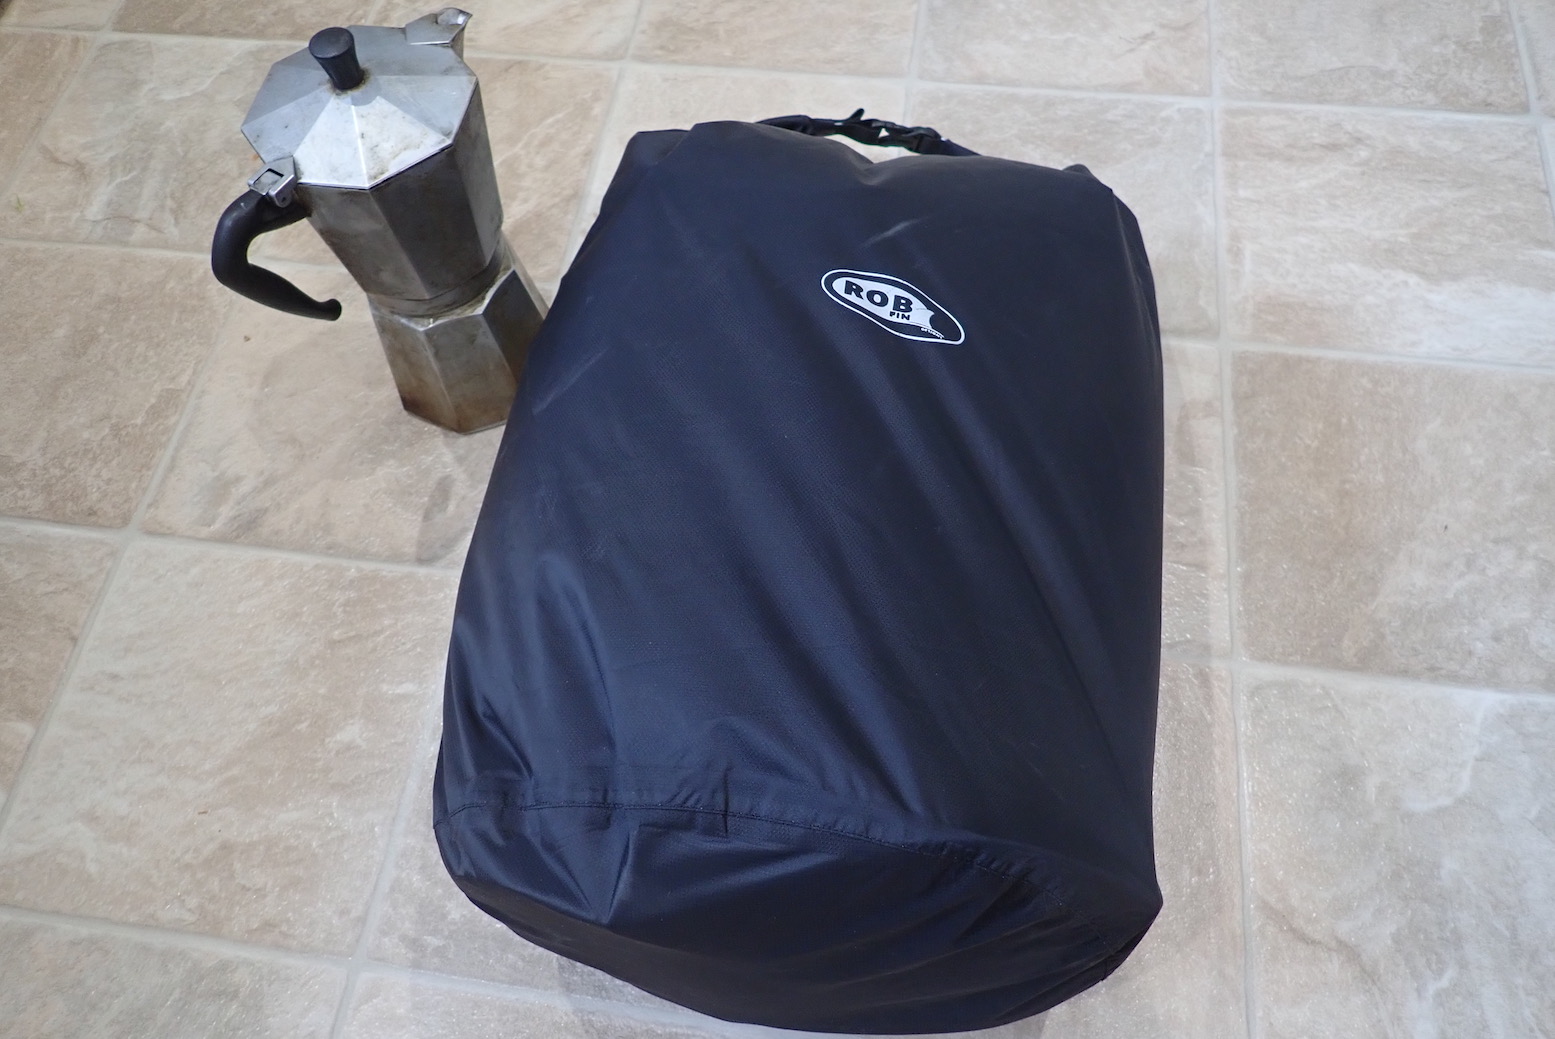
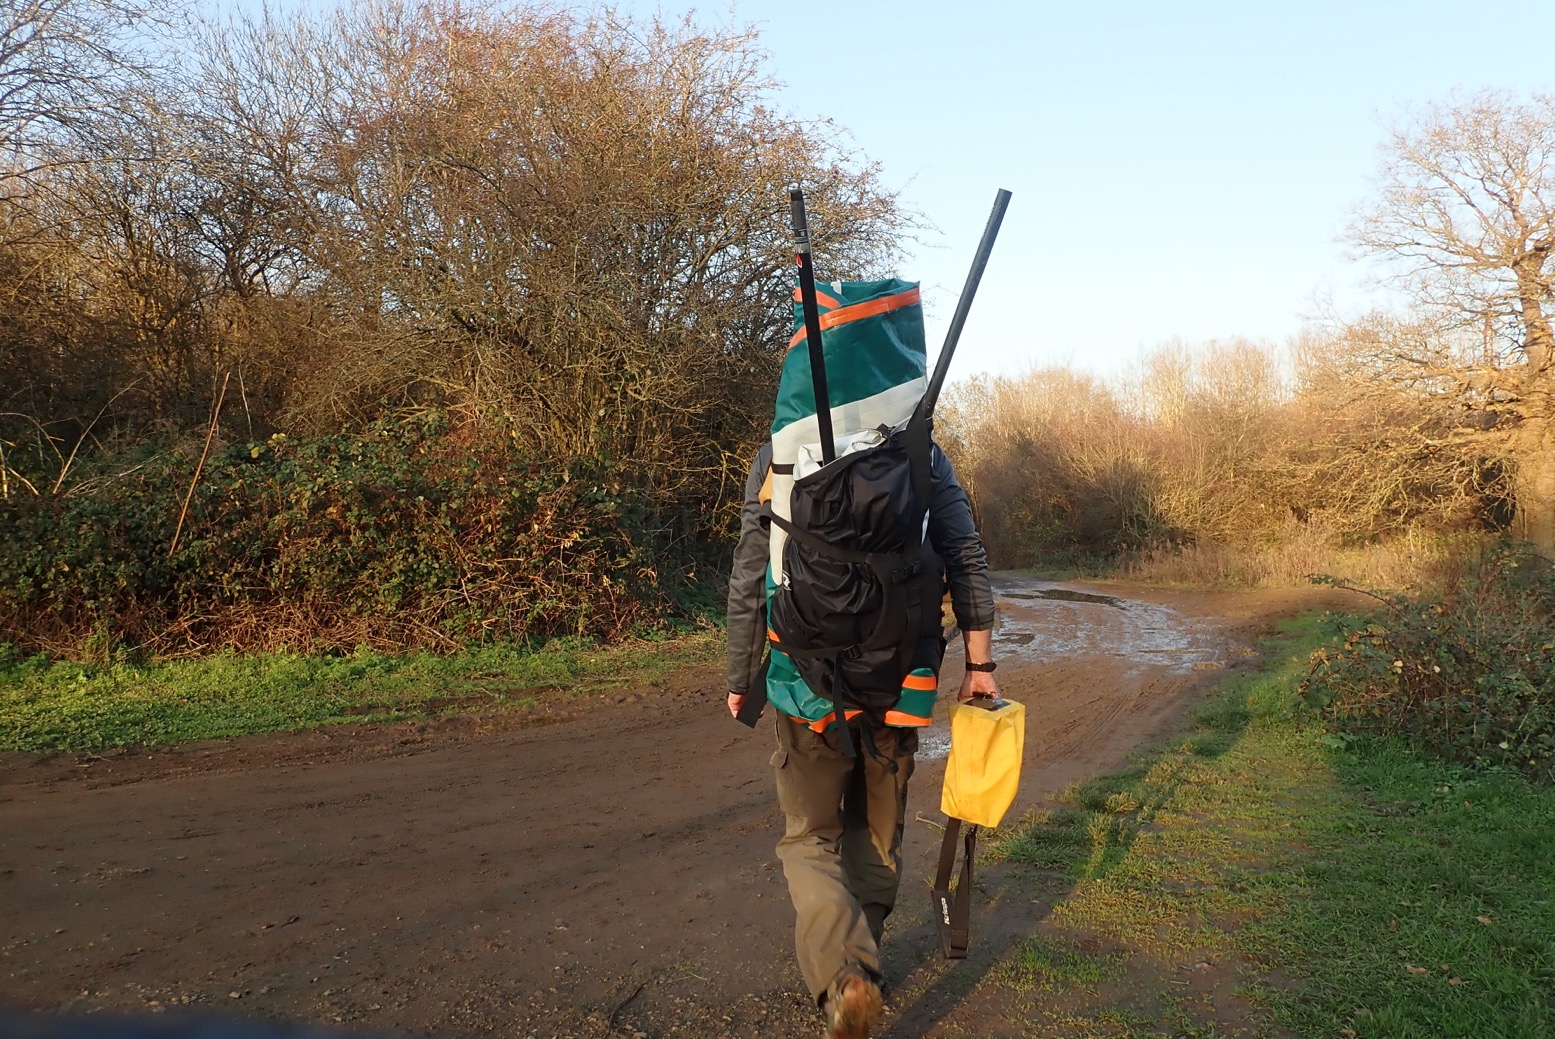
The supplied mesh-sided backpack is commendably huge: big enough to get everything in. There are cinch-down straps on the sides and the top, and a big zip plus a clear pocket on the front. The mesh sides will help a wet boat air off. But considering the weight it’s carrying, you do wonder if the shoulder straps will survive too much heaving on and off on public transport. I know my Gumotex backpack didn’t, and neither did the similarly huge Kokopelli Moki bag.

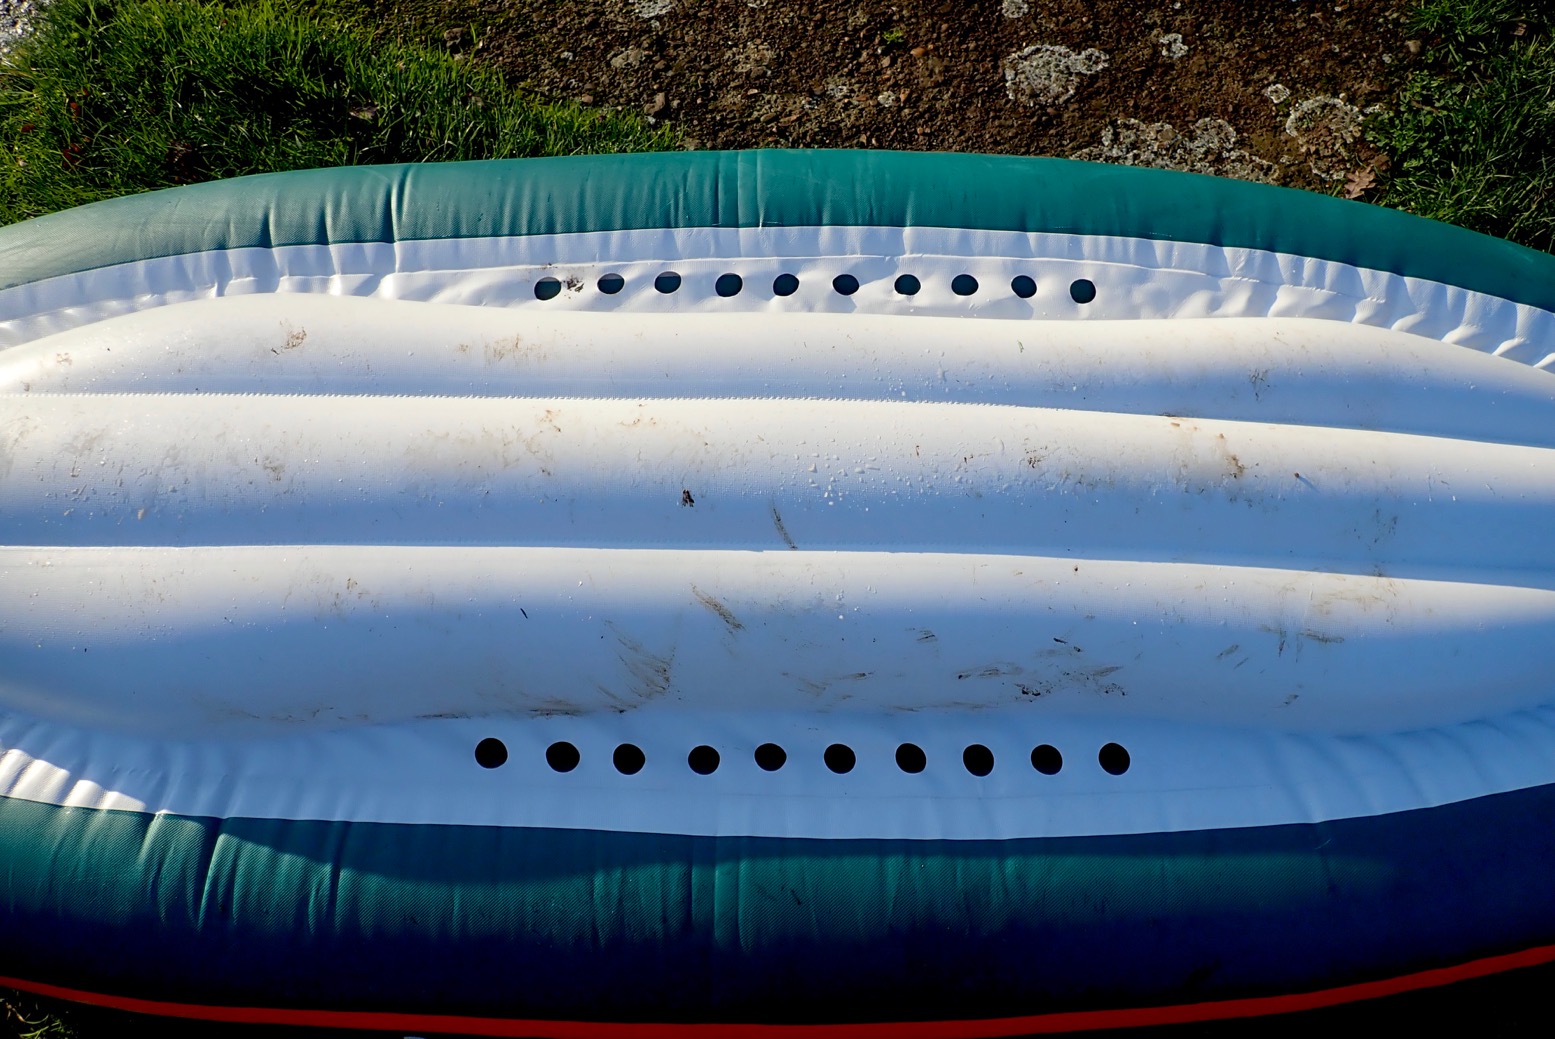
The whole assembly of the boat is very clean – that’s the wonder of heat-welding compared to messier rubber gluing. An exception are stray thread ends inside where a tape covers the floor–sides cavity (left). Once inflated I could see no blisters in the DS panels which, with threads every 5mm, adds up to an estimated 4 kilometres of space yarn! Maybe that’s what explains the bulk, but once vacuum sucked down, I don’t think so. It’s more that the stiff but soft-textured PVC can only be loosely folded over, not rolled up. Half the bulk is just air.
The supplied four-part 220cm alloy paddles weigh only 950g and have blade-angle adjustment holes 45° either sides of flat. The blades also have little hooks cut in the sides which are actually quite handy, now I think about it. Assembled, there’s quite a lot of slack in the three joints which will only get worse with use but they’ll certainly get you moving until you decide to upgrade.
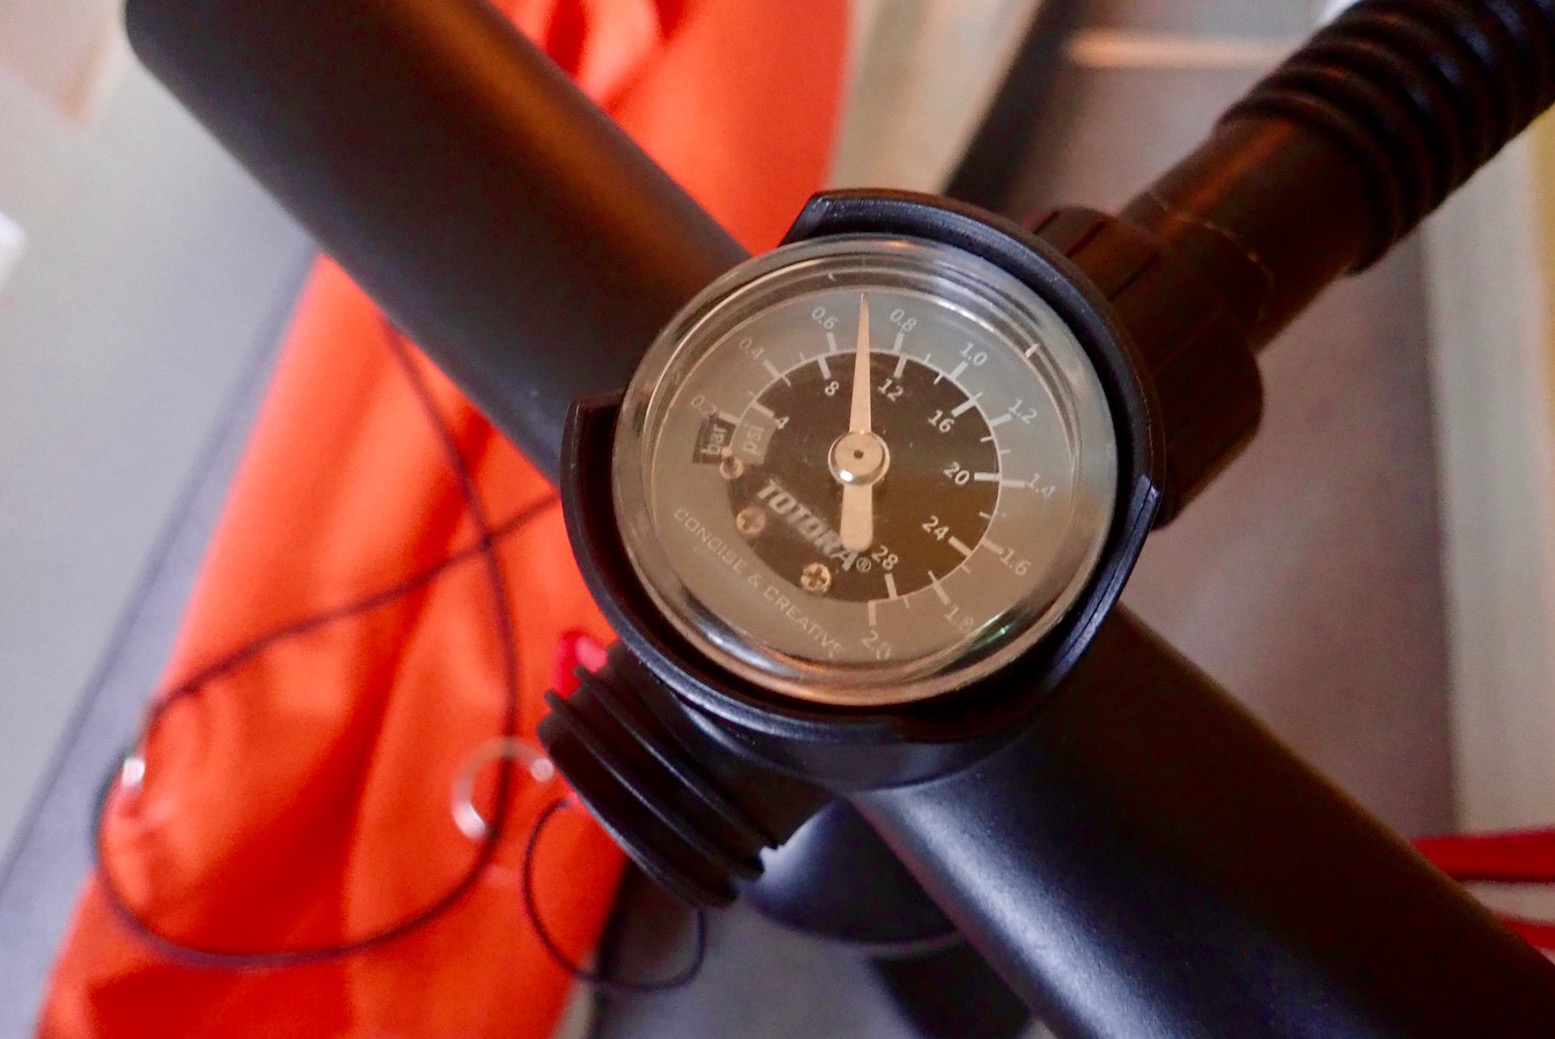
Pumping stations
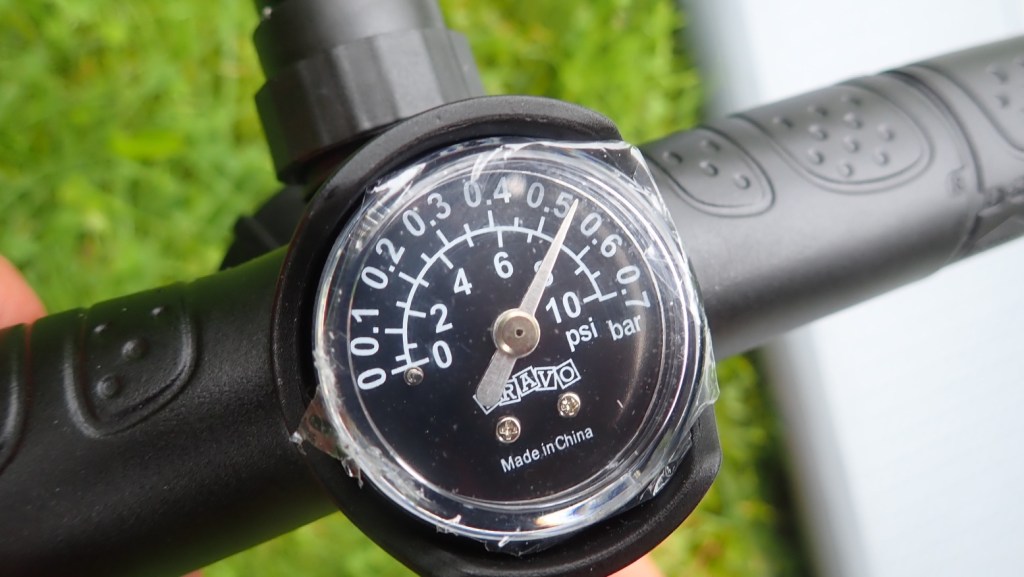
Pumping up the ArrowStream to an indicated 10psi measured by the 1.7-litre barrel pump’s built-in manometer took less than 90 seconds for the floor and a minute for each side. The pressures may be high but there’s much less volume here than a tubed IK. The pump comes with a nifty red cap which you easily unscrew to switch to downward-action-only to help attain higher pressures. I actually managed those times on double action all the way to 10psi. It’s manageable, but others will welcome the lighter pumping option as pumping effort increases. Checking against my accurate Bravo hand manometer, the 10psi figure on the dial was spot on. Good to know.

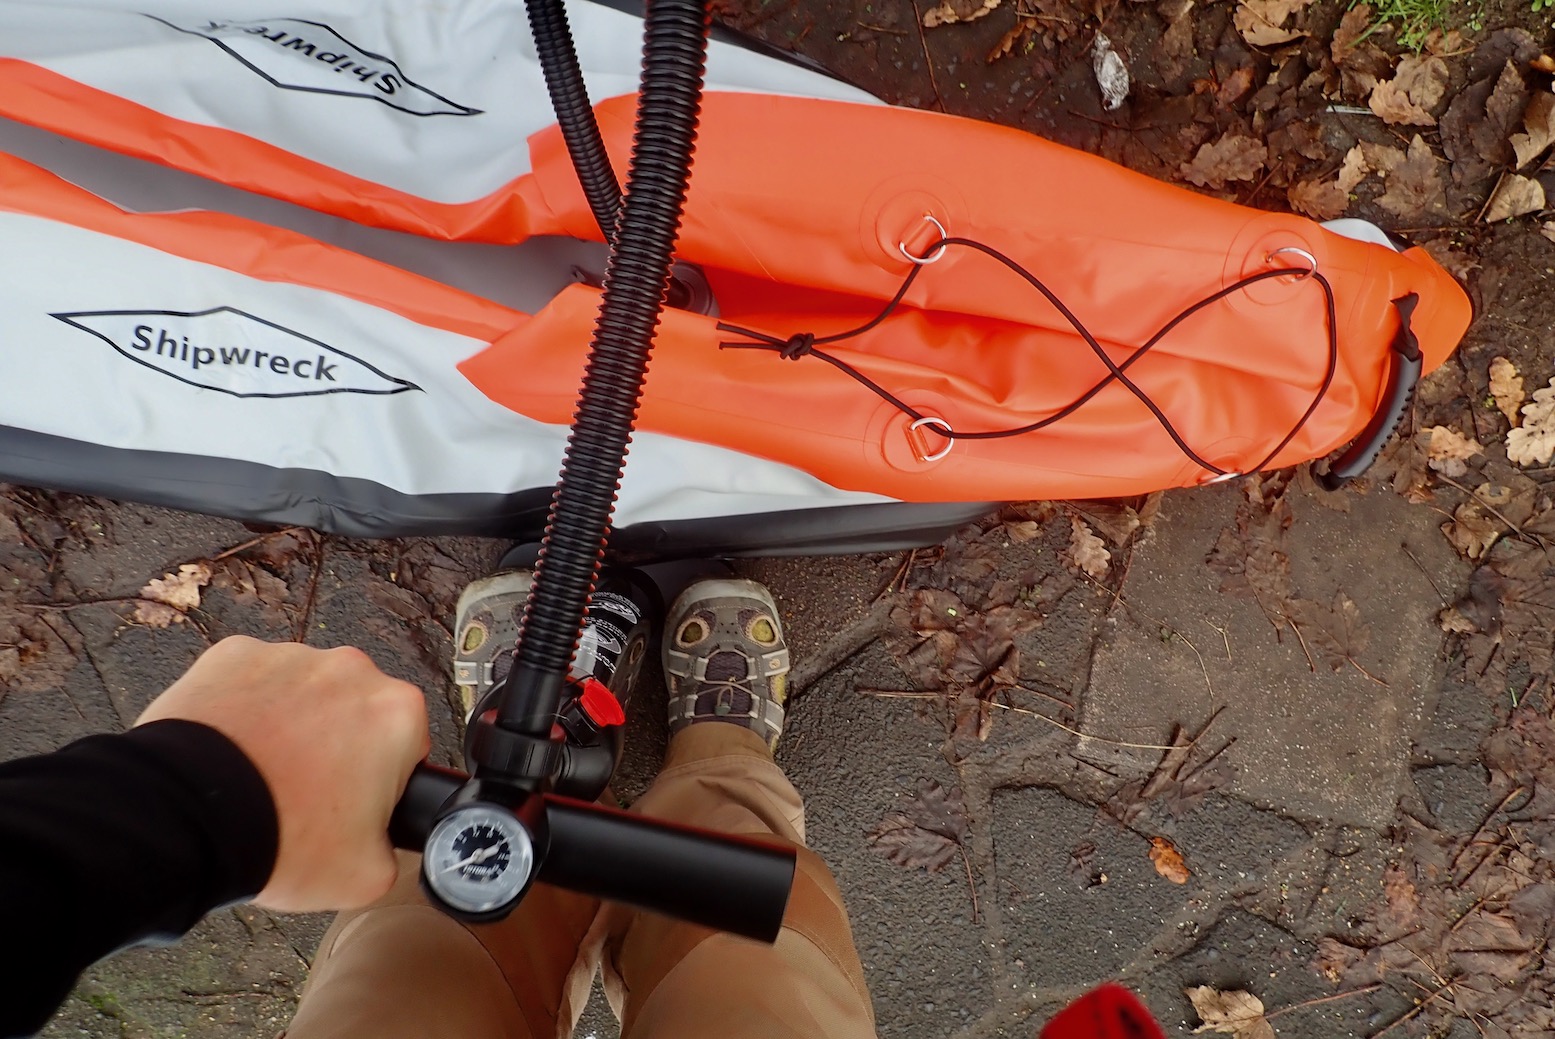
One good thing about the 64cm tall pump is that, I at least, stoop less compared to my 45cm Bravo. That makes pumping a whole lot more comfortable, though conversely shorter pumpers may find the height awkward. As mentioned here, a barrel pump suited to higher D-S pressures needs to be relatively tall but slim.
The raft valve nozzle on the end of the hose had the bridge inside to press open the inflation valve once clamped on, so as to ease the pumping effort. This also enables sucking the boat down to maximum compactness. I’ve only just realised these nozzle bridges are the key to compact suction packing, as long as you have push-push valves. After shrink-packing, as you quickly remove the nozzle the valve closes and virtually no air in sucked back in.
One thing you don’t get on a self-branded boat like this is a conformity table stating recommended pressures, HIN, payloads, ISO rating, CE stamp and so on. But there’s a one year warranty against manufacturers defects.

On the Water

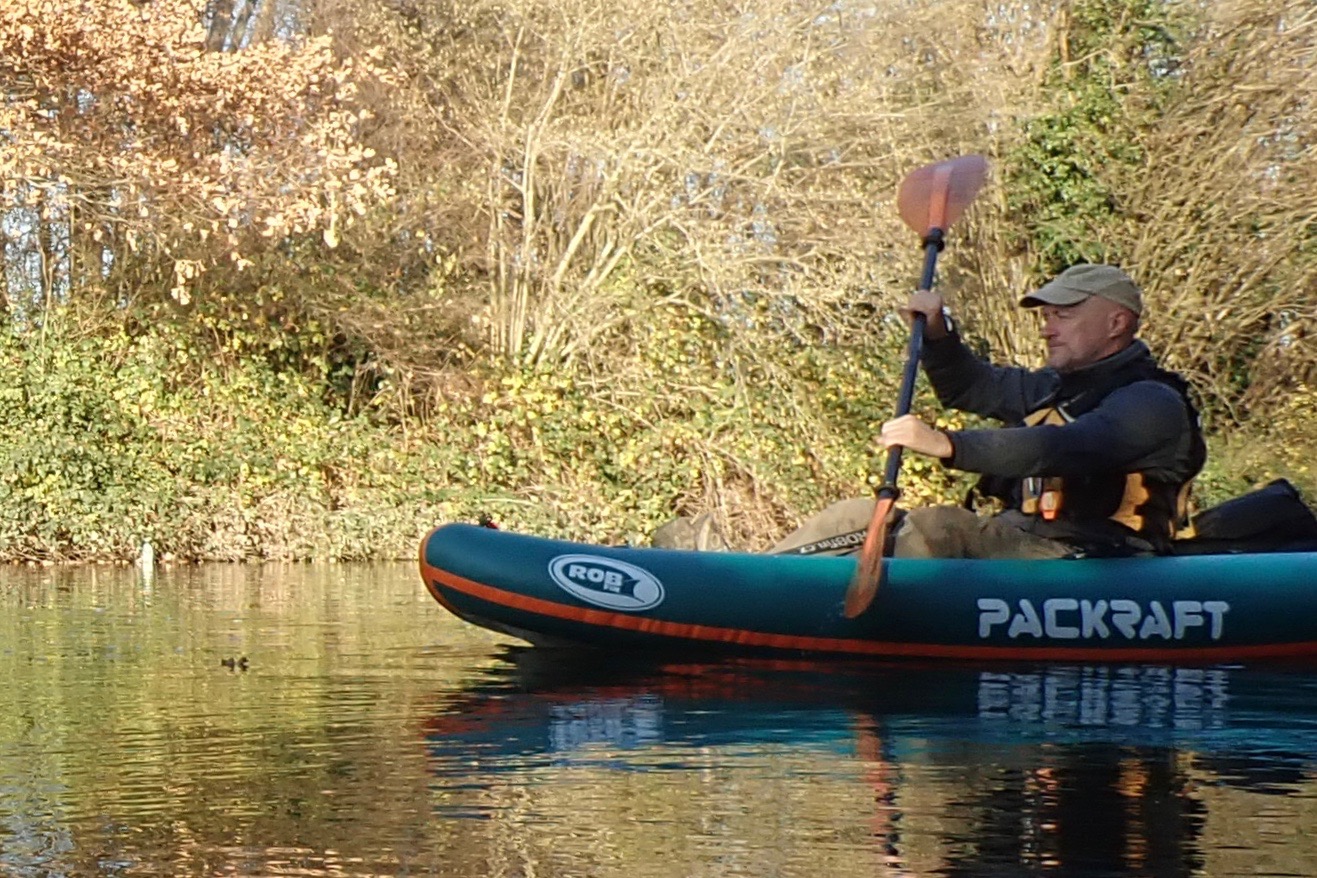
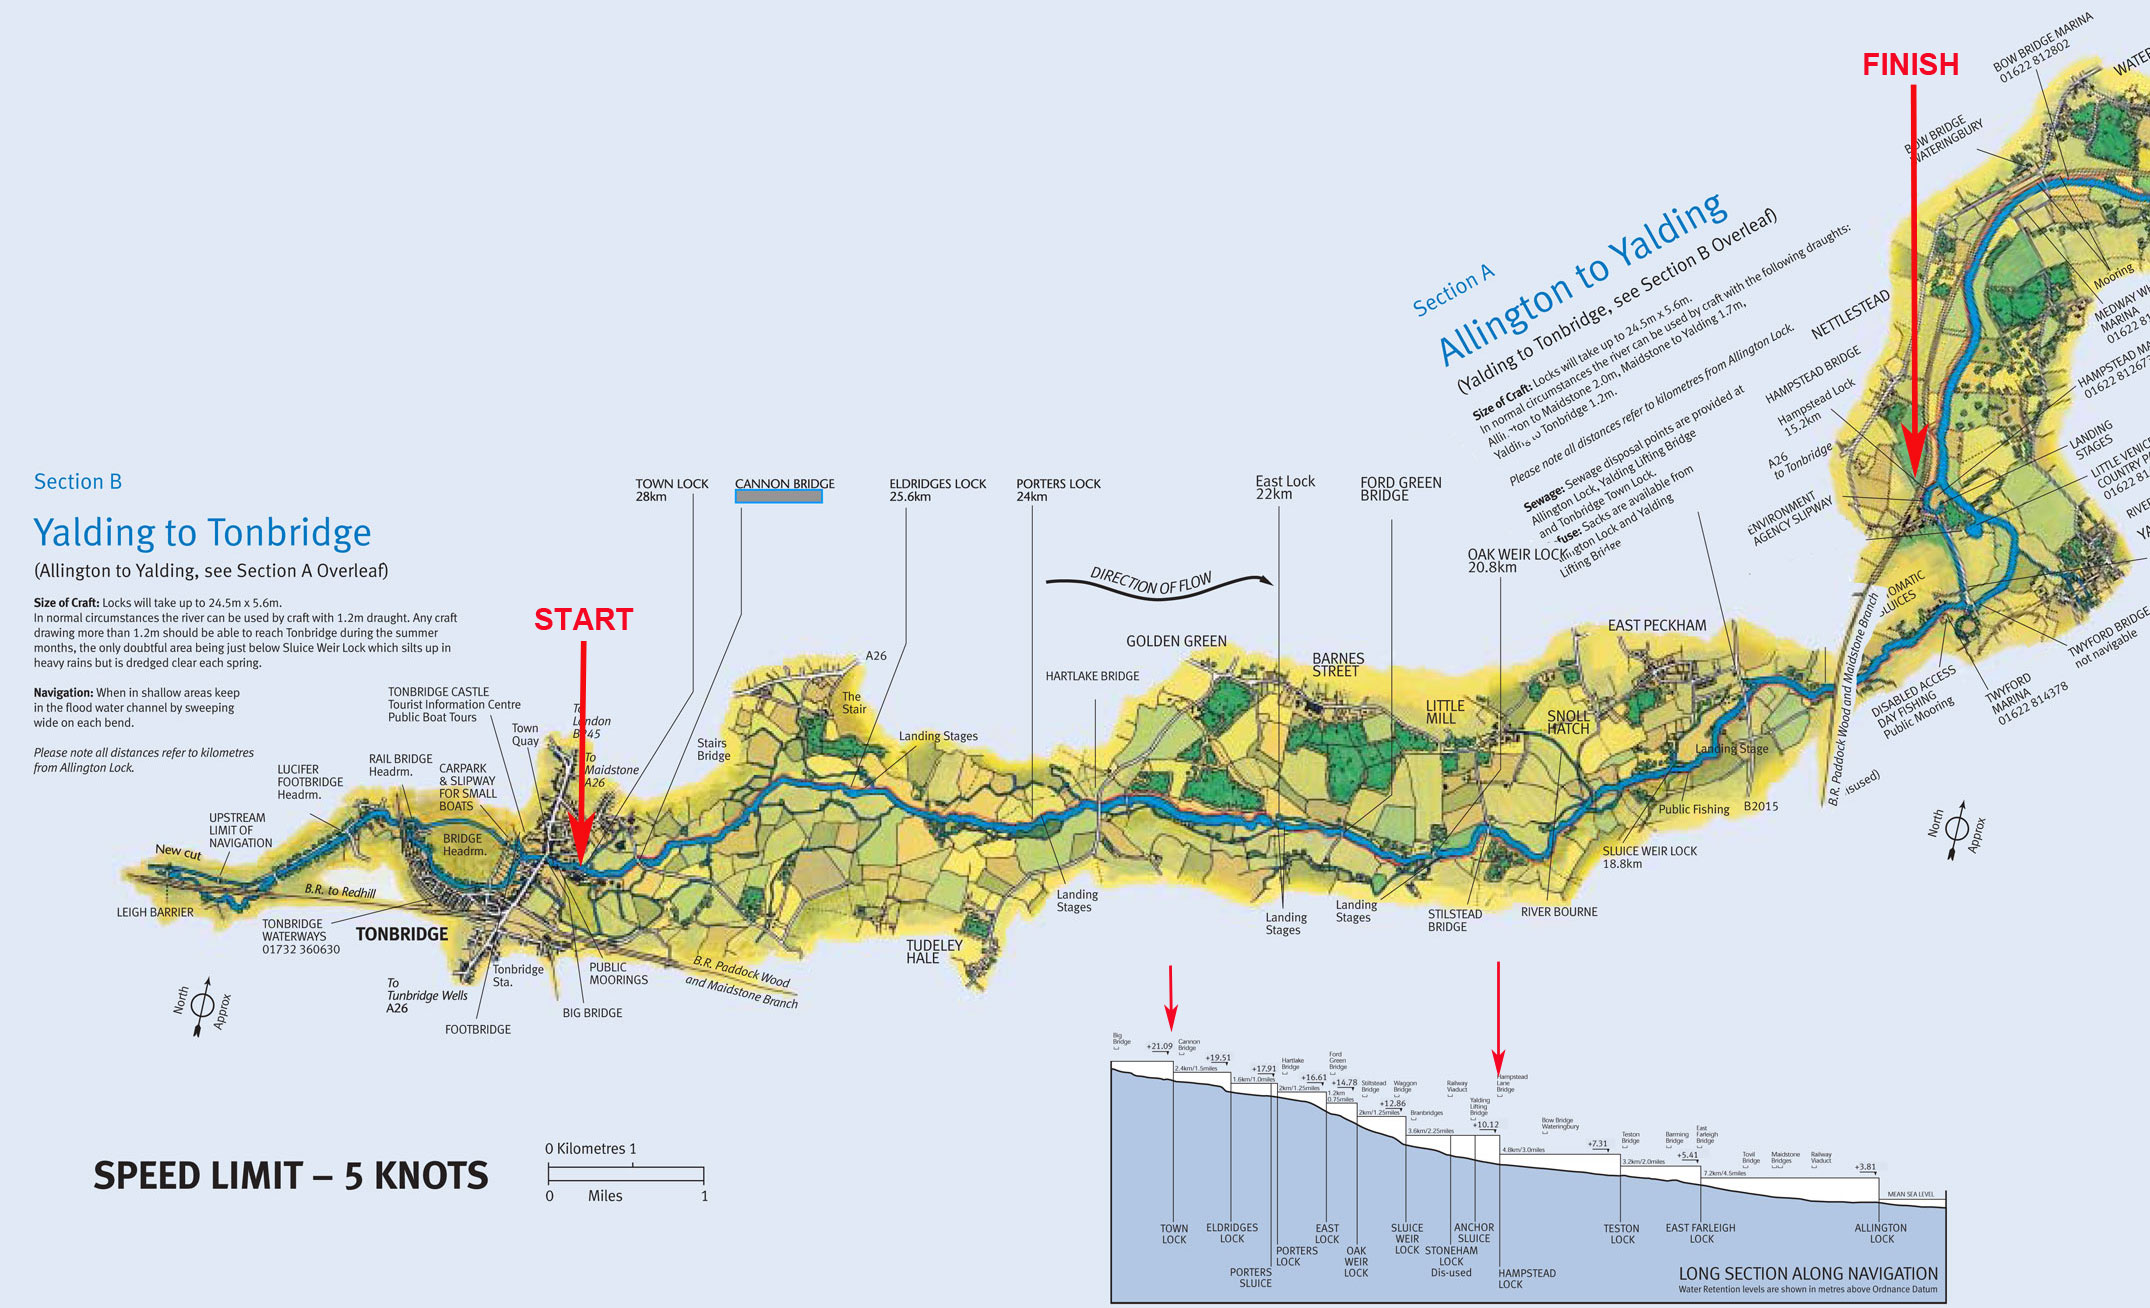
I’ve been speculating about these boxy, hardshell-stiff full drop-stitchers for years and finally had a chance to try one. I picked a 21km (13 mile) section of the Thames from Shepperton to Richmond with three lock portages on the way.
From where I live it’s an hour and a half by train, then a 20-minute walk to the river: a good test of real-world packboating. All I had to do now was sit back and wait for a sunny, mid-December day. In the end I settled for a dry day and once I got there, it dawned on me I’ve not been to my local train station for 9 months or more (this was Covid Year One). To spare the mesh backpack, I used an old folding trolley. It can hack rough treatment but these days most London stations have lifts, so the whole trip was rather effortless.

A 15-minute walk from Shepperton station, I’d located a perfect put-in off Google maps: a paved dock down a bank tucked between trees and just a foot above the water (left). As so often happens when setting up in the more populated south, a passing chap was curious about the boat. Little do these people know they’ve stumbled upon the UK’s self-styled inflatable guru! A comprehensive exultation of The Packboating Way may have been more than he bargained for.

The planned route broke down as: 4km to Sunbury Lock; about the same to Molesey Lock; another 8 to Teddington and 4 or so to Richmond. As I wrote recently in my IK guidebook: first time in a new boat choose a quiet, safe and easy spot and if in doubt, do the tippy test before you let go of the river bank. Perched on the thick 9cm seatbase, the ArrowStream felt wobbly on its relatively narrow hull that’s about 60cm wide at the waterline where you sit. At a guess my Seawave 2 might be 70cm or less at the water level, but the difference must be that the Seawave sags a bit and leans over onto round side tubes (below right) which vaguely maintain the waterline width; the Shipwreck’s super-stiffness and near-vertical sides are what I’ve decided to call a ‘flowerpot’ profile (below left) which quickly narrows and has less to support it as it leans over.

Had it been a lovely summer’s day in a shallow pool, it would have been interesting to push the tippy test past the limit. And also find out how easy it was to re-enter the ArrowStream from deep water. But it was a cheerless mid-December day on the Thames. I suspect the Shipwreck is more stable than it feels: what they call low primary (upright) stability but good secondary (leaning) stability, though some think latter concept is bollocks; a kayak either feels stable to you or it doesn’t. As for deep-water re-entry, like a canoe, the tall, thin sides may make that tricky, depending on how well you can dolphin-launch yourself up and into the boat without pulling more water in.
Luckily I had the option to zip out the 6cm foam block from the 3cm padded seatbase envelope and sit nearly on the floor. I could try the block later when I was more accustomed to the boat. Sat lower, the boat felt normal. It can be rocked side-to-side more readily than my Seawave and you have to make sure you sit right on the centre line. As others have said it may tip off centre but it won’t go right over, at least on flat water.
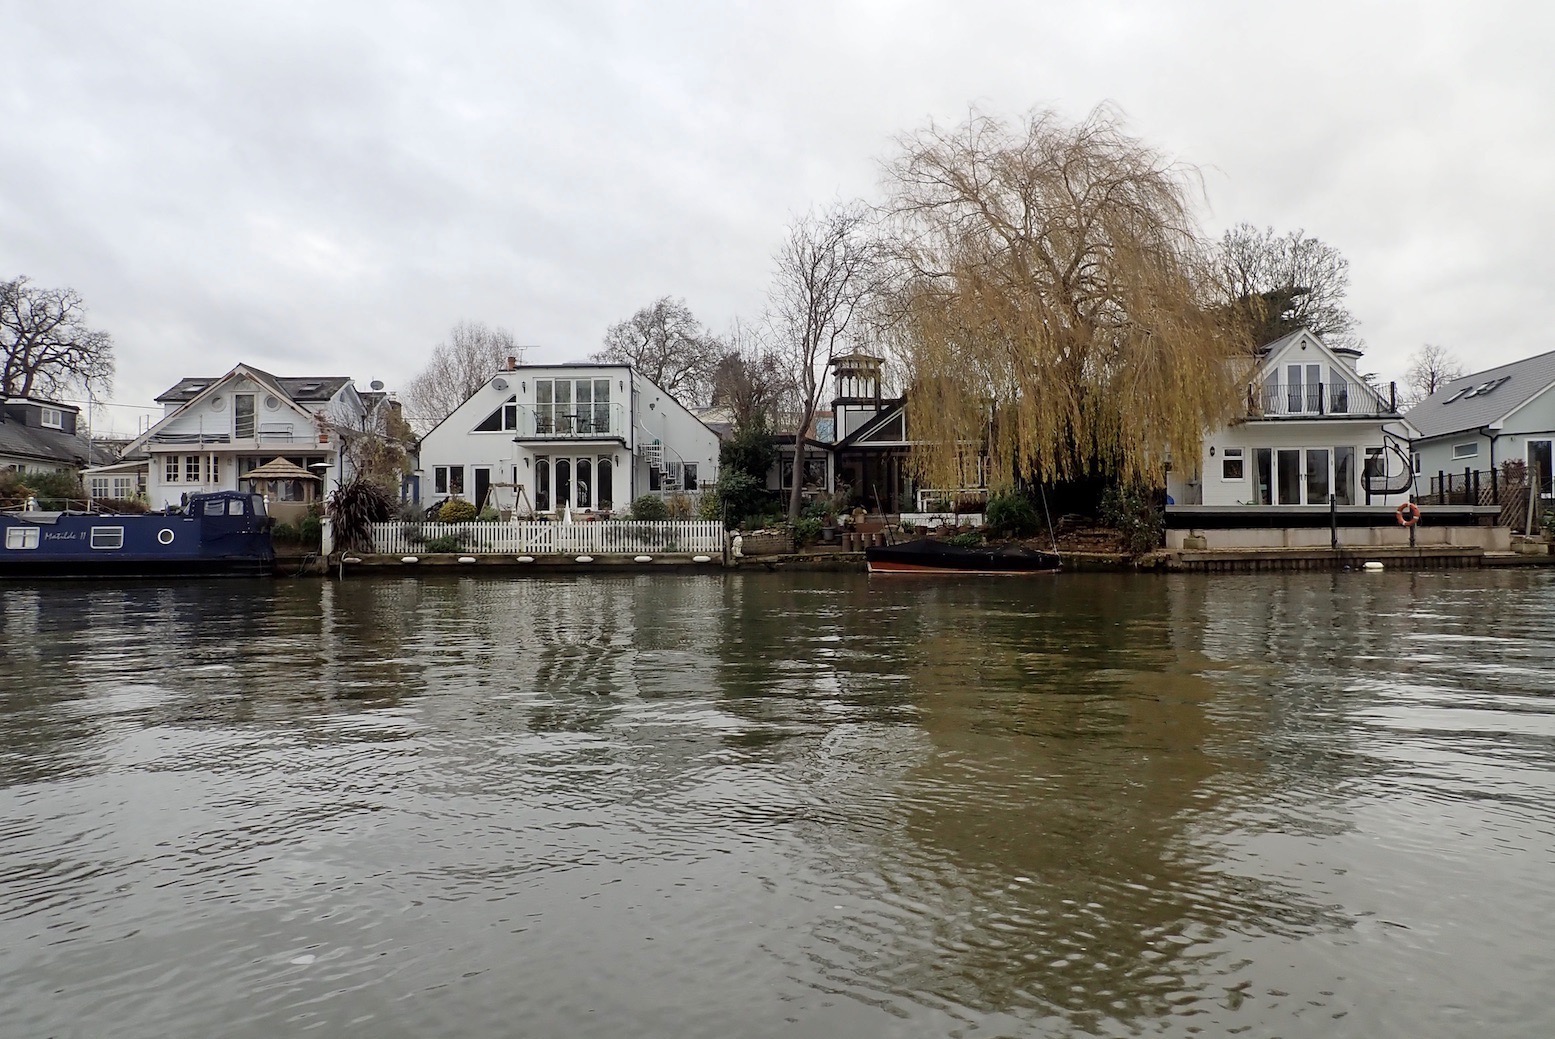
On this first stage, in the interests of analytical rigour I planned to use the four-part paddle before switching to my trusty Werner. In fact it worked perfectly well for an alloy straight-shaft. You don’t really notice the slack joints, though the width of the boat’s high sides caused the paddle to brush against them. It was the same with my Werner later, so it might be an idea to tape this area against wear. Sat on the seat foam block or other added padding would get you higher for more paddle side-clearance.
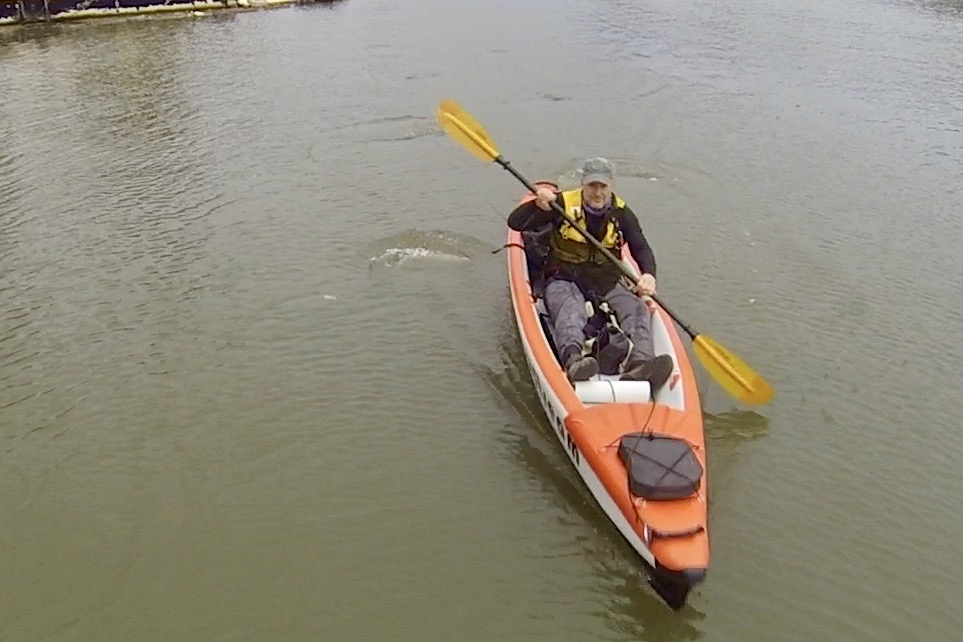
Once I got on the move the biggest problem was as anticipated: the tendency of the ArrowStream to track straight as a streaming arrow. Normal inputs to fine-tune the direction had no effect and progress became an annoying succession of straight lines broken by occasional hard hauling or jamming in a stern rudder/forward pry (it’ll all be in the book!) to get it on track. This was the same issue we had with the Moki a few months back. Is it the stiff DS floor? Is it the huge skeg? The sculpted hard plastic bow and stern prows? Read on, but I got to Sunbury in less than half an hour which was a pretty good 5mph with help from the current.

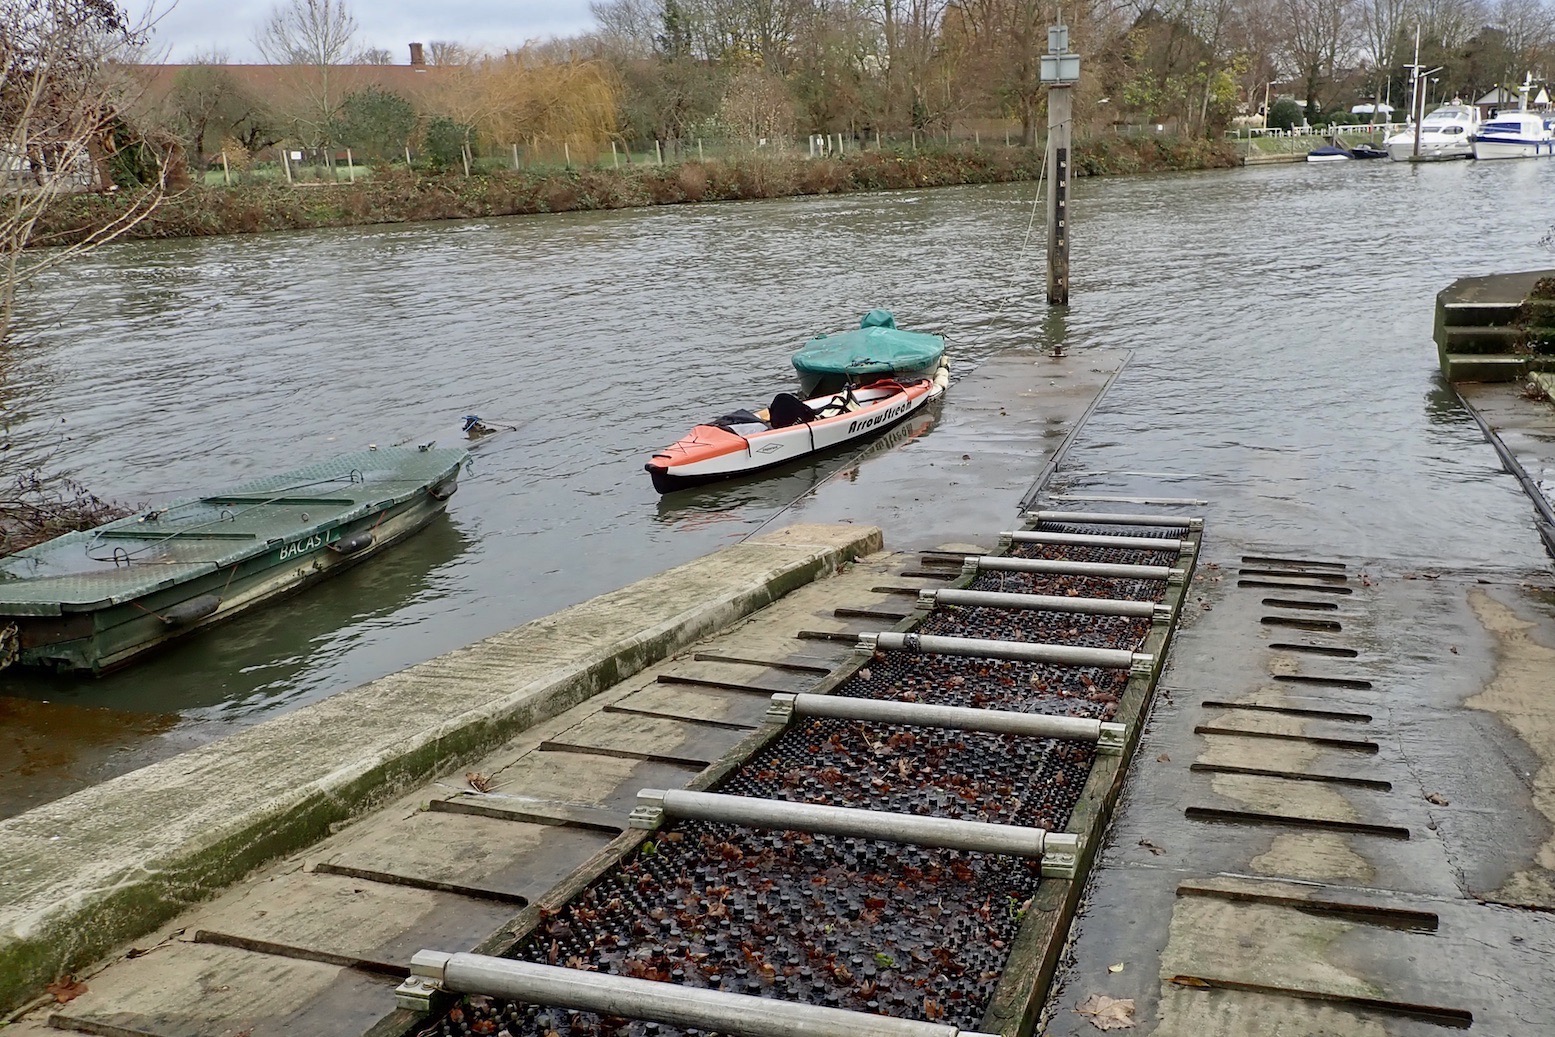
Here I didn’t think to investigate what had looked on Google like a fish-ladder/mini weir on the left of the lock. I now realise it was a very handy canoe roller ramp: a slopping drop which would have made portaging near effortless. I’ve never seen these before; with a little more excavation they could be made into chutes as found uniquely on the Medway but perhaps the Thames’ current gets too strong for them. Instead, I hauled the kayak up onto the towpath, carried it past the lock and clambered back down a dockside ladder. Grabbing one side-handle, a solo paddler can rest the boat on the hip and carry it a short distance.

Paddling off with the weight (trolley, pump, spare paddle) now in the back and my Werner in hand, progress improved. A favourite paddle of 15 years fits like a well worn pair of boots, except boots would never last that long. I still hadn’t got to grips with steering nuance. There is just no way skipping a few strokes on one side will make any difference: the Arrow Streams full ahead like a rocket sled on rails. Of course, it’s better that way round than the other.
Somewhere downriver a mate who lived nearby was standing by to grab some drone footage, but you’ll see better video at the top of the page. A few stills below.

With half an hour spent chatting or in a holding pattern while the drone buzzed overhead, annoying all in earshot, I wondered if I’d left it too late to get to Richmond before dark. At Molesey Lock I nearly made the same portaging mistake had not a kayaker catching up scooted down the ramp (below). They may not be as much fun as a chute, but with shallow water on either side, you can hop out and portage in a minute, even without using the rollers. It’s probable the day’s three locks (plus Richmond’s tidal barrier, just downstream of town) are the only such roller-ramps on the Thames’ 45 locks.
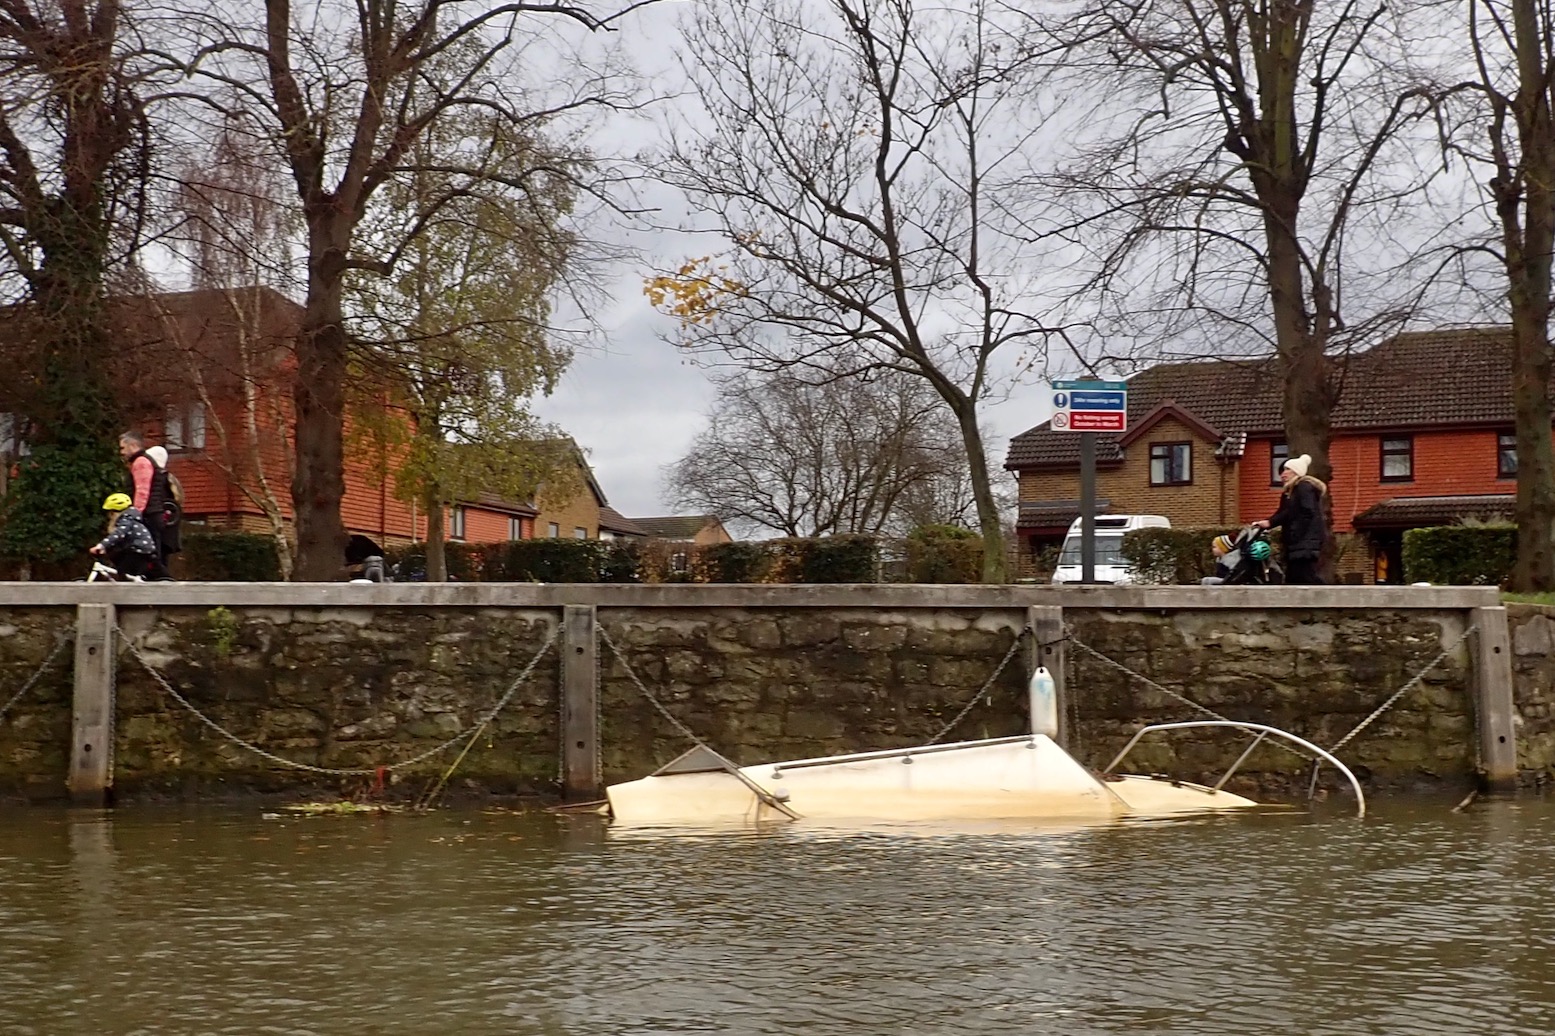
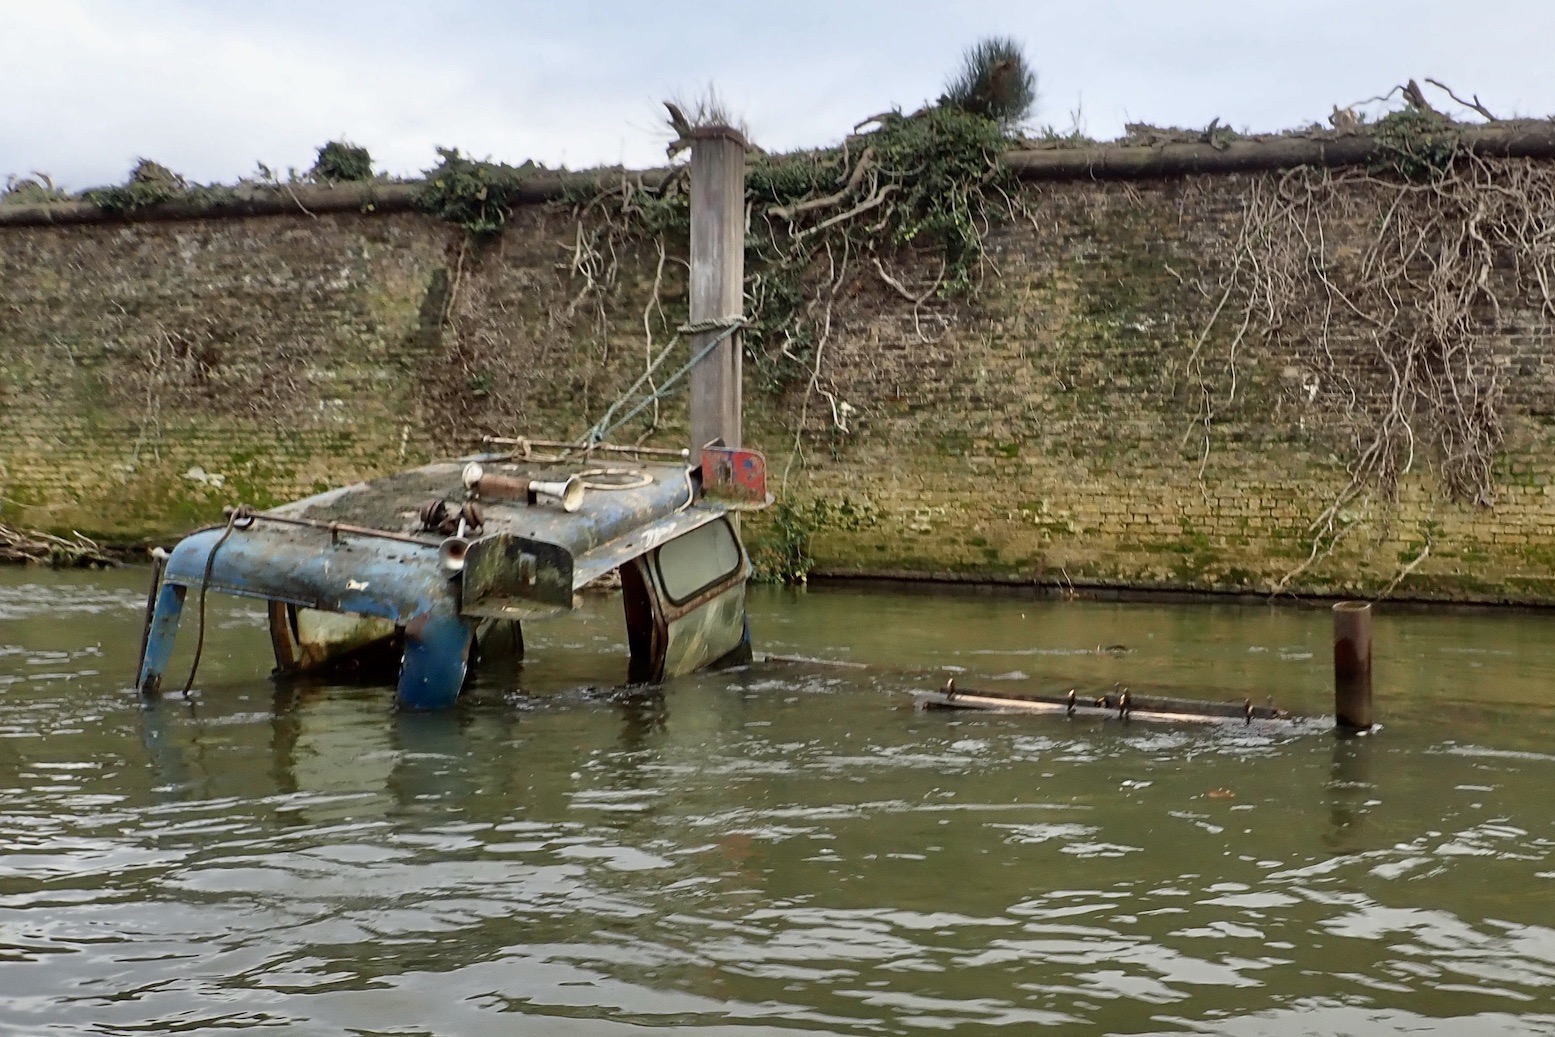
From here it was an 8-km stretch to Teddington where I thought I might bail if I felt tired. That’s the great thing with a packboat: you can change plans as you go. After passing rows of cute riverside dwellings and many seemingly abandoned boats, from here on the river was less grubby and urbanised as it passed the vast grounds of Henry VIII’s Hampton Court Palace.
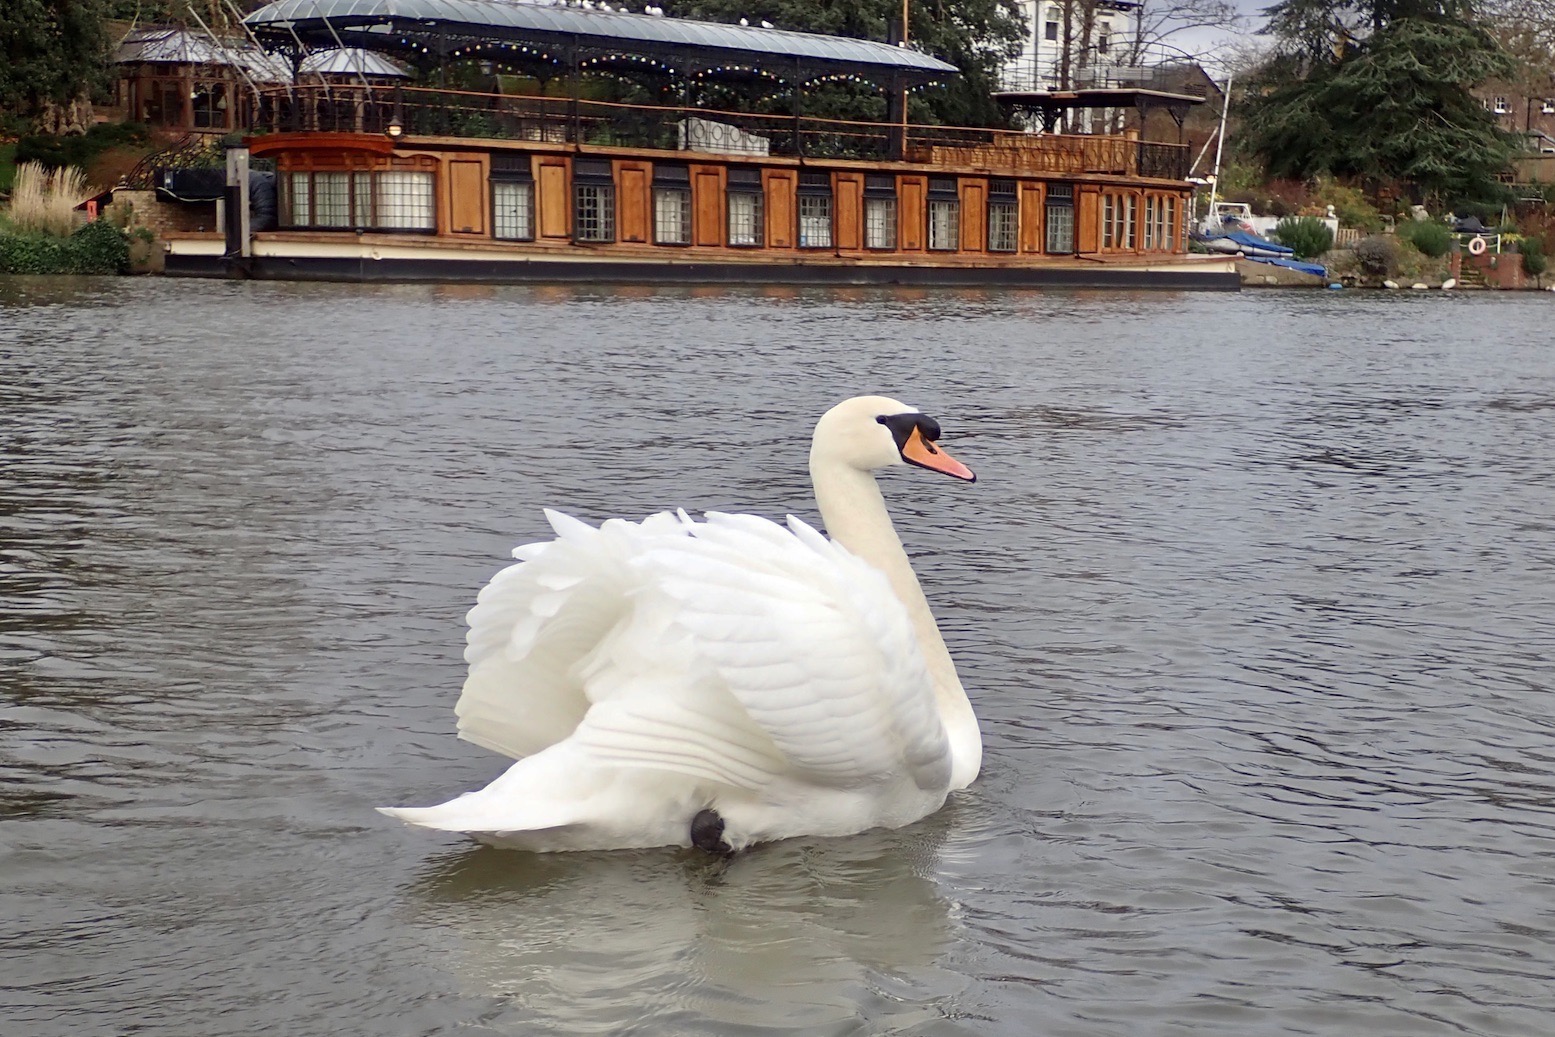
Right from the start I’d been surprised at the number and variety of birds on the Thames, not least the hordes of swans (which were protected by ancient royal decree until 1998). I noticed one had a cunning way of fluffing its wings out into a pair of downwind sails to tale advantage of the tailwind.
Like a weary traveller, I came upon a glittering riverside metropolis and for the life of me couldn’t work out where this was. Happy shoppers and joggers where cruising along the waterfront. Cafes, bars and patisseries were making the most of it before Covid restrictions ramped back up in a few days. Was Thames Ditton really like a mini-Manhattan? Or have I been cooped up indoors a little too long.
I asked a passing boatman what was this place of wonder.
“It’s Kingston, mate. Why, wherja think it was?”
I hadn’t the heart to tell him.

As I paddled past, I clocked the distinctive slabby flanks of an Aqua Marina Tomahawk tucked between two raptor-like speed boats. That particular boat was about as good value an FD-S IK as you could buy until this Shipwreck washed up on the ebbing tide.

I drifted under Kingston Bridge which I must have ridden over scores of times in a past life, whereupon the Miracle of Kingston delivered one final benefaction: the setting sun burst out from beneath the carpet of clouds which had smothered the London skies for the past week.
The shock was so great and the light so stunning against the steel-blue clouds, it could not have been a better time for the cold to get to the camera’s battery. I managed to rub it into delivering one last shot of the stately riverside plane trees before it packed up for good.
This illuminated setting invigorated me for the final lap to Teddington Lock and Richmond beyond, but three hours in, the old butt was getting sore. One good thing with the ArrowStream and similar is you can lift yourself up on the hard sides to aire le derriere.
This turned out to be one of the nicest stretches on the Thames I can recall. The riverside sticky-beaking, enigmatic islands and doubtless loads of history if you care to investigate, makes me realise that without its sporty chutes, Kent’s Medway is just another ordinary, agri-saturated Southeastern drain.

Converging on Teddington Lock with a quartet of silver-haired sea kayaking ladies, like a well-conditioned lab rat, I knew the form by now: canoe ramp, river left. Here I decided to remove the skeg. Straight away I set off at a faster paddling rhythm and found the boat much more lively, but in a good way. Yes, small corrections were needed to keep track, but now I was off the monorail and could wander and weave around like a normal IK. I wish I’d done this earlier. As suggested elsewhere; the sweet spot must lie with chopping that dorsal fin down. At the lock I also slipped the seat block back under the seat … for as many nano-seconds it took to realise that was still a bad idea. Something softer but less thick is needed, but watch the IoW video at the bottom of the page to see proof that this IK can be manageable at sea.

The trees of what I thought was Richmond Park (actually the near-contiguous Ham Lands) glowed orangey-red as I cruised below Richmond Hill and under another familiar road bridge to arrive at the ramp where Steve and I had set off for Greenwich nine years ago, just after the last London riots. Lord know there’s plenty more to riot about these days, but now it’s all conducted online which is much more hygienic.
Like Kingston, twilight on Richmond waterside was throbbing with ducks and Christmas revellers. I took my time draining and folding up the boat (chatting IKs with another curious chappy), rather pleased I’d managed the distance in exactly four hours without ending up too knackered. Part of that must be down to a backwind and the Thames’ swift winter current, but most of it’s owed to the Shipwreck ArrowStream, a fast flatwater cruiser whose potential is released once you dial in the right amount of skeg which may be none at all.

Drying
The twin drain plugs at the back worked fairly well on the ramp at Richmond; a pint or two spilled out from the cavity formed between the sides and the floor and which will almost certainly not dry out fully. The mesh-sided backpack helped, but you could tell it would take more to dry the boat off fully prior to long-term storage. In our flat I left it in the warm hallway (with an appropriate warning sign) and gave it what I thought was a final wipe down, but folding it up more water splashed out from somewhere, possibly the hollow prow beaks at either end.
If you have the space the best way would be to lean it inflated on a wall in a warm room (or out in the sunshine), let what’s in there run to one end and deal with it there. If you’re really serious about the side cavities, you might get to them from either end with a hose attached to a hair dryer set on low.
Tested: ROBfin Big Boy L Packraft review

In a line
Nippy self-bailing 3-chamber PVC / high-pressure packraft/IK made in Czech Rep and suited to white water and surfing.

A nippy, light, taut IK with raft valves
Tough, German-made 1.1mm PVC
Mini barrel pump will get it to 3psi eventually
Integrated thigh straps/footrest work well
Thick floor forms a keel to limit yawing
It’s heavy for a packraft
Heavier paddlers will still get a bit of wet bum on flatwater
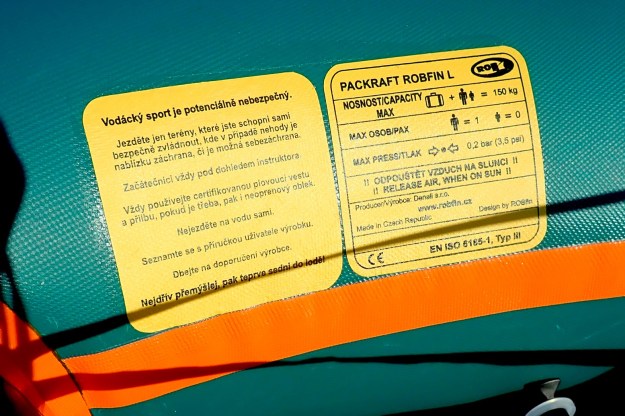
0.2 bar ≠ ‘3.5psi‘ as printed on the yellow label

What They Say
Completely new concept of packrafting. Instead of mushy packraft, you get a High Pressure Packraft from extremely heavy duty fabric, that takes you anywhere and make it fun!
Stable and self–bailing (realy self-bailing) packraft with performance of hardshell boat. Fast and manoeuvrable, good for beginners, for experienced boaters or experts as well.
Packraft for bigger boaters or for long expeditions, sometimes called Big Bro. For paddlers and gear up to 140 kg. Fast and responding boat from extremely tough fabric. High profile bottom with comfortable seat, self-bailing up to 5 secs completely full boat (with standard load).

Price: €750

Out of the box

The Big Boy is the second largest in ROBfin’s range of four packrafts, rated for loads of up to 140kg. Self-bailing holes in the floor set limits on payloads; tape them up and you may well be able to carry more without sitting in water, but heavy hauling is not what a self-bailer is about.

Although PACKRAFT is emblazoned boldly along the sides, this is not your typical, single-chamber TPU Alpacka or Anfibio, but more like an IK with three chambers including an inflatable floor.

Made from stiff, 1.1mm PVC and with raft valves, the small Bestway Air Hammer will get 3psi (0.2 bar) in there eventually. The stiff hull works well with the integrated footrest/thigh straps for a better connection with the boat. You may notice below left how the floor expands and thickens towards the back to add more buoyancy in the seating area where it’s needed.

On the Water

Where I live there’s no white water for miles. The Lee River White Water Centre on the other side of London would have been fun to visit, but was closed for Lockdown and requires passing an assessment course before they let you loose on the two short artificial courses.
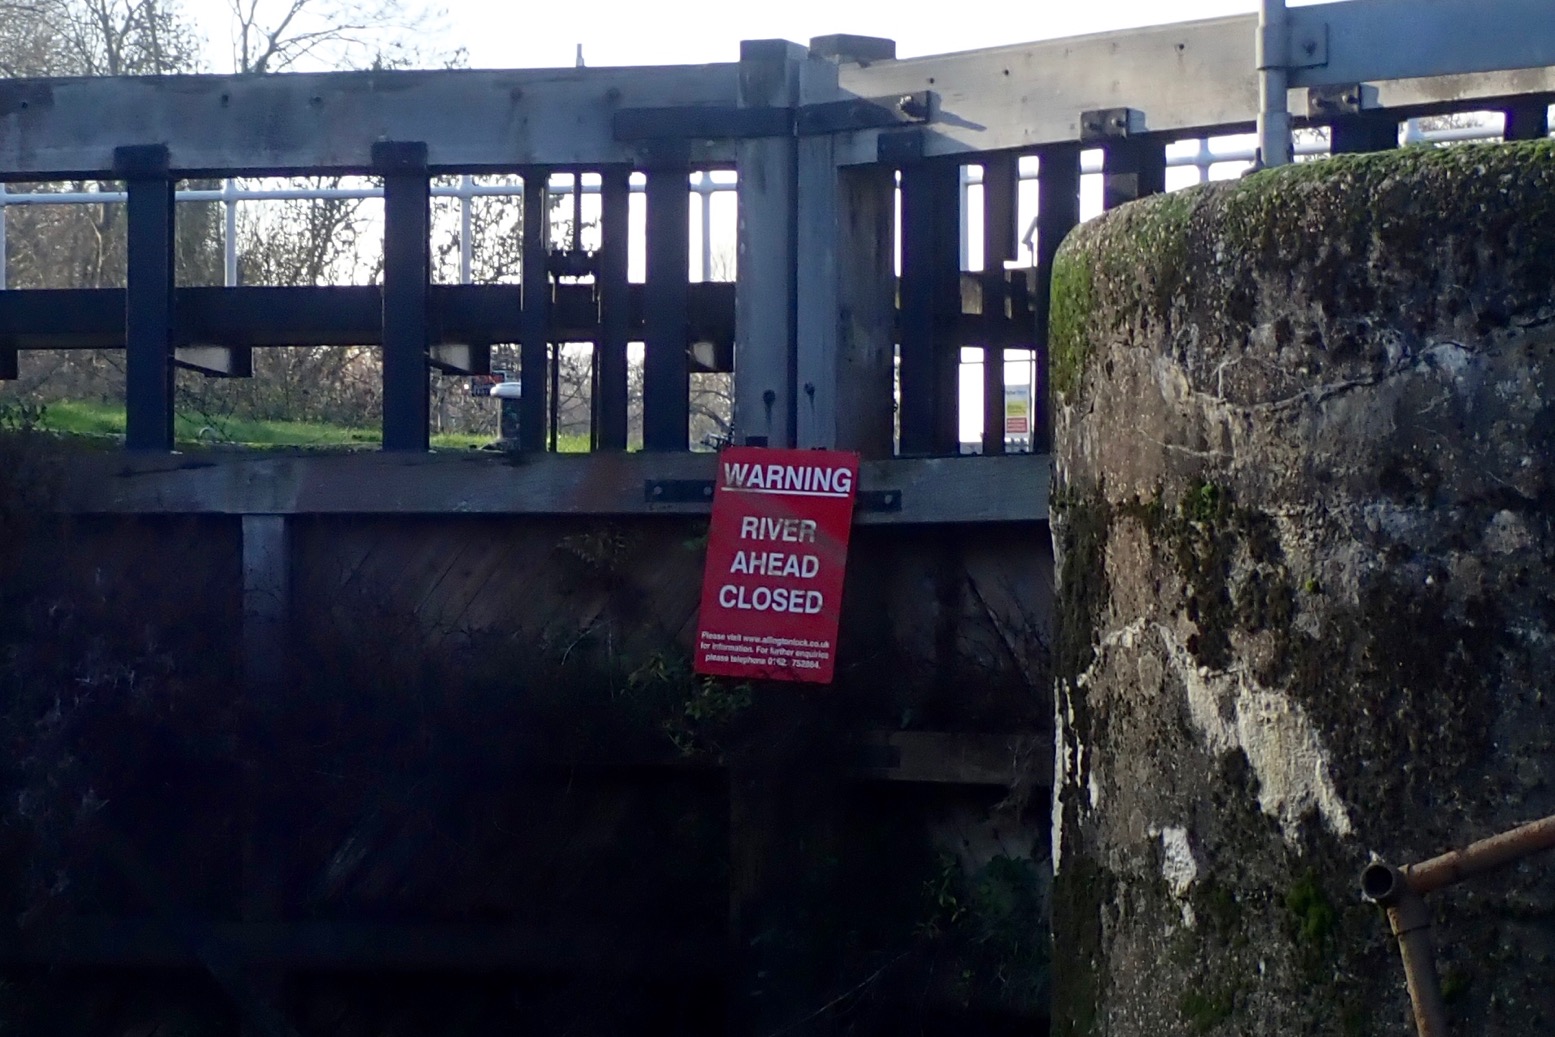
So the ever-reliable Medway and its sporty canoe chutes would have to do. And with the recent rains the river should be moving right along. But on arriving at Sluice Weir there were barriers everywhere, and the river level above the lock was several feet below the jetty. The upper Medway was closed for winter maintenance works. I’ve been caught out like this on the Medway before. Better to check at http://allingtonlock.co.uk.(click ‘river status’).
So after waiting weeks to try out the ROBfin on a sunny day, all I got was a muddy, flatwater paddle. It was altogether a bit of a washout.

My big IK barrel pump inflated the boat in no time. The yellow conformity label says ‘0.2 bar/ 3.5psi’, but 0.2 = 2.9psi, so that’s what I put in. At this pressure the PVC ROBfin was firm like an IK and not mushy like a packraft. Setting off downstream, the way the floor drops like a keel helps the boat track reasonably well, though you can’t power on without the need to correct once in a while. If you stop it veers off to one side, like an unskeged IK or packraft. With gentle strokes, you move along with none of that bow yawing you get with a packraft. The packraft-like ~1-metre width meant it was stable too, even with the higher seating position.

As it is, the water level in the boat was only about two inches below where I sat, so any fast moves or turns brought it up momentarily. You will get a bit wet. Judging by some brisk riverside walkers, the boat was managing over 3mph against the current, and back at the lock it was easy to wipe down and dry.

It’s a pity I wasn’t able to get splashy with the ROBfin; it would have been fun to belt flat out down the bigger chutes to test out the bailing, and mess about below them. The taut hull means the thigh straps work well and the short length would make it agile in the rapids. And should you tip over, getting back on would be dead easy. For playing in white water I’d sooner get a boat like this than a decked packraft. But they make self-bailing packraft too.
Packraft or IK? I’d settle on the latter which might put it up against a 12-kilo, 3.3m Gumotex Safari at more or less the same price. The shorter, wider ROBfin would be more stable a fun boat in the right element. What a shame I never got there.

.

Anfibio Rebel 2K packraft

Rebel 2K main page

I had a chance to take a prototype Anfibio Rebel 2K out for a short paddle the other day. A couple of hours trapped between weeds and weirs on an obscure urban waterway meant I wasn’t able to properly try out the test boat’s many features.
Just another packraft you might say. There’s now a booming cottage industry of packraft makers, each seeking ways to make their very similar looking boats stand apart from the competition. How is the Rebel 2K different?

The Rebel 2K derives its name for a claimed weigh of under 2000 grams without the optional TubeBags: Anfibio’s answer to in-hull storage (more below). The boat we used was not standard and with the seat removed weighed about 15% more (as listed above. * Anfibio reweighed the same seatless boat and got 2450g). Saying the Rebel ‘… hardly takes up more space than a 2L drinking bottle..’ is a bit wide of the mark. That’s broadly true of the Nano RTC I tried the other week but, like most similar-sized TPU packrafts, the Rebel (210D hull and seat, 420D floor; 75D deck) rolls up to about the size of a compact 2-man tent.
I like the ‘olive & lemon’ colour scheme and the whole boat looked put together as well as any packraft I’ve tried over the years. They’re really can’t be that much to it!

Besides the fitted TubeBags, the boat we tried had handy grab lines front and rear and a second patch for a frontal skeg. It may also have had patches for thigh straps inside.
The front and rear tracking fins are a novel idea I’ve only seen on some drop-stitch IKs. Neither were fitted on our short spin. They weren’t needed and as you can see, they’d have probably stopped us in the thick weeds. I know that my blue, 60-cm longer Nomad certainly never needed the rear skeg (tracking fin) the way many IKs do.

Sure, like all packrafts the Rebel waggles its bow left and right in response to paddle input, but it still goes where you point it, gales notwithstanding. It would have been interesting to see how the frontal skeg affected this yawing. Assuming it eliminated it, would it have made the Rebel easier to paddle faster but at the same time harder to turn? That could be useful for longer crossings where a packraft’s relative lack of speed can hold you back. One for next time.

We used the Anfibio hand pump (left) to firm up the boats but had to back off the Rebel a bit to get the curved deck zip to close. With that done the 2K was taught and crease-free.

Normally I’m not a fan of decks, certainly not fixed ones, but on a chilly October day both I and Bob were glad to be tucked in and protected from splashes. One thing I’d like to see added is a tab on the right tube to secure the unzipped deck. [Edit: I’ve since been told it is a standard feature on production models.]

The TubeBags are also an interesting concept. Even before hearing of early failures, I was never won-over by Alpacka’s Cargo Fly (hull zip) innovation of 2014. Benefits in visibility and stability by storing luggage in the hull tubes were genuine, but is it a good idea to meddle with hull integrity in a single-chamber inflatable? The fewer failure points the better and who hasn’t had a zip jam or break?
Now these airtight zips are commonly seen options on all packrafts and must be more reliable, but the zipper will always need care to seal well, especially in this era of pump- assisted hull pressures.

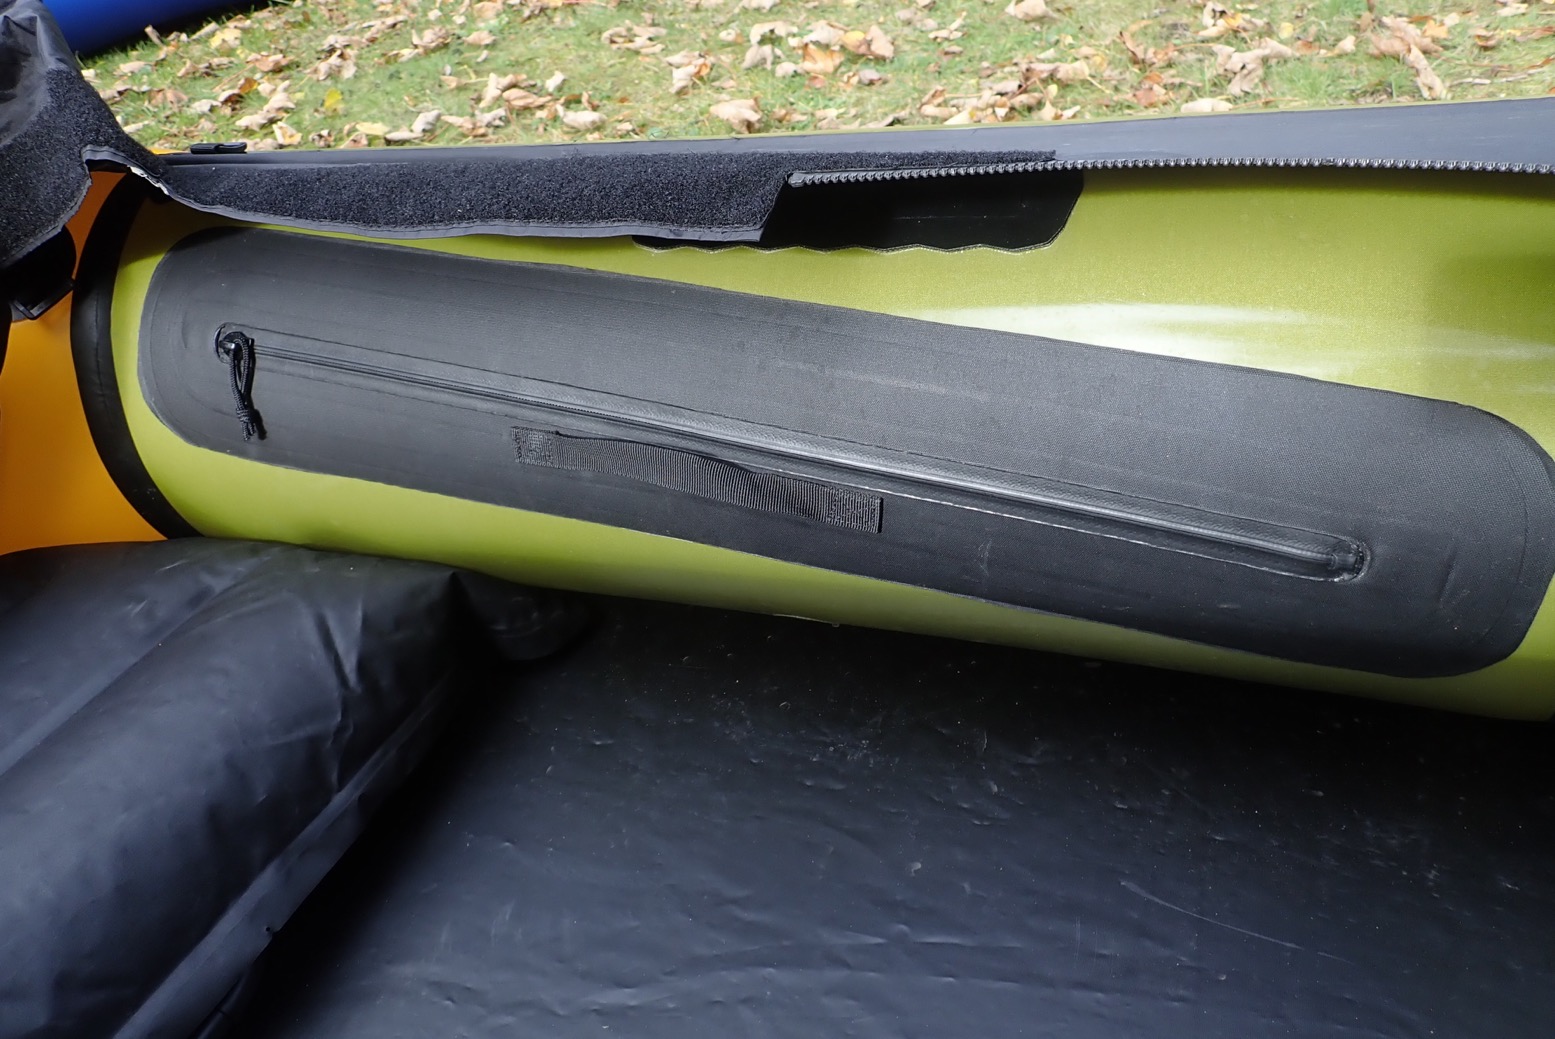
Like a hand pocket in your jeans, the TubeBags are pouches fitted into the side tubes and accessible from the cockpit via IPX7 zippers (left). But the 70-litre pockets must be packed and zipped up before the boat is inflated. Then once inflated and on the water they cannot be opened because the hull pressure behind them will cause the contents to disgorge until the pouch itself spews itself inside-out, leaving a slight drop in hull pressure.
So if they’re not a handy ‘glove box’ what’s the point? Well, for starters once the boat is inflated the surrounding hull pressure keeps the bags’ contents pressed in place a bit like reverse vacuum sealing. Leave the pouch zip a little open as you inflate the hull and the contents will all be squished firmly in place. Then close up the zip up. Plus separate chambers add some back-up emergency buoyancy, and a faulty zip need not be critical to hull pressure.
As with all in-hull storage, TubeBags won’t be that handy for day paddles but are a great way of storing stuff securely and out of the way on over-nighters. Once at camp you loosen the main valve to drop hull pressure a bit (as below). Then you can access your TubeBags. This will only work well when you’re on the water all day without interruptions. Portages with a loaded boat might be awkward compared to unclipping your bag from the bow and the rhythm of classic packrafting: walking then paddling then walking then paddling, might be slowed down a bit. But as long as you have a drybag or pack big enough, you can always bung it on the bow. You don’t have to use the TubeBags.

Other than that, the Rebel is fairly normal packraft. I found plenty of room my legs and hopping in off my kayak-like Nomad (my last paddle in it, as it turned out), it sure was nice to have something solid to lean on. As it came, with deck, tube storage and two fins, the Rebel would cost around €1000 and looks like a great do-it-all expedition boat. I can see it being ideal on a big French river where weirs are easily bypassed by shooting down glissieres (chutes). The cached baggage will be out of sight when leaving the boat moored and popping into a village for a pan au choc and visibility and stability in rapids will be improved.

More about the Rebel 2K at Anfibio.
In spring 2021 I bought one.

Review: Aqua Marina Tomahawk Air-K 375 full drop-stitch kayak

See also:
Full drop-stitch inflatable kayaks main page

Andrew Cassely (guest reviewer)

I recently bought myself an Aqua Marina Tomahawk Air-K 375, after floating around on a cheap Bestway Hydro Force (right) over the summer. The choice was partly driven by availability – the Tomahawk was still on sale where others had sold out, perhaps because it was specifically listed as an intermediate to advanced kayak, while beginners are driving the shortage.

Overall I am pretty satisfied with the boat, though it’s not perfect. It comes in a fairly hefty package, but it is manageable for myself, an average fitness male. Smaller people and/or those with less strength may struggle a bit. The bag fits well and it technically a backpack. I wouldn’t want to go far with it but it works sufficiently well to get it out of the flat, down the stairs, and into the car.

Some work is required for set-up – the included pump is effective but needs some effort towards the end when approaching 10PSI. I may invest in an electric at some point. In fact the hardest bit is fitting the twin skegs: these are very stiff, and it’s difficult to apply pressure to the thin edge. I may need to take some sandpaper to get these to fit better, though I’ll try some silicone grease first. The seat and footrest are effective, a little strap threading is needed for the latter, nothing terrible. The seat straps keep their tension once set up, but the footrest doesn’t. Total setup time is about 20 mins, though that may reduce as I get more familiar with the kayak.

On the water it is a step change from the basic inflatable, though you’d expect that based on the price! It’s much faster, tracks amazingly well, and is a lot less tiring to paddle. The addition of an entry-level carbon fibre paddle provides a lot more range before fatigue sets in (though I still need to improve my stamina!). It turns relatively slowly to compensate, but I’ll take the better tracking any day.

I removed the front skeg to see if it would make it turn better. Turning was indeed a little easier, but the tracking was noticeably less effective (though still far better than the budget IK). In the end I decided I preferred both skegs, plus it’s reasonably heavy and right at the bottom of the boat and so provides a bit more stability.
It would work fine without through so it’s more a case of personal preference. It is noticeably tricky in the wind – because it’s relatively light, I’m slower in a headwind than a friend with a Point 65 sit-on-top. In crosswinds the high sides catch the air which makes stability less good in a gust.

It feels a lot less stable than the Bestway (I’m 77kg). I’m constantly working to balance it though I think more use will see that become less of a worry. Once or twice I’ve had a wobble and almost felt like I’ve gone over. However I think it’s actually a little better than it seemed. I deliberately flipped it to ensure I could re-enter and it took a lot more leaning over than I thought to capsize. It is probably not suitable for beginners whose balance is questionable, though. Re-entry was a little tricky put perfectly doable.

Packing up is reasonably quick – note that I do it with minimal drying on site, then re-inflate it fully once home to give it a proper wipe-down and time to dry. The drainage issue mentioned in the article is definitely evident: it’s basically impossible to get every last drop of water out, though I’d say no more than a tablespoonful was left which is not terrible. The joins between the floor and the sides also tend to attract sand and grit – the wipe-down gets rid of most, but I suspect at least a little is starting to build up there, though I don’t know how much of an issue this is in the long run as they shouldn’t rub against each other.

Despite the ‘Intermediate to advanced’ labelling, I think a beginner wanting to move on from an Intex or similar could do worse as long as they have at least a modicum of balance and confidence. I don’t think it would be for everyone though, as there are definitely more stable FDS kayaks out there. Overall I’m pretty pleased with with the Tomahawk, and hope the construction is good enough to provide many years of kayaking to come!

Tested: Anfibio Packrafting Nano RTC packraft review

In a line
Super-light but sturdy packraft with a low-maintenance solution to in-hull storage.

Simple but well-detailed design
210-D fabric feels durable
Optional mini-hand pump works very well and can be deployed on the water
Holes easily sealed from the inside with a stick-on patch
Compared to TiZips, RTC is a simpler, lower-maintenance way to achieve in-hull load carrying
Raised floor lifts paddler, limits wear and may help limit yawing
Like most short packrafts, it’s not a joy to paddle on flatwater for hours
RTC will need care and may need practice to achieve a good seal
Floor is same thickness as hull, not double-weight, as is usual.

What They Say
Extremely light packraft with roll closure (RTC), which enables luggage to be stowed in the tube and thus offers higher transport capacity. Minimal pack size, 1kg light and robust enough for calm and tame waters allow combined adventures with increased payload. Price: from €335

Out of the box
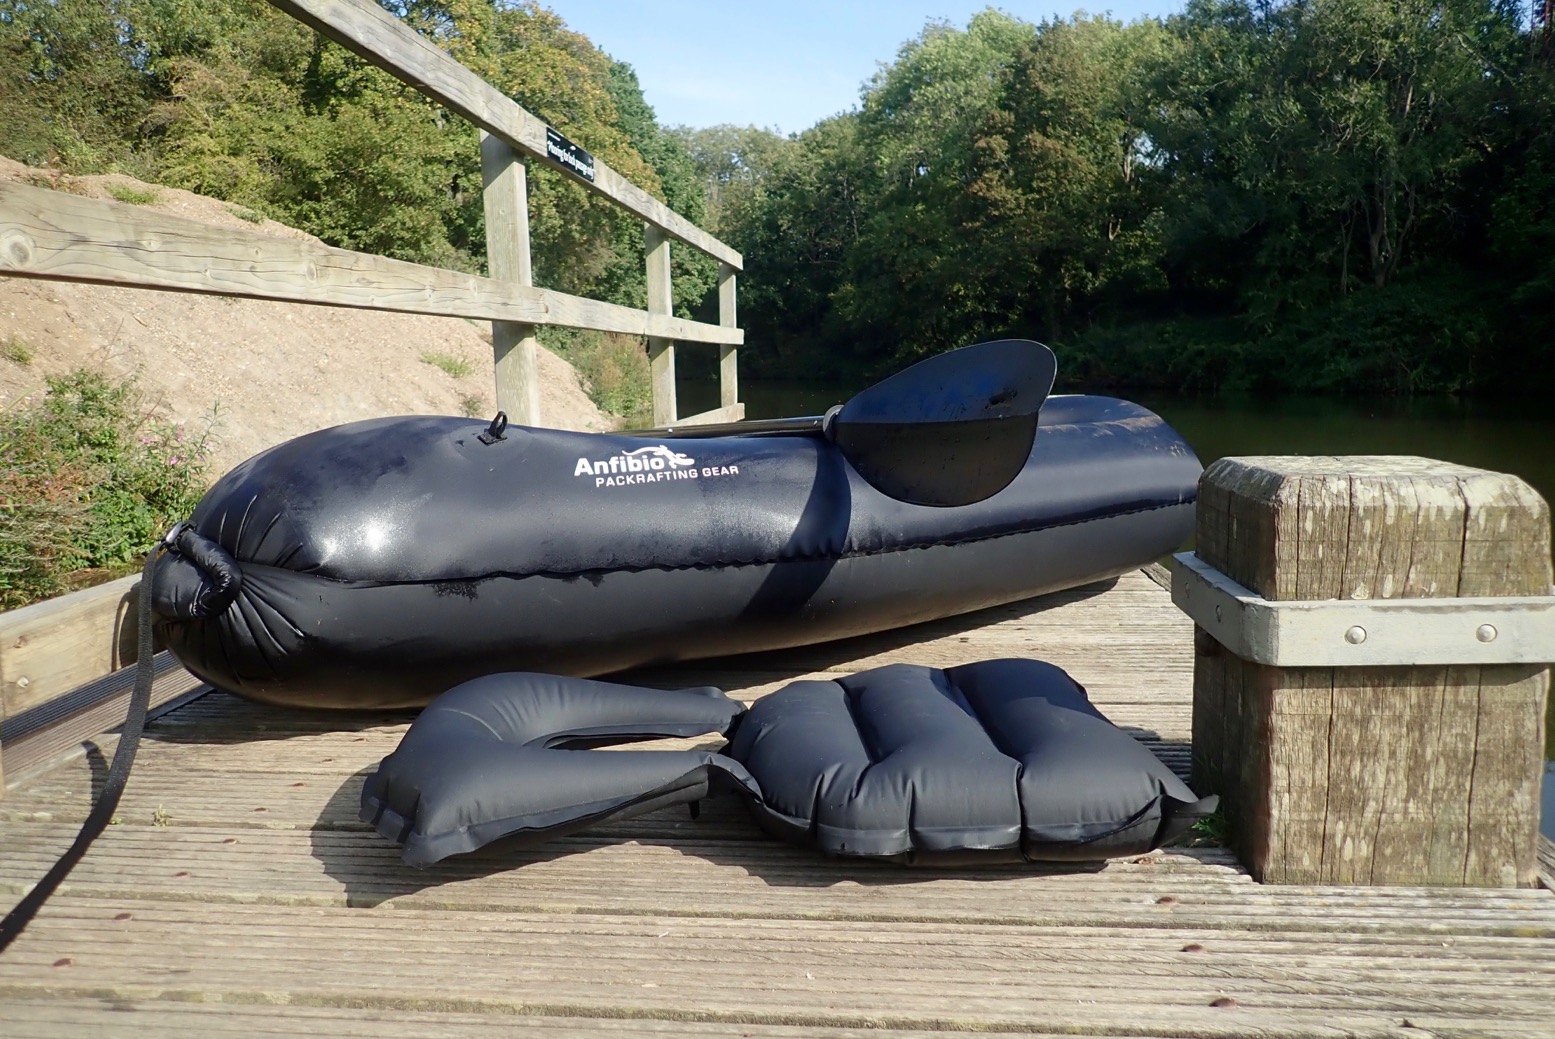
This pre-used Anfibio Packrafting Nano RTC came with an optional backrest seat (€57), the airbag, an optional mini top-up hand pump (€10), a strap and 3 patches but no glue or instructions. The latter appear online.
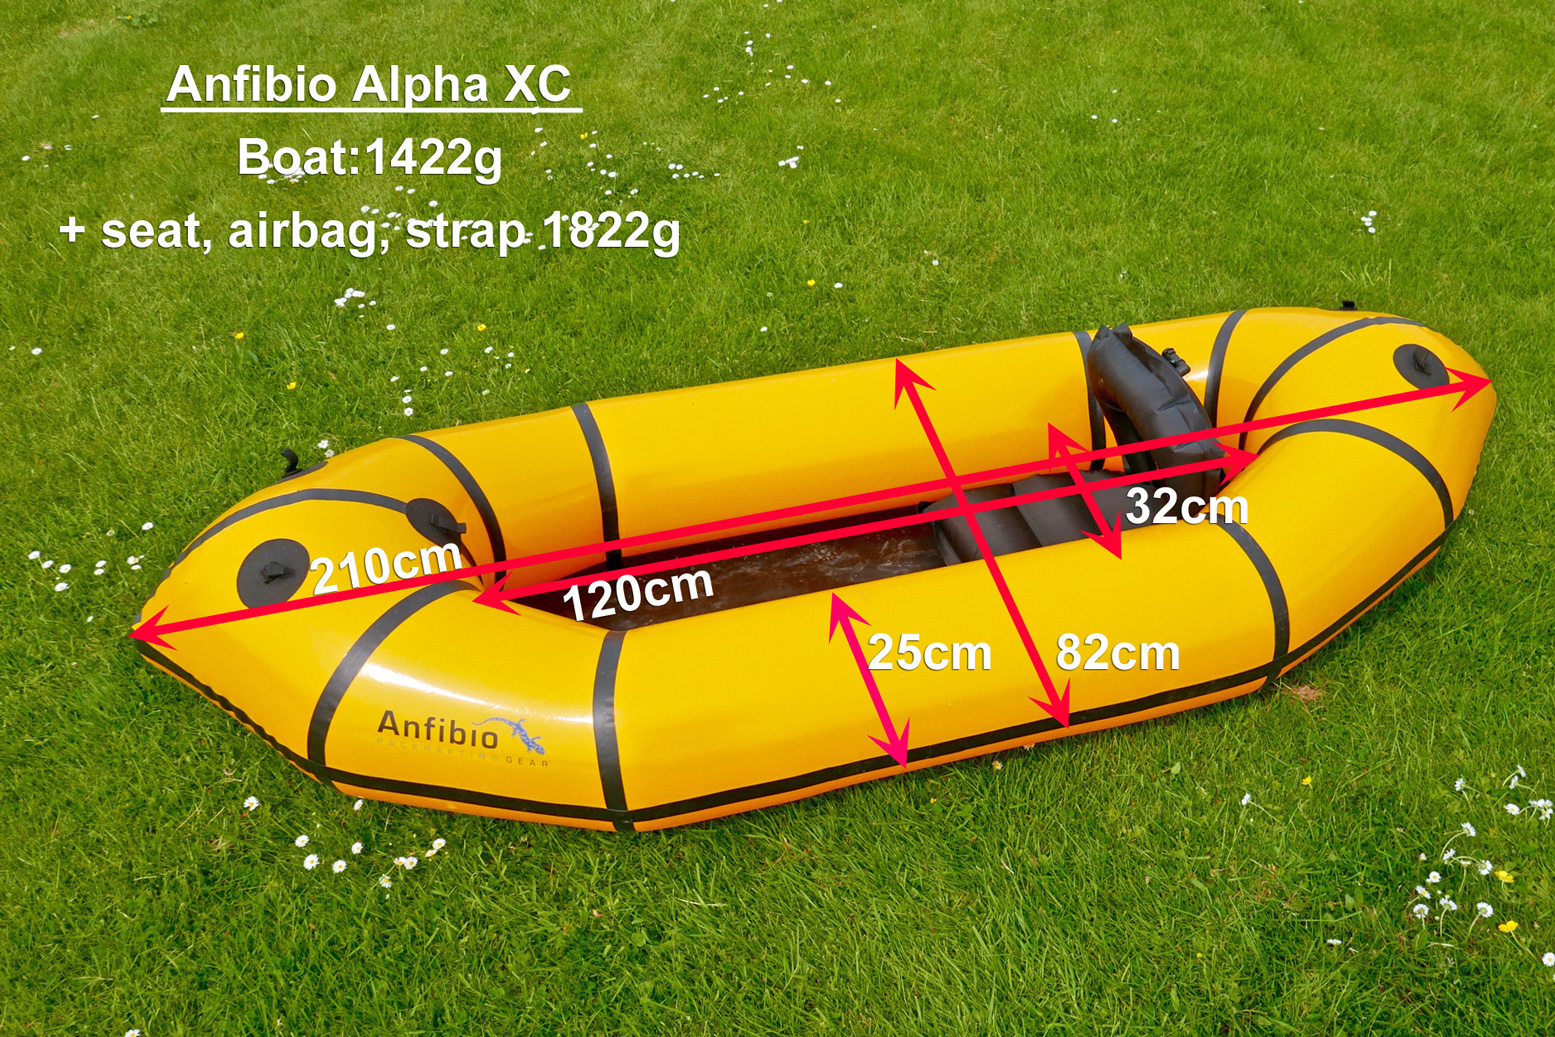
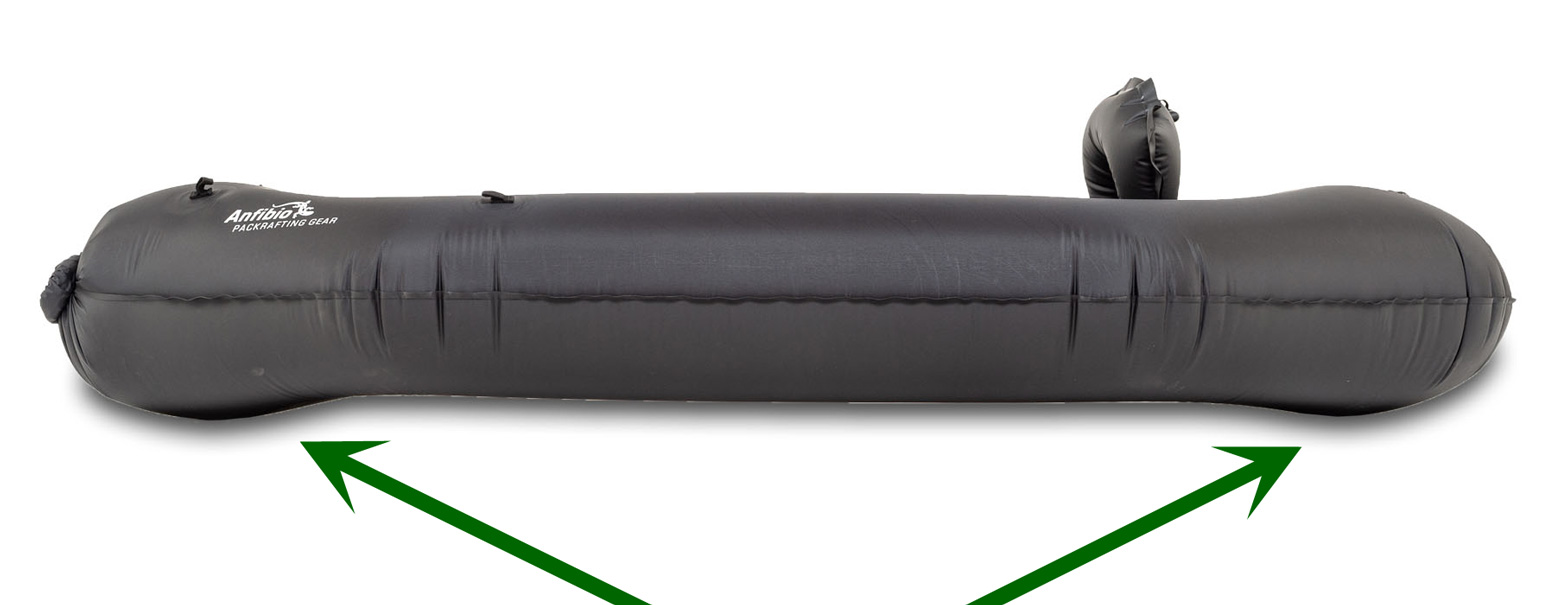
On the IK&P scales the boat alone came in at 1002g. The full seat adds another 237g with the horseshoe seat base weighing 135g. All the other dimensions in the image above closely match Anfibio Packrafting’s own data.

This is not your usual shiny-exterior packraft; the Nano’s coating is instead on the inside like the plain Nano SL model. The woven texture of the 210D nylon fabric still gives a sense of sturdiness which I can’t say I felt with the 75D Supai Flatwater and Matkat we tried a few years ago. Such perceptions are important when bobbing about in the middle of a breezy loch or tackling some light whitewater. Maybe it’s the black colour, but the Nano also managed to look bigger and tougher than the virtually same sized Alpha XC (left) we tried a year or two back.

The RTC is a new idea to Anfibio Packrafting, though the Rapid Raft in the US uses a similar closure. The Nano differs by being a more sophisticated design, with a hull made from just three pieces of fabric: hull top; lower hull and floor; inner ring. This adds up to just two long seams which ought to mean fewer chances of errors during assembly as well as less weight. You can have the closure up-front (normal) or at the back where, with just four folds rather than five, it creates an elongated stern which adds more buoyancy where most of the weight is and acts as a skeg to limit the side-to-side yawing endemic to short packrafts. Payload is 135kg.

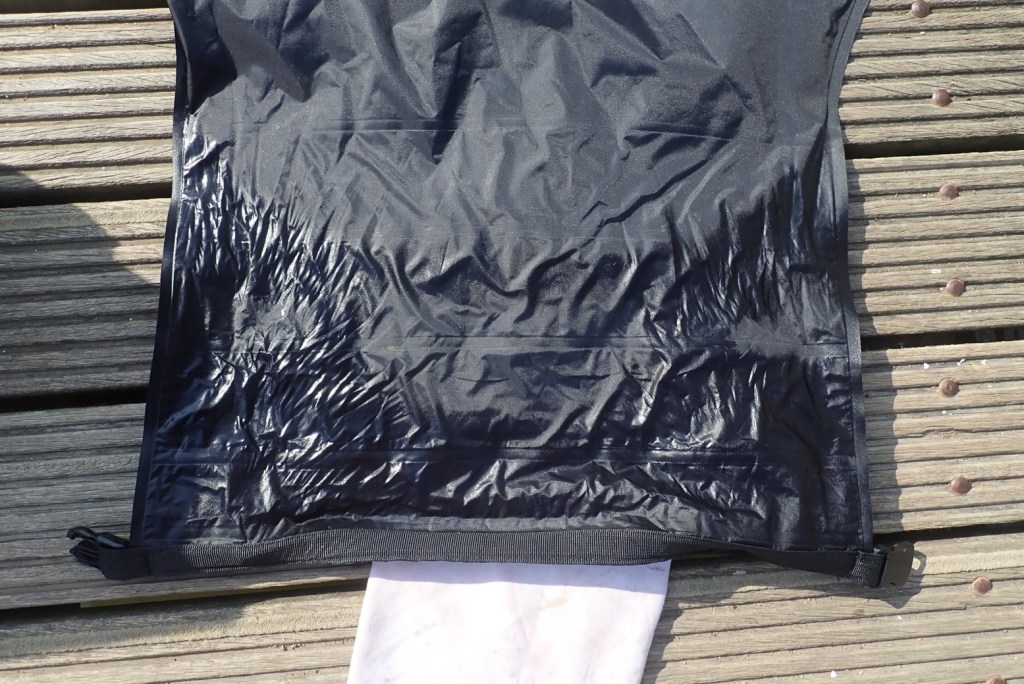
The RTC has an extra TPU film bonded inside to ensure an airtight seal, as long as you roll it up tight with no wrinkles. Providing it works, as a way of enabling in-hull load-carrying, I’d sooner put my faith in this than a TiZip which must be kept lubed and clean and dried properly to work well.
At the RTC-end you have four mounting tabs on the tube top. On this you can mount Anfibio’s DeckPack, as pictured below. Bigger exterior loads may also be more convenient here if your route includes many awkward portages where carrying the otherwise heavily loaded and inflated boat may be tricky. Otherwise, there’s a tab inside the hull to secure loads and keep them towards the RTC end.
You get seat mount buckles at both ends too, though I found the fully inflated seats jammed in well by themselves. There will be the age-old annoyance of the backrest flopping forward as you get in, but used RTC-sternward you can hook it upright to one of the tabs. This backrest design hasn’t changed since I had my first Alpacka Denali over 10 years ago. What is actually wanted is lumber support which is best achieved from strap-braced backrests, as in my Nomad, but that gets complicated.

No you can’t inflate it by opening the RTC to the wind unless there’s a gale on, but it helps to fluff the boat out, and using the usual airbag, 5-7 scoops fills the boat, after which you top up the one-way Boston valve or by mouth. If you find the latter a bit awkward, I find a section of half-inch garden hose works as a ‘blow-straw’. Or use the top-up handpump (137g) to get maximum firmness. On the Nano it worked very well and for only €10 I’d say is a worthwhile addition for any Boston-valved packraft.

“The RTC cannot be compared to the usual roll closures of simple pack sacks [dry bags]!” proclaims the website, and I can believe them. We all know that Ortlieb-like roll-top dry bags don’t have a proper seal; water will seep through and air will leak out. But the multiple rolling of the film layer, as well as the fact they’ve dared use RTC on a packraft, gives a sense of confidence. Time to get paddling and see if that confidence is warranted.

Nano on the water
Mid-September and it’s nearly 30°C: too good to pass by so I head for a short run up and down the Medway. Airing up at Sluice Weir Lock, I had a good feeling about the Nano, even if at 95kg I expected to be on the limit, as I was on the Alpha XC. The extra 6 centimetres all round looked enough to make a difference, and one way to help the trim (level) would be to run the RTC at the stern and as long as possible (four folds) while perched forward on the backrest seat option. In the end I didn’t feel the need to do this.

Once inflated by bag and topped up by mouth, I knew the Nano would need a damn good tempering today. A boat firmly inflated by hot ambient air will go soft once cooled in the water. Sure enough, after some splashing the Nano went as limp as a stunned trout. While doing this I was reminded of the indispensability of a bow line to manage a boat at the water’s edge. I hooked the metre-long strap through the RTC (left); better than nothing.
Back on the jetty I tried the two-way hand pump: 20 pumps firmed it up. After over a decade of proven hull integrity, it’s become the norm to top-up packrafts with mini-pumps and not by lung, raising pressures up to 2psi or more. This added tautness is what differentiates packrafts from slackrafts and has a huge benefit on paddling efficiency and satisfaction.

They say don’t overdo the pumping but how are you to know? A well-made packraft may well handle a massive 0.5 bar or more before it blows a seam, but assuming the Boston one-way valve can handle it, I think the mini PRVs I tested the other day would be a useful addition to packrafts. They cost only 4 quid and you just keep pumping away until they hiss, knowing the boat’s reached the valve’s purge pressure which cannot be exceeded. It’s like an in-built pressure gauge. Fitting one to the open-ended Nano (or any TiZip packraft) would be especially easy.
I decided to try RTC bow first (it made using the DeckPack easier). Once in the boat I felt fine, though from the pictures it’s clear the trim looks nearly as back-heavy as on the Alpha. Too many pies! But on these ‘calm waters’ that didn’t seem a problem.

Confident I wouldn’t wet myself, I set off 2km up river for Oak Weir Lock, passing some happy Itwiters on the way (left). Those things are everywhere these days! Good on Decathlon for satisfying the huge demand.
Within a few minutes it became clear the Nano had cooled further and needed another 50 pumps off a handy concrete slab below the steep riverbank. I also remembered that, unlike my IKs, low-floored/high-sided packrafts want the seat base pumped right up to give height so as to get the paddle over the fat sides.

Back on the move, speed and response increased dramatically, but not having paddled a normal-sized packraft for a while, I’ve forgotten how slow they are, topping out at maybe 2.5mph/4kph. Riverside walkers were outpacing me; normally it’s the other way round on the Medway, albeit heading downstream. Where noticeable, the current here is about half a mile an hour.
I took off to explore some mysterious side creeks which I’d normally shoot past on my downstream burn-ups, careful to avoid the many brambles which line the river here. There’s a perception that the Nano’s textured woven surface could snag a bramble more easily than a smooth one, but should that happen it would be easy to open the RTC and slap a stick-on patch on the inside: the best place for such a repair. The heat and dense, overhanging vegetation reminded me of a boat trip I took years ago up the remote Roper River in Australia’s Top End.

Back out on the main channel and heading upstream, after a while it took some effort to move the Nano along, with the tell-tale bobbing of a soggy slackraft. A squidge of the sides showed they were soft again. More tempering needed or a slow leak, probably from the inexpertly sealed RTC? I hacked on and at Oak Weir jetty got my weight over the bow to push the RT closure underwater. A couple of tiny bubbles popped up occasionally, but they may have been just trapped air escaping the folds.

The picture above makes it appear worse than it was, and being a hot day on cold water, I felt one more tempering may do the trick. I often have to do this with my bigger Nomad; which takes a good few minutes on the water to fully cool on a hot day. I did my best to check for tell-tale bubbles elsewhere, but anything easily spotted would have seen the boat droop in minutes.

I realised the seemingly redundant hand pump hose was actually ideal for topping up on the water. I reached behind and carefully undid the upper cap of the Boston valve (you don’t want to undo the main valve…), pushed on the pump hose nozzle and gave it another 50 jabs + 10 for luck (about 8-9 litres). With the Nano taught again, I couldn’t resist hopping out and sliding back down the shallow Oak Weir canoe chute which the Nano took in its stride. This boat could easily manage river riffles; the caveat would be too much scraping in the shallows. The exposed fibres can probably take some rubbing but it’s the coating inside that counts. I wonder if spraying a slippery coating (303 Protectorant springs to mind) on the undersides may help reduce possible wear.

I’d asked for the backrest seat option to push my bulk forward off the overloaded stern, but comfort, or a relaxed all-day paddling posture, will take some experimenting. With the unusual raised floor and seat base pumped right up, the now higher backrest had less to lean against so I tipped backwards. I should have tried deflating the seat base a bit.
Even at my height (1.82m) I can still stretch my barefoot legs flat out, when in fact a bent leg is better for paddling. So you might want to fit Antibio’s footrest (as I use on my Nomad), shove a bag or shoes up there, or better still (for trim), put something behind you to act as a thicker backrest and centralise your weight (as we did on the Alpha). However you achieve it, a solid back–to-foot brace improves paddling efficiency which means it takes longer to get tired.

Running back downstream to Sluice Weir felt like it took half the time, and I got there with the boat still firm. I do wonder if wetting the inner film surface provides a better seal, just as licking a suction cup before sticking it to glass. One to try next time.
I also noticed that for a short, wide raft, the Nano barely yaws left to right. Besides my fine technique honed over the years, the profile of the raised floor may help the side tubes ‘bite’, like ice skate blades. Or it may be the subtle protrusions (below) under each end of the boat which my 2.9-m Nomad also has and which are said to have a skeg/keel effect.

Either way, I was confident I’d survive the sporty Sluice Weir chute, catching only a cupful of water as I hit the frothing base. With that ticked off, I paddled over to the portage jetty, crawled out and aired down. Being a black boat on a hot day, the Nano dried itself off in no time.

Packing the boat up, I checked for seepage into the RTC when it had been submerged for a minute or two. As expected, water crept along the textured outer nylon surface but the inner film was dry, though as Gore Tex will tell you, air can pass where water can’t. If that was the issue, not just heat, I’m sure getting a good seal is a knack that can be acquired.

Conclusion
Providing they can handle the added pressure of a hand-pump, I wouldn’t be surprised to see RTC-type closures becoming more common on packrafts. Using zippers for such a critical seal always seemed a bit dodgy to me, though I’ve only read of them playing up.
Besides that novelty, the sturdy 210-D Nano makes a great crossraft at a price that’s competitive with the thinner Supai boats. It’s very light, compact (3 litres rolled up), comes fitted with enough useful tabs and can be paddled RTC-stern to level off the trim, if needed. Seats are quite a lot extra, but you can sit on your gear, and for a tenner, the little handpump is a no-brainer to get the most from your boat. And if the Nano’s RTC arrangement is not for you, choose the conventional Nano SL costing about 15% less. Either could make a great entry-level packraft or an ultra-light crossraft.

Tested: 2020 Kokopelli Moki II inflatable kayak review

See also :
Compare with Hybrid IKs
Moki II preview
Aquaglide Chelan 155
Advanced Elements AirFusion

In a line
Good-looking, roomy and high-pressure package that’s as wide as a packraft but turns like a tanker. Discontinued by 2025.


  • High pressure side tubes
  • Everything in the bag except a cheap paddle
  • Removable floor for easier rinsing and drying
  • Adjustable footrest tubes PLUS paddle holders
  • Massive 12-inch tubes mean payload is probably as big as claimed
  • Good colours and design, as IKs go
  • 3 year warranty
  • Slow to turn and unresponsive to steer
  • Usual shell & bladder drying issues
  • Nearly a metre wide
  • Thin, hard seat bases
  • Too bulky and heavy for easy travelling
  • Massive 12-inch tubes mean not that much room inside at either end
  • Error-laden Kokopelli online specs [at time of review]

What They Say
The innovative [2020] Moki II two-person inflatable kayak offers an option removable spraydeck and sprayskirt. Giving you even more paddling options, seamlessly convert from a one-person to a two-person boat by simply adjusting the seats. Weighing 53lbs, the Moki II features a 2 person spraydeck removable spraydeck and 2 Alpine Lake Sprayskirts, high pressure rigid drop-stitch floor, user friendly push-push valves, 9” removable tracking fin and packs down seamlessly to fit into the included full-size premium carry bag. It’s ideal for flat open waters, touring, and ocean paddling. 

Out of the bag

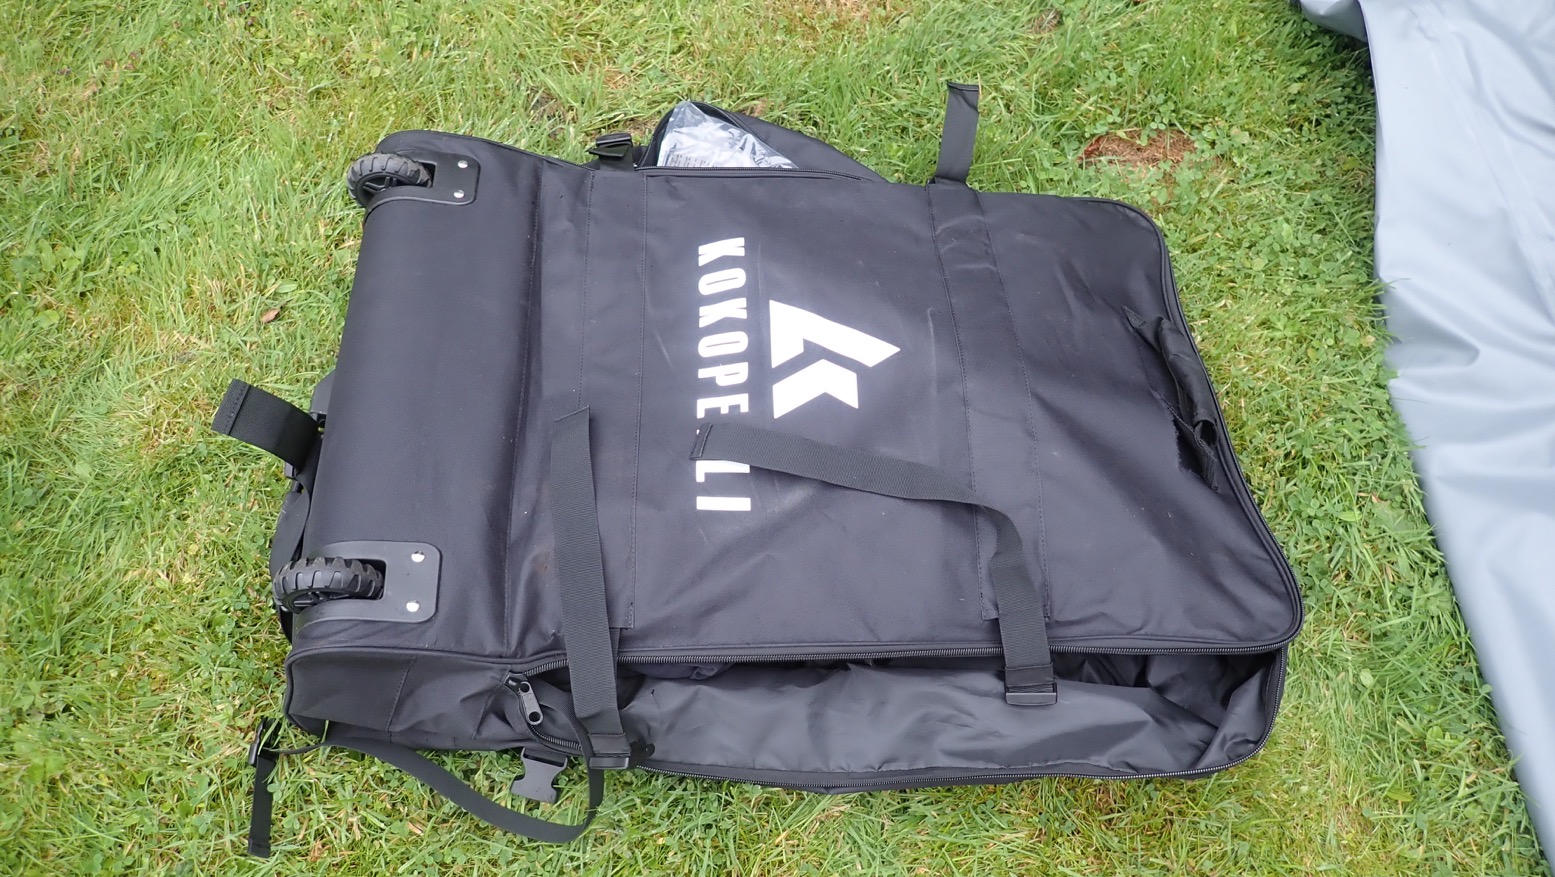
Your ‘premium carry bag’ is a giant roller suitcase with a rather optimistic backpack harness which, on this unused boat, the pulling handle had already ripped away. The bag weighs 27 kilos with everything in it and once you start unpacking, stuff just keeps coming out: hull, floor, pump, footrest, tandem deck, spray skirts and coaming rods, a skeg and a repair kit.

Weight: 24kg (53lbs) • Full kit in bag 27kg (59.5lbs); boat with seats 21.5kg (47.4lbs)
Length: 4.3m (14 feet)
Width: 91cm (36″) • undecked 99cm (39″); with deck 96.5cm (38″)
Sidetube ø: 21.8cm (8.6″) • 30.5cm (12″)
Payload: 272kg (600lbs)
Pressures: Sides 0.17bar (2.5psi); DS floor 0.27bar; (4 psi) • Set-up leaflet says: sides 0.27bar (3-4psi), floor 0.69bar (8-10psi)
Construction: 840D nylon inner/top; PVC tube undersides and floor skin; PVC bladders; 1000D removable PVC DS floor.
Price: U$ 999; UK £950

Based purely on online photos and specs, my Moki II preview a few months ago brought up anomalies with the boat width. Getting an actual boat allowed some of these specs to be verified in red, above. Some are out by 50% and the claimed packed size of 29″ x 14″ x 13″ is more like twice as wide. You can tell from the rambling, repetitive ‘What they Say…’ quoted from the same page above that it was hastily put together. That’s a shame as from first appearances, this cannot be said of the boat itself. And from the exceedingly low psi figures quoted, it’s not like it’s the usual ‘tactical exaggeration’ to make the Moki II look better than it is. You’d hope someone at Kokopelli might find ten minutes to correct the online specs.

Enough moaning: time to man the pump and straight away I really liked the compact black Nano barrel pump. The feet clip down, T-handle extensions screw on, there’s a lever to switch from two-way pumping (up and down) to down-stroke-only (less effort), plus a pressure gauge on top and a suction port for full deflating. It’s one of the best compact IK pumps I’ve seen. Kokopelli don’t list it but if you can find it online (the Aqua Marina looks similar), get one.
I was easily able to inflate the DS floor to 8-10psi on the up-and-down setting but later, topping up on the water with the pump on the boat’s DS floor, found one-way easier to do one-handed. Being a small volume pump of about a litre, the 12-inch side tubes took at least 100 strokes to reach 3-4psi. The inflated boat now looks pretty massive so the 270-kilo payload rating does not look like a mistake or exaggeration.

It was here I realised I should have RTFM, but then again I like to follow my intuition and see if it pans out. I had to deflate the sides to allow the pumped-up floor to centre correctly. Unlike with Full DS IKs, the Moki’s round side tubes hold the floor firmly in place without the need for any clamps or tabs.

The top/inner parts of the hull (mostly yellow, grey at the back) are woven 840-D nylon, possibly backed with a PU coating for waterproofness, and certainly with a water repelling DWR coating on the outside. This stops the fabric ‘wetting-out’, although from jackets and tents I know DWR needs reproofing and curing with an iron once in a while. Without it, the nylon will soak up water and take forever to dry. Full PVC (or rubber) tubes are better in this respect, but nylon makes it easy/cheap to sew on fittings like the velcro paddle-holders, footrest daisy chains, carry handles and D-rings for the seat backs, plus short access zips at each end to get to the PVC bladders, if needed.

The yellow sides are stitched to the grey PVC underside of the tubes and the PVC floor sheet is heat welded to the tubes: all very neatly done. This is the nifty thing with PVC: surgically clean heat welds rather than the laborious, messy and vapourous glue needed by rubber-based IKs.

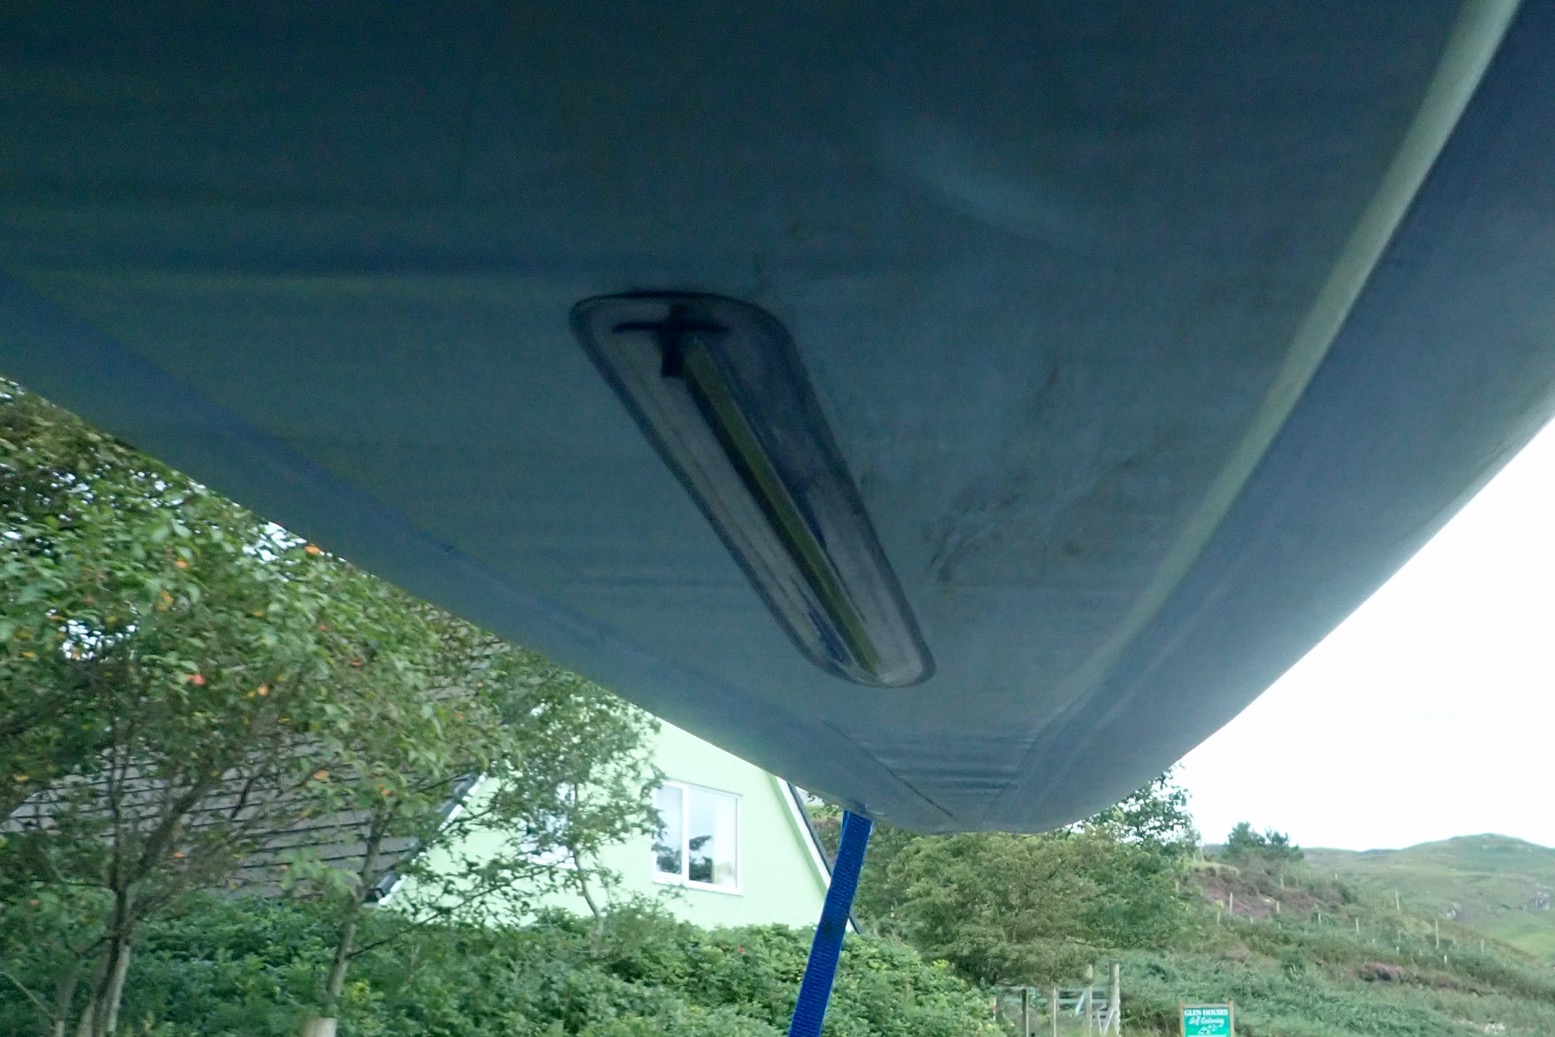
Apart from the crinkles at the bow and stern (which have thin plastic shells inside to help tidy the form), it’s all a very neat job. On the underside is the slot-in mount for the tracking fin (skeg), a stern drain plug accessible via a zip from the inside, and up front a shallow keel strip: more about that later.

Next are seats and footrests – no loose item escapes ‘Kokopelli’ branding. The firm EVA foam seats are common on many IKs these days, but stiffness is best suited to a backrest, not a 4cm-thick seat base which, sat on a firm DS floor may be too low for a an efficient paddling stance and too thin for all-day comfort. It’s something easily fixed with an inflatable cushion like a packraft seat base. More seat ideas here. The generous width of the Moki II means raising the seat is unlikely to affect stability.
The seat bases adhere to velcro strips sewn then welded to the DS floor. It’s an easy way of doing it while the velcro lasts. I found when sat in the front I was right at the end of the velcro; another foot would be handy, then you could fit a third kiddy seat in there.
A non weight-bearing backrest is a better use of stiff foam. They’re tensioned from the front and rear to stay upright; a floppy seat base is very annoying when getting in is awkward. Wide adjustment helps you fine tune them and on the back you get a handy zipped pocket and bottle holder.

The footrests are thick foam tubes commonly found on cheaper Sevys the like, and are threaded with a strap which clips to daisy chain loops stitched to the hull sides. Unused loops could also be used for securing gear because mounting anything under the bungie laces at either end of the boat is not such a good idea for forward visibility, accessibility, security, dryness and windage. These bungies are more useful as a quick way to stash a paddle.

Set up like this, the boat is a brawny 39 inches wide (99cm) but adding the zip-on deck and coaming rods pulls the boat in to 38 inches. Including a deck is a nice touch, so is the option to use it. On IKs I find them rather less useful than they seem: they make access, loading and getting in and out more awkward and if you’re worried about getting wet, paddling may not be for you. Once you pull on the also-included spray skirts you will be snugly encased in your Moki and ready to hit the rapids or surf. I’d have sooner had these items offered as optional extras, as most others do, and seen a cheaper boat.

On the Water

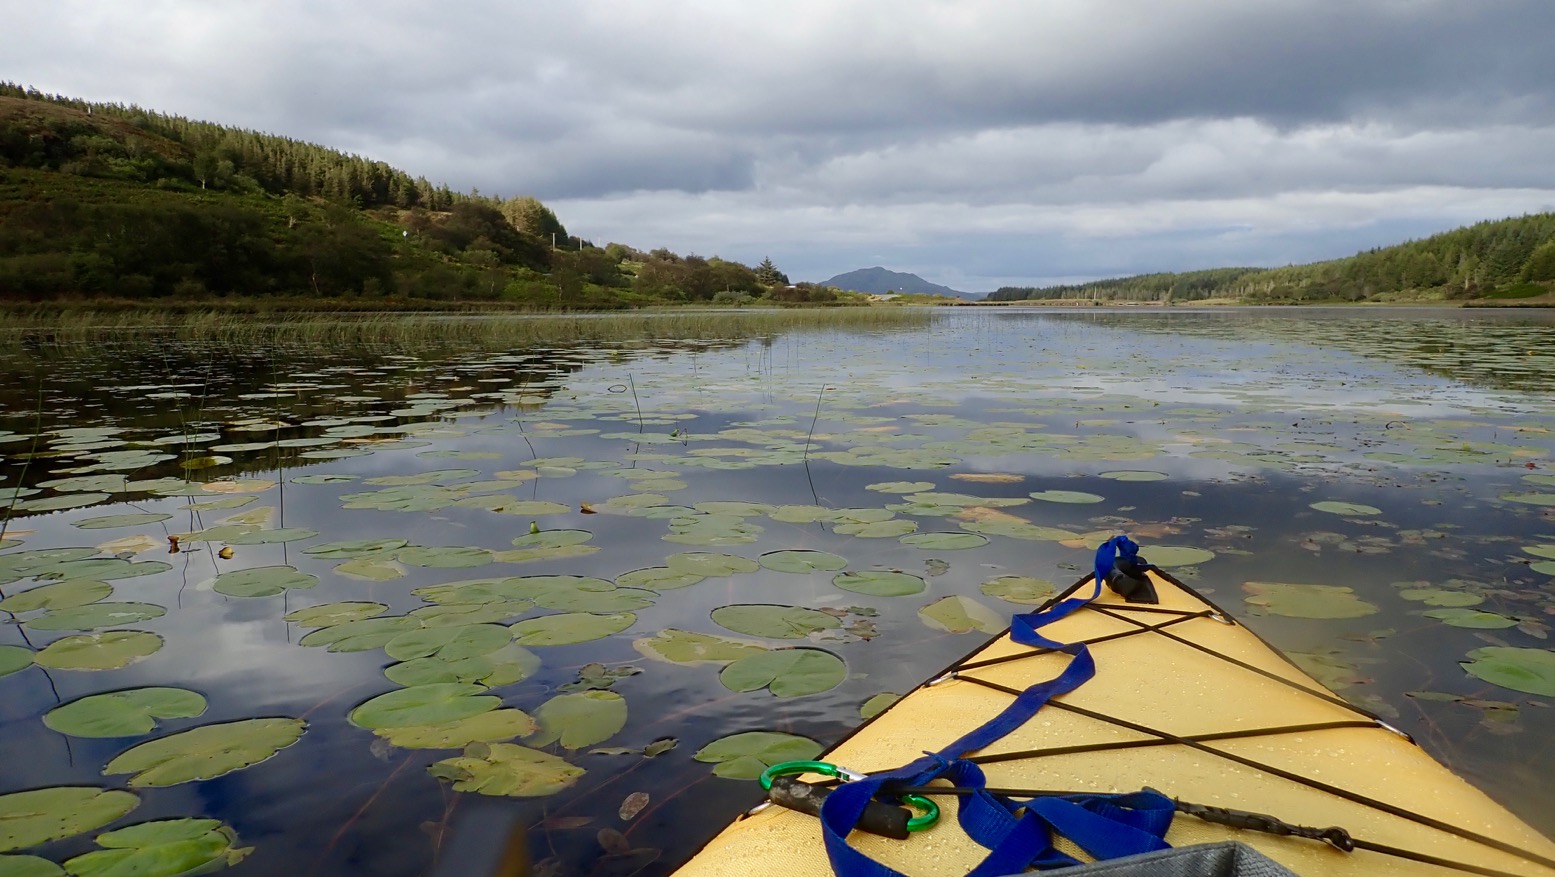
Initially the Moki 2 looked huge, but it’s actually a foot shorter than my Seawave and so didn’t look too out of place on the car roof. We set off in search of a accessible fresh water and after a while found a trio of co-joined lochs off the B8073 feeding the steam which soon drops into Tobermory.

Topping up the Moki II on the water (all inflatables benefit from a top-up once put into cold water), the barrel pump stood on the firm floor and with one handed, one-way down-pumping, it was easy to attain the 4/10psi (0.27/0.69 bar) maximum pressures. This is Scotland in late August so there was no risk of the blazing sun bursting out and ripping the boat asunder.

I set off without the tracking in and, as expected, found my front load on the keel strip make for tricky tracking. The deck was easy to manage but to me is a nuisance. It zipped off in seconds and got left on the bank.

It may be a metre-wide bladder boat but it’s still a kayak and so feels great once gliding out over the water. The Moki II needs a bit more propulsion to what I’m used to, but the mattress-like stability will be reassuring to beginners.

It was only flat water so the apparent stiffness from the DS floor and high-psi side tubes didn’t feel any greater than my 2.5/4psi Seawave. Unless you’re braced properly to the boat (the problem with just about all IKs) there is little actual benefit to be had in paddling efficiency, just the longer glide. In rougher water you imagine it might come down with a slap as it drops into wave troughs. According to the GPS the two of us could sustain about 5-6kph which is pretty good, but an all-out burst only recorded 8.4kph (5.2mph) when I’ve got 10kph alone in similarly long but less-wide IKs.

It soon became apparent that the Moki II tracks rather too well; something I’ve heard of other DS IKs with frontal keels or fins. Turning it even a few degrees was a huge effort. In the end we had to resort to digging the paddles in and drawing them forward to force the boat round. The problem with this technique is it kills momentum, though it’s possible you’d get used to working the boat in a less drastic manner.

You also notice that two-up there’s not much room for gear because the side tubes are so fat. The last foot or two at each end can’t be used much – again a common story with big-tubed IKs, if not any pointy ended kayak.

We scooted through the reeds which whined like sirens against the PVC hull, then passed under a rickety wooden bridge to the middle loch. This led to another reedy strait into the last loch above Tobermory and a view towards what was probably the 528-m flat cone of Ben Hiant over on Ardnamurchan. The sun came out, the sun went in and eventually the little camera’s batteries died after too much videoing.

Next evening promised to be sunny too, but it wasn’t. I wanted to explore the slim sea loch at Dervaig and had timed our put-in at least an hour after low tide so if the narrows leading out to sea turned into the Falls of Lora we’d get swept back in, not out into the Minch. The 10-minute portage over the tidal slime raised some grumbles from the crew not used to lugging 25-odd kilos of packboat across the mire.

I managed to wade through some shoe-sucking, shin-deep sludge to reach enough water to float on without the 9-inch fin, then paddled over to somewhere deeper where the crew could hop in and the fin get fitted. First thing I’d do with this boat is cut that fin down. Another issue I noted is that the woven yellow hull fabric may shed water readily, but picks up any smeared muck rather well. More cleaning before returning to the rental place tomorrow.
We headed out towards the narrows in the grim, grey light, feeling altogether uninspired.

‘The tide is going out, we’re all going to drown!’

‘It’s just the breeze over the surface. There are no times for Dervaig but Calgary to the south and Tobermory to the north were at low water nearly 2 hours ago.’


‘I’m telling you, the tide is going out!’

As we neared the malignant, 80-metre wide cleft on Loch An Chumhainn, ominous whorls bubbled up from the silty abyss and on entering the chasm the flow was clearly on the ebb.

‘I told you it was going out. Idiot!’

‘You watch, any minute now it’ll miraculously reverse, like it did on the Adur last week.’

I know tide times are only predictions but this was indeed odd and yes, I checked against BST/GMT and checked again I’d not misread 16.46 as 6.46pm. The tide should have been coming in for 90 minutes. I’d expect a constricted sea loch like this one to be a slow to fill and fast to drain, like Chichester Harbour in Hampshire. But that is a massive pool; Loch Chum is tiny.

We were now being swept down the Narrows of Chum at a slow walking pace and it was time to make a decision. Carrying on would take us two clicks to a jetty at Criog which we’d recce’d that morning on the bikes. That would be a long walk back to the car, so we dug in for a handbrake turn and escaped from the imminent maelstrom at a reassuring clip.
I recently read a review of a Sea Eagle with a frontal keel lobe which the owner said made the boat very hard to control against a current (as you’d expect). With the Moki II we had no such issues. There is not so much to explore in the inner bay but the tide would now be even lower with even more seaweed-draped, ankle-twisting shite to traipse over before getting onto to the ankle-twisting, midge-infested peat bogs above.
Wading in after the fin started grounding, in the end we found an easier take-out, followed by a 10-minute portage back to the car. I need to ask a Dervagian about these tides.

That evening I rinsed and washed the boat, but with little chance of it drying off any day soon. The removable floor made the task easier and the muddy smudges on the yellow fabric lightened up with a bit of brushing. I couldn’t be bothered to check if the inner bladders were dry as there was little I could so about it.

Summary
The Moki II isn’t an IK I’d choose to own: too wide, too bulky and heavy, probably too slow solo, too bladdered and too pricey with the unneeded accessories. But it’s roomy, stiff, yellow and like any IK, is fun to paddle.

Paddling with a Yakkair Full HP2 dropstitch IK

See also:
Full drop-stitch inflatable kayaks main page

Late 2021: Bic Sport rebranded Tahe and this boat is a Breeze HP2. Price unchanged

Tahe Breeze HP2
image.png

French paddleboat, board and ball-point dinghy manufacturer BIC Sport joined the full dropstitch (FDS) market a few of years back with three models of Yakkair Full HP: the 1, 2 and le trois. Made in Vietnam, the HP2 goes for around £1200 in the UK under the new for 2021 Tahe brand.

Yak owner Robbo uses an ultralight ripstop, rip-cord
paragliding backpack-bag for his Bic.

The ‘Full’ is an important addition to the name which gets emblazoned on the hull, because the previous Yakkair models (above right) were just called HP 1, 2 and maybe 3. They had a DS floor between regular round side tubes.
The old models didn’t really jump out off my IK radar; they looked too much like some Advanced Elements IKs. But looking at the inset diagram above, it looks like they tried to address the flat-floor with a keel tube tucked underneath the outer shell.

On the water under the weight of a paddler it supposedly deformed to produce a double concave profile – a bit like the Kxone/DS Kajak AirTrek floors – and which looks like it will work better than a totally flat floor. Even with a skeg at the back, this barge-like flat floor common to DS IKs does make me wonder how they’d handle or track.
Bic owner Robbo has a variety of slip-on skegs and for this run he selected a medium in orange.

You get two clip-in SoT contoured-foam seats which have a well-braced backrest but, with bases an inch or two thick, won’t raise the butt above the ankles to give an efficient paddling posture, IMHO. Many IKs are like this out of the box, but raising or replacing the seat base is dead easy. I put my shoes under my Sunny seat: much better, but really you can’t beat an inflatable seat base like a packraft seat.

For solo use it looks possible to position the front seat back to the next D-rings, except there’s nowhere to clip the foot brace, which on the Yakkair are just a couple of padded straps. You could maybe use the front seat mounts. A good way to make a firmer and more effective foot brace is to slip a bit of 4-inch ø plastic drainpipe over the strap (right).

At each end you have two chunky carry handles as well as those fairly useless elasto-nets so common to many IKs. What would you put there that wouldn’t be more secure and more accessible lashed down by your feet or behind you? Not needed today, but the Yakkety Yak has a dinky slip-in spray visor up front to keep the splash out.

Talking of splash, I was keen to see the notorious side-floor join I wrote about. Sure enough, the Yakk’s floor is glued to the hull casing floor beneath and taped the side panels. But not all the way and so water and crud will run into the cavities at each end (below left) and then run down behind the tape along the sides. You could get rid of most of it by standing the boat on its end and opening the drain at the stern. And if you think there’s a lot of grit and other debris in there, hose from the top and let it run down the inside edges and out the drain. As for drying: that will take as long as it takes.

Sat inside, the boat is over half a metre wide because so much space is saved by the flat DS panels. But measured at 87cm wide (33.5″), the FHP 2 looks a bit on the wide side. Many FDS IKs look the same but have various widths: the HP2 seems about average. The much cheaper Decathlon Itiwit X500 is an unnerving 64cm, but even it seemed pretty wide when I looked at one in the shop. My Sunny was some 20cm less wide – and that’s with round tubes!

yakfhp2-4way

Flipped over, the bow looks a lot better formed than a typical full-tube IK, perhaps to compensate for the flatter floor. It’s actually a solid plastic moulding so should be immune to wear as the boat comes in to shore. But coming back down the Adur into the wind and against the flow, E & L had some trouble tracking straight. The two of them combined probably weighed less than me and with the featherlight L in front, the lifted bow was not cutting down through the water – the trim was out. Swapping seats with the heavier E up front would have fixed that, but it was thought the more powerful paddler should be at the back. Kayaking lore seems to agree, though two-up in my IKs (same-ish length) my generous mass is better distributed up front. To me it’s obvious: better to have the larger mass (my torso) towards the centre of the boat, not the stern.

Watching the Yakk navigate 20-km of flatwater for a few hours didn’t me inspire to even ask for a go, far less to own one. Used to being snuggly jammed into IKs & Ps, the canoe-like width and low seats put me off and set-up was without footrests would have made it too much like sitting on a log. L & E were first-timers in this boat afaik and initially found it tippy though soon got accustomed (they looked pretty relaxed).

The quality of assembly certainly corresponded with a four-figure IK and it sure looks less bloaty than a Decathlon Itiwit we met – the IK sales hit of 2020. I suspect this image is the attraction to many FDS buyers, but for me the water and grit-trapping cavities would add extra maintenance, even if it wouldn’t be that hard to fabricate and glue in a PVC cone to seal them off for good. Then you could simply rinse, drain, deflate, wipe off and dry the Yakkair like a regular tubeless IK. And the other drawbacks: seats; footrests; thigh straps are easily added. The you’d have a stiff and spacious tourer with great paddler ergos.

New Yakkair HP1 owner, Kevin A, adds:
Having just bought a Bic Yakkair Full HP1 to replace an ageing Walker Bay Airis which has become porous after about ten years of excellent service, I was very interested to read this review and I thought I would add some early impressions of my own boat.  So far, I have only had it on the water once because I have ordered a new combo paddle which can be a kayak paddle, a canoe paddle or a SUP paddle – I generally prefer using a single canoe paddle but the one which I have been using for years is a bit too short for the wider new boat.  You mention the width of the HP1 in your review and you say that you prefer a narrower boat but, for me, the extra width was part of the attraction.  I’m not sure yet about how it affects the stability and handling but, tbh, I just prefer the appearance of the wider boat even though, as you suggest, it does make a footrest essential so that you can brace yourself better – in my other boat, I was held fairly firmly at the thighs by the narrow interior.  The footrest which came with my boat seems to be a bit more substantial than the one you describe in your review.
Looking around at the various marketing pictures, I think some of the details of the package are a bit variable and maybe the footrest falls into that category.  But the biggest difference I have spotted is the style of the carry bag for the boat and I have to say that the carry bag which I have been supplied with is fantastic.  It is superbly well made and looks like a fairly upmarket piece of luggage – on the occasions when I take the boat on public transport I will no longer feel quite so conspicuous (the downside – there’s always a downside! – is that the bag itself adds weight to the whole package).  The real surprise about the carry bag is that it swallows up the entire rig – hull, paddle, pump and seat and there is still room for all the normal bits and pieces of personal kit.  The downside of that, of course, is that it is very big and only just about manageable by a single person – there is definitely no chance that it will ever be carried on my back using the excellent quality backpack straps which are part of the bag’s construction (I’m seriously tempted to cut the straps off).
The only area which I still have to work out is, as you say, how to deal with getting the water out of the joints between the three panels.  I’m not sure that the material itself will absorb much moisture and I’m hoping that removing the end plug and propping the boat up on end for a decent length of time (half an hour?) will allow the joints to drain pretty thoroughly – if necessary, I will have to re-inflate the boat at some point in order to ensure that it is completely dry.  By the way, I think that the so-called self-bailing drains are only really intended for use in seriously white water when the boat is in danger of filling up completely – in those conditions, it would be quite normal for the boat to have quite a lot of water sloshing around but the self-bailers would help to keep the level down (I only ever paddle on flat water so I have no idea how effective the self-bailers are in practice).
Happy paddling!

Sunny 2020 on the Medway Canoe Trail

Sunny main page

A quick check over my old Gumotex Sunny proved it looked as good as when I gave it away nine years ago. So I bunged it in the car and drove to Tonbridge for the ever-reliable Medway Canoe Trail.
With half a dozen fun chutes to dodge lock portages, it’s about as exciting as a river gets in Southeast England. As the lush summer verdure passes its peak, in places you feel you could be somewhere exotic. It was to be a cooler day promising thunderstorms and violent downpours – a relief and an added thrill after a week of 30°C+ temperatures.

I was going to run at the official 0.2 bar (3psi), paddle for a bit then put some more in the sides to see if I noticed a dramatic difference. But when the floor PRV hissed at presumably 0.2, it felt so mushy I went right ahead and cranked the sides up to around 0.3bar (4.3psi). There was no blazing sun today so it shouldn’t be too risky, and they’ve felt that tight before.

Using my big-bladed ‘whitewater’ Corry paddle, initially it was all a bit of an effort, but that was just me adjusting to the task, not the boat. Soon I found my rhythm and by the way the lush, berry-laden river banks skimmed by, I’d guess I was cruising at 3.5mph. Not bad, but this was flatwater.

The first canoe chute came up, then the steeper East Lock and Oak Weir Lock chutes where local boys were sliding down on their backsides. I often worry that these unsedated teenagers may do something stupid to show off to their mates, like try and jump on my boat from a bridge. But the worst I got coming off a chute was a cooling facefull of splash and a cheeky “Oh, sorry mate!”.

A couple of other IKs were out, including a well-used and now ubiquitous lime green Itiwit which must be the hit of the summer for Decathlon who seem to have anticipated the demand. Passing a camping field, I also observed a new-to-me spin on the novelty inflatable toy theme: a pizza slice. It was inappropriate to sneak a photo, but it nevertheless makes me marvel anew at the sheer joyous breadth of human creativity.

In about 2 hours I reached the daunting sounding Grade 3 Sluice Lock chute which the Sunny swept down in its stride. By now I was feeling a bit saddle sore.
Since I originally owned the Sunny I’ve leaned a whole lot, including the value of solid footrests and a slightly raised seat for an efficient paddling stance and comfort. What came first: civilisation or chairs? When I see pictures of me paddling Shark Bay all those years ago it’s clear I’m sitting too low with feet at butt level, if not even higher due to the sag.
The Aire Cheetah seat which I thought was so hot in 2006 may have been better than the stock seats but is nothing special and doesn’t spread the side tubes out. This helps make the Sunny a slender 30″ wide, but adds to discomfort on the jammed in hips. A pad (or my shoes) underneath the seat would raise me above the sidetubes and greatly improve the paddling position to something more akin to driving a go-kart.

A footrest I’ve yet to reimagine, and may not bother before selling the Sunny. I like the look of the Grabner alloy footbars which are width adjustable and cleverly jam down between the inflated floor and sides. They cost a reasonable (for Grabner…) €80 and come in various sizes for all sorts of Grabner IKs. It might be possible to easily MYO from 1-inch copper tube or something, but welded alloy would be best at the T-join where the stress is.

With leaden skies and near constant rumbling thunder to the north, I was disappointed to dodge a good summer downpour and arrived at Hampton Lock in 2.5 hours, 8 miles and surprisingly not knackered. I splayed out the Sunny like a dissection experiment; it was clean and dry in minutes.

Someone on YouTube made a good point about drying which otherwise seems so inconsequential. When you arrive back from a tiring paddle the last thing you want to do is spend ages carefully dismantling and drying your boat. And drying it back home may not be an option because lack of space was why you bought an IK in the first place! That’s why we appreciate ‘wipe-down’ bladder-free ‘tubeless’, IKs like the Sunny.

Advanced Elements AirVolution Dropstitch Kayak

See also:
Sandbanks Style Optimal (similar to AirVolution)
Full drop-stitch inflatable kayaks main page
Advanced Elements AirFusion

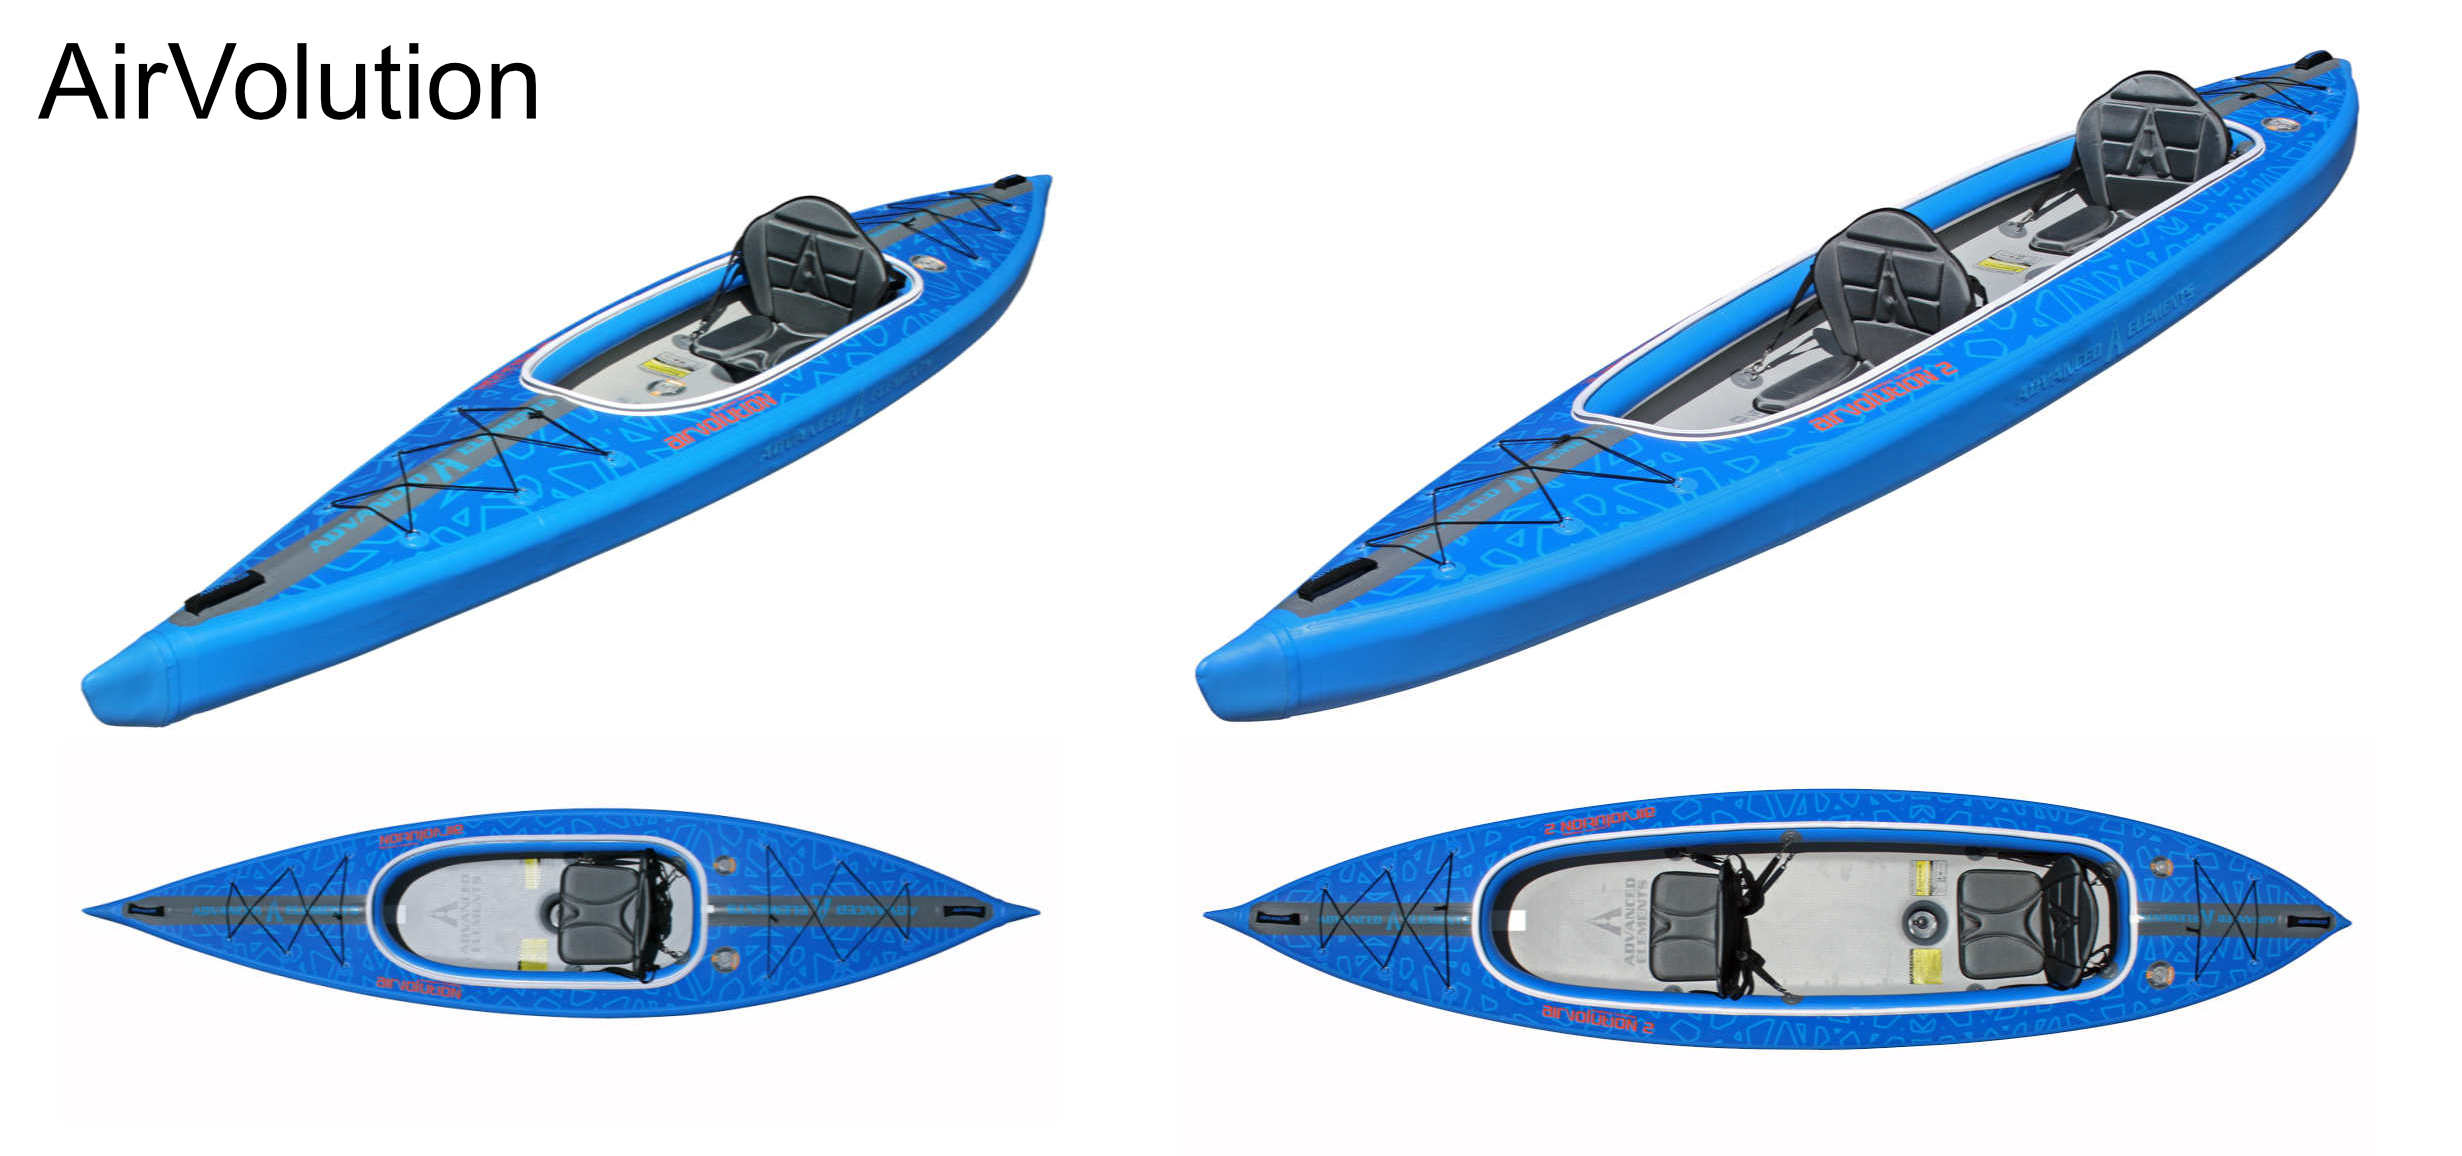
US IK and iSUp brand Advance Elements have come up with a sleek and innovative new angle on full dropstitch kayaks (FDS IK): The AirVolutions feature a high-pressure two chamber ‘clamshell’ design where the upper DS panel is a demi-deck. With minimal stowage below the decks at each end, it resembles a Sit-On-Top, except (though not currently offered) you could fit a spray skirt round that coaming (cockpit rim) to be sealed right off.

‘Airvolutions do not have a ton of storage space below deck [and] are designed to be Recreational/Day Touring kayaks‘

There are Solo and Double/Solo models with dimensions below. The more I study these Full DS IKs, the more I think what you gain in rigidity you pay for in weight and especially bulk over similar non-FDS IKs, some with just a DS floor. Maybe PVC tough enough to handle the intended use and pressures is simply a bulky fabric. In its wheeled duffle the folded up AirVolution2 is a massive 4 feet high and 18″ wide. As with many US-branded IKs, the Airvolutions are on the wide side, but it’s claimed they can be stand-up paddled if you have good balance. That’s me out, then!
LengthWidthWeightPayload
Solo13′ / 3.9m33″ / 84cm39lbs / 17.7kg300lbs / 136kg
Double14.5′ / 4.5m37″ / 94cm52lbs / 23.5kg550lbs / 249kg

Both models are rated at 10 psi / 0.7 bar (though they will work with less) and have another DS IK innovation: Pressure Relief Valves (PRVs) on both panels set to now purge at 14psi (2021 onwards). Why not 10psi so you can blithely inflate away till the PRVs hiss? Some pressure might be purged over a hot day from the top deck but not enough to matter.

A few iSUps have PRVS, but I’ve not seen them on FDS IKs before and many potential owners will be reassured, as it should aid the as-yet untested longevity of DS panels. PRVs limit potentially destructive over-pressurisation when inflatable boats are left in the sun.

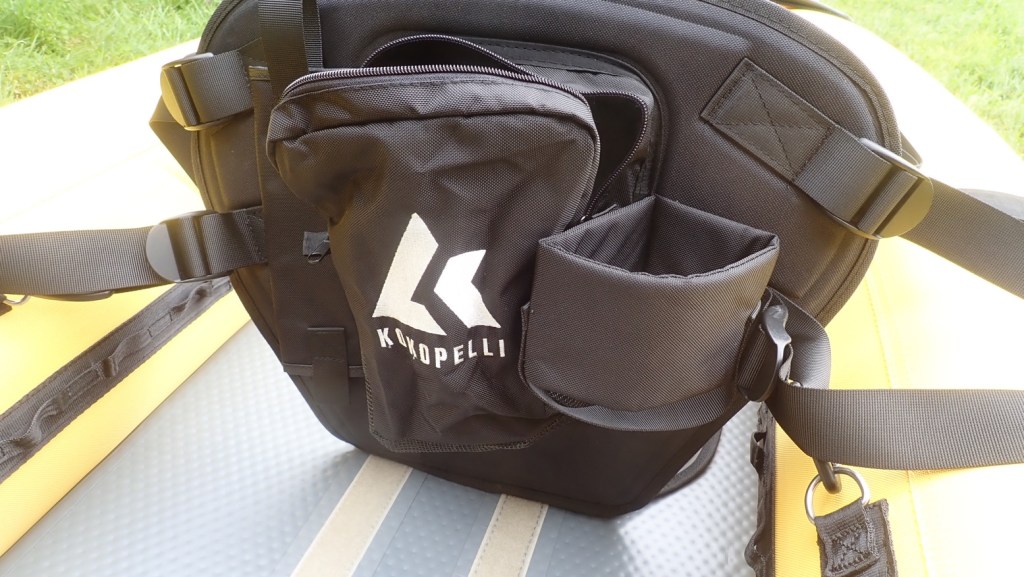
Looks like AE listened: the 2021 models got 14psi PRVs, as well as an inflatable footrest (mentioned below), a better backrest, and other detailed tidying. And they chuck in a low pressure battery pump to get the bulk of the air in. You’ll still need a 2-stage barrel pump to get it up to 10-12psi.

AirKayaks™ IK in the US seem to be a favoured AE outlet right now and have detailed reviews of both boats with loads of photos and measurements, followed by a quick flatwater spin.
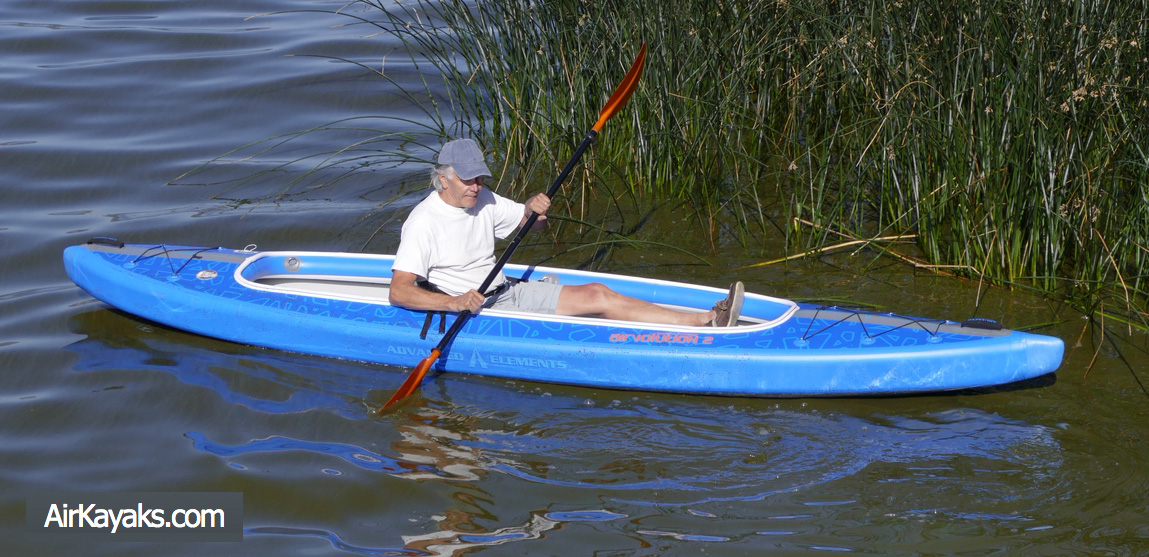
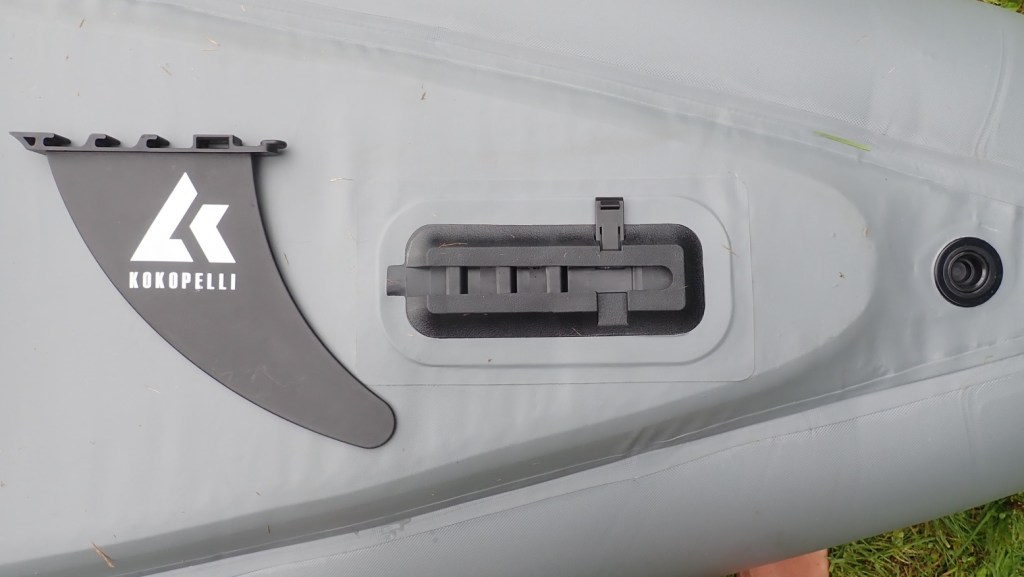
There you can read the double’s open hatch is over 7.5 feet (231cm) long) and, oddly, there are no footrests (until 2021 models). A stuffed bag would work, or it would be easy to glue on some D-rings to run a footrest strap and hard tube. On a raft-wide IK like the AirVo2, it may not be worth bothering with thigh straps. Both models run a huge 9-inch skeg which will ground easily in shallows and suggests tracking with the flat floor may need help. It’s easily be replaced with a cut-down spare.

The AirVolution2 looks like a great day kayak for two, but from the photo above, even tall solo users may be better off with the less huge AirVolution, unless you add a foot brace tube. With this design, either boat has less low-down storage space than a conventional fat sidetube IK like a Seawave. Storing gear under the deck bungies just adds windage and hampers steering and stability. For touring, what gear is less than 4-5 inches high could squeeze under the covered ends, and when used solo the double has about half a metre of room behind the seat and some in front.

It’s hard to be sure, but inside it does look like the two panels have been ‘wallpapered over’ leaving no crevices to trap water and much more potentially damaging grit. This is a big improvement over hitherto conventional boxy three-panelFull DS IKs where water and crud gets in all sorts of hard-to-clean places. Being smooth inside, you’d think the AirVolutions could easily be drained by tipping upside down, then wiped down to dry. Maybe, but they’ve added a big plugged drain in the middle of the floor (left) to make that easier (it won’t work for self-bailing unless you’re very light). Judged against some of AE’s other ‘busy’ graphics, the blue boats don’t look too bad.

Up to now AE used far less elegant solutions to the problem of rigidity in long IKs. The AirVolutions: a pair of iSUp boards wrapped up and glued in the blue skin, are an interesting idea with some compromises, mostly in storage. These are day boats, not tourers, but there are many, many more day-paddlers out there.

It would be a struggle carrying a 23-kilo boat too far so for your money you get a wheelie duffle but with tiny, pavement-only wheels and clearance. There’s also a repair kit and a high-pressure, two-way switchable barrel pump which may need some brawn to reach the full 10+psi. Because high-pressure IK pumps need to be tall and slim, they’re low volume so take a while. AirKayaks reported it needed 100-150 strokes to inflate each chamber. That is a whole lot of pumping for a DS boat, but a battery pump now comes with the 2021s.
Prices in the US for 2021 are now $1200/$1500; in the UK the boat works out a bit more in £s; not such a good deal with obscure-branded 3-panel FDS IKs going for half that price. Or indeed a similar Sandbanks Optimal.