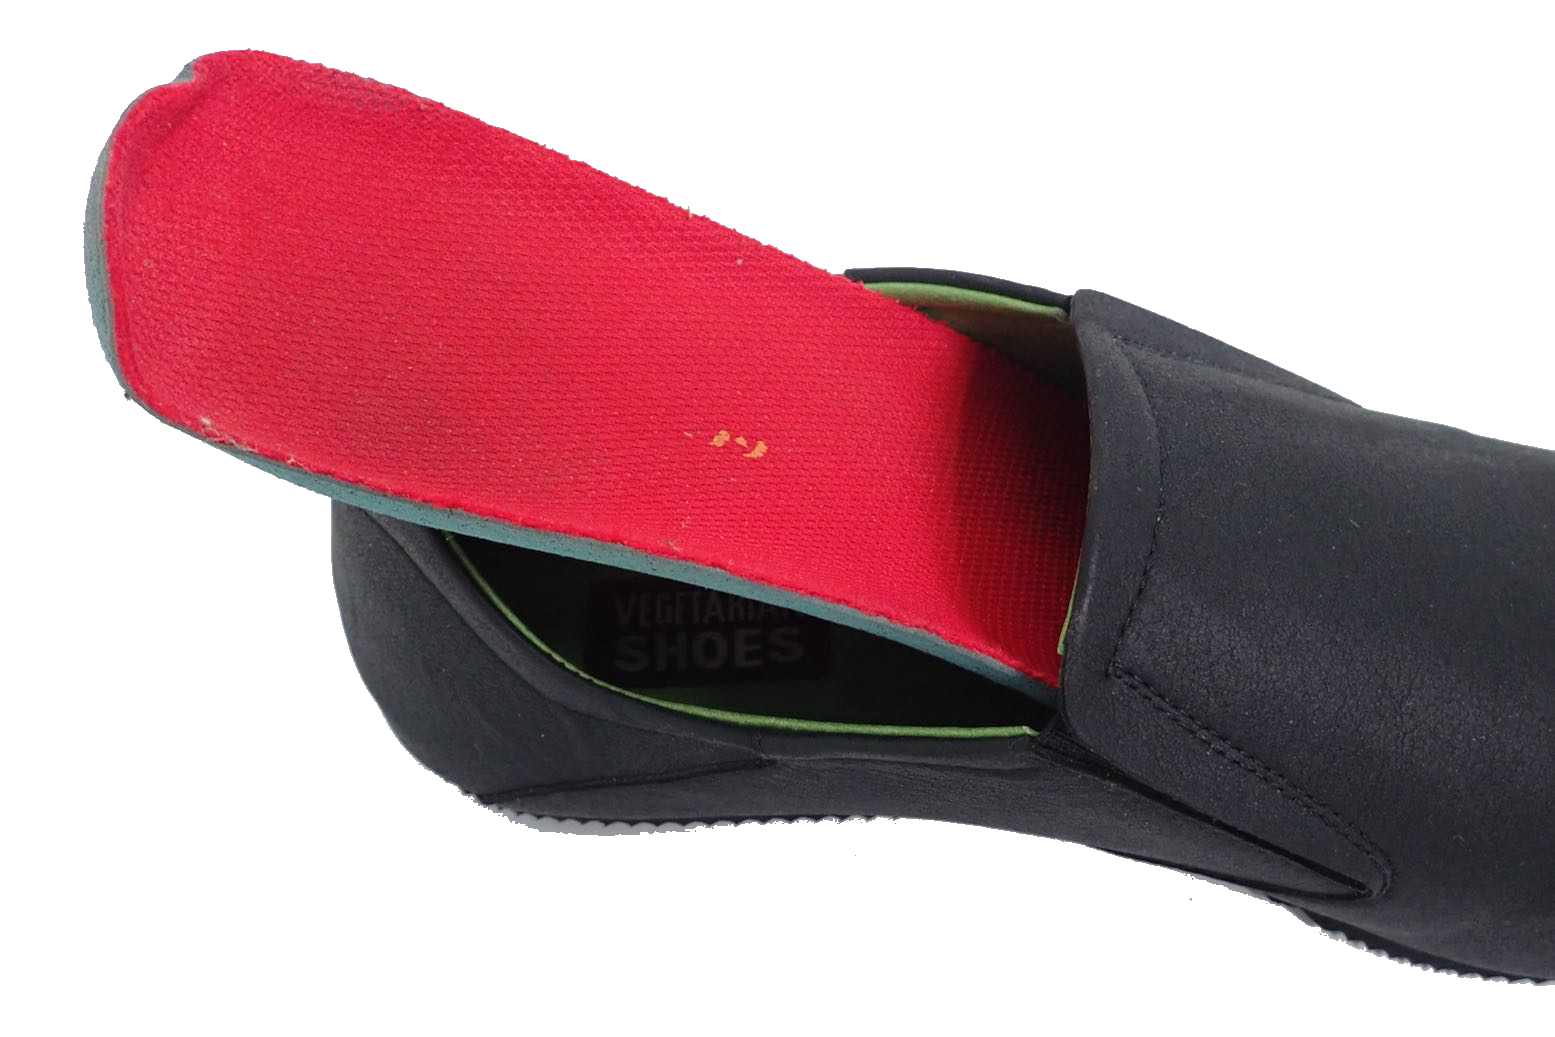
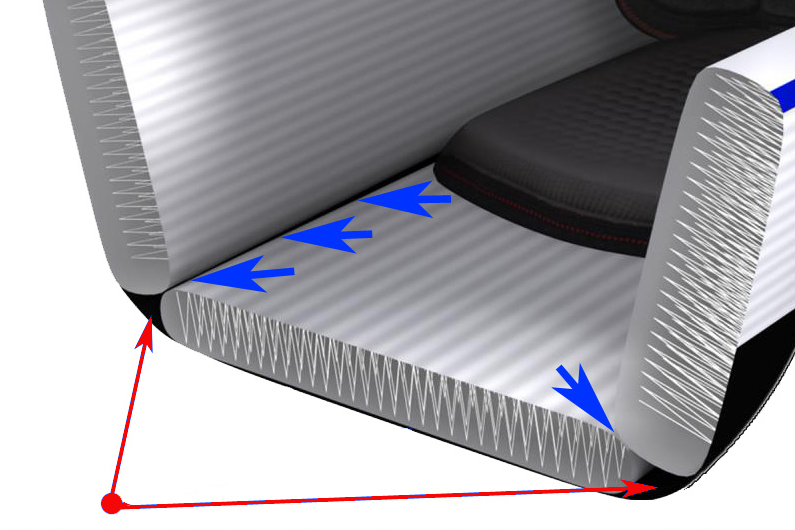
Broadly speaking, 3-panel FDS IKs are assembled by gluing the three DS planks into a wrap-around envelope of more PVC which holds the panels in a boat-like shape. Some floors areremovable, a bit like a footbed slips into a shoe. This makes the hull skin’s inner floor accessible for easy cleaning, rinsing and drying before storage: an important part of IK care. Not everyone may see drying as the deal breaker I make it out to be. Much depends on where you live in terms of climate and storage space.
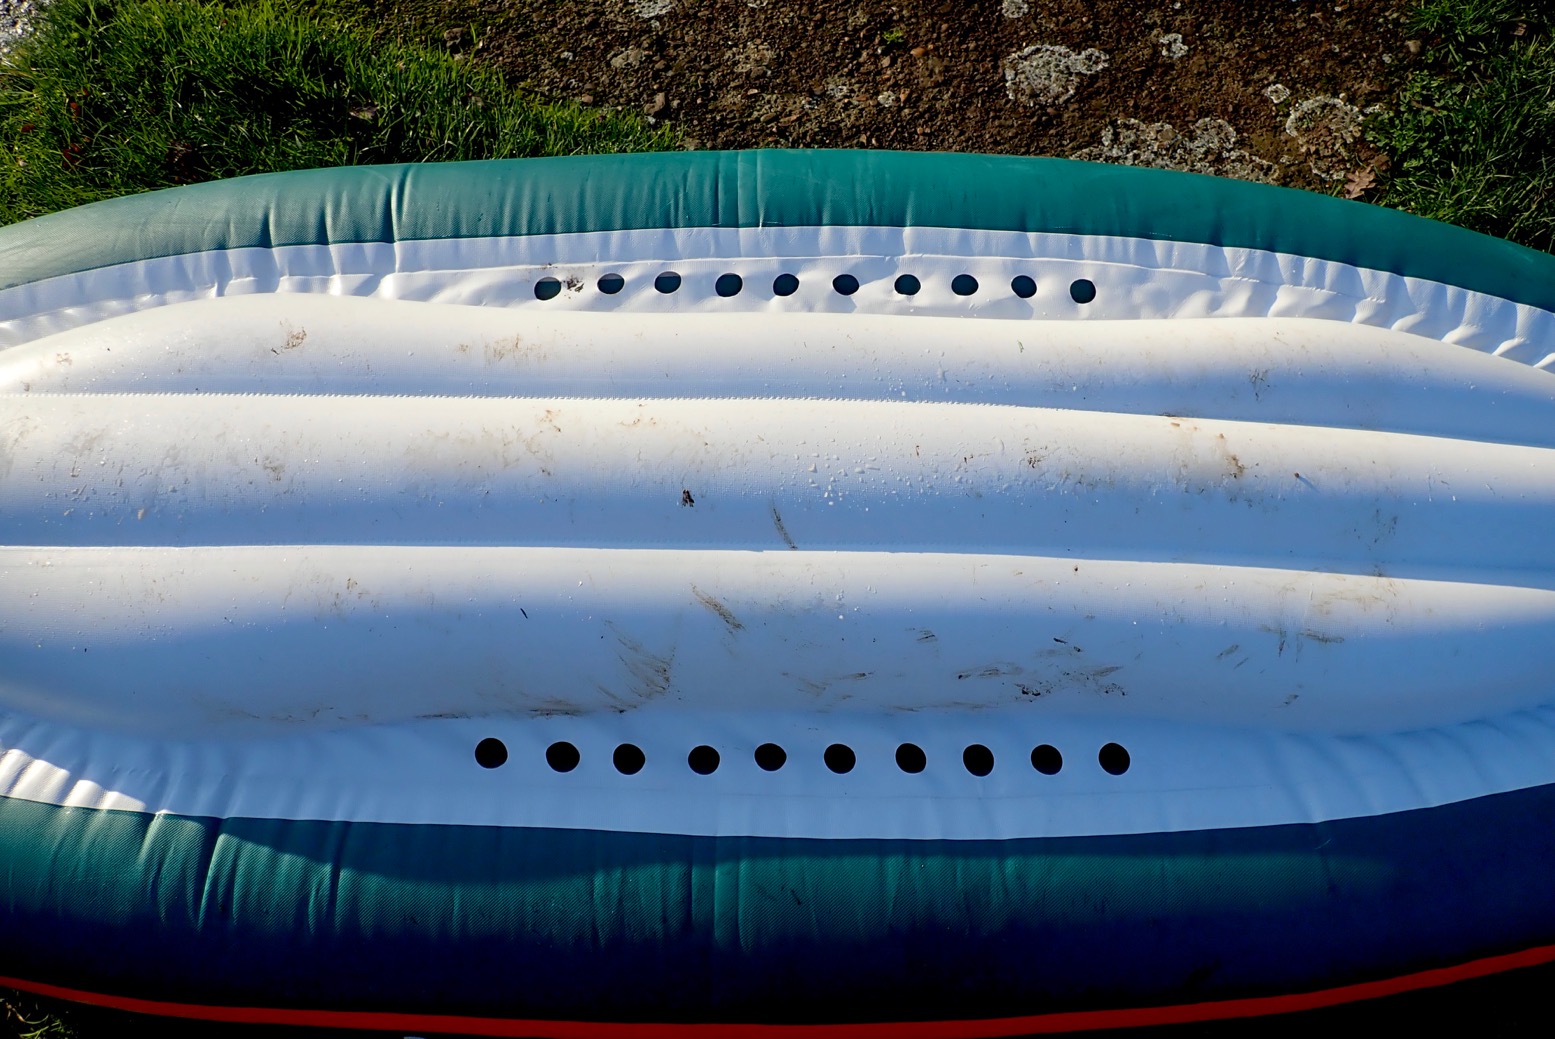
Fixed DS floor sealed to the side with tapeBut not all the way, so water and debris get channelled down in the cavities either side
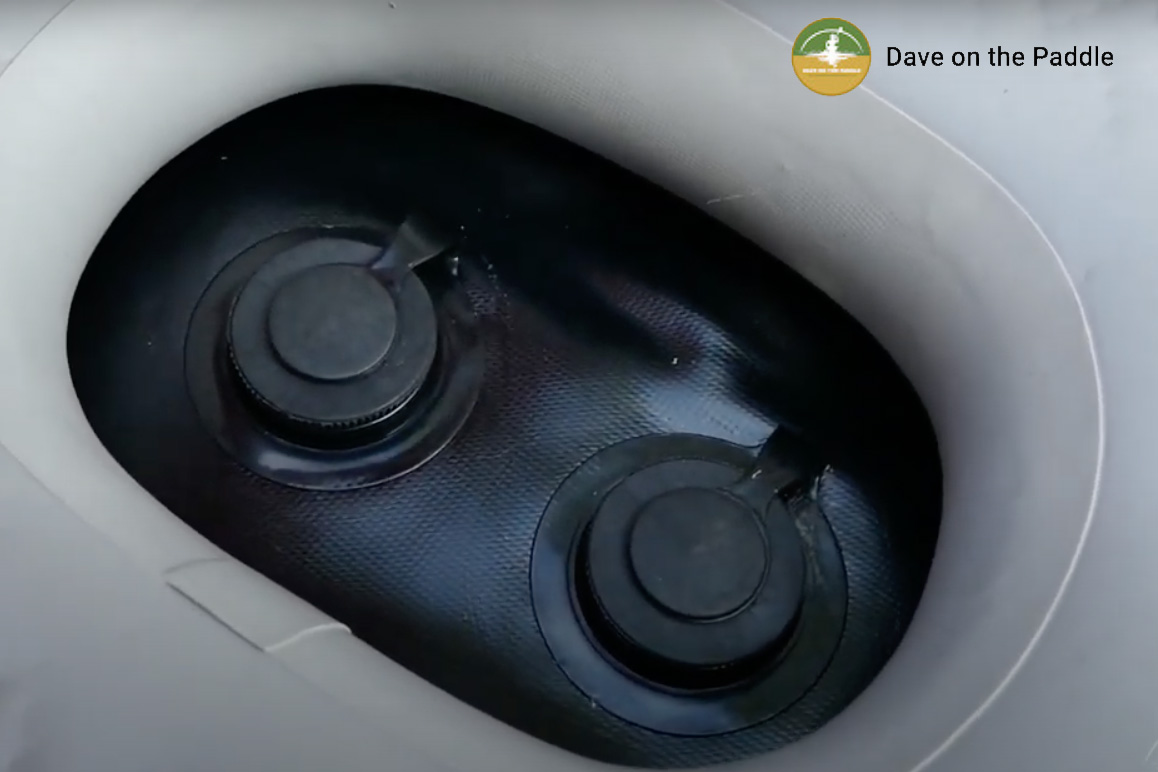
Unless a glued-in floor is fully sealed along the sides, water and grit will collect in the side cavities. But for deflation reasons, this cavity cannot be sealed off.
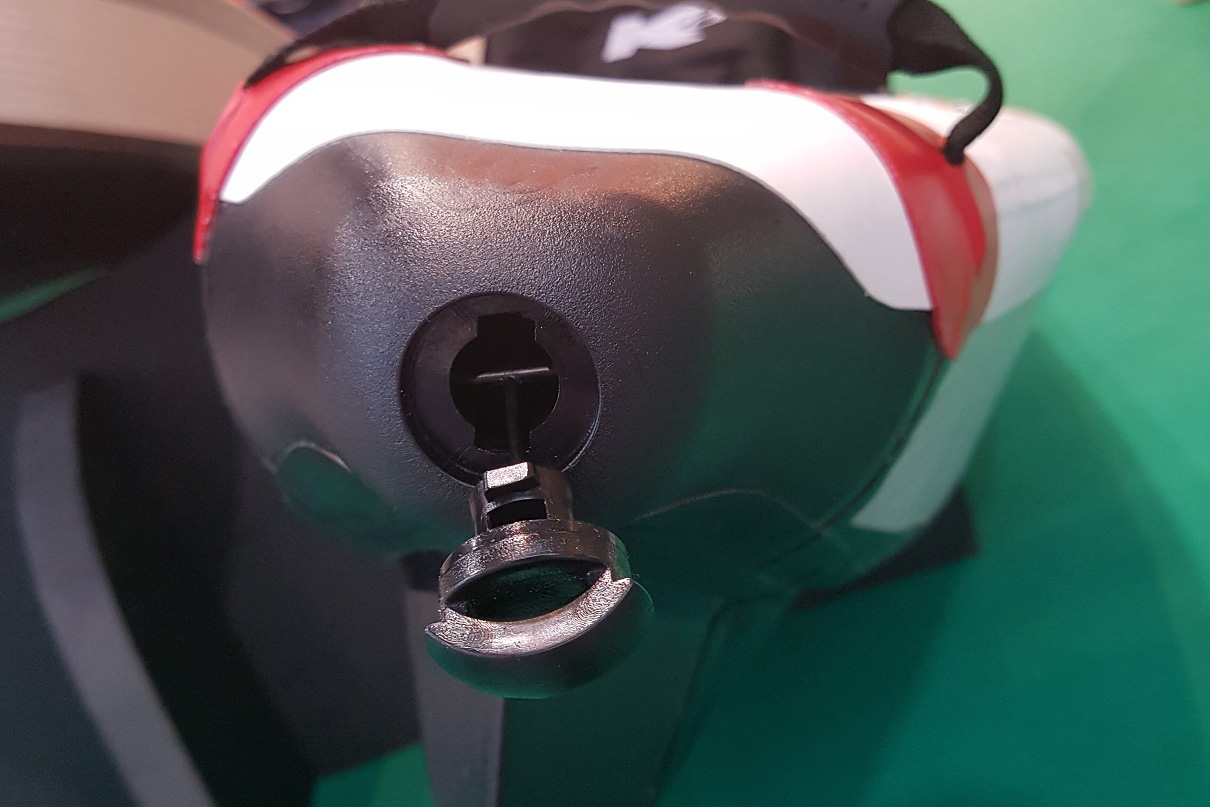
Less goodbut almost universal with three-panels is a DS floor permanently glued to the floor skin but not fully sealed to the side panels. See the two images above: at the bow and stern where the tape stops, water and debris run down into the side cavities. A drain valve helps water to run out when flushing before deflating. Some boats feature several capped drains along the sides, which is either odd or a ‘more-looks-better’ marketing gimmick. After all, unless you’re an oligarch, your bath has only one plug hole. Don’t mistake these multiple drains as self-bailing ports, no matter what clueless vendors may claim or owners may think. Open the drains when afloat and the boat will part-fill with water. Until I realised this, I was baffled by these drains. So it seems were actual owners.
Floor drains on a GliderDrains on TomahawkStern drain on Yakkair HP
Such a boat is nearly as much of a pain to dry properly as the bladdered IKs I go on about. There will always be moisture in the long, inaccessible side cavities along the floor edge which you’ll struggle to dry properly. Proper rinsing and drying matter if you want your IK to last a long time, especially after you’ve been at sea when sand and other debris can get in the boat. Seawater causes mildew, staining, slime and odours. So does trapped organic matter, while in the long term, trapped grit might rub unseen against the soft PVC until it wears right through (this will probably take years).
‘Wallpaper’ over the end ‘cracks’ (shown in green) to seal off the cavities. You’ll then need to fit a plug to allow the cavity to deflate properly when rolling up. Then the FDS would be dead easy to dry, just like a tubeless boat (below left).
Tubeless rubber IK: dead easy to dry
A theoretical way to eliminate these issues is by fully sealing or ‘wallpapering over’ the floor gaps the bow and the stern as shown in green above. To drain and dry such fully sealed boats, you simply flip them over to shed the excess water, then deflate, spread out and wipe dry, just like the round-tube Grabner on the left. A boat modified like this would have no crud-trapping, moisture-retaining cavities. The flaw with this idea would be the air trapped in this sealed-off cavity would make the boat impossible to pack compactly: like trying to roll up a partially deflated inner tube. It needs a breather hole: a simple plug would work. Pull out the plug when deflating, plug up once inflated to keep water out. Fyi: this is all hypothetical but an Italian chap with a BIC FDS told me he had just this problem: gravel and grit collecting in the cavities. One solution of his was to stuff the openings each end with a dense sponge. Water may still get in but bigger grit won’t. Good idea. For the moment it seems most manufacturers are happy to settle on fitted floors with drains, just as some buyers are either oblivious to- or not bothered by this issue.
Protracted KXone cavity drying instructions using what seems to be a hidden floor drain valve (6, 7).
Actually there is a worse option: supposedly ‘self-bailing’ 3-panel FDS IKs which have little side cavities on the edge of the fitted floor and simple drain holes in the outer skin. There are no closable drain valves. A tellingly unused and unbranded FDS IK (left) I saw on eBay was like this. I had to check with the seller as there were no photos of the floor. Within an hour it sold for £700, but once on the water the new owner will find their boat filling up from below. It may only be a couple of inches, but that water will slosh back and forth as you paddle along, adding several kilos of weight and upsetting stability. You could easily tape up the holes in the outer skin, but this is why what look like FDS bargains come unbranded, badly designed and without guarantees. As said above: not everyone may see drying as the deal breaker I make it out to be. Much depends on where you live in terms of climate and storage space.
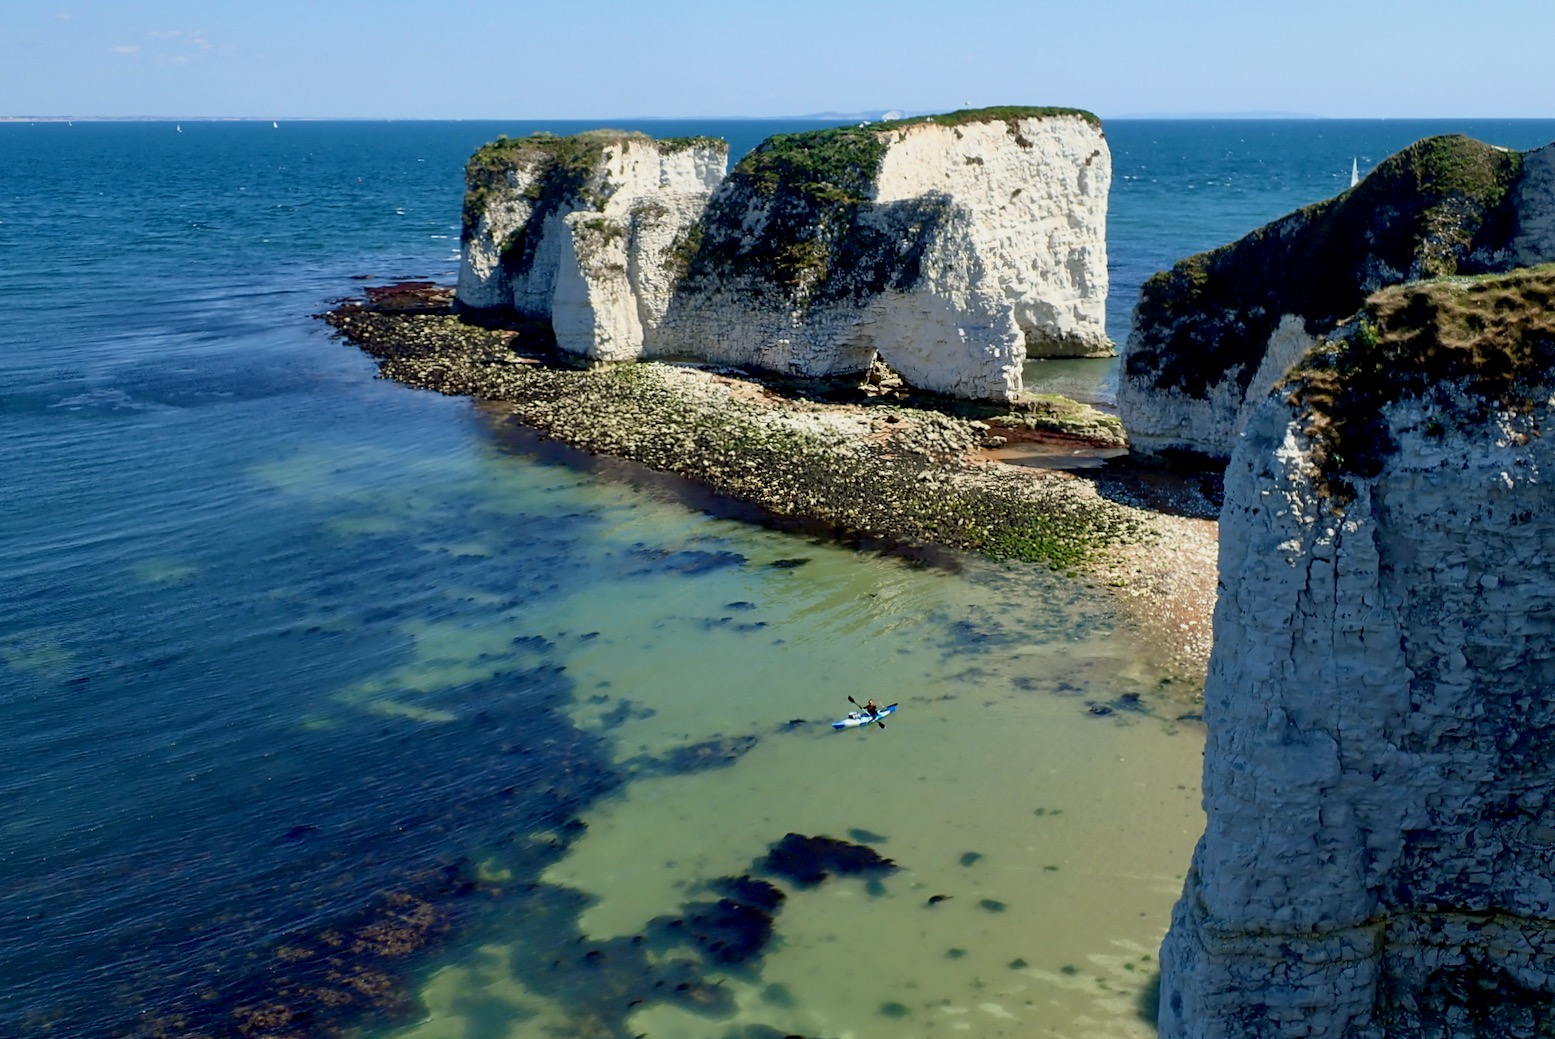
Chalk pinnacles and arches. Studland on the right; Swanage back left.
I’ve been looking forward to getting back to Dorset’s amazing chalk pinnacles near Studland which we paddled in the Seawave one calm morning back in 2019. Today the tide was right and the sun was out; it was just a bit chilly and on the windy side; a good day to see how my Sigma TXL might perform at sea.
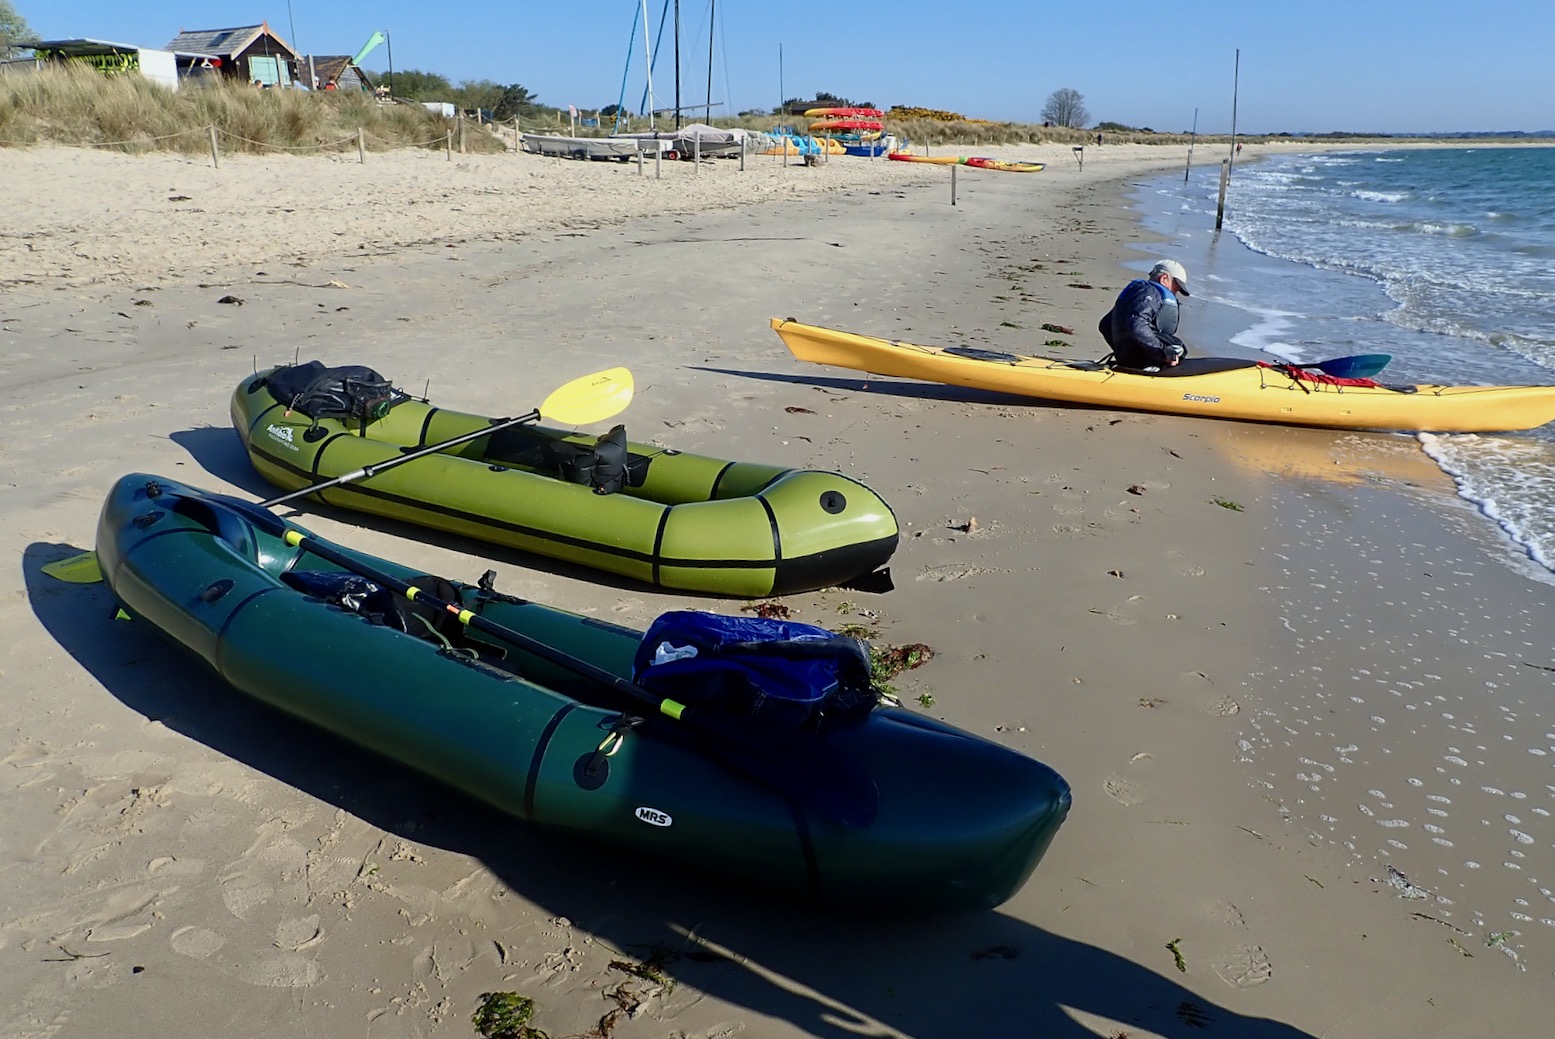
A couple of paddlechums were also up for a pre-dawn departure; Barry rode down with his similar MRS Nomad S1, while Nimbus – yet to fully embrace inflatable paddlecraft – brought his 17-foot, plastic P&H Scorpio sea kayak (left). Even at ~30 kilos, it was a proper boat for the conditions and we imagined he’d run rings round our packrafts.
The plan was to paddle the four miles from Studland beach to Swanage town, leave the kayak somewhere then retrace the route over the downs to the vehicles.
Half the length, over twice the width, but a tenth of the weight of a sea kayak.
Early all-day parking is a problem at Studland as the car parks don’t officially open till 9am and anywhere else you’ll get towed and Twitter-shamed. But we slipped into Knoll Beach parking at 8 and were on the water before 9am. By this time a one-metre tide was about 90 minutes after HW, and we set off into a steady onshore 12-mph northeasterly which would stop Barry and me running away with ourselves. By the time we turned the right angle at the Point for the run SSW along the cliffs, we ought to be able to put up our sails to catch up with Nimbus, except I forgot my WindPaddle. Oh well, I’d just have to paddle the full four miles and get medevaced out.
Swanage tides
The tides at Swanage aren’t the classic sine wave. Every other tide rises and falls normally, but in between is a mini low and high. Who knows how or why but I suppose the reservoir of Poole Harbour, plus the English Channel funnel have something to do with dampening every other surge. Either way, the range was only a metre today and is hardly ever more than two down here; not enough volume to raise any strong currents. Nimbus later calculated a southerly flow of around 1mph which may help explain our higher than expected packraft speeds.
2.8 metre TXL – a good sea packraft? We shall see
Nimbus sets off for the Point, far right. Could the packrafts keep up?
Part of the reason I got the longer TXL was to try more coastal packrafting, even if the extra bulk and weight (actually only 450g more than my previous Rebel 2K) might set me back on overnighters. This is not a paddle I’d have attempted in my backheavy 2K, even with a deck; it’s just too slow to be enjoyable. But having owned a 2.9-m Nomad S1 like Barry’s, I was fairly sure the TXL’s near identical length, buoyancy and similar ‘footprint’ would make a difference. There is something about sitting in the middle, not the back end of a boat, that makes it feel more reassuring. Unlike my Thames paddle a week earlier, I decided not to fit the TXL’s inflatable floor pad in search of a better glide. As things were, in today’s wind and chop the stability from a lower seating position would be more important.
ScorpioMRS Nomad S1Anfibio TXL
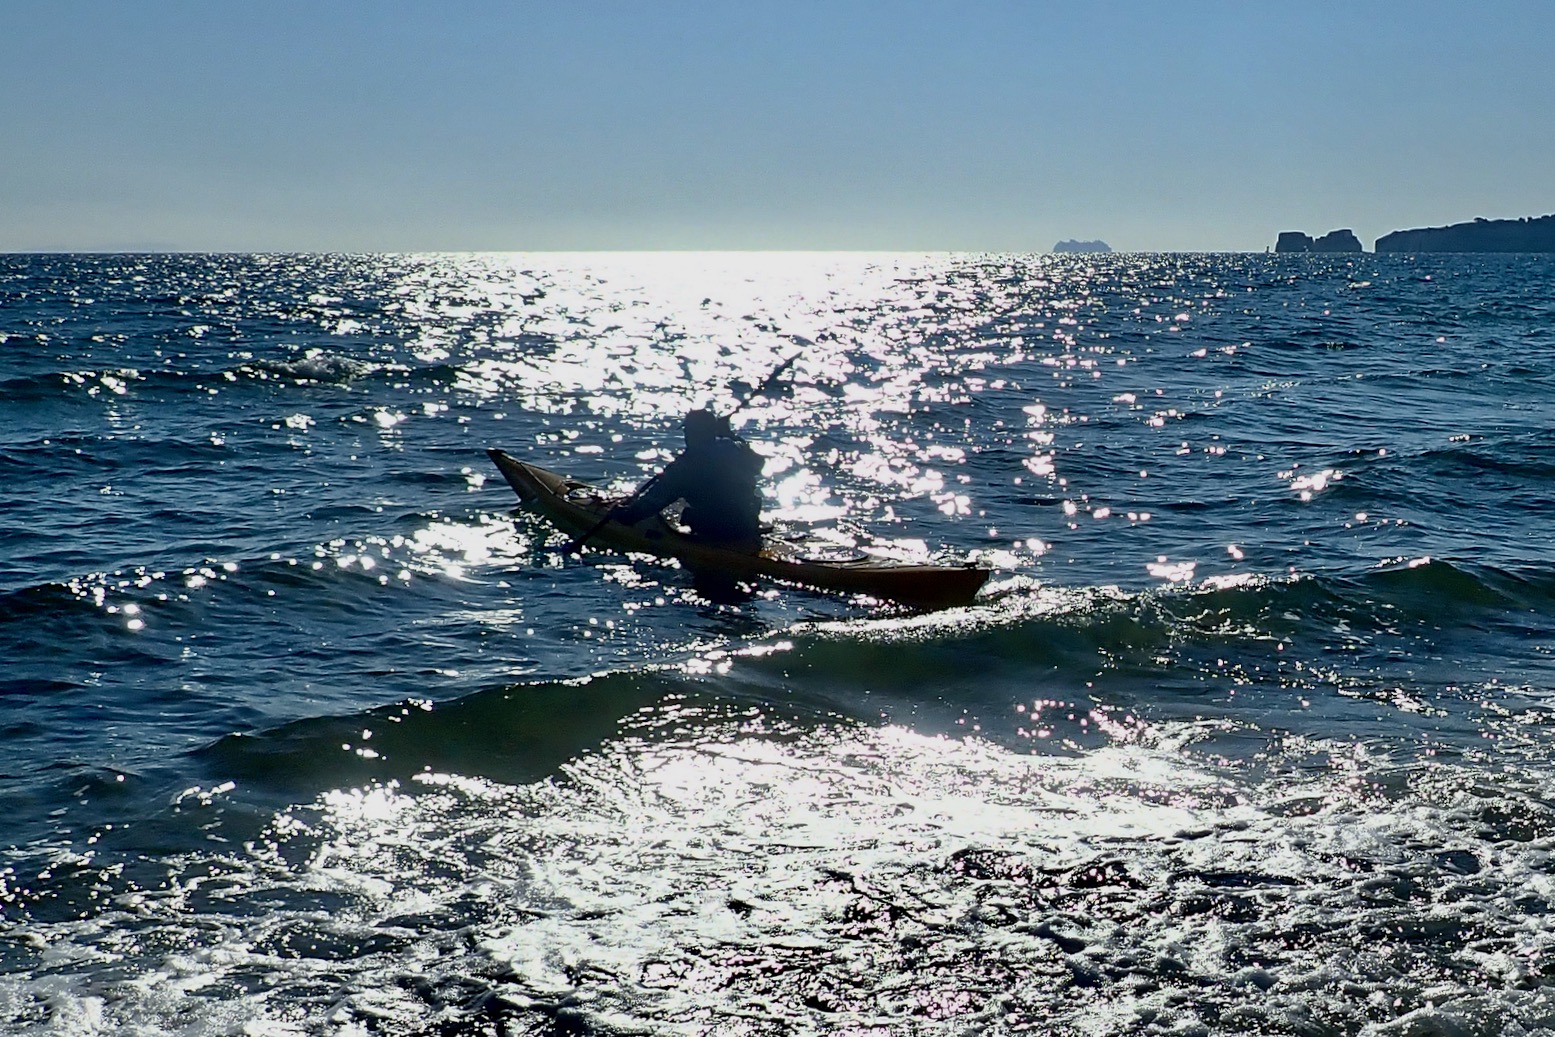
It was about 1.5 miles to the arches at Old Harry’s headland, so I set off directly across the bay, hoping for flatter conditions further out. That wasn’t the case; the odd wave was breaking, but the TXL moved across the water purposefully. Sure, it rolled, pitched and yawed in the side waves, but sat down low I felt completely at ease, maybe even more than in my Seawave IK? Barry was clearly having the same bouncy fun in his MRS and I’d assumed the P&H would have raced off, if for no other reason than to maintain stability. But later Nimbus said the Scorpio felt a little on edge in the high-frequency chop and couldn’t have gone much faster than us on this stage.
You’d think the two long, light packrafts’ would have been blown about, but the central, kayak-like position and added buoyancy made them easy to control (with skegs fitted) and the high sides kept most of the water out. I picked up maybe a litre over a mile and a half and didn’t miss a deck at all (though I did appreciate the drysuit).
Inching towards the Point.
Swanage Bay sets off a tidal eddy
Even with photo faffing, we reached the stacks of Old Harry in about half an hour, and it hadn’t felt like any more of a struggle than in an IK. It was really quite a revelation how well the TXL (and Nomad) were performing with just an extra 50cm or 20% in the waterline over a regula packraft. The lightness of the boats must have something to do with it. Round the outside of the Point the wind and tide were fighting it out in a tidal race. It made me realise how well timed our visit in the Seawave had been three years ago. We’d arrived here in much calmer conditions but also around mid-tide with a less nasty looking race. Going round the outside today may well have been doable but set aside unpredictable currents, waves can also stand up and break out of nowhere. It was more fun to slip through on the remnants of the outgoing tide between the mainland and Old Harry’s stack. Next time I come here, I’ll make sure to arrive at the top half of the tide so all the arches can be threaded.
View from above about three hours later. Low water but still a bit of a race off the point.
After a bit of promo filming for the new book, we turned 120° to the southwest and expected to have the wind behind us, but it remained a case of dealing with sidewaves plus cliff rebounds, so we kept out to sea. Despite the packrafts jigging about like popcorn in a hot pan, we managed to make progress south along the cliffs, the Scorpio now edging ahead.
After being jostled around, Barry decided to air up his AirSail, but even with two of us, pumping it up properly in the chop proved too tricky. For easy deployment on the water, the sprung-hooped Packsail (like the old WindPaddle) is a much better idea, even if it’s more bulky to carry.
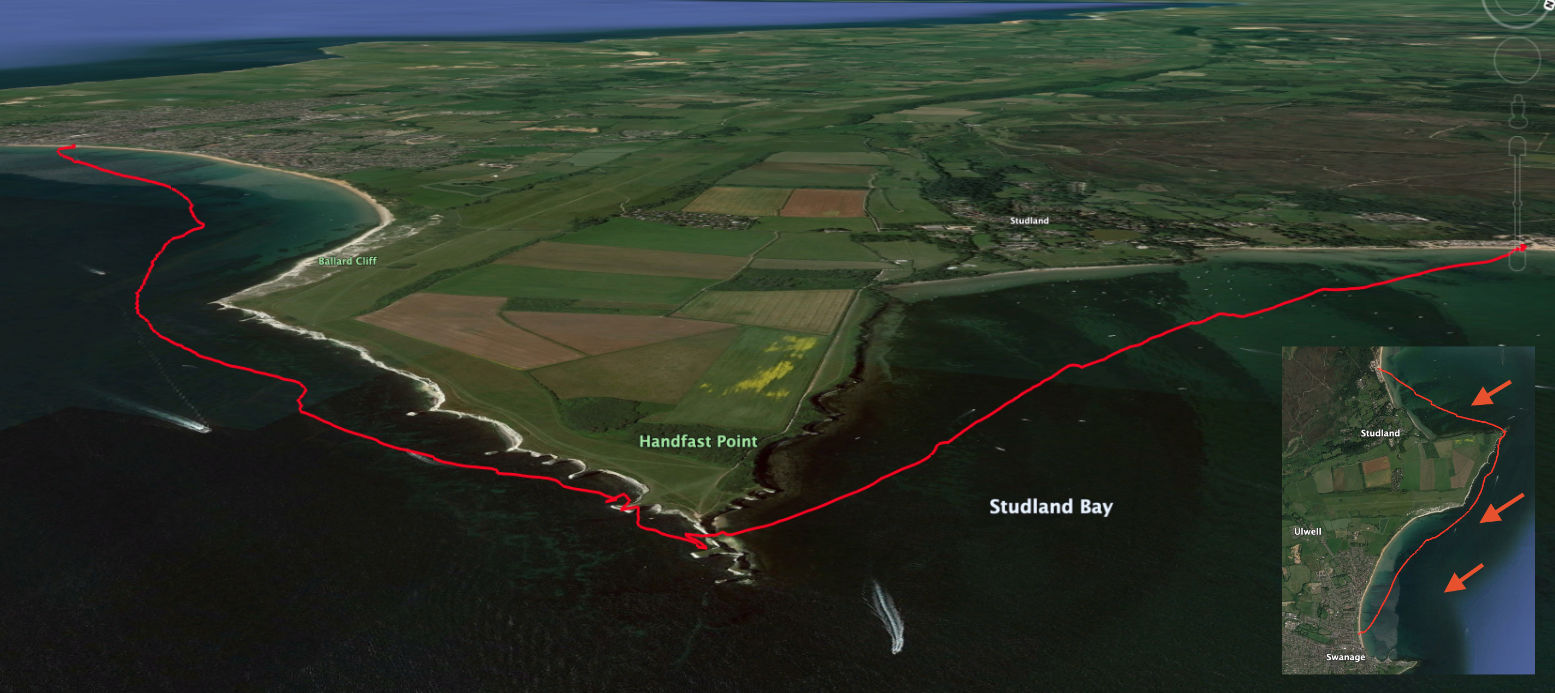
We rounded Ballard Point where the cliffs turned into Swanage Bay, and with the wind now on our backs, the GPS recorded 6kph (see graph below). As usual though, it didn’t feel that fast as the boat squirrelled around from the stern. I thought about moving myself further back (relatively easily done in the TXL unlike the fixed solo Nomad) so the lightened bow trailed downwind, but it wasn’t really that bad, it just felt sloppy. Sailor Barry was now keeping up with Nim until we all rolled up on Swanage Beach, aired down the packboats and made a beeline for the cafe for a superb Full Swanage Breakfast.
The cafe let us leave the boat among their bins out back, but I was overruled on walking the four miles back over Ballard Downs back to Knoll Beach. Barry clearly had a liking for taxis which I consider more of an emergency service. “It is not the Packrafting Way!” I squealed as he put a bag over my head and shoved me in the back. Nimbus kept a diplomatic silence. Back at Knoll Beach, Barry roared off on his motorbike while Nim and I wandered back the way we’d paddled to check out at Old Harry’s from above. The tide was now at its extended low period and the wind had swung to the southeast, sheltering Studland Bay. Down below, a lone kayaker was just setting off. “That looks fun, a. We should try that sometime.”
Judging by this outing, the TXL has proved to be just what I’d hoped: a dependably agile coastal cruiser with all the other benefits of a packraft. More sea paddles to come.
In a Line Four-piece paddle 890g in kayak format with 15cm of length adjustment, fully variable feathering and includes T-handles to make a pair of canoe paddles, a long SUP paddle, a tarp pole or even an MYO packstaff.
Where used? Paddles on the Thames, Dorset coast, Wey and in northwest Scotland in my Sigma TXL.
What they say Revised, redesigned paddle combination for two-person packrafts, usable alone or in pairs. The very light fiberglass double paddle can be transformed into two paddles and even into a SUP paddle using two extenders. Continuously adjustable in angle and length (210cm to 225cm). Price: €175
Good value, light 4-parter Variable length and feathering Two canoe or a SUP paddle included Max 63cm length 29mm shaft will suit smaller hands Get a Vertex Tour for €125 if you just want a packraft paddle
Blades a bit loose; fixed with bits of tape No index mark to set feathering angle 29mm shaft narrower than the 32mm I’m used to Smoothish fibreglass surface is a bit slipperier than my other paddles
This paddle was supplied free in exchange for editorial work on the Anfibio website
Review A quality two-piece like my ageing Werners is usually my first choice for a day out, but for travelling with a packraft, especially on public transport, a 4-piece paddle makes sense. You won’t go any slower or get more tired; it just won’t feel as efficient and solid as a good two-parter – and feeling efficient can give you confidence, even if there’s nothing in it. Now sold, my Aqua Bound Manta Ray carbon shaft was at least ten years old and still hanging in there, and that was my second one after selling the first to an envious mate. It wasn’t as stiff as my Werner but it got me across the water all over the world, while doubling up as a packstaff.
Anfibio’s Vertex Multi Tour really does try to cover everything: kayak paddle, two canoe paddles and even a SUP board paddle – if you own all those it could be what you need. I don’t, so used the canoe handle extenders to make a Mk2 packstaff. Did I mention packstaffs yet? I did notice the spring-button blade connection was a little slack; a matter of a fraction of millimeter clearance and fixed by a bit of tape, easily removed. Maybe the paddle will swell into a tighter fit once repeatedly wetted? (The Manta Ray blades tightened up over the years). It took a while to notice the Vertex also has a slightly thinner 29mm shaft – less comfortable to grip for me. Smaller handed persons will prefer this. It’s also smoother which makes me think a little texture aids grip without raising blisters on long outings.
Length adjustment is something new on me and I like to think is not a gimmick. On our windy Dorset paddle I ran the paddle short (210cm) into the wind, and longer (220 or so) downwind; a bit like low and high gearing, using a higher cadence on the short length when working into the wind. I need to try this a few more times to see if it really makes a difference, or I just think it does. With the lever clamp, you can adjust in a couple of seconds.
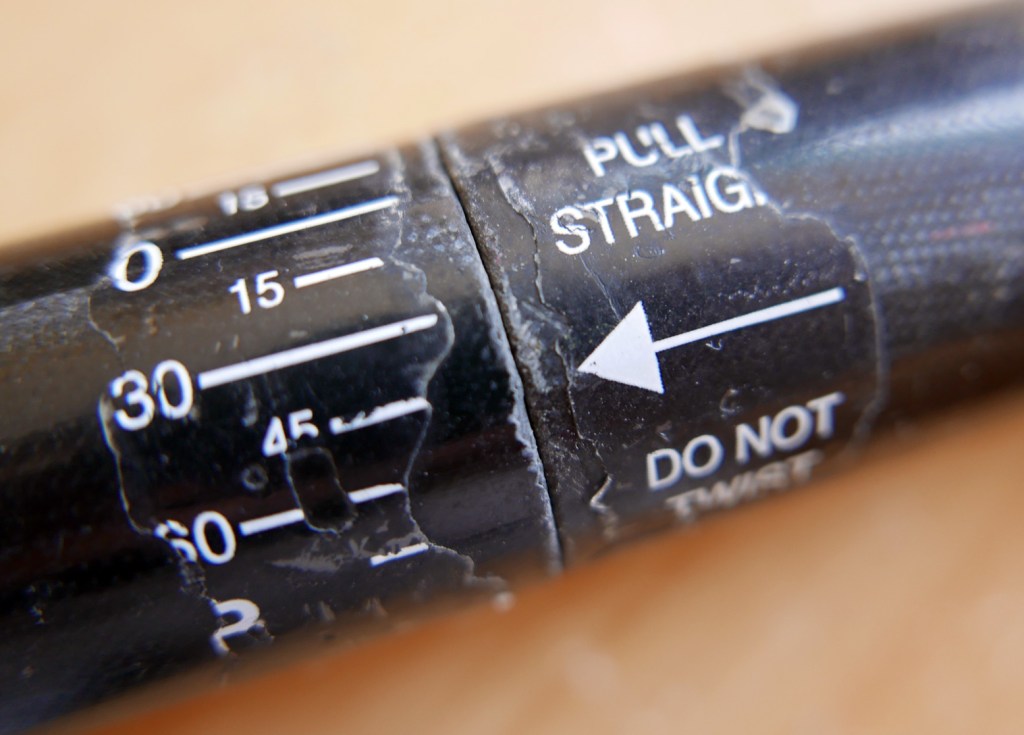
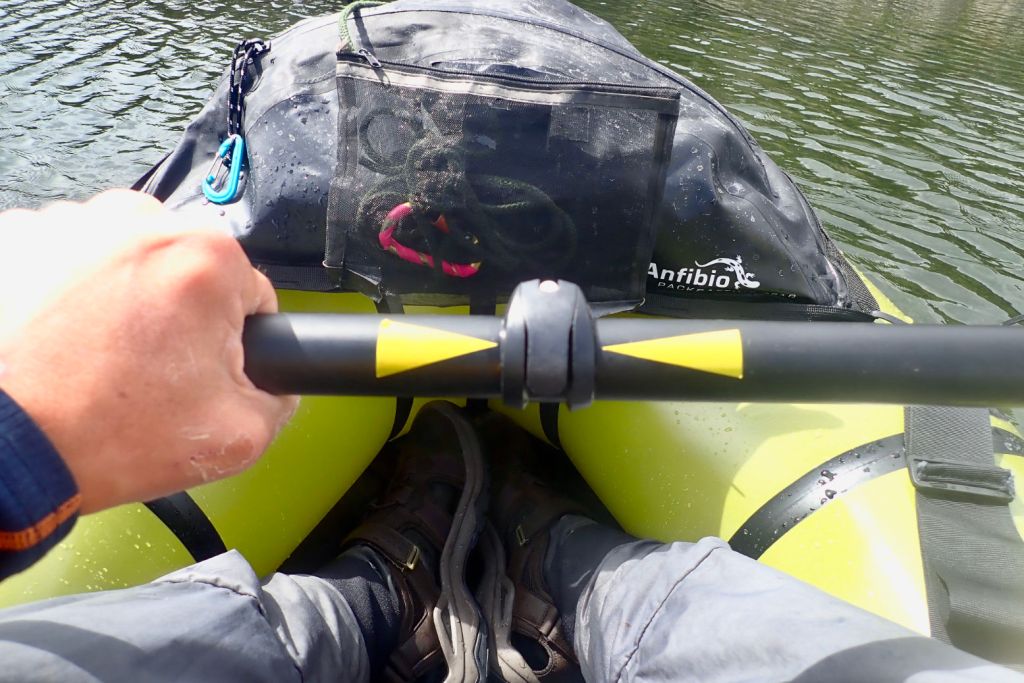
Like most paddlers I am right handed and paddle with the left blade rotated forward: 45° R. But unlike my Werners (below left), there is no sticker or other index alignment marker to set your feathering angle on the Vertex. It seems this was a production oversight and current Vertex paddles have an alignment marker – make sure yours has.
Remains of Werner indexingOn Vertex a bit of tape does the job
I also realised it matters which blade you attach to which shaft for your shaft feathering alignment sticker to have consistency. After sticking on some yellow alignment arrows (as I’ve done to my older Werner’s where stickers peeled off), I added more tape on the left blade and the section of shaft with the lever clamp. Match yellow to yellow and you are good to go.
Left: Werner Corry (700cm3); Vertex a bit lessThinner shaft suits smaller hands
The Vertex’s blade looks like a fairly standard 650cm2 and should take the usual beating of being pushed off rocks and so on. Once you’re paddling the finer points of paddle response fall by the wayside; if you’re moving into the wind and waves and current at the end of a long or hard session you will feel tired. But once you add some stickers, for the price and weight and versatility the Vertex Multi Tour does it all, and is in stock in Europe right now, unlike many American-branded paddles.
29mm shaft for smaller handsMk2 packstaffTape eliminates slackBlade about 650cm2Variable lengthLength and angle gridPulled fine on choppy seas4 bits – a paddleinyourpack
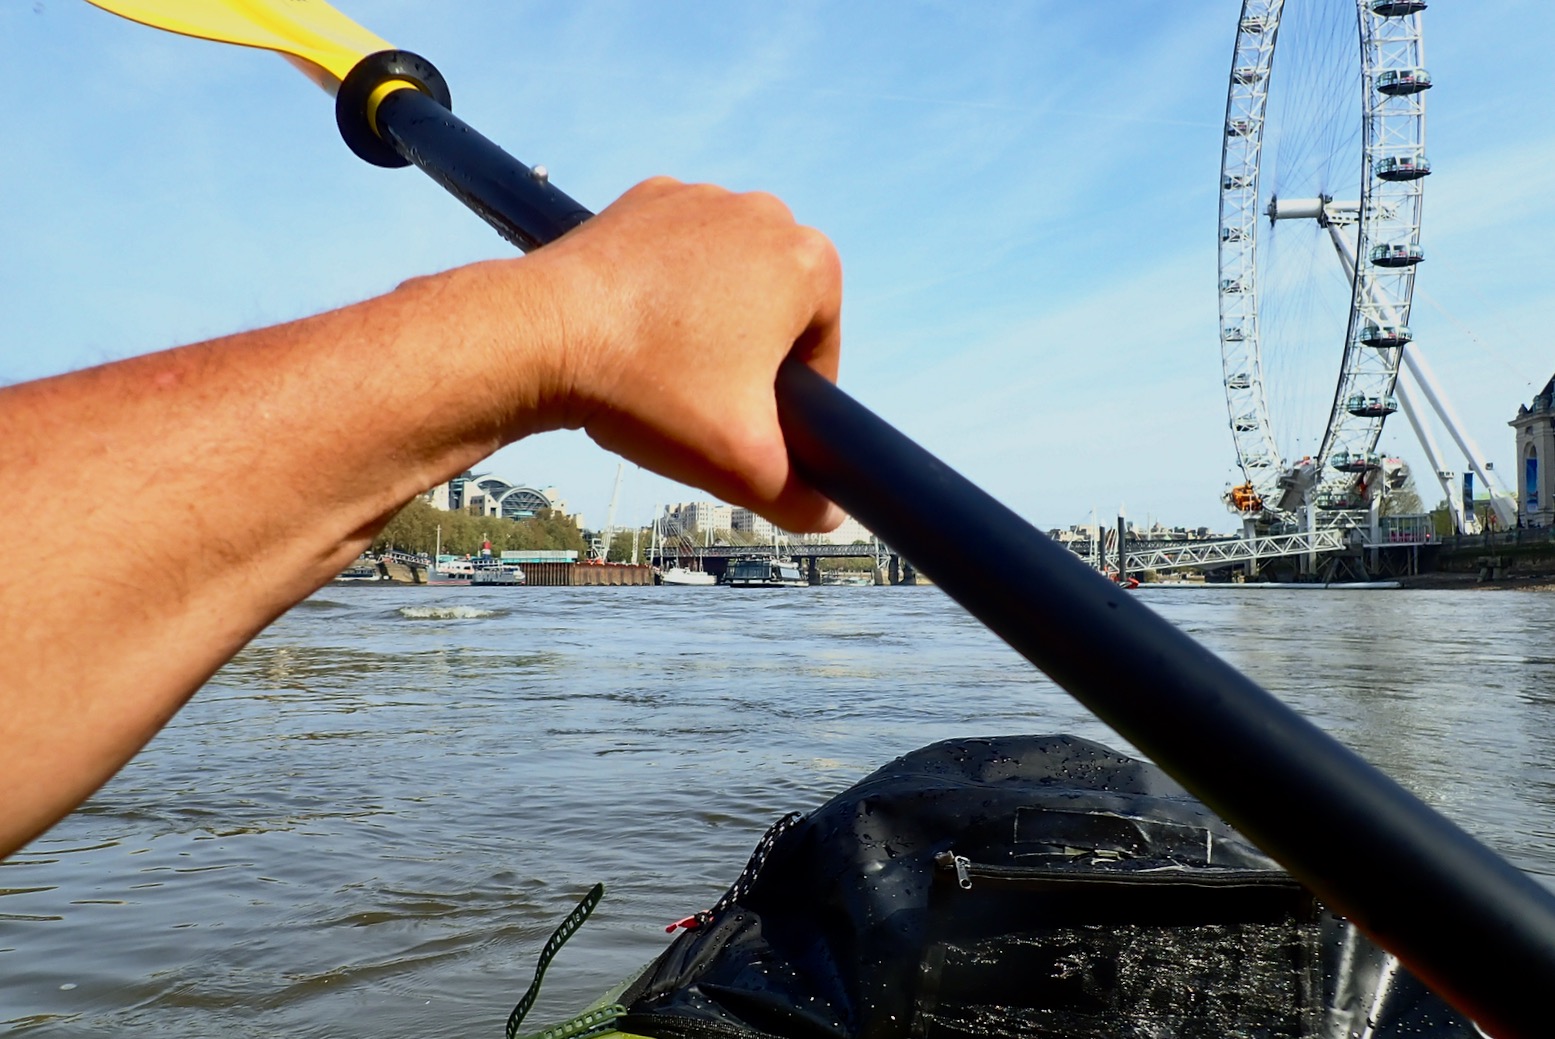
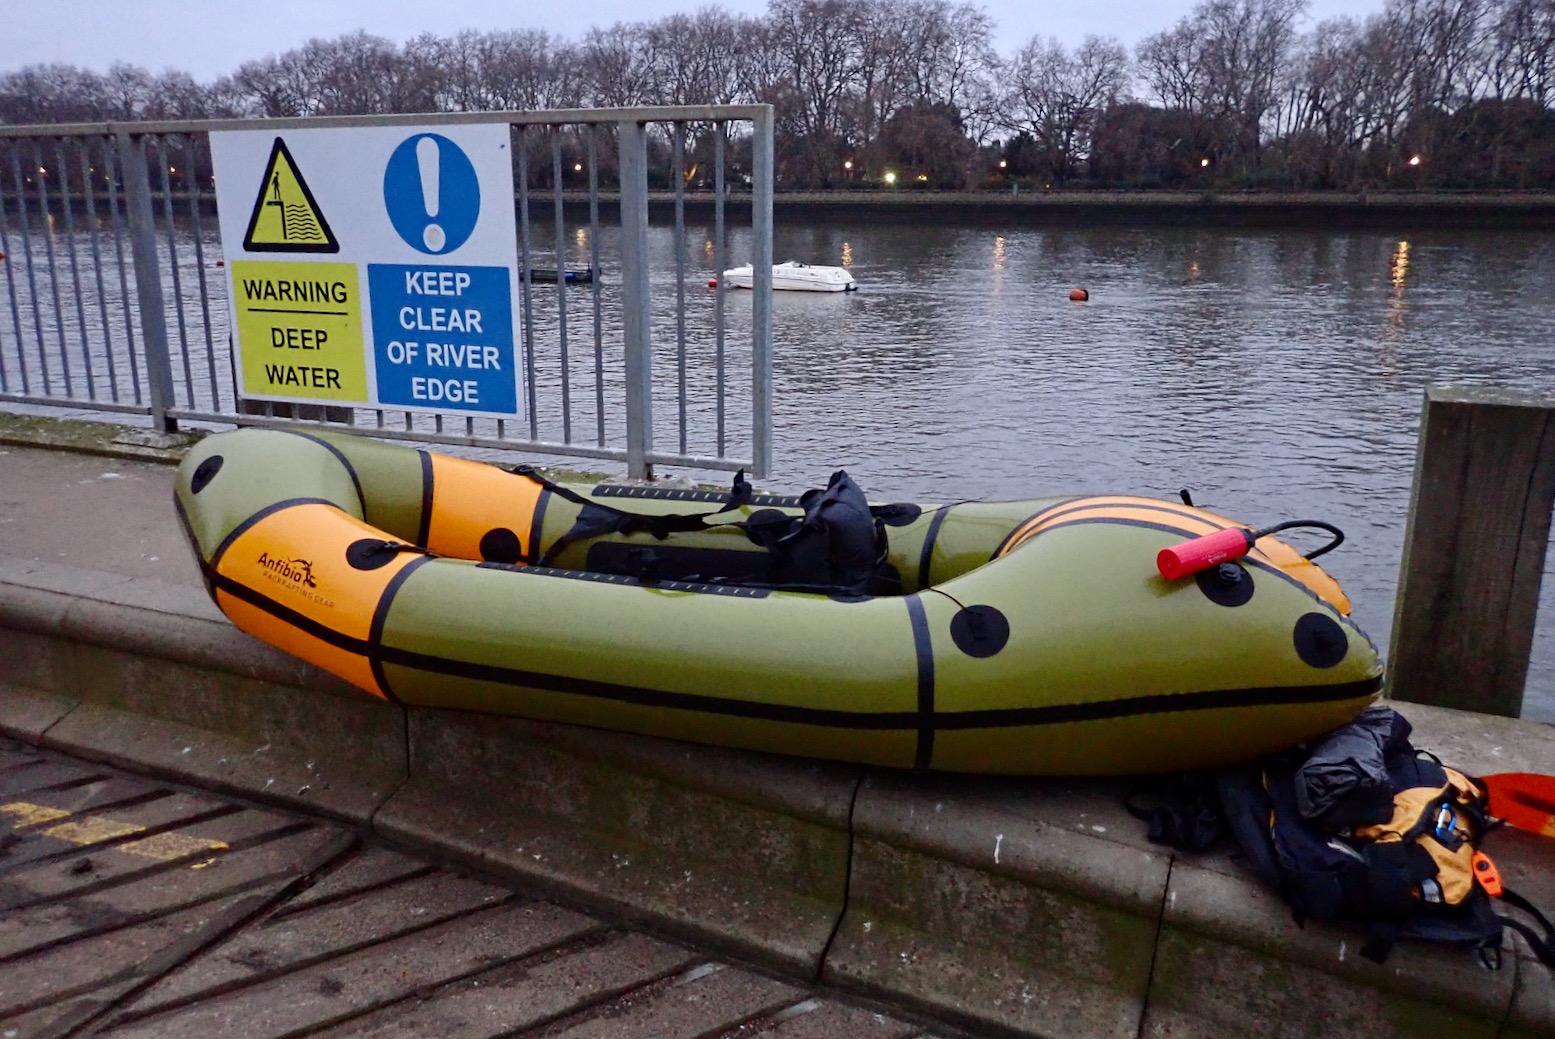
Miraculously, a sunny spell spanned the Easter bank holiday weekend so I took the new TXL down the Thames for its maiden voyage. At Putney I caught the remains of a spring tide but dithered too much so only had a hour until it turned at London Bridge and pushed back up the river. Nevermind, I’ll get as far as I get and hop out anywhere there are some steps or a ladder. With a packraft it’s easily done.
Skeg half out but does the job. One thing I like about longer, centrally positioned packrafts is the the trim is level, not back-heavy as in a conventionally sized rear-sat packraft like my 2K, (unless you are light or it has a hugely voluminous stern, like a Revo)
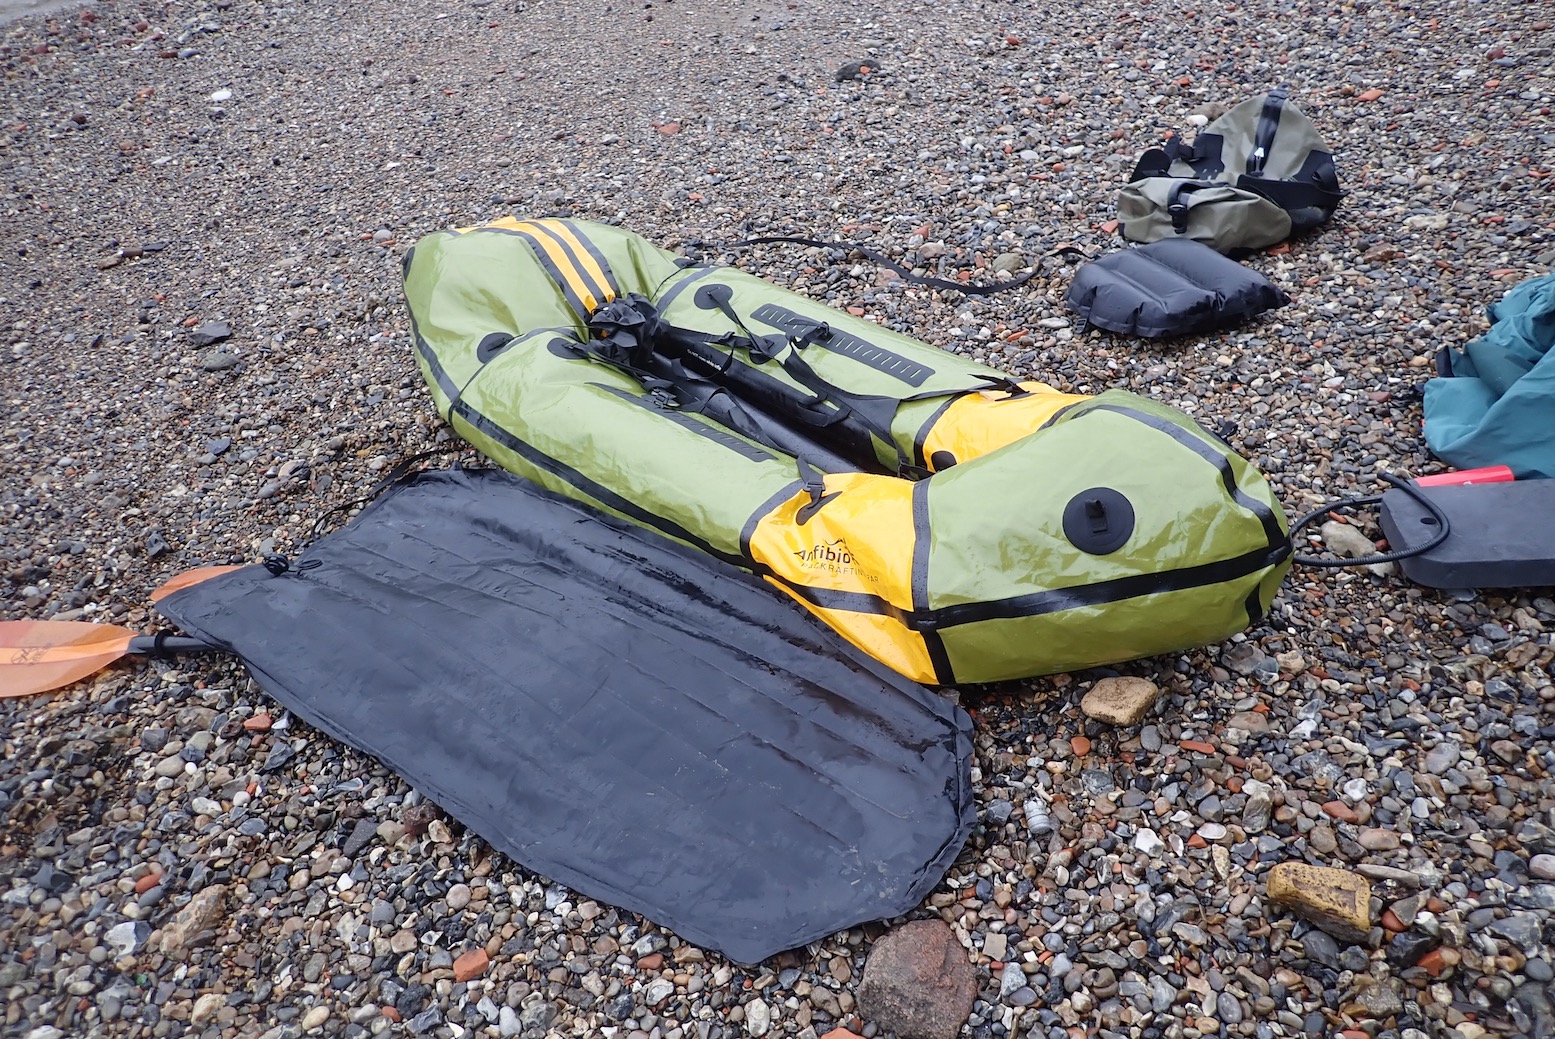
Floor pad and skeg This is a similar run I did a couple of months ago in the dead of the Covid winter with the Revo, but this time I remembered to air up the floor pad good and hard. I’m expecting the 2.8-m long, hard-floored TXL to be nippy, and so it is. Setting off the boat skates across the water so that you can ‘paddle – pause/glide – paddle’ like in a kayak, not spin like a food mixer to keep moving. I fit the skeg but notice from the pix that most of it is out of the water. Don’t think the 2K was like that, but it’s submerged enough to track well. I did wonder why it wasn’t on the flat of the floor for full effect. Perhaps, as with the Nomad S1, it’s not strictly necessary. Something to try next time. As mentioned, I do plan to fit a second skeg on the front to see how that affects crosswinds and sailing.
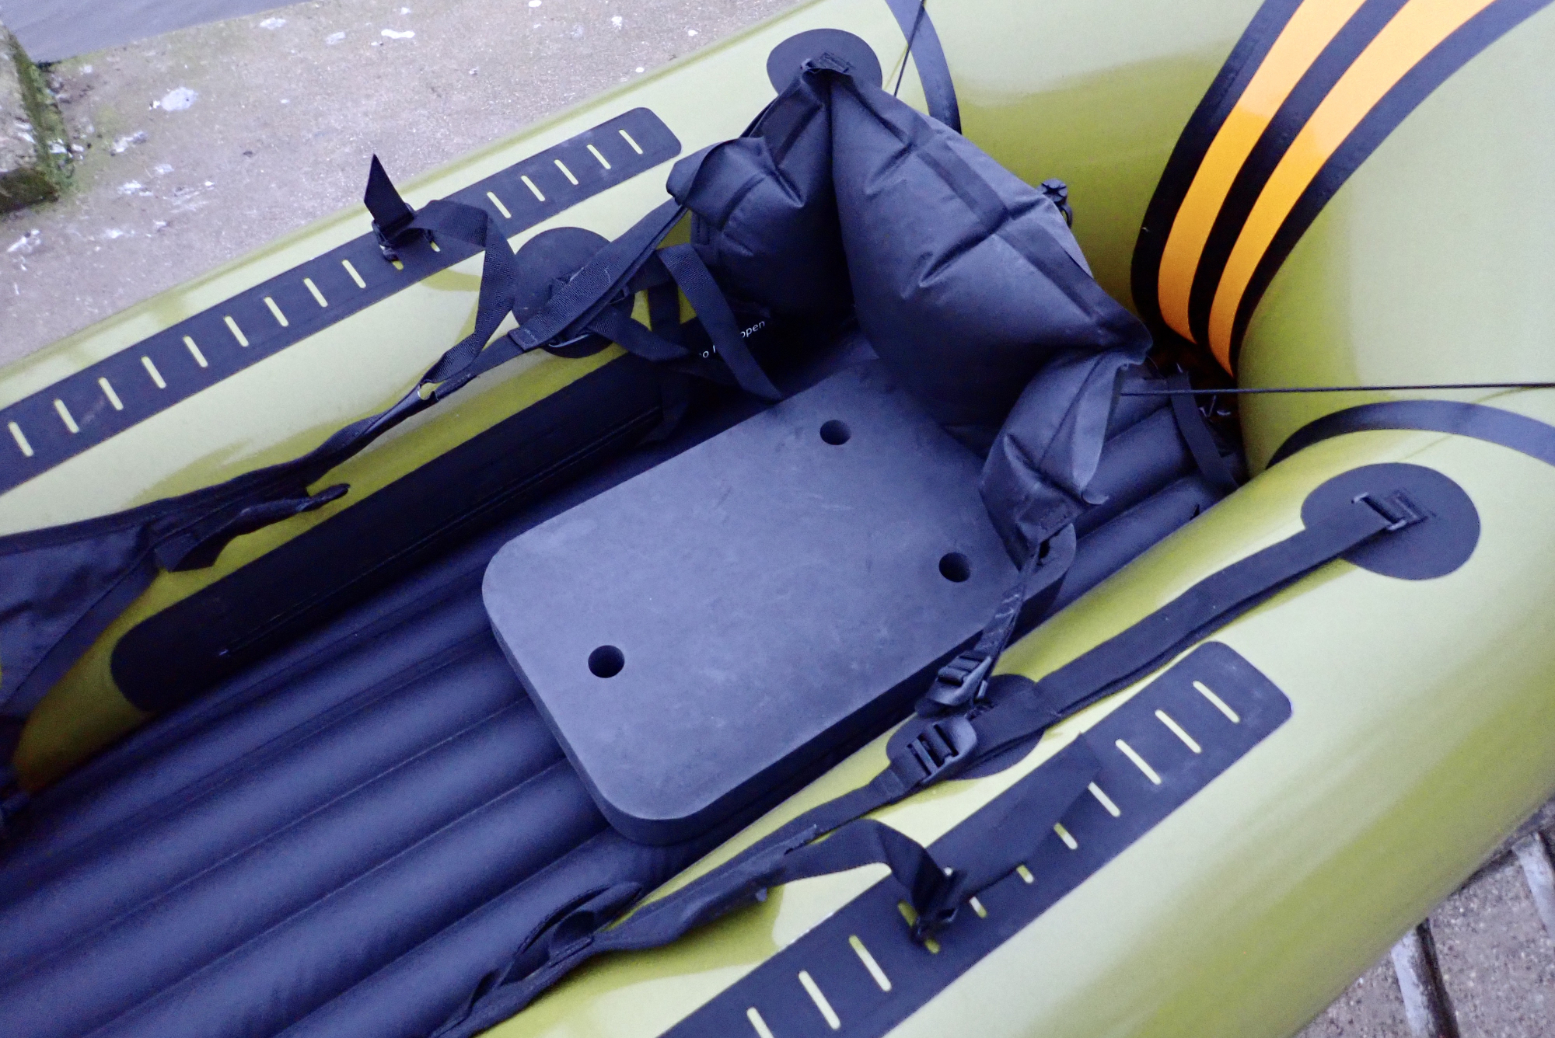
Seat They advise using the foam seat block with the floor pad. It feels a bit of an afterthought, adds packed bulk and, as others have reported, is not so comfortable. After 20 minutes I was getting a sore coccyx which was only going to get worse.
More seats than the O2 Arena
Mid-river I shuffled over the twice-as-large inflatable seatbase but soon found it wobbled around on the hard floor pad (like trying to stand on a soft football) in a way these seats don’t when sat on regular packraft floors. This must be why the block seatbase is supplied but the foam is too hard for flatwater cruising. I aired the seatbase right down (easily done in situ) until I was nearly sitting on the floor, but in rougher waters there would still be a wobble and anyway, by then your butt and heels are nearly level like sitting on an iSup board; not an ideal paddling posture.
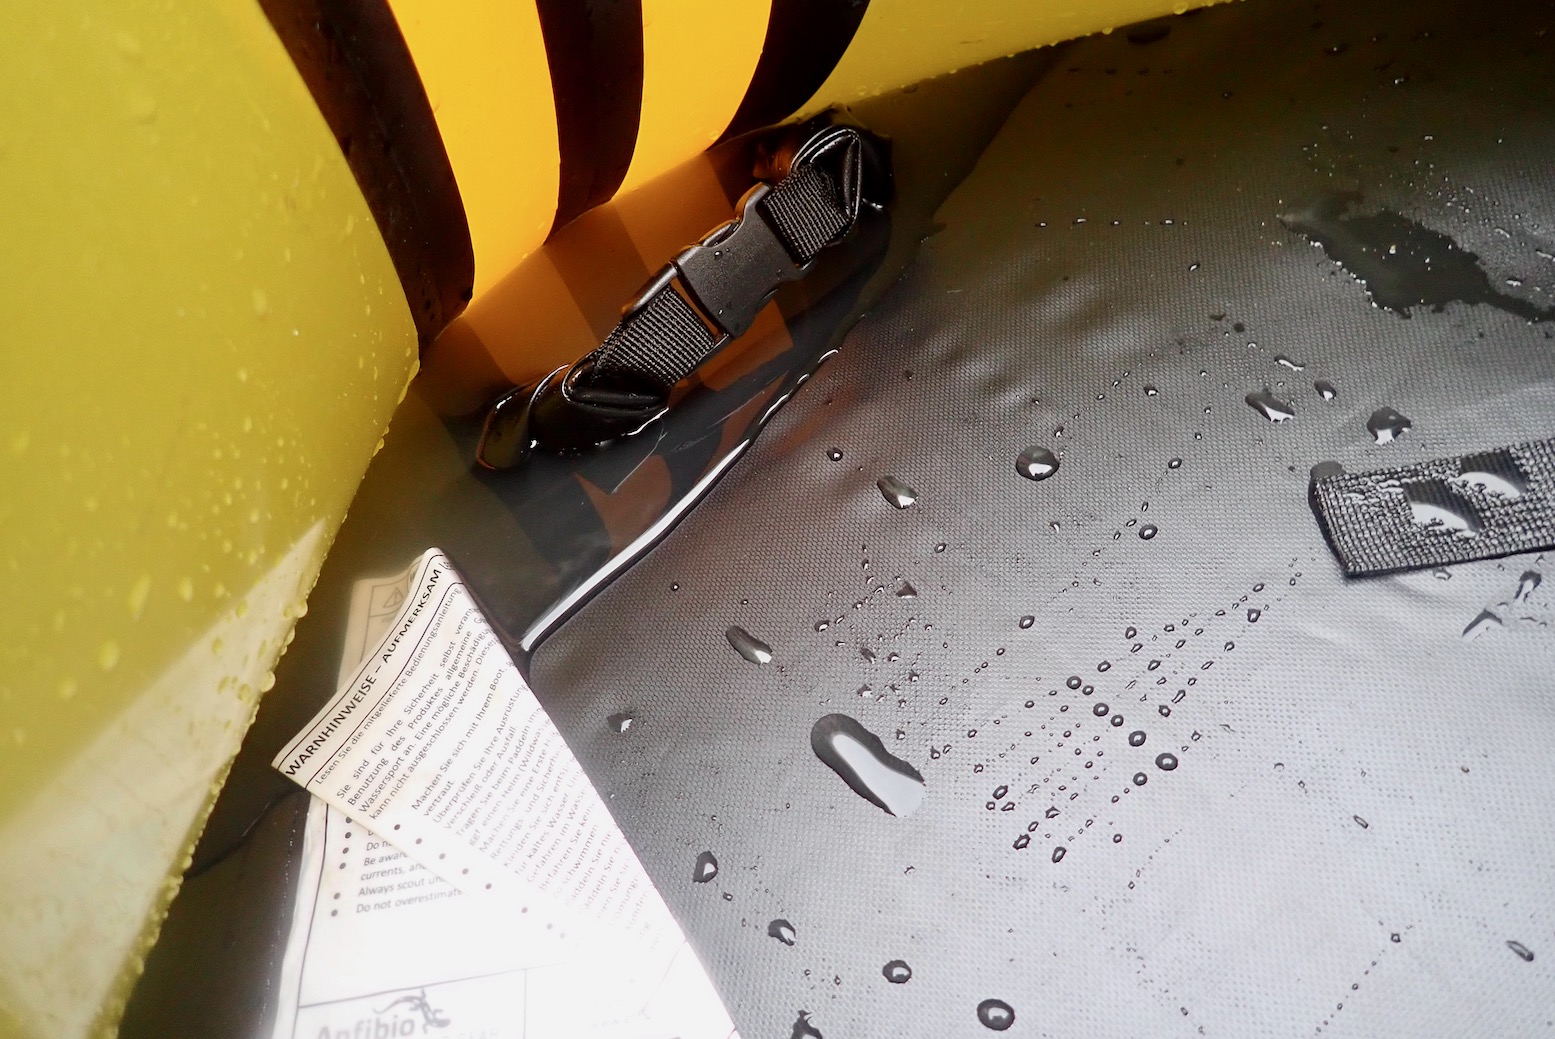
OMG – non-locking krabs! (fear not, a solution is at hand)
Overall, the raised position on the floor pad does aid good paddling as you can clear the fat sidetubes with the paddle more easily. Sat higher, I would expect stability in rougher water to suffer; at that time you’d want either thigh straps – or just sit yourself lower by easily airing down the floor pad. The backrest is easily adjusted in the boat too, and is held up by thin bungies so it’s easy to shift it up your back if it slips.
For the moment I feel the seat set up in MRS Nomad was a better affair. Partly because I felt it was part suspended/supported from tabs halfway up the side tubes like a hammock, not sat directly on the floor. That means your body weight is spread broadly along on the side tubes, not pressing down solely into the floor, created sagging. And also the flat foam backrest if fitted was better *and I may do the same with TXL). But, at around half-a-metre square, the TXL seat base is much bigger than previous packraft seatbases I’ve used. Without the floor pad, this broad base may nearly replicate the advantageous load-spreading effect of a Nomad-style side-tab suspended seatbase. An underwater picture will tell all, but I like to think the TXL may be as functional and not much slower without the floor. After all the floor-less Nomad was nippy enough. Since then I think the TXL works well without the floor – or I’ve yet to detect unambiguous advantages.
The TXL’s raised floor jams you less well into the boat sides which is 4cm wider than the Nomad. I quite like a jammed-in feeling but recognise that with a floor pad, added height requires a bit more boat width to maintain stability. Meanwhile, up front there’s plenty of room for feet side by side, unlike in the pointy ended Nomad.
There are a few more evaluations to do with the TXL but it looks promising. Comfortable, supportive seating I know can be an issue with IKs so using the floor pad I’m confident I will either get used to it, find a better seatbase and backrest or find that the pad is not essential for shorter paddles. Fyi, I have now become very used to using the Flextail electric pump to air up the boat (and the floor), before finishing off with the handpump. It can vacuum shrink the boat too, for compact packing, but rolling up is as quick. As you can see the handy BowBag fits on like it should, too.
Anfibio Vertex Tour paddle Anfibio sent me their new, four-part, multi-adjustable Vertex Tour paddle to try. It weighs just 890g on my scales, same as my old carbon Aqua Bound Manta Ray, with same-sized blades. A simple lever clamp allows you to set any offset the carbon shaft left or right, as well as vary the length 15cm between 210 and 225cm which is something new to me. Theoretically I can see using the full length with a backwind or a strong current and a short paddle for battling into the wind in ‘low gear’.
Each piece is 63cm long. The all-round shaft felt a bit thinner than normal, and sure enough, measured up around 29mm ø compared to my 32mm Werners which suit my hands better. Smaller handed persons will prefer the Vertex. The middle clamps up firmly but there was a bit of slack at the paddles; we’re talking less than half a millimetre here but it’s enough to rattle and be noticeable as you release the pressure on lifting the blade out. Does it make difference to non-competitive propulsion? Not really and better too loose than too tight. I wrapped some thin, smooth tape round the ends to eliminate the slack. The Vertex costs €125 – that’s a lot of light and fully adjustable paddle for your money. More here.
Early in 2022, as the UK’s Omicron surge peaked, I had a chance to try out a pre-production prototype of Anfibio’s RevoXLpackraft. Along with its distinctive forked stern, the Revo introduces a new idea to self-bailing packrafts: a single ~15cm drain funnel under the seat which can be pulled into the boat then rolled up and sealed, like a drybag. I tried the XL version with a 135cm inner length and 28cm sidetubes. The smaller RevoCL is 10cm shorter all round and has 27cm sidetubes. As you can see my test boat came in lemon and olive. The production boats are cornflower blue and olive for the CL which costs from just €759. That’s a bargain and may fit taller folk better than they think. The Revo XL which I tried costs €999, but in-hull storage TubeBags come as standard. I think the lemon and cornflower is also a better colour combo. Both models come standard with inflatable floor mats to help displace any water inside, as well as 4-point knee braces. The sides are 210D, the floor is a thick 840D which wraps generously up the sidetubes for WW protection, and it’s all assembled by heat welding and sewing; no glue.
What they say (Revo CL here) The Revo XL is part of the Revos concept – a combination of (closeable) self-drainage, profiled floor and the new TwinTail . Thanks to bilge (spray water runs out through the floor), the boats come without a spray deck and can also be configured as a light, minimalist boats. This results in a unique range of uses from whitewater to touring. The particular construction is similar to the smaller Revo CL: VenturiTube – the closable bilge hose TwinTail TM – the W-shaped double tail of a surfboard Comfort BackBand – the combination of back strap and rest 5P Thigh Straps – ergonomically adjustable thigh straps Firm floor mat – for a stiff, profiled hull The structure of the boat with and without a floor mat and the various (seat) configurations are the same as in the Revo CL or can be found in the supplied operating instructions. Revo XL/CL Differences The XL variant uses a larger outline. It is 10 cm longer, which creates space and speed. It has 28cm side tubes for increased buoyancy and stability. [The CL runs 27cm. And the XL has yellow contrast panels; the CL has olive]. TubeBags* are standard in the Revo XL, which ensures sufficient payload. In addition, a stronger base is used, which is appropriate for potentially high loads. The boat is a good choice, especially for tall and heavy paddlers, multi-day tours or if extra comfort is required. In the XL variant, tall people with a load of up to 120 kg can sit directly on the mat without a seat.
Revo CLRevo XL
About self-bailing In a packraft there are two ways of dealing with getting swamped: seal the boat with a deck and spray skirt like a kayak (below left), or let the water drain out via holes in the floor, like a commercial whitewater raft (below right) or a hardshell sit-on top. The latter method has the advantage of being immune to water ingress while also making exiting the deck-free boat faster. The weight of carried water and a perforated floor are said to slow a self-bailer down a bit on flatwater.
Sealed deckSelf-bailing drain holesROBfin draining holes and integrated floorTaping the drain holes (on an old IK)MRS Alligator with valve flaps
With self-bailing, a thick floor rising above the waterline displaces water carried in the boat, and a seat on top of that means the paddler isn’t sitting in water, even if they may be soaked from waves. Among others, packrafts like MRS, Kokopelli, Mekong and RobFin [link] (more of a small IK) use a line of holes in the floor. You can seal those with some tape, and MRS use valve flaps to smooth the profile and reduce infress. But for the moment only the Revo uses a retractable drain funnel or Venturi Tube, potentially giving you the best of both worlds. They work like similar devices on surf-skis [link]: the movement of the boat over water creates a low pressure zone which sucks water out of the boat provided you keep moving. When you stop the level may rise a bit.
What pours inDrains out (see video below)
Review: Anfibio Revo XL
Along with a voluminous ‘whitewater’ stern, the Revo has a distinctive and trademarked TwinTail which is said to help the back end bite into the water or catch back surf, like the somersaulting playboat below right. Because using a skeg on whitewater is a bad idea, I can see how the forked stern might replicate a similar digging-in effect, but won’t pretend to know what I’m talking about here. I have seen similar designs on surfboards where it’s called a fishtail.
Fish Tail surf boardsFlippin’ ‘eck
Either way, a long stern positions you centrally like a kayak, and the high stern volume ought to stop the boat flipping backwards as you exit small waterfalls. Because of the back’s huge buoyancy, I thought I detected a slightly tipped forward aspect to the trim, even with my hibernating 93kg.
Unfortunately, where I live there are no small waterfalls for miles. Were that the case my whole paddling background might be different. So I wasn’t able to test the self-bailing function or the stern’s finely tuned handling characteristics. I suspect there isn’t much more than aesthetics to the Twin Tales design; a cool, 50s Cadillac look, but whitewaterists will have the final say on that.
The seat uses a suspended inflatable backrest, but as this was the XL version, there was not much adjustment left to move the backrest forward enough for me, even at 6′ 1″. At the back I’d have preferred counter tensioning straps like on the Kokopelli, rather than the thin elastic which makes the backrest wobble about, but you can always use the long packing strap for that. (In fact, the same backrest came with my Sigma TXL which I eventually replaced with a firm backrest and rear straps). The loose seatbase can attach to a strap over the floor pad which is well jammed in. The boat also comes with a hard foam seat base; I didn’t try it on the Revo but did on my own TXL a couple of months later on the Thames and again two-up off the Skye coast: it was soon uncomfortable. I’ve since learned it’s designed to allow bilge water to flow freely to the back of the boat and drain away (the regular air seat would block the flow).
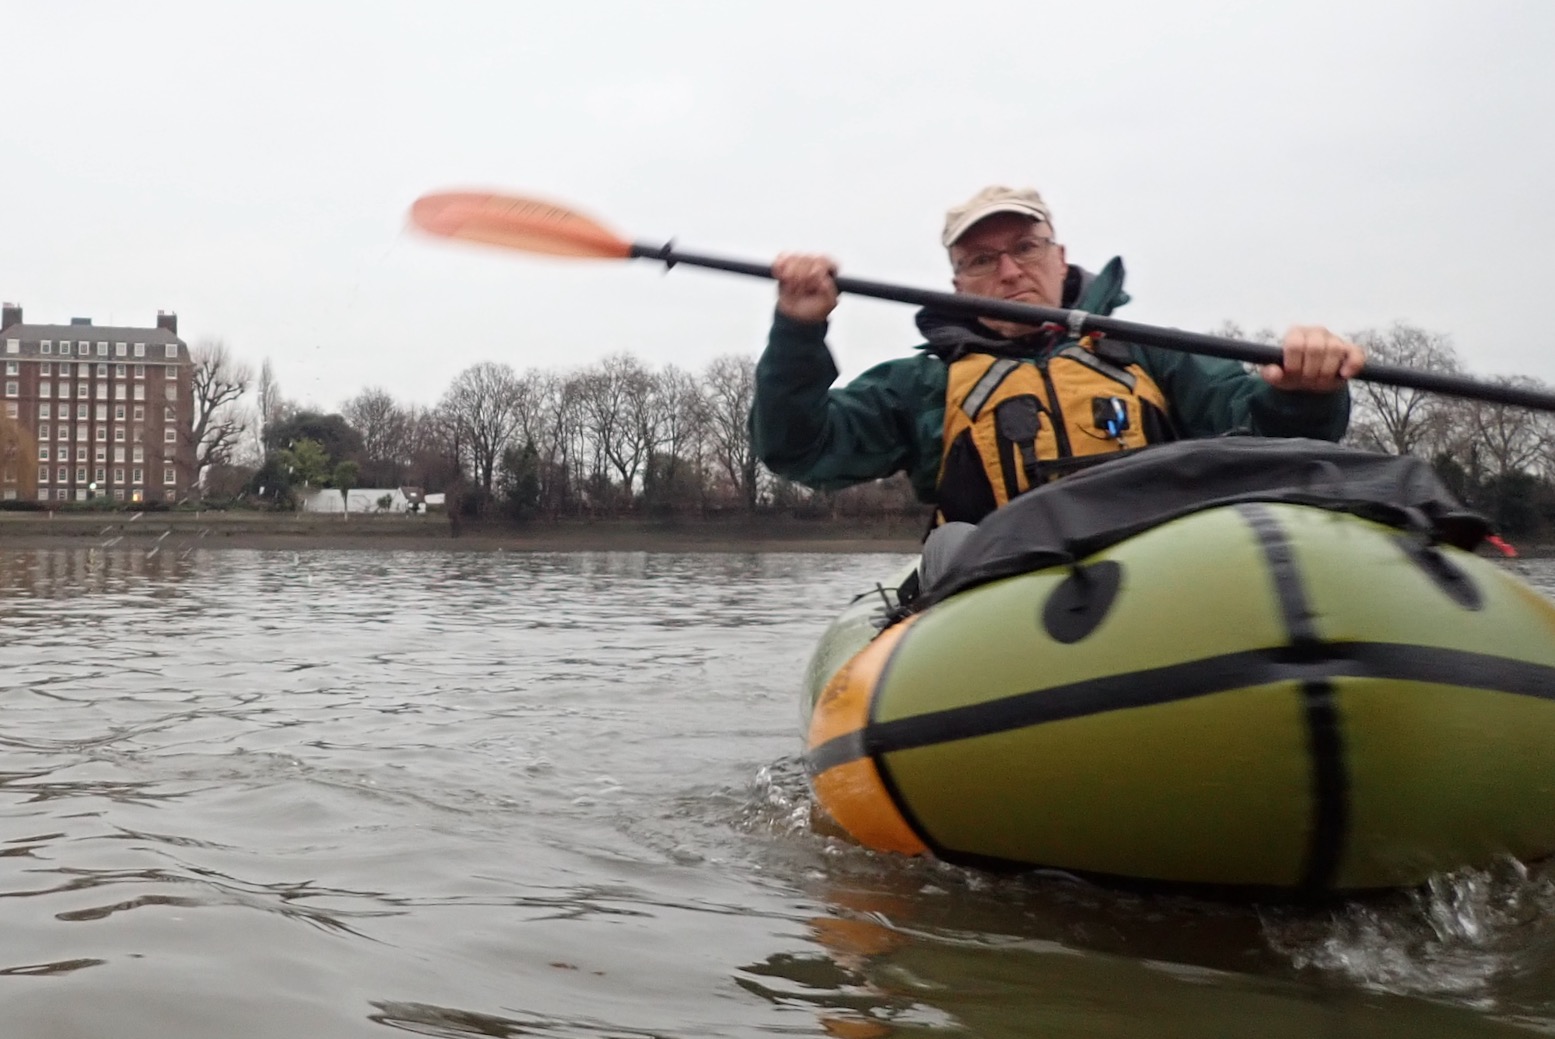
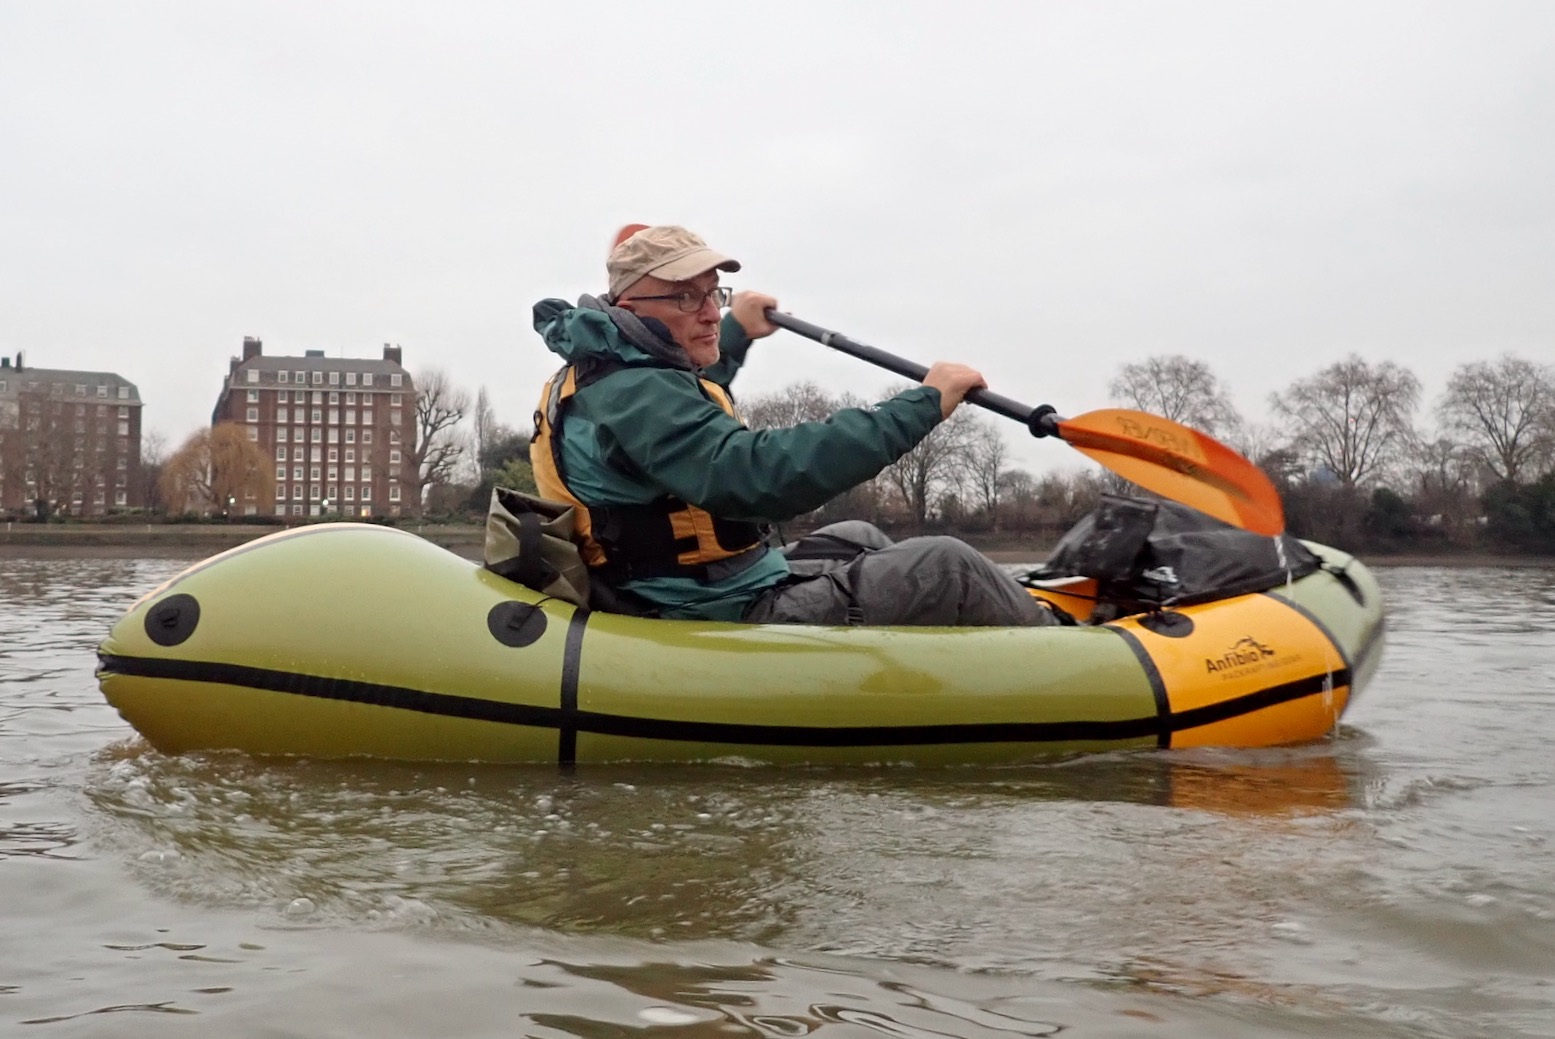
Sat quite high but nice level trim, unlike me in the conventional Rebel 2K
The fitted, Boston-valved floor pad eliminates floor sag and adds overall stiffness to the hull for better response and speed. Sat higher on the pad I thought the Revo might be a bit tippy; not normally a problem with a packraft. On the Thames I soon got used to it; in whitewater not so sure, but too low a centre of gravity can reduce agility.
The four-point knee straps are key to this and I also soon got used to them. Even on flatwater they help your posture and drive by fixing your lower body to the boat. Again, on the XL the mounts were a bit off for me; I ended up using the front tabs, not the daily-chain ladder rungs along the top of the sidetubes.
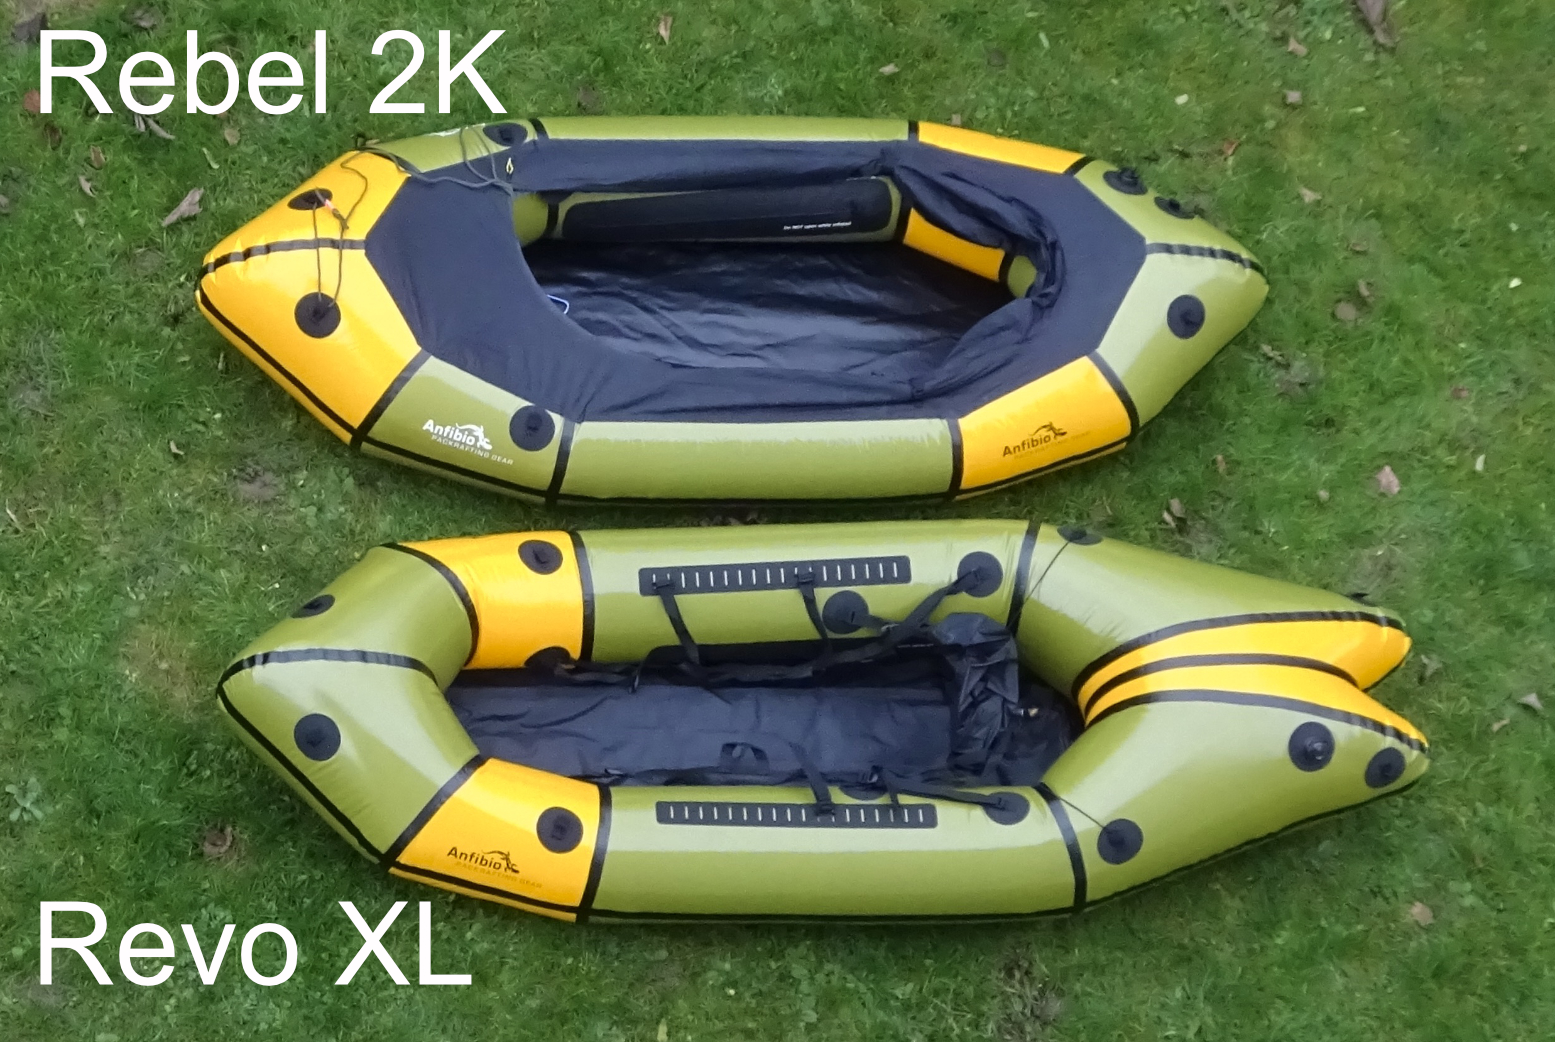
At nearly 2.5-m long, the Revo looks huge but is actually only 17cm (6.7″) longer than my 2K (left) while having a flatter trim with me in it due to the longer stern adding up to a central seating position. With the stiffer floor, I thought it might have felt faster; perhaps it was but I didn’t notice on the strong outgoing Thames tide. I pulled over and fitted my skeg which reduced some yawing, but realised later I should have topped up the floor mat, as well as the boat, once it had cooled on the water a minute or two.
There’s nothing to stop you using the Revo without the floor pad with drain funnel closed (less bulk when travelling). The backrest might end up a bit high, but you’ll be sat nice and low. I was told the drain funnel’s roll-top closure would be improved on production versions, but after going out of my way to make a really tight roll and clip, only a cup had seeped in over an hour, which is barely more than paddle splash. With the drain tube sealed and with no floor pad but just a seatbase, I don’t think you’ll be swilling around in water seeping up from the funnel. I forgot to try paddling with the funnel open, but all that would have done on the Thames is possibly slow the boat down.
So the Revo: a packraft with a hull-stiffening floor pad, optional self-bailing and knee straps. It ticks all the boxes for playing around in whitewater and sea surf, but with the huge TubeBag storage pockets installed in the hull sides (€140 option on the CL; well worth it), the XL is set up for overnight trips too, with the load providing added stability in the rough stuff or when bombing along under sail. I knew before I saw it that a Revo wasn’t really a packraft suited to my kind of use. I don’t do challenging whitewater nor sea surf, so can live without self bailing (though I appreciated the deck on the Rebel 2K). Soon after trying the Revo I bought a more conventional Sigma TXL solo/tandem (also with TubeBags and an inflatable floor pad) and so far am very pleased with it on inshore paddles. I’ve fitted some knee straps, but am not sure about the floorpad and did not get on with the inflatable front backrest or the foam seat block.
An hour and a half before sunrise and I am in the midst of a twitter storm. Up above me unseen in the trees the neighbourhood avians are performing their dawn chorus a little ahead of schedule. I’d been planning to try out a prototype Anfibio Revo for weeks, waiting for a sunny day while failing to pull off more ambitious test venues. In the end they wanted it back so it feel to a transit of the dreary old Thames through London.
But walking to the station, it was clearly far from the predicted freezing night leading to clear skies till noon. No frost glittered on car bodies nor stars twinkled above. Oh well, it’s 6.30am and I’m at the station. I may as well go through with it. Not done the Thames in a packraft before, so there’s that.
At Putney jetty energetic young rowers were hauling out their cheesecutters from the sheds while I fumbled with the Anfibio Revo’s floor pad. At a glance the Revo looks bigger than my 2K so it might be a bit faster. It’s a self-bailer with an unusual drain funnel under the seat (like some Gumotex canoes) rather than the usual lines of holes along the floor’s edge (like the ROBfin; another stillborn test). An 8-mile run along the Thames wasn’t going to test the self-bailing system, but for flatwater the dangling funnel can be pulled in and rolled up like a dry bag to stop the boat filling up.
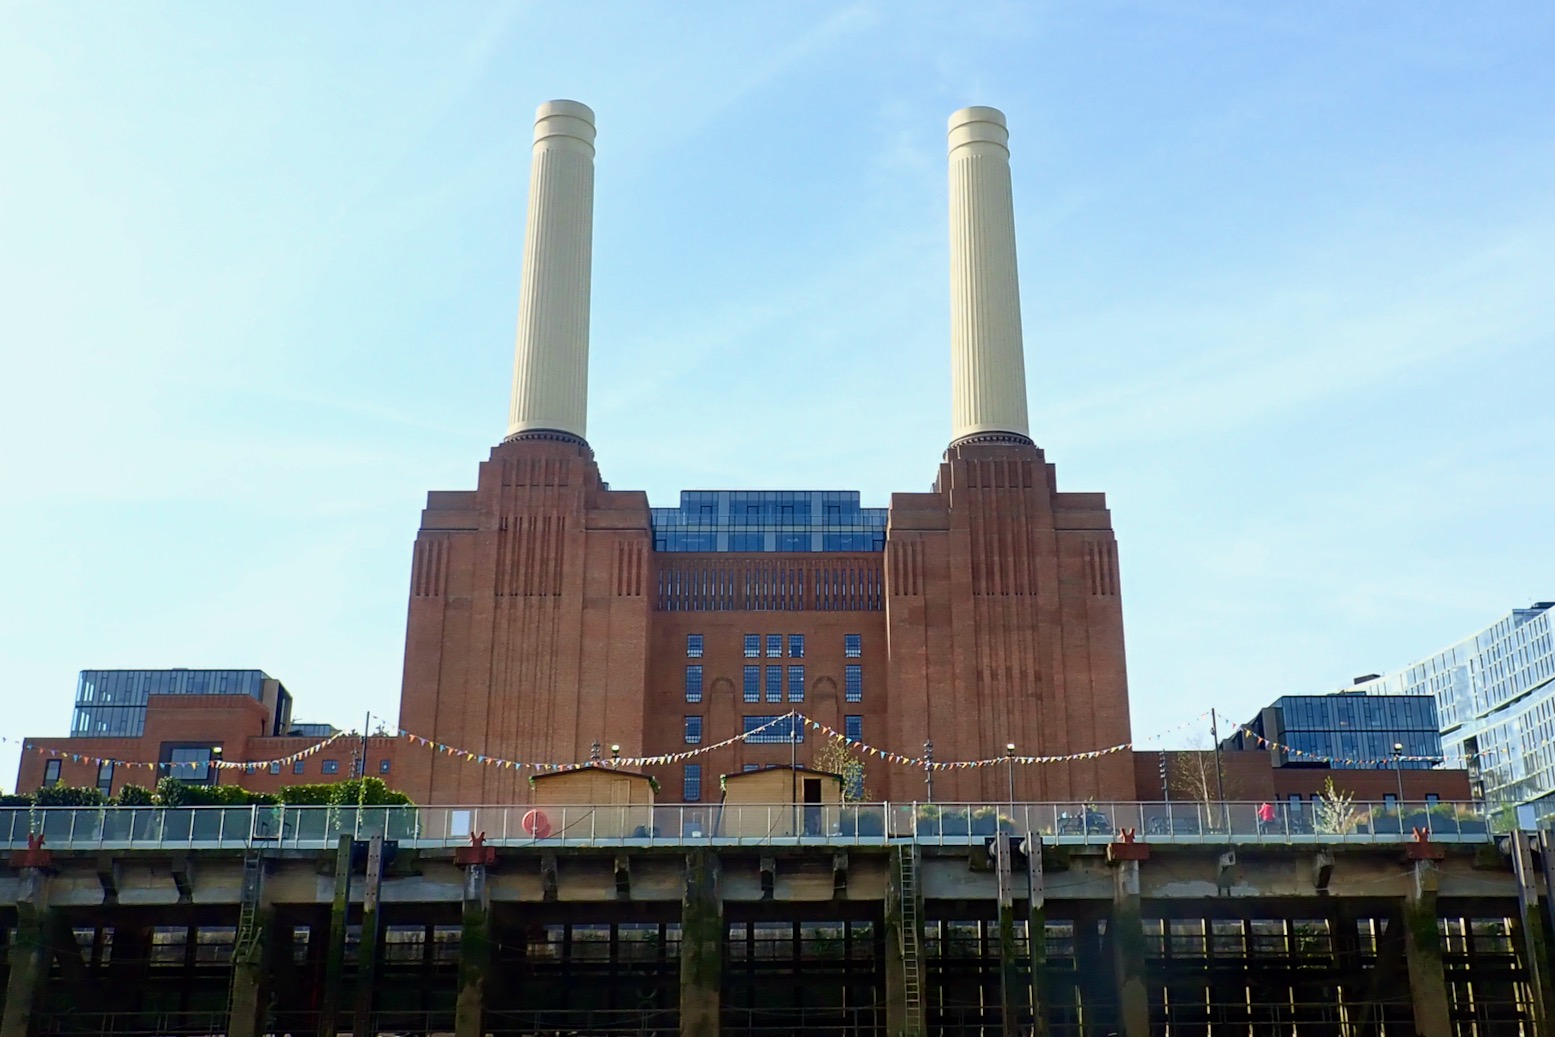
I am on the water midway through a 6-metre ebb; LW is 11am at the Mayflower pub in Rotherhithe. The Revo has a high-volume stern typical of whitewater packrafts to stop them flipping backwards when coming out of rapids (I presume).That old hay bail from my visit last April in the Seawave. It’s an ancient rivermen’s sign indicating ‘arch closed’ or danger. Could make a nice bird nest tooThe Revo seemed to yaw a lot for a long boat. Maybe the floor pad making the floor extra flat doesn’t help. So I pull over and fit my skeg which made it a bit betterYou don’t want to push up against this with 0.55mm of TPU between you and the fetid ThamesIs Battersea Power Station powering again? I hope someone informed the new residents?I am reminded of the famous Pink Floyd LP cover from 1977. People ask: What does the pig symbolize in Pink Floyd? Along with dogs and sheep, pigs are one of 3 animals represented on the album. The pigs represent people, like [Mary] Whitehouse, who feel they are the moral authorities. I was only asking!The latest scandals? Sigh: where to start, but good to see they’re finally getting the flammable cladding sorted.9am, all is quiet on the river but as soon as you pass under Westminster Bridge things gets choppier. My P&S camera is barely coping with this eclipsarian light. What a wash out.Jaunty buildings; journey’s end is nighI try some more selfingtons, but the focus is too lowI pull in just before London Bridge. I averaged 5mph for 7.5 miles, but half of that speed was the tide. Like any packraft, the Revo felt slow at times. You sure miss the g l i d e of a long IK. But it got me here and weighs just 4kg with the floor pad.Jeez, I’m glad I got off before he bombed through!A picture of me rolling up the packraft, so you know I’m not making it up.I decide to climb the ladder for old time’s sake.Back in summer 2005 with the old Gumo Sunny (my first proper IK) and before I knew about packraftsNotice the small standing waves you often get just after London BridgeWhat is the name of this famous ship? And who was the illustrious captain?I find myself in Borough Market for the first time in years, an Aladdin’s souk of upmarket nosebag: Paradoxically, in the middle is a greasy spoon and before I know it I’m sat before my annual Full English. After, I buy a giant sourdough loaf for a fiver and some wafer-thin slabs of Comte and Gruyere at only £45 a kilo.Can I see you ticket, please?London Bridge & APaddleInMyPack
For reasons of topography and size, France, particularly the south and west, has some great paddling rivers. Mountainous areas not immediately adjacent to the sea produce long rivers along which you can choose the gradient and level of difficulty that suits your ability. And you can do so for days at a time. You can also add unfettered rights of way on the water, though that’s an unfortunate anomaly unique to England and Wales.
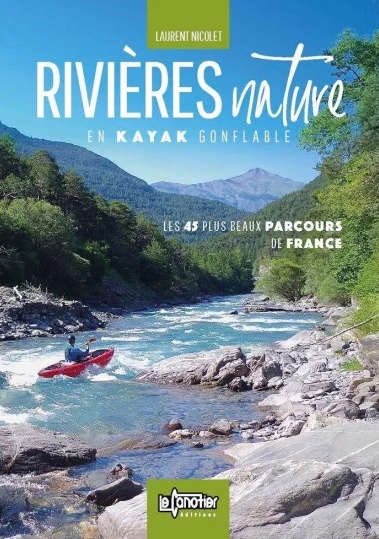
What they Say [translated] RIVIERES NATURE EN FRANCE answers all the following questions. For each route, you will find: • level of difficulty (easy to intermediate), the length and duration • specific regulations for the route • minimum, maximum and ideal water levels, and how to know them • access points with gps coordinates • QR codes to map access ponys and water level stations • description of the route (km by km, focus on difficulties) • short hikes off the river (canyons, caves, viewpoints, etc.) • specific safety advice • useful addresses (campsites, visits, service providers) • detailed map with an IGN topographic background
• Must be the ultimate guide to southern French rivers • The author has been there and paddled it – all bar three of the hundreds of photos are his • Very nice full page maps detailing portages and rapids • Parallel river summaries in German • More IK photos than you can point a paddle at • With a mobile signal, QR codes for put-ins go straight to your device’s map • Numerical waypoints also given • Nice paper and great value per gram • Printed in Belgium – better sustainability
• It’s in French – domage • The design can be a bit dense • Packrafts (and SUPs) not seriously considered
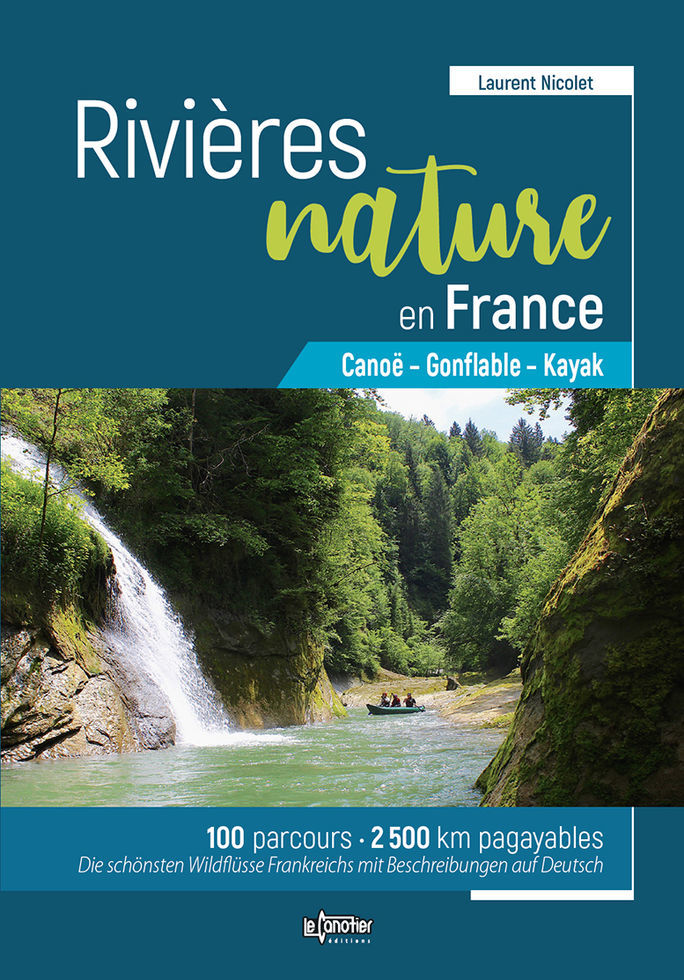
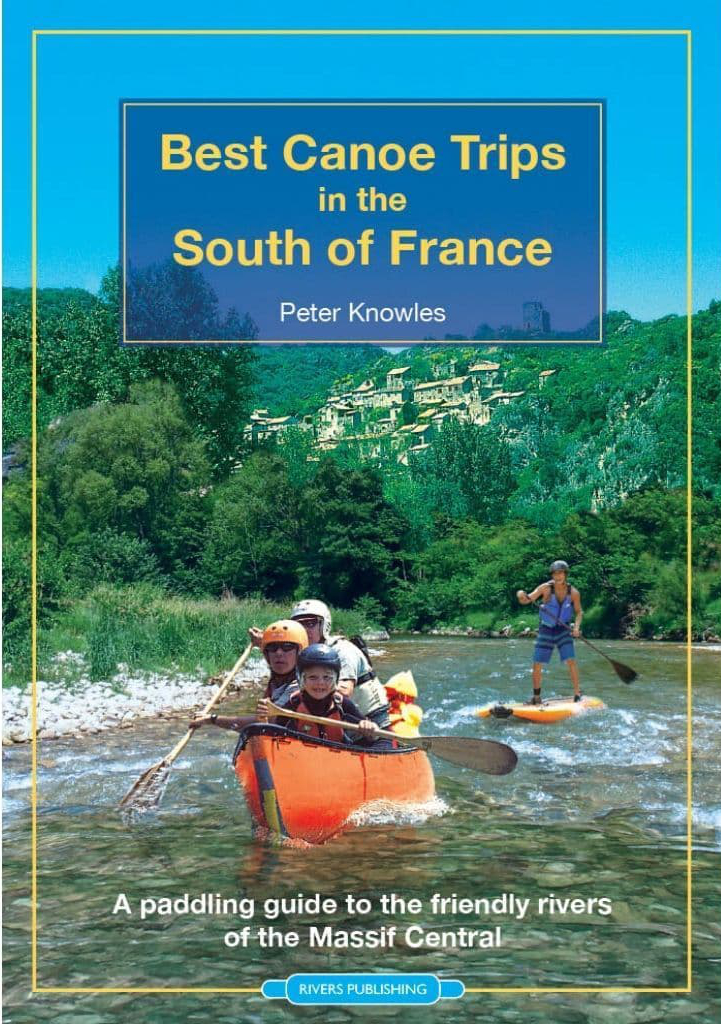
Review Rivières Nature en France is a similar if far more comprehensive title to the dozen rivers in Best Canoe Trips in the South of France (left) which I’ve used myself. This 416-page book compiled by Laurent Nicolet (distributer of Gumotex IKs and Nortik packrafts in France) lists no less than 100 routes over 63 rivers mostly in the south and west. It also shows parallel short summaries for each route in German and is sold on amazon UK for under £25. The book has more images of IKs than have probably ever been printed – even after my book came out ;-) This edition seems to supersede an earlier title published in 2018 called Rivières Nature en Kayak Gonflable which is Nicolet’s day job. For years he’s produced videos validating the utility of ‘kayak gonfables’ or KGs in French. It might well be the same or very similar book, but reprofiled away for IKs towards all paddle craft.
All the great rivers of the south are here: Tarn, Ardeche, Dordogne (ideal for beginners), Verdon and the sportier Allier, as well as a whole lot you’ve never heard of. Up front you get a location map (above), after which each river is listed alphabetically and described over a few pages. There’s the usual advice on what gear to take and safety tips like never tying yourself to the boat (SUP leashees take note) or shooting weirs without checking first. That’s unless there’s a portage-dodging passe canoës or canoe chute (left) – a common feature on French rivers which add greatly to the fun. There’s also an interesting rant against official censures against solo paddling “Imagine such restrictions on walking and skiing!’ Quite right, mon brave.
The author covers the full range of kayaks and canoes, hardshell or inflatable and even packrafts and SUPs (translated above). But less versatile SUPs and packrafts are virtually excluded from the book’s copious imagery, though a decked or bailing packraft could probably managed all the whitewater shown, and there must be some easier rivers which could be ‘boarded. On p379 I’m not sure the bloke balancing upright on some sort of dropstitch picnic table is on a SUP as we know it. There follows the usual advice on ‘leave no trace’ including using Le Poop Tube en sauvage, an explanation of Class 1-6, the vigicrues website for reading live river levels and which I discovered one time on the Allier, and advice on organising shuttles – all much eased if not eliminated outright by using portable packboats.
I won’t pretend to have read this book cover to cover, were that even possible – I speak French a lot less badly than I read it. But I only recently realised the ease at which a page can be translated with a translation app using a tablet or phone camera, or dropping an image into Google Translate. Reading a translated A4-sized page on a phone screen would be tiresome; easier to do back home on a desktop and print out. Some examples below. Note you have to excise the QR codes or Google goes there.
As a test example, I can concentrate on a river like the Tarn which I’ve done a couple of times both in a packraft and with IKs.
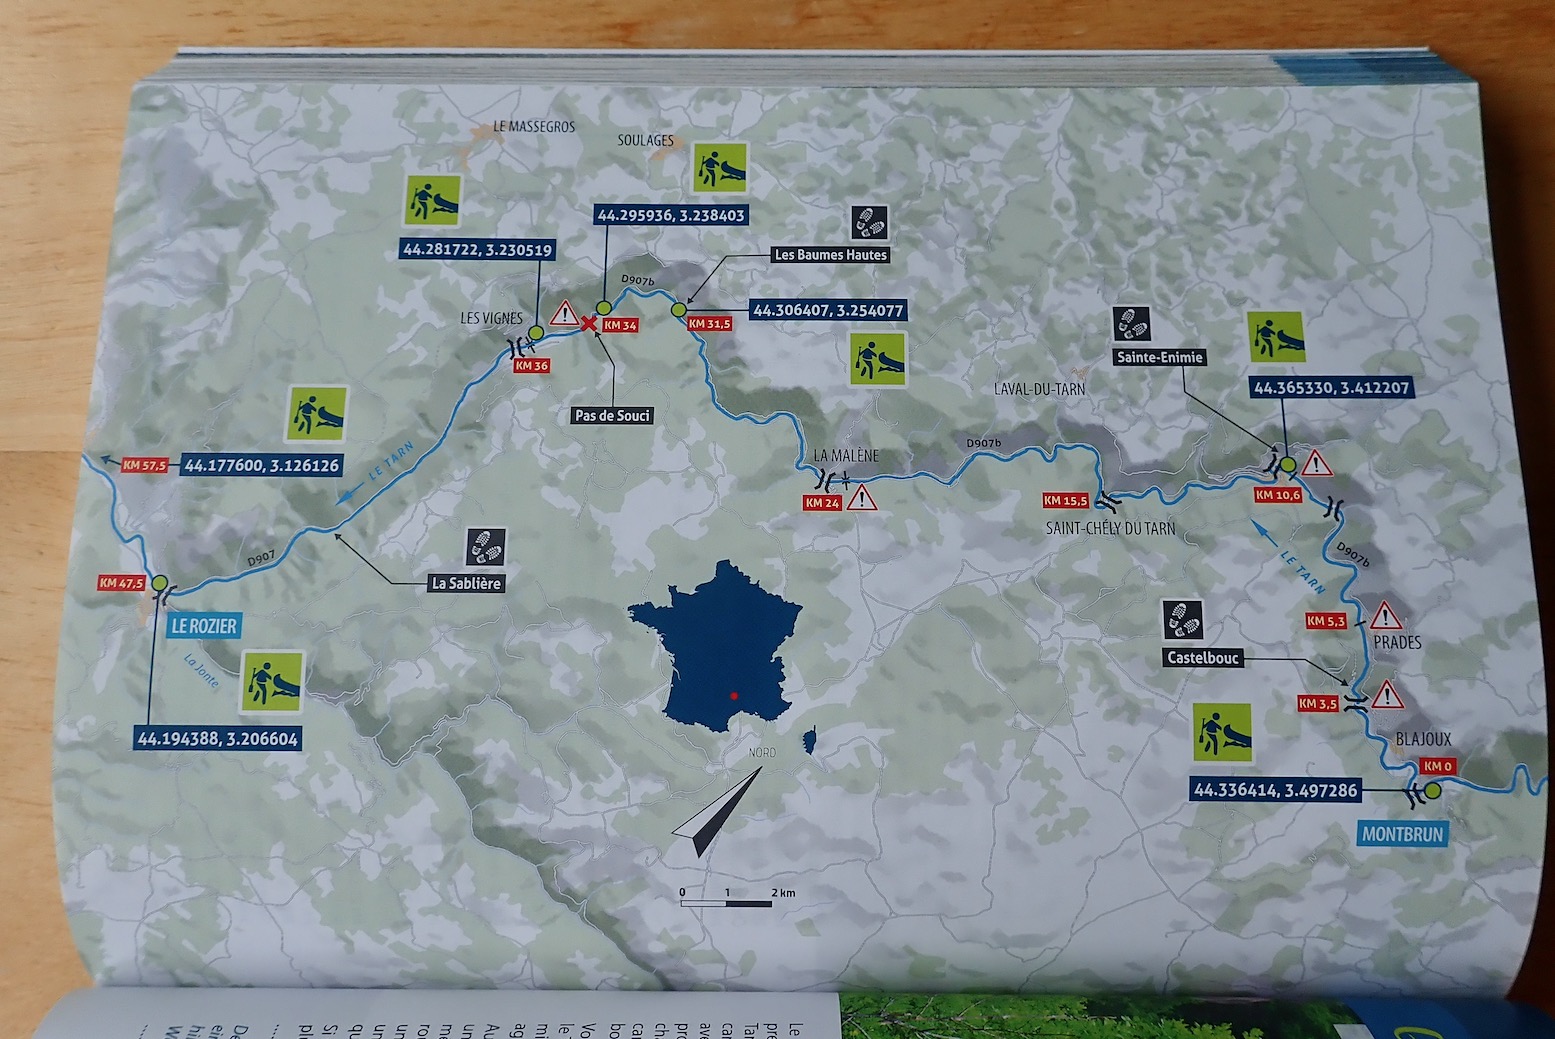
Tarn map. Fairly intuitive icons but no explanatory key and no campsites labelled.
Le Sabiliere – as hard as it gets on the Tarn
The Tarn description focuses on the most popular 57km section from Montbrun to Le Rozier. I have to say I made that 47km measured off Google Maps on my big Tarn map which covers the full 84km run from Florac, 18km upstream from Montbrun, to Millau, 19km after Le Rozier, Using public transport, I found both Florac and Millau better choices to start and end a Tarn packboat paddle. Anyway…
Tarn summary
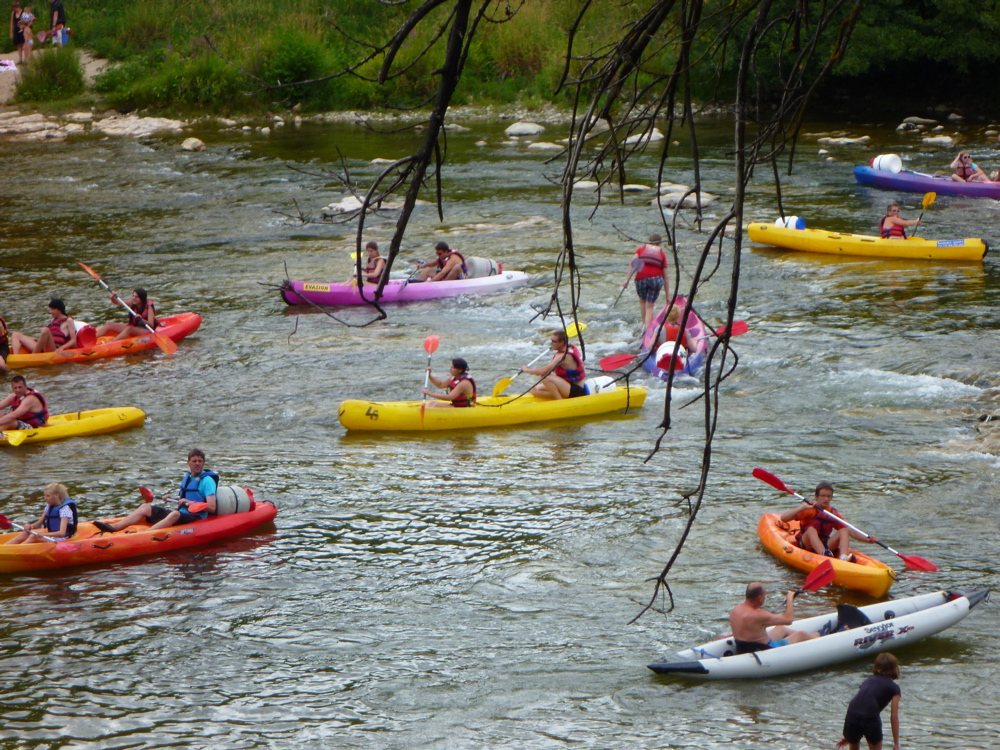
The first thing they advise is avoid the peak holiday period when the Tarn can become a logjam of hardshell rentals and yelping kids (left; actually the Ardeche below a busy campsite). While I’d certainly avoid the Tarn (and indeed France) in August, as a foreigner I found the occasional hullabaloo in July all part of the fun if you just paddle through it. Packed-out campsites along the stage described will be as bad as it gets. And they are packed out.
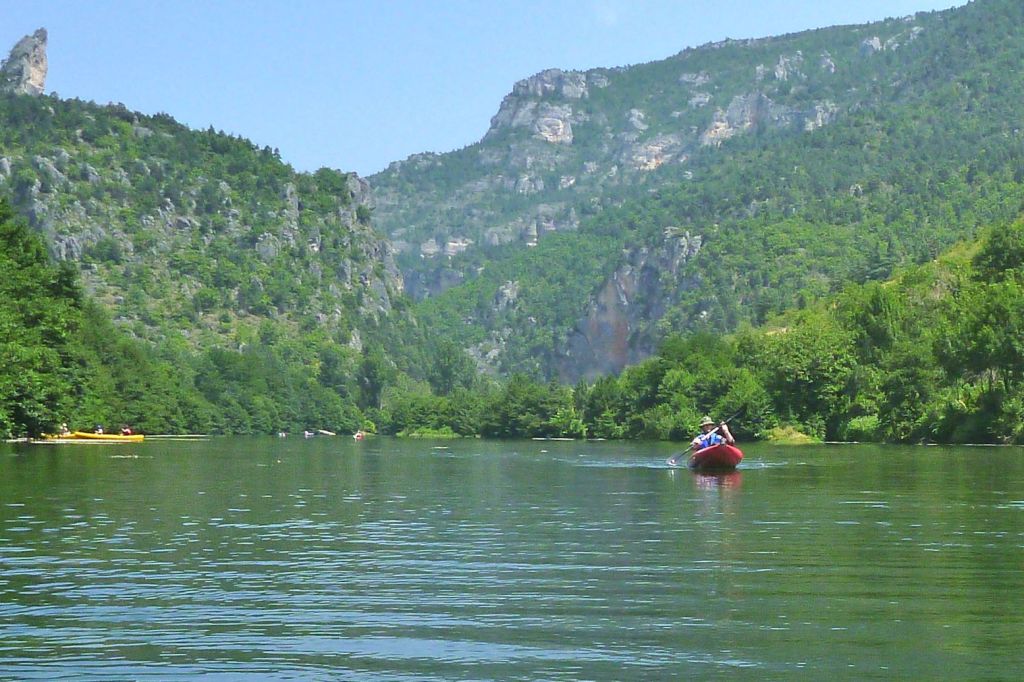
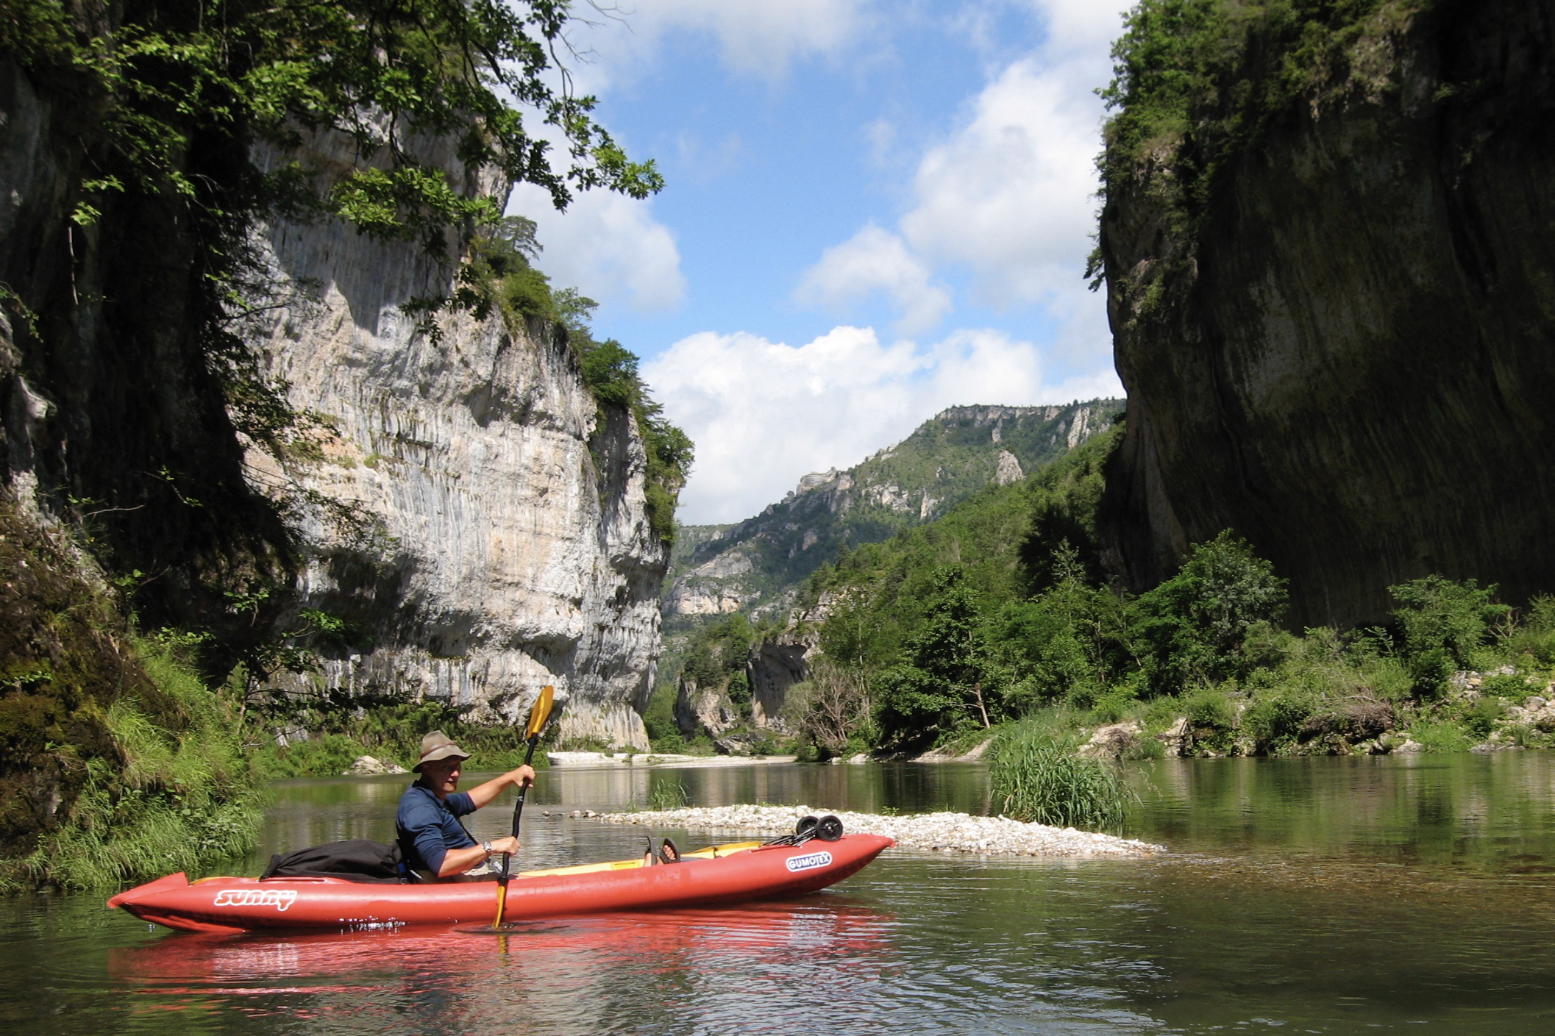
Tarn – Les Detroits
You then get a river summary: best time of year; regulations (if any); water levels with min, max and ideal levels, plus a QR code going direct to vigicrues – a good use of this idea; the best type of boat; environmental protection (if any); wilderness and tranquility; off-river pedestrian excursions, and where to sleep, but with only a selection of campsites including websites and a phone number. These could have been much more usefully added to each route’s map. Selected put-ins/take outs have more QRs linked to waypoints which are also printed in old-style DMS (44° 56′ 15.5″ N…), followed by the much less error-prone decimal-degrees (DD: 44.9376297, 2.321622…) format. Google still uses both but the sooner we all get used to simpler DD the better.
Kayaker caught putting-in below the Soucy rock-jumble by the Google drone
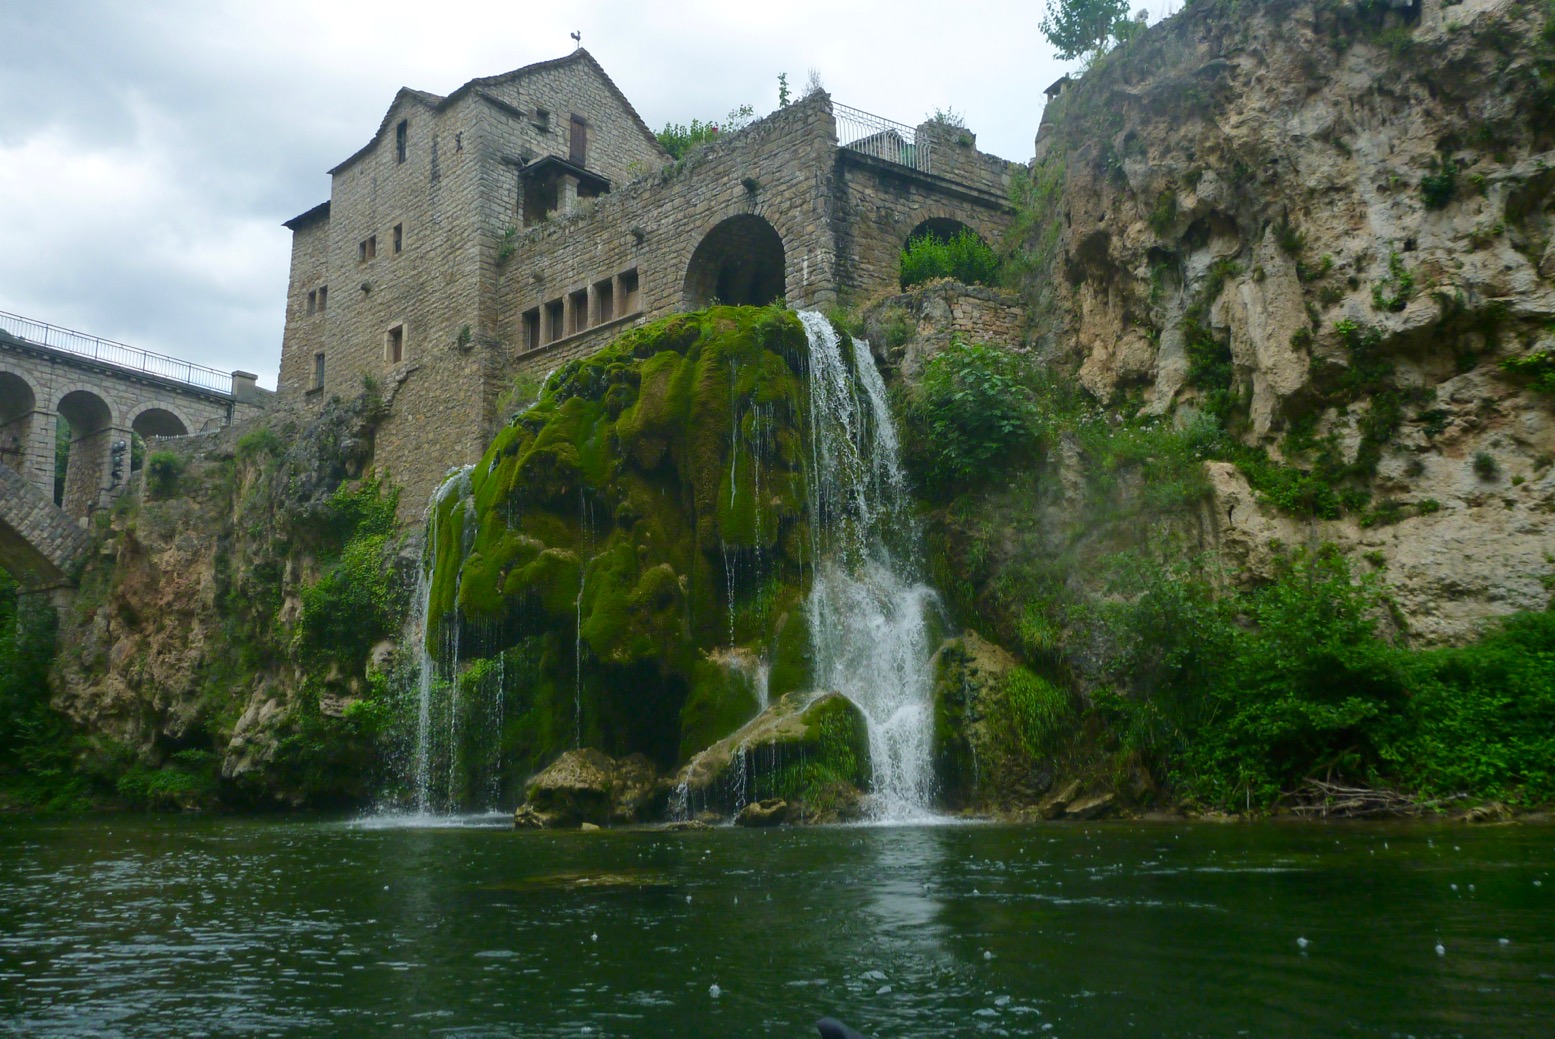
St Chely
Next is the main route description: KM0, KM22.7 and so on. ‘En aval‘ was a new expression on me: ‘downstream’. If your French is a bit ropey – or cordée – it would be worth translating page images in the planning stage, as suggested above, so you don’t find yourself in l’eau chaud. Doing so you’ll come to learn handy expressions like en aval and so on.
Tarn Route description
The book goes on like this, river after river, with enough photos to help you identify what looks appealing. It celebrates a newly opened passage of the Allier from Naussac all the way to Brioude (114km), though you may want to miss the initial 22km of “no less than 55 distinct rapids [up to Class 4]” which end at Chapeauroux.
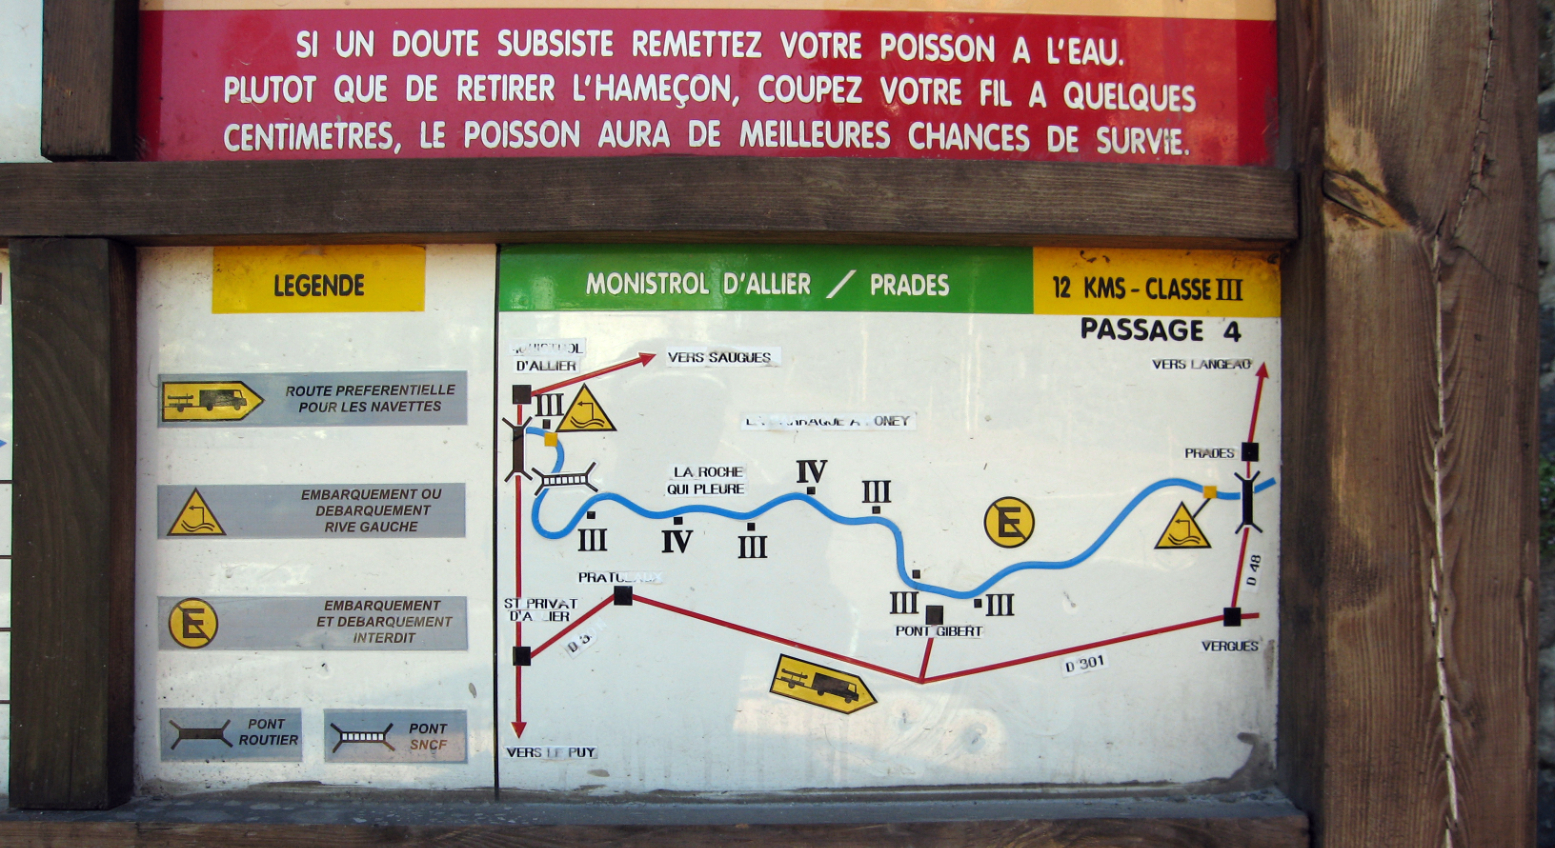
Coming up the train line from from Brioude, it was from Chapeauroux one June that I blundered rather naively down the Allier in my early Sunny days, after having found the Dordogne a bit of a doddle the previous year. As mentioned elsewhere, a dam up from Monistrol (30km below Chapeuroux) has by been rebuilt lowered to salmon-friendly levels so that the long taxi portage I had to do around the now non-existent reservoir from Alleyras is now just an awkward portage down the new dam face at Poutes. (At the back of the book is an article entitled: ‘Hydro-electricity; the least renewable of renewables’). For the 12km from Monistrol to Prades (above left) you’ll again want a deck or self-bailing boat, otherwise you’ll find yourself as I did, pulling over to pour the water out of your boat. From Prades it’s all a less fraught and as enjoyable two days to Brioude.
You can have a lot of fun with the English Rivers Publishing guidebook – in some ways I find the basic design and layout a bit less dense. But once you’ve seen it and done it all, Rivières Nature has many more paddling suggestions in the fabulous south of France.
Are there really 450 pages to write about packrafting? Let’s find out!
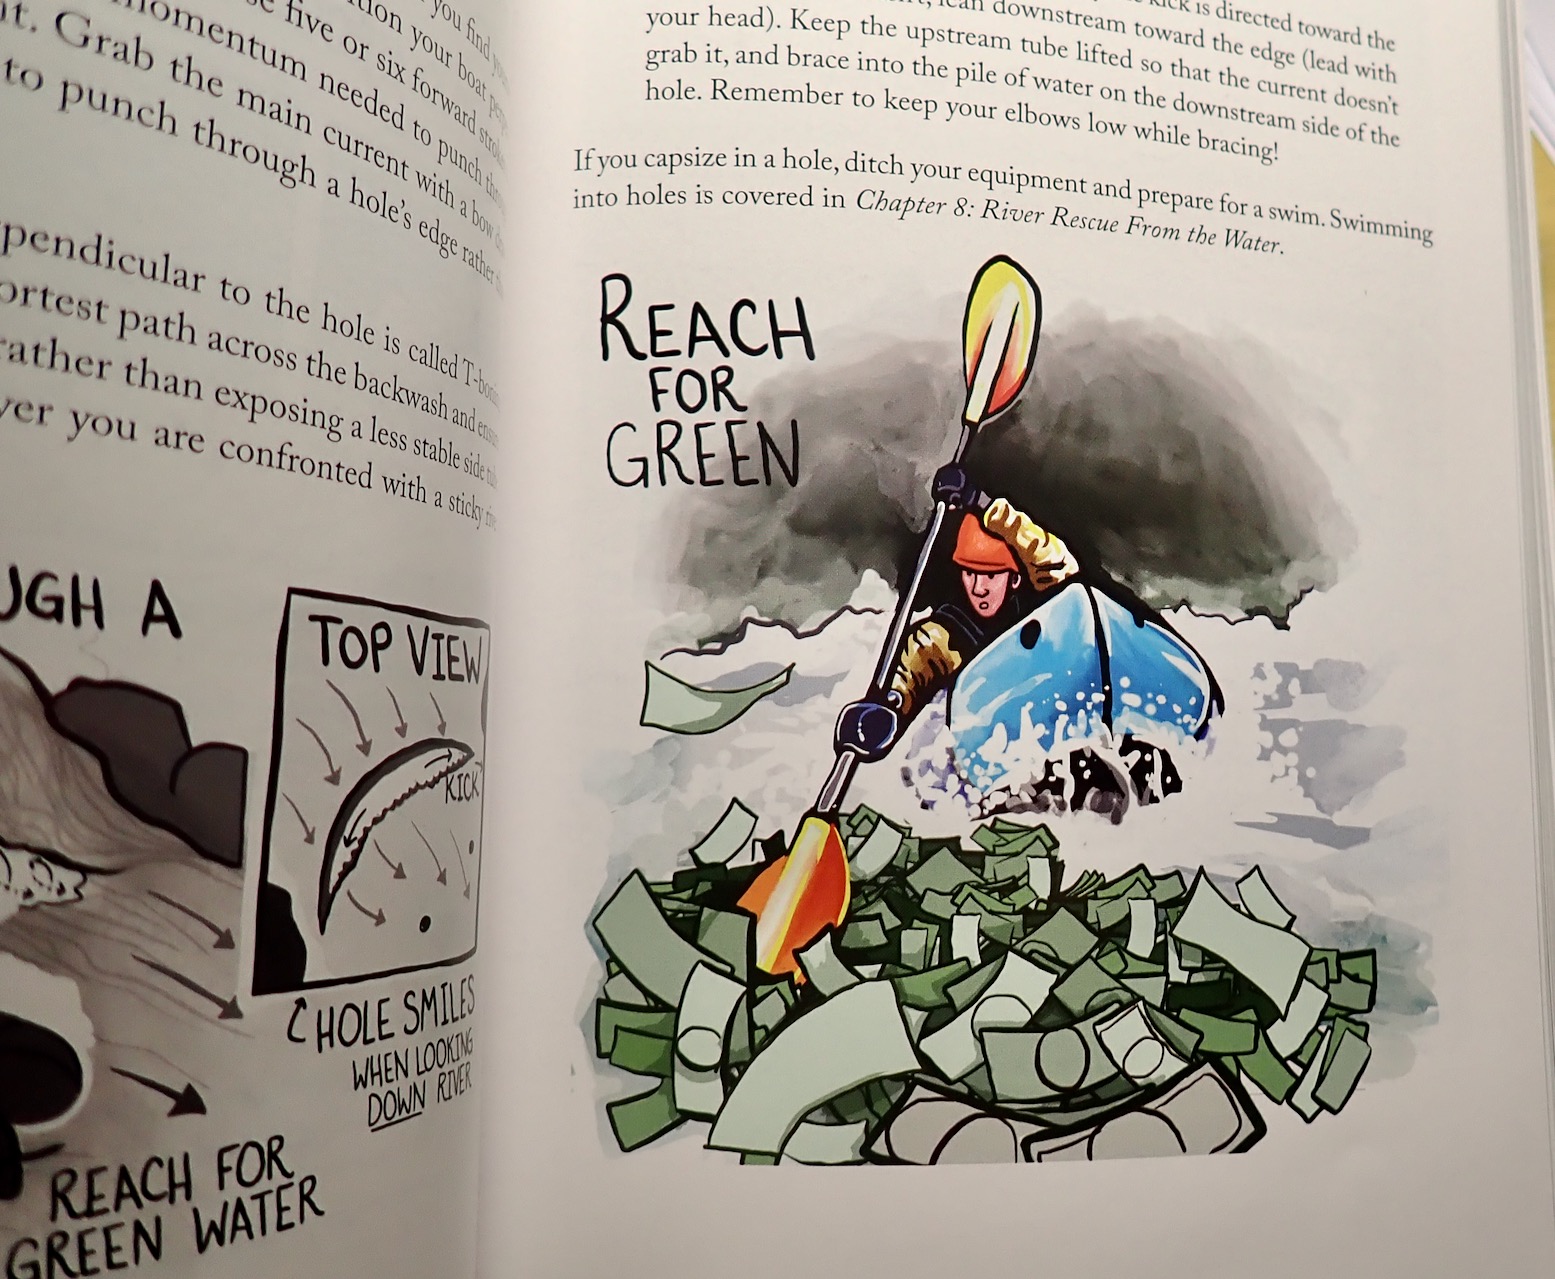
In a line You’ll learn more than you’ll ever use from this lavishly illustrated handbook, with loads of safety advice that focuses strongly on the author’s preference for whitewater.
• Presented with an engaging humility and humour which helps deliver important messages • Sarah Glaser’s vibrant graphics often work better than photos • Goes from £26 on amazon • Like the best handbooks, even the experienced will learn something new
• For a 450-page handbook on packrafting there are some odd omissions: no words or pictures about crossrafts or tandem paddling, sailing, bikerafting (bar one loading graphic), even packraft ski-ing which sounds fun and the author seems to have done • Like similar kayaking books I read ages ago, it can all feel a bit off-putting – which may be a good thing • Inevitably, Alpacka and Alasko-centric, a magical if unforgiving wilderness with unique challenges.
What they say The Packraft Handbook is a comprehensive guide to packrafting, with a strong emphasis on skill progression and safety. Readers will learn to maneuver through river features and open water, mitigate risk with trip planning and boat control, and how to react when things go wrong. Beginners will find everything they need to know to get started – from packraft care to proper paddling position as well as what to wear and how to communicate. Illustrated for visual learners and featuring stunning photography, The Packraft Handbook has something to offer all packrafters and other whitewater sports enthusiasts.
* This review refers to the original 2021, Canada-printed edition self-published by the author, not the 2022 version published by Mountaineers in Seattle and printed in Korea. There may be small differences in content and print quality.
Two good books I read as a beginner
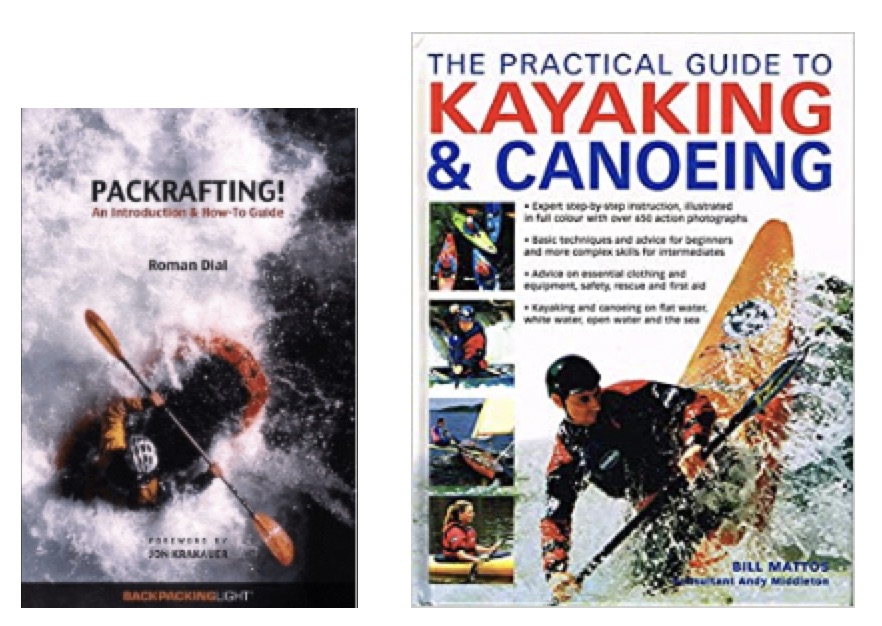
I recall reading Roman Dial’sPackrafting! (right) when I started out and thinking, Oh, there’s really not much to it provided you avoid churning whitewater. At that stage I’d been into IKs a few years and had read the basics in The Practical Guide to Kayaking and Canoeing, a huge, 256-pager by Brit, Bill Mattos. That book covered everything you can do in hardshells but, being more traveller than thrill-seeker, was instrumental in steering me away from the sort of high-adrenaline antics depicted on both covers.
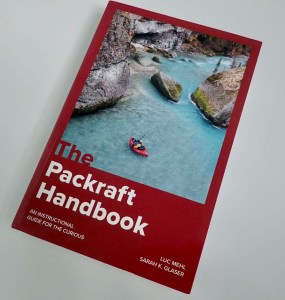
Wisely, Luc Mehl, an environmental scientist and ‘swiftwater’ paddling instructor, opts for a serene front cover, even if he’s a skilled exponent of whitewater action. His blurb above states: “… packrafters and other whitewater sports enthusiasts” suggests he sees packrafts as whitewater boats you can easily travel with, rather than easily portable boats you can take anywhere. That’s an important distinction. It was produced in response to the death of a fellow packrafting journeyman, as well as several other tragedies befalling close friends. The book’s tagline has been #CultureOfSafety, as in making it second nature to use the right gear, learn appropriate skills, pick the right conditions and make smart decisions, including scouting and if necessary, portaging sketchy situations. Inside, The Packraft Handbook uses thick, glossy paper to help Sarah Glaser’s graphics jump off the page. As a result it weighs nearly a kilo and must have cost a fortune to print before Mountaineers picked it up in 2022.
Early on, there’s an aside which resonated with me. “Many topics in this book won’t seem relevant until you experience missteps. It is more important to know what is in the book than to understand it all.” Having written similarly weighty handbooks on other subjects, that’s something I’ve frequently heard from readers: it’s only after having been there and done that, including bad decisions or choices, that they get what the book was telling them all along. This will doubtless be the case with The Packraft Handbook.
Tellingly, Luc Mehl found that kayaking whitewater in hardshells accelerated his skill development much faster than a packraft. Sure, a packraft feels stable but when it flips it does so with little warning, unlike a hardshell creekboat with far superior secondary (‘on edge’) stability. The point, of course, is a packraft is so much easier to carry overland for days at a time that the compromises are worth it. I skimmed over most of the technical whitewater paddle strokes which, as in Bill Mattos’ kayak book, is stuff with little application to the type of packrafting I did then or do now.
Even before you get to page 99, it becomes clear that both Luc Mehl and many of his intrepid contributors who supply pithy, lesson-learning asides, have had several close calls while ascending their packrafting learning curves, mostly in the unforgiving Alaskan wilderness.
Fall out? Me?
Then you take someone like me who’s never fallen out of a packraft, yet enjoys their amazing potential just the same. Aside from the fact that I live in the opposite of Alaska, one explanation may be the graph (below) featured in an interesting section on risk, ‘safety drift’ and ‘heuristic traps’. We learn that three often repeated words are key to assessing risk: Hazards, your Exposure and subsequent Vulnerability.
I was so old when I started packrafting I’m off the graph!
Having learned the basics in the Mattos book, I got a bit bogged down in the slightly over-technical How Rivers Work though it was interesting to read that bedrock rapids have a more dangerous character than silt riverbeds, perhaps because they resemble hard-edged, man-made wiers. And, along with the regular inclusion of snappy ‘Pro Tips’, I liked the ‘River as a series of conveyor belts’ graphic analogy – a novel way of explaining the complex flows of rapids.
I have to admit before I was even halfway through I was beginning to skim more and more river-running lore, while enjoying the boxed-out anecdotes which are the gravy in books like this. While I had a familiarly with what was being expounded, aspiring to master nifty river moves is just not what I do. My ability, such as it is, plateaued years ago while my risk tolerance drops by the second. Still, it all needs to be written down and explained in one authoritative source, and all the better from a specifically packrafting viewpoint building on many years experience.
The section on open-water crossings is based on the travels and subsequent material by Bretwood Higman and Erin McKittrick, whose record of their epic journey, A Long Trek Home I read soon after getting my first Alpacka. I paid a bit more attention here as in Scotland it’s the most exposed packrafting I might do. That section includes the sobering account of a British bikerafter who drowned during a Patagonian lake crossing of just 2km, and where having his boat leashed to his paddle or himself – a massive whitewater no-no – may have saved him. I’m reminded of another formative book I read ages ago: Sea Kayaking Deep Trouble; US-based analyses of sea padding fatalities and rescues, and crucially, what lessons can be learnt. Luc Mehl curates a webpage of known packraft fatalities which similarly hopes to inform packrafters on how to avoid getting in too deep.
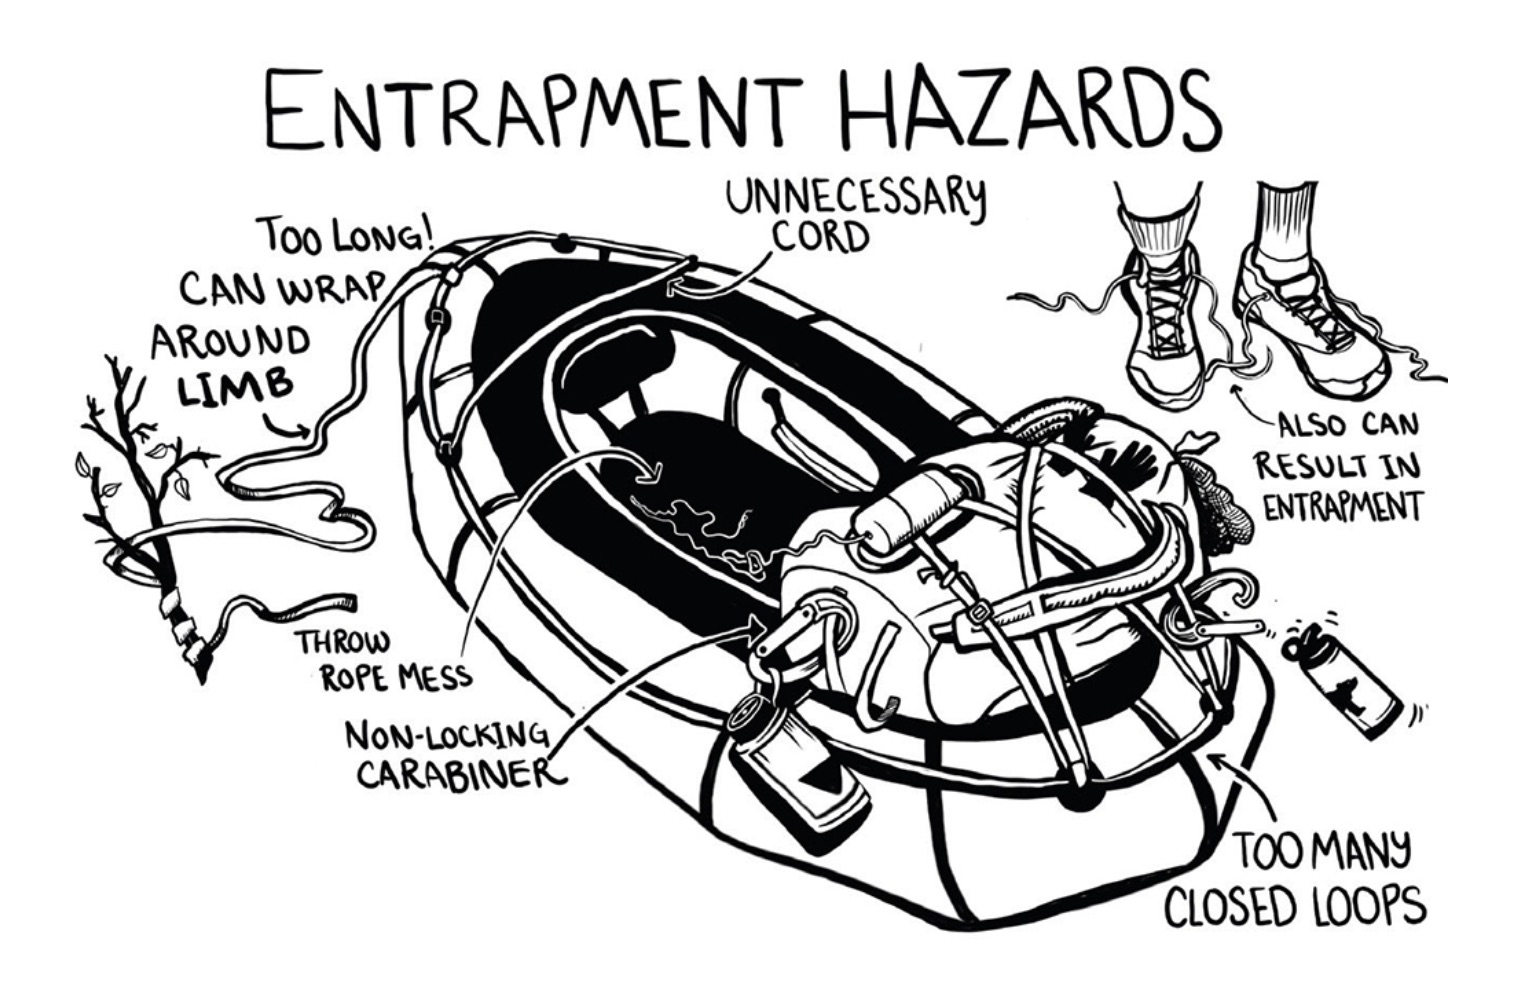
As a result of reading most of this book, I finally did something about a couple of safety and entrapment issues that have been lightly bugging me for years: I ditched a cheap, heavy (and barely used) locking rescue knife for an as-heavy but quick-grab NRS Pilot Knife which at the same time can also replace my never used Benchmark rope-cutter. (Maybe I missed it but, despite the repeated dangers of entrapment, I saw no mention of such knives in the Handbook). And I got round to fixing a reusable ziptie to a bow attachment loop to retain my bunched-up mooring line when on the water. ‘Wayward Lanyard’ a mate called it last weekend. He has all his early LPs.
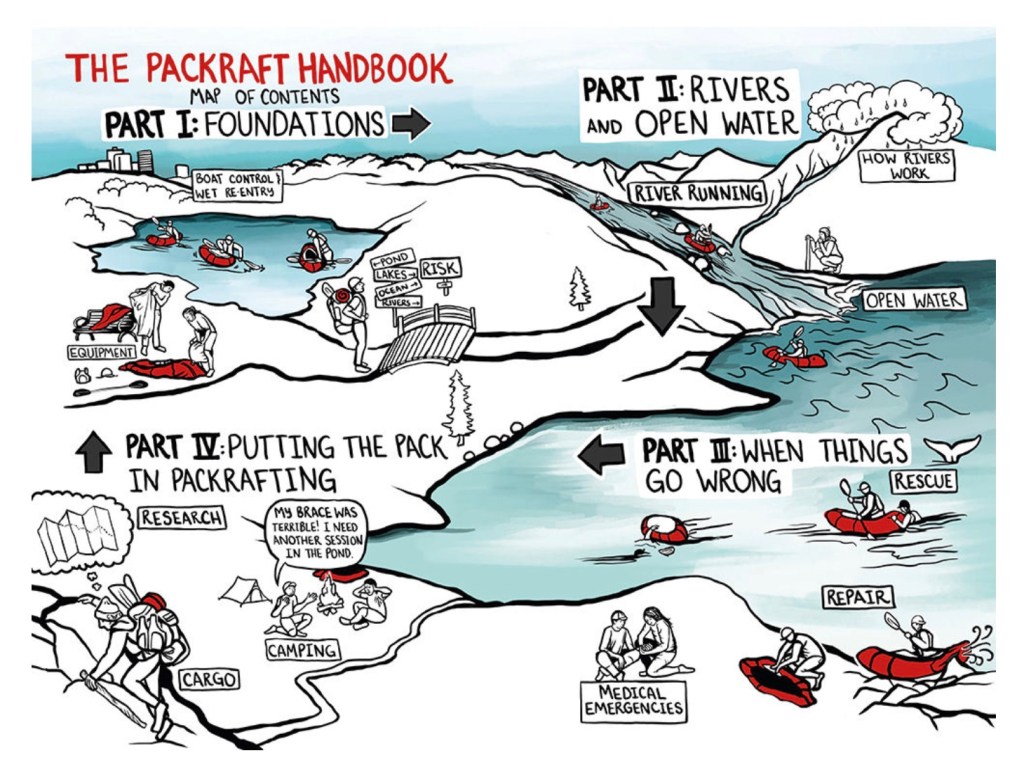
As things get more serious in When Things GoWrong your attention span may falter in the face of elaborate river-rescue techniques, including rolling your capsized raft (depicted in a series of graphics that make the technique very clear – a first for me), as well as increasingly intricate shore-based rope recoveries which are probably better watched or practised than read about.
Equipment Repair and Modification is a valuable resource of proven recommendations and ideas for tapes, glues and what works best for just about every sort of eventuality. It’s bound to be of use to many. Similar content appears on Luc Mehl’s website. Medical Emergencies underlines, among other things, the importance of understanding cold-water shock – the reflex which most commonly leads to drowning long before you’ve had a chance to catch hypothermia. Here I also learned something that’s puzzled me: why some drowning survivors still end up dying a few days later: pulmonary edema. At one point Luc Mehl describes how shooting off waterfalls down in balmy Mexico gave him a new perspective on risk – as in things felt less dangerous in the tropics. I remember thinking the same thing while struggling to kayak along Australia’s Ningaloo Reef. The wind was howling, the waves were annoying, but it all felt a lot less scary than it could have because it was sunny and warm. No risk of cold-water shock here, just being swallowed by a whale shark. The final two chapters about backpacking gear and trip planning were surprisingly skimpy; a sign of end-of-book syndrome? As it is, backpacking gear choices are highly subjective and are repeated all over the blogosphere (not least here!). The planning chapter felt very Alaska- and river centric (not much about the terrain in between which can be as challenging). But if you can pull off a successful backcountry trip in Alaska, you can probably do so anywhere. The book ends with no less than 16 pages of glossary and an appendix listing sources and additional resources. Design-wise, I’d say it’s bad form to have short boxed asides rolling over the page – across a spread would have been better. And it’s a shame that all of Sarah Glaser’s graphics (mixed in with some of the author’s?) weren’t in vibrant colour; that would have made a stunning book as it’s a great look which vividly delivered the lessons. Much as Bill Mattos’ hardshell book helped guide me towards my current packboat interests, a first-time packrafter with big ambitions is bound to value having the thrills and spills of whitewater packrafting laid out in The Packraft Handbook, all the better to decide what sort of packrafting appeals to them.
In a line Robust, well-made and comfy, but hefty and expensive.
• Thick 210D fabric has a chunky, solid feel • Counter tensioned seat band gives great back support • No overhang with the fixed deck sections (less snagging)
• £1199 ($1199; €1400) • Relatively bulky and heavy • As usual, some of the Kokopelli online specs (below) seem miles out
We took our most versatile, best-selling packraft, and upped the game. The Rogue is award-winning for a reason. (A handful of reasons, actually). Weighing in at only 9.1lb (4.1kg), and packing down to the size of a (large) roll of paper towels, it’s become the standard for portability and durability. We kept the best-in-class 210d DuPontTM Kevlar® Aramid-Nylon Blend* reinforced floor system for increased durability on the water. We kept the 210d TPU + Nylon sidewalls for the perfect combination of strength and weight. We kept the spraydeck to keep you warm and dry, and add extra reinforcement in high-wear areas – perfect for bikepacking. … Rated up to Class II rivers, the Rogue R-Deck is now THE packraft for bikepacking, backpacking, high alpine lakes, fishing, climbing, travel, whatever you can throw at it, wherever you can throw it.
I rented this boat from AS Watersports (not all accessories were requested)
Out of the box
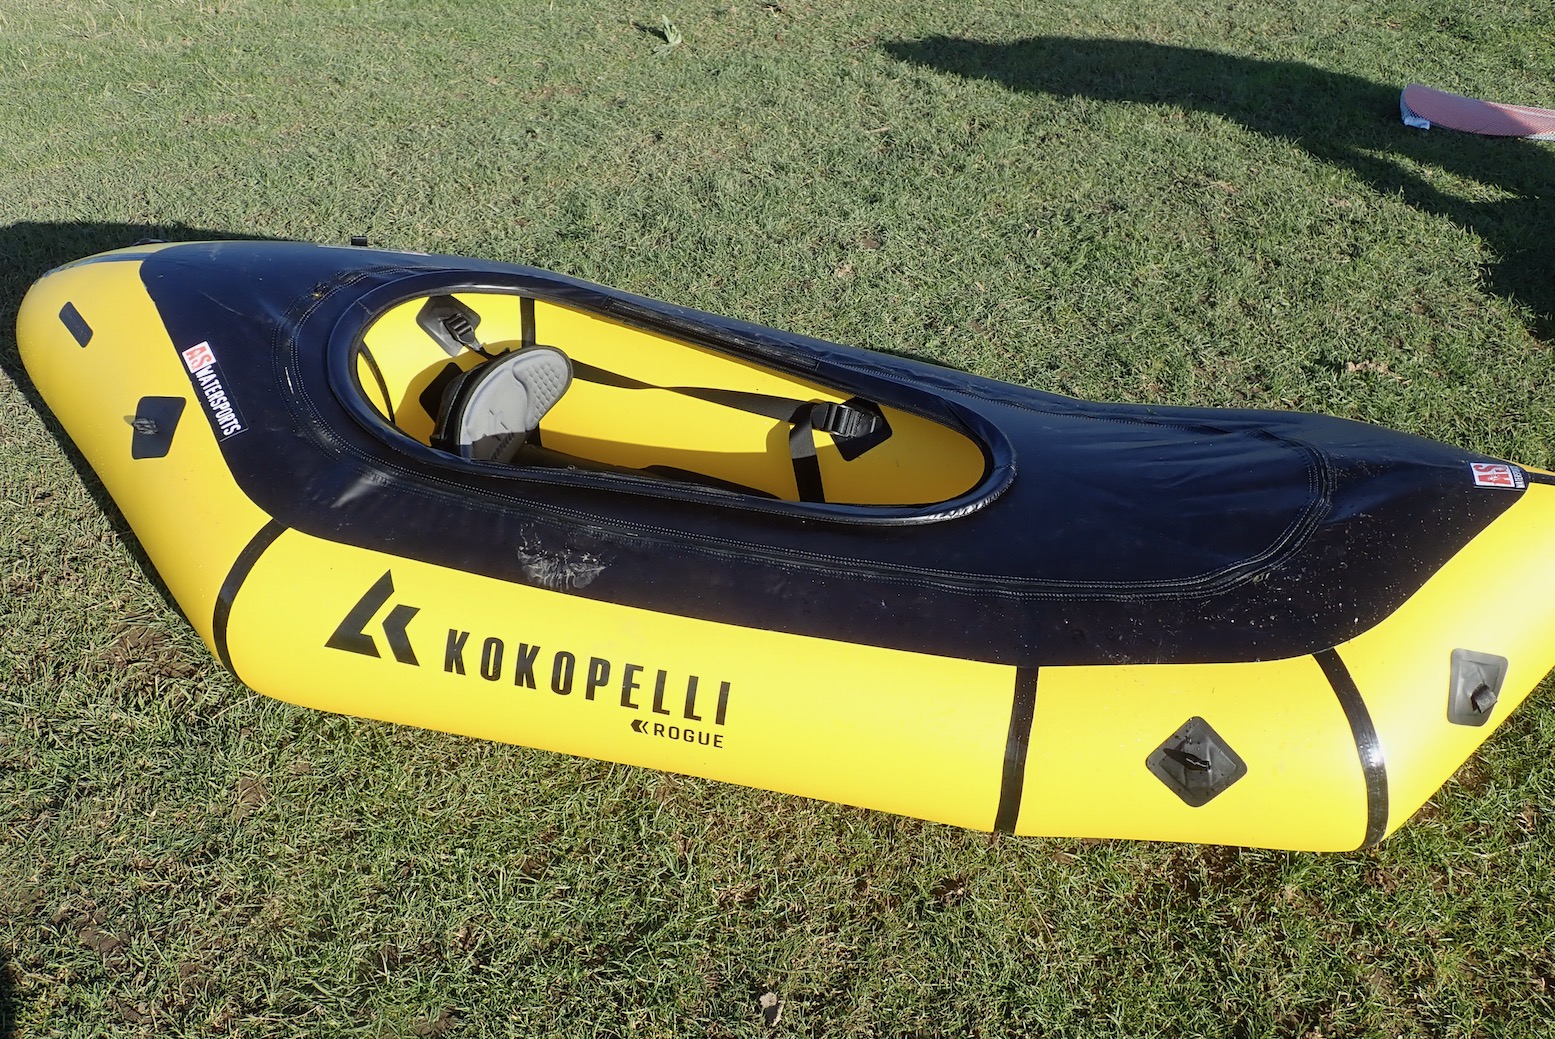
Kokopelli are the other well-known US brand of packraft that’s maybe even more widely distributed worldwide. Their distinctively angular 8-panel design, like Alpackas – also originally made in Colorado – have been put together in China for some years now, with models in both PVC and TPU. Out of the box the boat feels big and heavy, but the thick, waxy TPU also adds an IK-like robustness. Interestingly, they describe the fabric as 210D all round, which just goes to show how misleading Denier ratings (relative thread weight) are, once you apply lashings of TPU.
Leafield push-fitChunky twist-lock
From the start Kokopelli have used Leafield D7 ‘raft valves’ in their boats. These are push-fit, like on old Gumotex, not modern not bayonet style, but for the low pressures you pump in a packraft they work fine and if a nozzle blows off it’s a kind of pressure release valve. The seatbase has an old style twist-lock valve, but again, with a sturdy quality I don’t ever recall on my old Alpackas. I used my mini electric pump and mini handpump to inflate the Rogue.
EVA foam seatback bandFat seatbaseRear mesh pocket
The seat is a similar and proven system I adapt on my IKs: a big, inflatable seatbase which attaches to the hull via a strap, and a chunky EVA foam backrest with a rear mesh pocket and which is tensioned from front and back to stay upright. It means that even if the 130-cm cockpit is too long for you, you can shuffle the seat as far forward as necessary to get a good, braced position with your feet against the bow.
DeckeredCoaming rod to fit a spray skirt
The separate deck goes on with a perimeter zip, and the 90-cm long hatch coaming is held in shape with a bendy nylon rod, with no creases, just like the Moki IK we rented a couple of years ago. Curled up, this rod does make the packraft a bit awkward to transport (but it may have been two-piece inside the hatch’s sleeve)
Inside there is a thick valance or edging band between the floor and the hull which I’ve not seen on a packraft. It’s a nice touch and is sure to keep crud out of this join, though does make the boat a stiffer to roll up. The floor we’re told is 210D TPU with a Kevlar Aramid-Nylon blend (they missed a chance to use the word ‘ballistic’) with a broad four-inch overlap against the hull. No buttpatch needed here. Old-time Kokopellards tell me fit and finish wasn’t always this good in the US-made-era, but what I have here all adds up to a durable-looking boat, that’s as well made as any packraft I’ve seen and may partly explain the price.
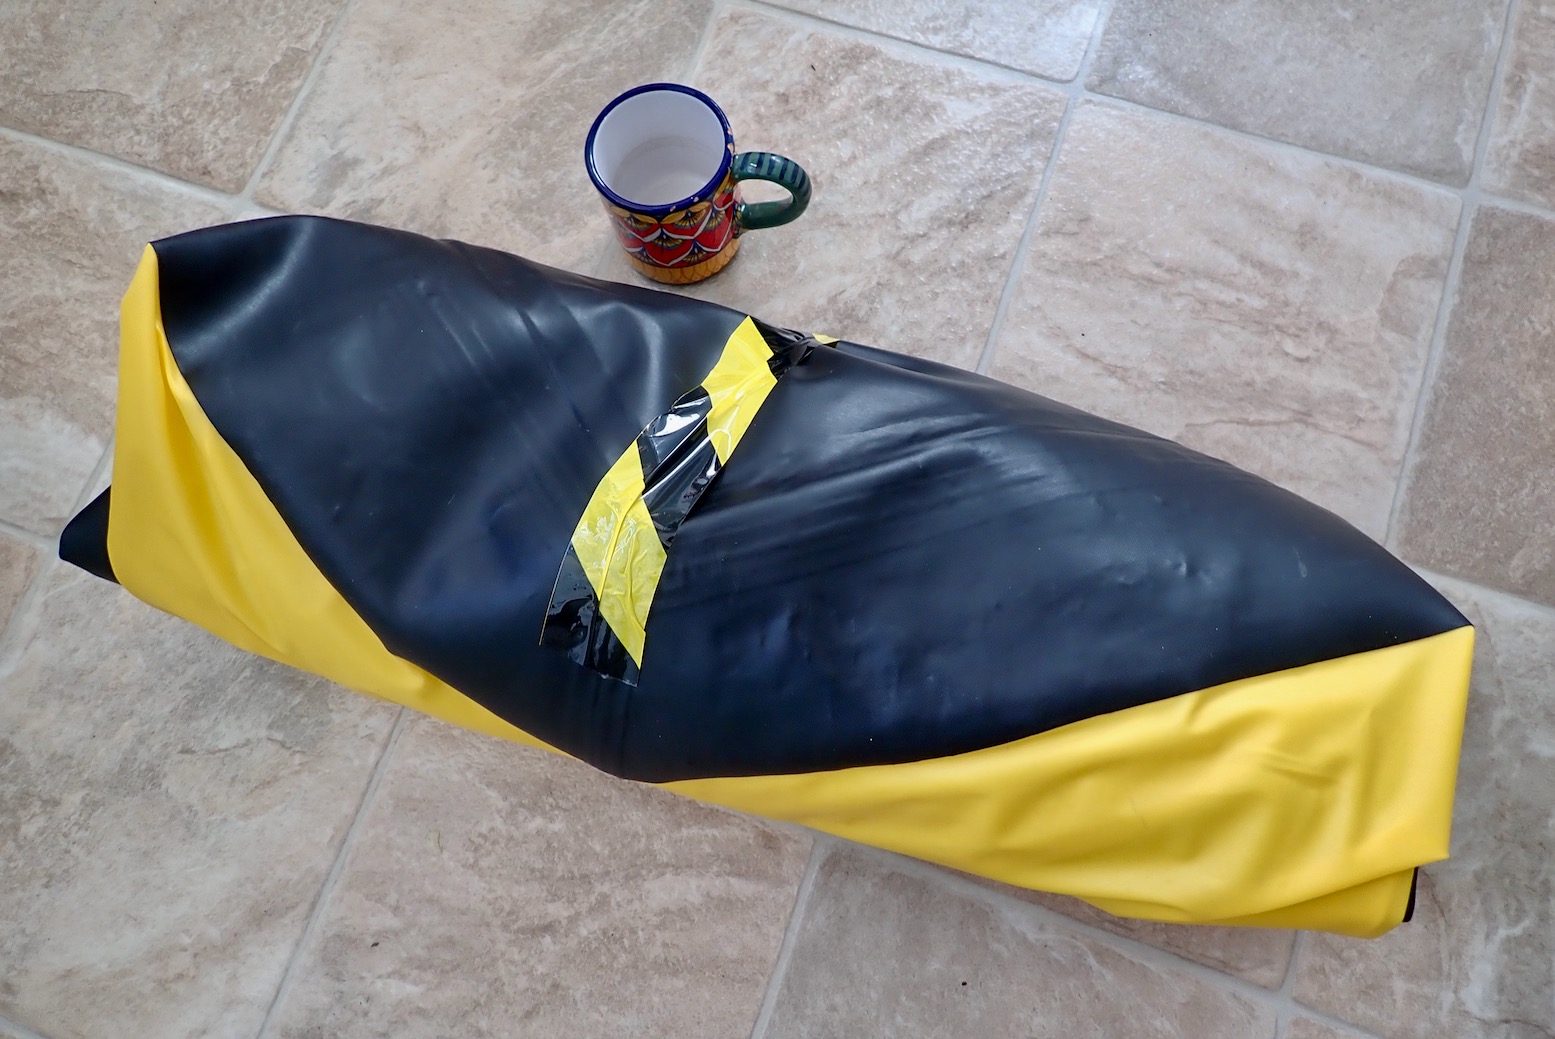
“packing down to the size of a (large) roll of paper towels…” Really?
On the Water
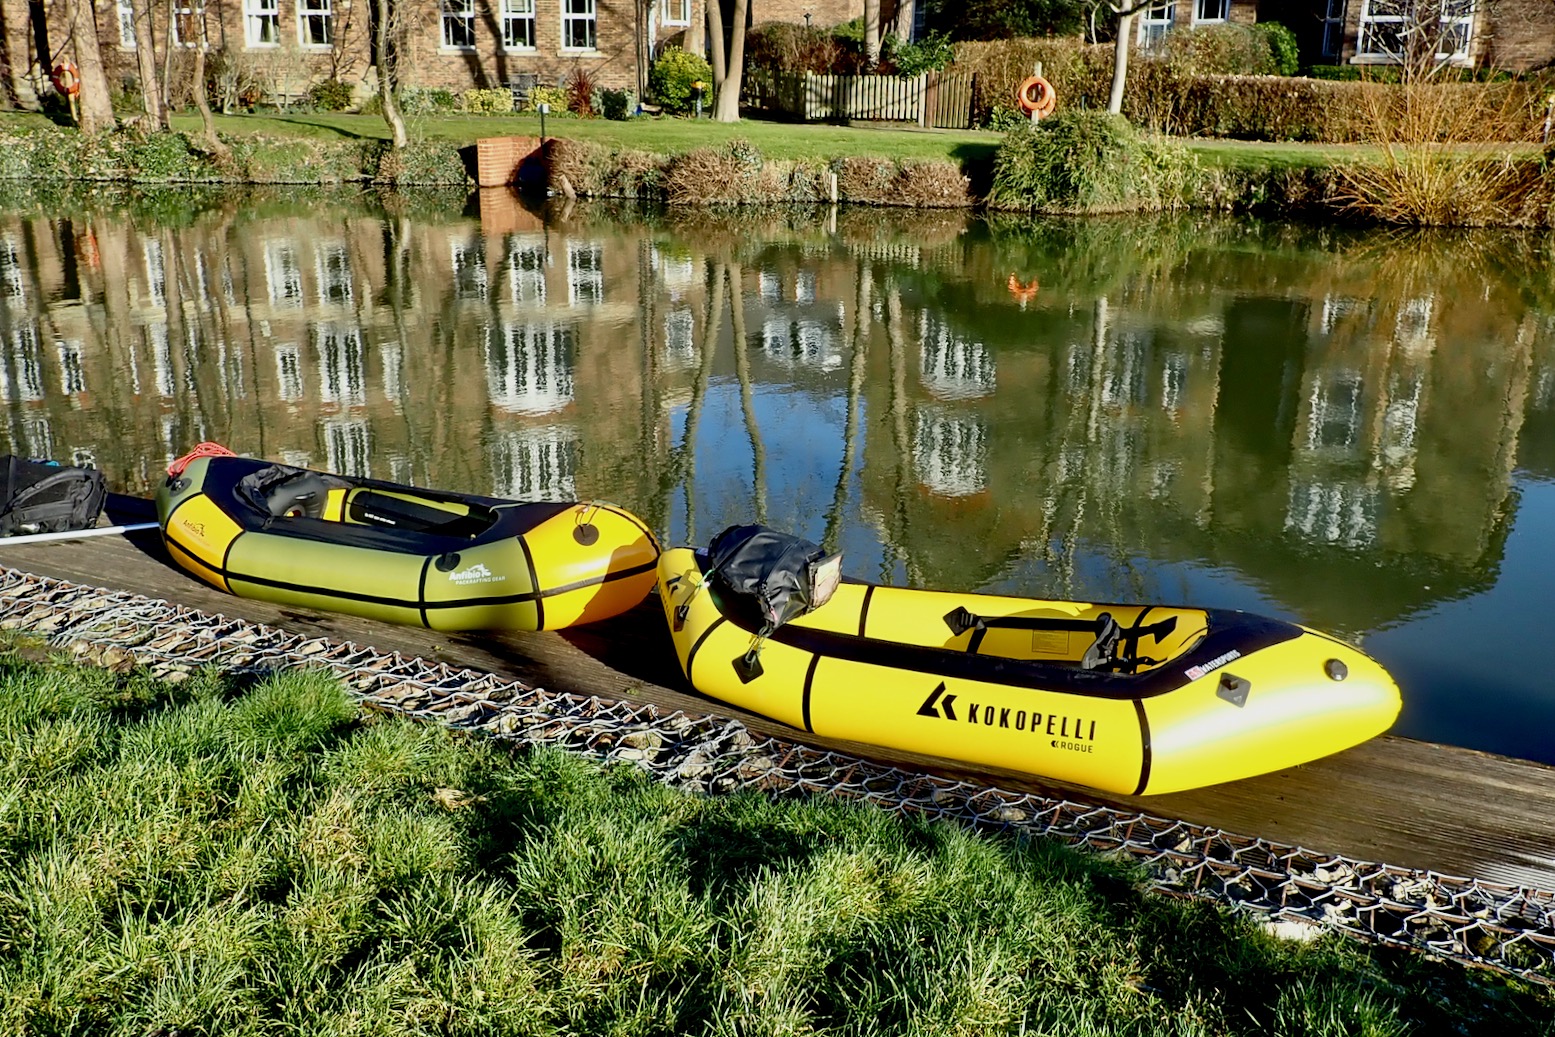
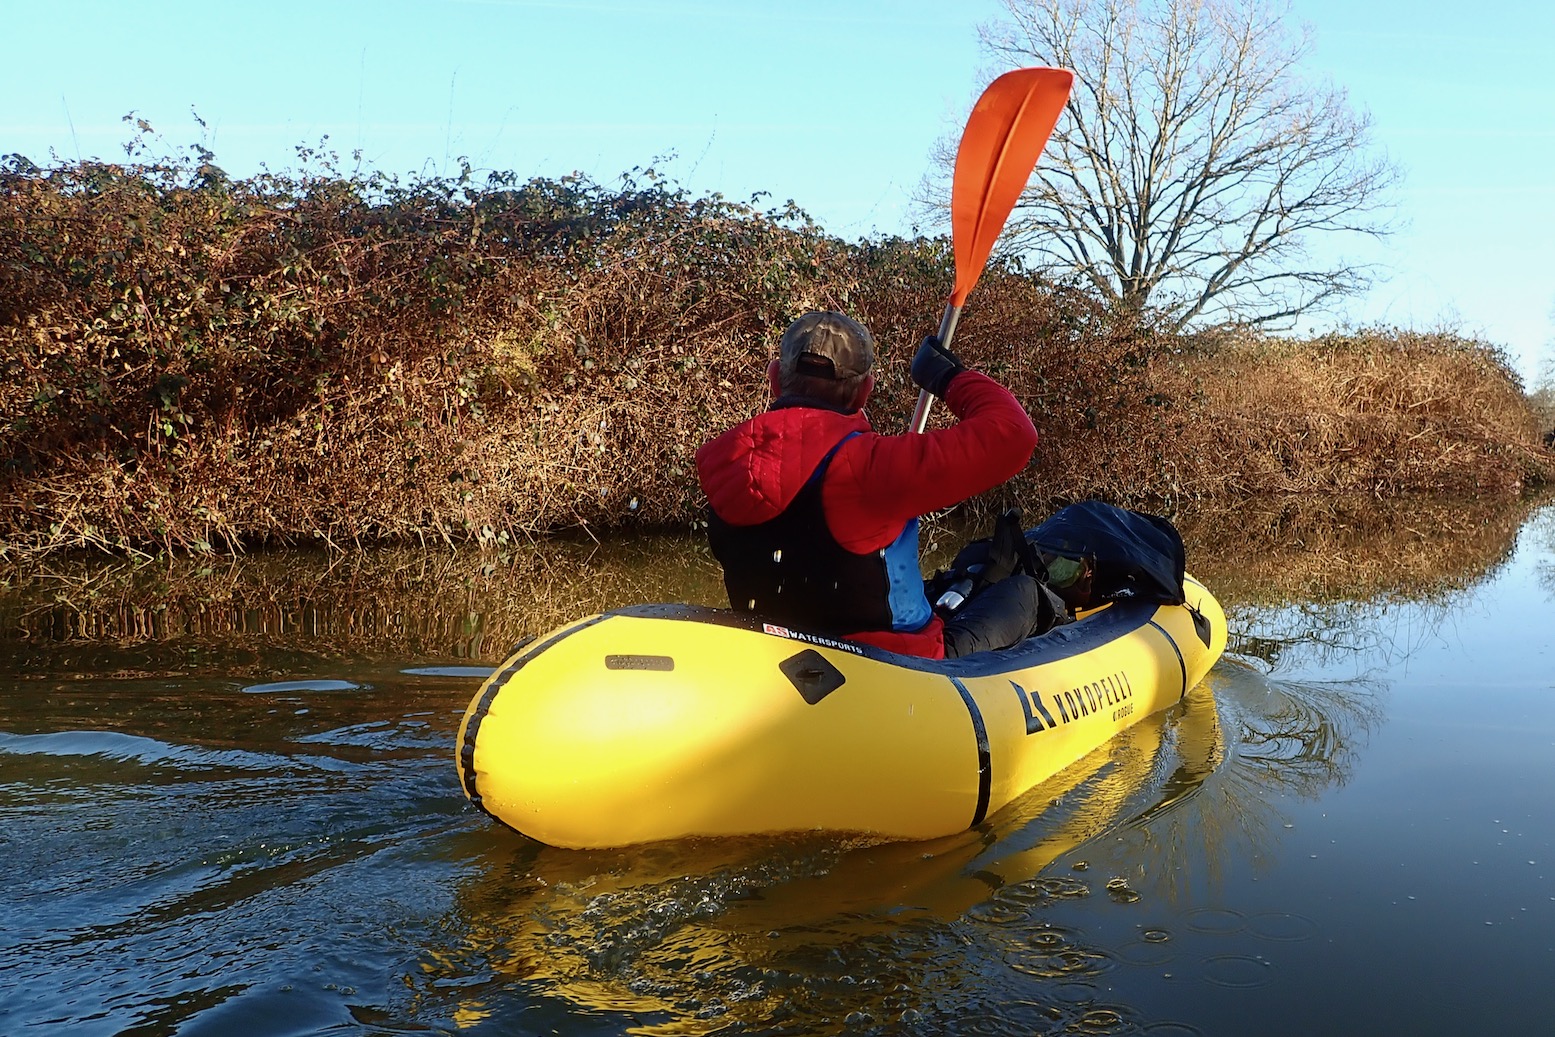
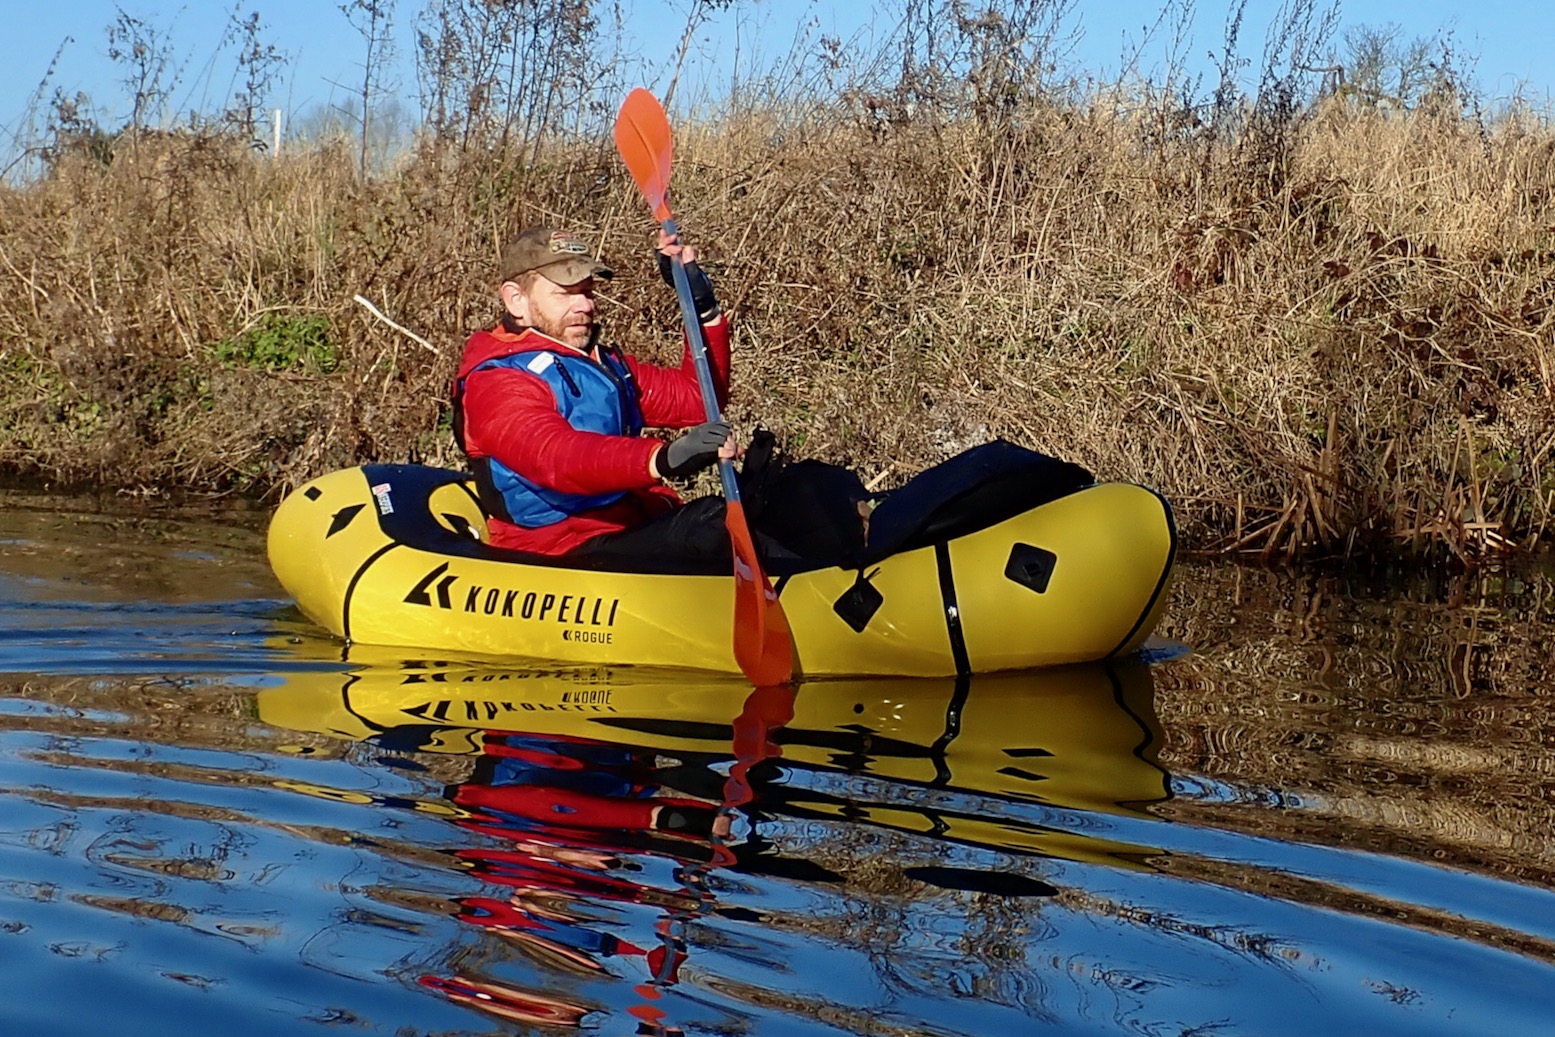
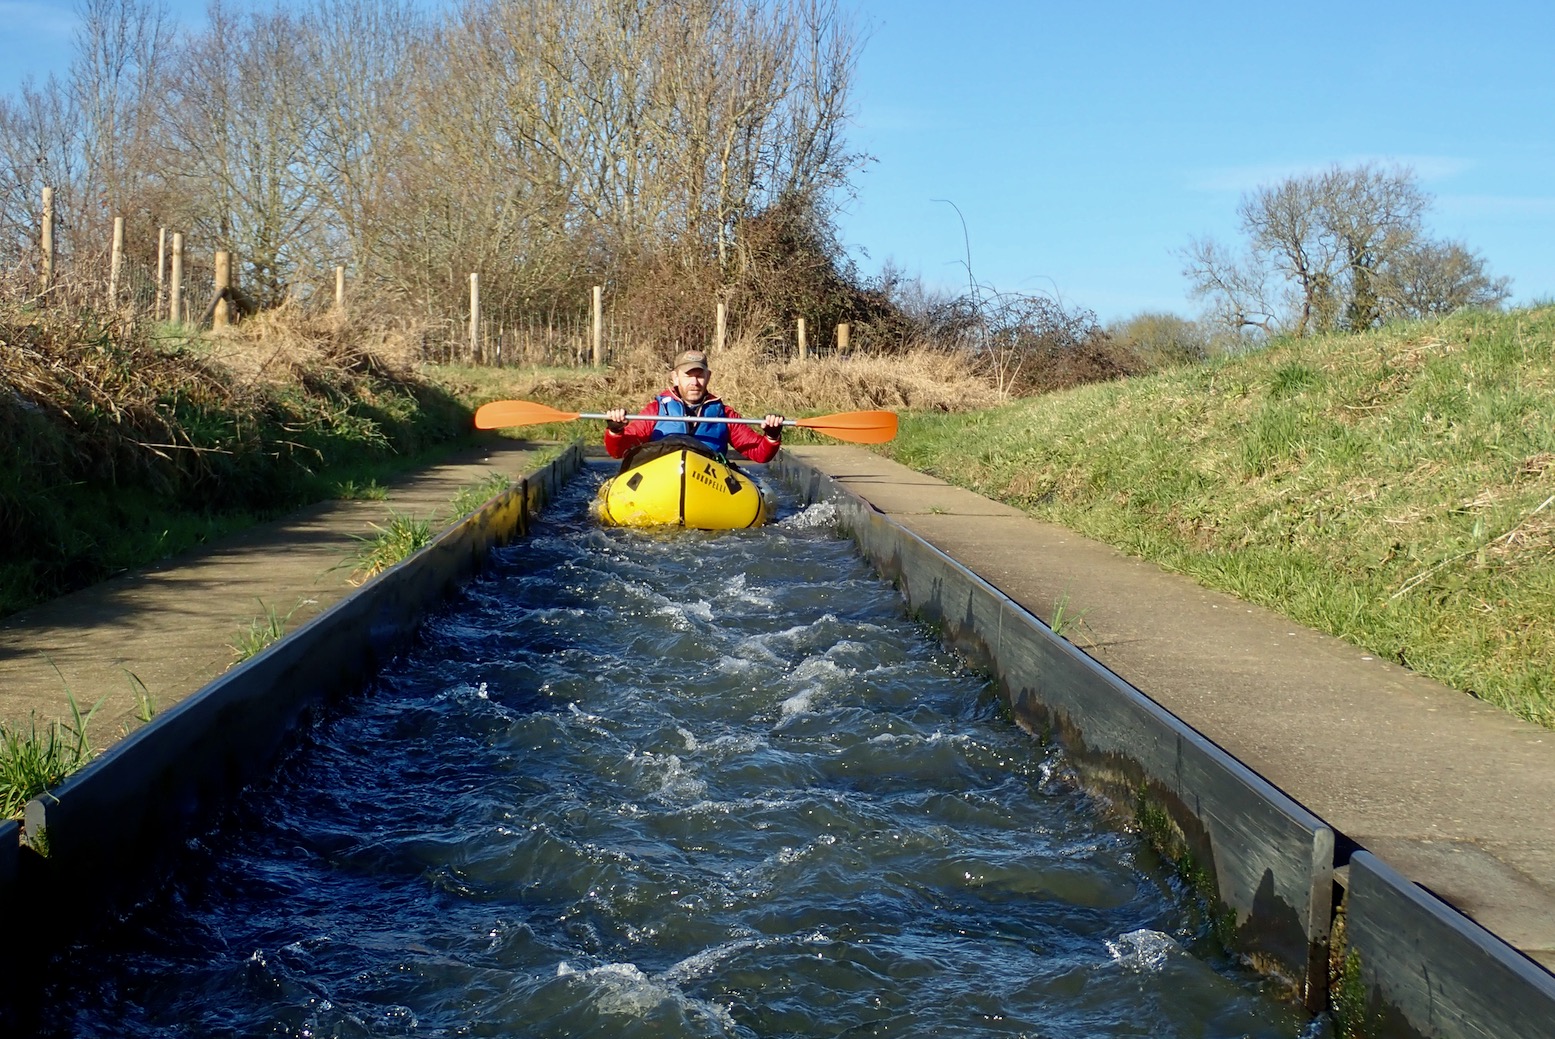
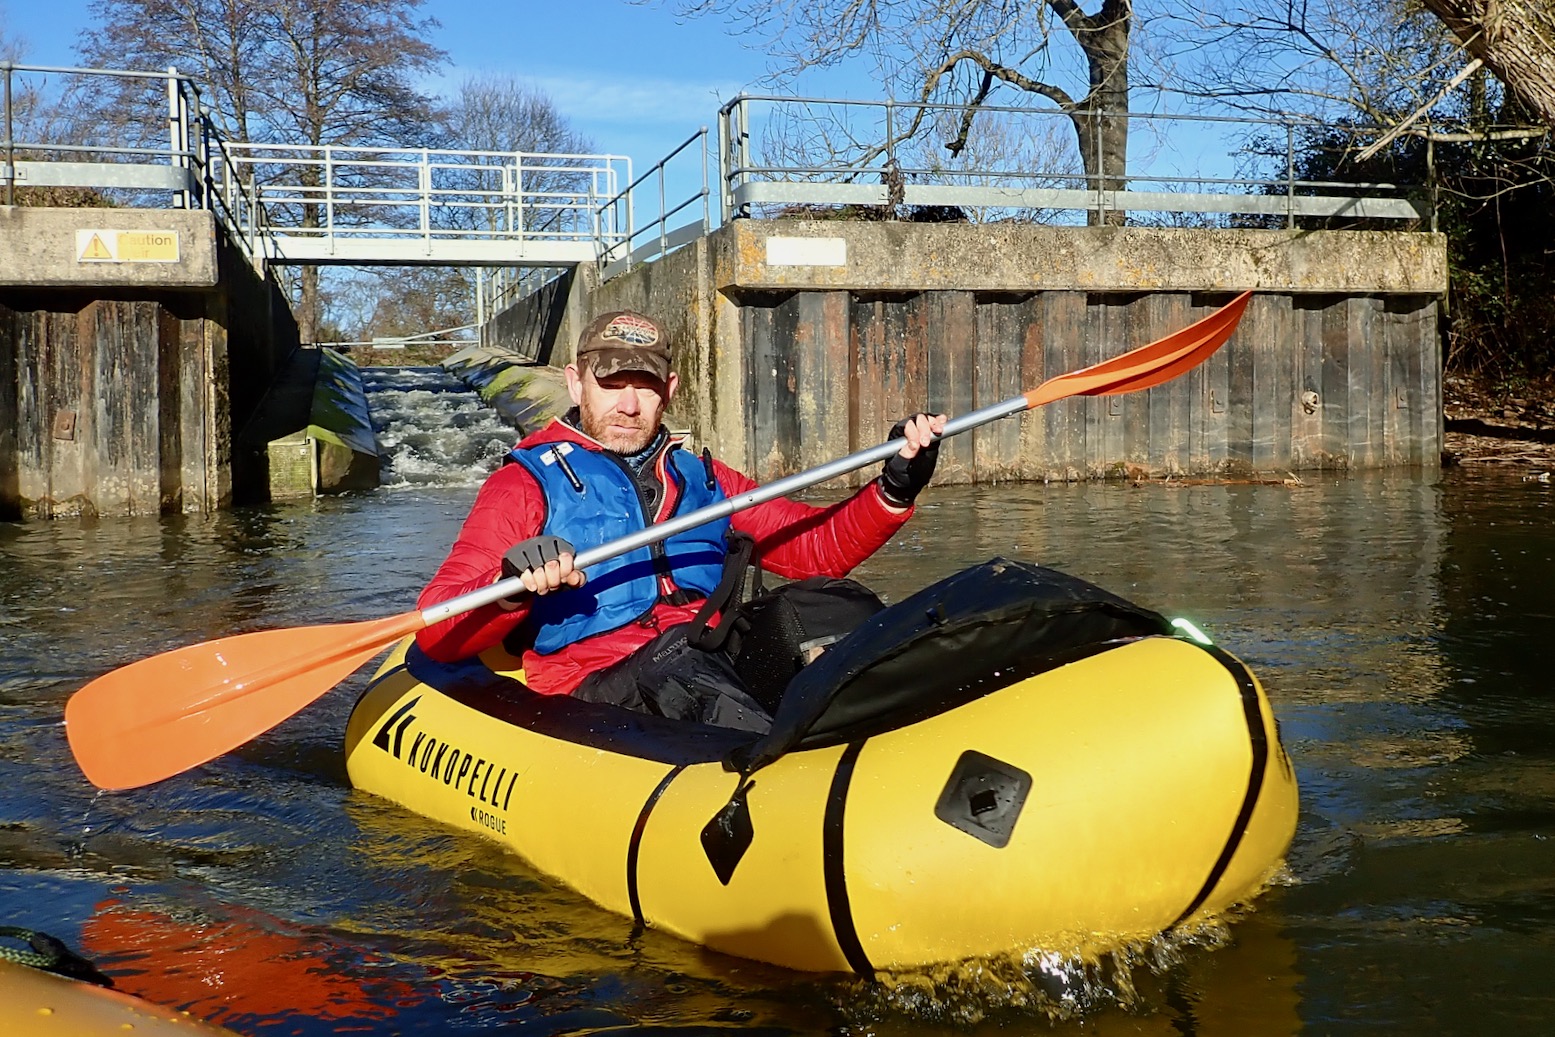
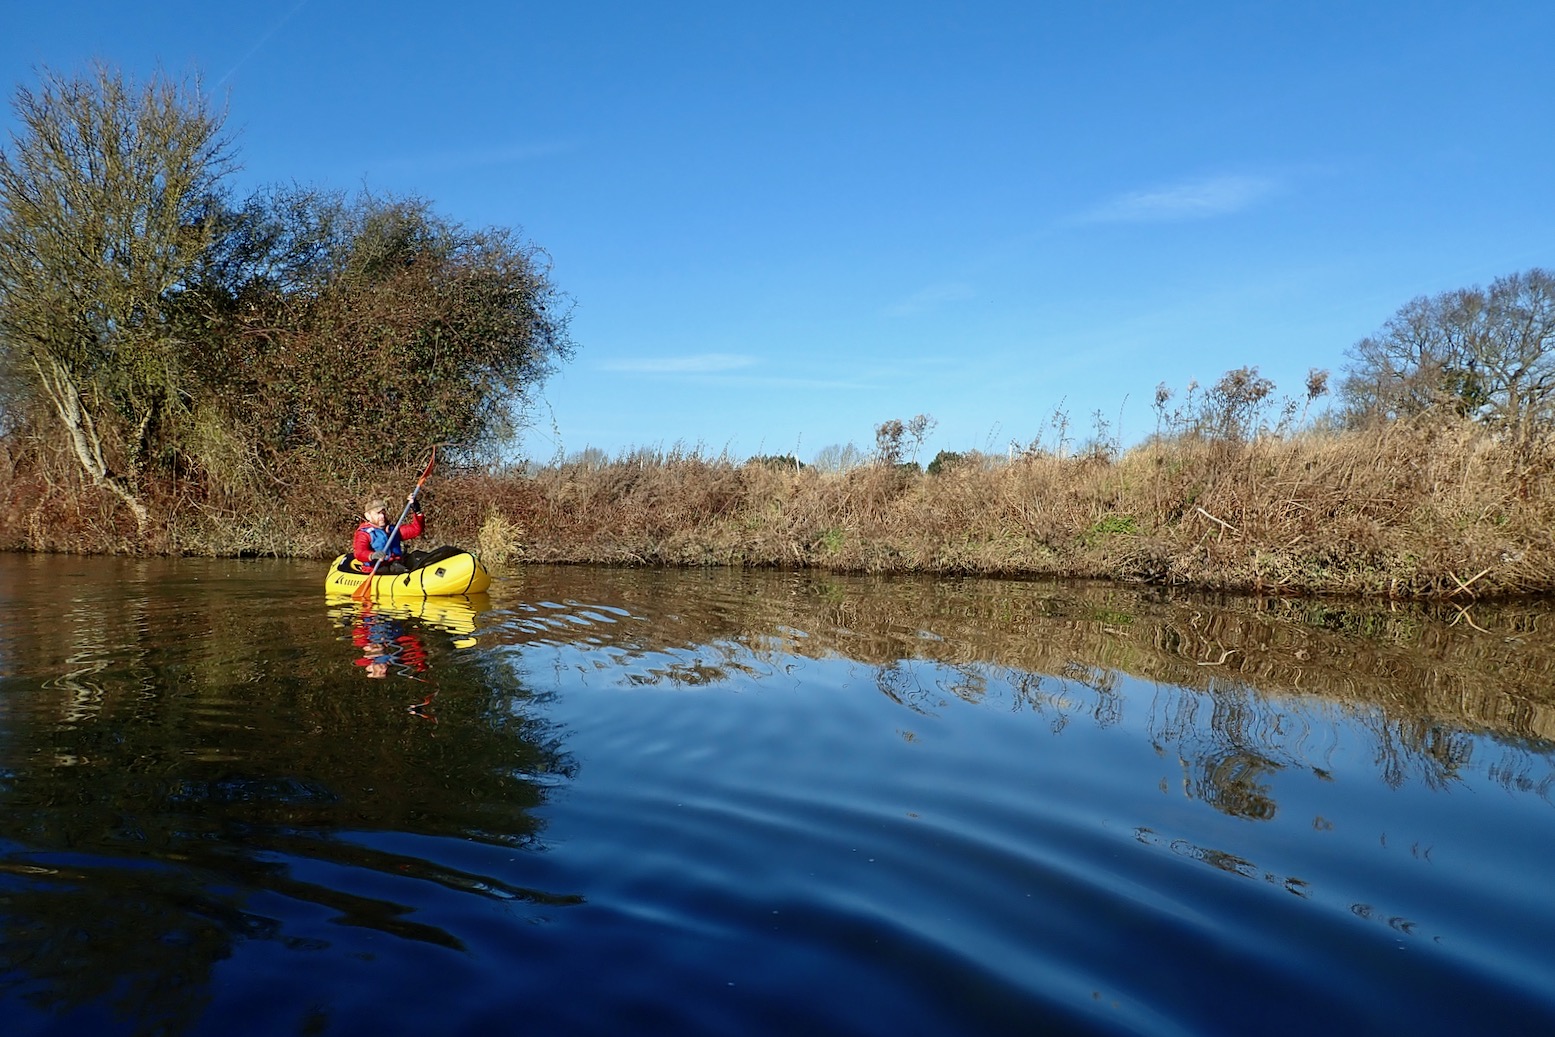
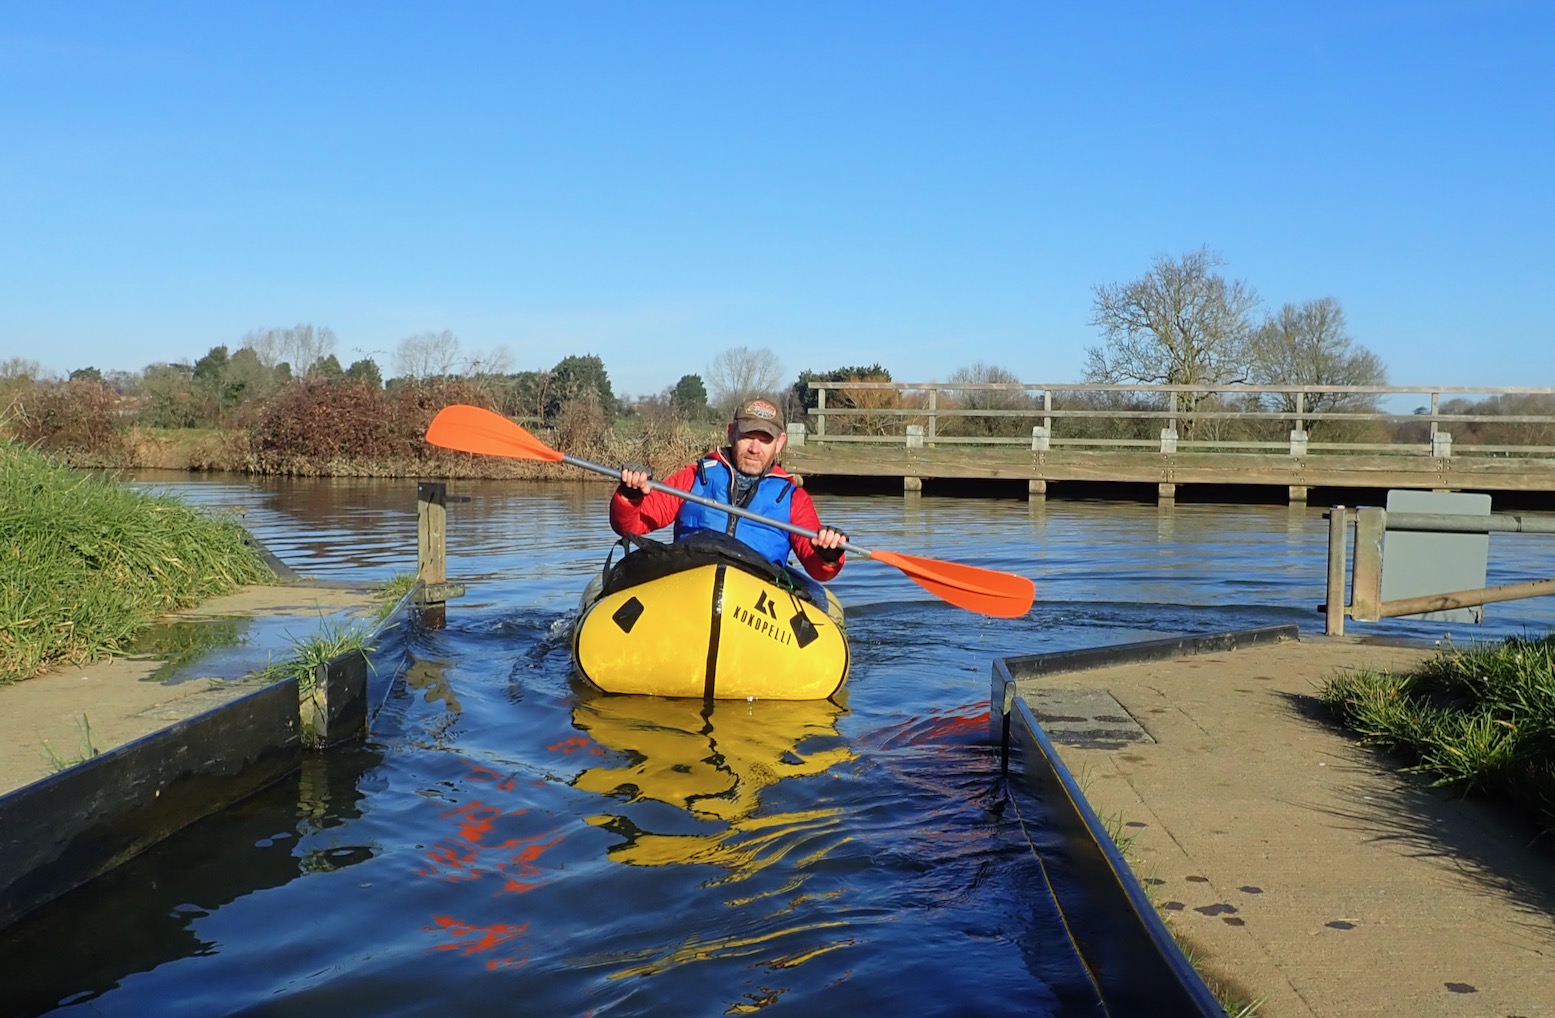
A wintry pre-dawn start saw me and Robbo on the water at Tonbridge by 10am. Once on the move it was clear the Rogue was a bit faster than the Rebel, even though both are the same length. It could be down to the Rogue’s tapered bow, though I suspect the longer stern which sits the occupied but otherwise unloaded Rogue level on the water has something to do with it – compared to the back-heavy Rebel.
We are more or less the same weight, but watching Robbo (lately unpractised in packraft paddling) yaw along in the symmetrical Rebel (ie: identical bow and stern) underlined the rationale behind the extended stern idea which Alpacka came up with over a decade ago and which positions the paddler more centrally, as in a kayak. Then again, the Rebel was being paddled without it’s skeg which may have reduced yawing, but not fixed the trim.
Level trim due to extended sternBack heavy symmetrical boat
Once hitched up into the small of my back, I also found the backband gave very good support, just like on my Seawave (possibly helped by the orange holdall shoved behind it). It may be down to it’s solid, non-inflatable form, but the EVA foam does make it bulky and twice as heavy as the Rebel seat. Then again, Robbo said he found the Rebel more comfortable.
As I was zipped up in my drysuit, I didn’t paddle the Rogue with the deck zipped on but, at a push, I think it could be zipped on on the water. It all just about crammed into the bow bag with the coaming rod.
There’s not much more to say about the Kokopelli Rogue R-Deck: it looks like a packraft and paddles like one: it tracks well and doesn’t yaw that I noticed. And it’s very cleanly put together but is on the heavy side for my sort of use. At the four-figure price, you sure hope they’re paying them well back in China, because they’ve done a darned good job.



































































 Inflatable Kayaks & Packrafts