Updated Summer 2025
See also:
Inflation valves and PRVs
My PoV on electric pumps for IKs
Tested: Flextailgear rechargeable packraft pump
Packraft air pressure

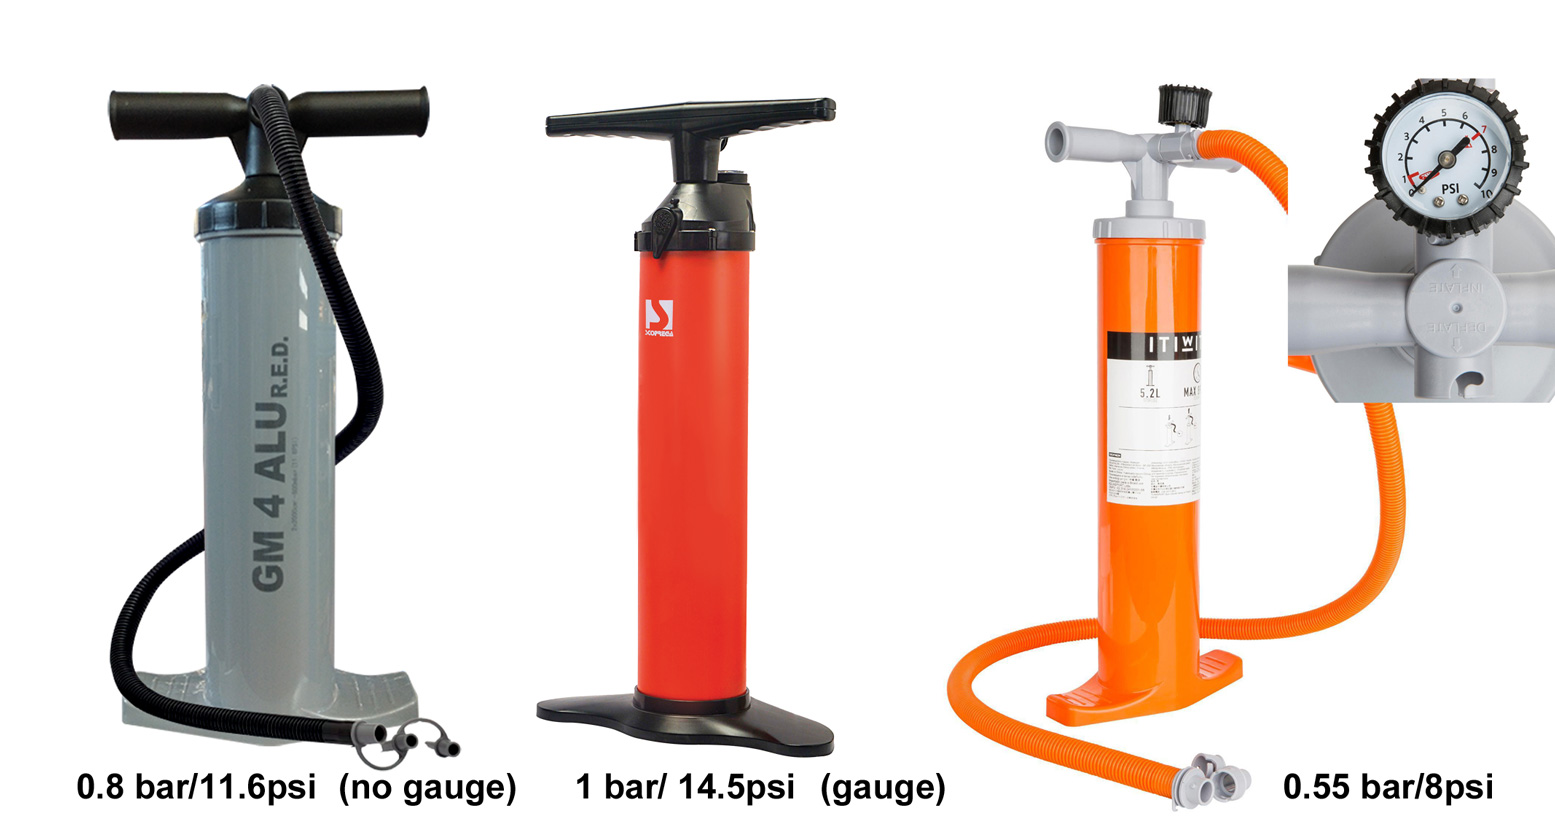
Your inflatable packboat needs a pump to take form as well as to top-up once on the water. These functions may be best performed by two different pumps. The folding bellows footpump (left) is history and even low-pressure IKs now come with some sort of hard plastic barrel pump. Some pump on both up and down strokes to fill your boat faster, but as you reach higher pressures they automatically or manually switch to downstroke-only inflation to reduce the effort. They work best on flat, firm ground where you can stand on the stirrup plates and get stuck in. The excellent Bravo 4 RED Kite pump below (newer ones are blue) is still well under £20 and will pump up an IK in 5 minutes.

I got a Bravo 6 with my Seawave once but found it hard work – who knows why. The cheaper Bravo 4 does claim to be an ‘R.E.D’ (‘reduced effort device’) and I can confirm this isn’t some gimmicky acronym. The other port on the Bravo’s handle can be used to suck air from an IK so it rolls up good and flat; you can see creases forming in the hull as you suck it down.
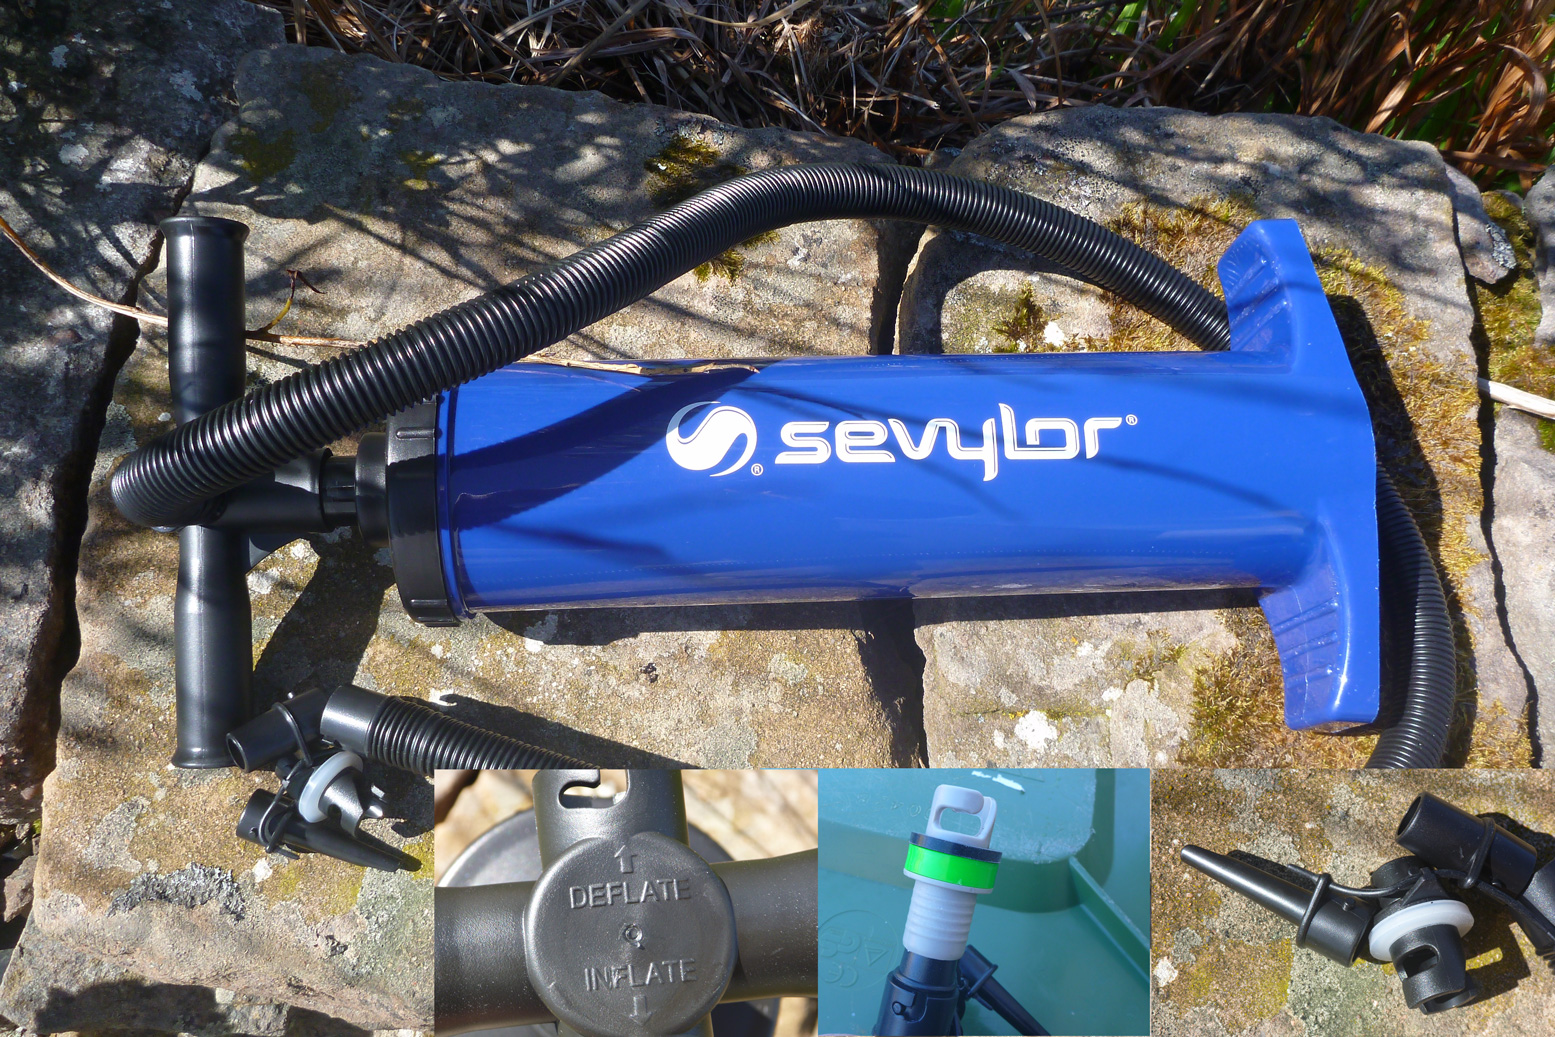
I left my Bravo 4 RED at home one time so bought a Sevylor RB2500G barrel pump (below left) for a tenner. Same size as the Bravo barrels, it did OK for the awkward topping-up of my Semperit’s lilo plugs and came with others adaptors plud sucked as well as pumped. But pumping up my Seawave from flat was exhausting towards the end: I actually got out of breath and had to rest! Morale of this fascinating anecdote: get a Bravo 4 RED and the right adaptor for your boat.
Not all barrels have a built-in pressure gauge which is obviously dead handy in getting the right pressure without needing to faff about with a separate manometer (see below). It’s worth an extra tenner to get a built-in gauge, especially with DS boats.
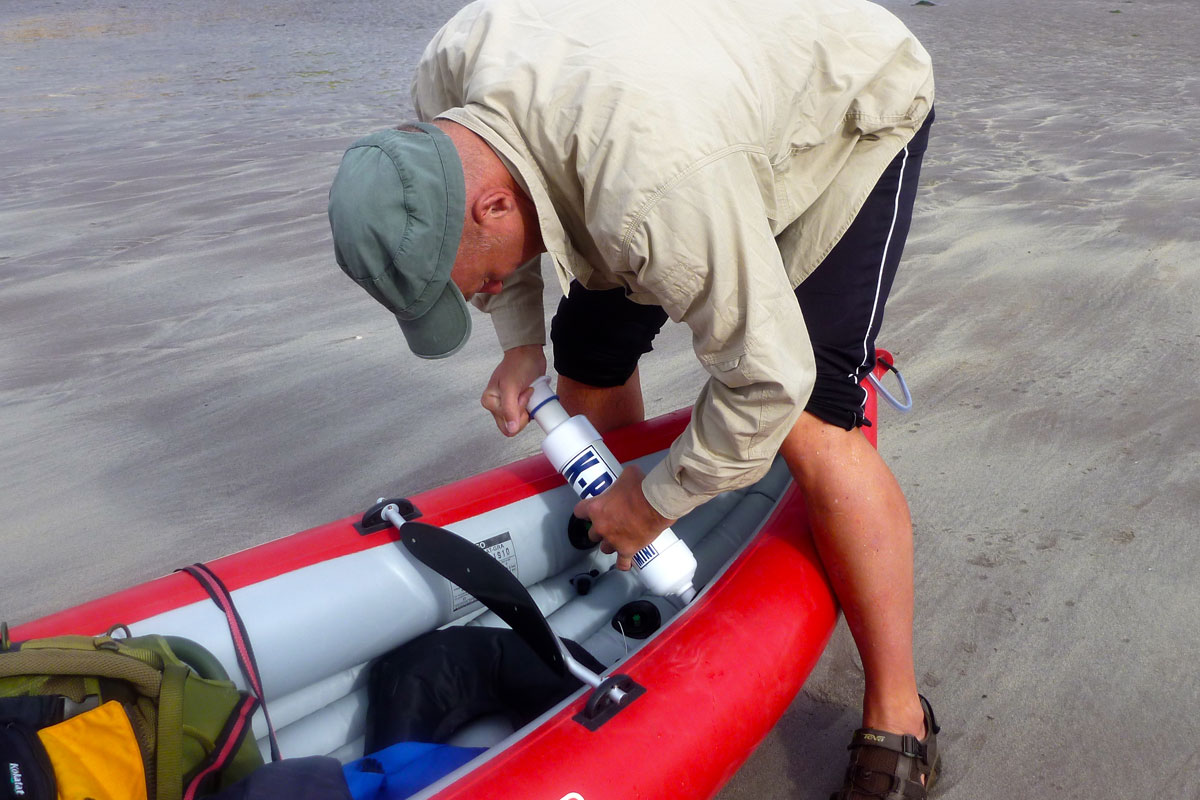
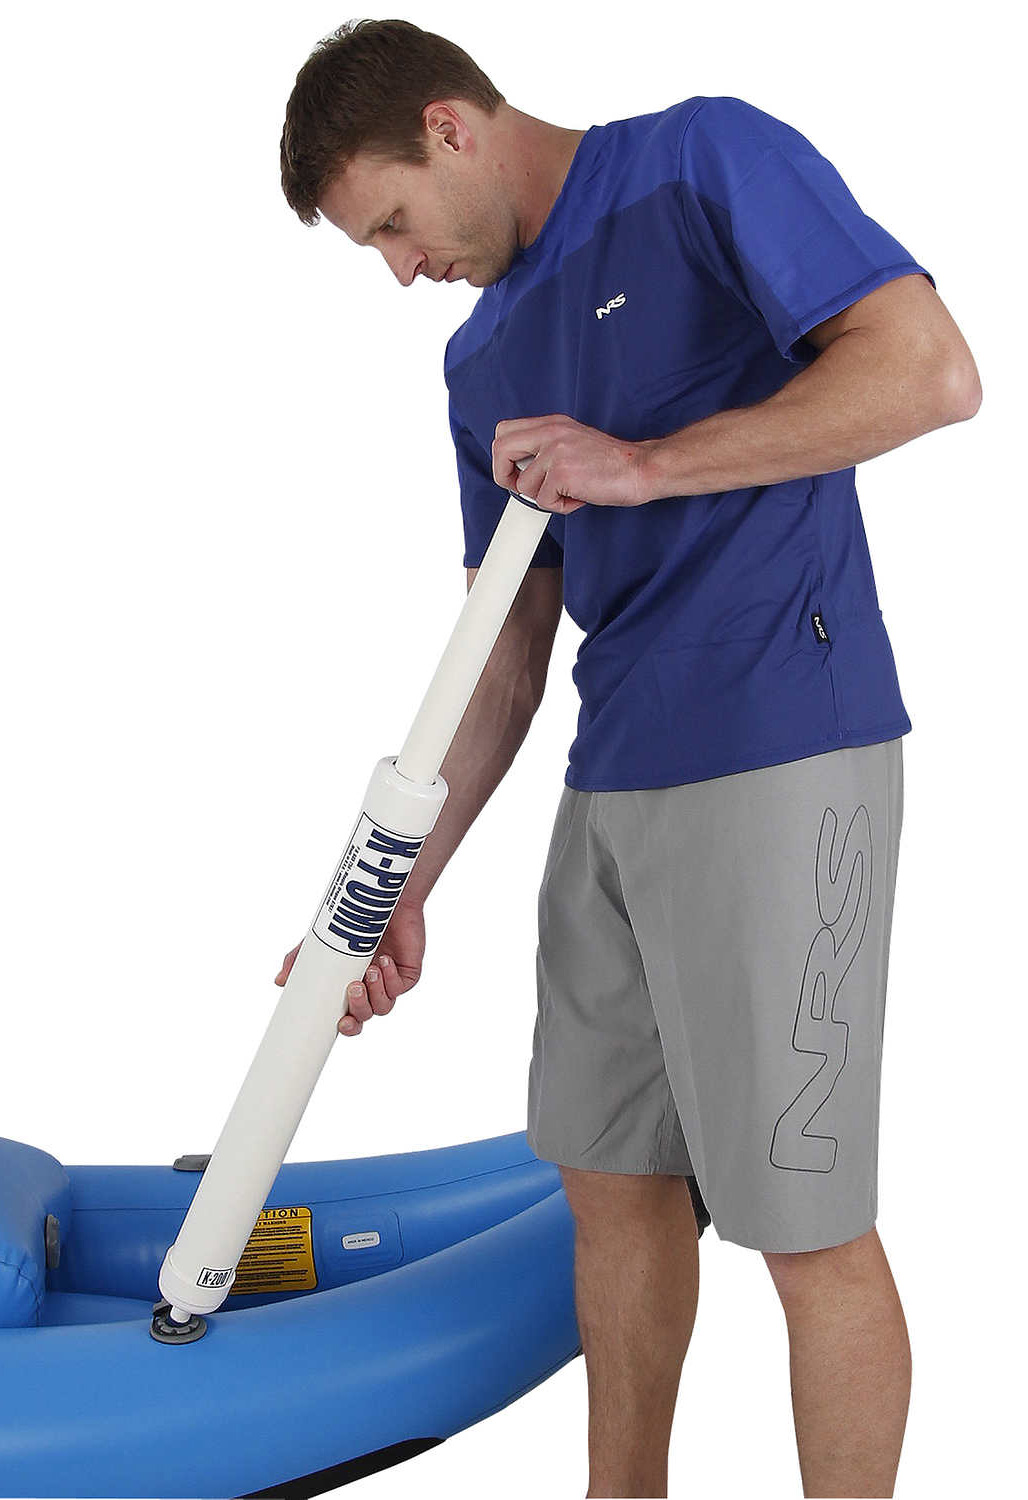
The K-Pump Mini (above right) is a handy top-up pump or compact 600-g travel pump. It took 15 minutes to fully inflate up my 14-foot Seawave; the push-fit nozzle works on any IK with one-way spring valves. You have to press and hold the nozzle against the valve. Using it a lot one time, I got the feeling it might break something or wear out the seal (which needs regreasing once in a while). I’ve also used the K-Pump to top up my Nomad S1 packraft which was too big and long to inflate firmly with just its airbag. Fuller review of the K-Pump Mini here. They’re hard to find in the UK, the very long, and slim US-made K-Pump 200 (right) may also be suited to higher-pressure dropstitch applications.
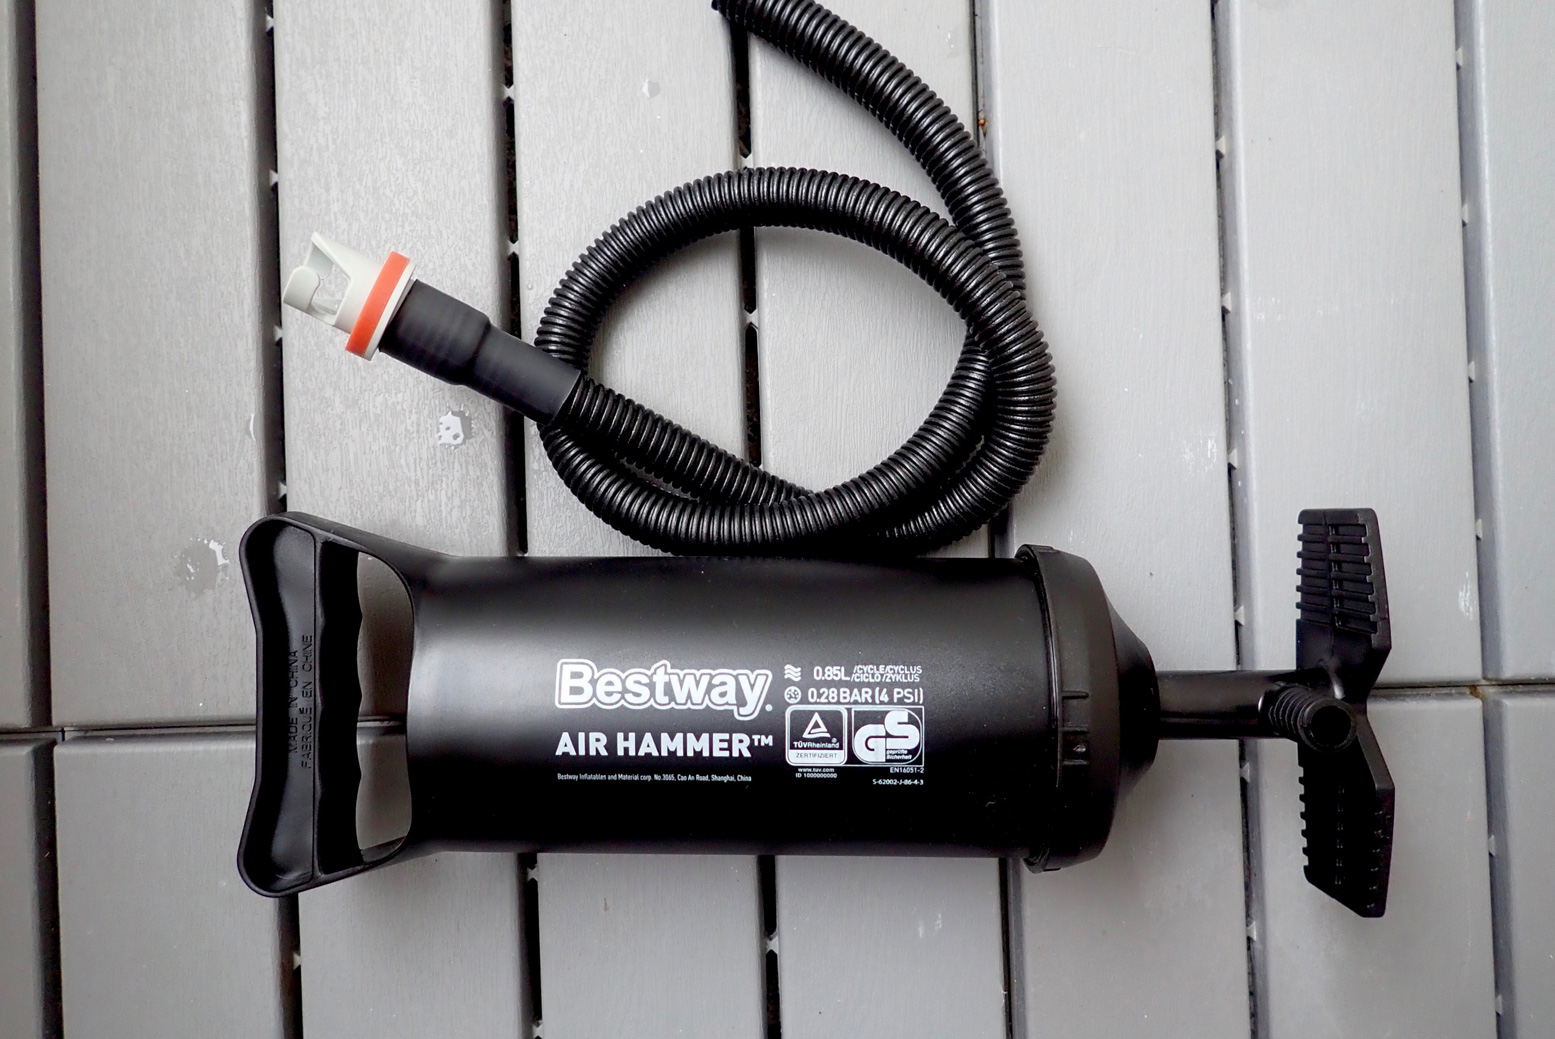
Left, the Bestway Air Hammer is an ‘upside-down’ barrel pump which comes in three sizes and costs from just £6 on eBay. If you don’t want to paddle with your full-size barrel pump, the smallest Air Hammer could work as a compact top-up pump like the K-Pump, but a tenth of the price. The one on the left came with a ROBfin and was rated at 4psi.
High-pressure pumps
More and more IKs now feature super-rigid, high-pressure dropstitch hulls – either just floors or the entire hull which runs 2–5 times higher pressures than regular IKs. Your old Bravo footpump will blow its brains out trying to reach a typical 7-10psi.
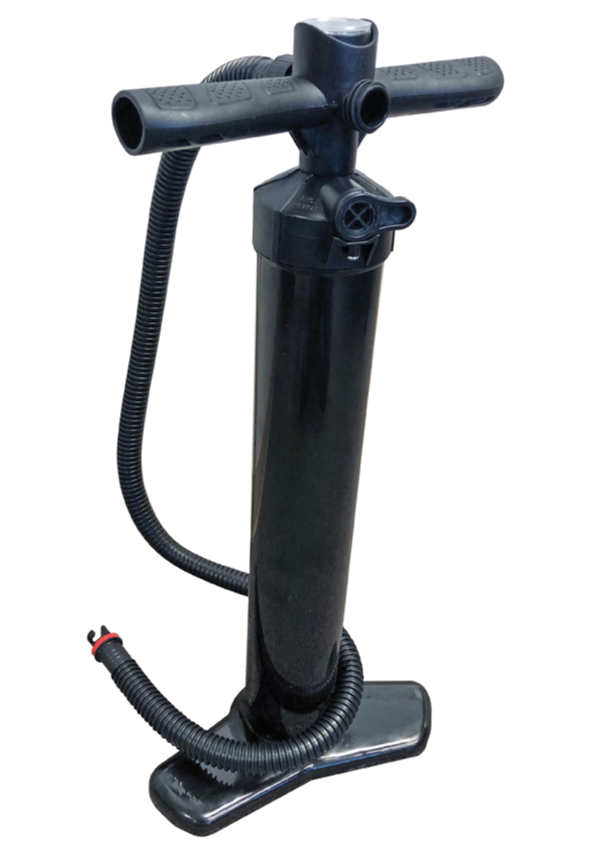
Barrel pumps with long, slim bodies, as opposed to the shorter, stockier examples above, put out less volume (DS IKs have less volume anyway) but can more easily attain higher pressures. It’s something to do with the ø of the pump face x the stroke. You don’t necessarily need a super high-pressure iSup board pump.
Some of these pumps may be double action. At a certain psi they become single action (downstroke only). I believe the Bravo Alu 4 RED (0.8 bar) works like that. Or they have a switch to do the same and help attain higher pressures. It works. Whatever pump you get for your DS IK, make sure it is rated to comfortably exceed your DS boat’s pressure rating.

Right: twice the volume Bravo Alu 4 with auto one-way switching (so it says). The bayonet valve nozzle on the Nano keeps the valve open and so is for live (constant) manometer readings. With the push-fit (non-bayonet) adapter on the blue pump suited to Boston valves, a manometer only reads as you pump and push open the valve. Both are better than soggy footpumps.
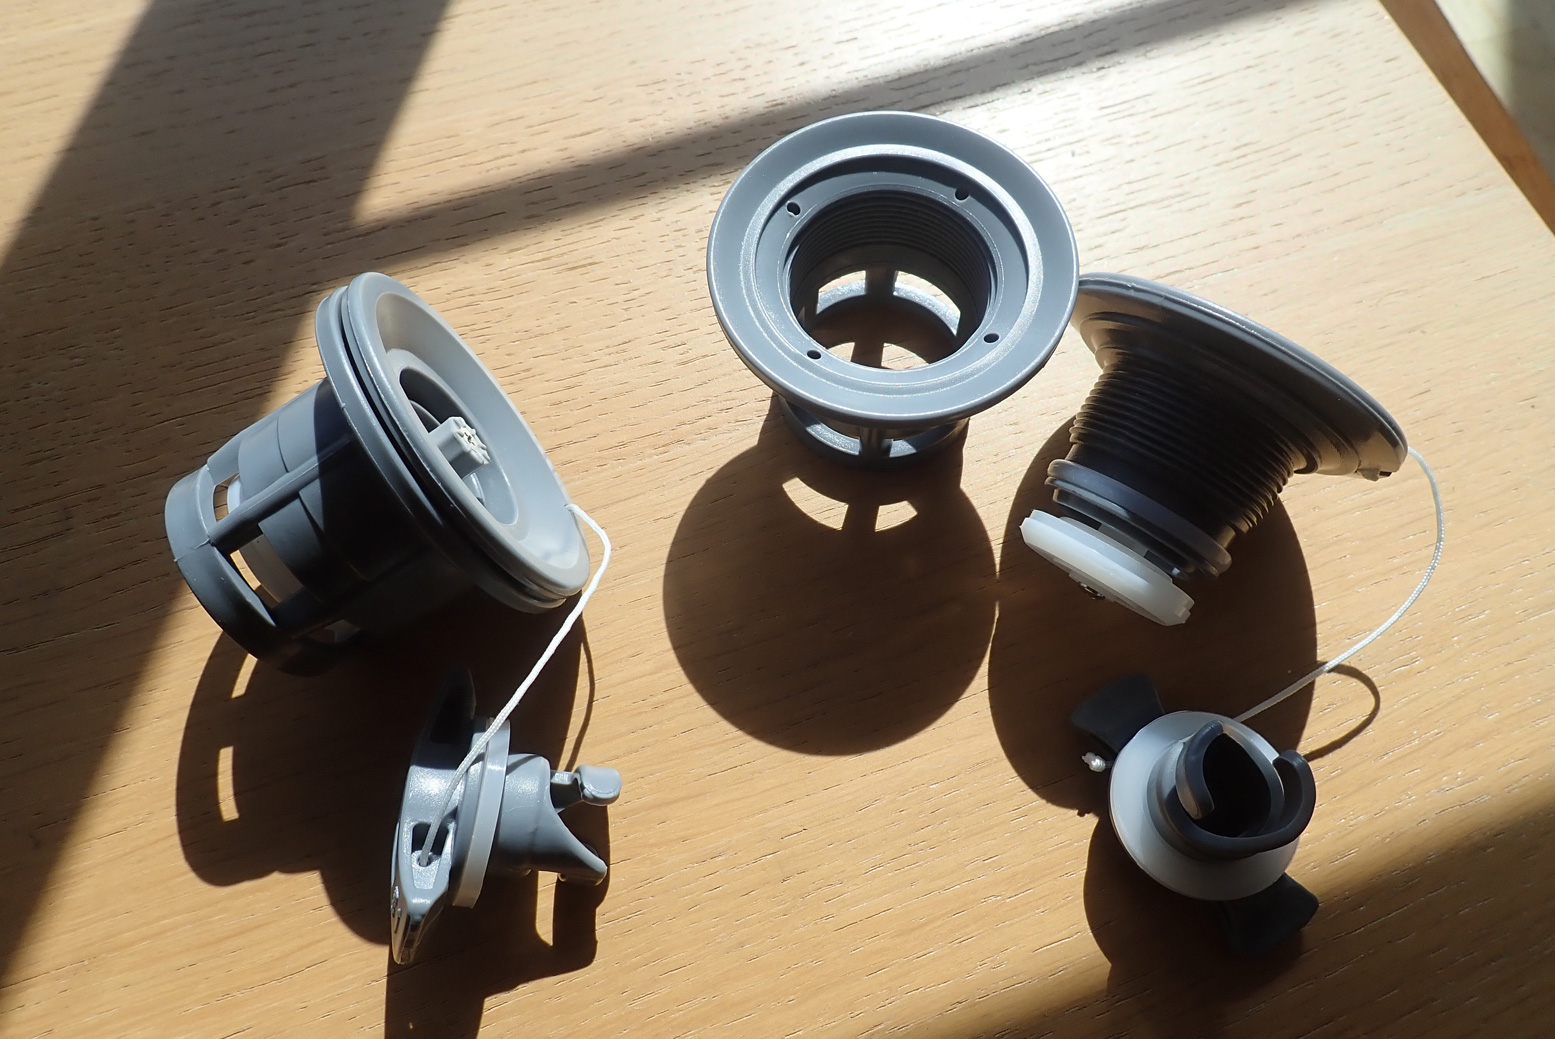
Bayonet nozzles for ‘raft’ valves.
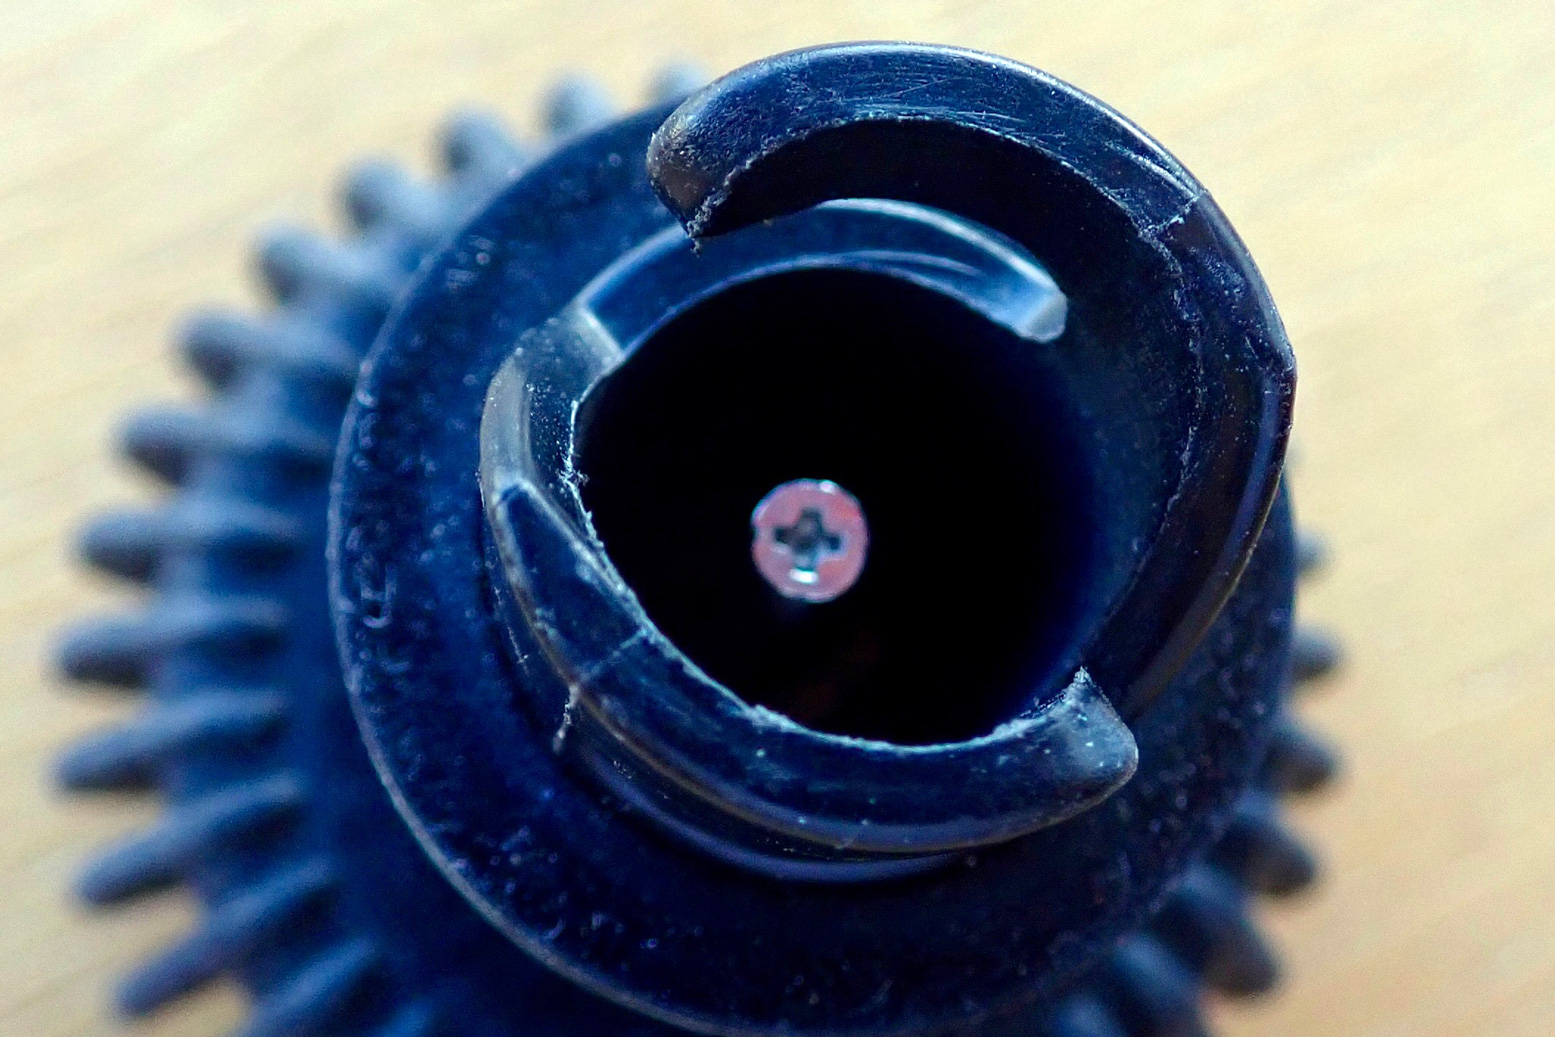
Who would have thought there’s something to be said about bayonet nozzles? Well there is. There are two types: plain (below right, Gumotex) and crossbar-peg or detent (left, Bravo). Both need soft spacer washers to fit snugly against your boat’s raft valve, but the small peg inside the green one will press open your valve stem as you connect it.
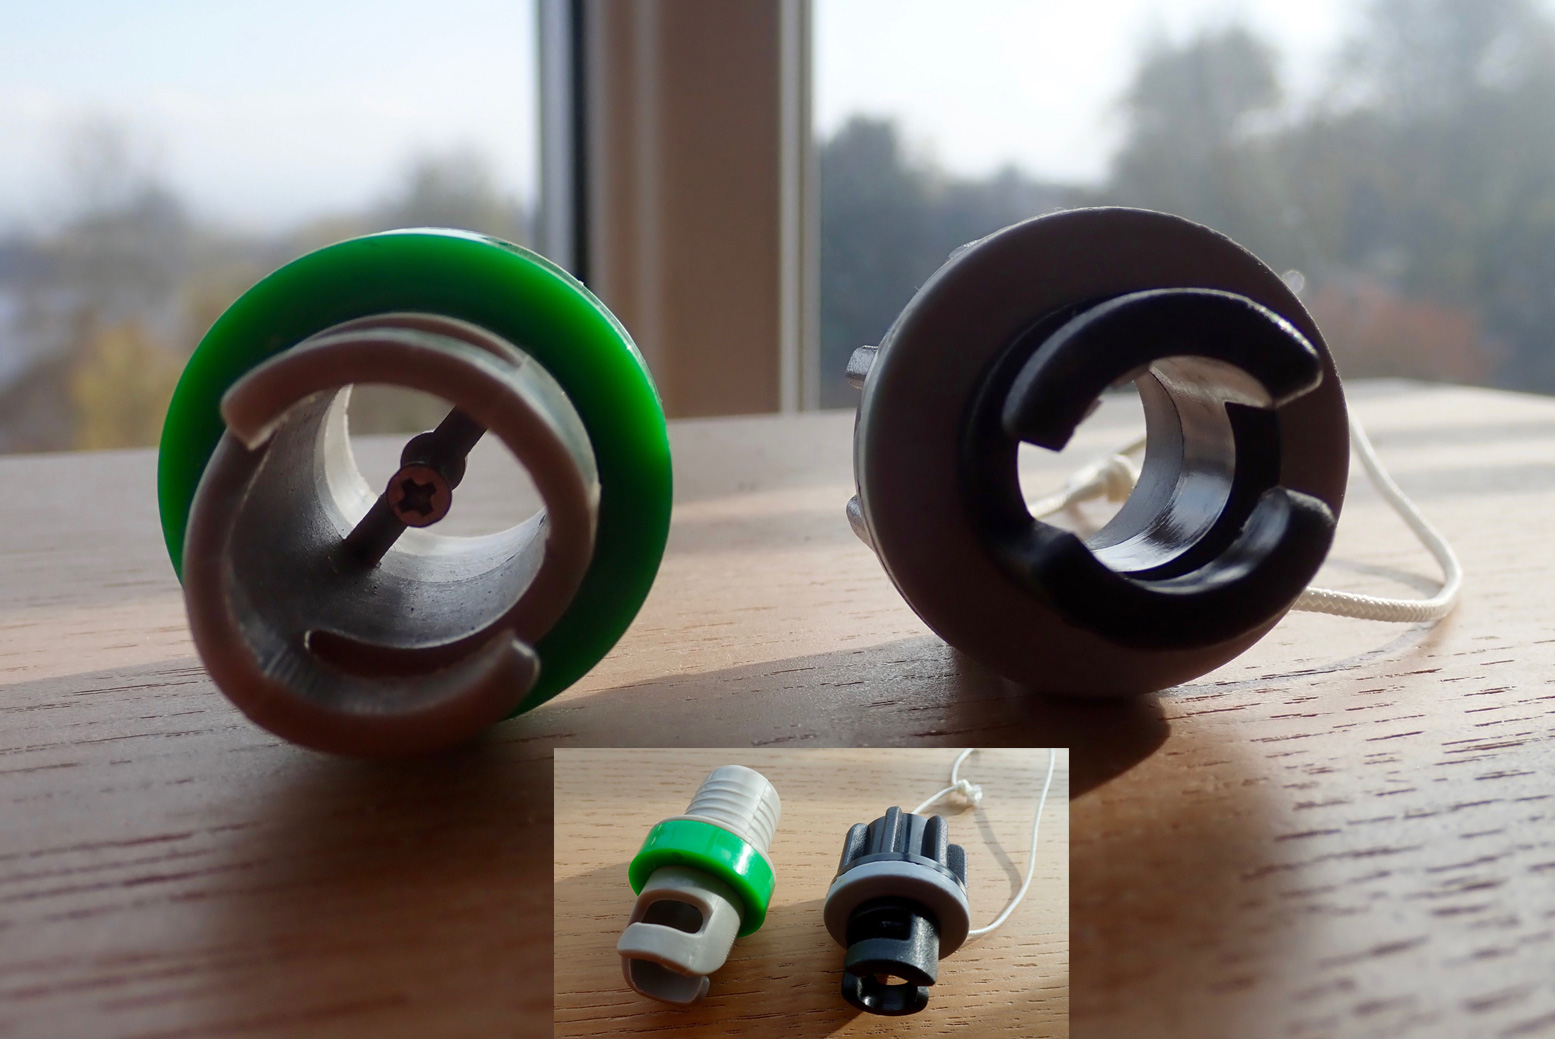
You will notice a similar peg on car tyre inflation hoses and also on a hand manometer (below). A manometer can’t get a pressure reading without this peg partially opening the valve as you push it on. A nozzle with a peg/detent means that:
a: you’re not pushing the valve spring open each time you pump (easier pumping) and
b: if your pump has a manometer you will get a constant/live reading as the pressure climbs which is the point of having a built-in manometer. The Bravo one goes from 3 quid; search: ‘Bravo Adjustable HP Valve adapter’.
The only drawback might be that you need to remove a pegged nozzle carefully with Push-Push (Gumotex) valves. Normally a little air escapes as you do this, but if the valve doesn’t spring back closed, air will rush out. Turn slowly then pull away briskly; you’ll get the knack.

Pressure gauge (manometer)
Until I got a Grabner which has no PRVs but ran a relatively high, 0.3 bar (4.3 psi), I never bothered with a pressure gauge (manometer, below) and just pumped up by feel. A lot of people do this. Since then, I ran a Gumotex Seawave and fitted PRVs to all chambers. That meant I still didn’t need a pressure gauge to get the right pressure; I simply kept pumping until each PRV hissed: the boat was then at operating pressure. My Seawave 2 was left stock (no side PRVs) so I have got into the habit of keeping a Bravo manometer with the K-Pump Mini and checking the sides at each paddle when I top up. I have checked this manometer against the floor and it measured 0.25bar which matches with the PRV rating, so I think it’s pretty accurate. Try and get a model with a range of no more than 1 bar (as below left) as that is the range you’re working in. At the moment, Sea Mark Nunn sell it in the UK.

With high-pressure DS IKs, you probably want a pressure gauge as the boat will perform best at the right pressure which may be higher than you’re used to.
Packraft Pumps
Packrafts used to be inflated with a featherlight airbag which came with the boat. A nozzle on the bag screwed into the boat’s valve and you scoop air into the bag (easier with a breeze) and ‘bear hug’ it to cram the air into the boat. It’s takes about ten scoops and two minutes to inflate a boat this way, then unscrew the bag nozzle and quickly screw on the valve without losing too much air.
Next, you used to top off by mouth on a separate twistlock valve: the firmer the boat the better it rides. In the video below (speeded up x 15) from walking up to a beach with my paddle in my pack, to loading up and paddling away took 8 minutes.
Things have moved on. Most packrafts now have a single one-way Boston valve which tackles initial inflation and topping up to a firm pressure.
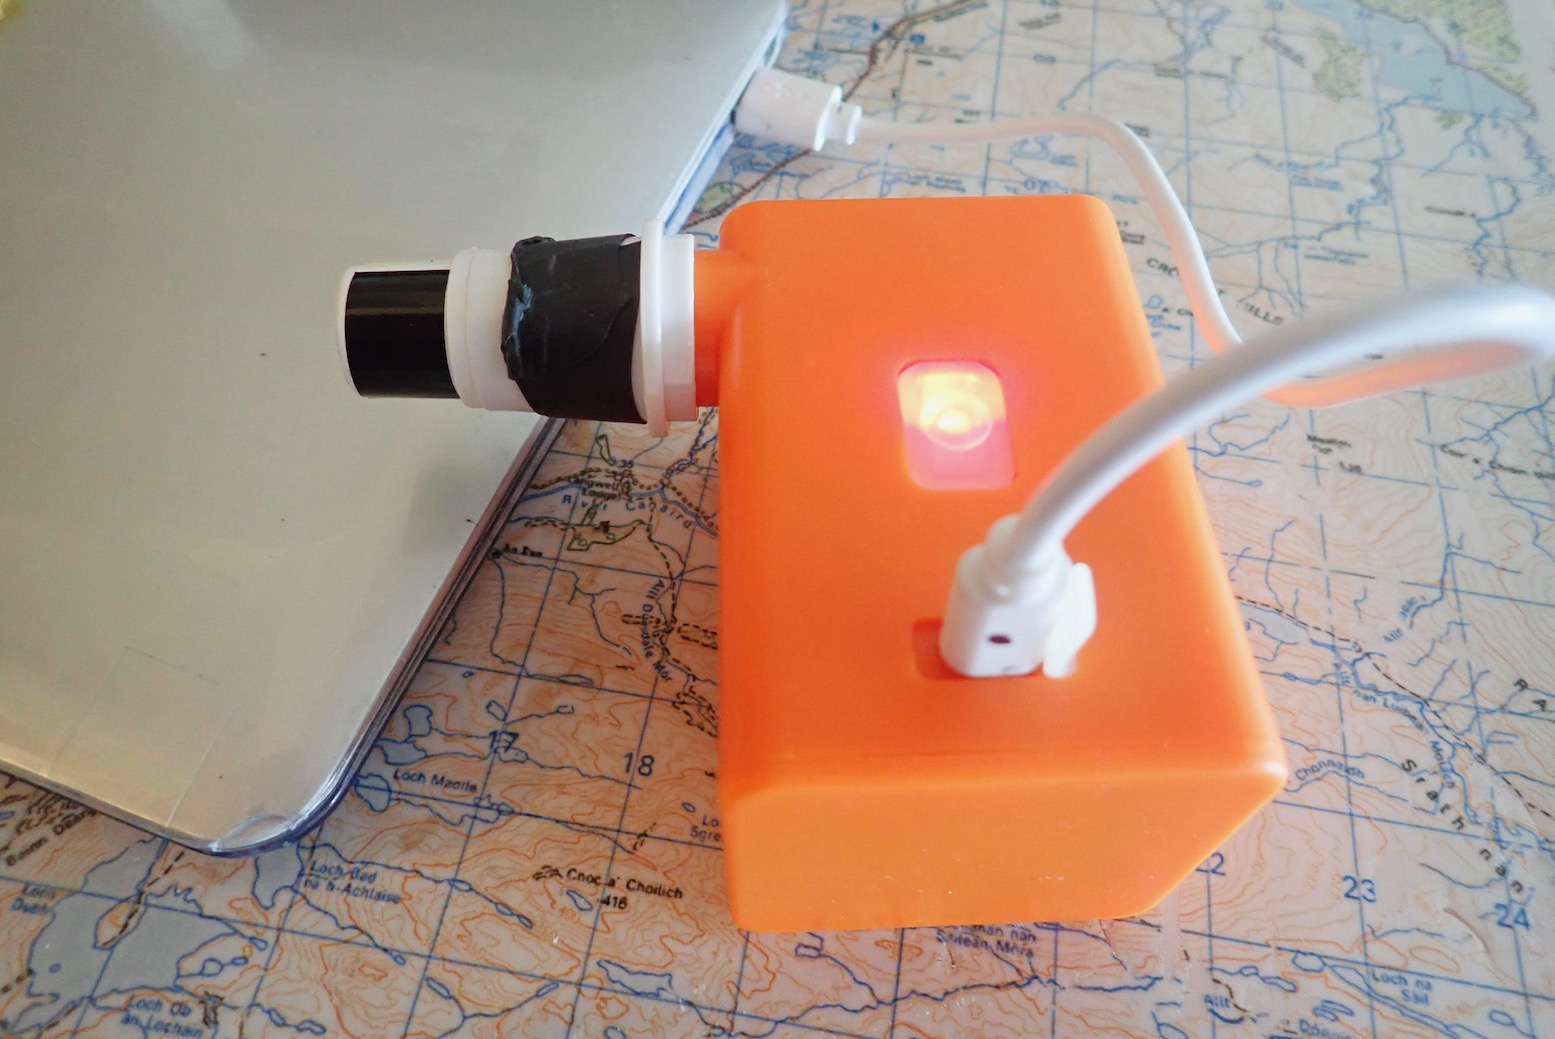
Inexpensive and tiny rechargeable electric pumps (left and below) now effortlessly do the initial job of the air bag, once you fit the right adaptor. Flextail minipump reviewed here.

And for those who don’t have lungs like Luciano Pavarotti, once aired up a light and compact mini handpump (left) will get the boat good and firm. Firm boats paddle better, and like IKs, a packraft that feels firmly inflated by hot ambient air on land will go soft once cooled in the water and will need more topping up.
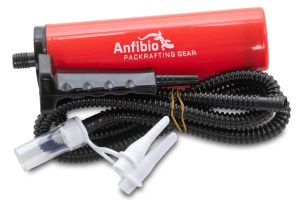

The Anfibio pump above is an adapted eBay balloon pump with an added hose so you can top-up on the water, if needed. It also differs from eBay cheapies in that the handle now unscrews from the pumping shaft to make it less prone to snapping in transit (as I found with the earlier version).
With a Flextail and an Anfibio pump you’re packing good to go, but I always keep the original air bag plus a short section of garden hose (for topping up; below) with my boat in case either pump fails.

Note: a good packraft should hold air for days at a time, but don’t leave it fully inflated and out of the water in the hot sun. The air inside heats up and expands, pressures rise and the seams will get strained and may rupture.