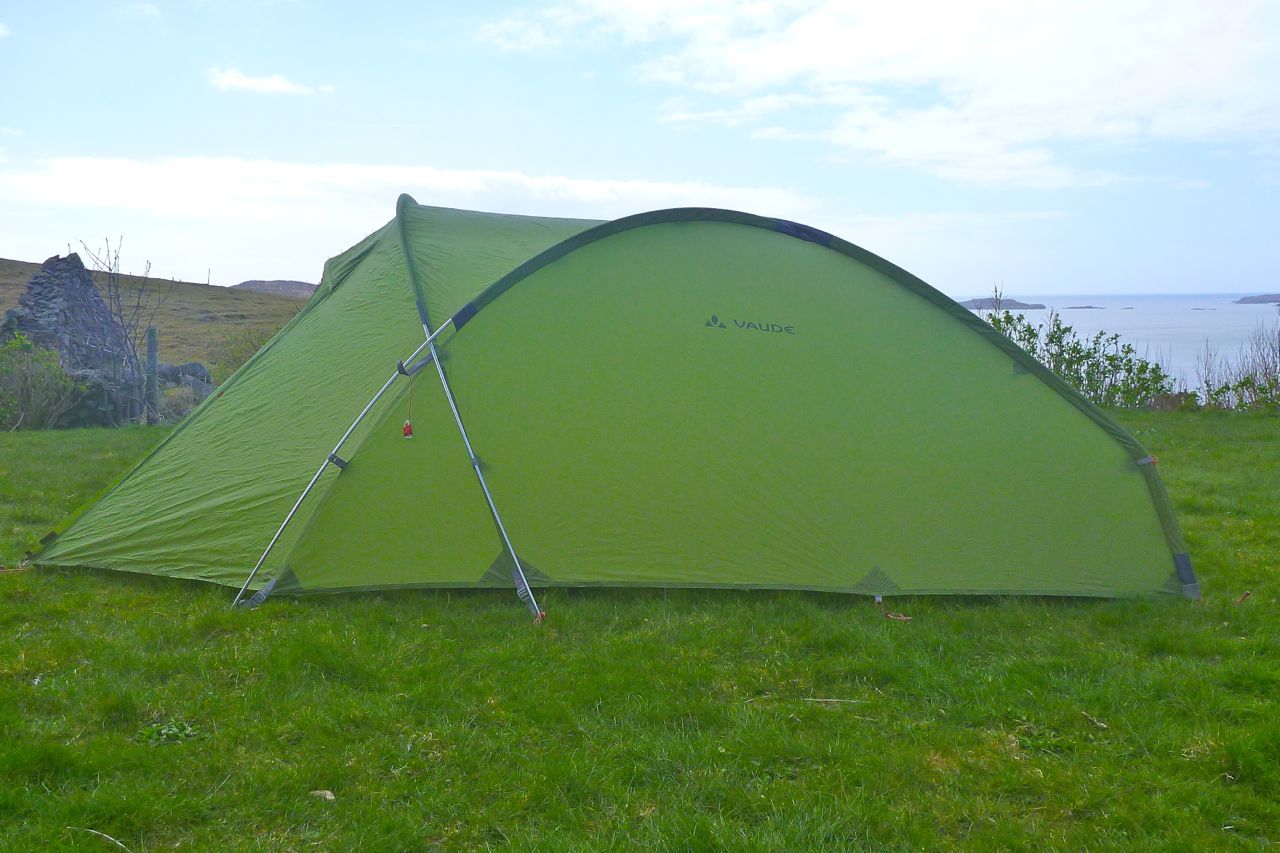
Seawave main page
Refining and testing prototype rudder
Making and testing MkII version
Update 2019:
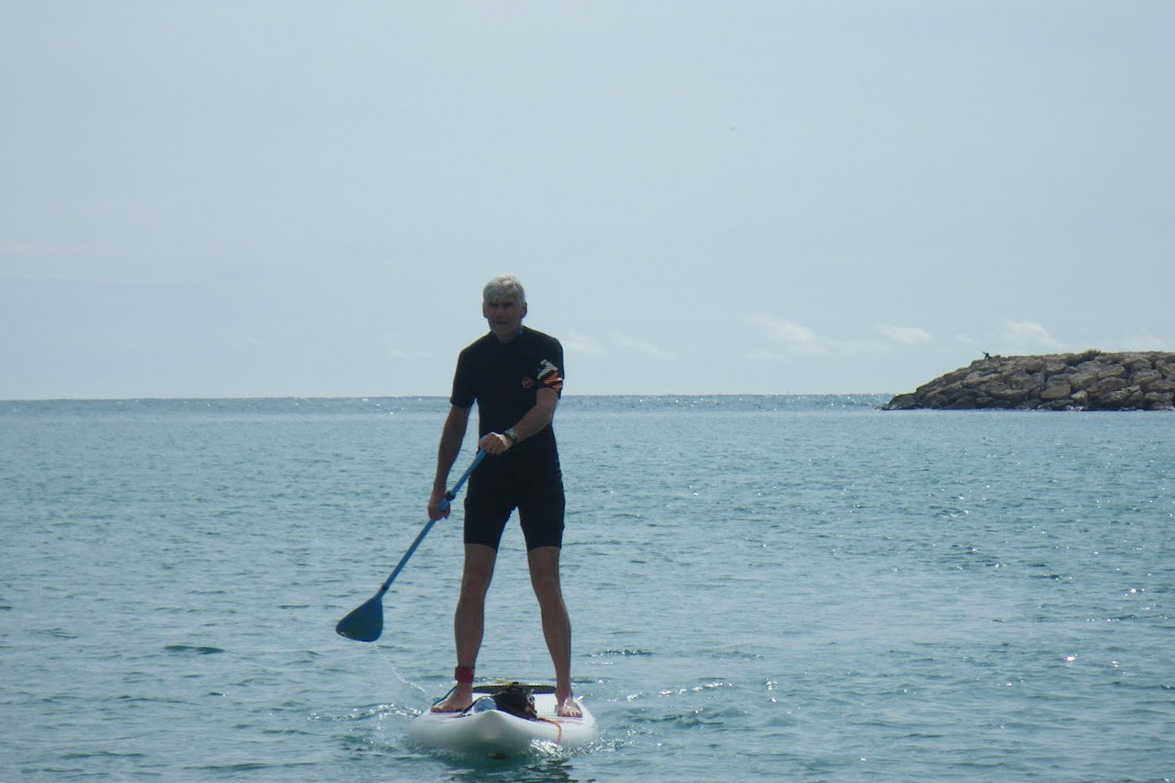
I’ve not used my MYO rudder since I made it in 2016 and sold it with the boat in 2020. Partly because I’ve only done day trips predicated on nice weather, but also it’s all just more faff and clutter, not least the lines and footboard. As explained earlier, for multi-day trips you must deal with the winds you’re given so a rudder is a good idea. But even then, you only notice your relative lack of speed (due to sidewind paddling correction) alongside others. Alone, you’re as fast as you are [grasshopper].
Rudders are not about steering as they are on powered boats; in a kayak they’re about enabling efficient, balanced paddling on both arms by compensating for the boat’s deflection by side winds.


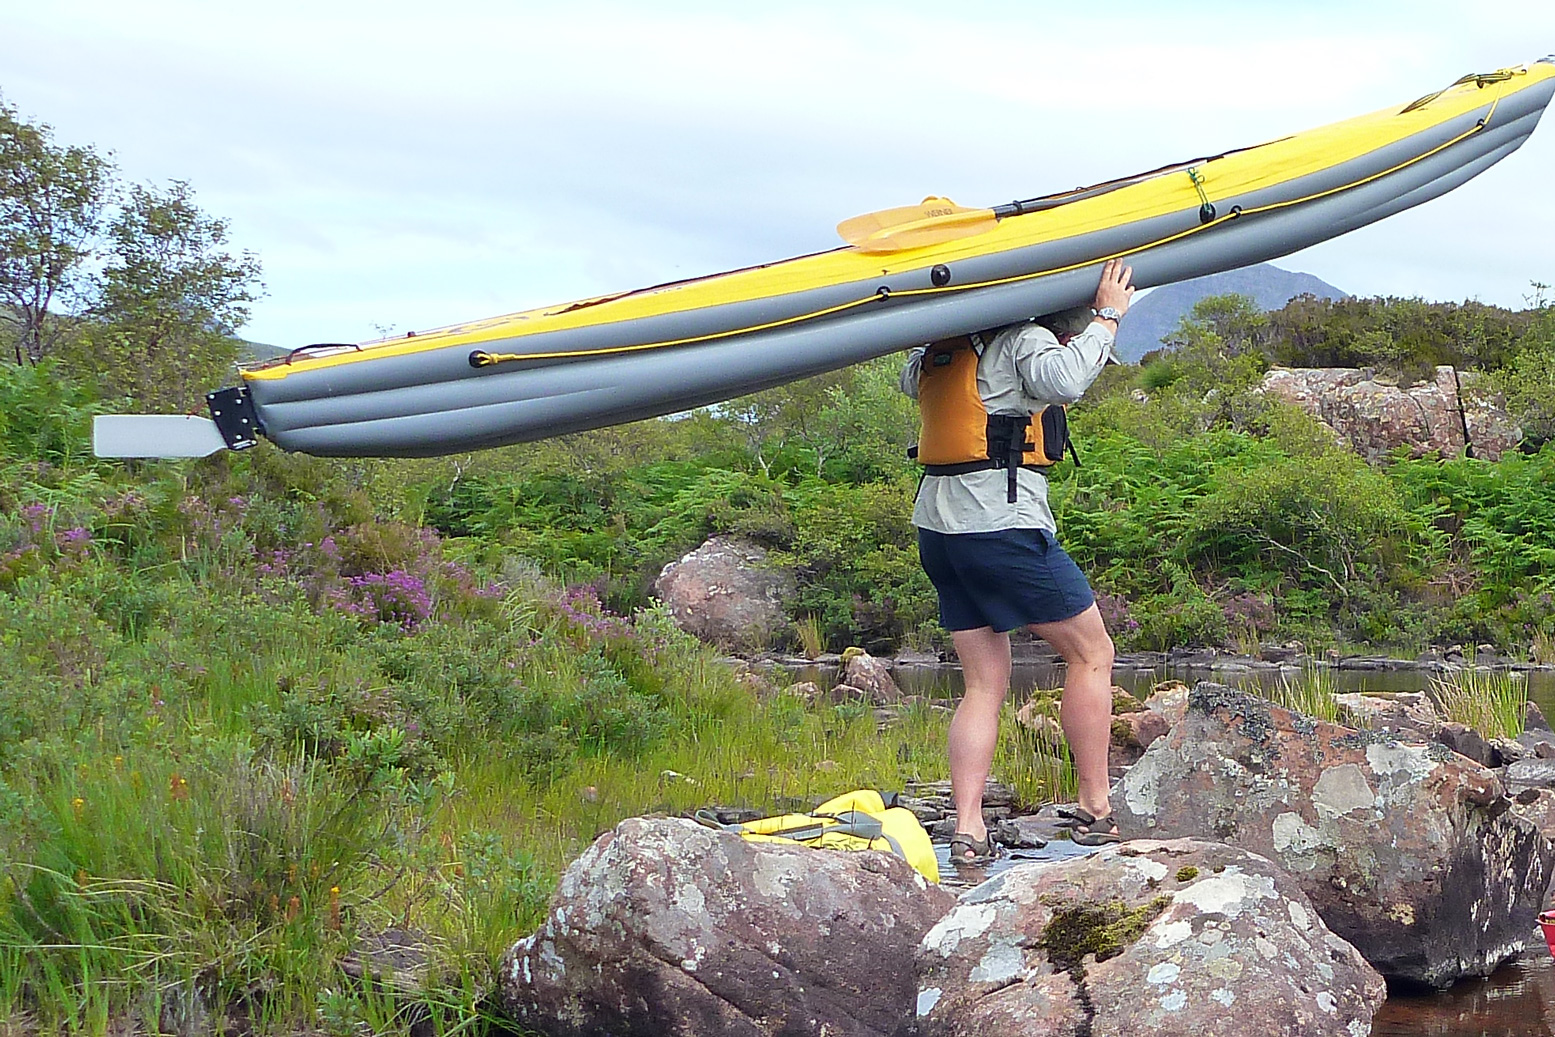
After writing this a few weeks back I decided to try and fit a rudder onto my Seawave. On that breezy Mull trip Gael, in the ruddered Incept K40 (left), seemed a little faster than me and the penny finally dropped as to why.
A rudder can compensate for winds pushing the boat off course while you power on as normal. Without one, you’re pulling hard with just one arm in an effort to keep on course – that explained why I was a bit slower. Rudders have little to do with improving tracking which the Seawave does fine with the help of the skeg (though fitting a rudder means you won’t need a skeg). And unlike a ship, rudders have even less to do with ‘steering’ which a kayak does easily enough by dragging or drawing a paddle blade. But you can of course steer with a rudder too.

As mentioned elsewhere, another benefit of a rudder instead of a skeg is you can park the boat on flat ground without it pressing on the skeg – particularly useful when the boat is loaded and heavy (left). I’ve often thought about fitting a hinged skeg at the back of the boat to enable this. It’s a way of avoiding the complexity of a rudder but with the benefits of solid tracking which is needed at sea.
It helped that I found SoT rudders on eBay from Hong Kong (and now, in the UK) from just 20 quid. For that price it was worth experimenting, just like it was for a knock-off disc sail. Here in the UK a proper sea kayak rudder costs over £200 for a full kit with pedals.
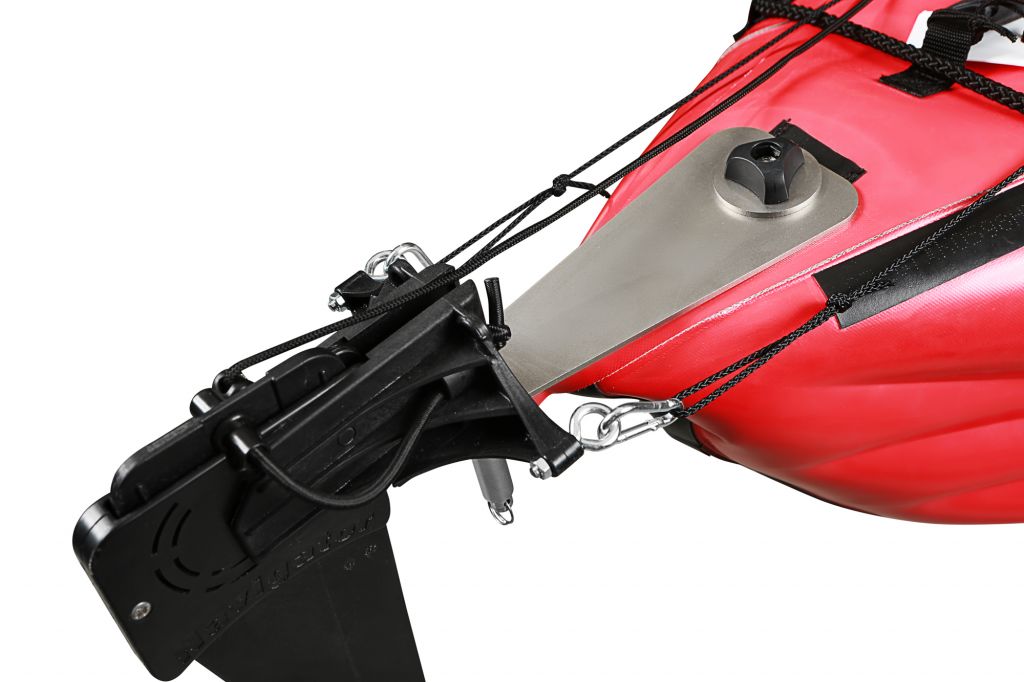
I also learned that Gumotex had introduced a Seawave rudder kit on their 2016 model as I was halfway through this project. I’m glad I spotted it as it gave me some good ideas, while the cost and certain features of the Gumotex rudder reassured me that my MYO was a better way to do it.

Does an IK need a rudder?
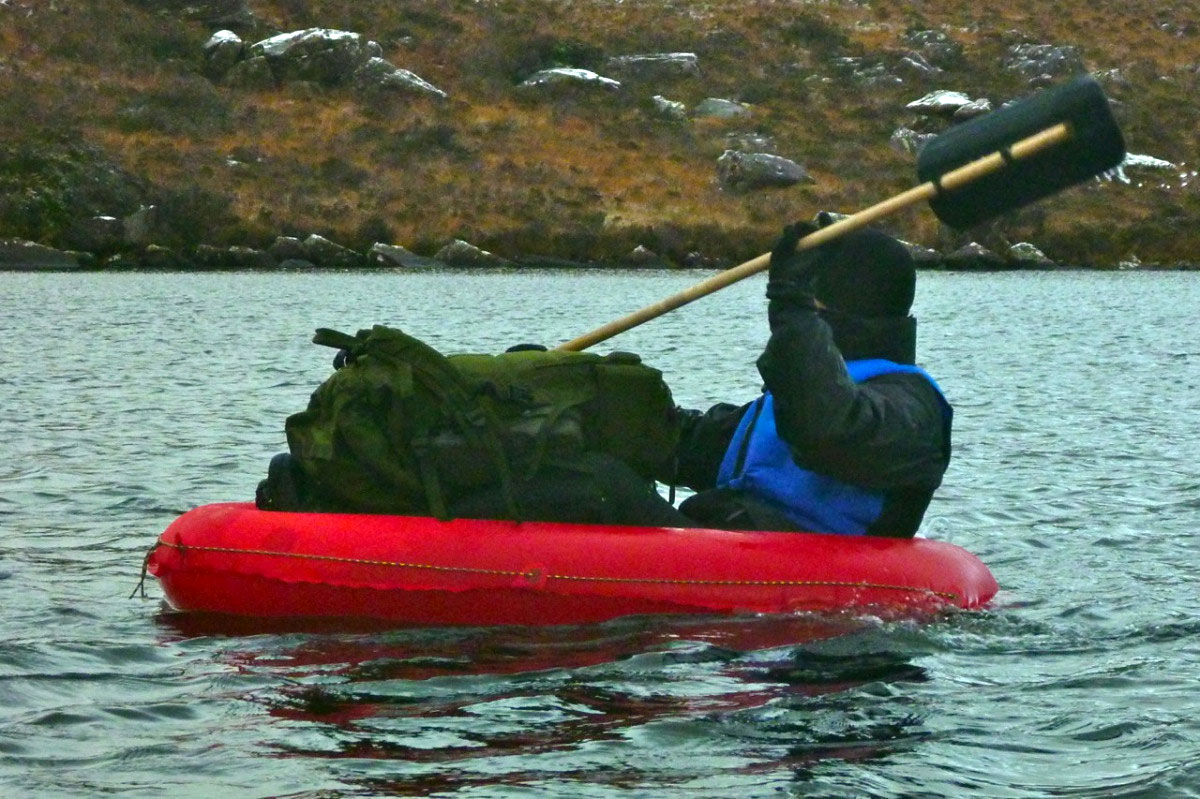
Most of the time on calm day trips a skeged Seawave manages fine without a rudder. But on a longer multi-day trip like Mull, you have to deal with the weather you’re given, or sit it out. As it is, unlike hardshells, IKs are innately more windprone as they’re lighter and sit higher on the water.
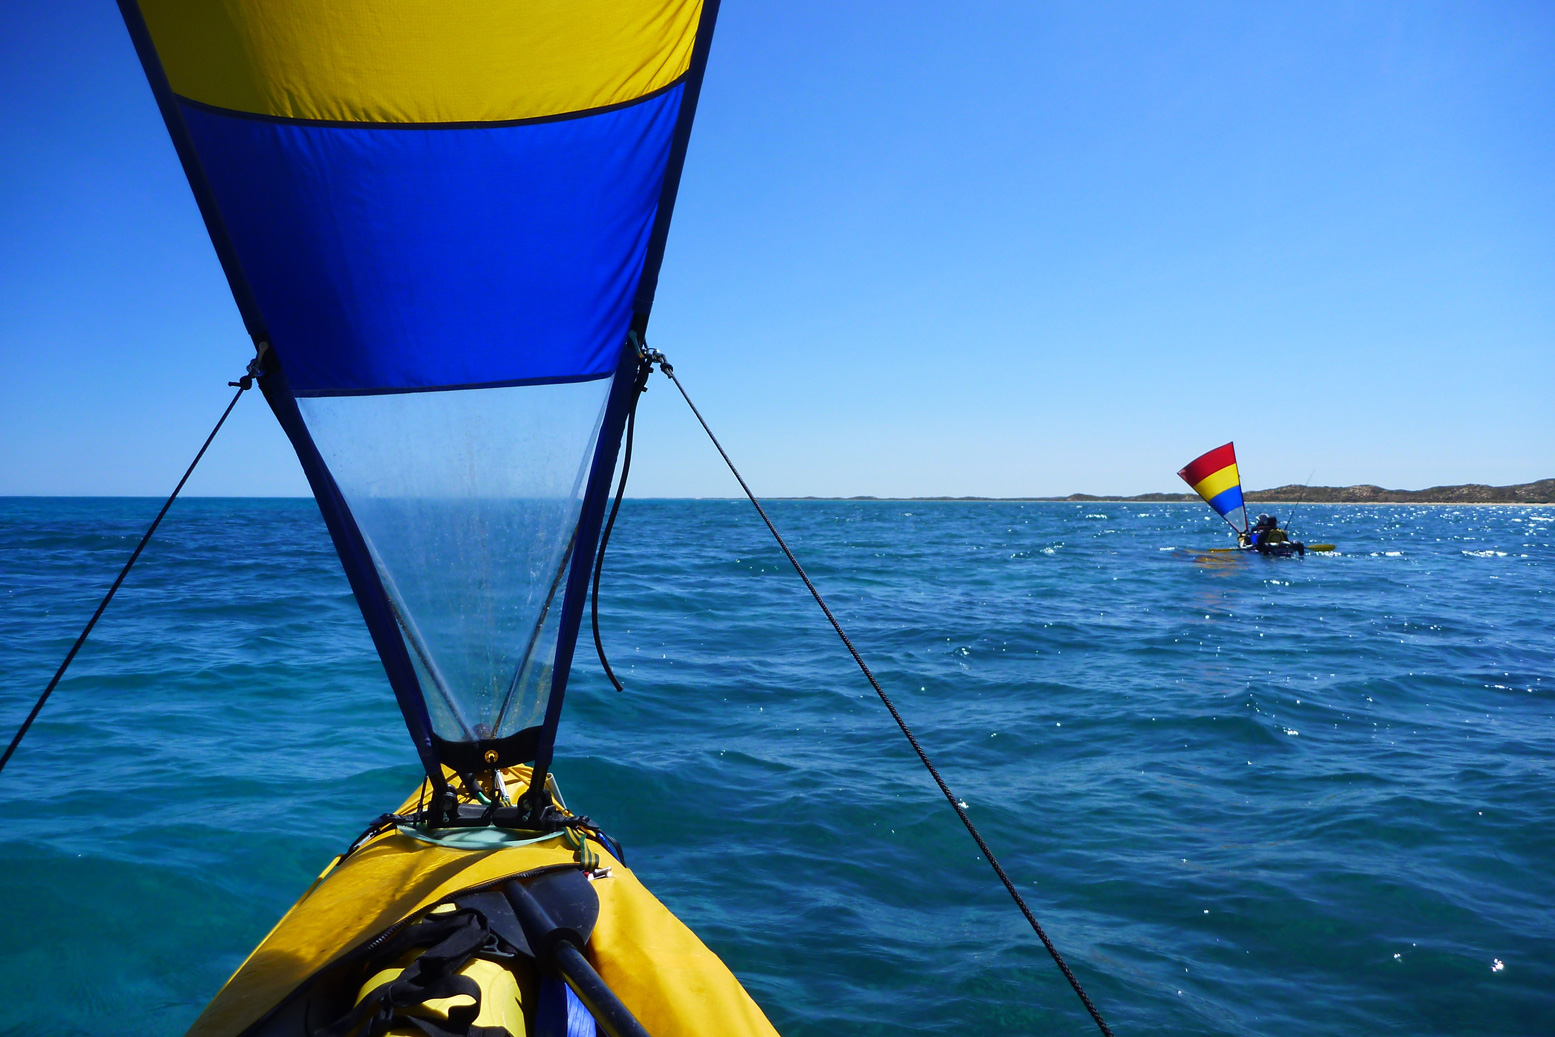
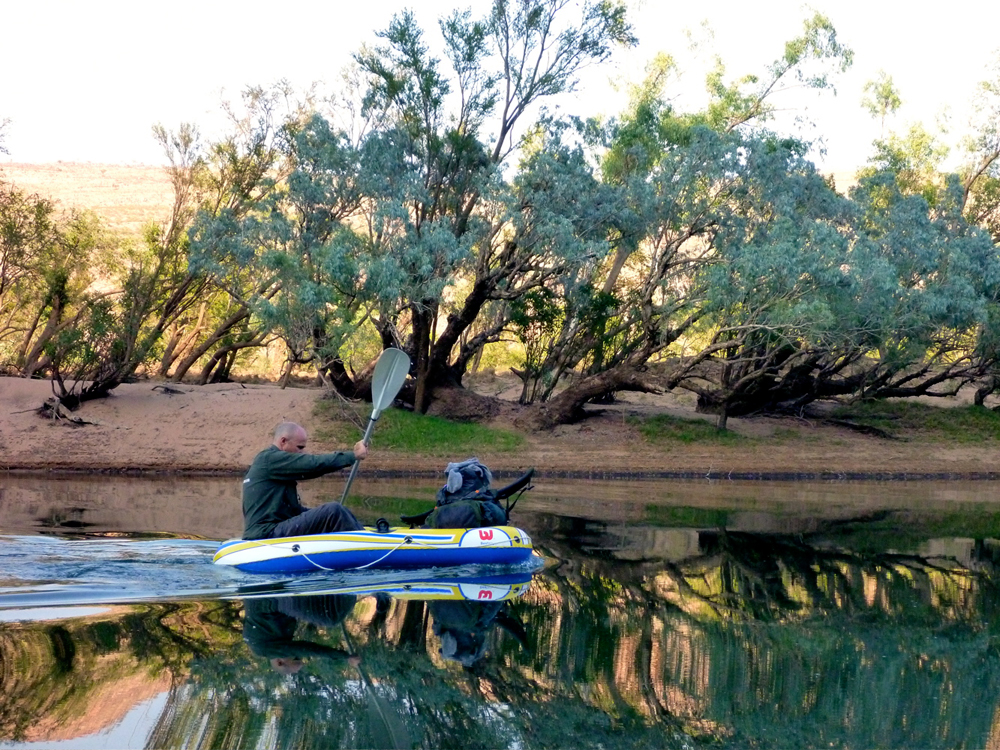
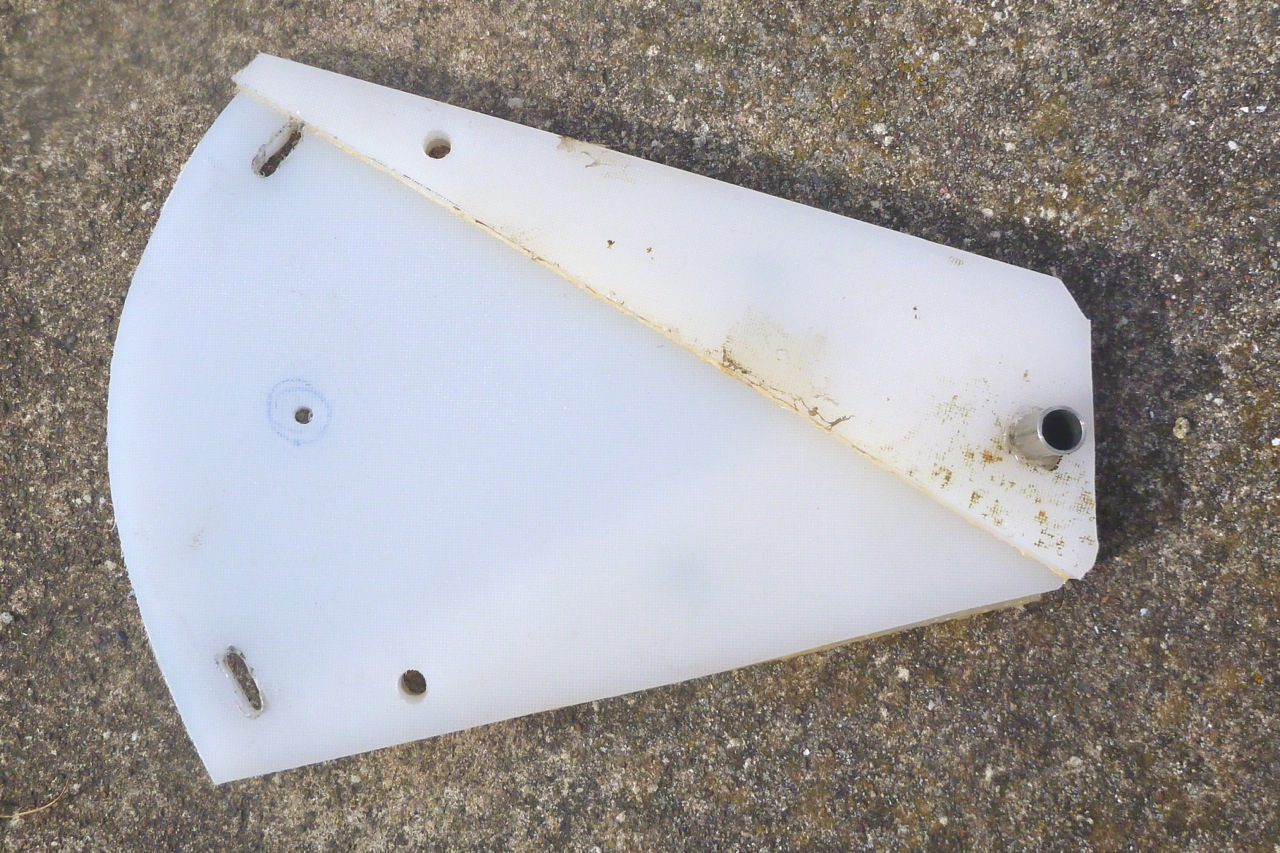
I paddled with a ten-ton hardshell once in Australia with my old K40 (above). Where we could, we both had sails and the hardshell flew along (a rudder makes kayak sailing much easier). But me, I had to give up on day two; I couldn’t control my kayak in the 20-30-knot backwinds, and that was with a rudder. (I realise now this was because the K40’s rudder was too short).
On another earlier paddle in Ozzie in my Sunny I remember pulling hard on one arm for hours and days to counteract the crosswinds. I ended up with arms like a fiddler crab.
So with an IK the window of rudder usefulness – when winds are strong enough to require rudder correction, but before they’re too strong for all except short, white-knuckle crossings – is actually quite narrow. Say, between 10 and 20mph.
This’s why I’d sooner not spend £200 finding out if a rudder suits my sort of paddling. A rudder isn’t going to transform my Seawave and I may end up not using it much, aa with my disc sail (though having a rudder again may encourage me to give sailing another go). But a rudder will slightly extend my boat’s paddleability. When a brisk quarter wind blows from front or rear I’ll be able to set the rudder against it and power away with equal effort on both arms. Anatomical consequences? More Popeye, less Fiddler crab.
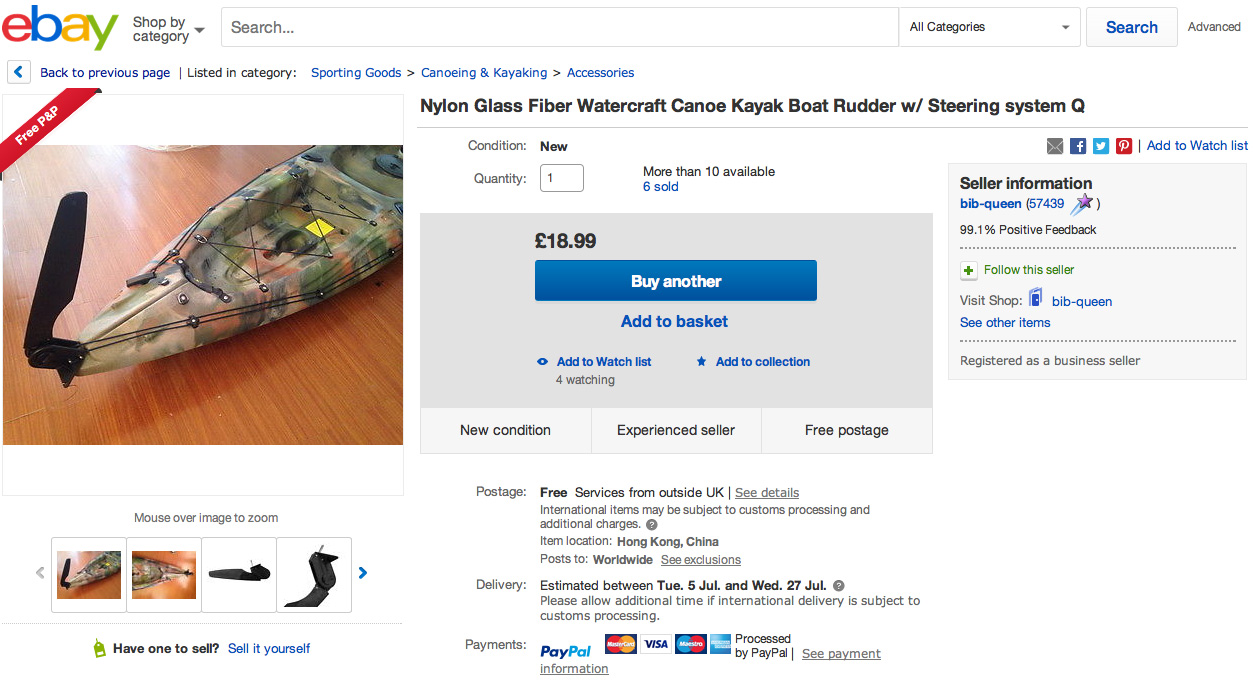
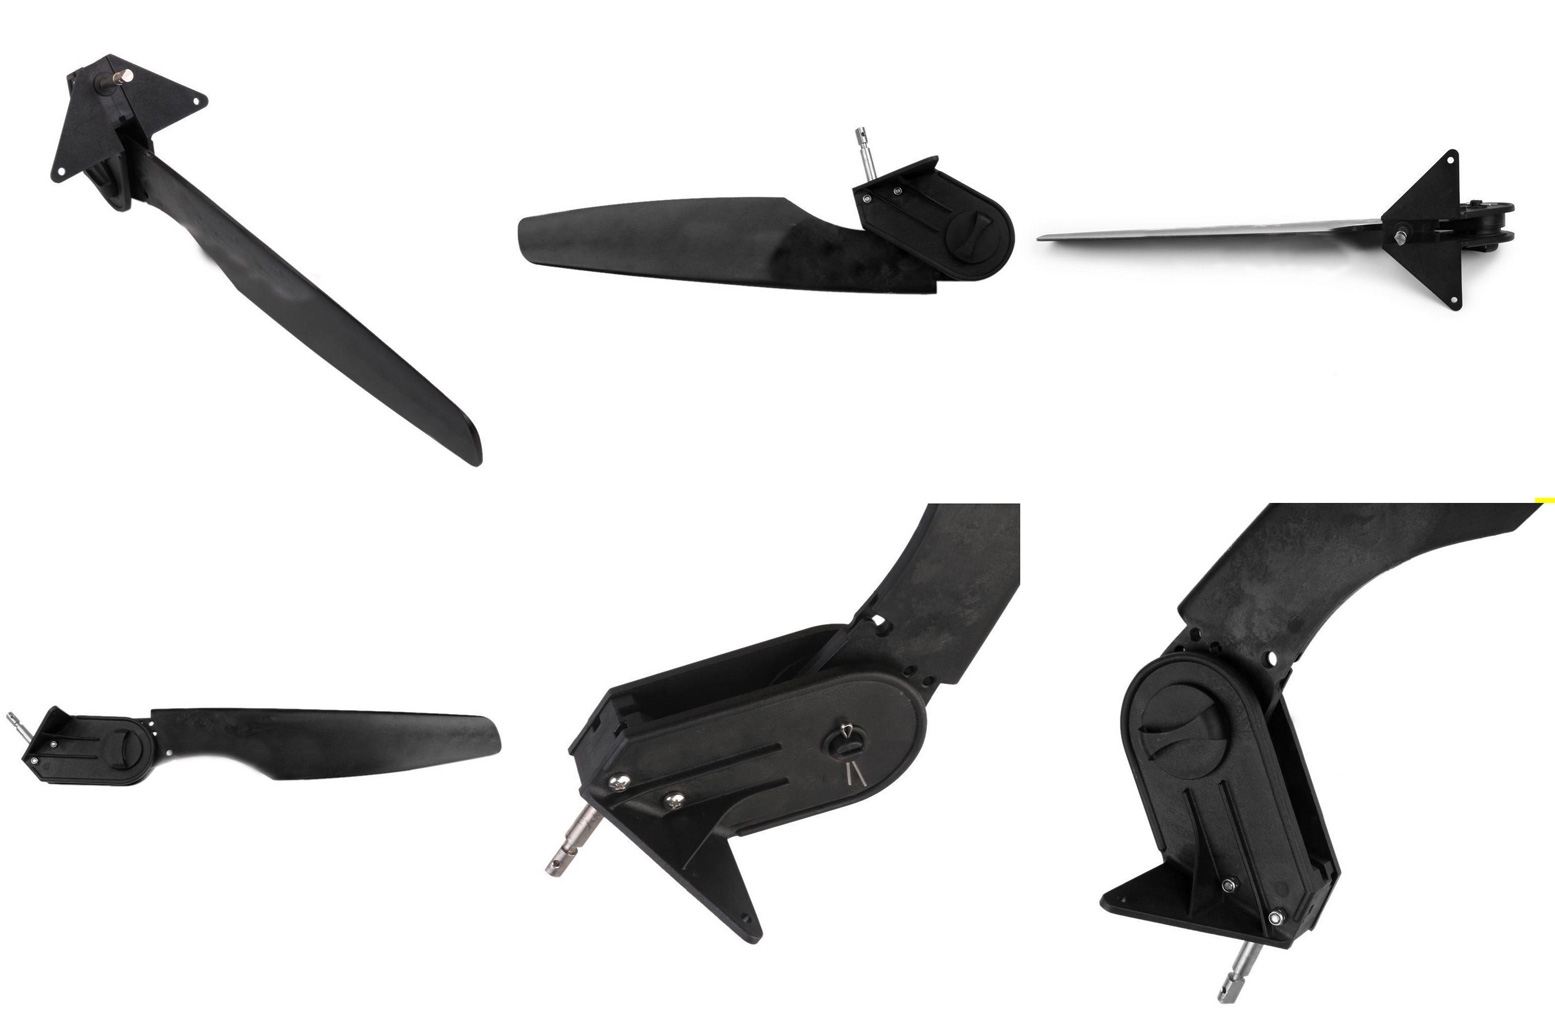
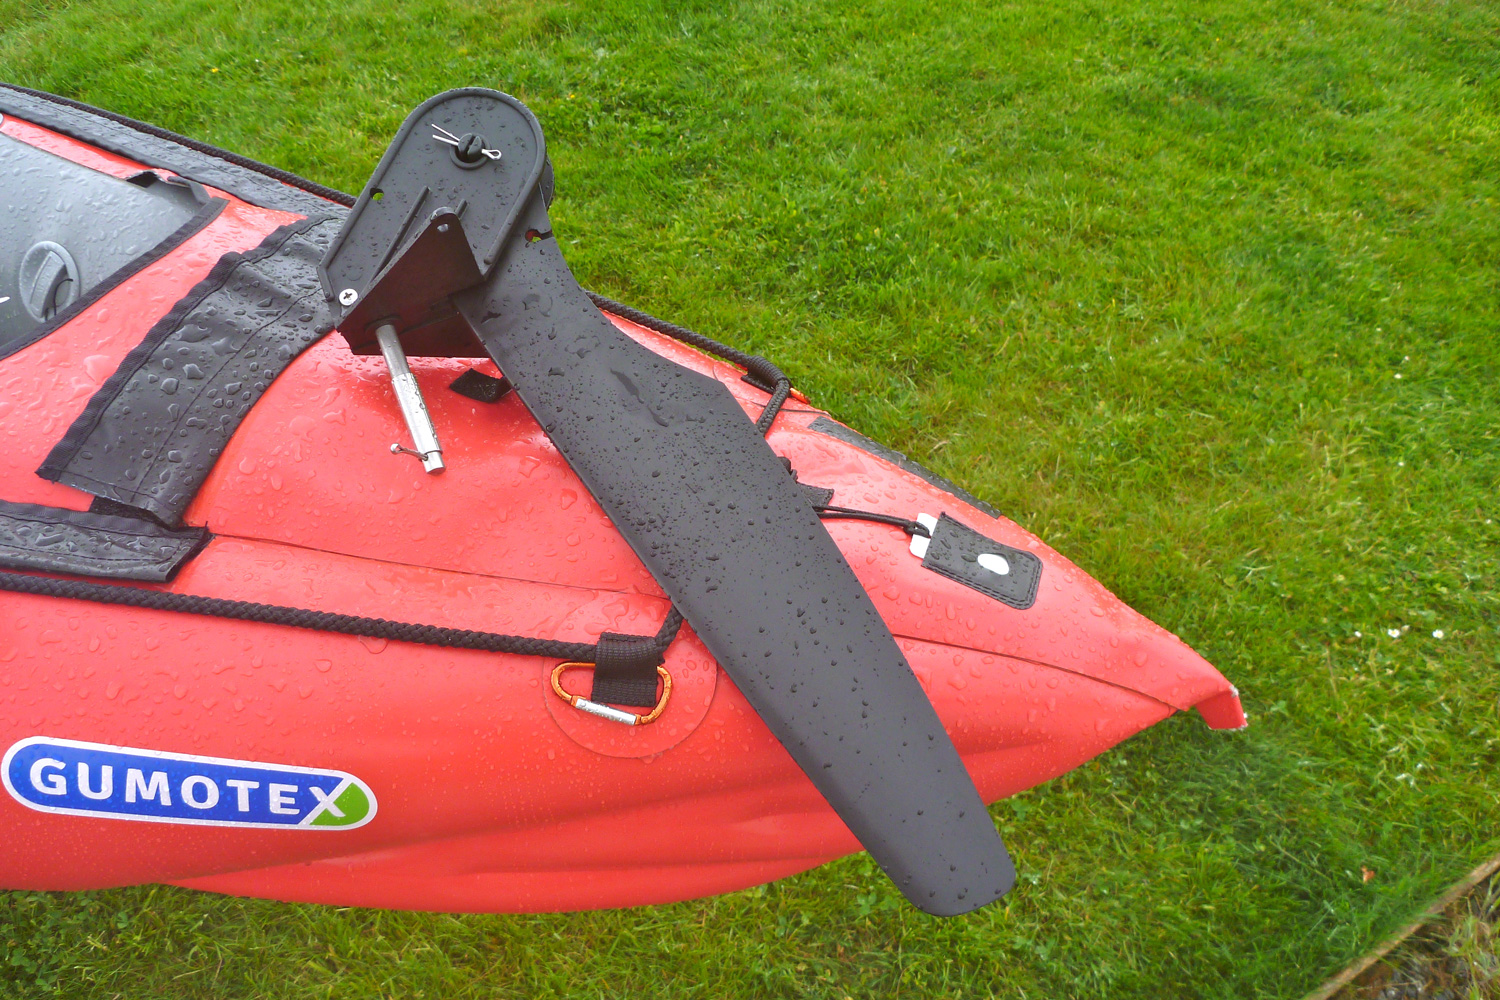
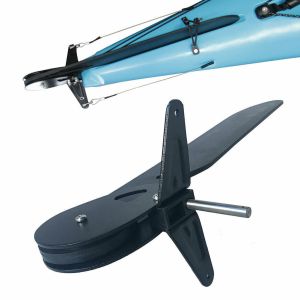
A Chinese SoT item (left and right) typically has a 400mm blade and is quickly removed on the pivot pin, plus can be both retracted and deployed using control lines.
And better still, the retraction sweep comes right out and drops over the back of the deck, not sticking out vulnerably like the Incept rudder (above) or the Gumotex kit.
MYO
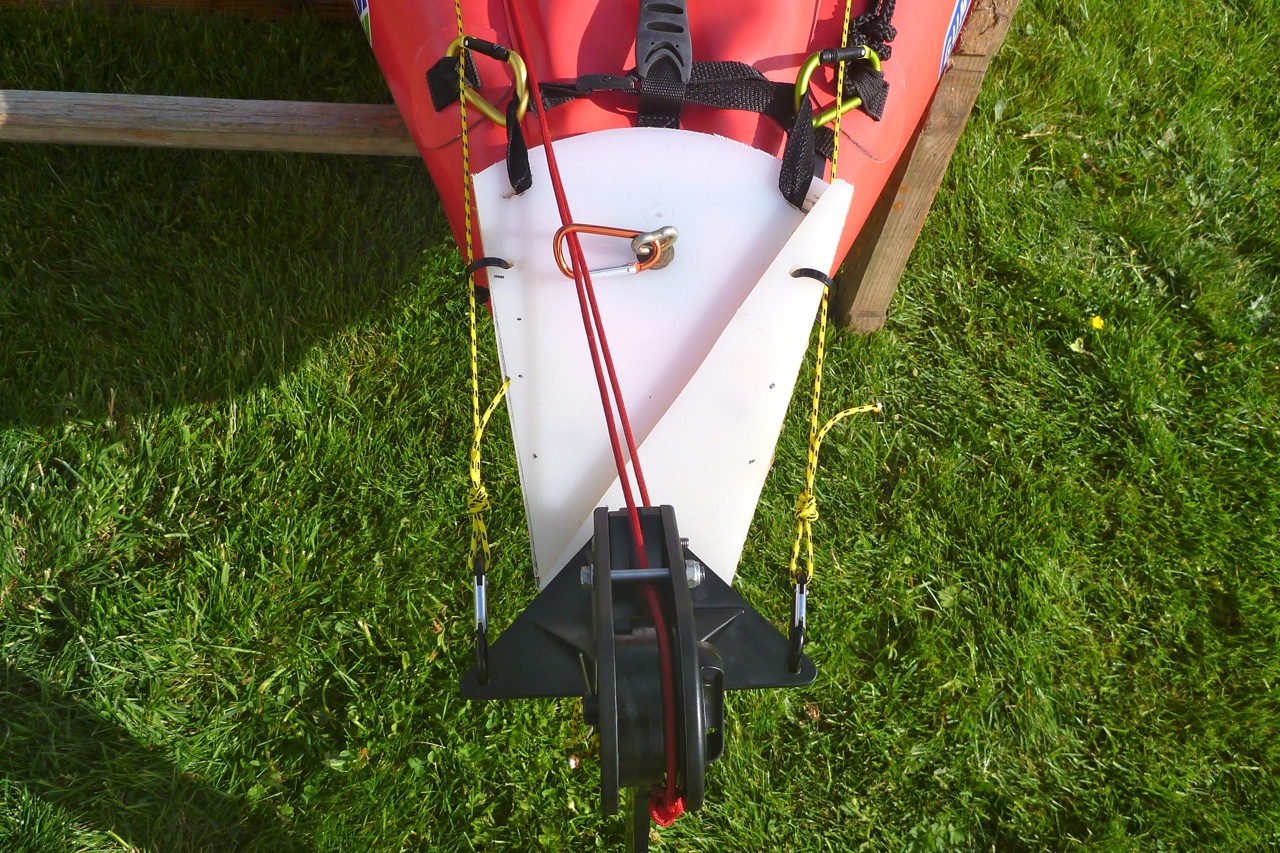
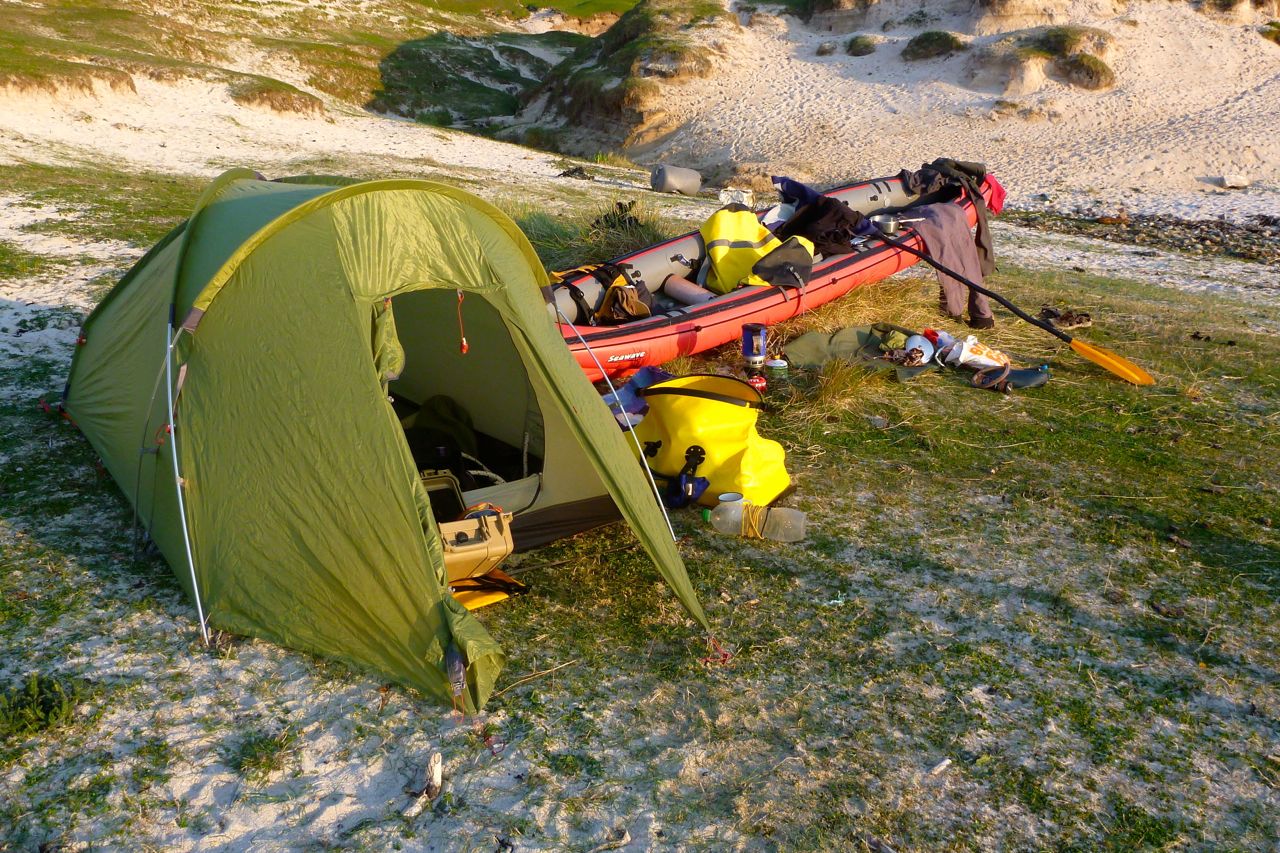
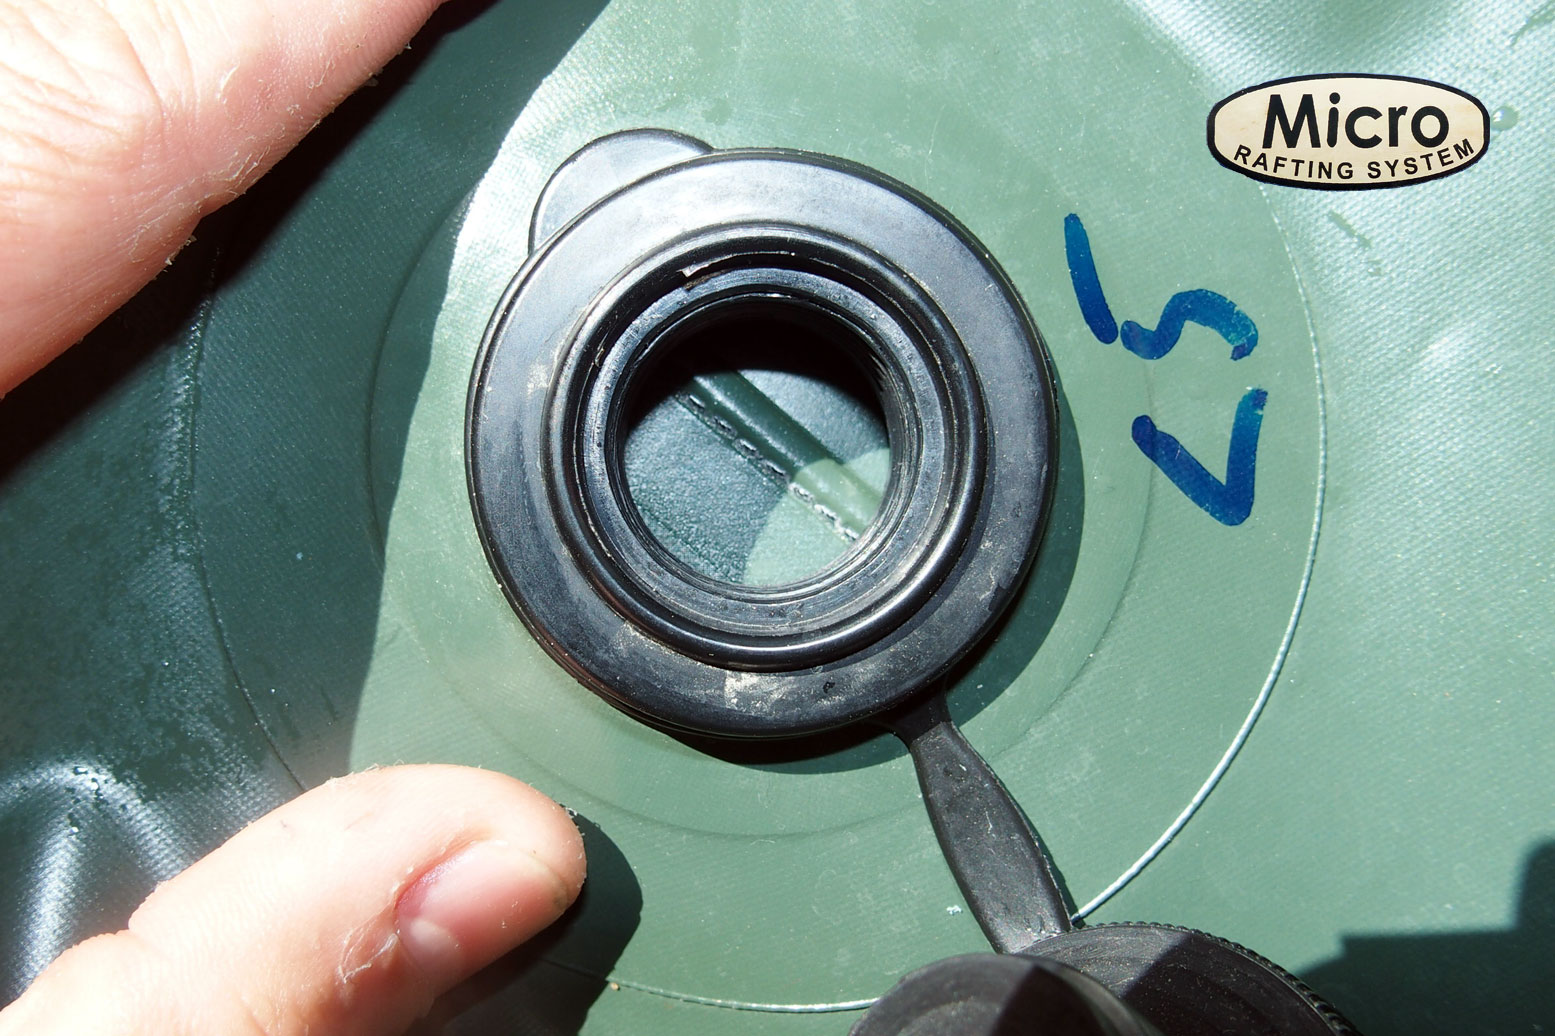
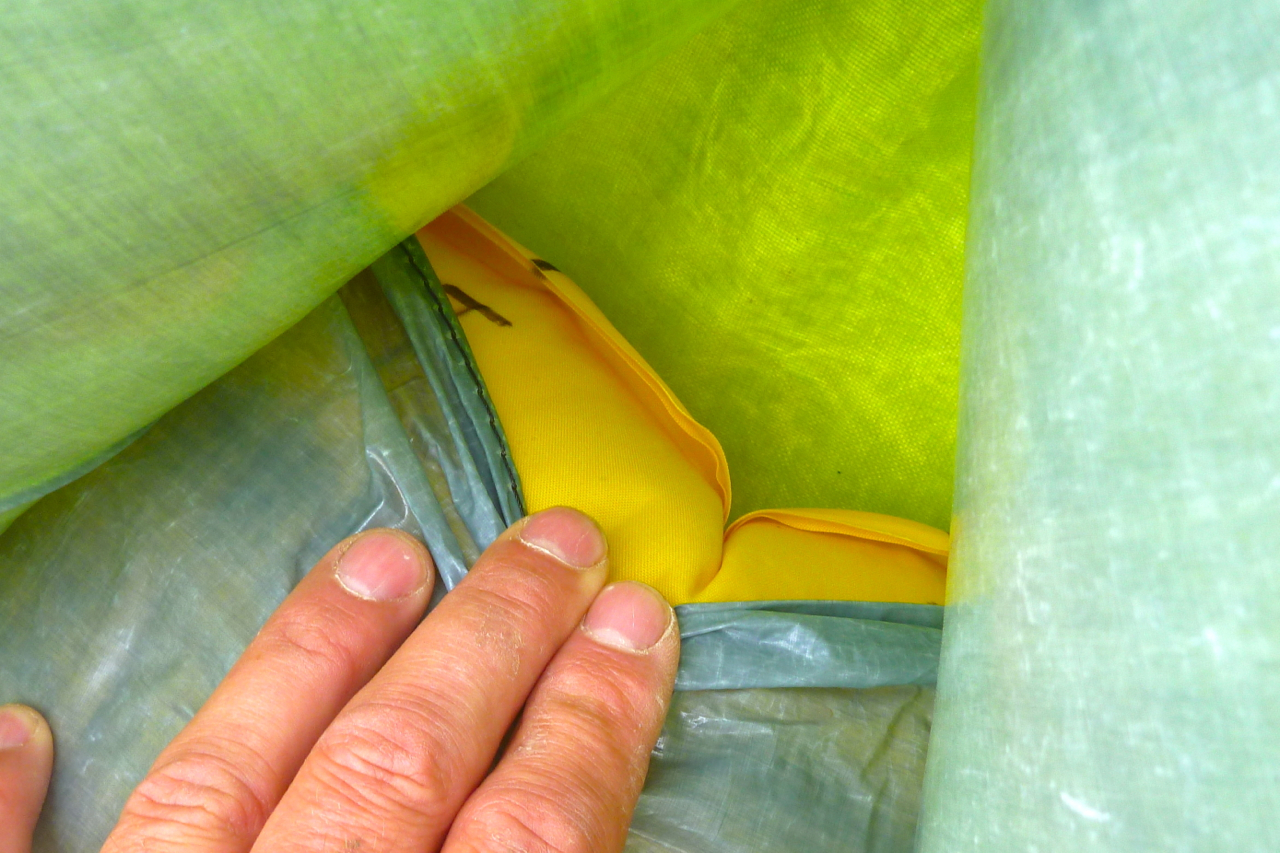
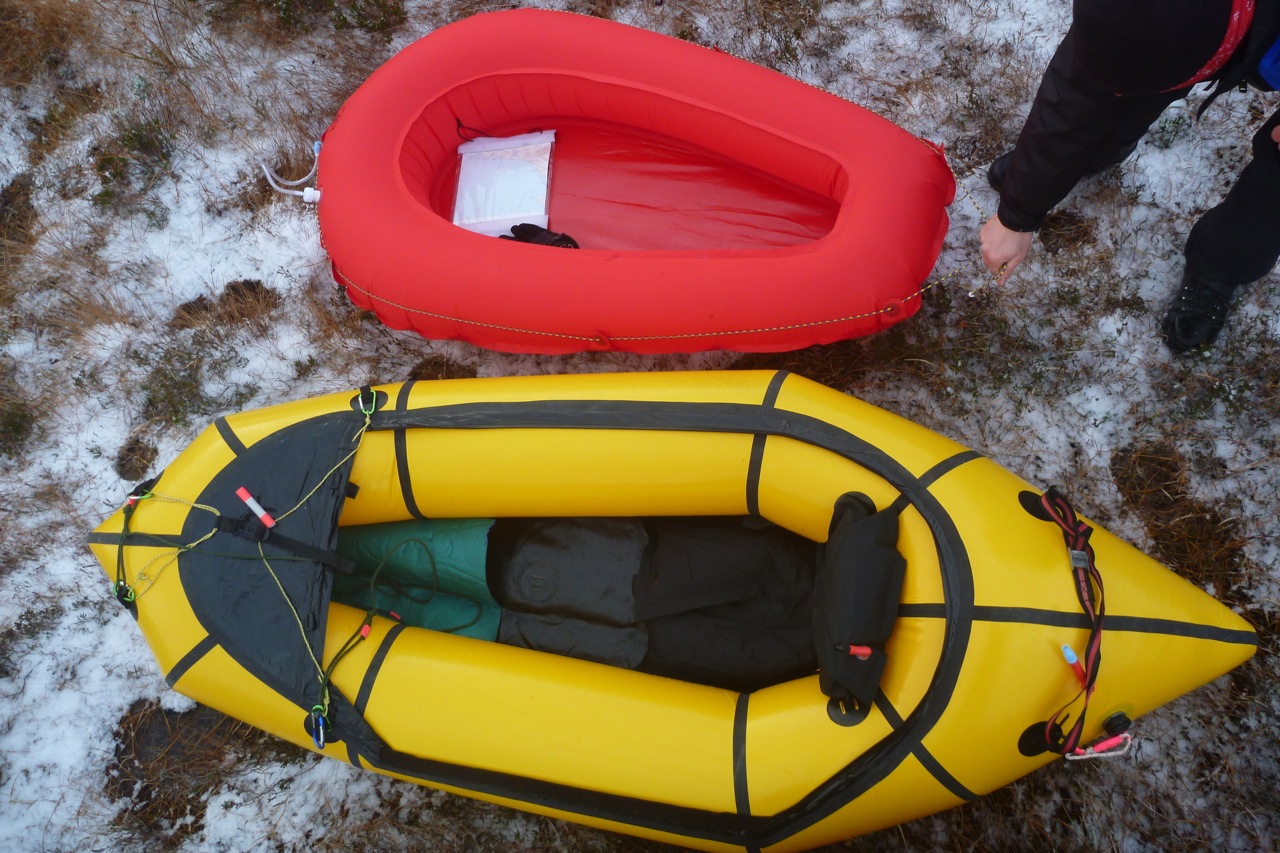
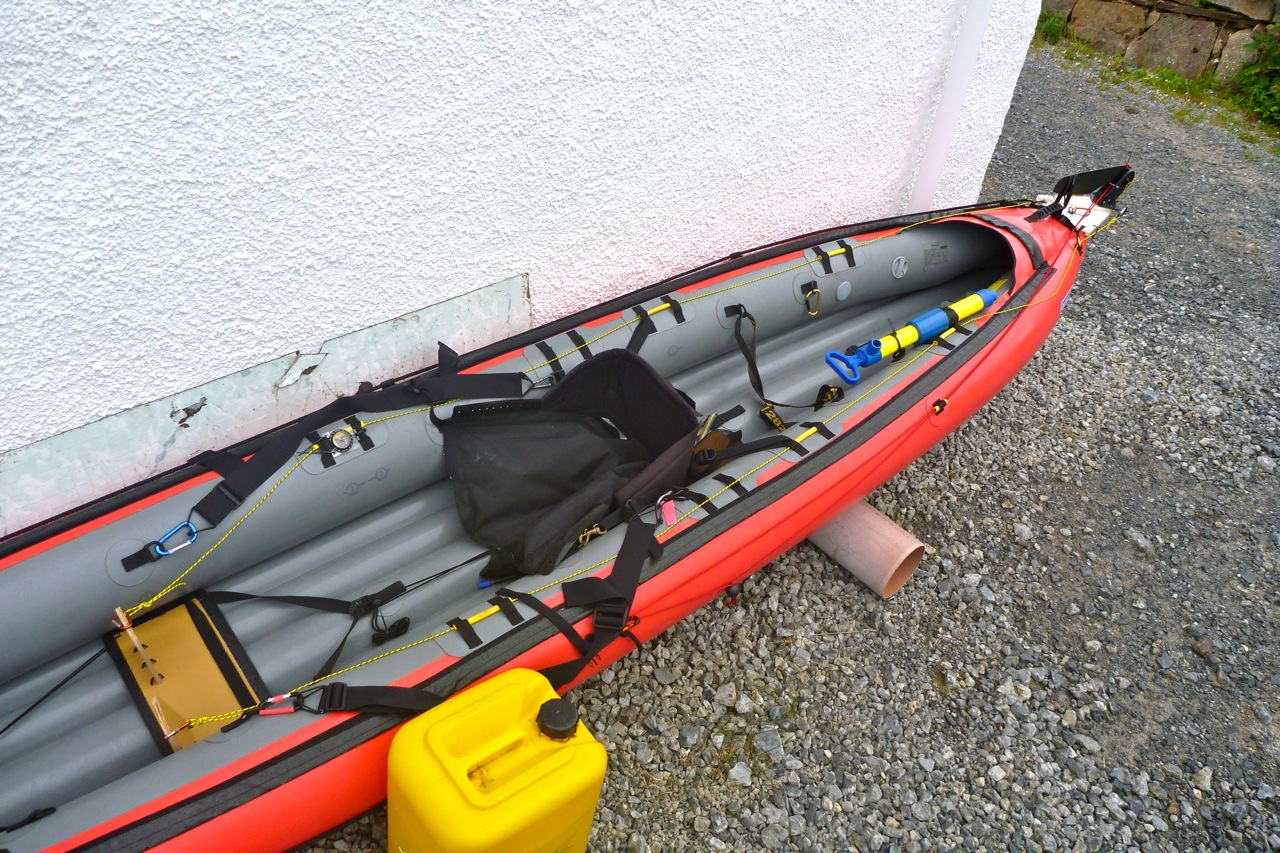
While the rudder inched its way over from Hong Kong I came up with a rough idea to mount it on a chopped up HDPE chopping board held in place by straps or similar off the rearmost deck line sleeves, then cinched down with an extra D-ring glued under the stern – the only mod permanently added to the actual boat.
On the end of the board some sort of swivel tube was needed, or just a built block of HDPE with a ⅜” hole drilled through it to take the rudder pin. Rigidity, or minimal flex is important if the rudder is to feel responsive – another flaw I recall from the Incept. Mounting something rigidly on the end of an inflatable is tricky, but if my first ideas aren’t good enough, there’ll be better ways of doing it.
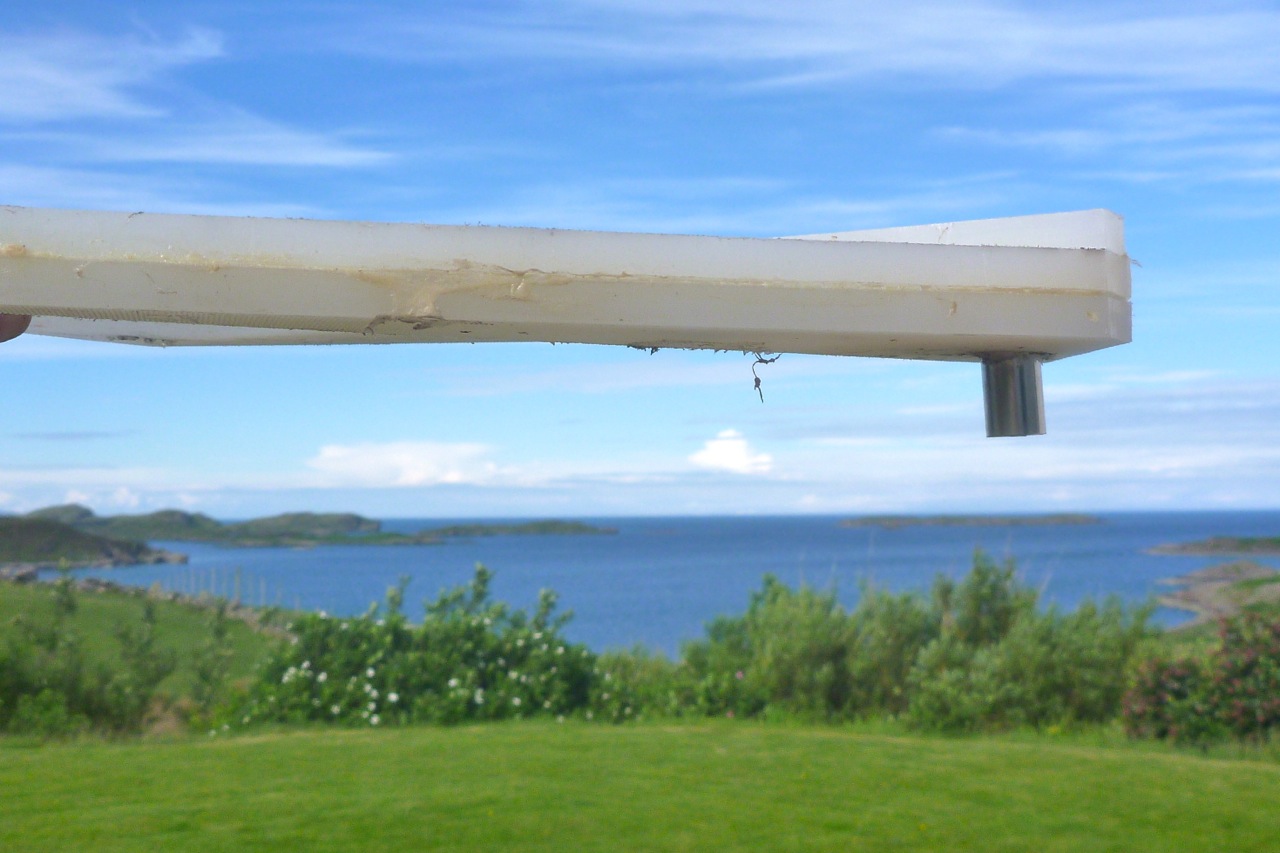
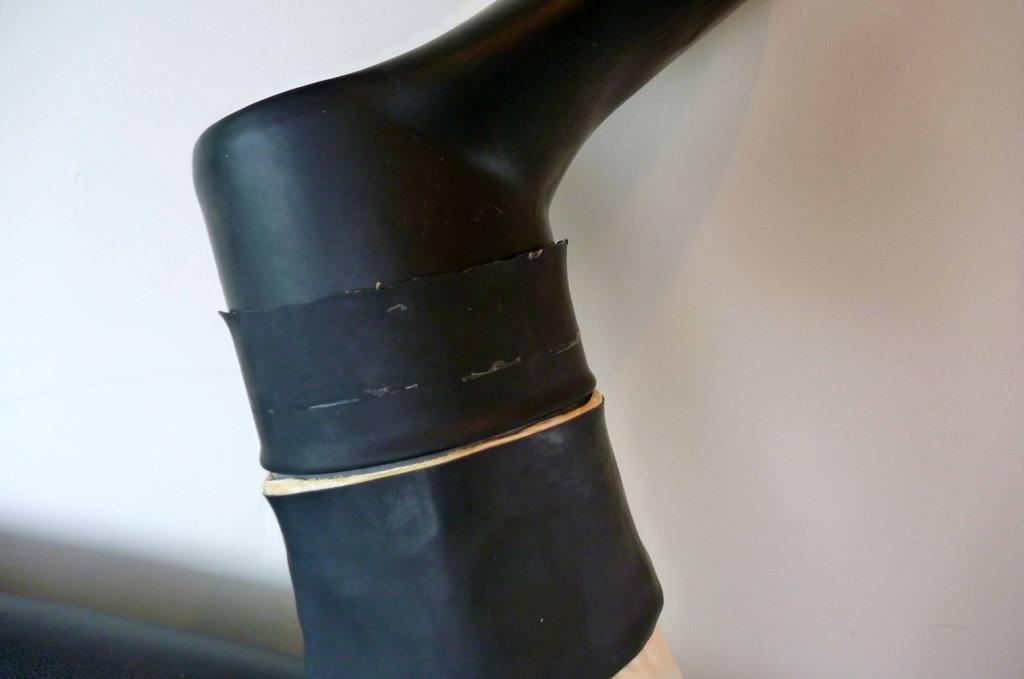
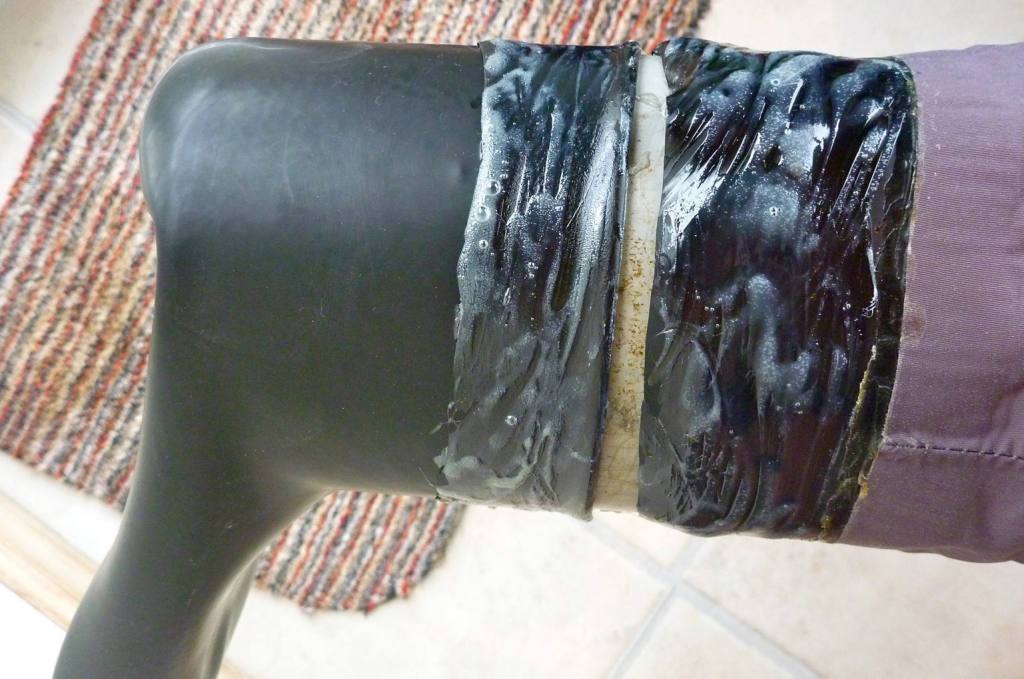
The way I chopped my 8mm board up and glued on the off-cuts for added stiffness produced about an inch of thickness at the back (right). And when the rudder turned up with a gudgeon pivot swivel sleeve, I decided it could be jammed into the back end of my board to provide a solid enough pivot.
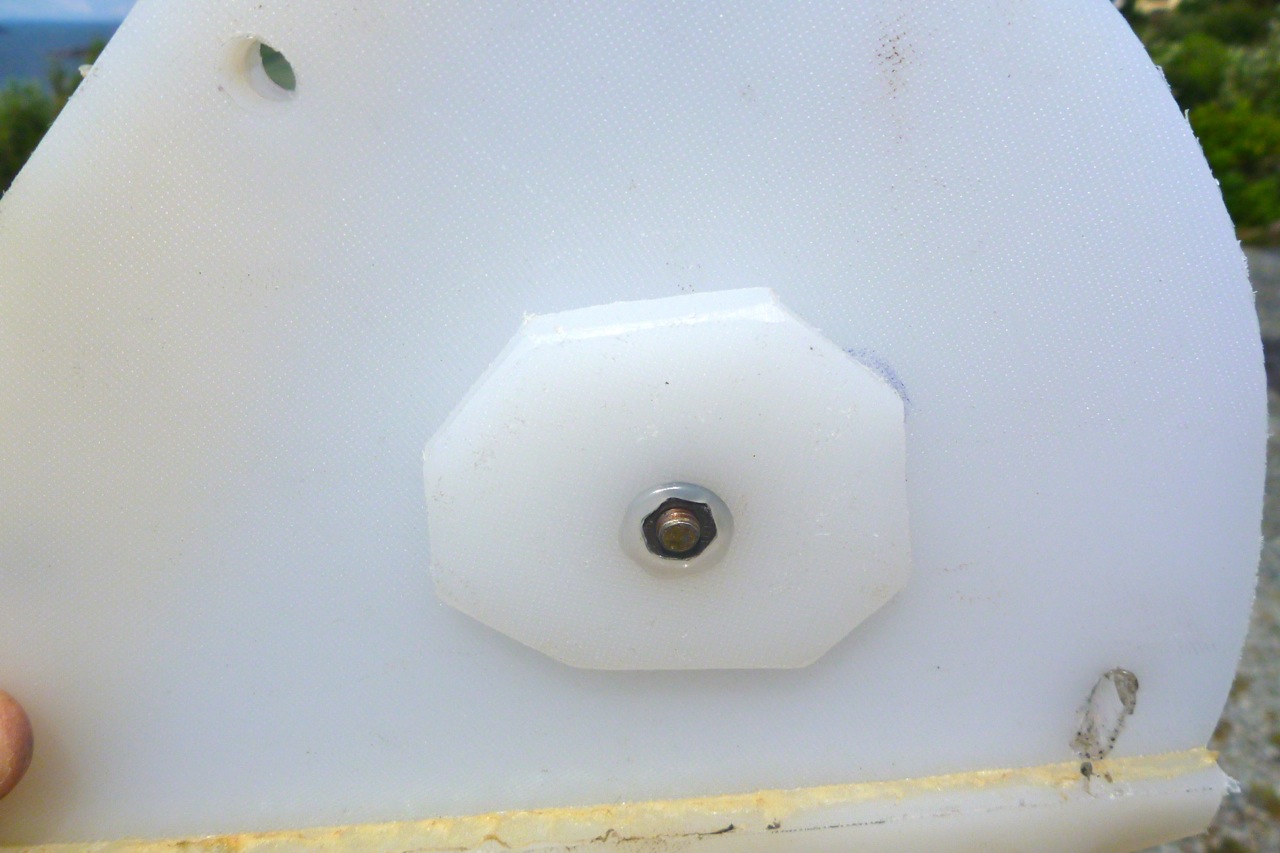
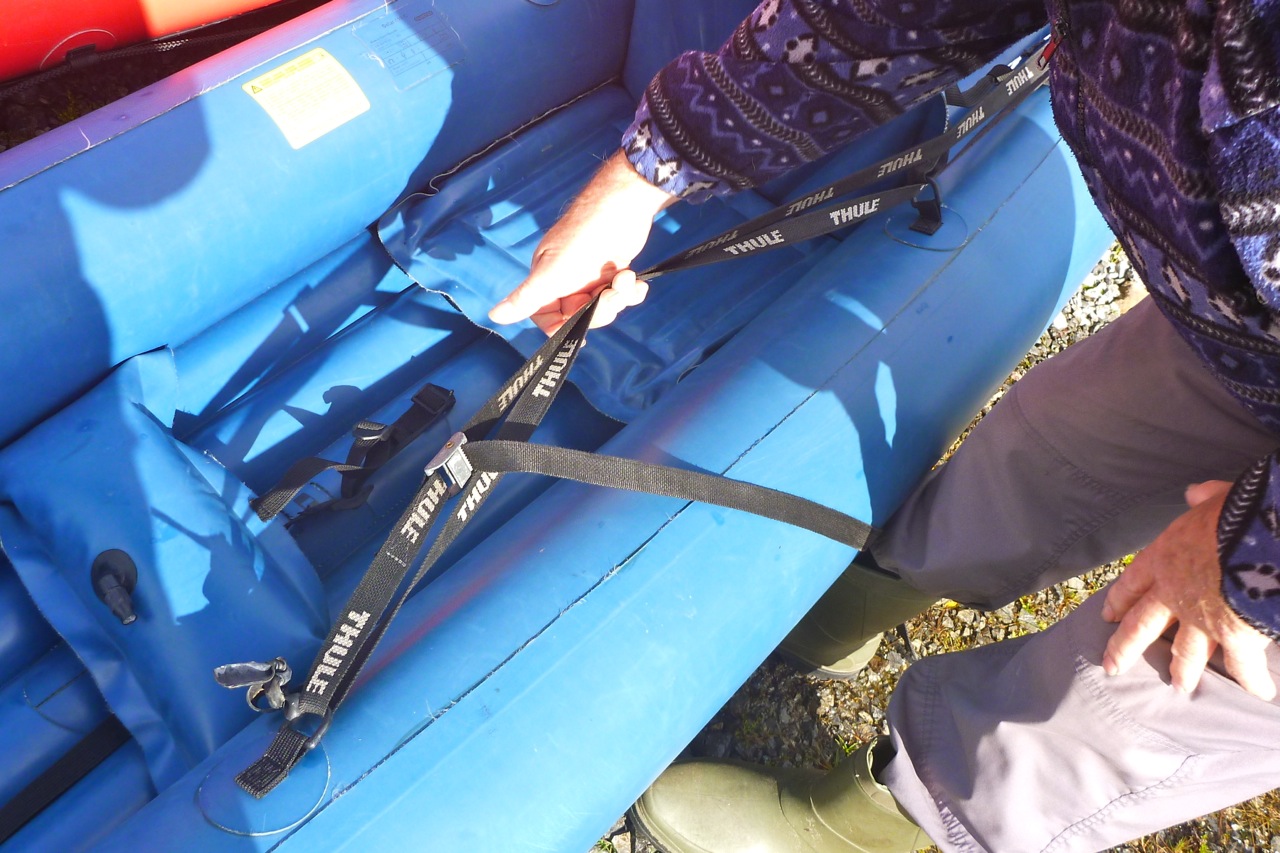
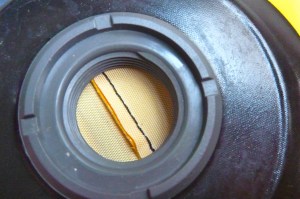
This kitchen plastic is a dream to work with: it cuts easily, melts readily (no need for a drill) but is fairly light, stiff and rot proof. I mounted a clamp through the boat’s drain hole – copied from the Gumotex kit – and used an off-cut with a melted-in M6 nut (right) to grip the top plate under the deck. With a strap threaded through the rearmost deckline sleeves, this triangulated the mounting to reduce – but not totally eliminate – sideways pivoting. When it turns up a ‘saddle strap’ through the under-stern D-ring will hold the board down to reduce movement some more.
Rudder lift line 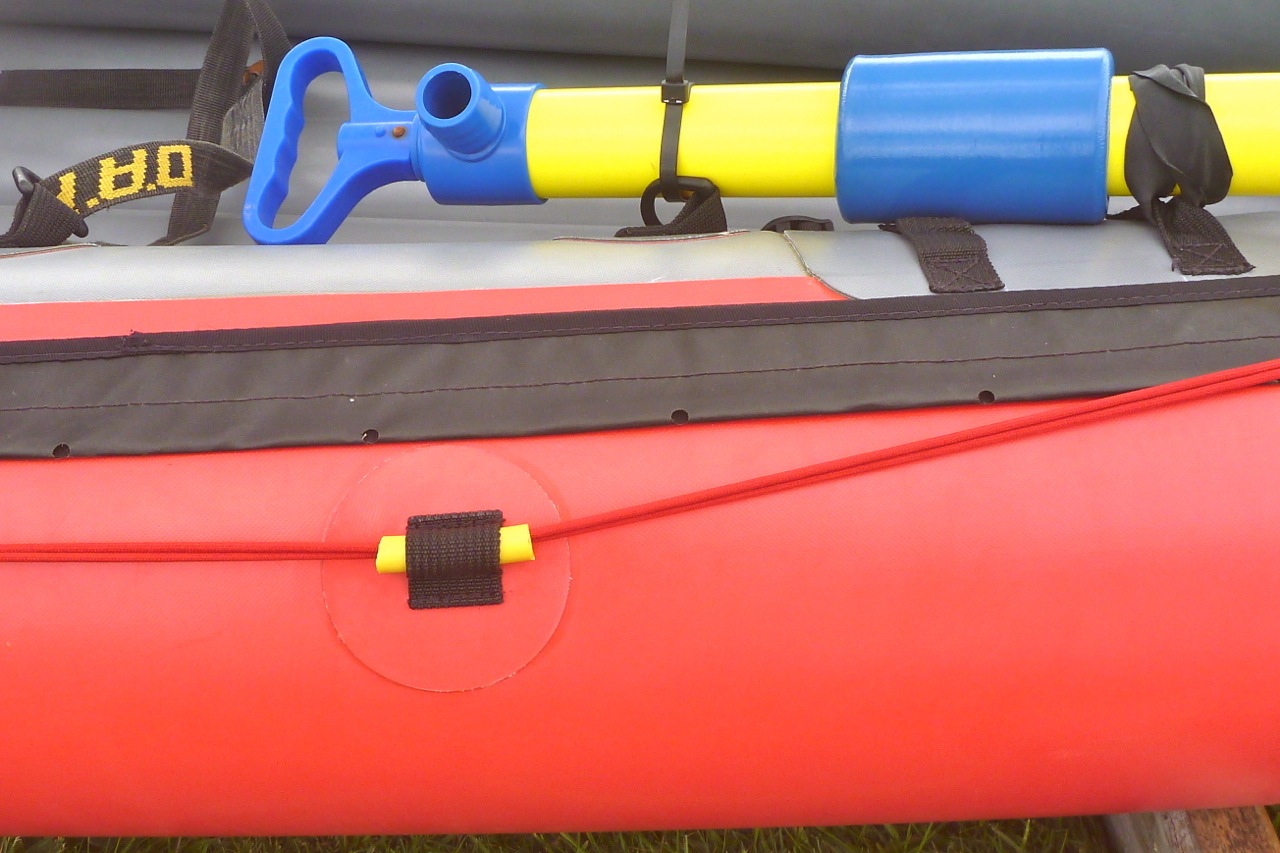
Tubing, for smooth running,
Control lines
Having owned a ruddered IK helped with setting up the control lines. The threading of the rudder lift/drop line pulley is fairly obvious – the goal is to create as little drag as possible and the many fixtures on the Seawave make this easy. I used bits of yellow fuel line (above right) to make runners for the line which is more or less a closed loop from the rudder sliding through a karabiner hooked to a deckline sleeve left of the cockpit and knotted up to a plastic knob (above left). Haul back to lift the rudder; pull forward to drop. The trick is the get the length right before cutting off the excess cord. I might have done better using zero-stretch Dyneema cord rather than cheaper paracord, but that’s easily changed if need be.
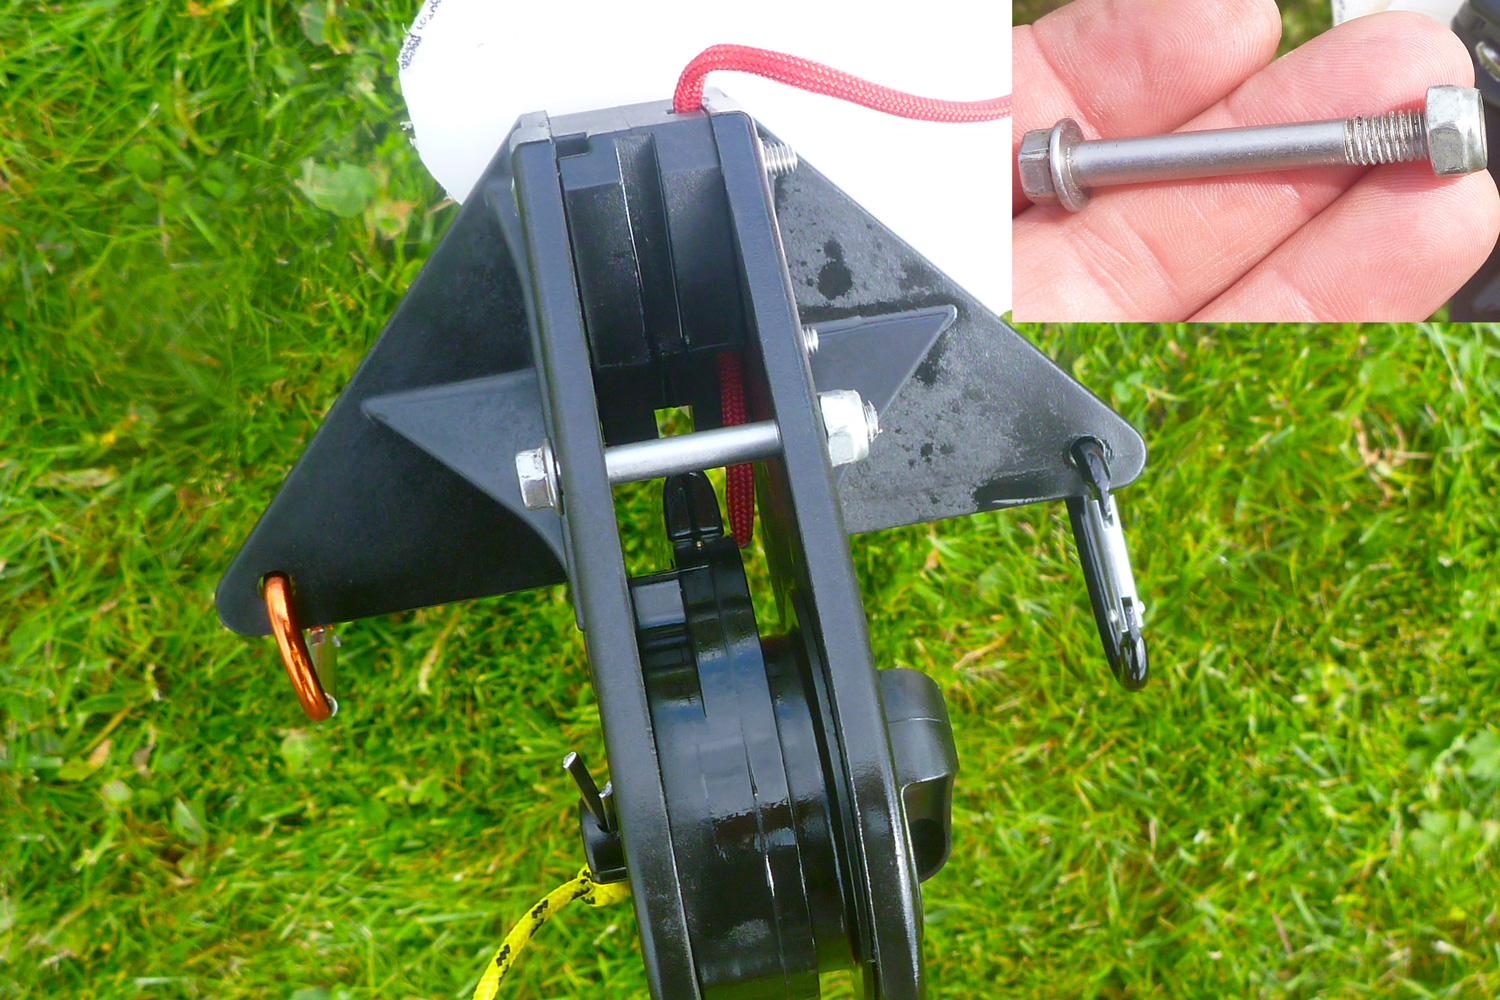
One thing the rudder needed to improve the lifting line’s angle was a smooth shafted M5 bolt running through it as shown left. The holes are already there – maybe it’s supposed to be like that (no instructions with rudder, but you do get 4m of paracord). The bolt isn’t tightened and rolls as the rudder lifting cord passes under it.
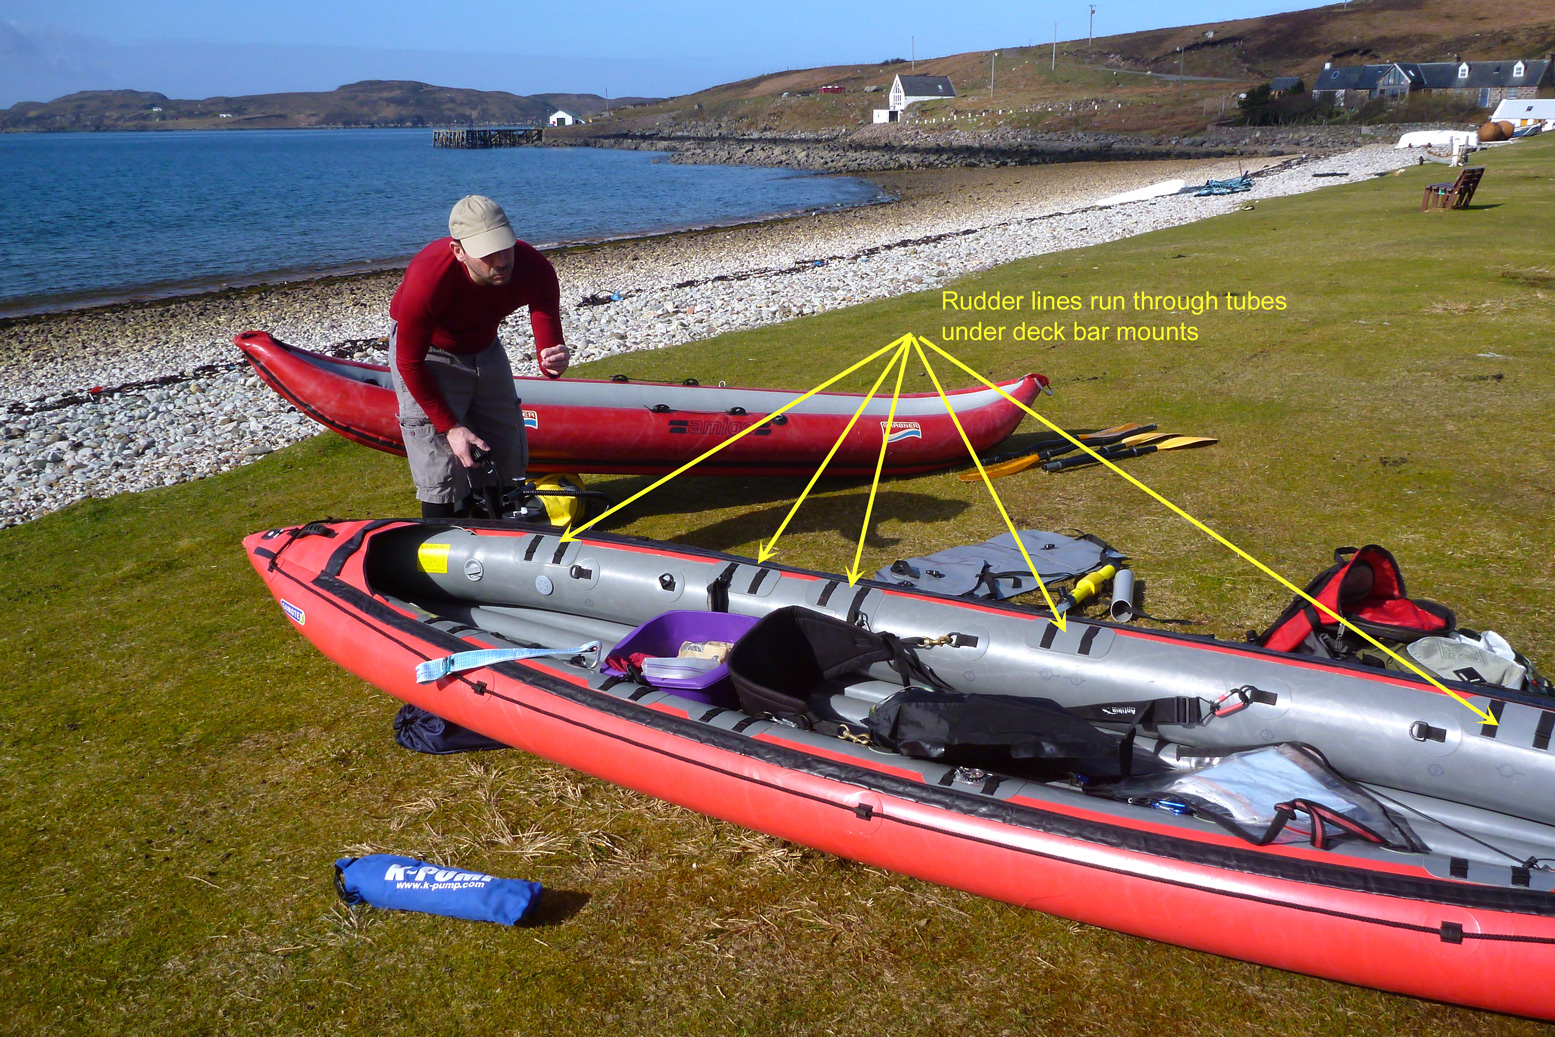
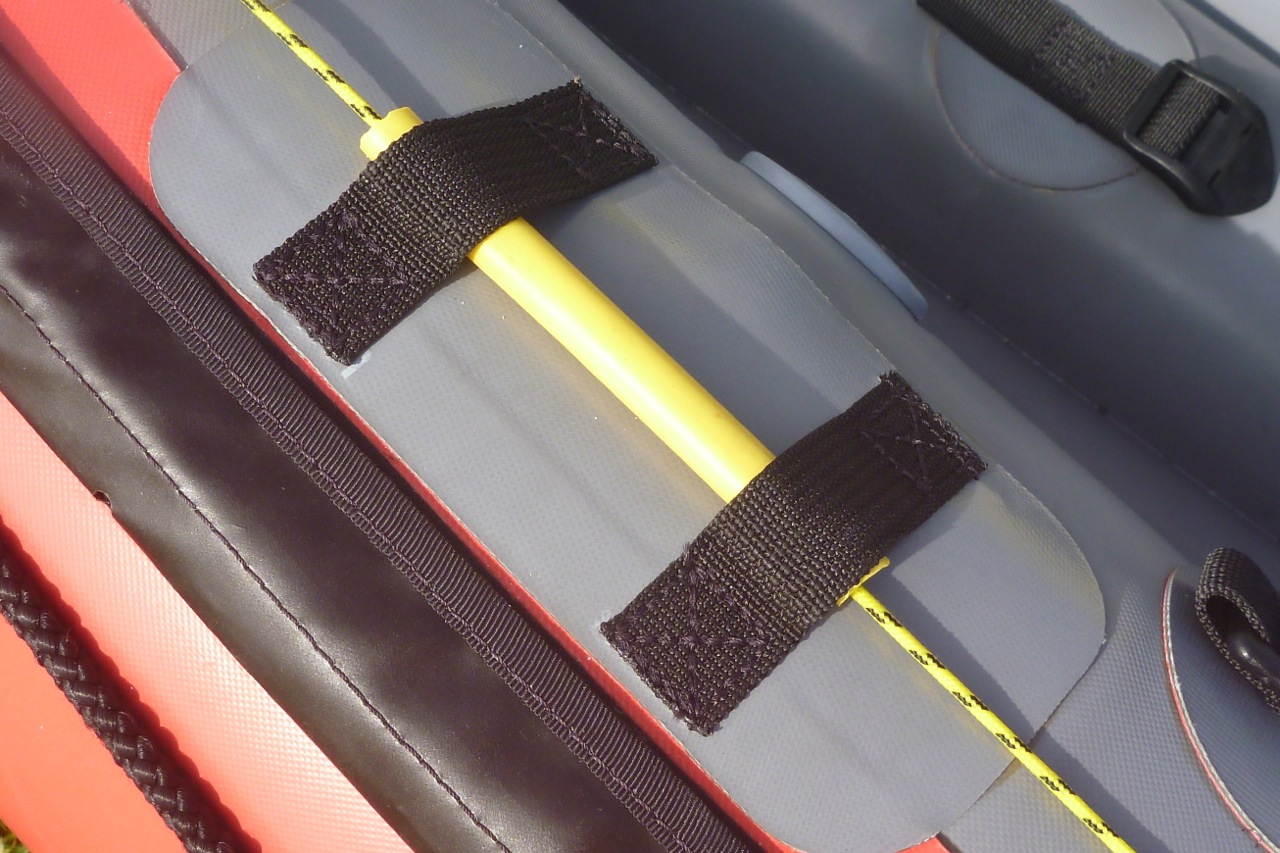
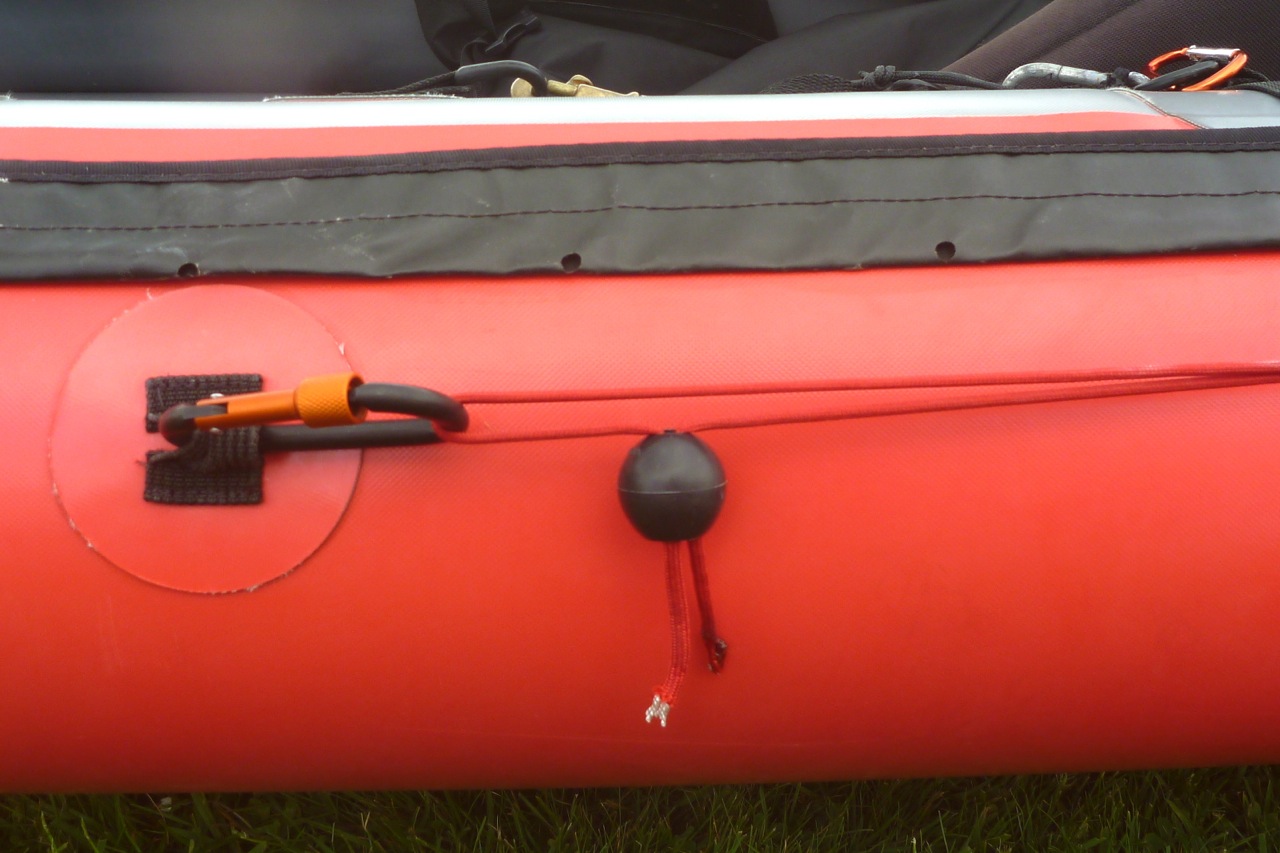
The rudder pivot lines run smoothly through more fuel line slipped unobtrusively under the redundant splash deck tabs on the hull top (right and left).

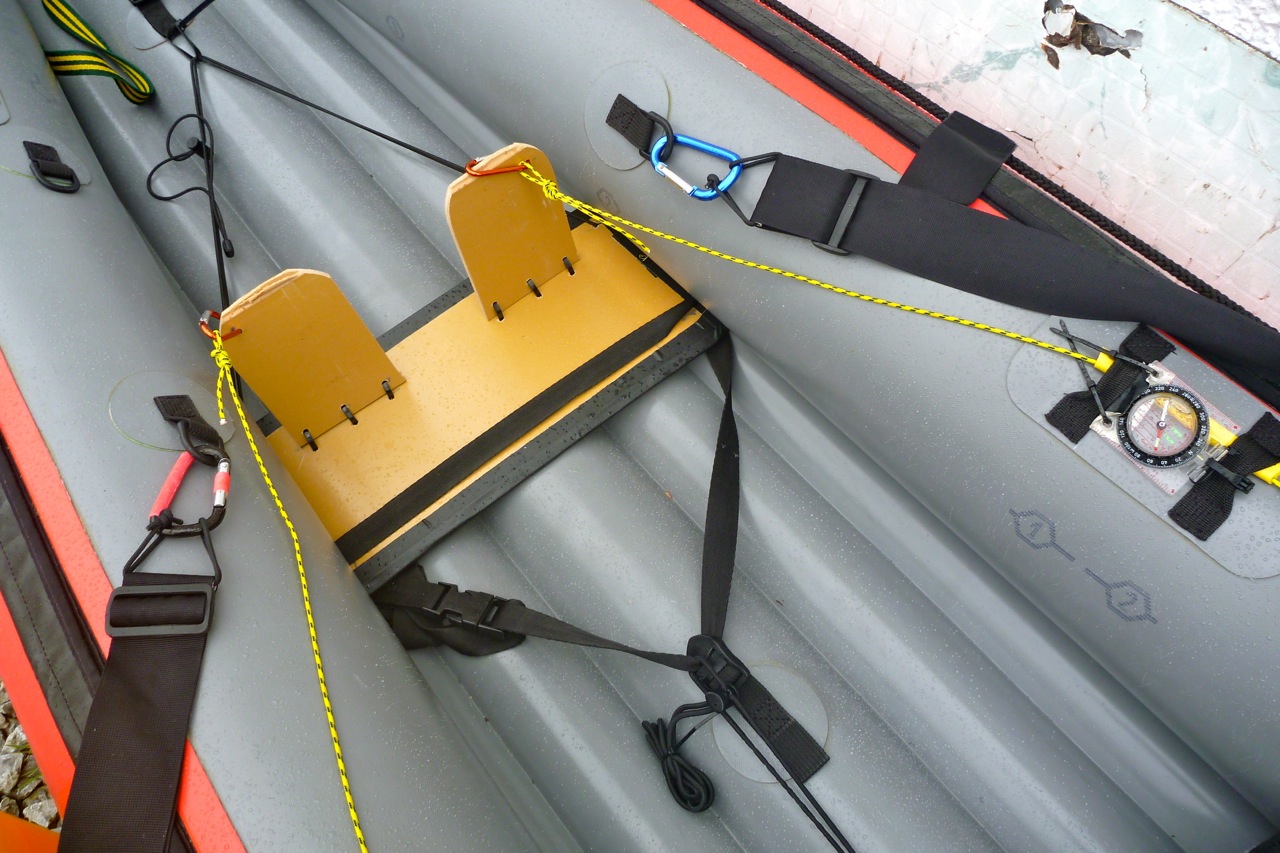
At the foot end attaching pedals to my big footrest tube (right) wasn’t going to work. I thought about using a smaller bit of tube but then decided a plain board with pedals pivoting on it at floor level works best – as Gumotex below right.
Wheeled cord locks 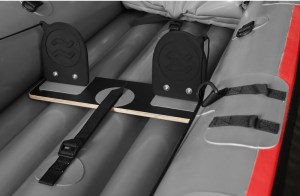

I found a plank of laminate flooring in the barn, sawed it into the right shapes and attached the pedals to the plate with zip-tie hinges so the thing would pack flat when not in use, but makes the pedals stand up which is handy.
This floor laminate was what I found lying around wanting to get the job done, but another slab of kitchen chopping board will be a better long-term solution. At least I have a template just as long as the pedal board doesn’t dissolve at the first splash of seawater.
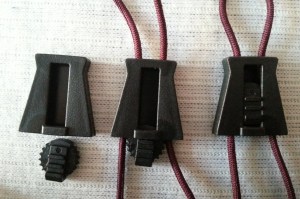
The pedal board is moveable front and back same as my foot tube was (for different length paddlers or two-up) but I need to find some way of fine-tuning the 2mm Dyneema rudder line lengths to match. Something more than a spring cinch lock like you get on a stuff sack that will actually lock the slippery Dyneema cord, but doesn’t need tension like the cam lock cleats I used on my V-Sail. I ordered the wheel locks on the left which should work.

The whole thing took a couple of days to work out using a jigsaw, a drill and a camping stove plus a skewer. If I had to do it all again and had all the bits and pieces at hand and a better idea of what I was doing (ie; this again but better) I reckon it would all take me 4–5 hours. Total weight added is 1.85kg, but I saved 450g by ditching my drainpipe footrest with a thinner version at a quarter of the weight.
The costs were:
• Rudder £19
• Chopping board £2
• 5m of 2mm Dyneema and paracord £11
• Five mini karabiners £2
• Two cord locks £1.50
Other bits and pieces I already had or found lying around might add up to another tenner.
Lessons learned: it pays to think it over: first ideas may give the impression of momentum coupled with intuitive brilliance, but are not always the best.
Next installment: Oh rudder, how art thou?