With the exception of a few rivers … (Lugg … Severn … and the Wye), there is no confirmed Public Right of Navigation on other physically navigable, non-tidal rivers in Wales. Canoe Wales
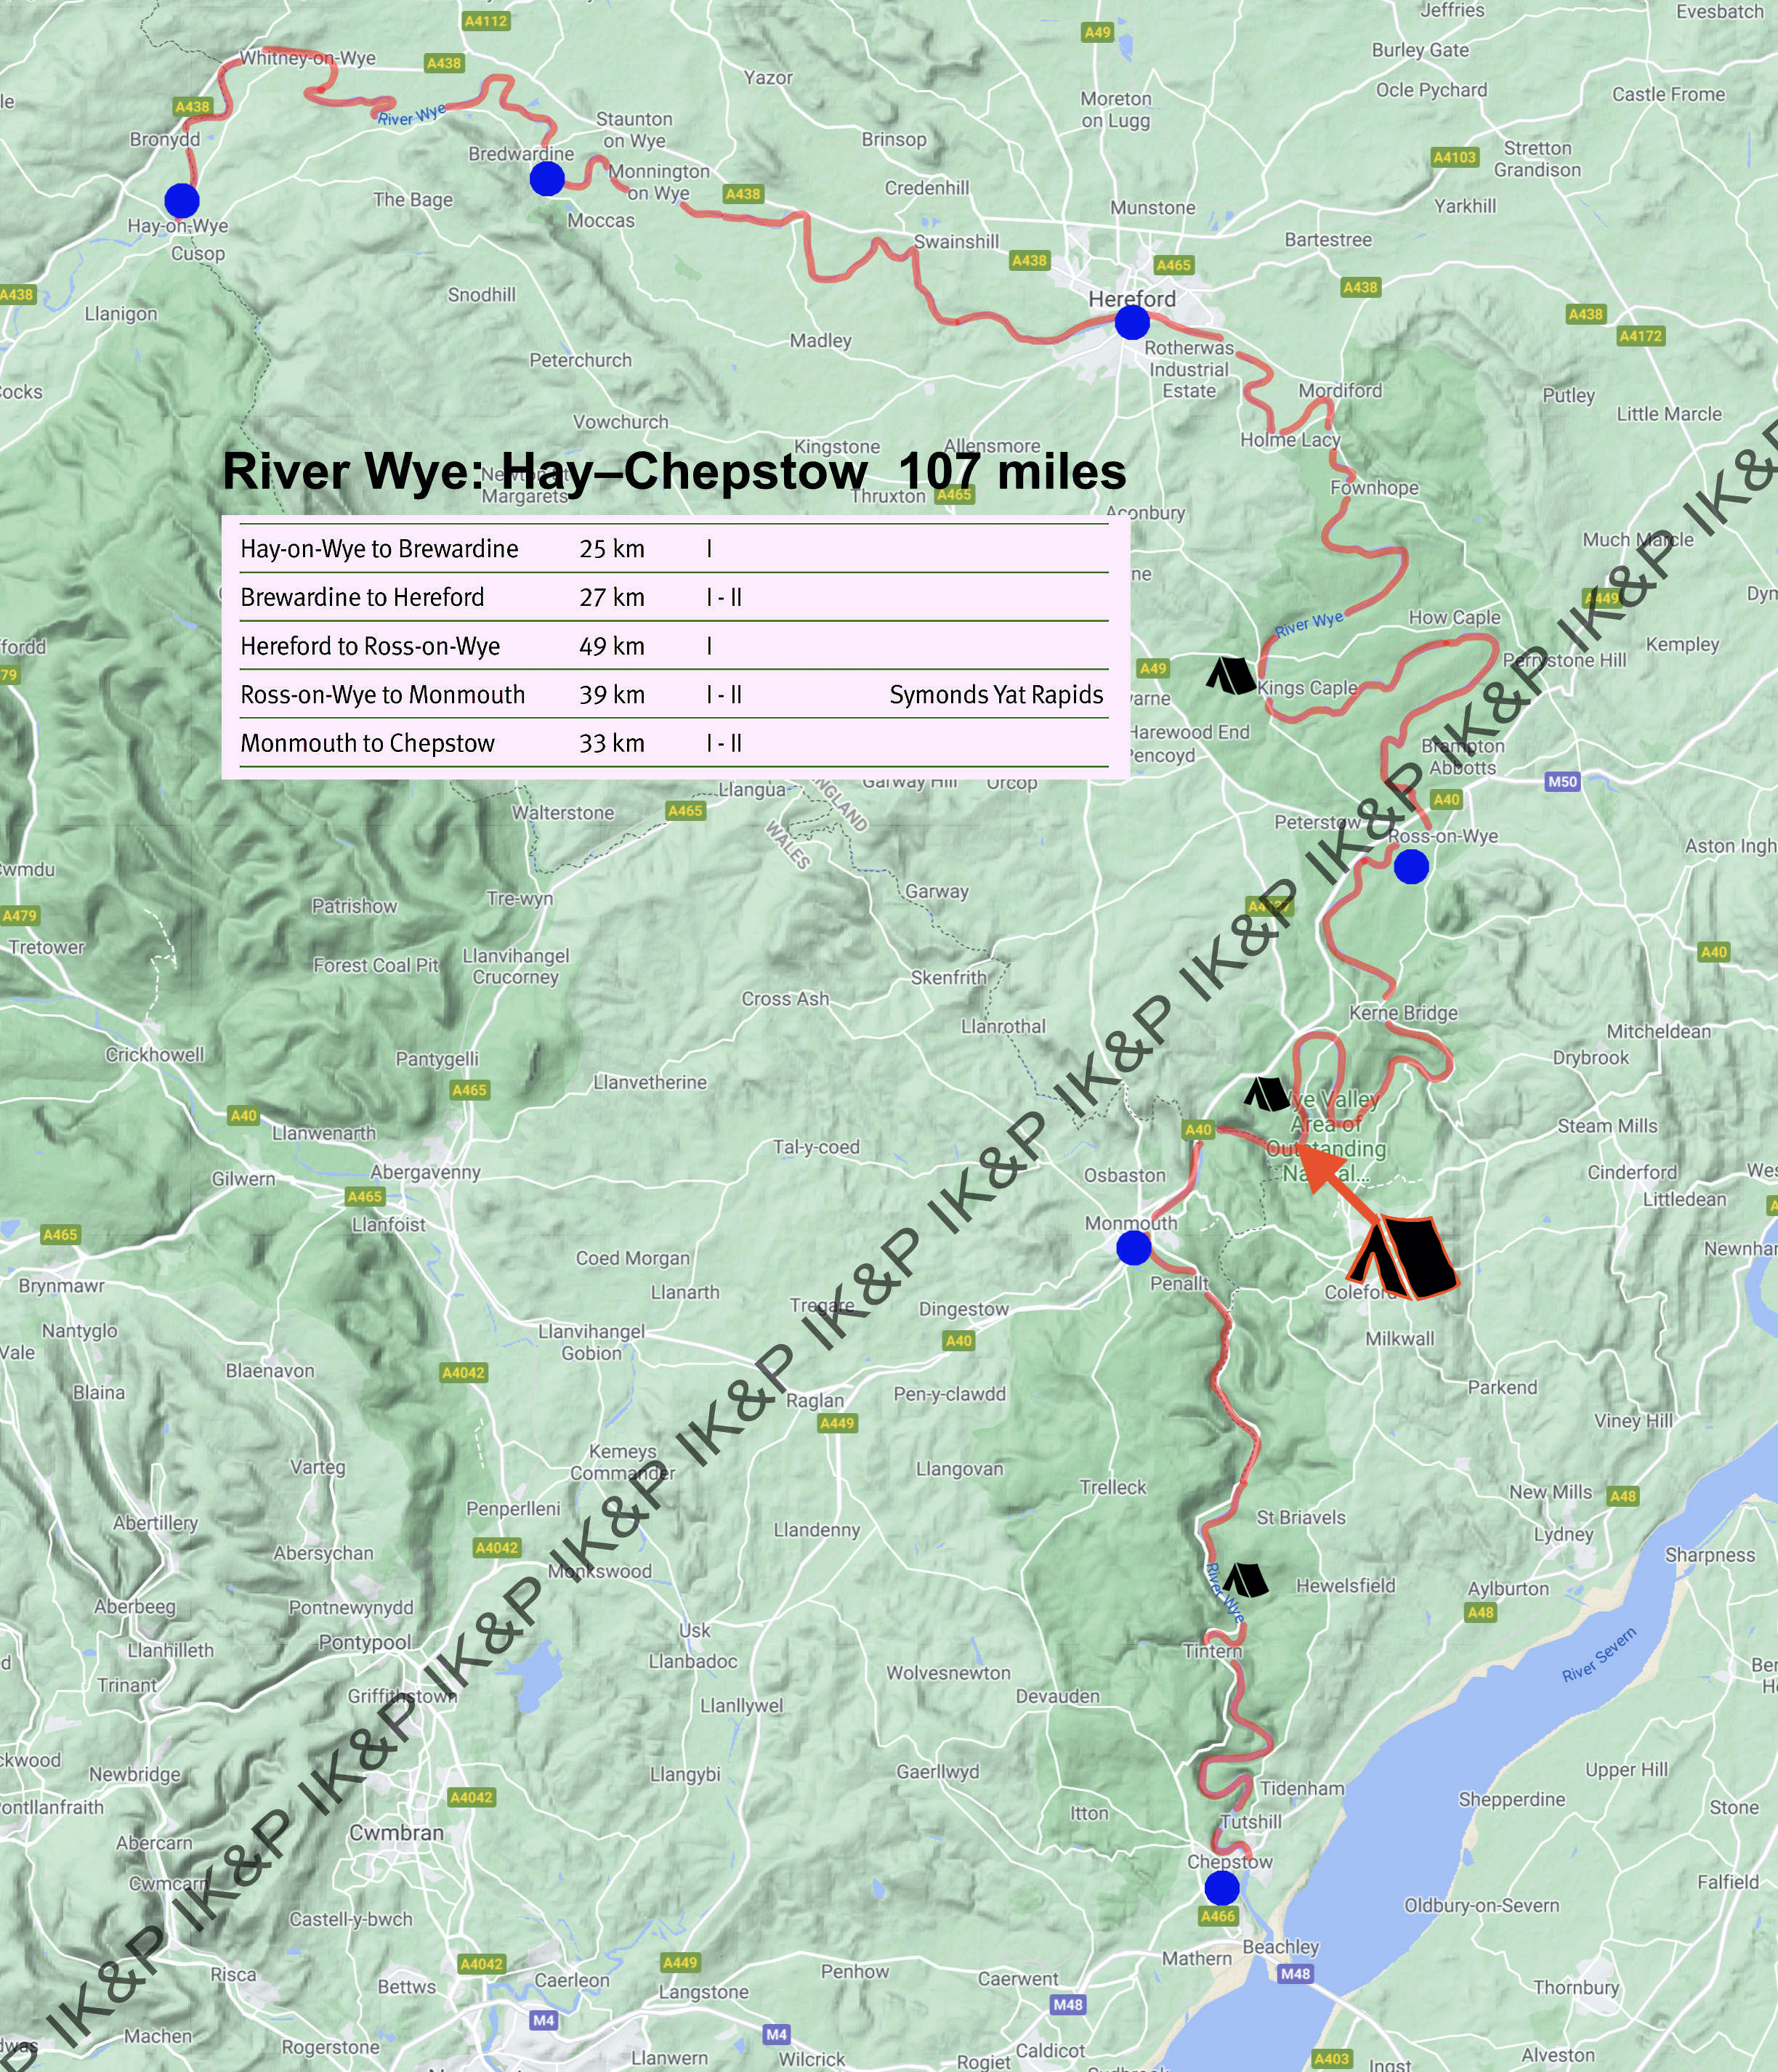
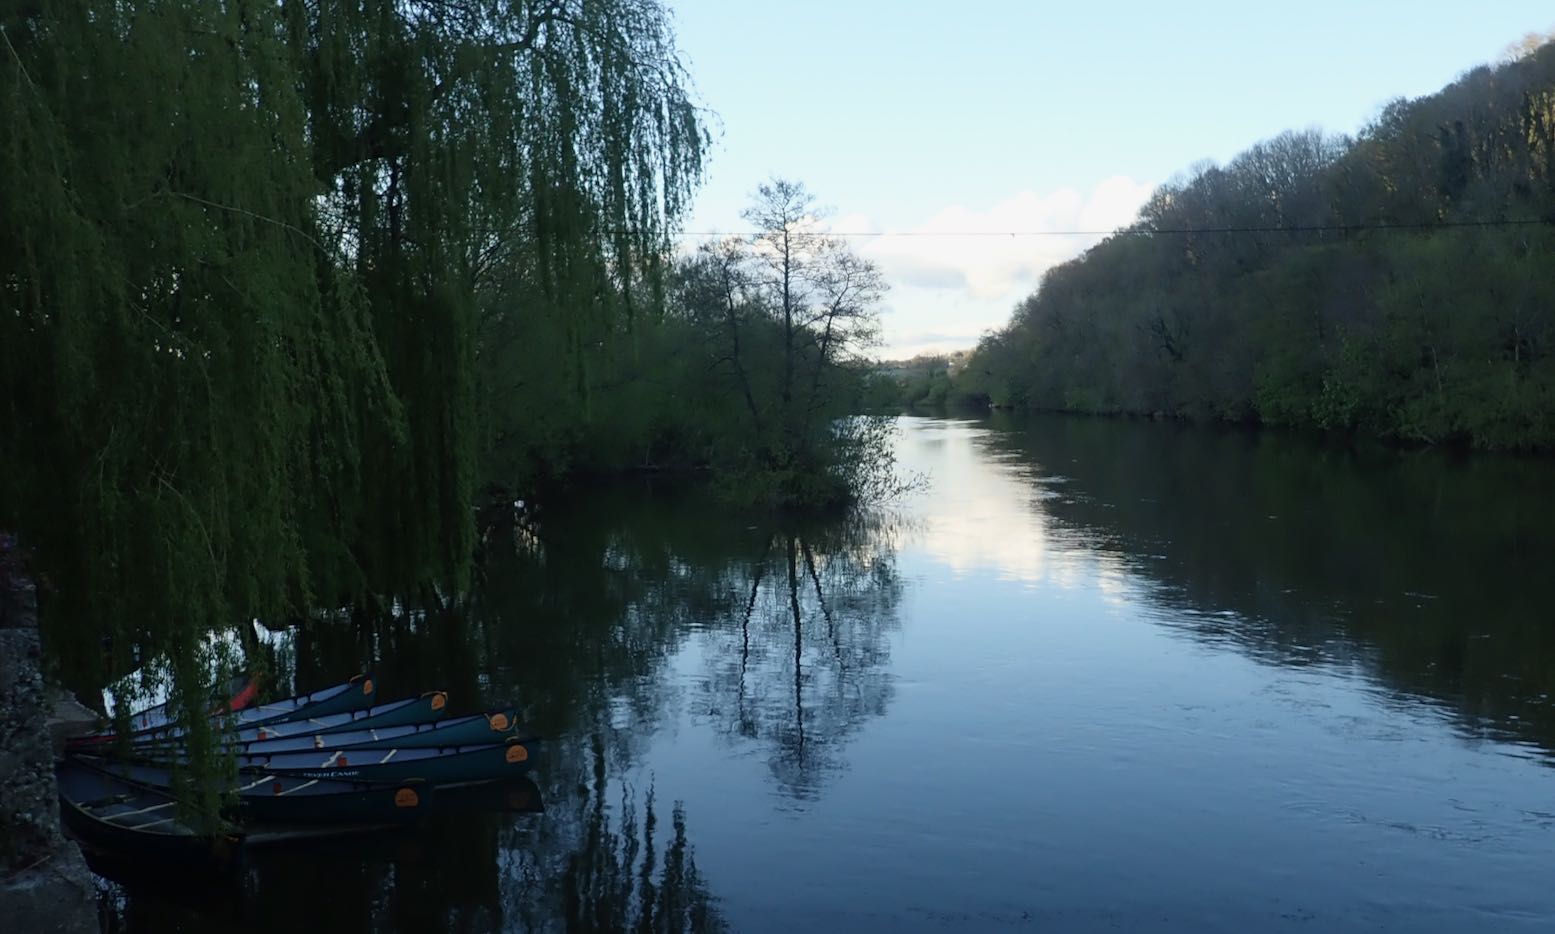
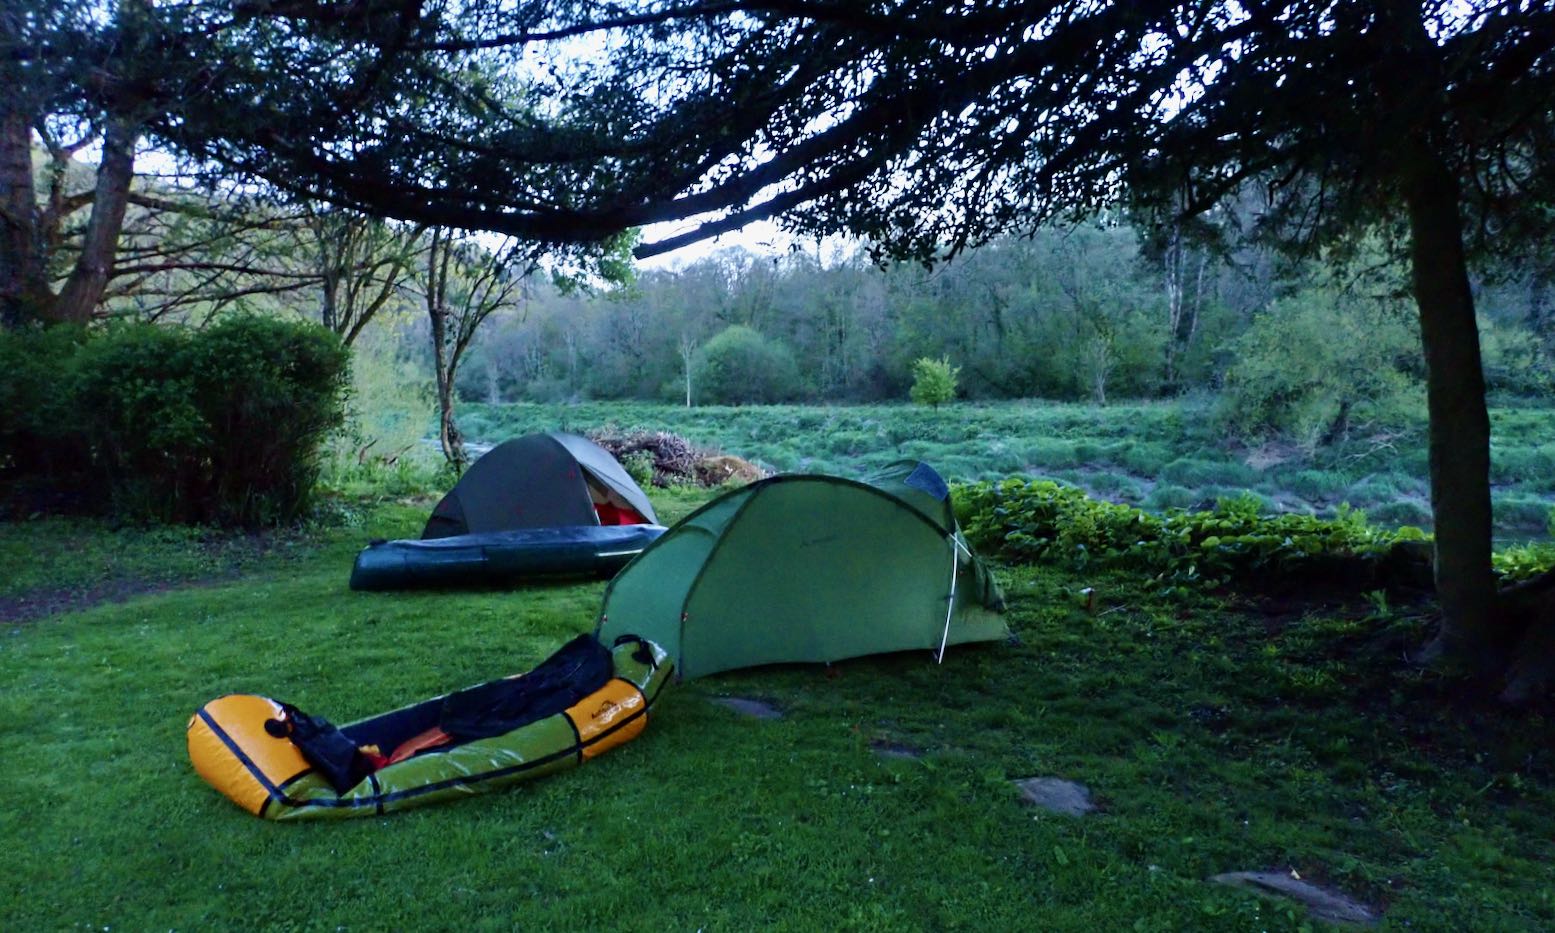
Free canoe camp below Symonds Yat marked
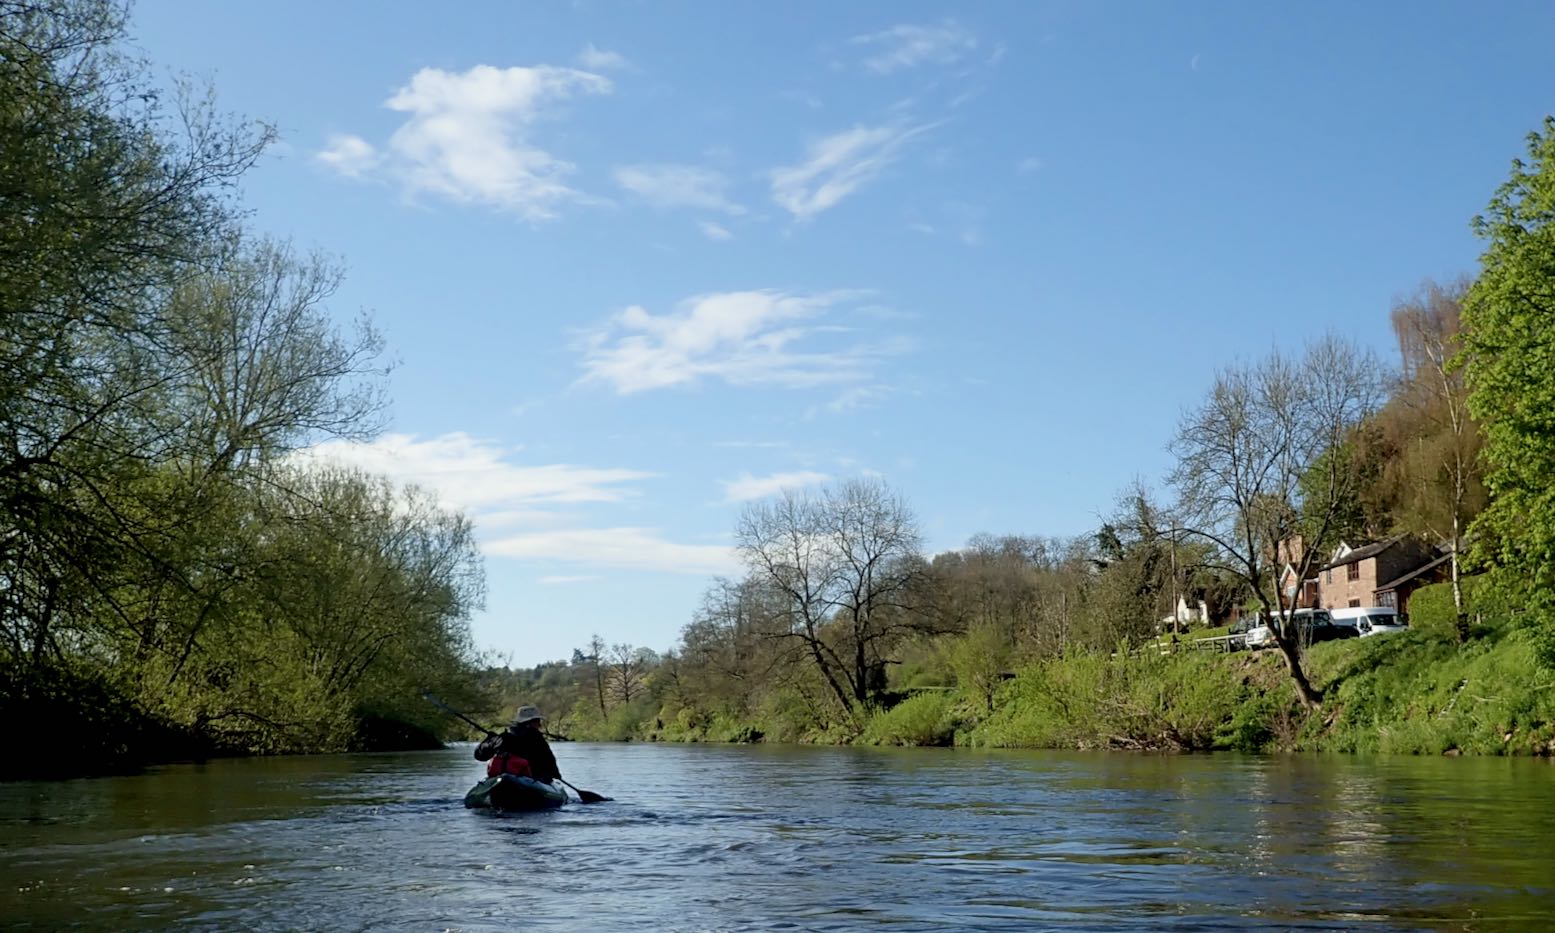
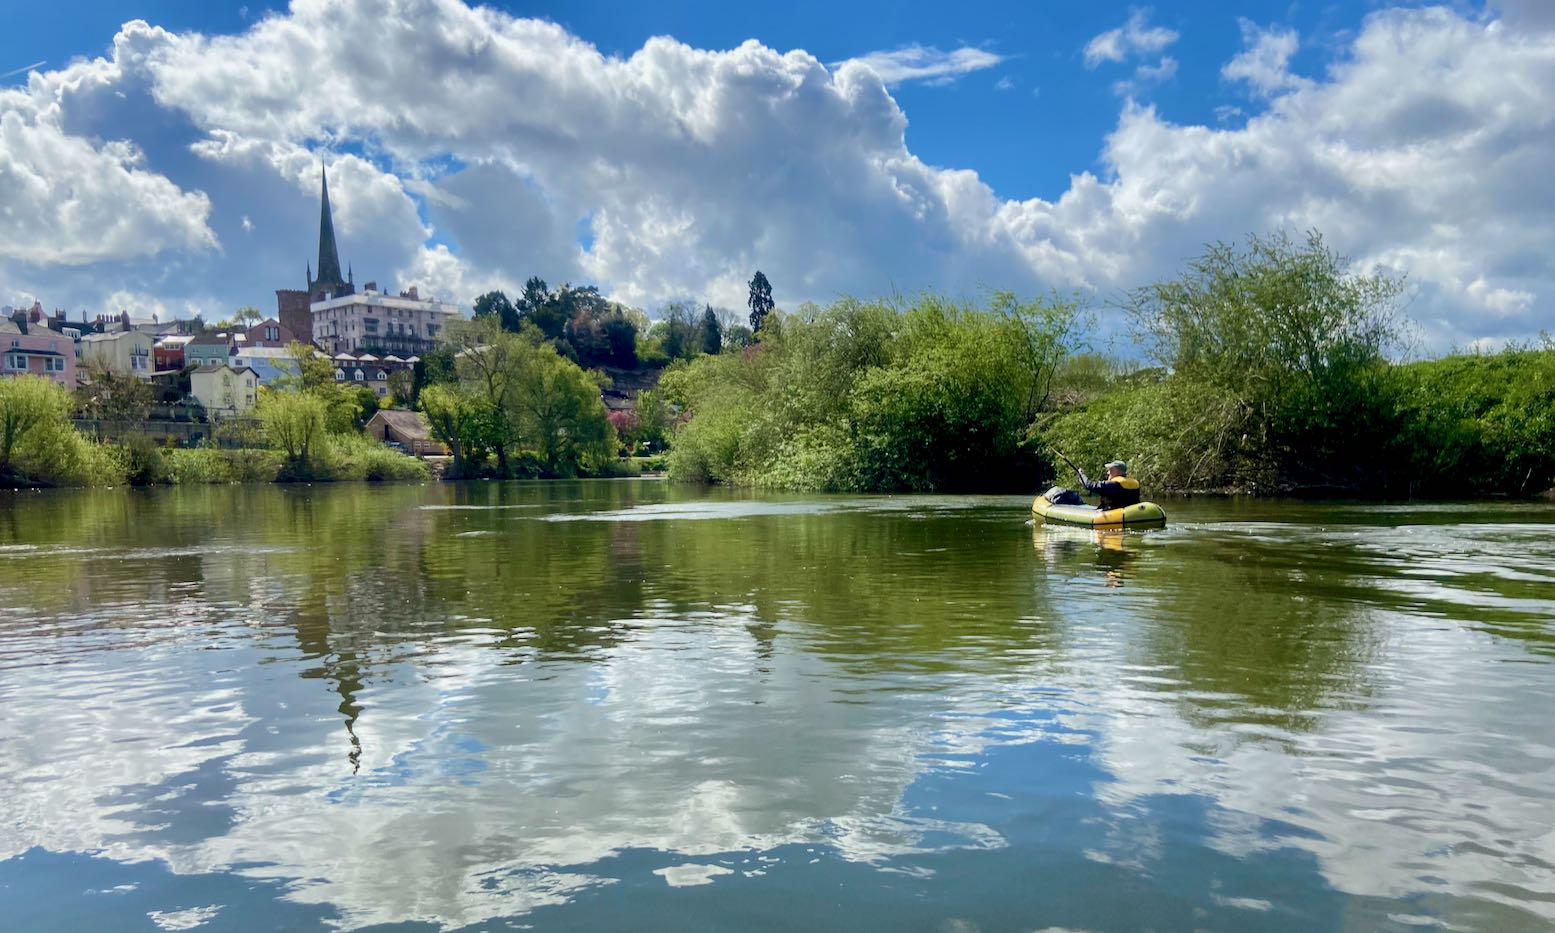
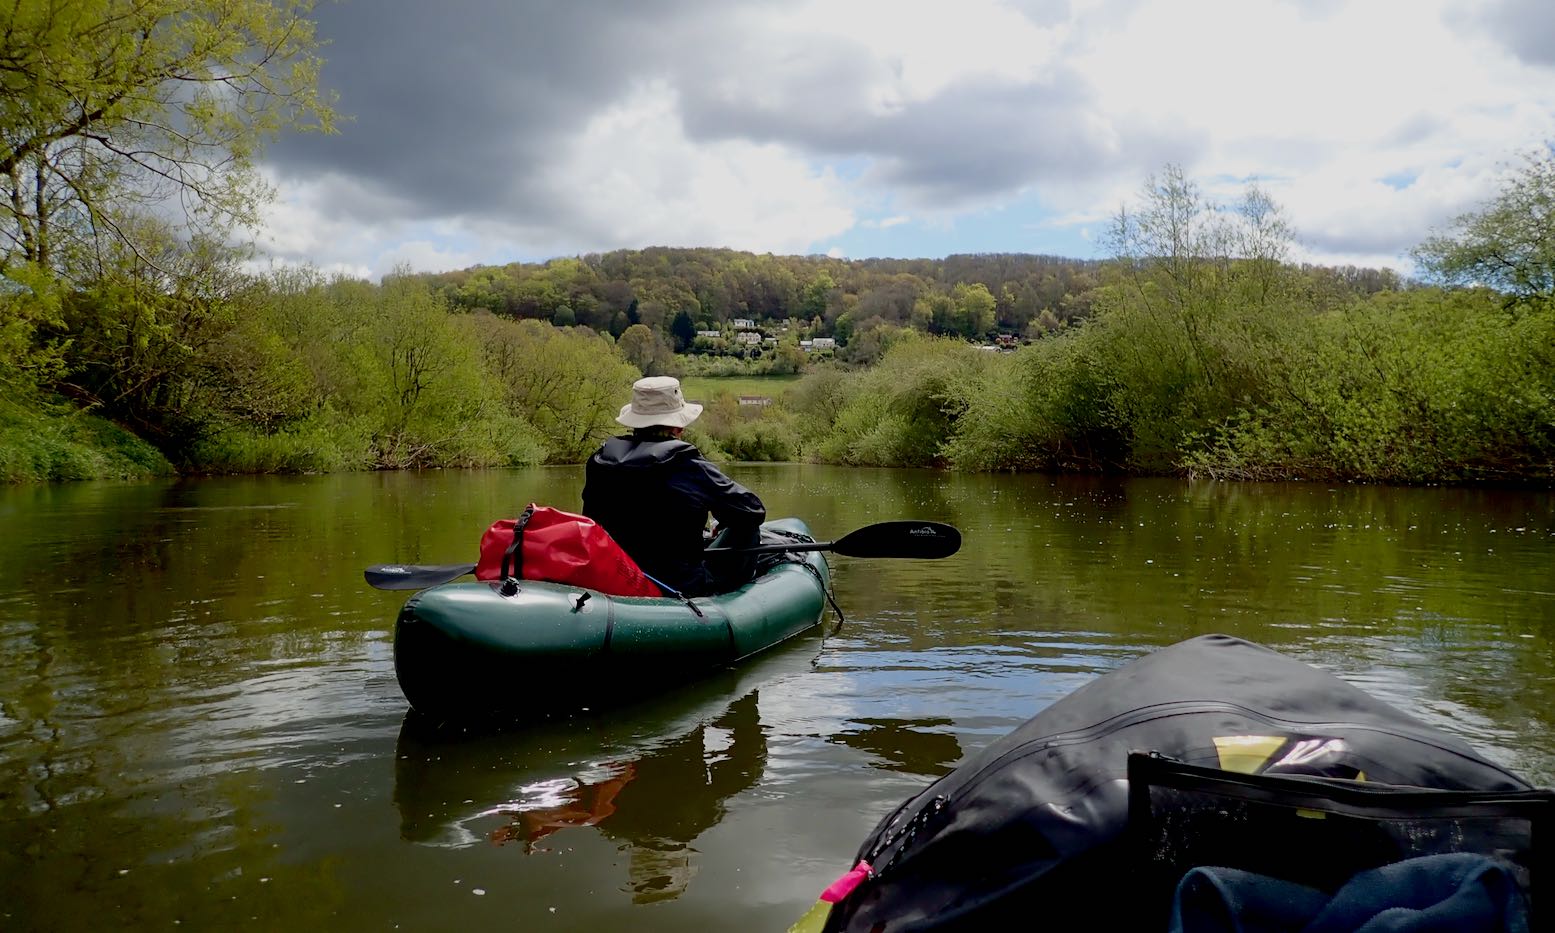
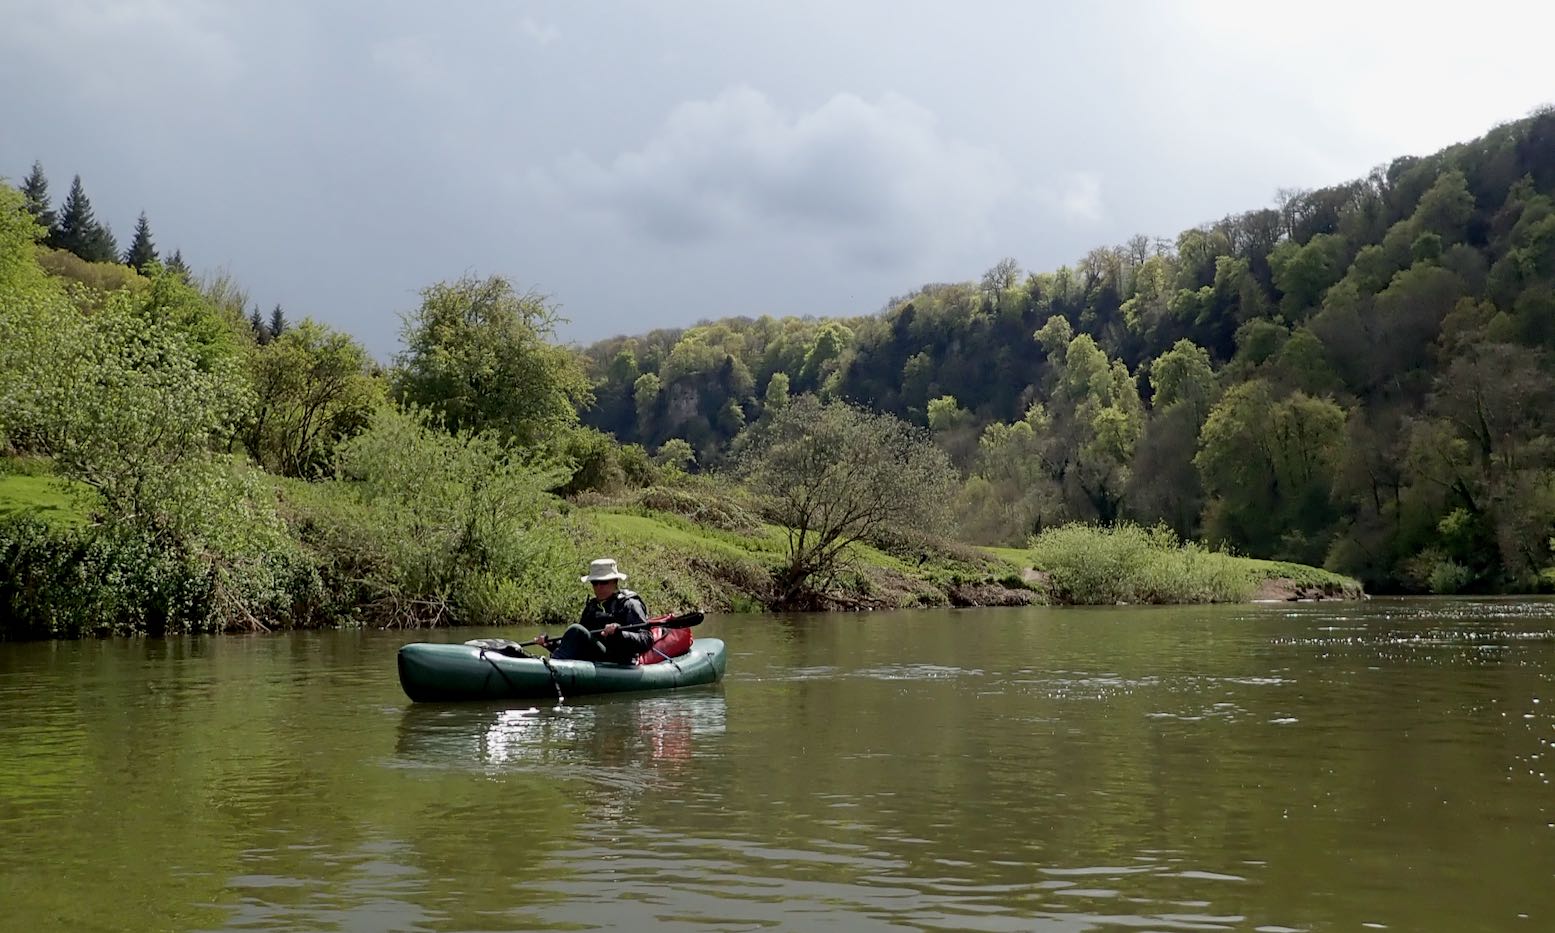
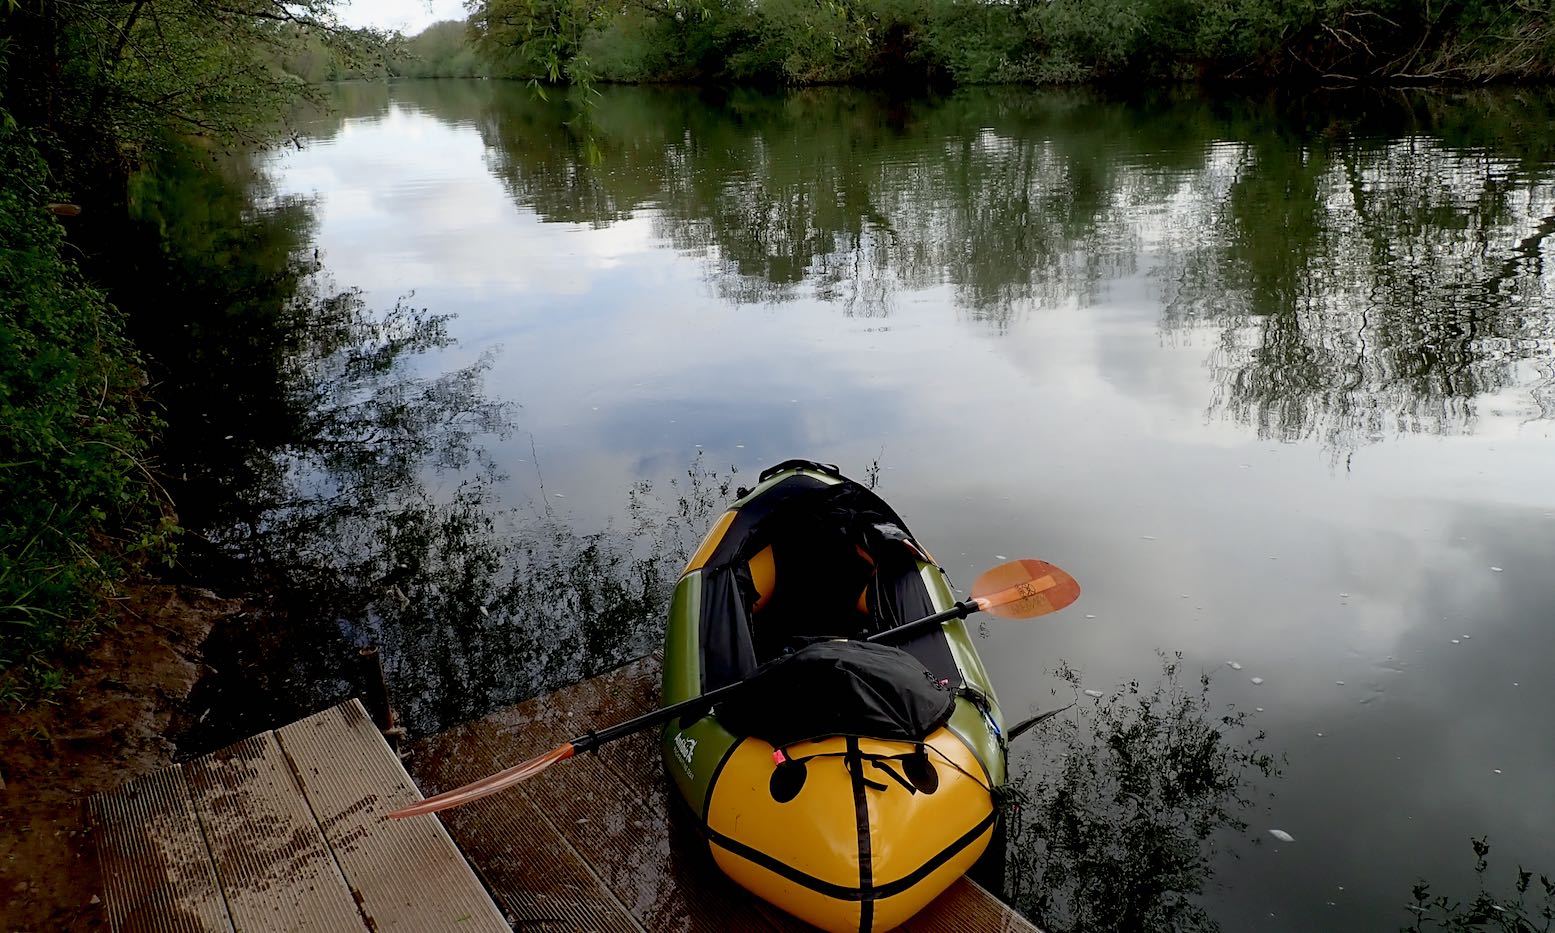
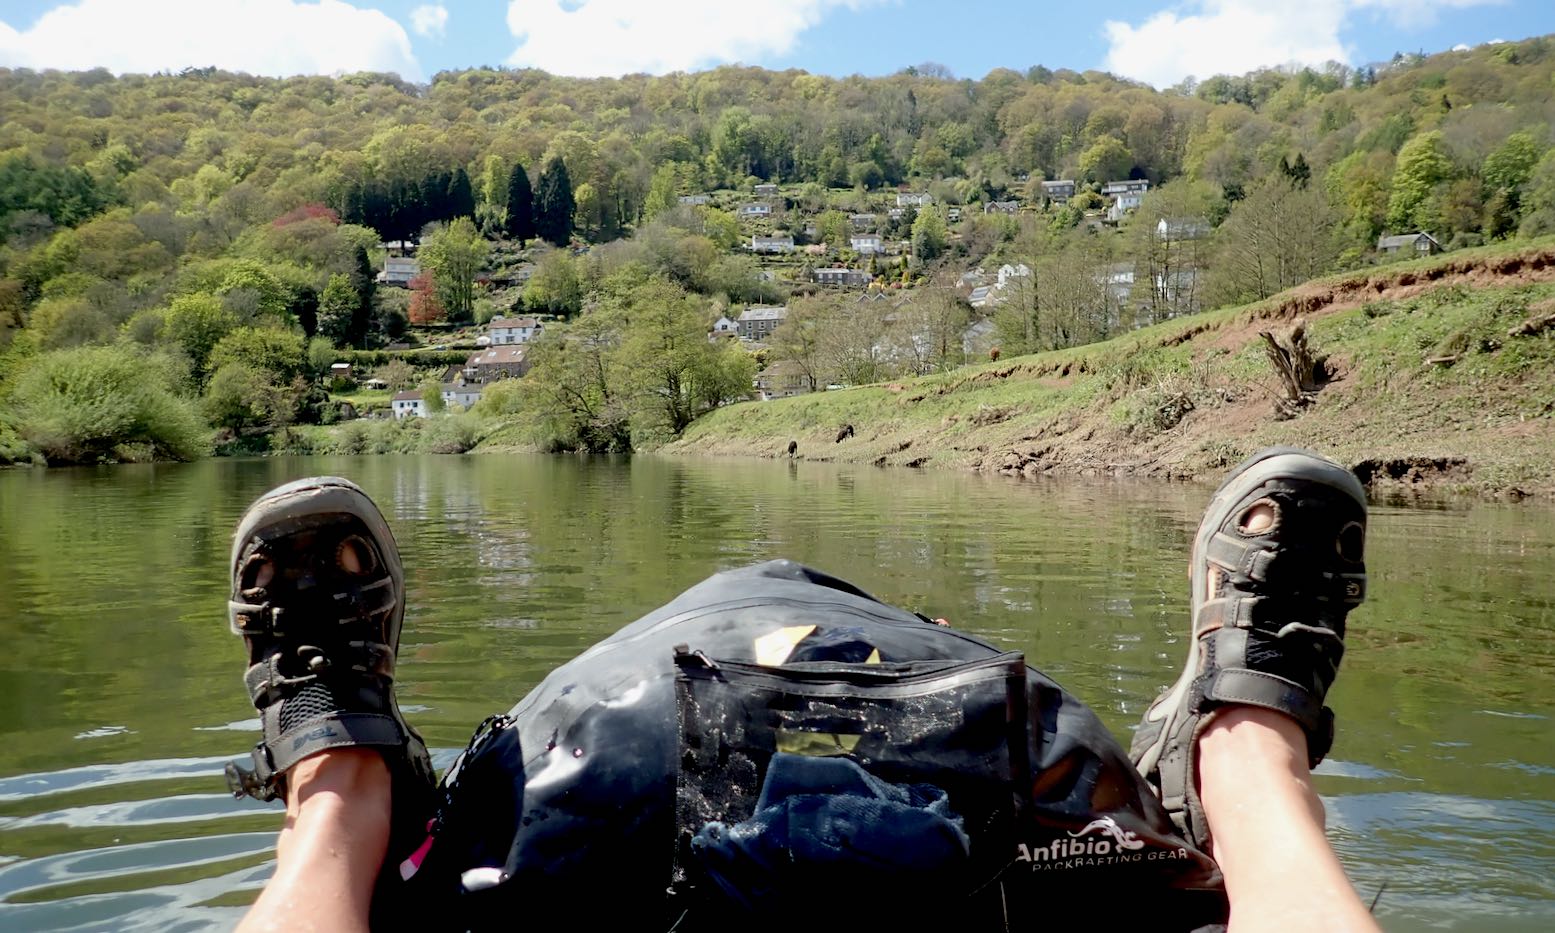
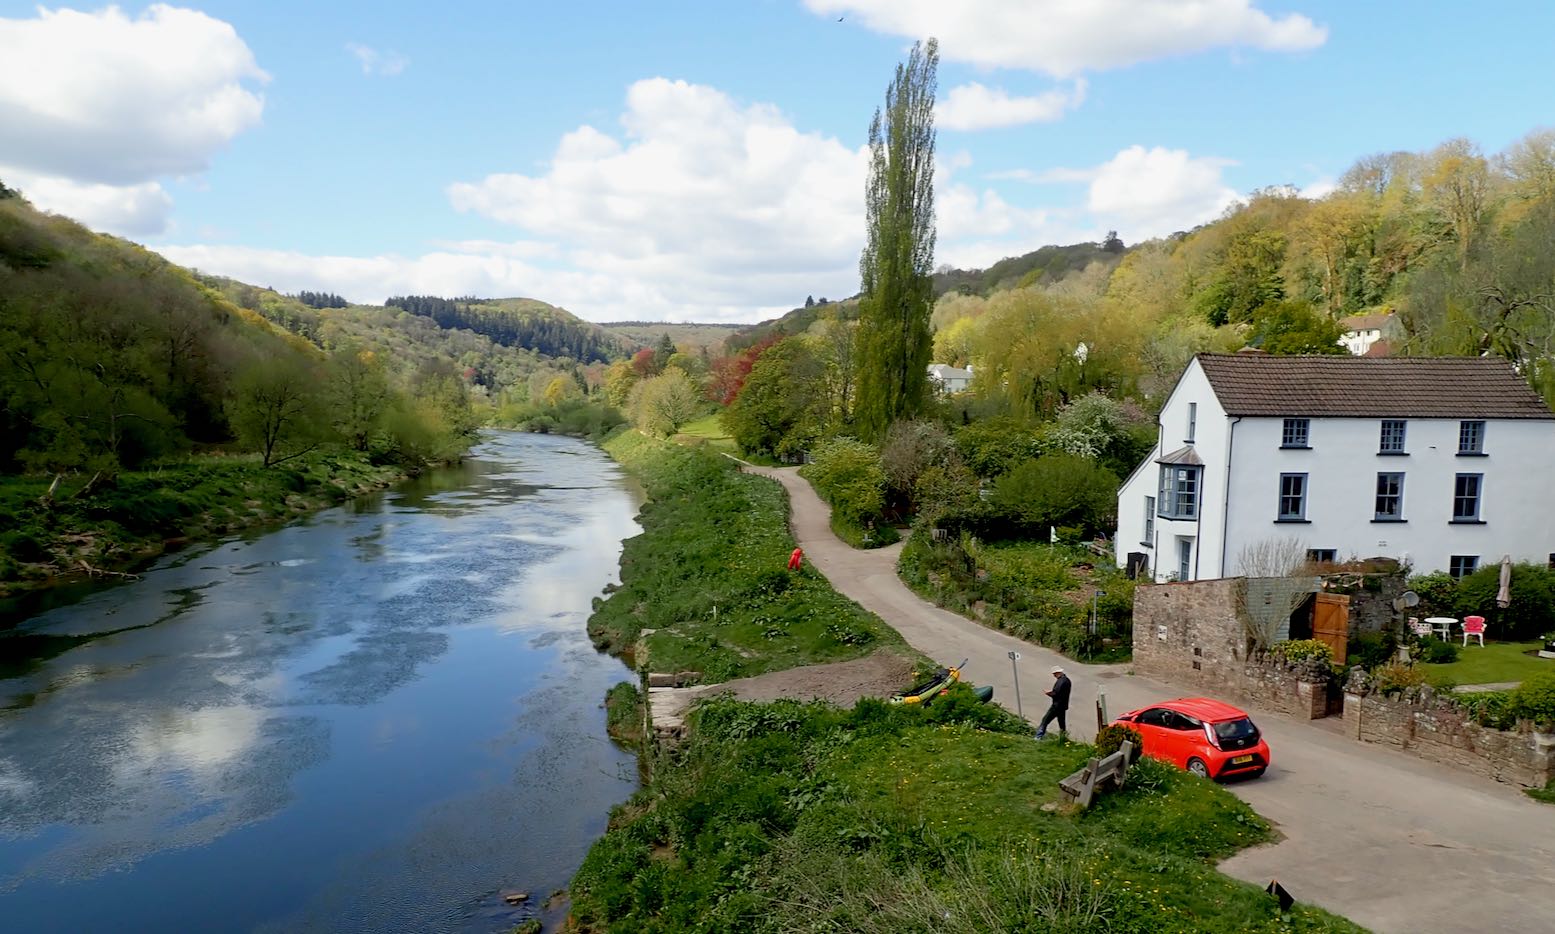
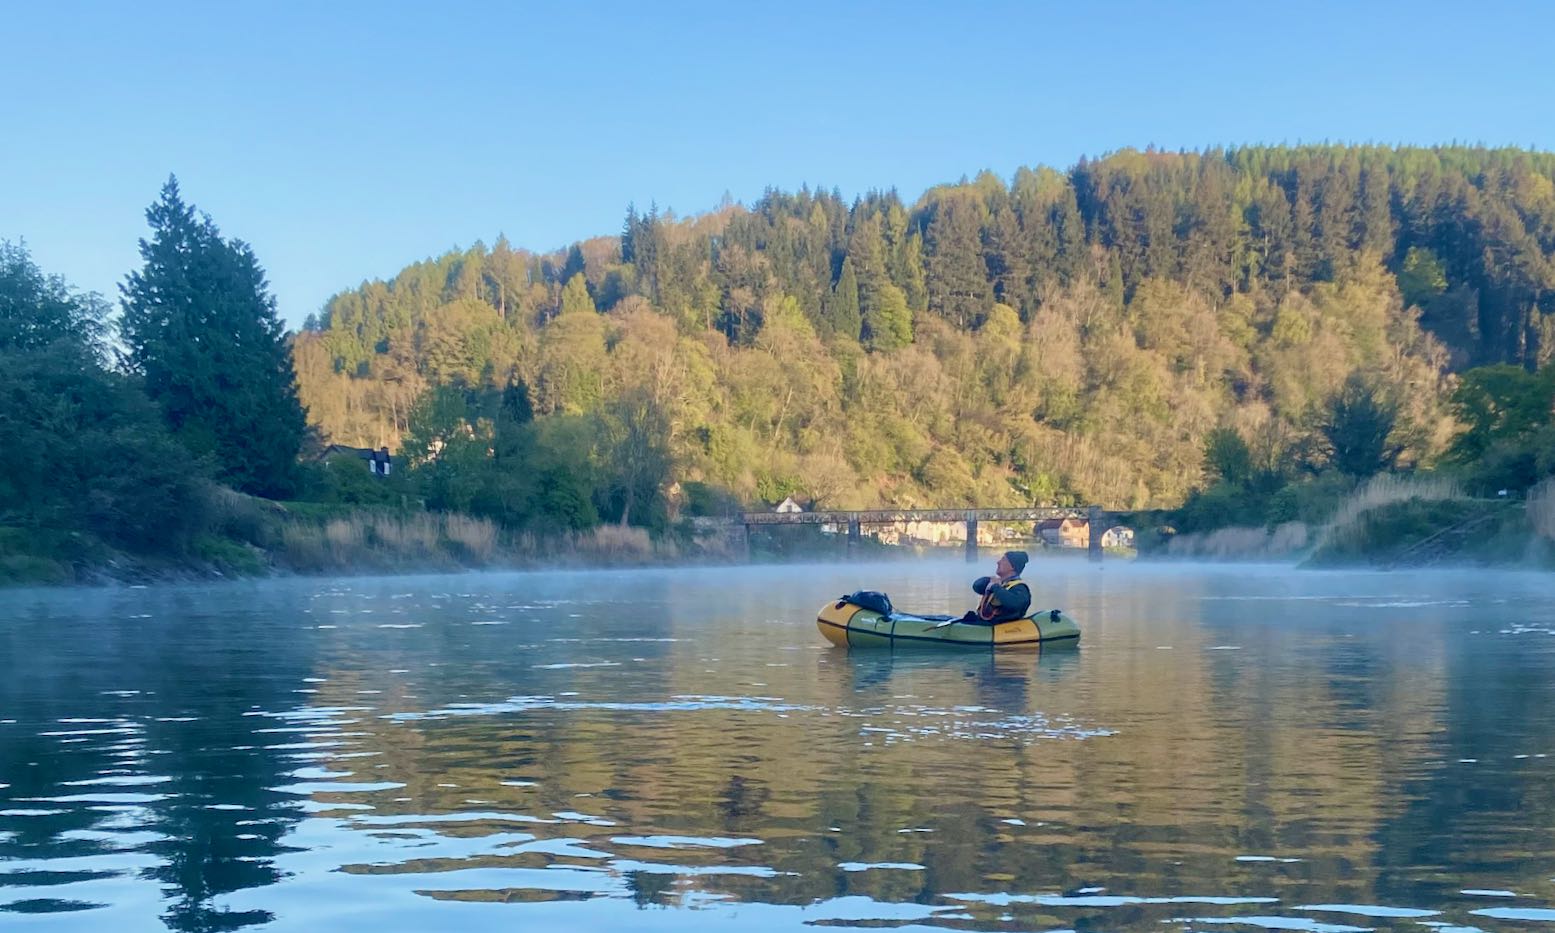
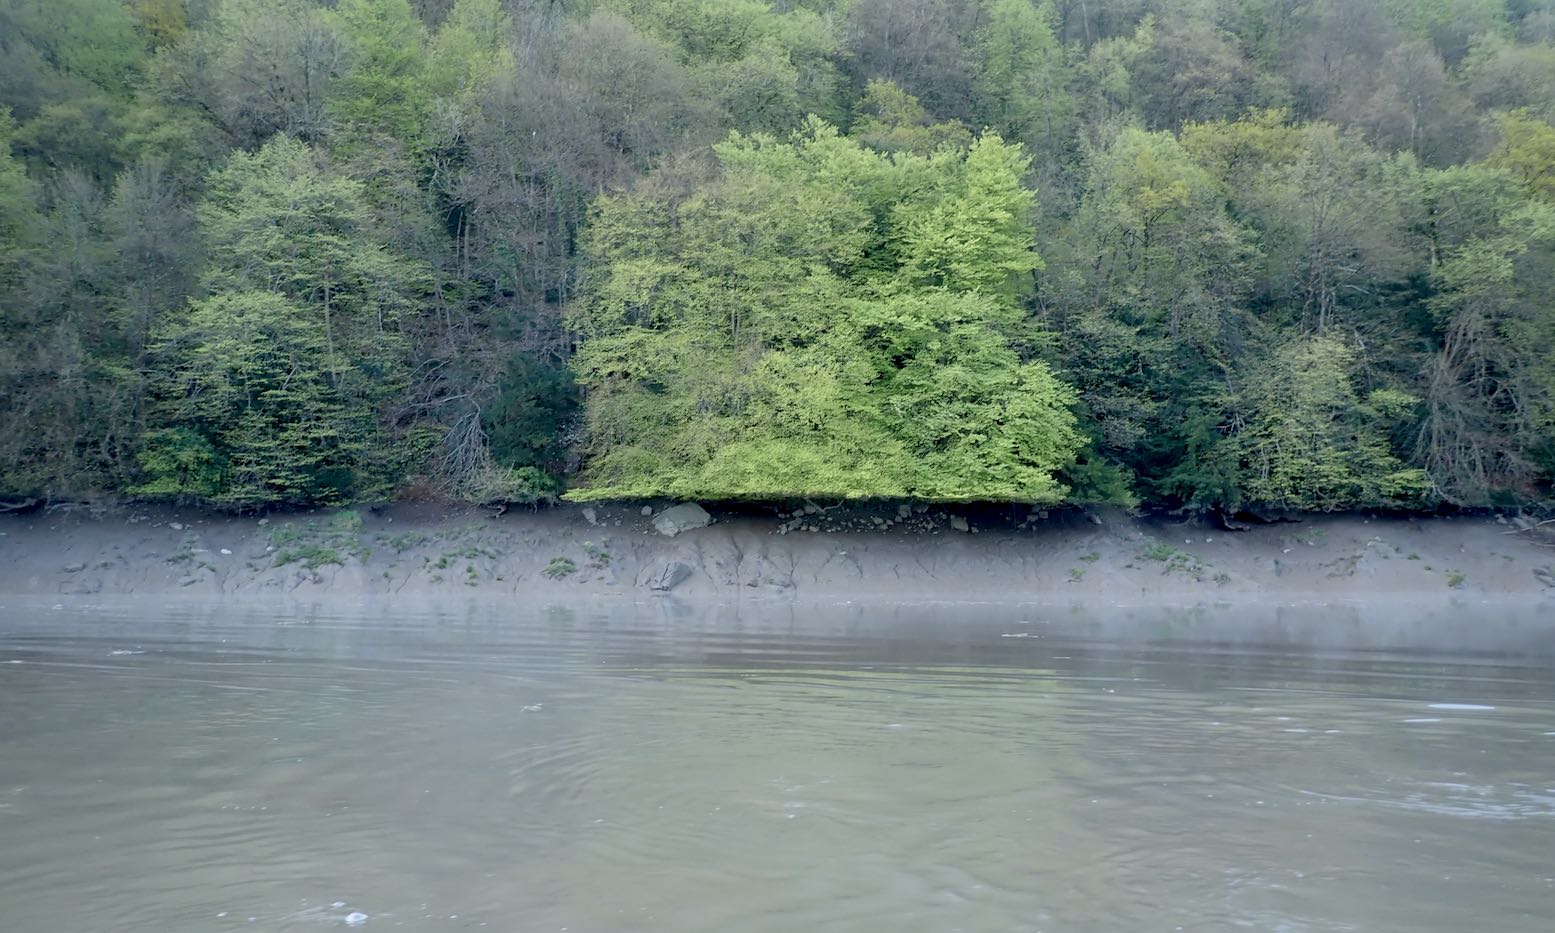
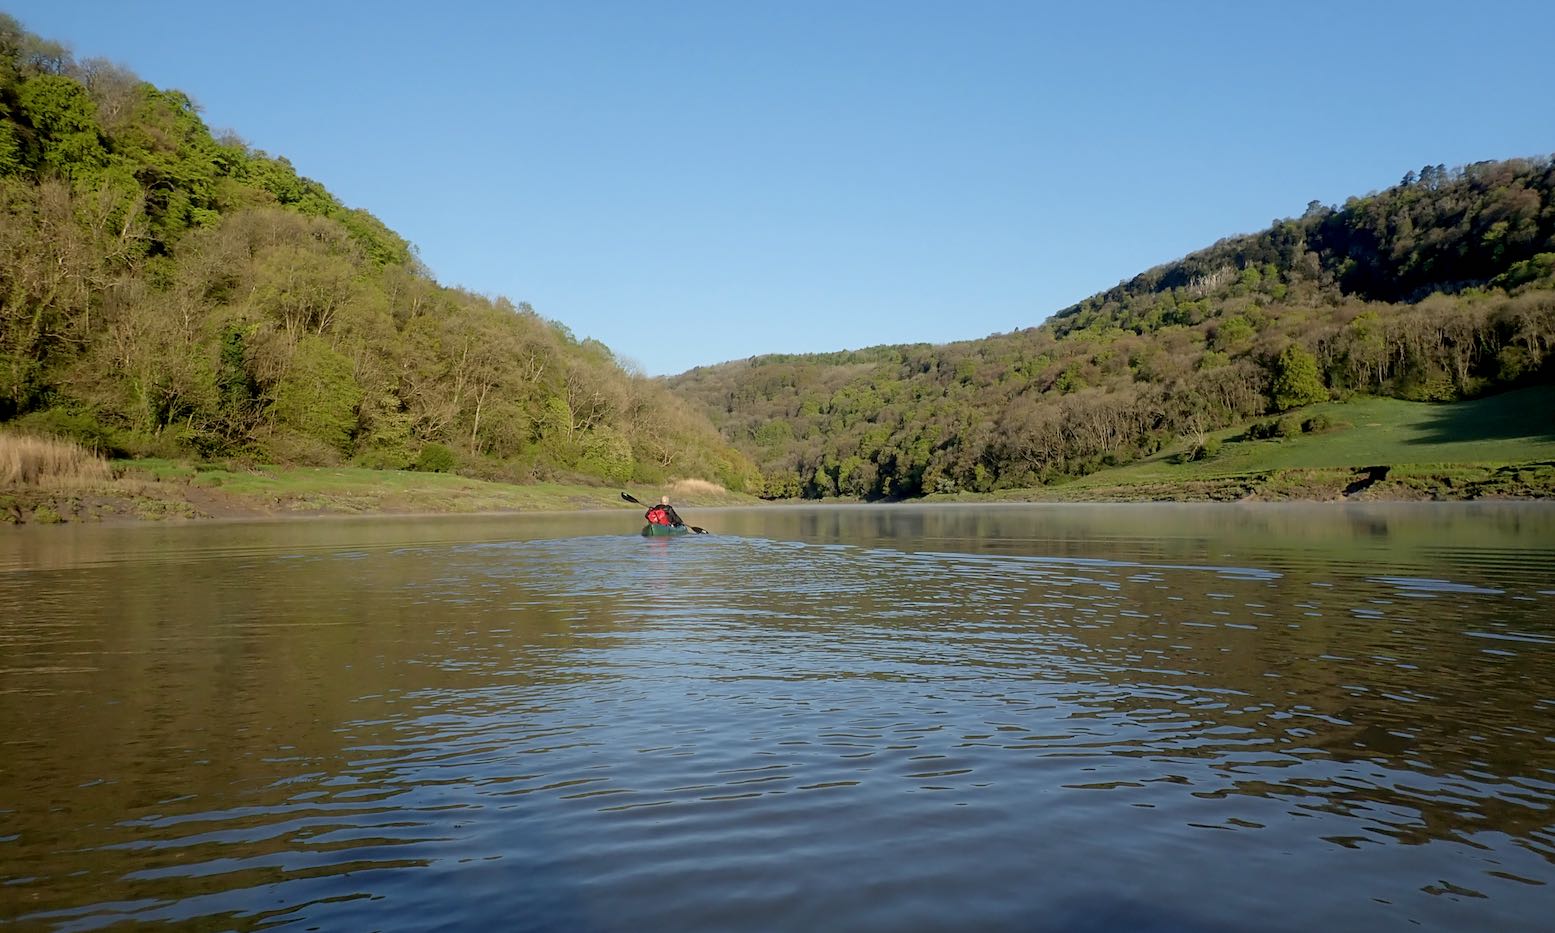
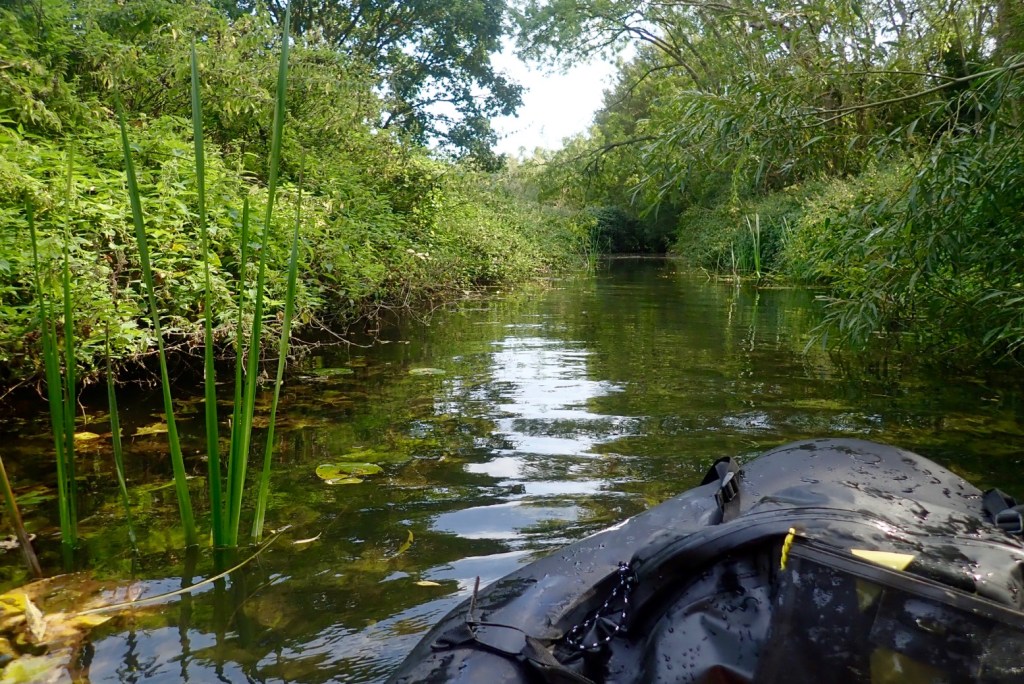
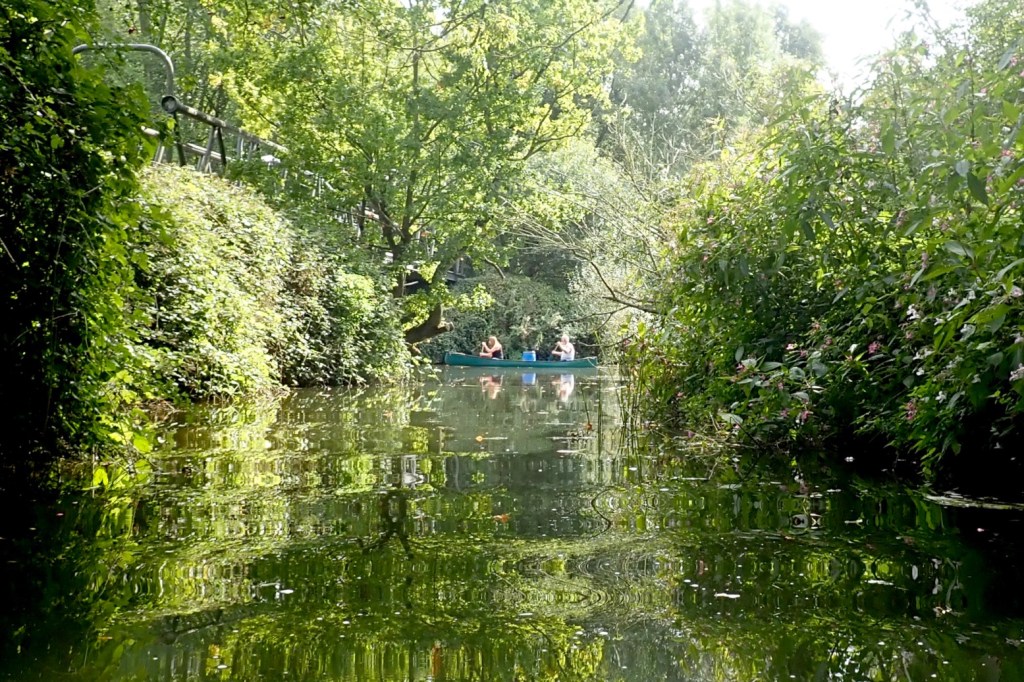
The Wye is the only river in (mostly) England where you can paddle for days and over a hundred miles, and not need to dodge a weir, portage a lock or confront a scowling angler. Even the few towns are historically intriguing. You don’t even need a BC licence: from Hay-on-Wye the river uniquely has PRN (‘public right of navigation’; like a footpath’s ‘right of way’). There is no other river like it in England so I don’t know what’s taken me so long, other than the prospect of another staycated Covid summer makes you reappraise your own backyard. The whole valley is an Area of Outstanding Natural Beauty (‘AONB’), or ‘countryside’ as some call it. That natural beauty came into question when just a couple of months after we were there, activist George Monbiot published his film Riverside on how the effluent from industrial chicken farms in the Wye’s catchment was killing the river. Watch the vid at the bottom of the page.
I invited myself to join Barry who lives near the river and who’d just bought himself an MRS Nomad. He’d done Hay to Hereford once and pronounced it a bit tame, so proposed Hoarwithy (Mile 51 from Hay) to the tidal finale at Chepstow (Mile 107 according to the table, left, or Mile 100 in the same sourced EA pdf guide.
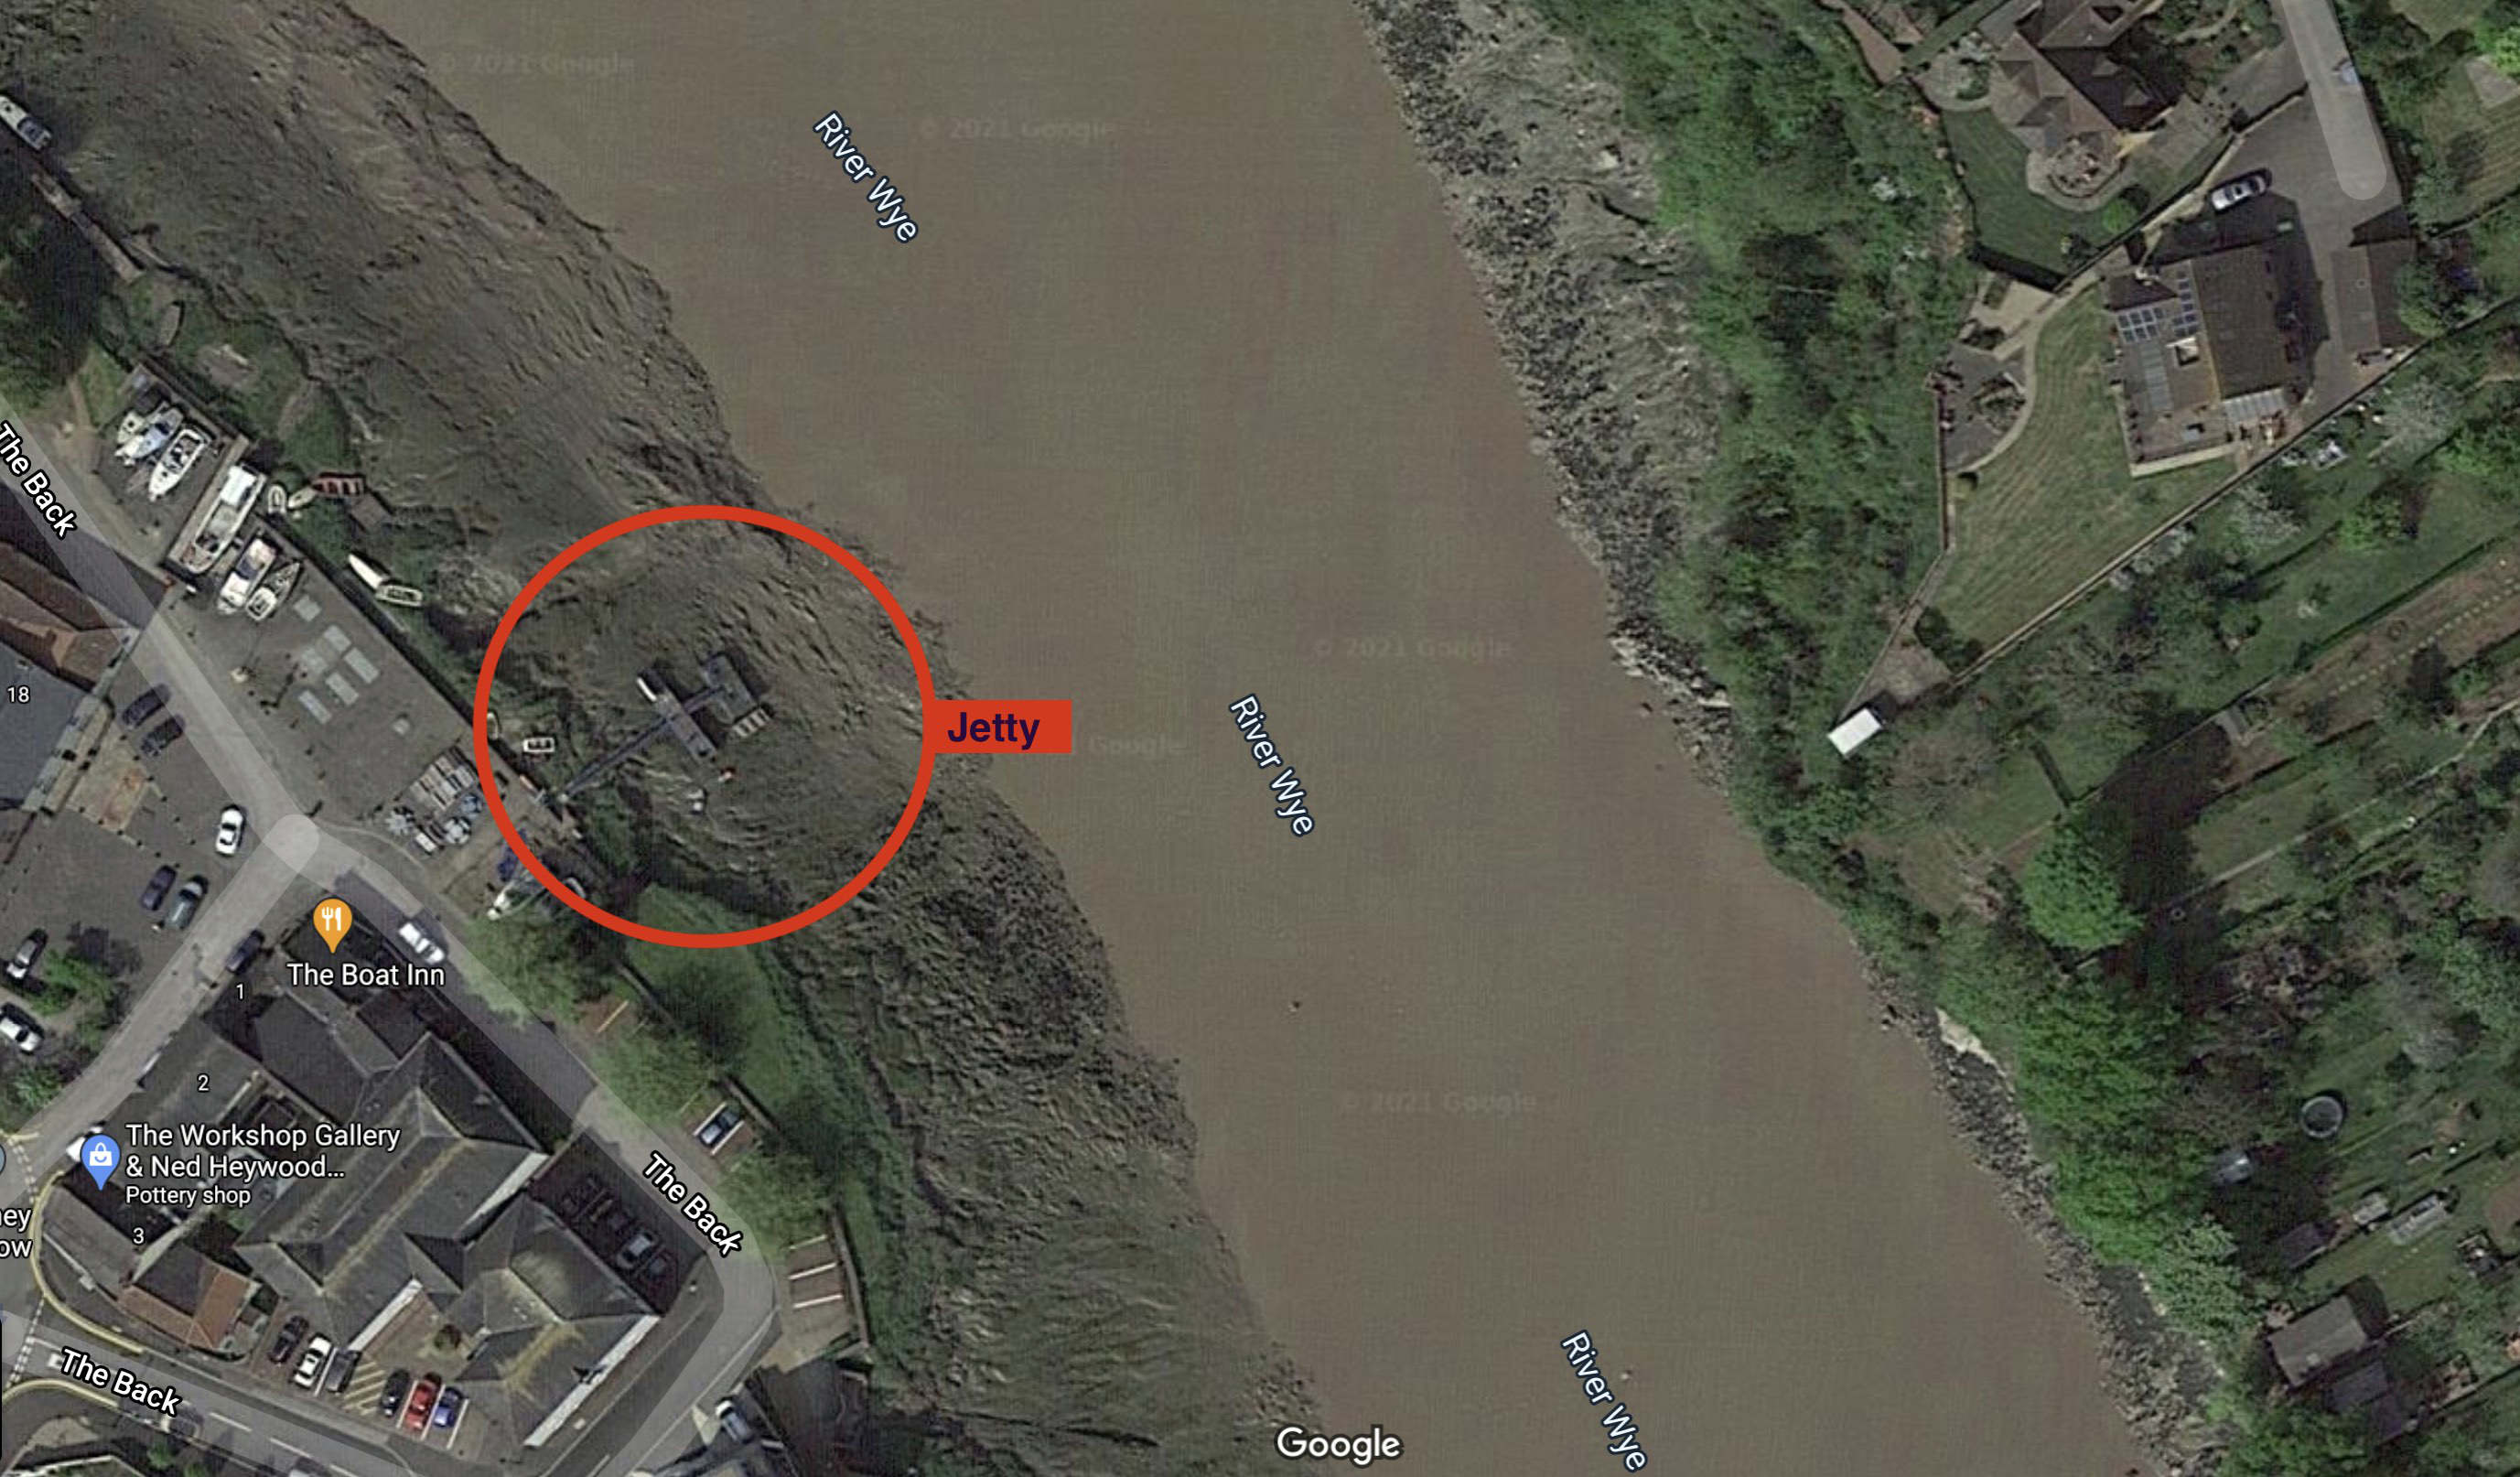
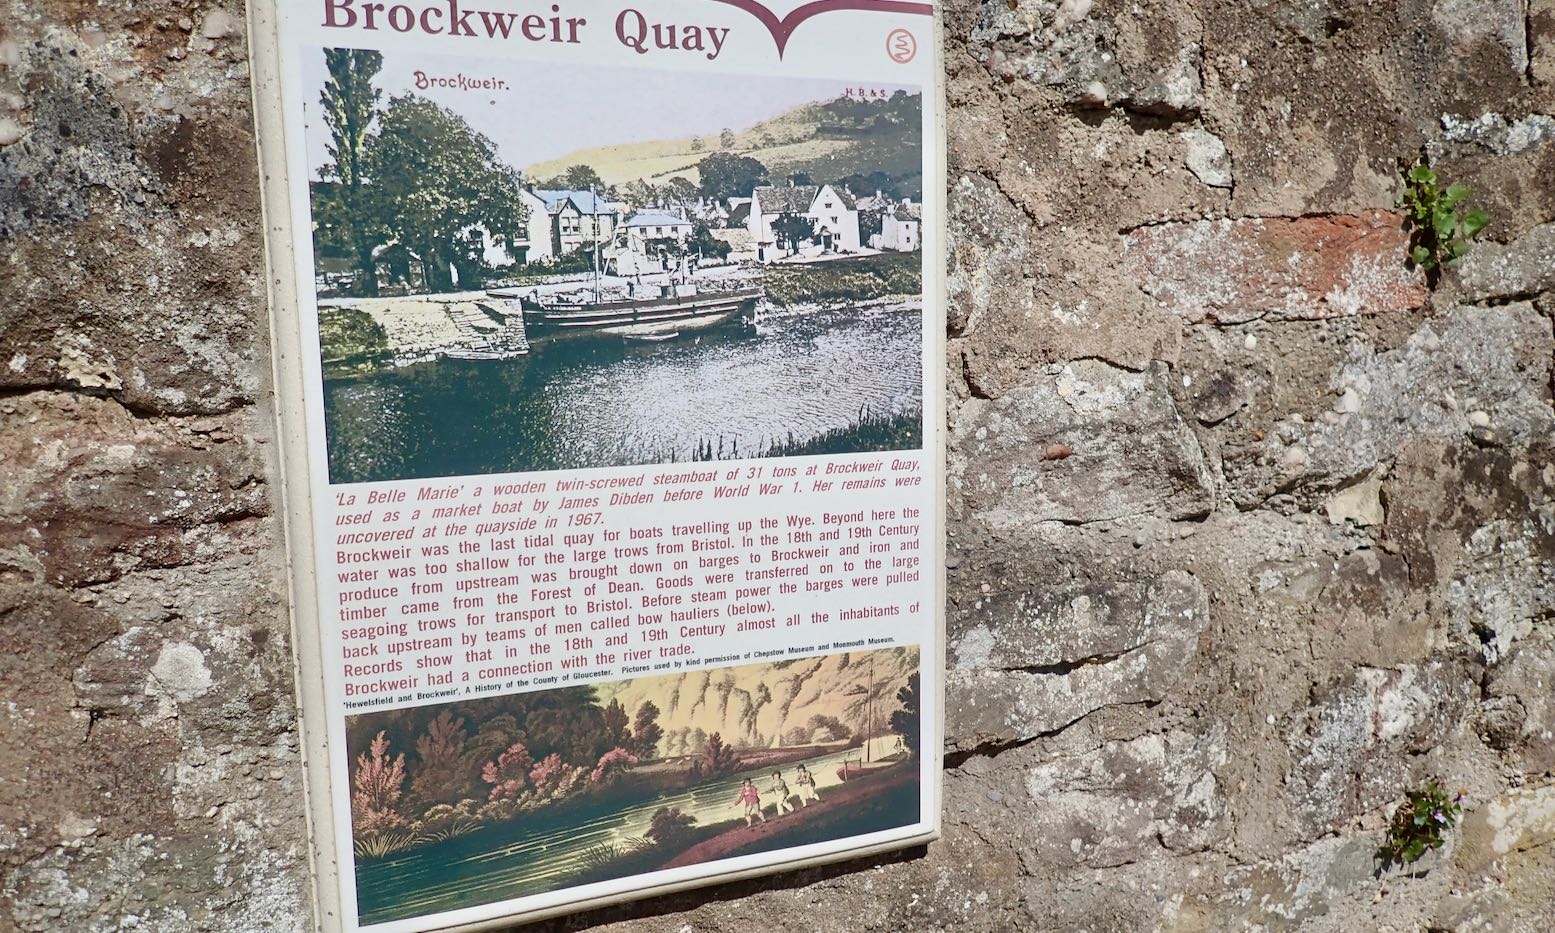
Fifty-odd miles: two long days and a bit, we estimated (wrongly). Our riverine transit had to be timed to meet HW at Brockweir, 7 miles from Chepstow’s sole jetty, otherwise we’d be stranded by tidal sludge or swept out into the Severn and end up in Tristan da Cunha.
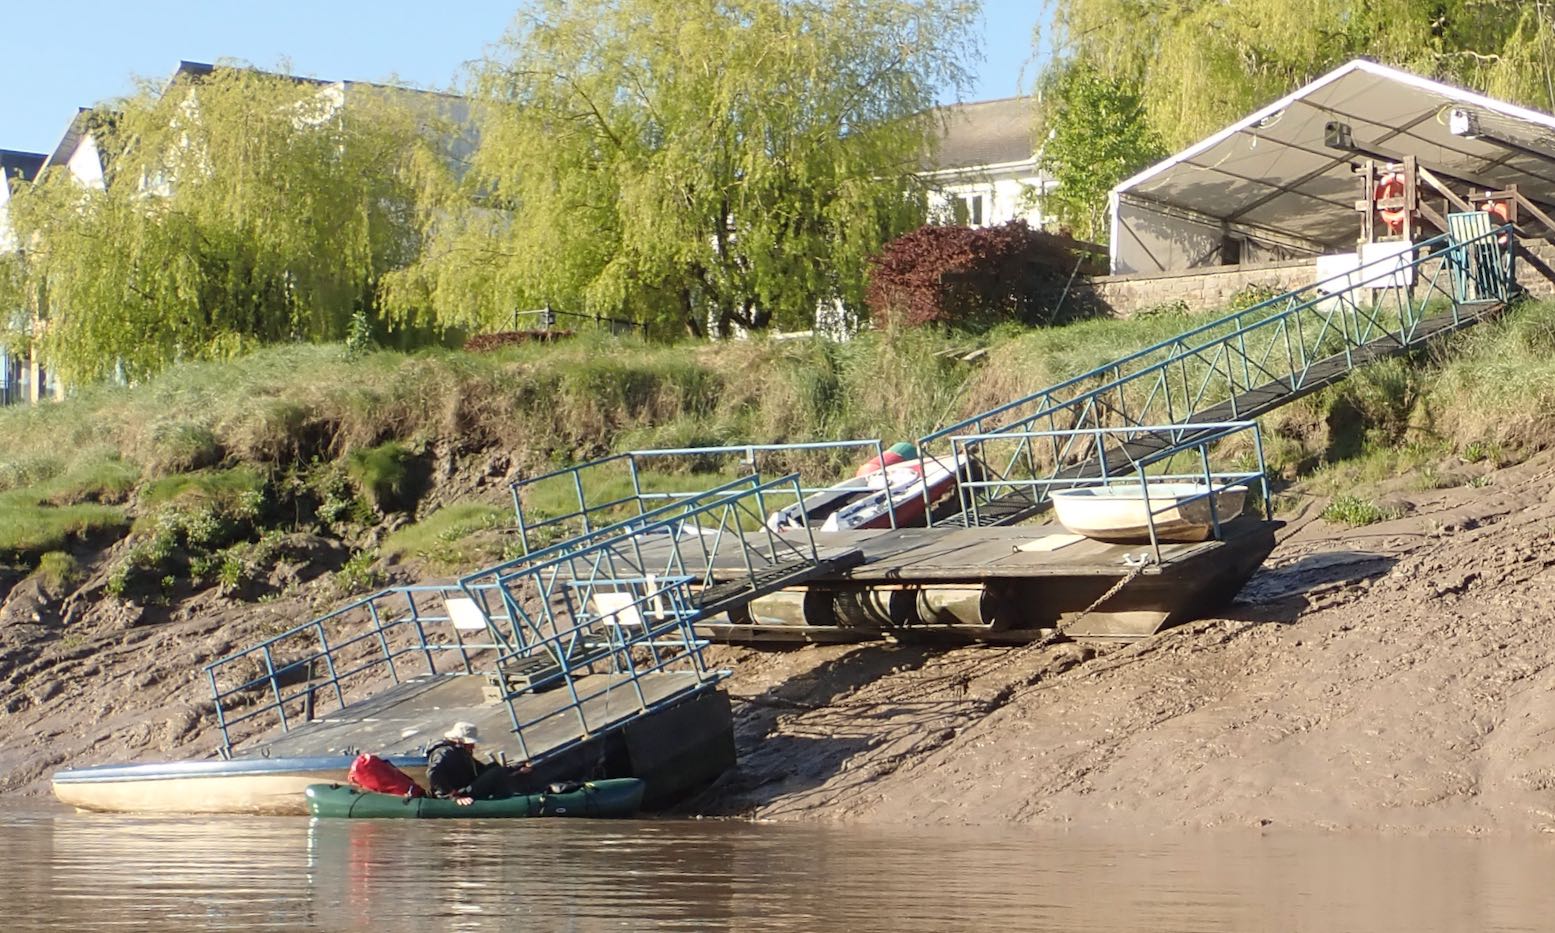
Chepstow jetty at LW; messy.
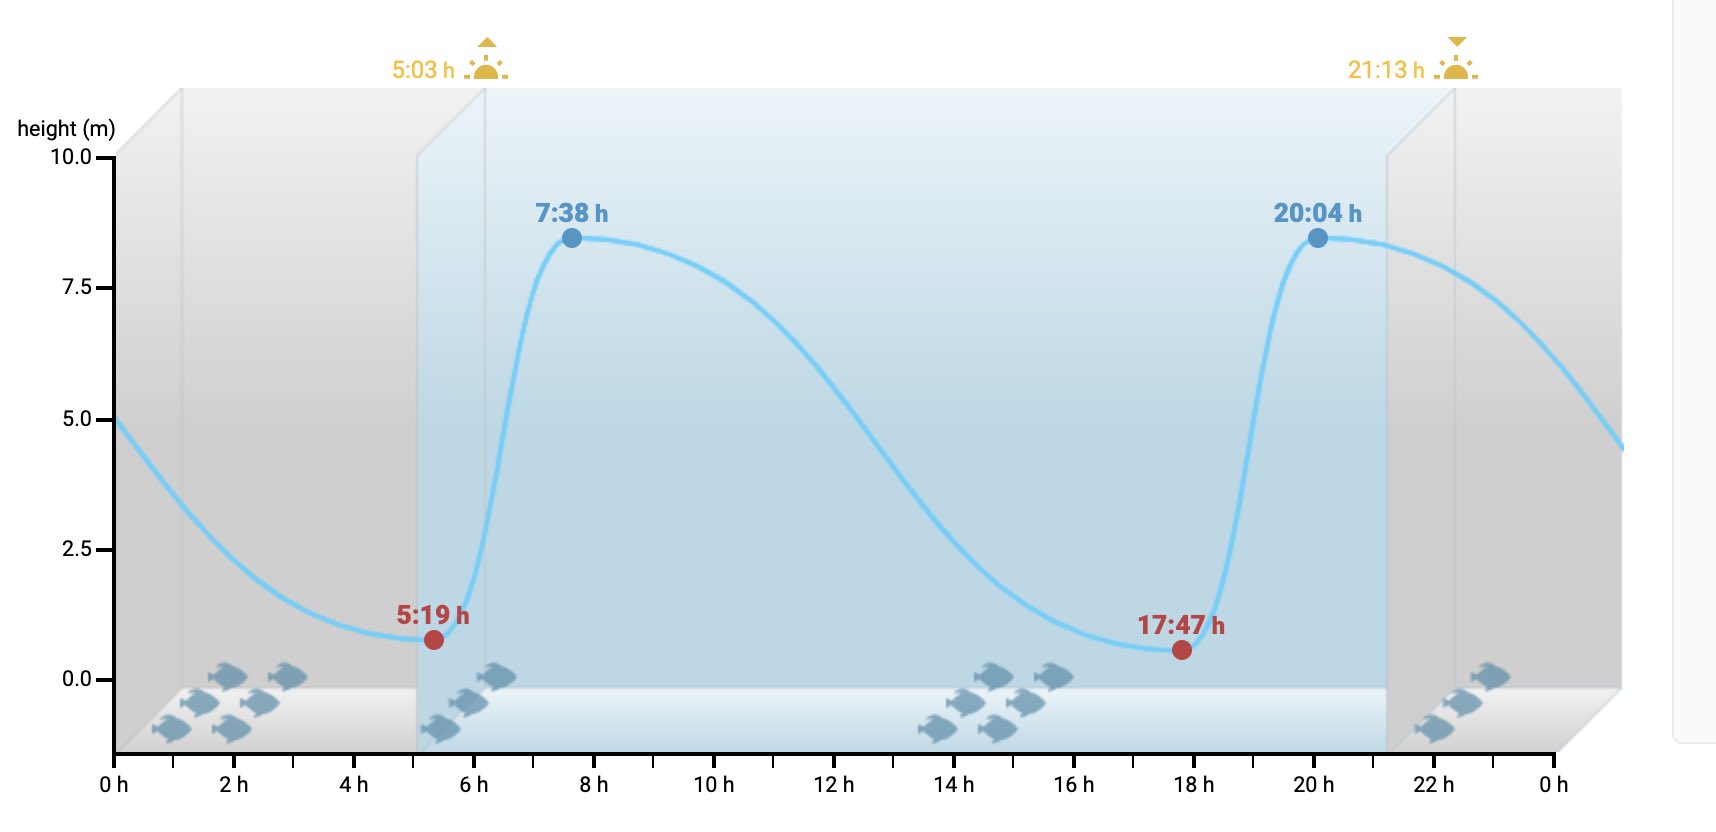
I don’t think I’ve ever seen a tidal profile like Chepstow: on a Spring tide the water can rise nearly 9 metres is less than two and a half hours, then take over ten hours to drop. This is because your Atlantic Ocean is piling into the western edge of the European land mass, including the funnel of the Severn (with Wye) estuary, creating among the highest tides on the whole darn planet. The game of ‘grab the jetty’ would make an exciting conclusion to our trip, especially as we’d have to be on the water before dawn to time it right. The guidebook warns: continue beyond Chepstow at your peril. Most canoeists dodge the tide timing game and take out at Brockweir.
Chepstow tides: holy moly!
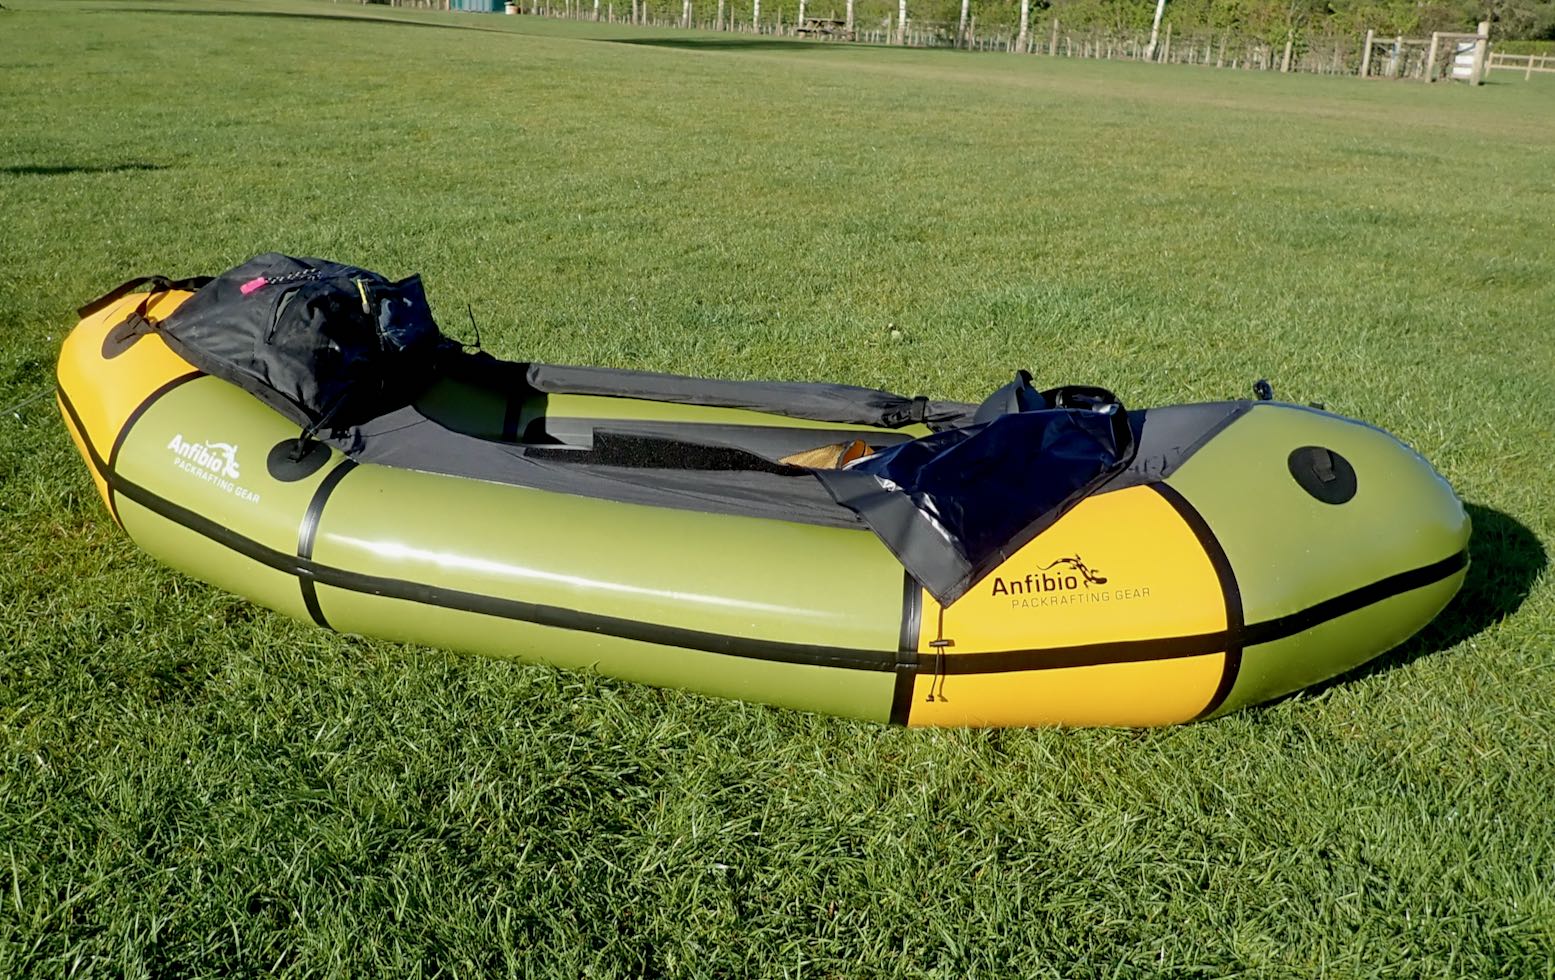
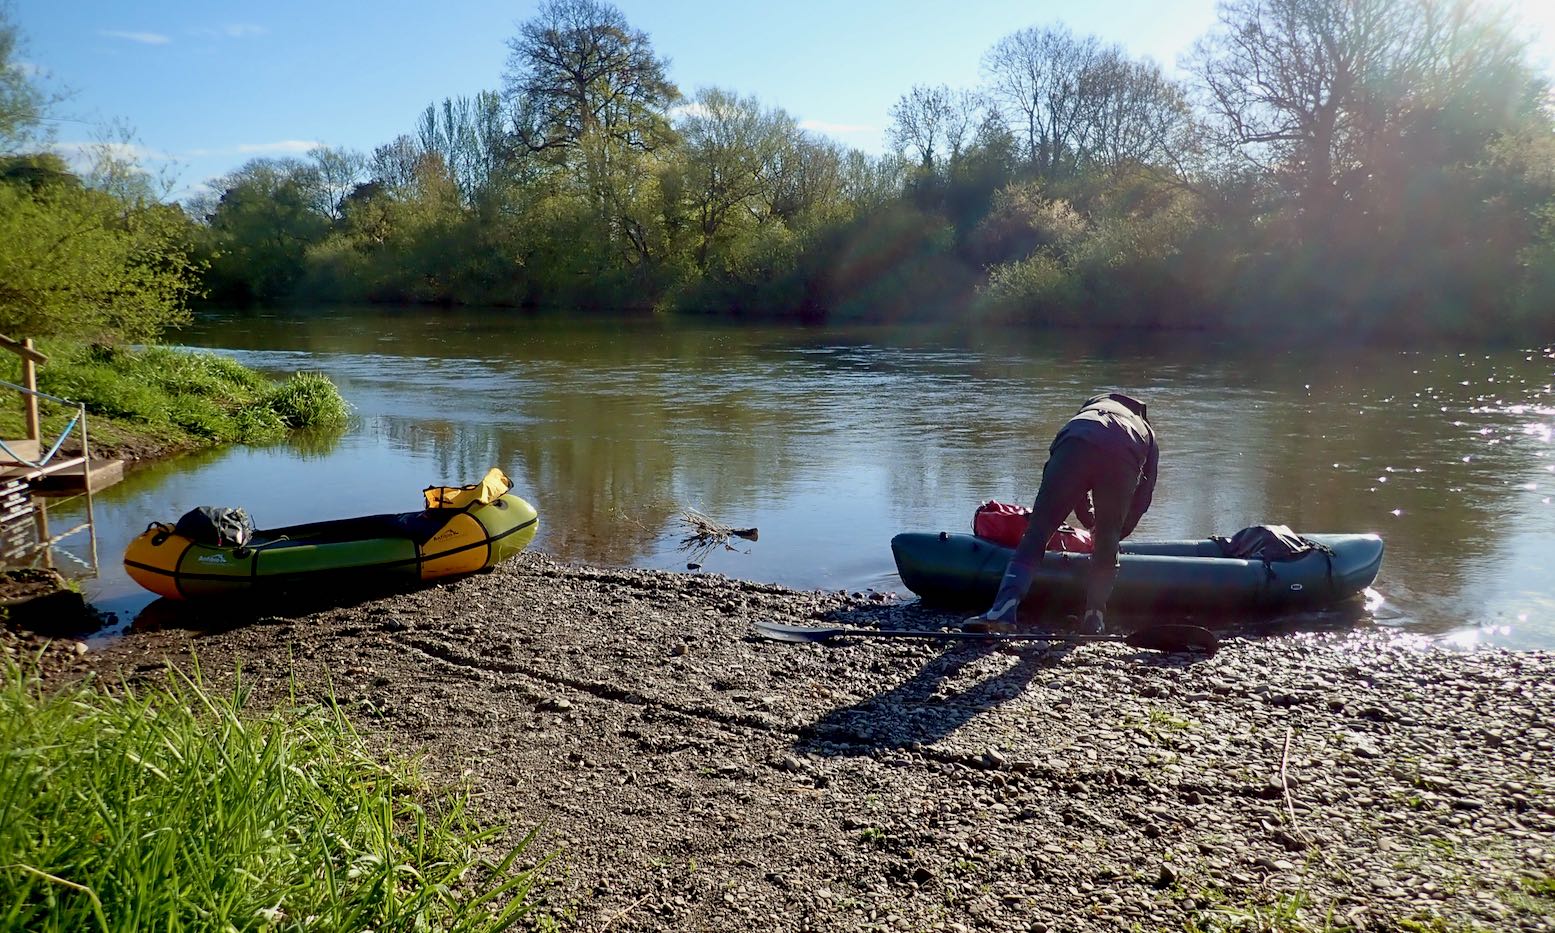
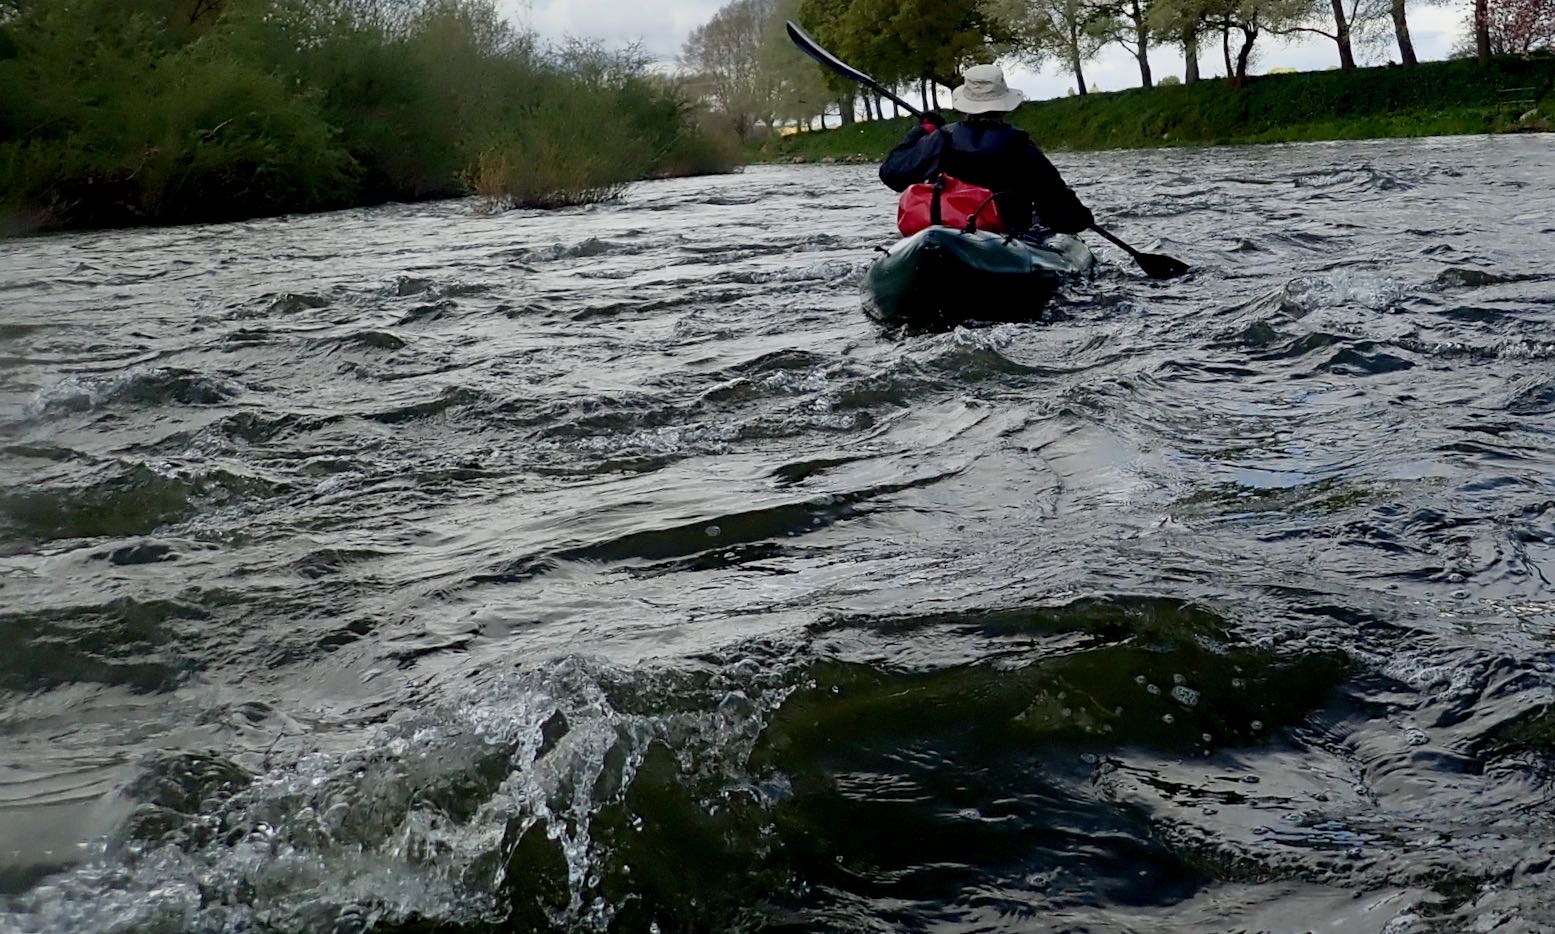
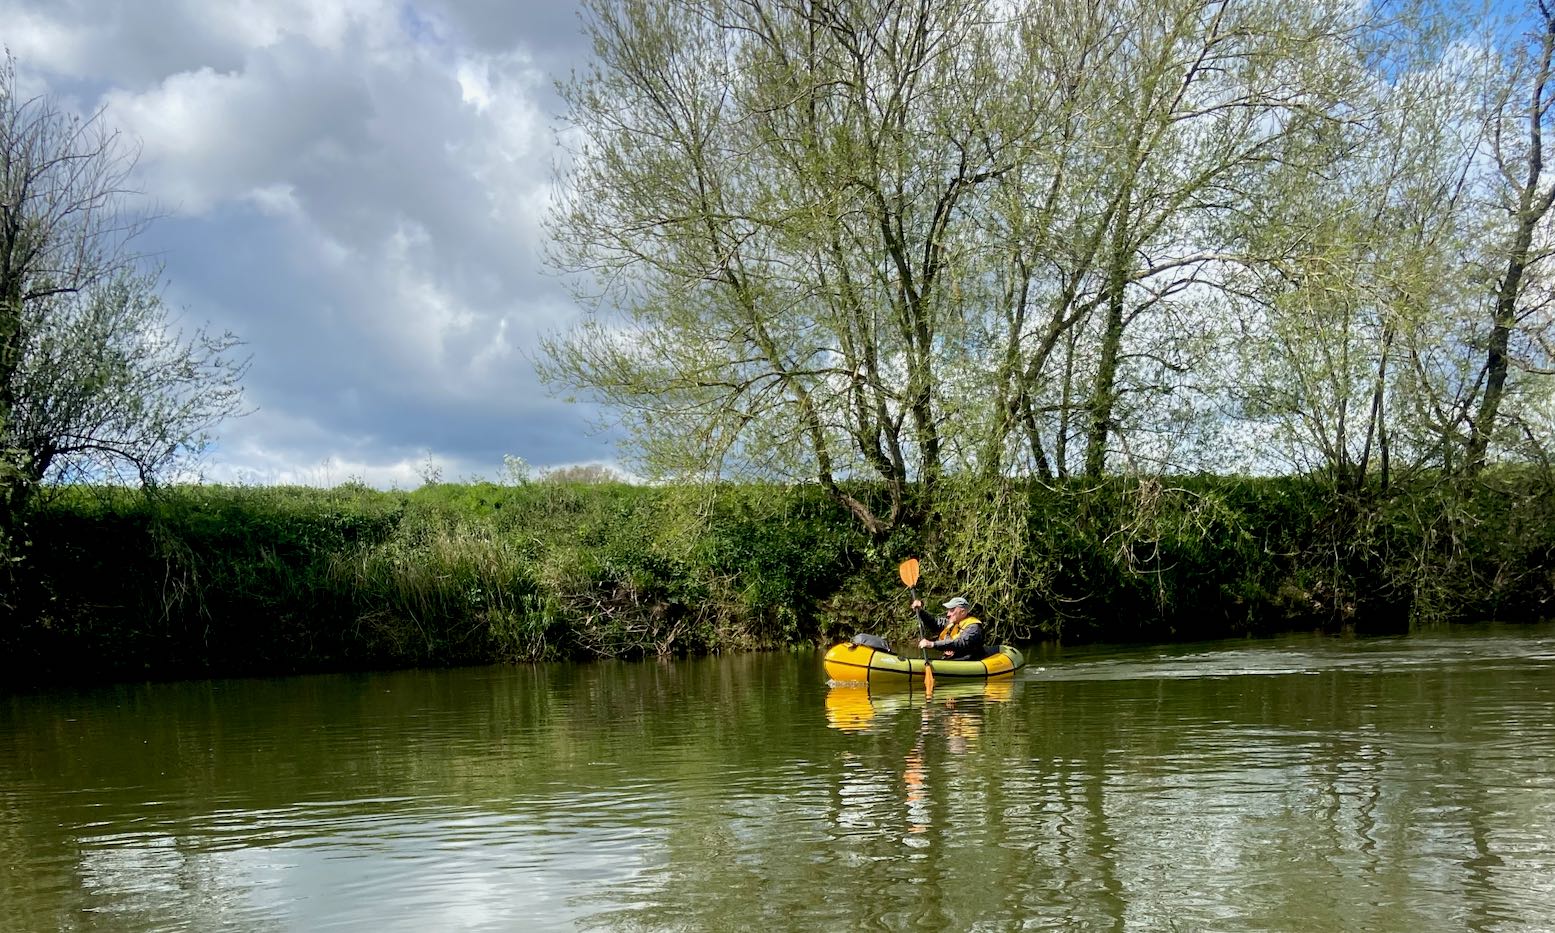
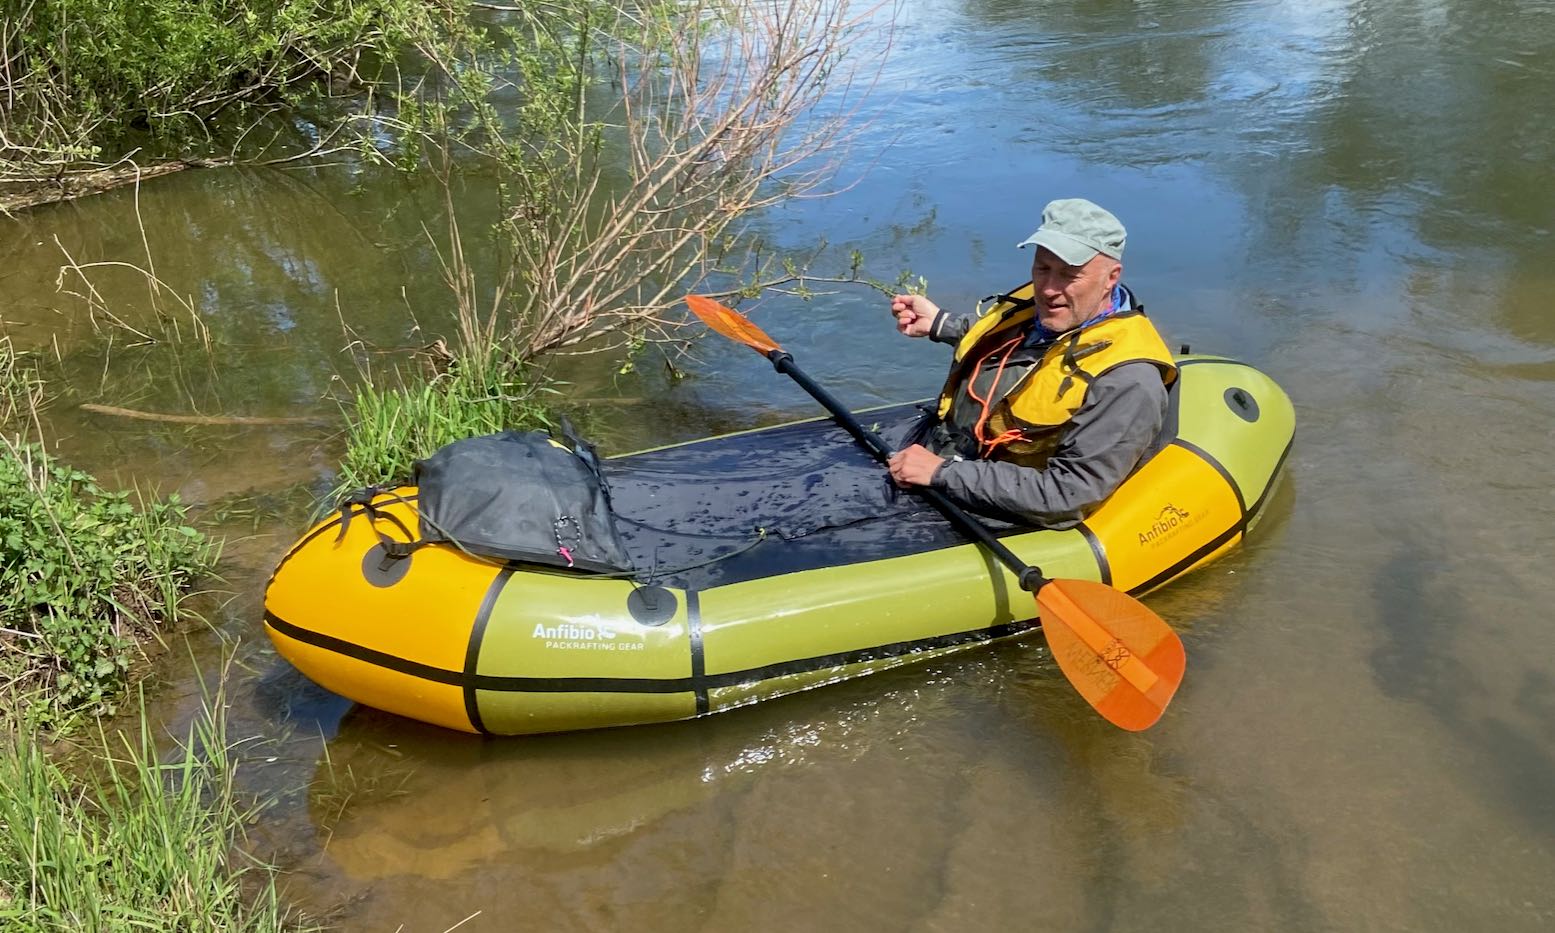
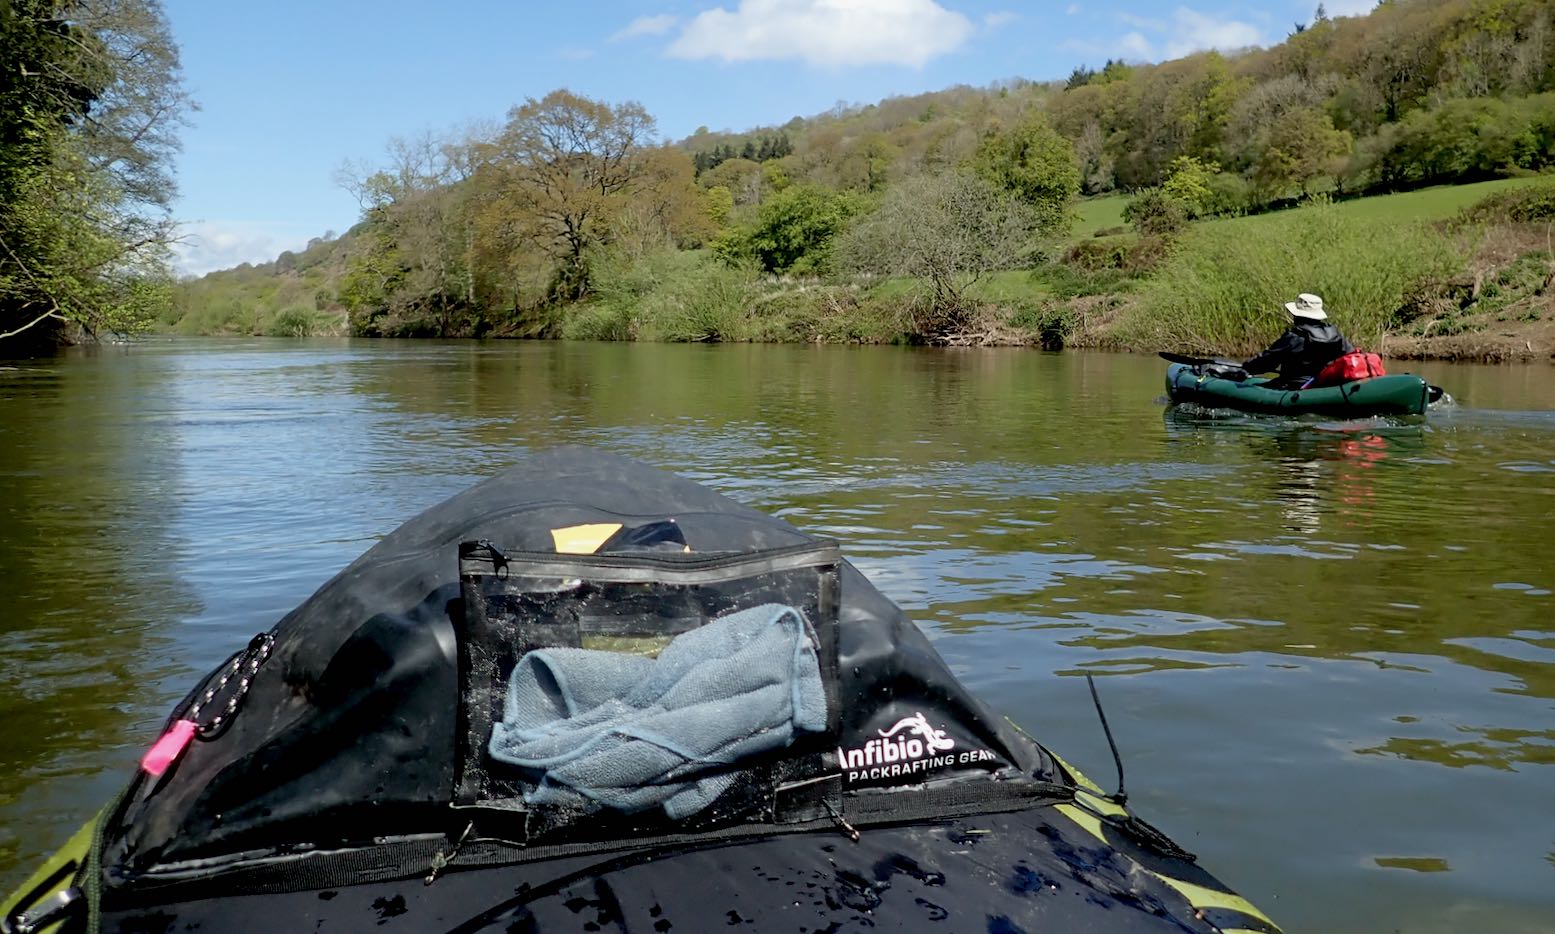
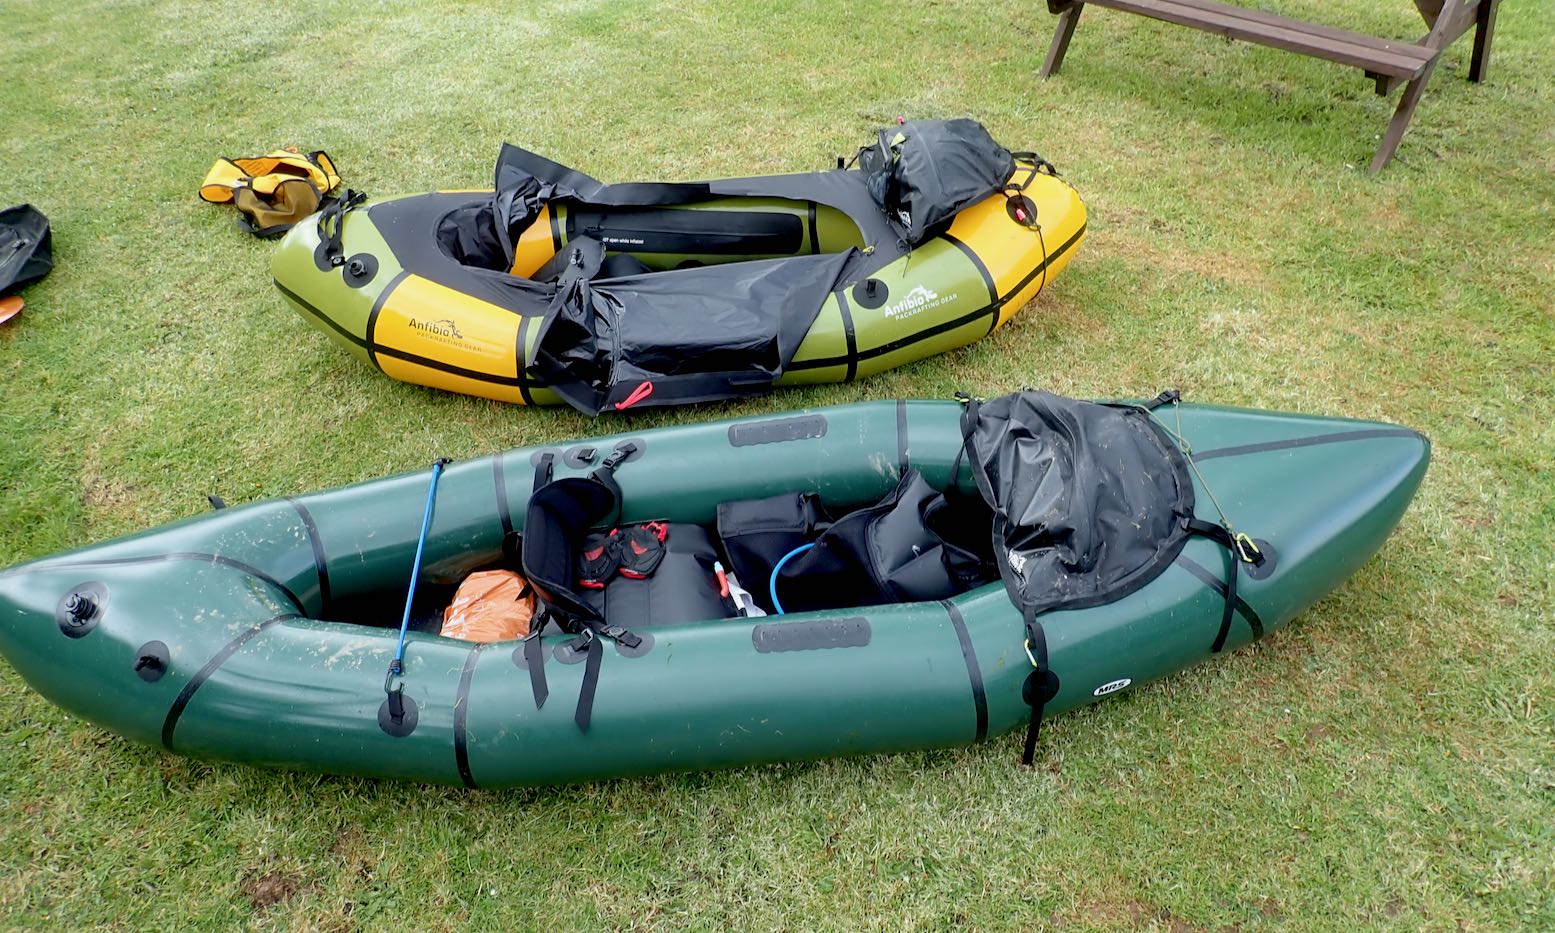
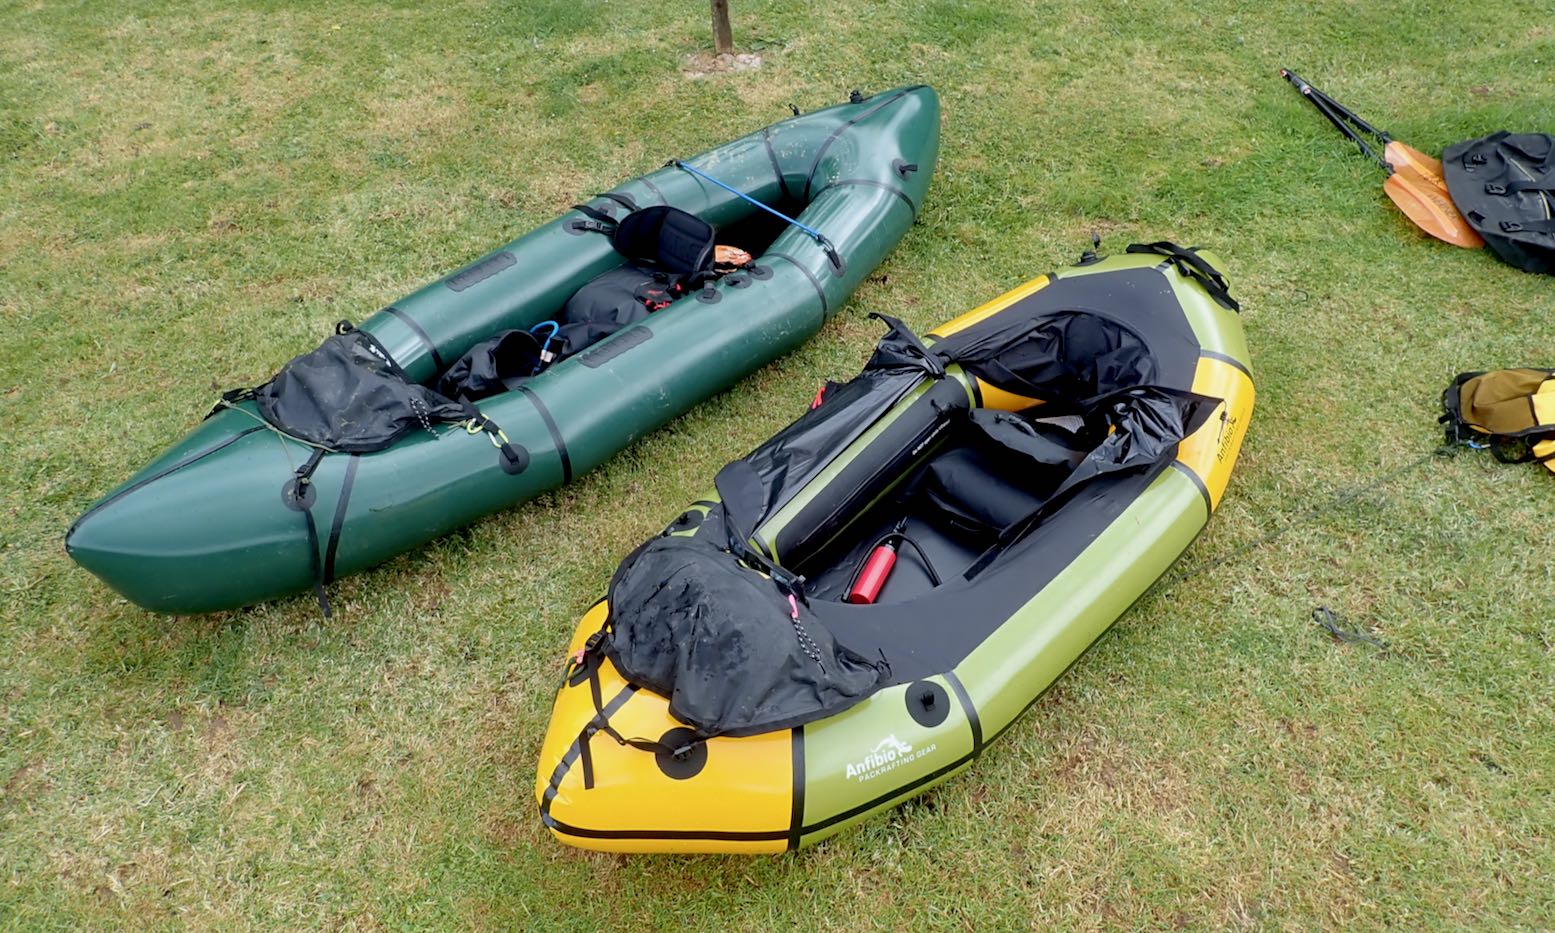
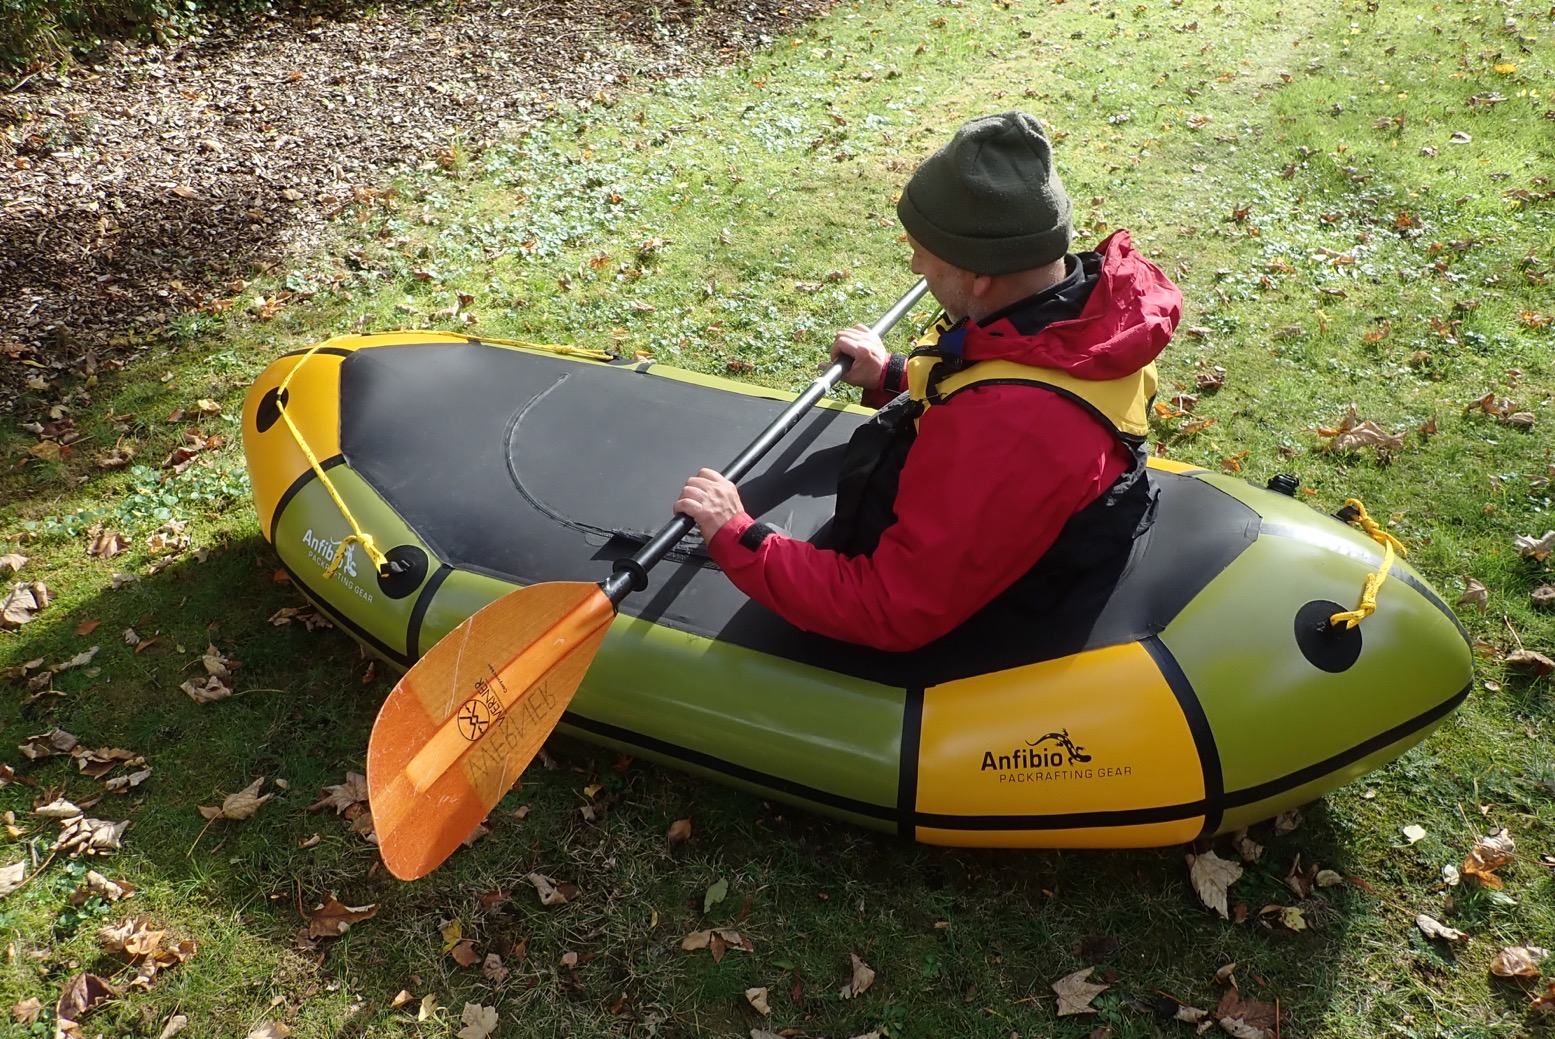
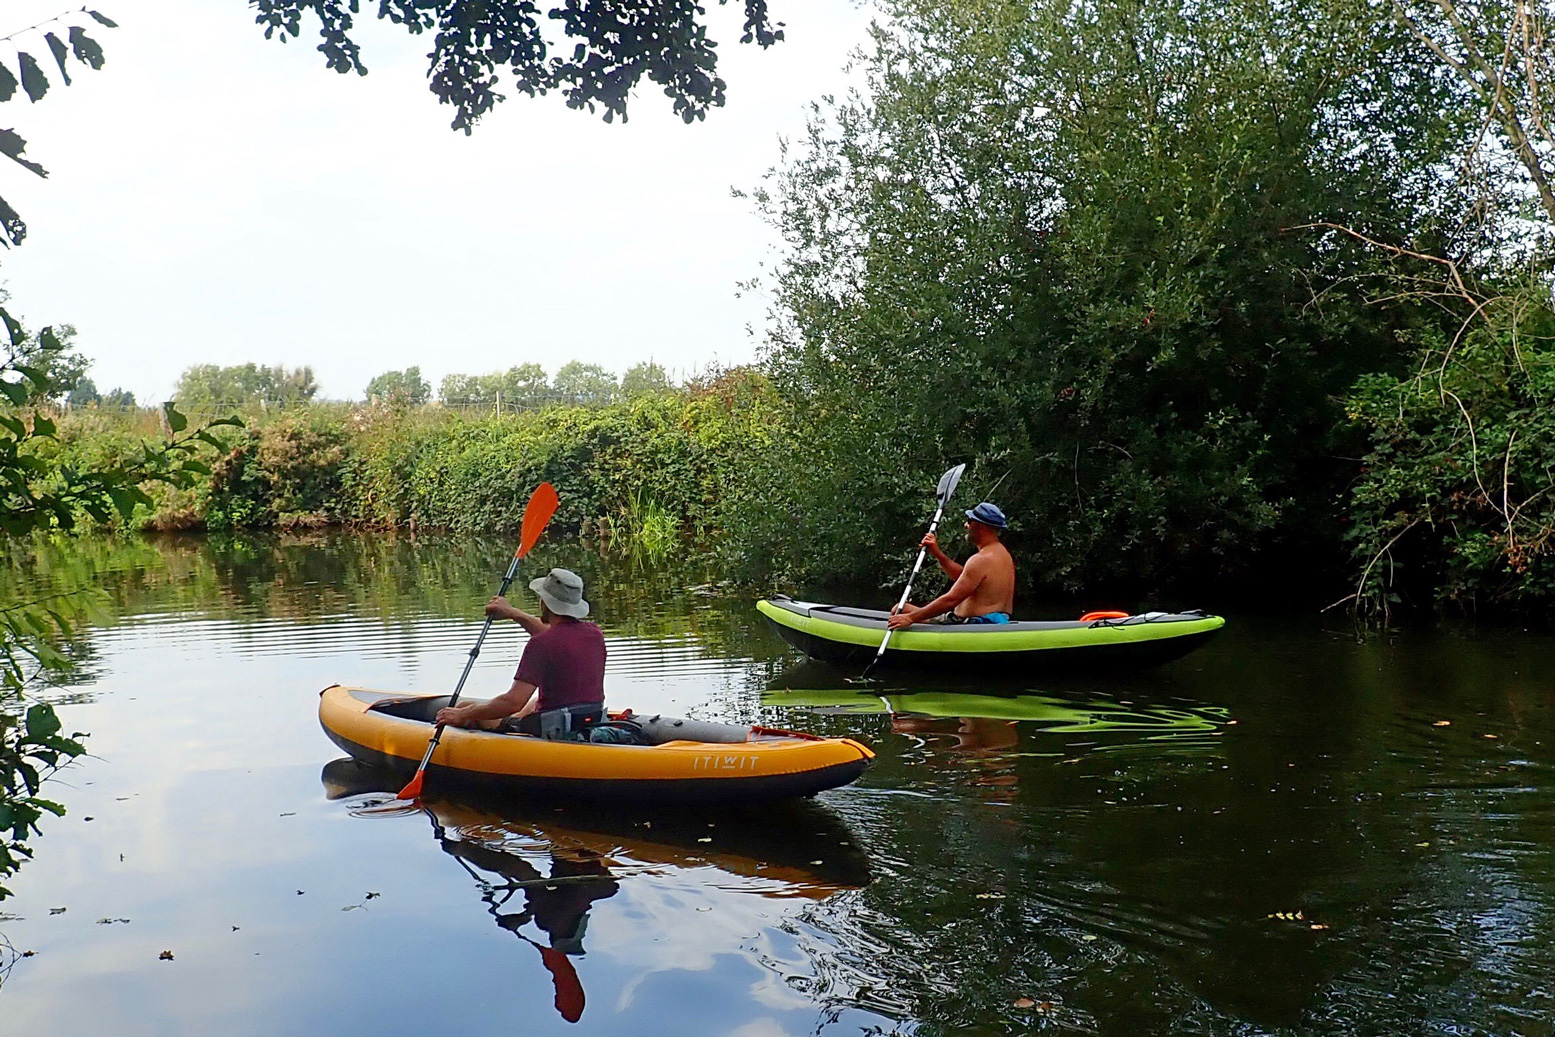
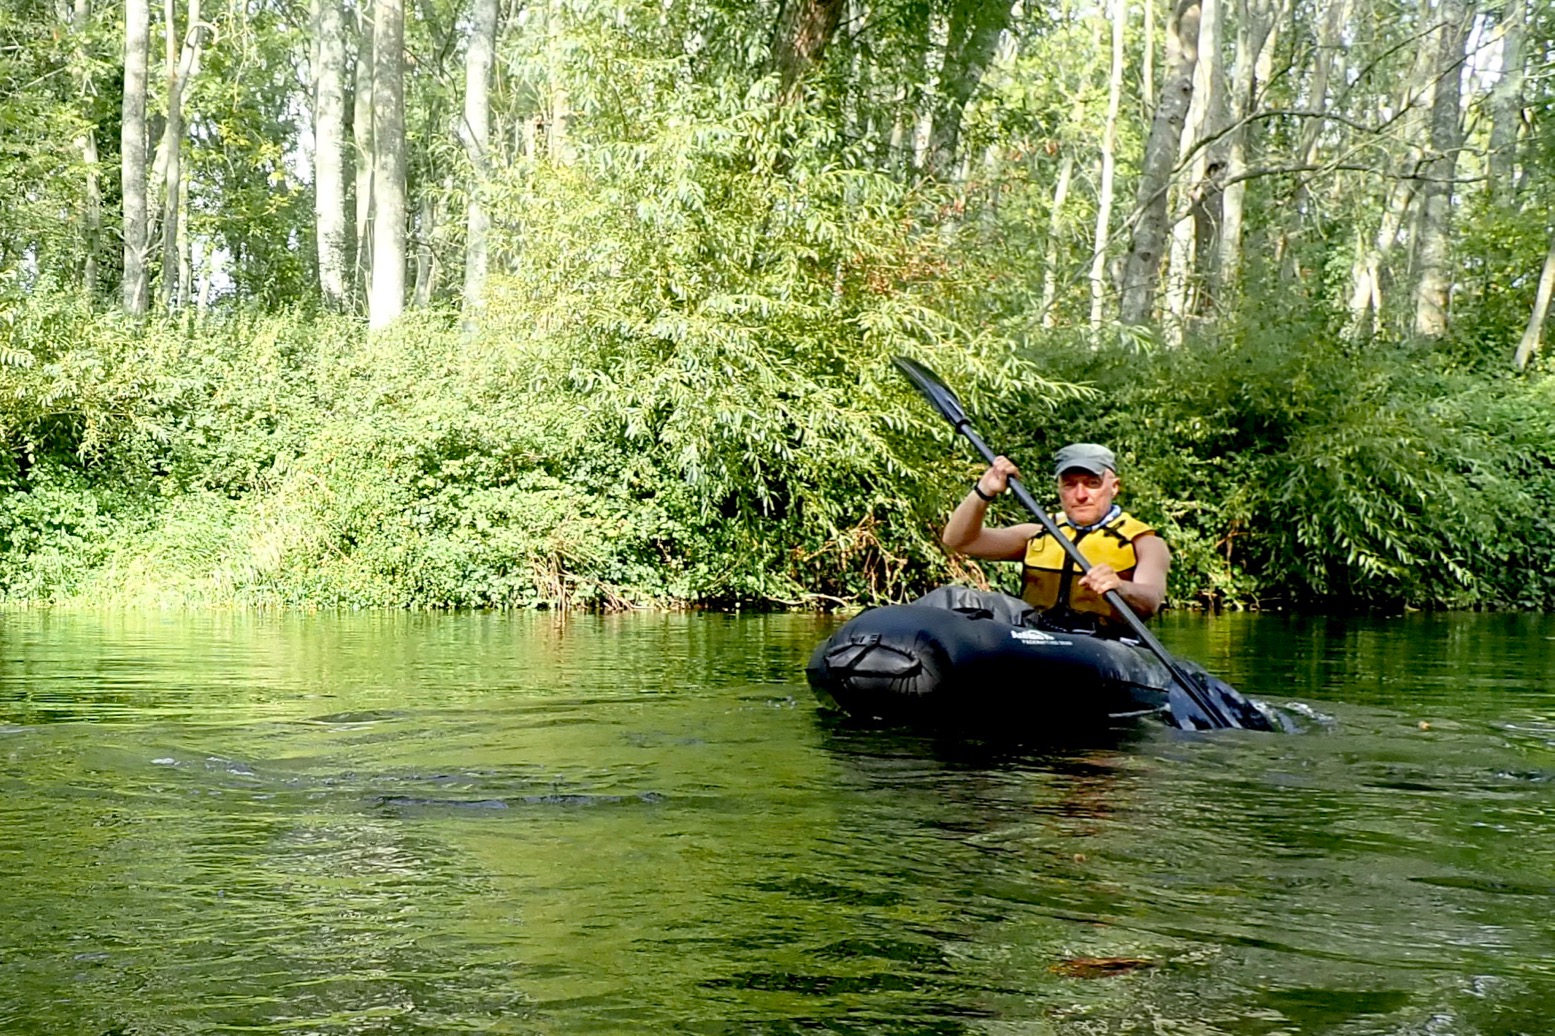
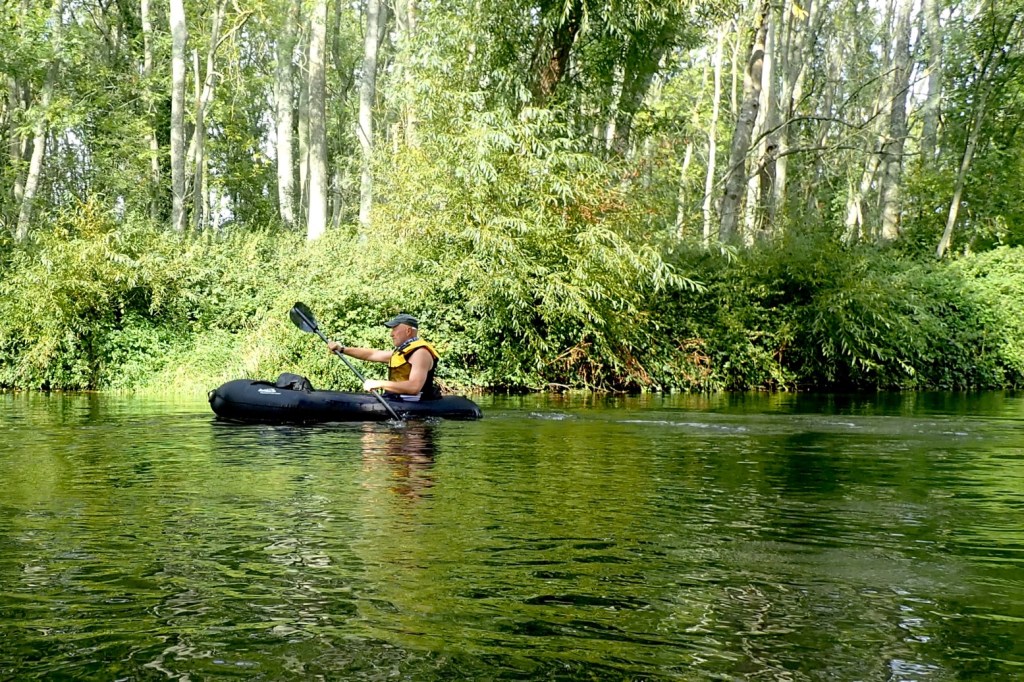
I thought I’d do the Wye in my Seawave, but then decided all that space and speed and glide would be too easy. Anfibio did me a deal on the Rebel 2K I tested last autumn (they’ll readily drop the tax to the UK so you don’t pay it twice). The three-night paddle would be a good test of their internal storage system for packraft touring. And the wet bits in between, a good test of the boat. My review of the 2K here. Short version: with a good, rain-fed current, the Wye is a fabulous, easy and scenic paddle. We saw just a couple of Gumo Safaris on a bank, and some club rowers out of Ross. Plus loads of parked up canoes waiting for the rental season. I hope to do it again in the summer. With no lifts, I’d try to leave Hereford early for Symmonds Yat free camp (see below). It’s 43 miles but in the conditions we had could be an easy ten hours. And if you don’t make it, no bother. Then it’s five hours paddling to Brockweir where an early afternoon HW could bring you two hours into Chepstow for a train home.
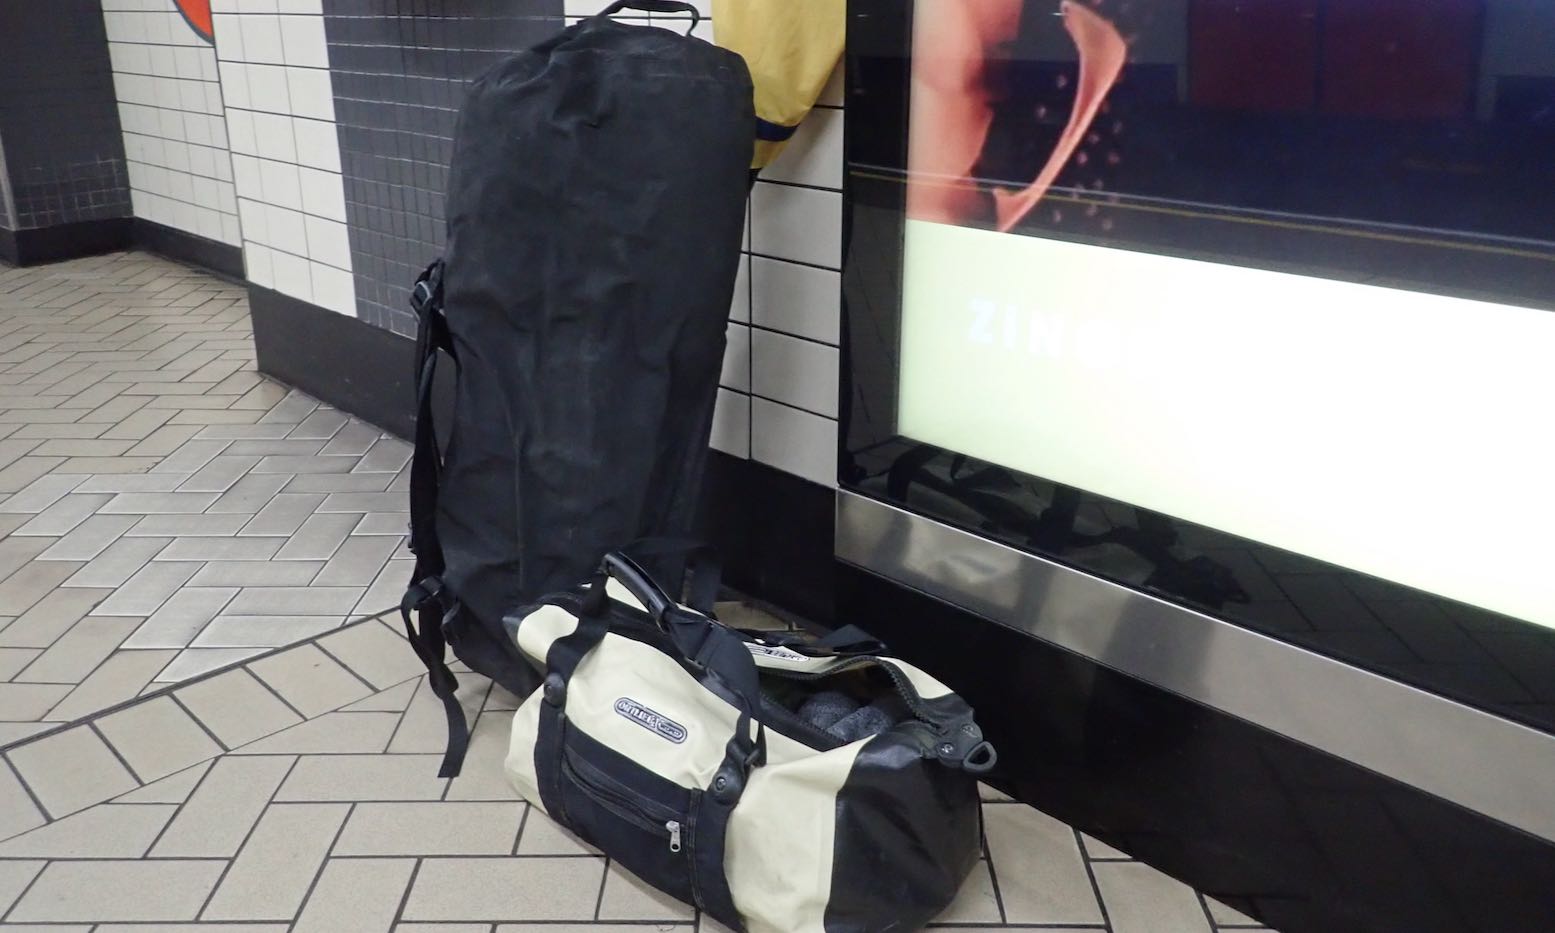
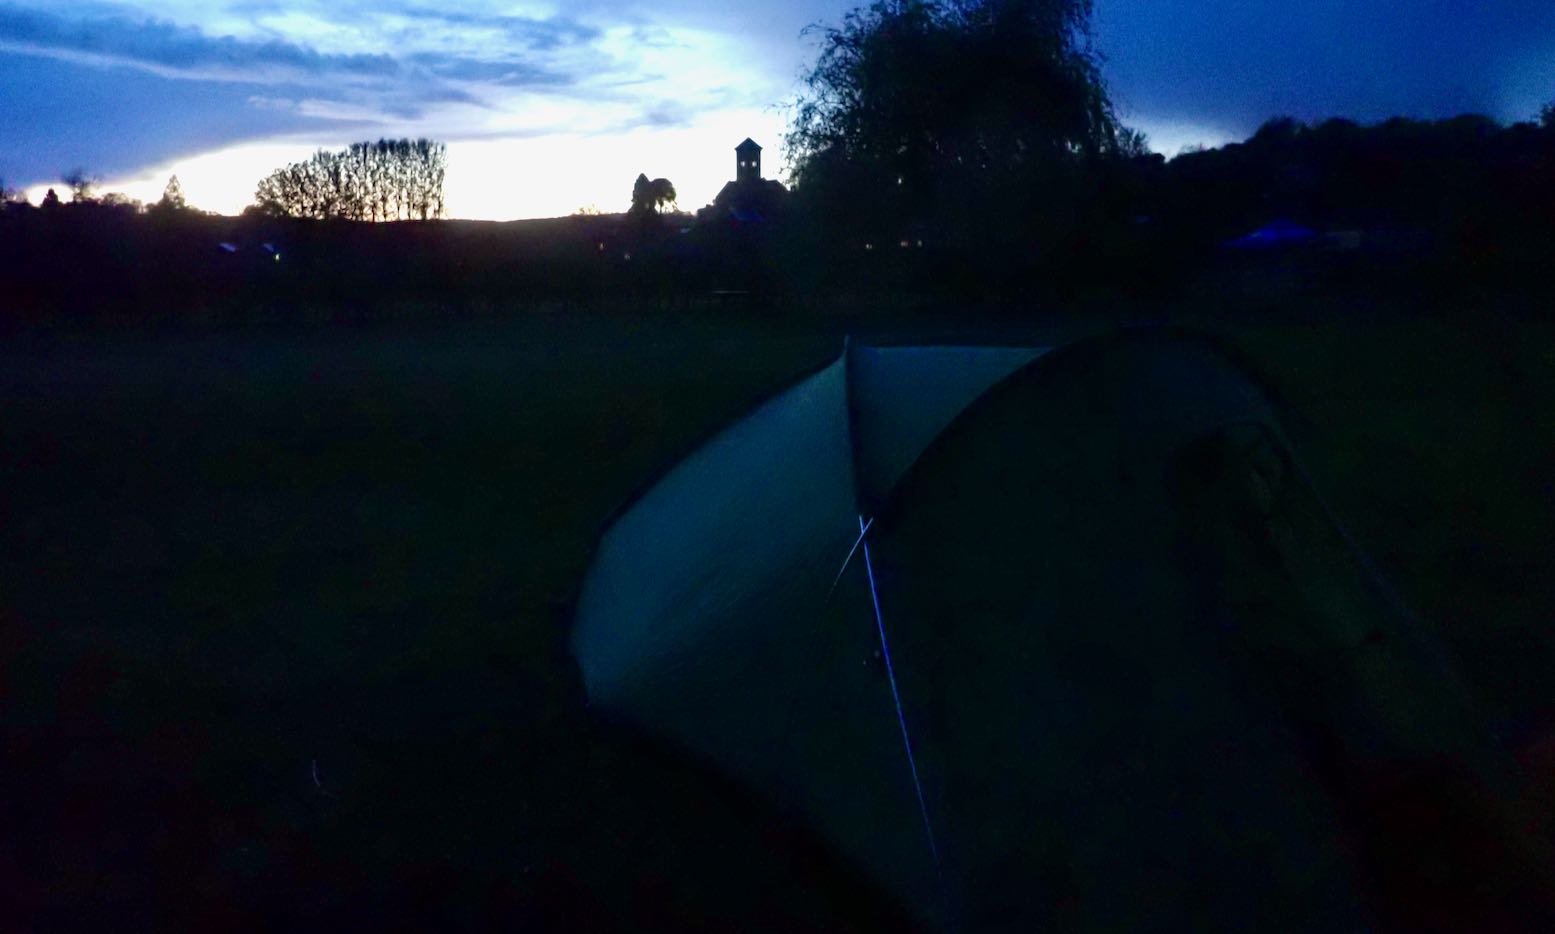
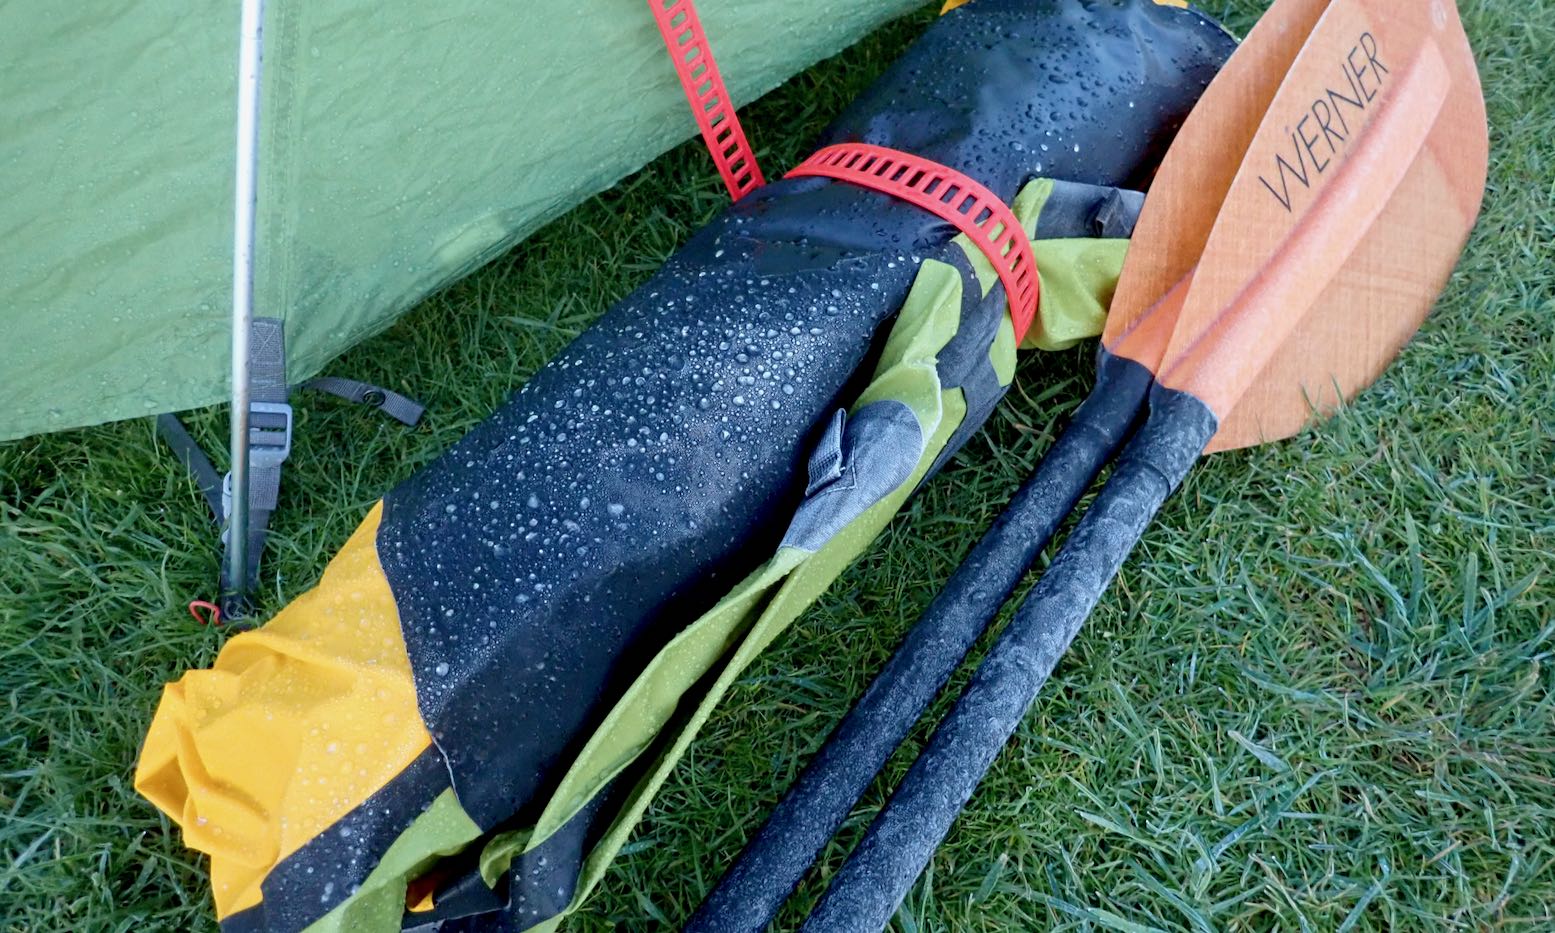
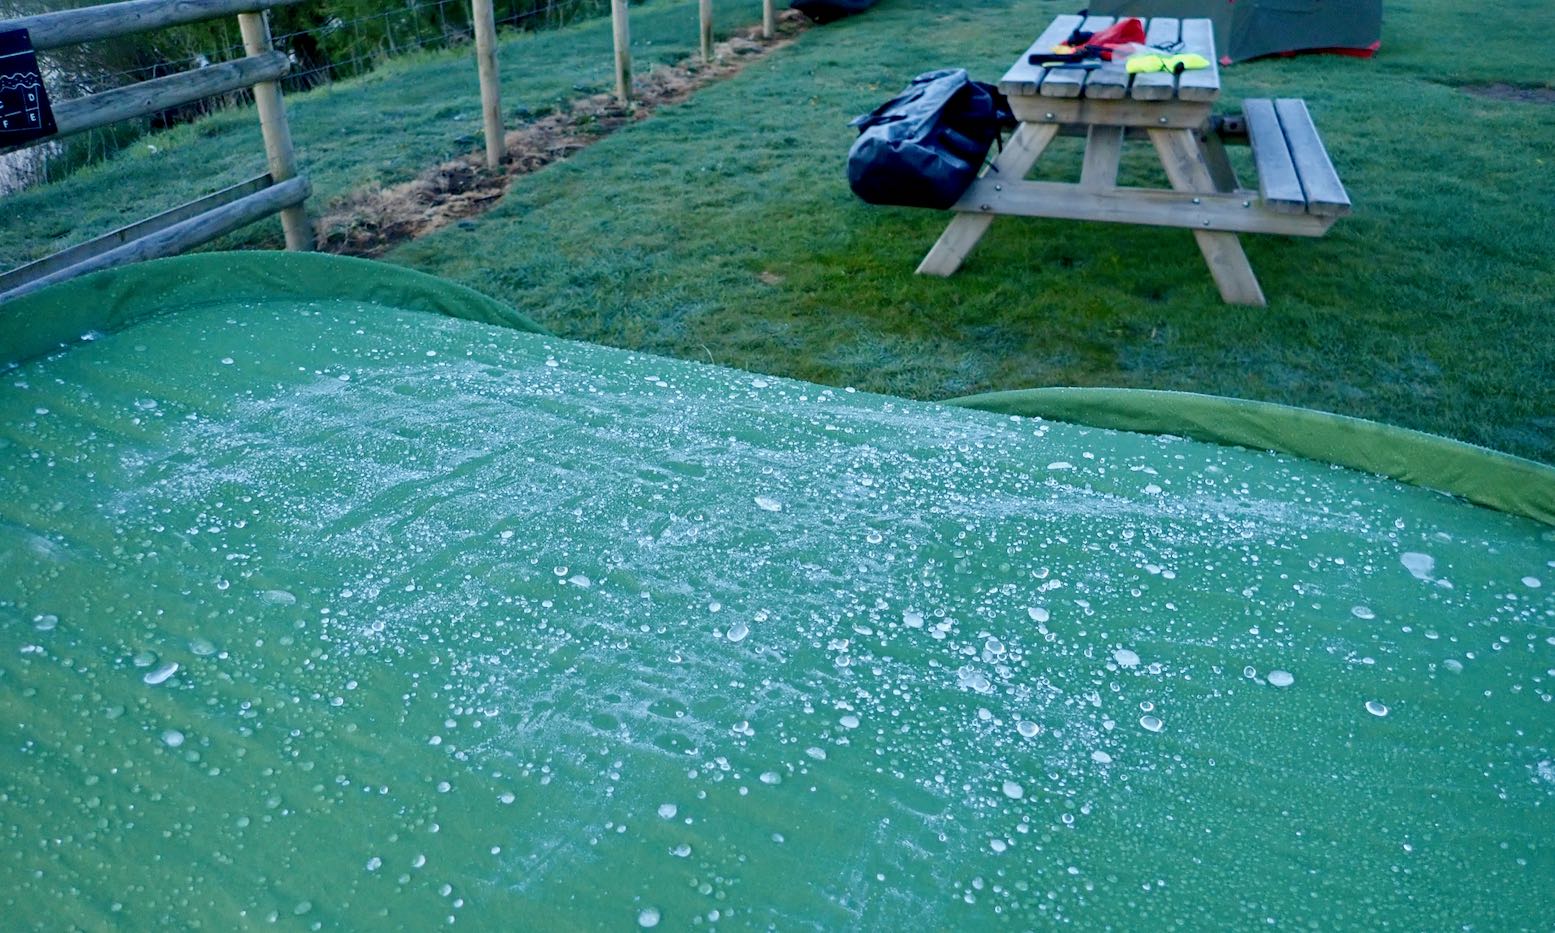
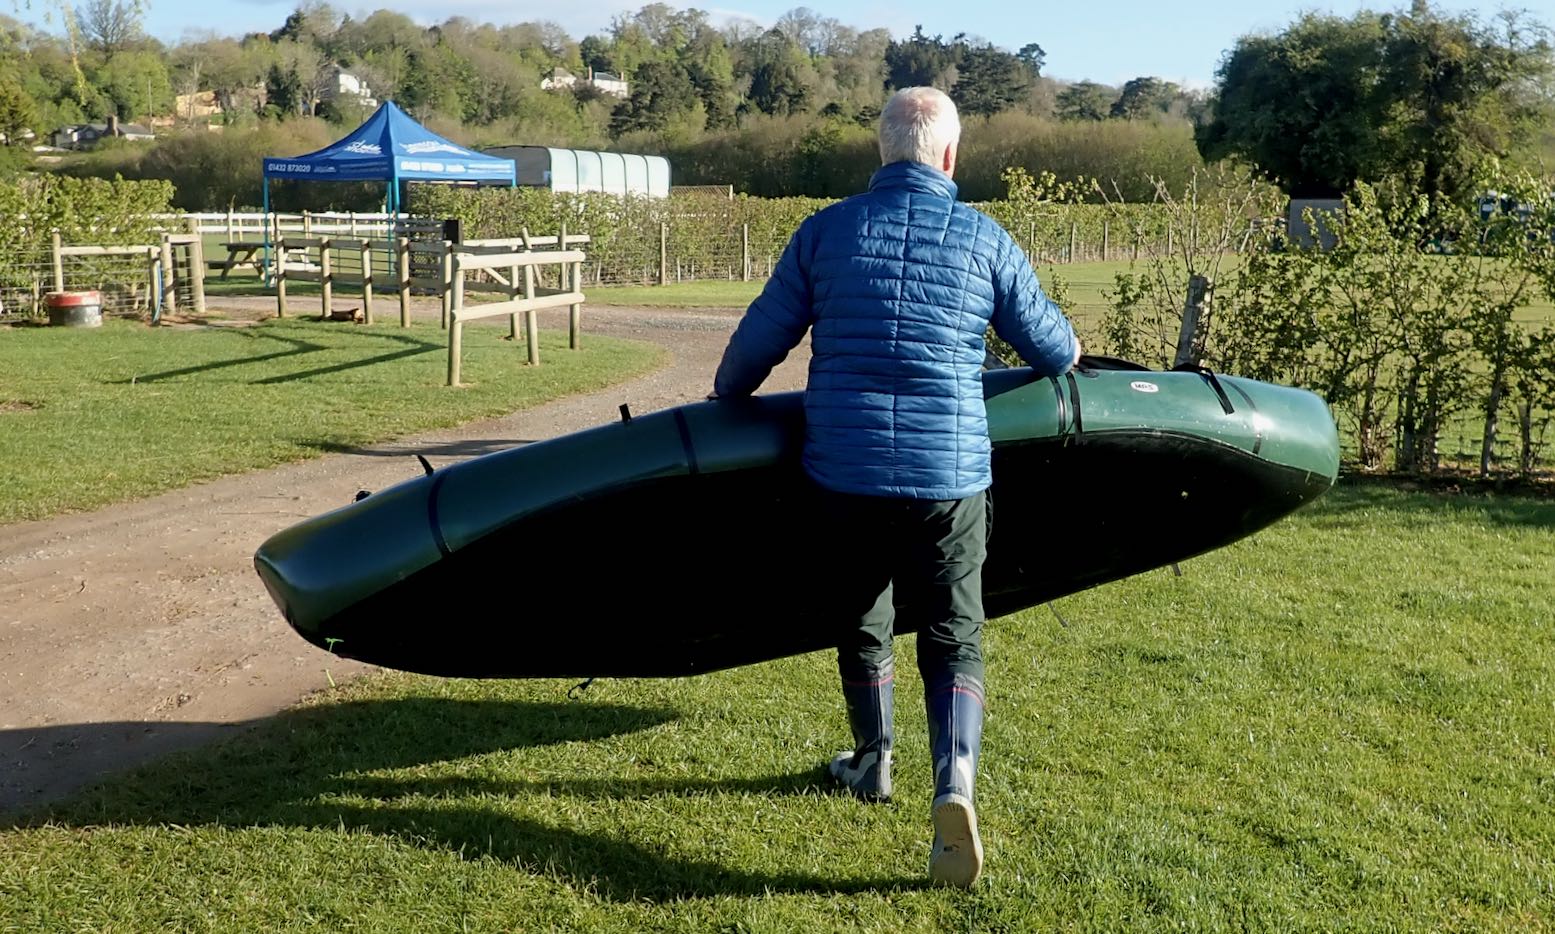
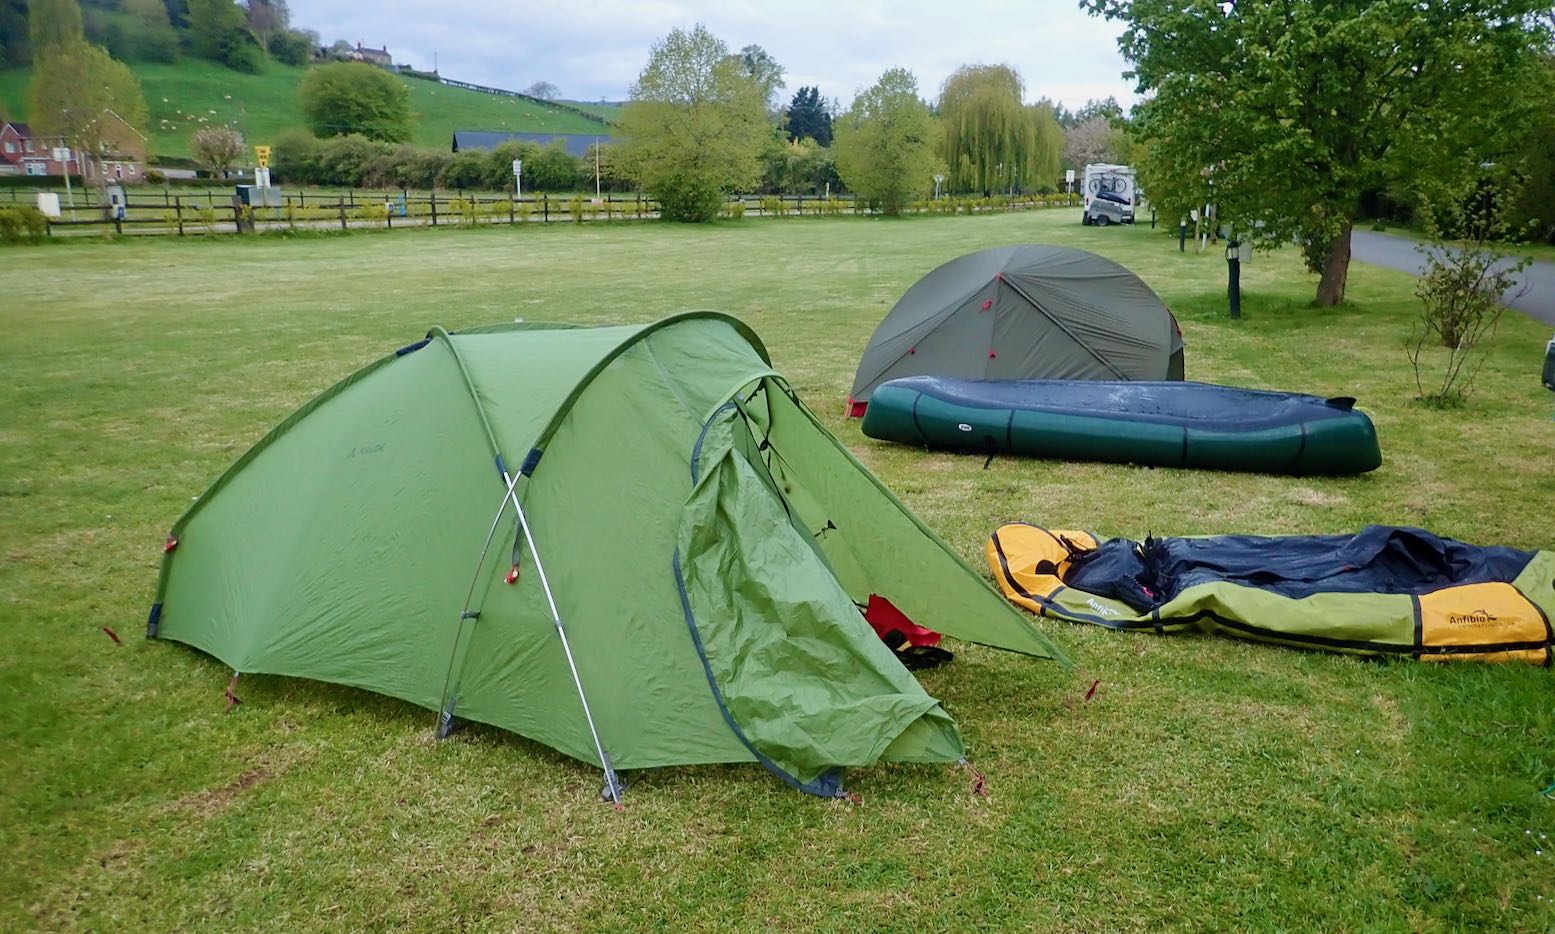
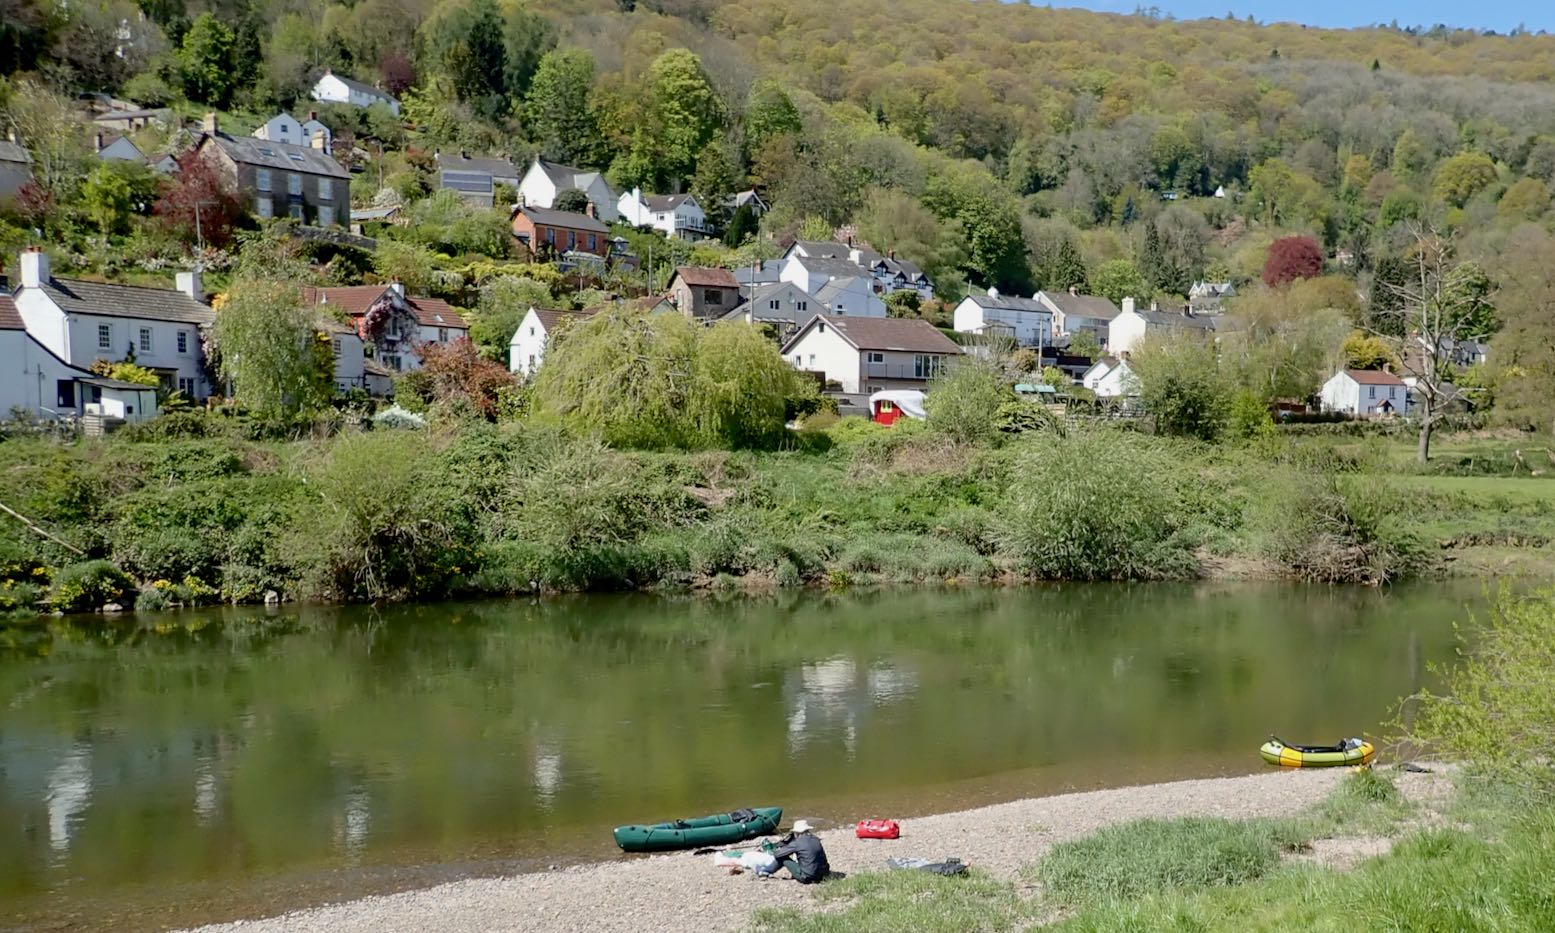
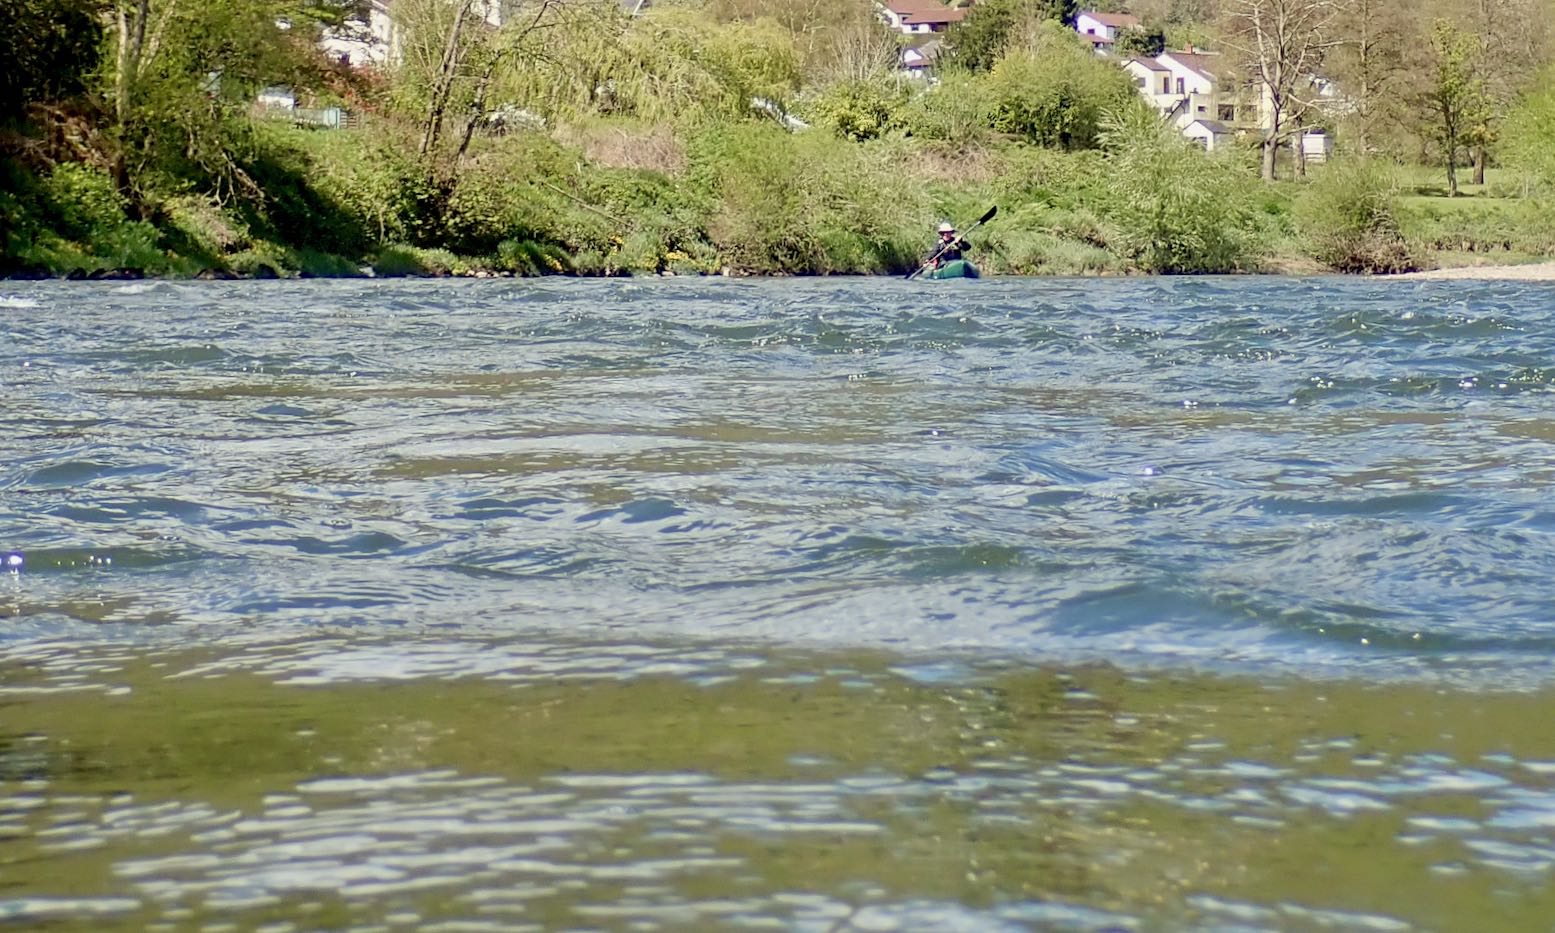
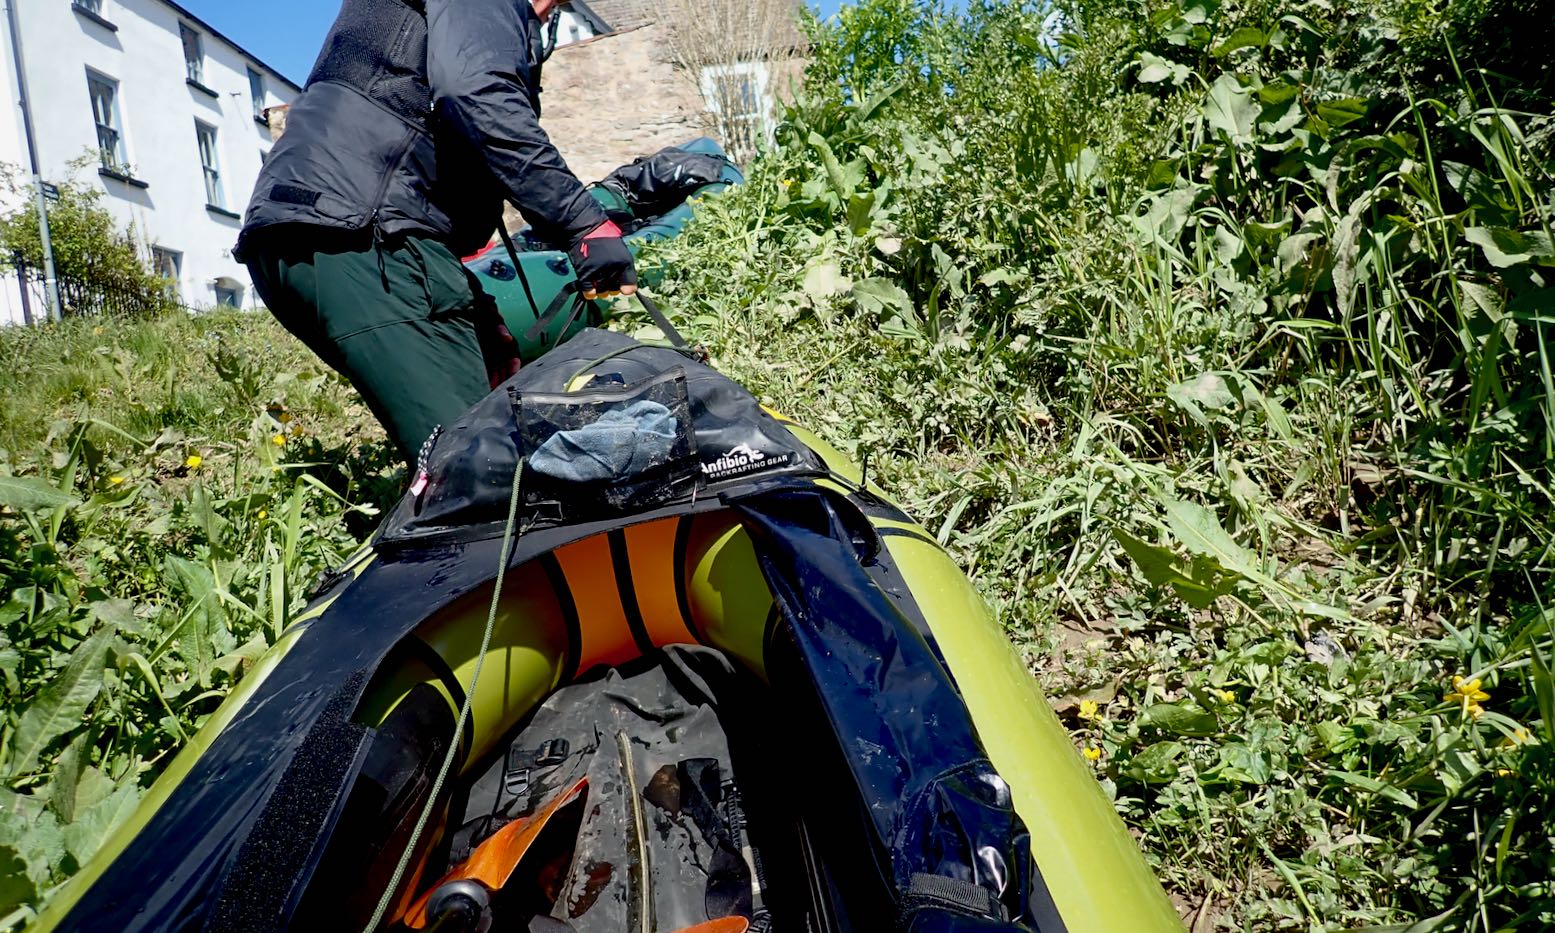
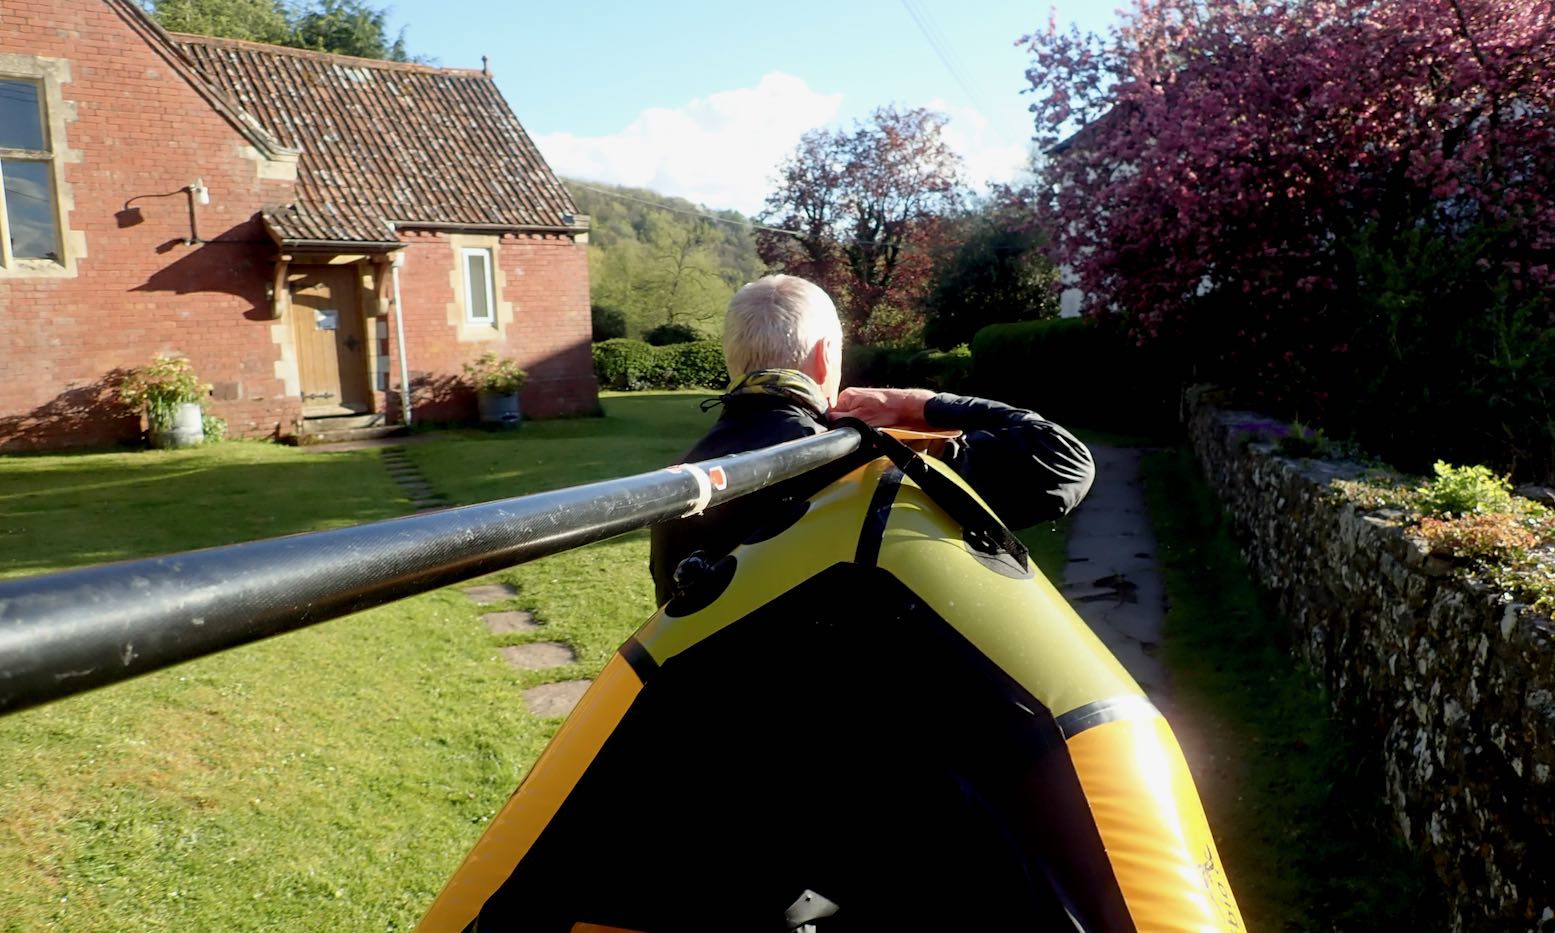
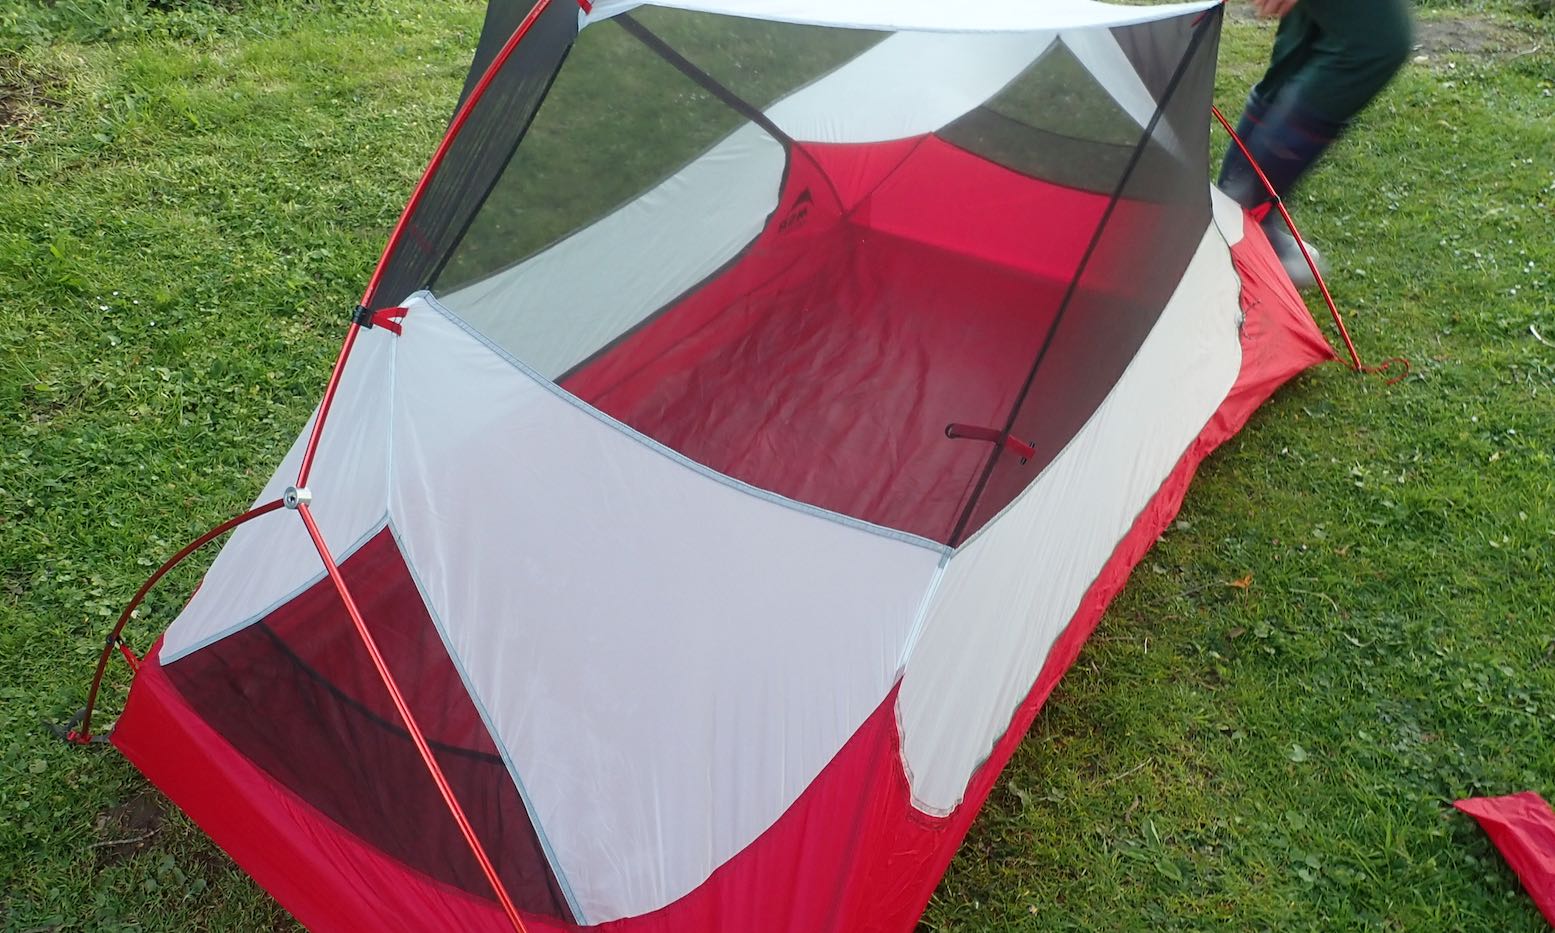
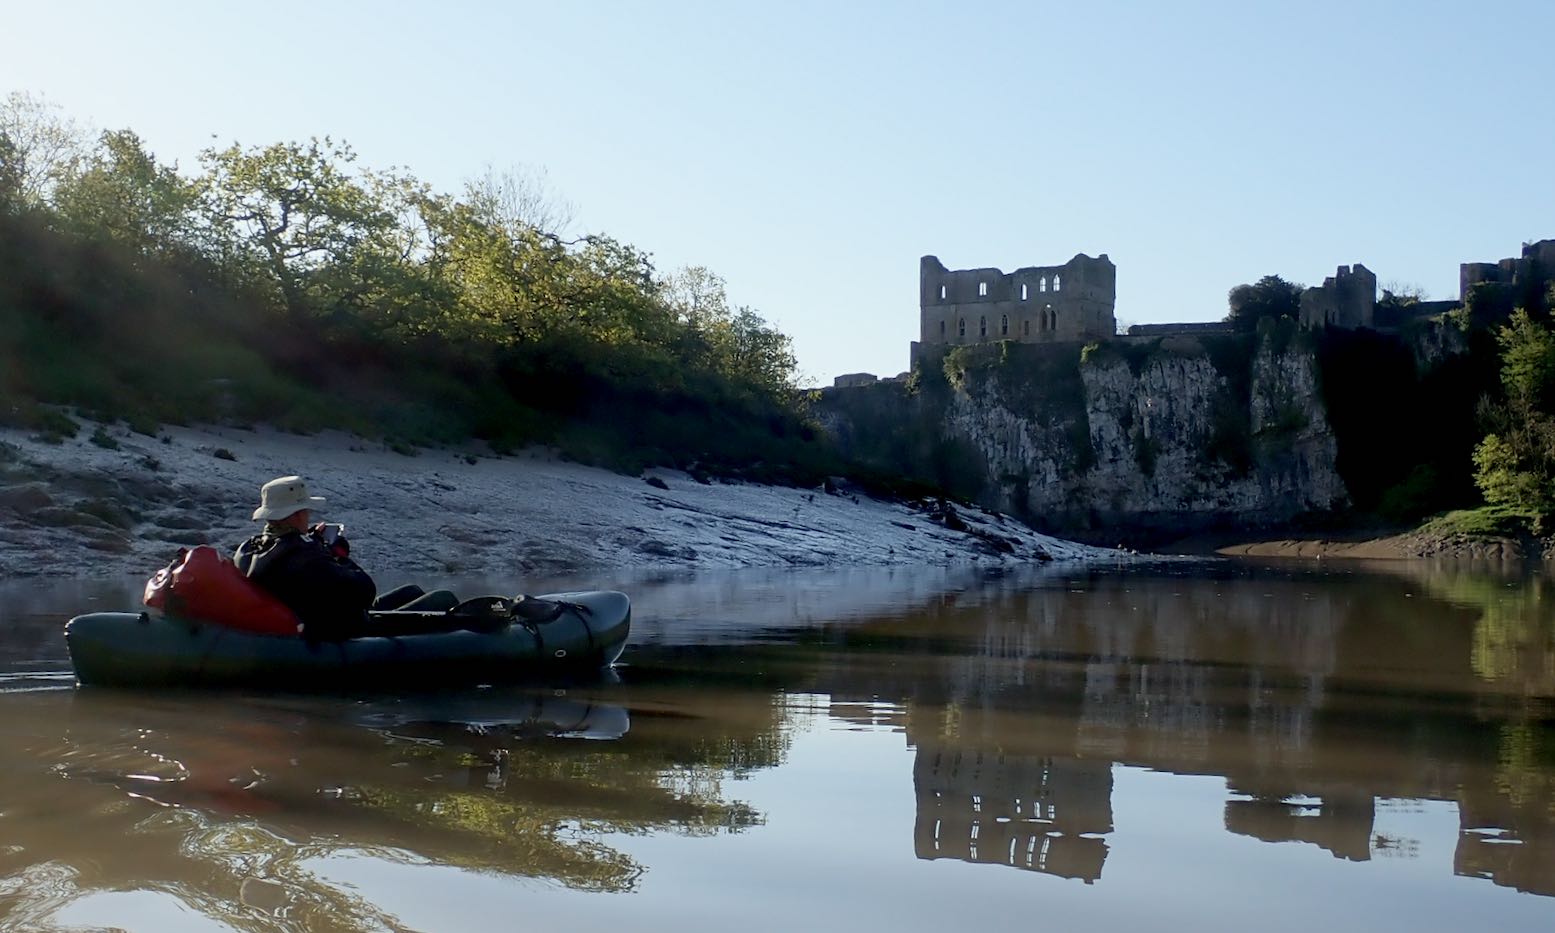
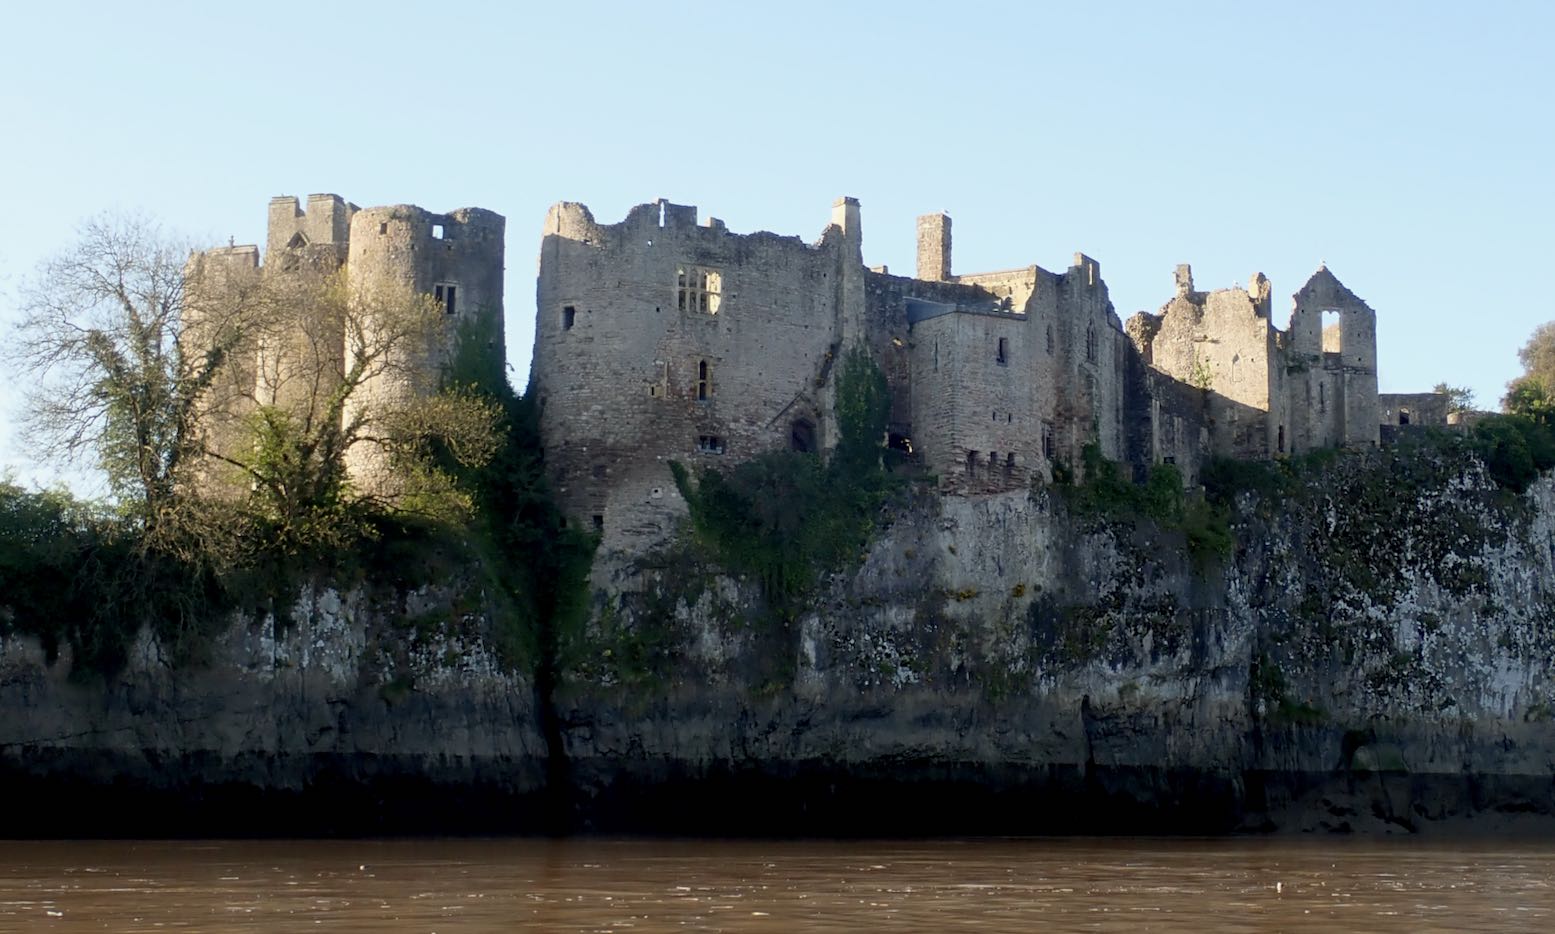
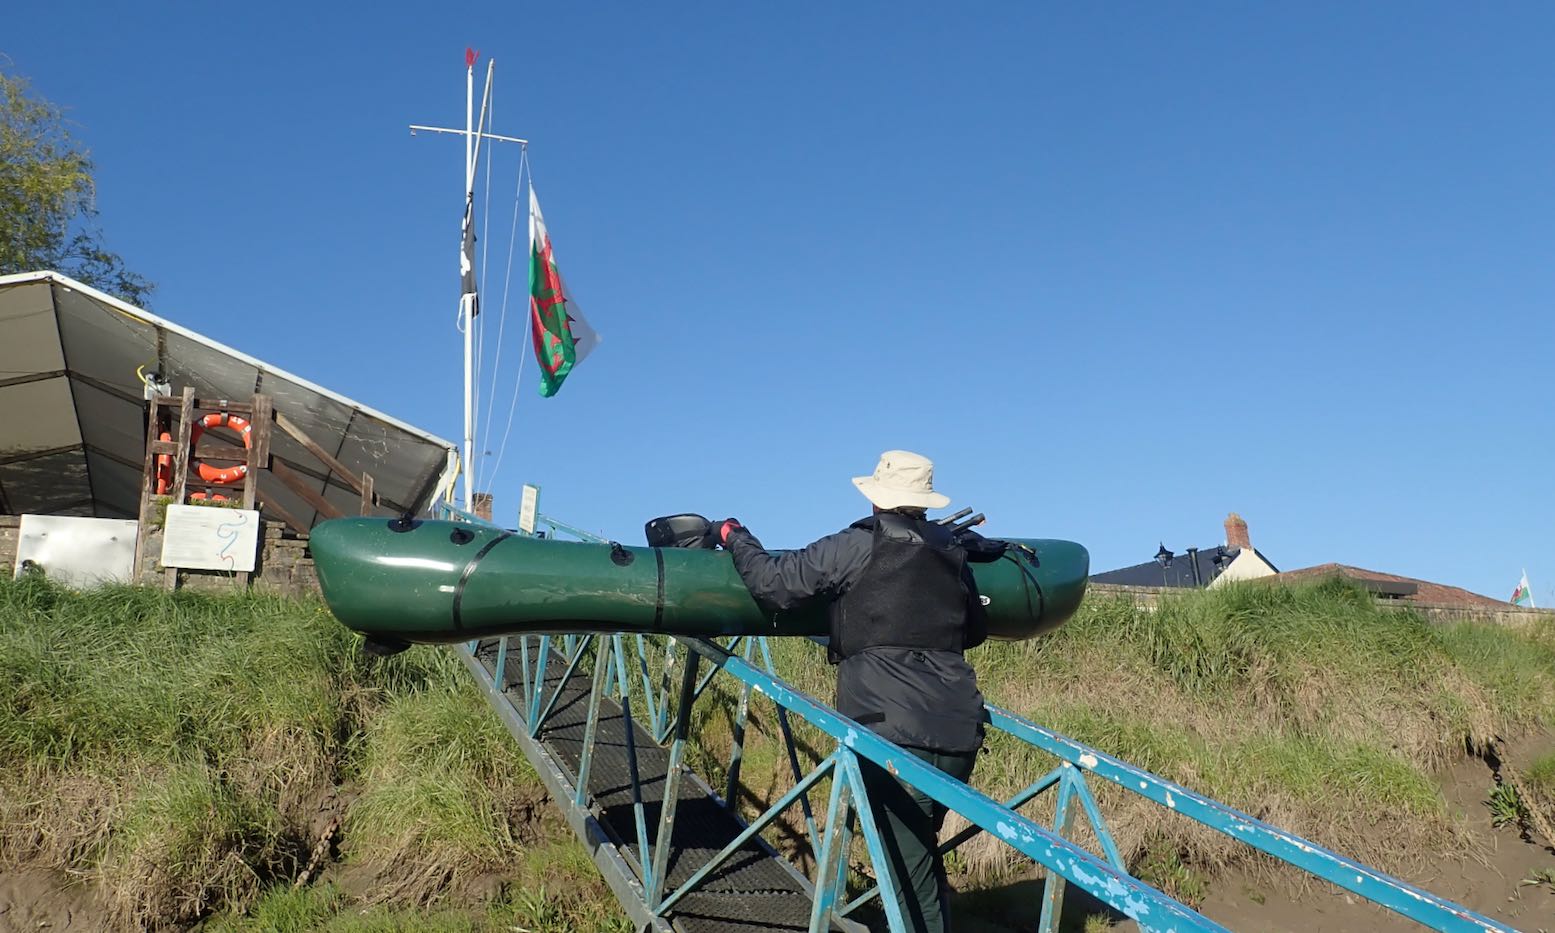
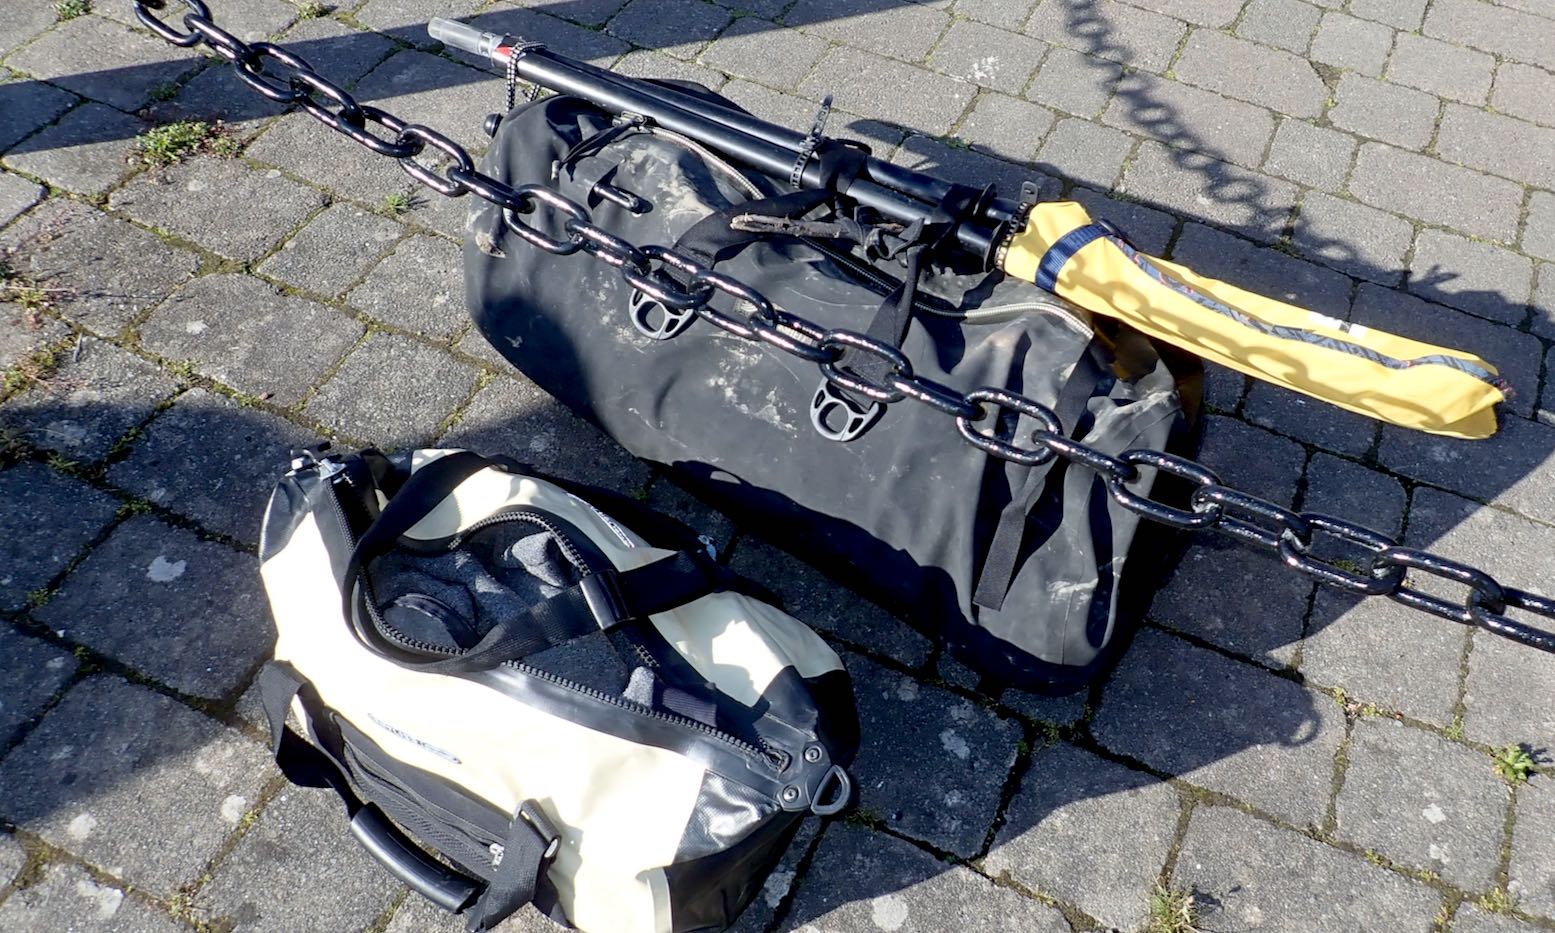
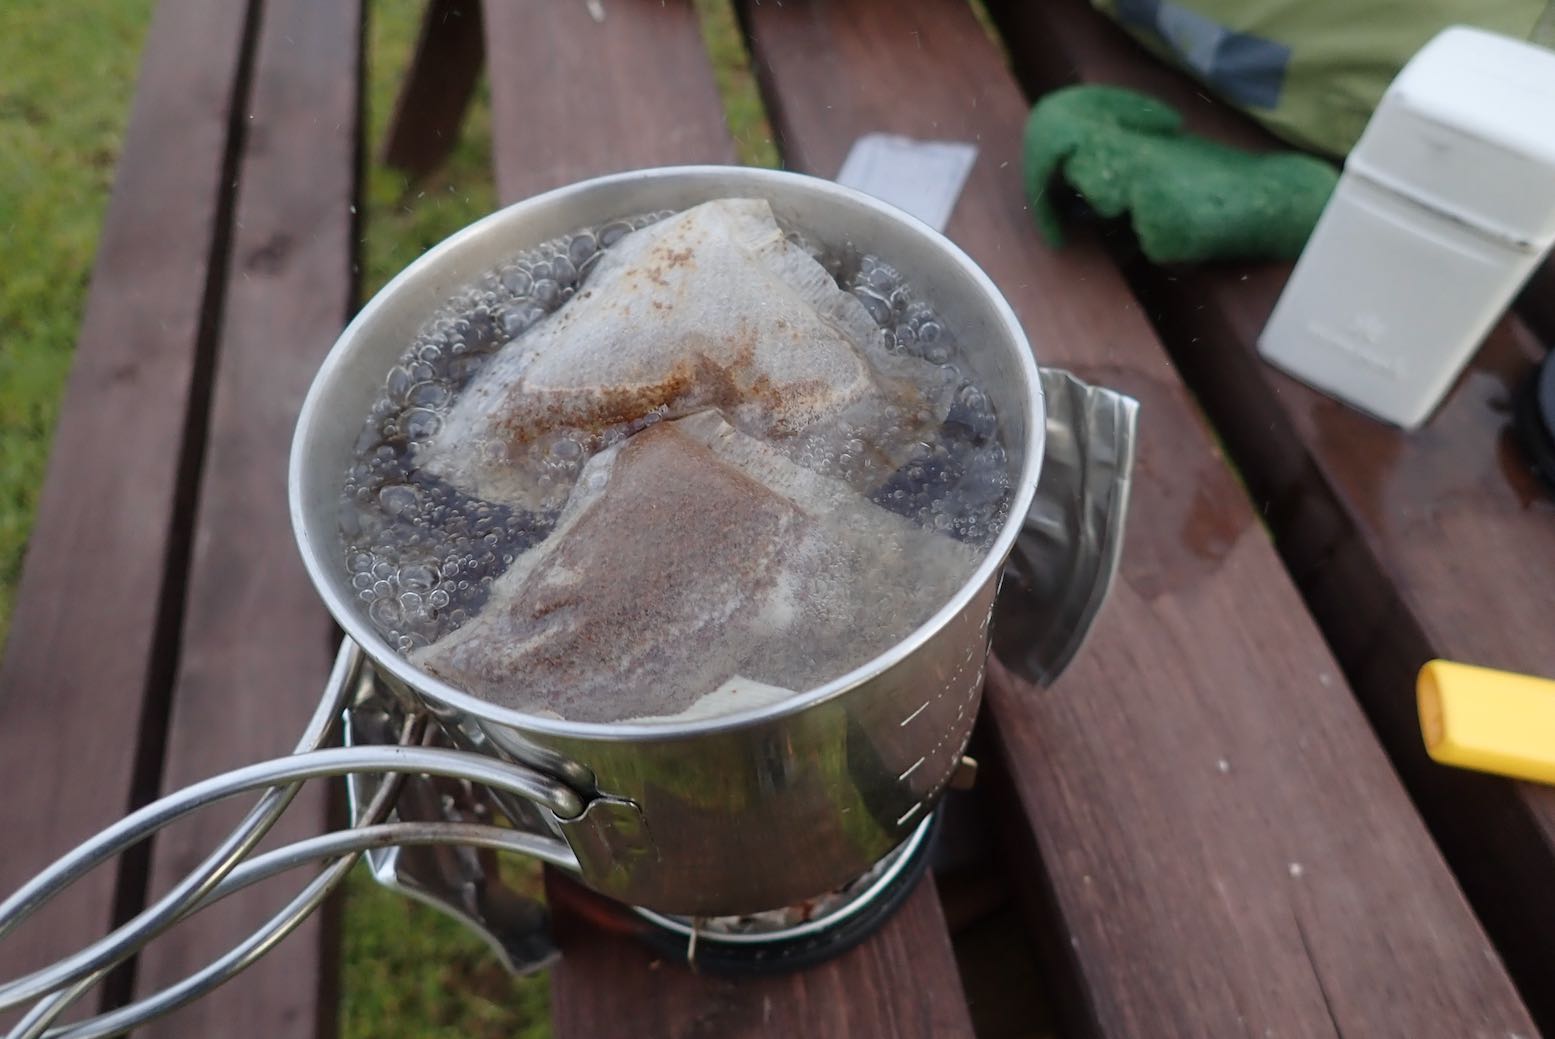
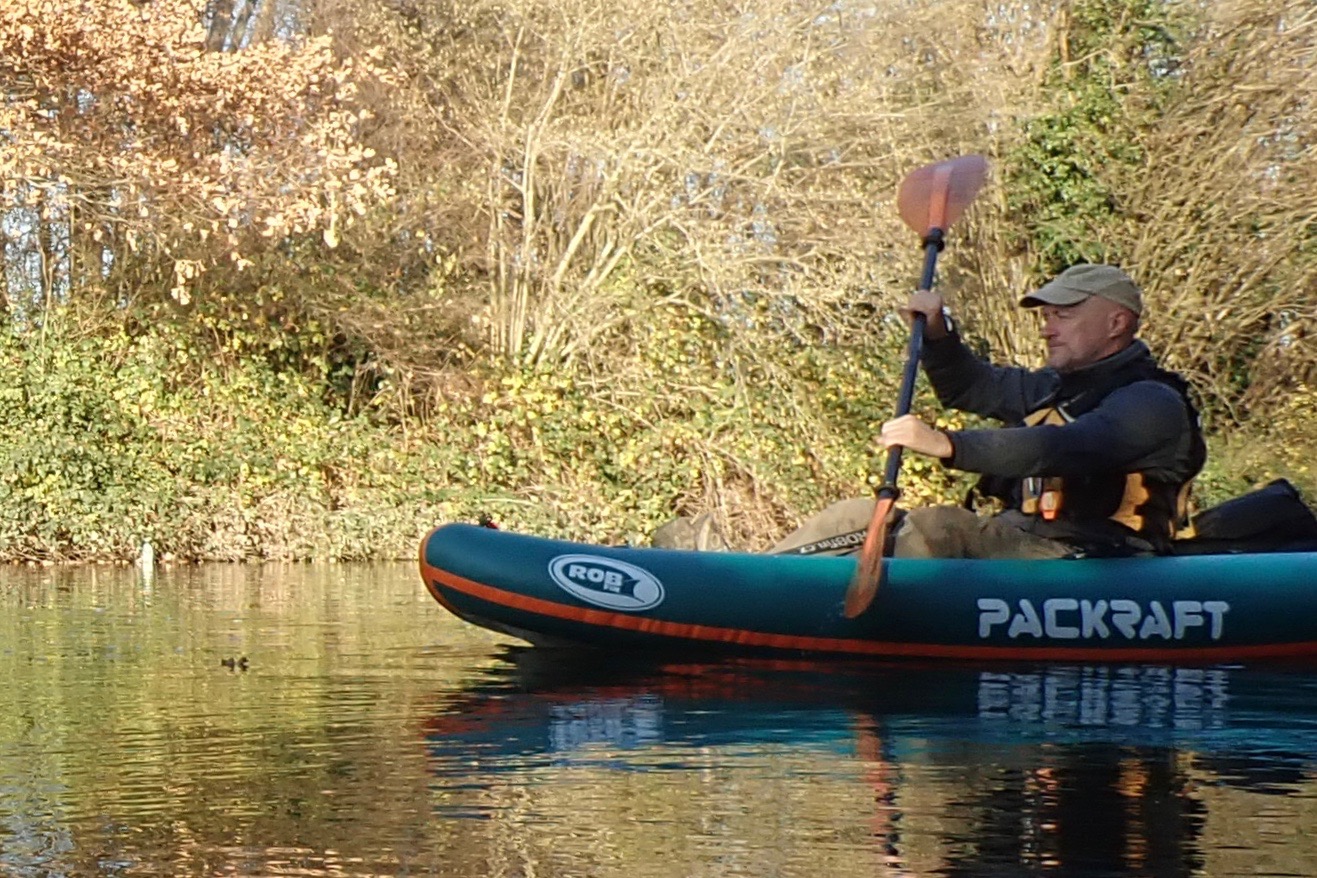
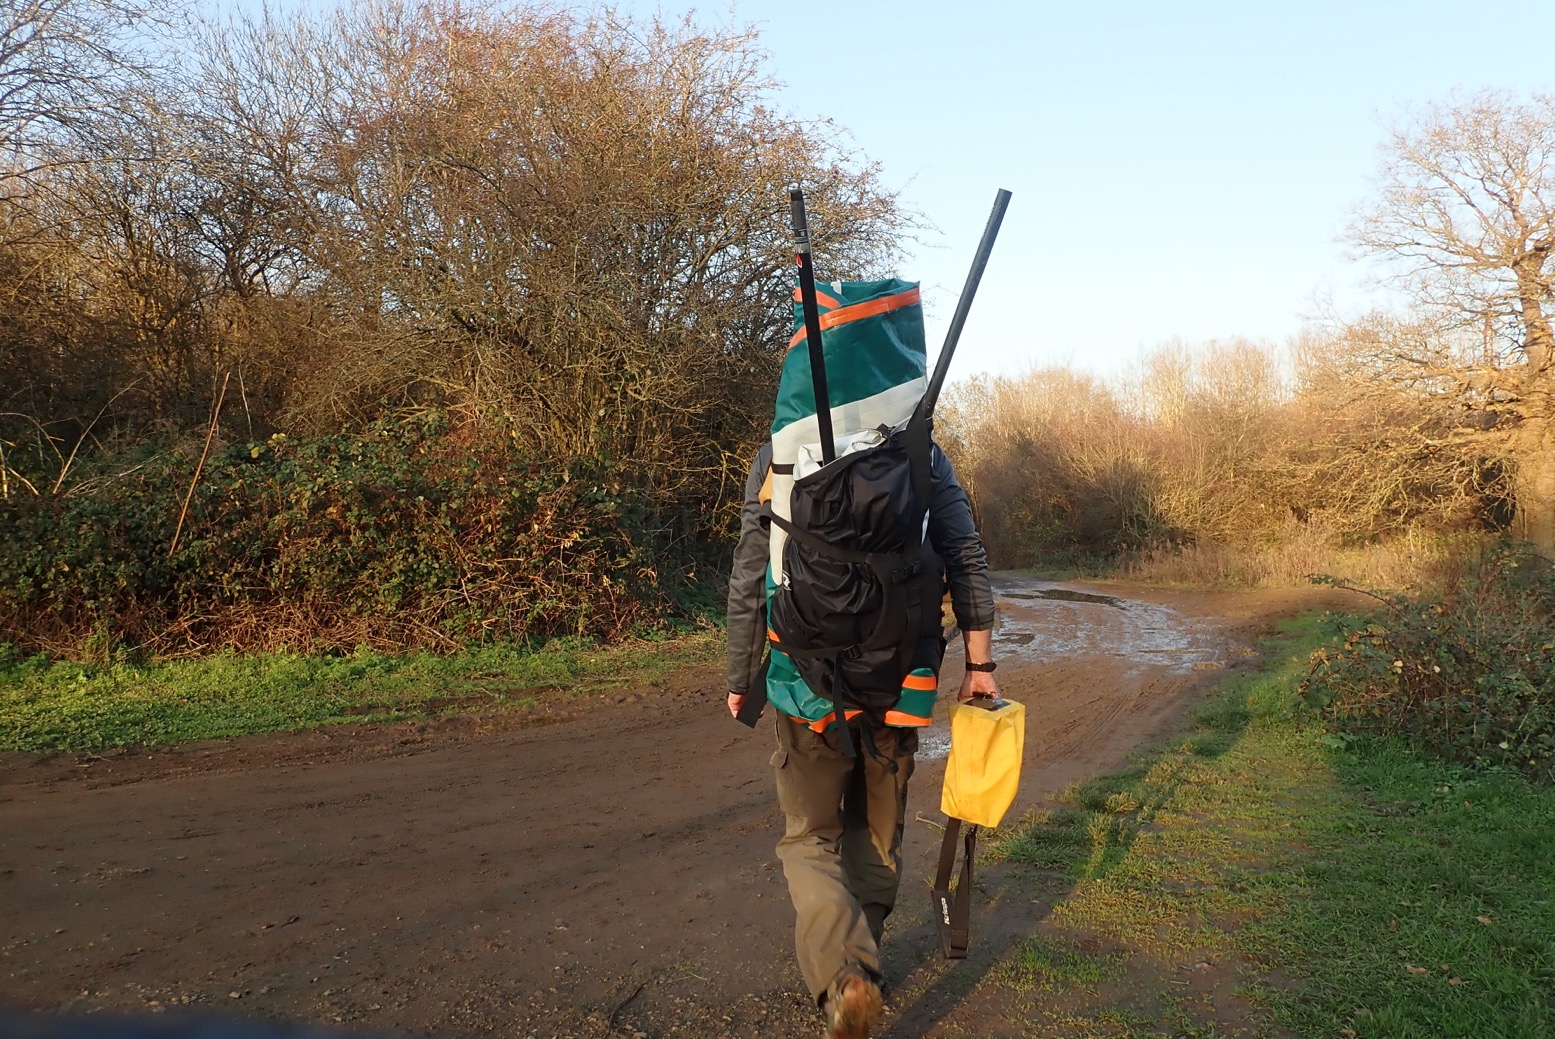
Apart from paddling through, not been up London for over a year. Slowly getting back to normal.A viable boat (and all the rest) in a pack – amazing still.We got fed then dropped at Hoarwithy campsite by Barry’s Mrs who’d meet us at Chepstow in 2.5 day’s time. Bloody freezing. Couldn’t wait to get in my bag.Checking the guy lines at 3am, I saw something like this heading west, fast: it’s Elon Musk’s Starlink. Look it up.Darn chilly… … at 6am. My gas stove couldn’t get it up. Warm tea.Tube bags: 2 x 70L pockets in the side tubes.Boat looks normal but is full of camping gear. Very clever.But with no Tube Bags = easy portage.More early morning rumpy pumpy to get the 2K skimming like a stone.My vacuum’d, super-duper UDB disappears out of the way as a floor protector.River’s higher and faster than when Barry recce’d a week earlier. Rain in Wales? Is that possible?We’re soon swept into the swift current.… and even a little ruffled water now and then. But all perfectly doable by a beginner.I brought my bigger-bladed Corry to keep up with the faster Nomad. I don’t think it works like that: it’s a pack raft.Ross-on-Wye – charming riverside town. Who knew?As southern English rivers go, the Wye was a whole lot nicer than I expected. This could be France!I clutch a twig for reassurance. Trim is backheavy compared to the Nomad, but that’s packrafts for you. I did load the side tubes weight-forward.I’m a convert to roomy Deck Bags, especially with a spray deck and when all the rest is locked in the side tubes.We’ve done our 25 miles by 2.30pm. We’re going much faster than expected.Sterretts Caravan Park. Ablutions closed but they took our money anyway. Next time I’ll use free canoe camping 1.7 miles on, past the Ferry Inn and famous Symmonds Yat rapids: 51.830177, -2.646146, complete with jetty!A bit less chilly this eveing at the 600-year-old Ferry Inn. A very yummy mac cheese for just £12.55!Next morning I get my gimp on.MRS NomadAnfibio Rebel 2KOnce loaded daily re-inflation is a bit of a faff. But it soon pays off. Symmonds Yat rapids just downriver running WW1.5North winds with very occasional warm spells. Llandogo, Wales river right, England river left.Lunchtime and more gimping. In the early 1970s I was on this very beach on a scout camp.No dogwater on this river.About 18 miles later we arrive mid-afternoon at Brockwier, the tidal extent of the Wye. We must wait for HW.In the old days sea vessels reached here. Smaller boats then went upriver as far as Hereford.In a wet spell that house will flood. We leave the boats …… and walk two miles to Tintern for some nosebag.We then camp discreetly back in the village’s churchyard, built in the 19th C to contain the rampaging riverfolk.I suffer a spot of Hubba tent envy.Compacter, lighter, roomier – but 450 quider.Five am: quiet as a Moravian graveyard. HW in an hour. No time for breakfast!Awkward put in; it’s only a neap tide.We set off into the pre-dawn mists. Two hours to Chepstow.By Tintern the sun is up, but still too early for a nice shot of the ruined abbey.Tree does not like saltwater.We expected to surf a barely ridable riptide, but it was no faster than upstream because the tide goes out very slowly.7.45amChateau ChepsteauEgress was made more awkward by that annoying dinghy.Croeso i Gymru, boyo.All packed up. A train back to London at midday.Which leaves loads of time for aFull Welsh Breakfast!
In a line Lightweight, compact, airline friendly ‘day’ or back-up stove using ethanol solid fuel blocks 9which are also hand sanitisers).
Cost ‘Shoe polish’ tin (from £1) + optional band + cross-stand (from £5) + FireDragon blocks (from £1.14 a filled tin). Total: around £8.
Weight Tin (25g) packed with fuel: 133g. Cross-stand 28g, 10cm wind shield 7g. All up: 168g + lighter.
Where used River Wye, Knoydart.
Light, simple, compact Fast set-up, easy to light Sits low (stable and out of the wind) Tin makes a large burning area and is refillable Tin fits inside a 400ml Tatonka folding-handle mug No noise, no smoke, no smell, no residue on the pot Fuel cools and resolidifies quickly and will relight later Presumably can be carried on a plane, especially if you label it ‘hand sanitiser’ (which it also is). So light and compact it can be used alongside or to back-up a gas stove or a woodburner
Expensive at around 37p to boil a big mug Fuel may be harder to find than gas cans at outdoors stores, but sold in ‘home & garden’ stores like B&Q
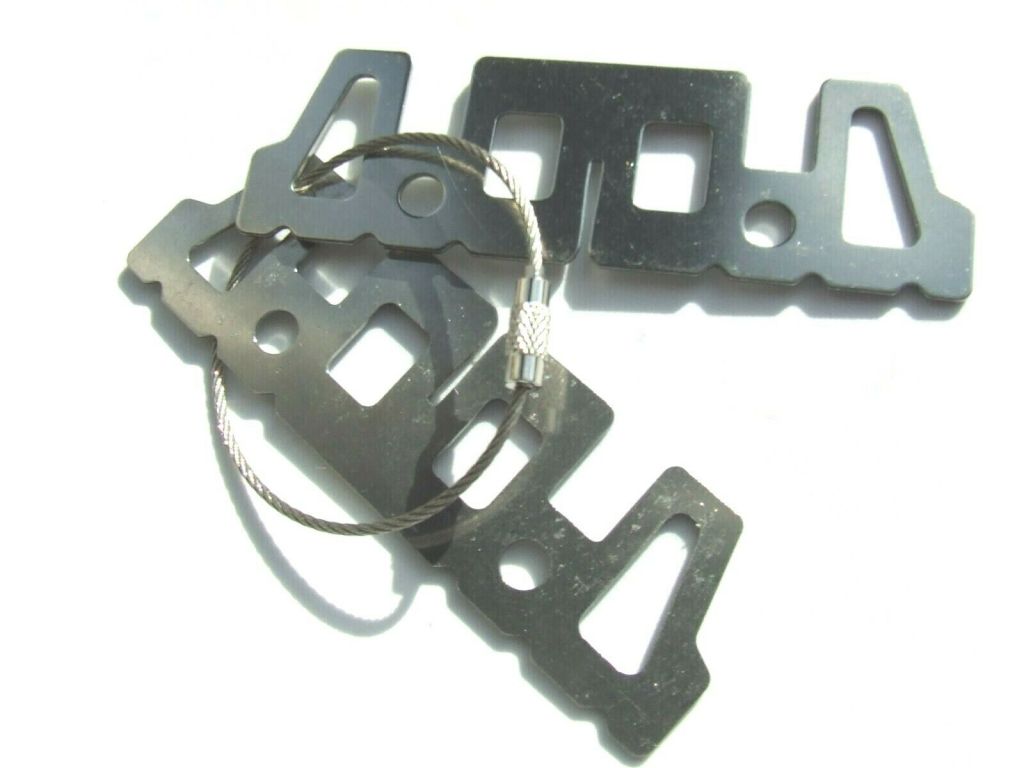
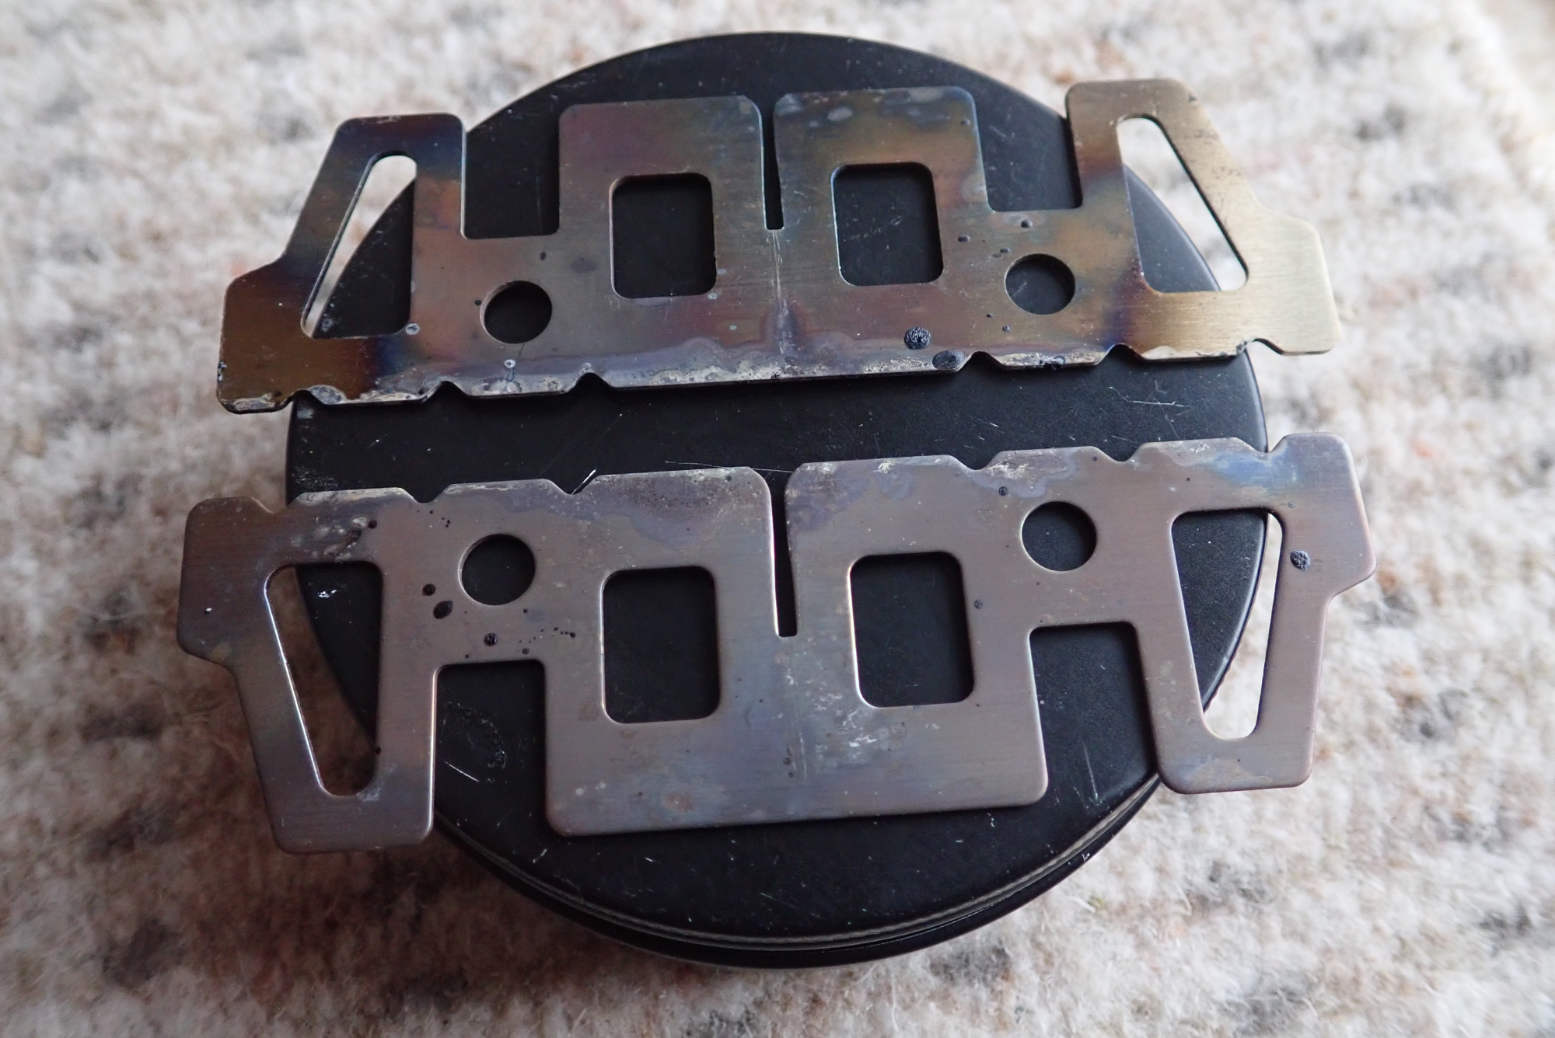
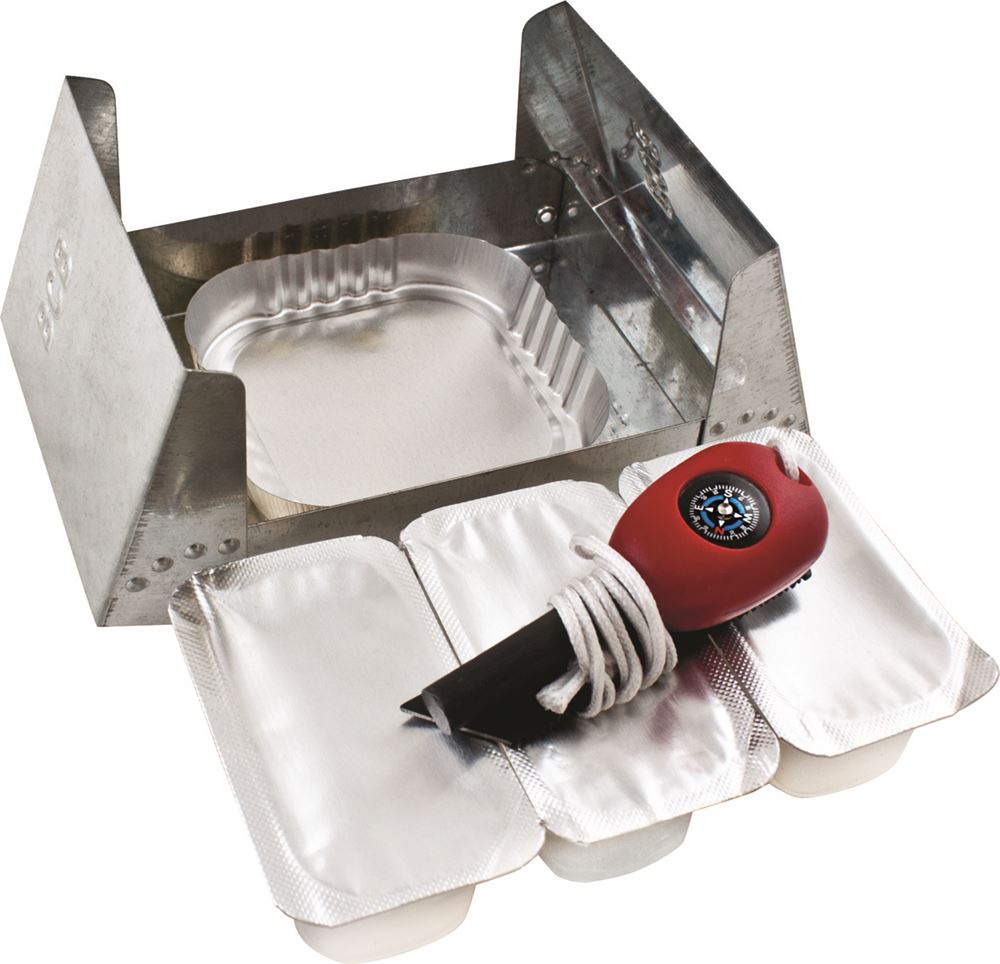
‘Shoe polish’ tin (mine was 30mm)Stainless cross-stand + pointless wireFireDragon fuel blocks
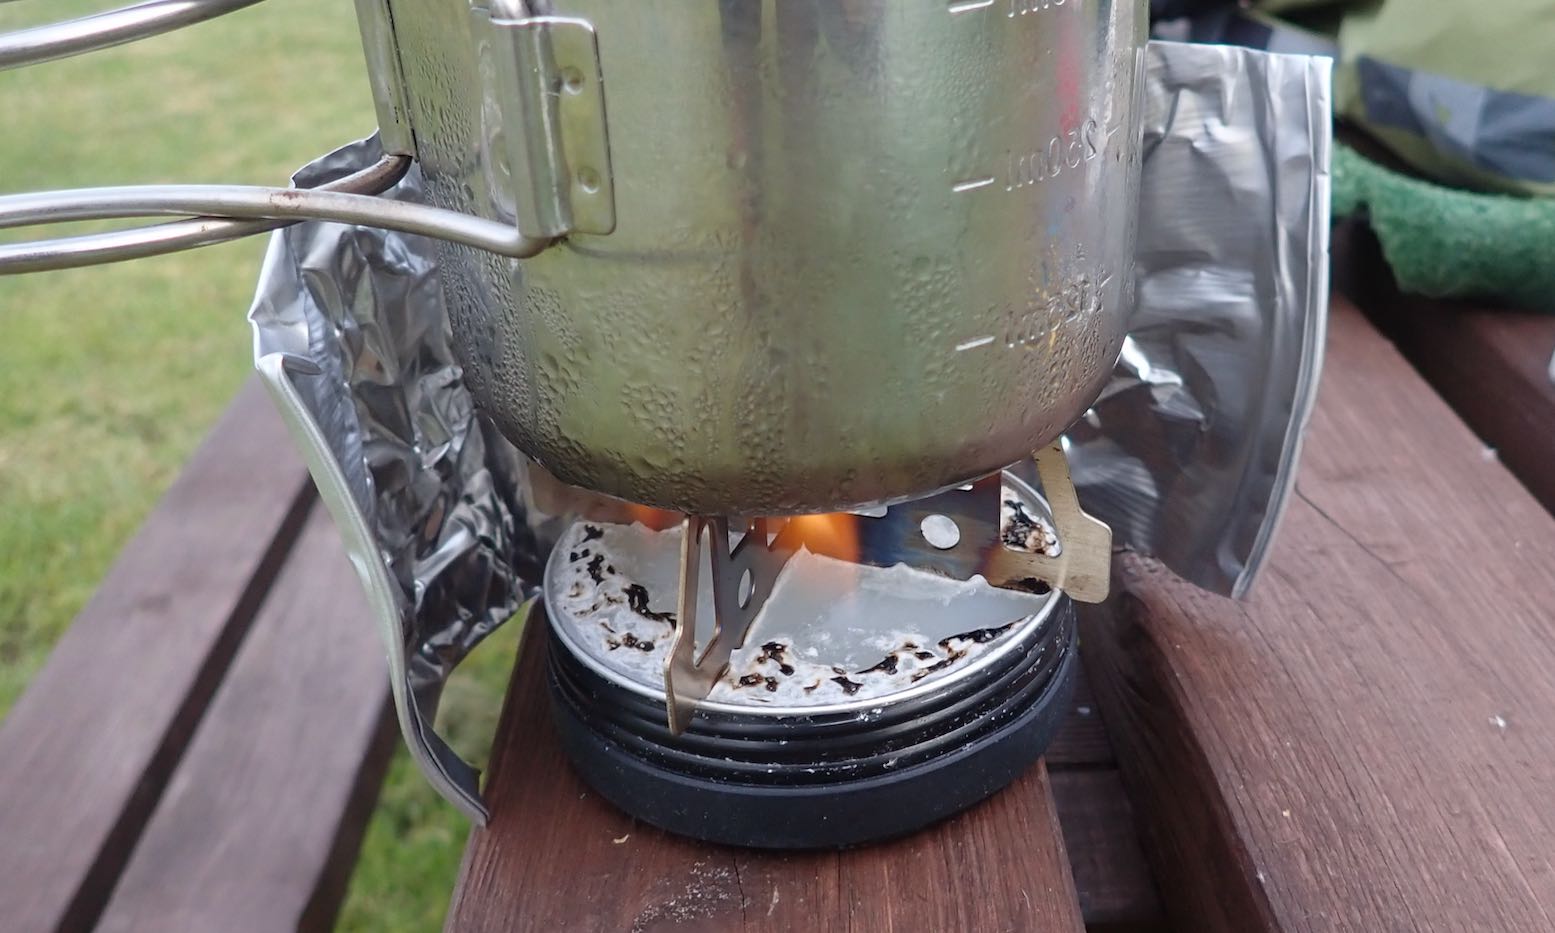
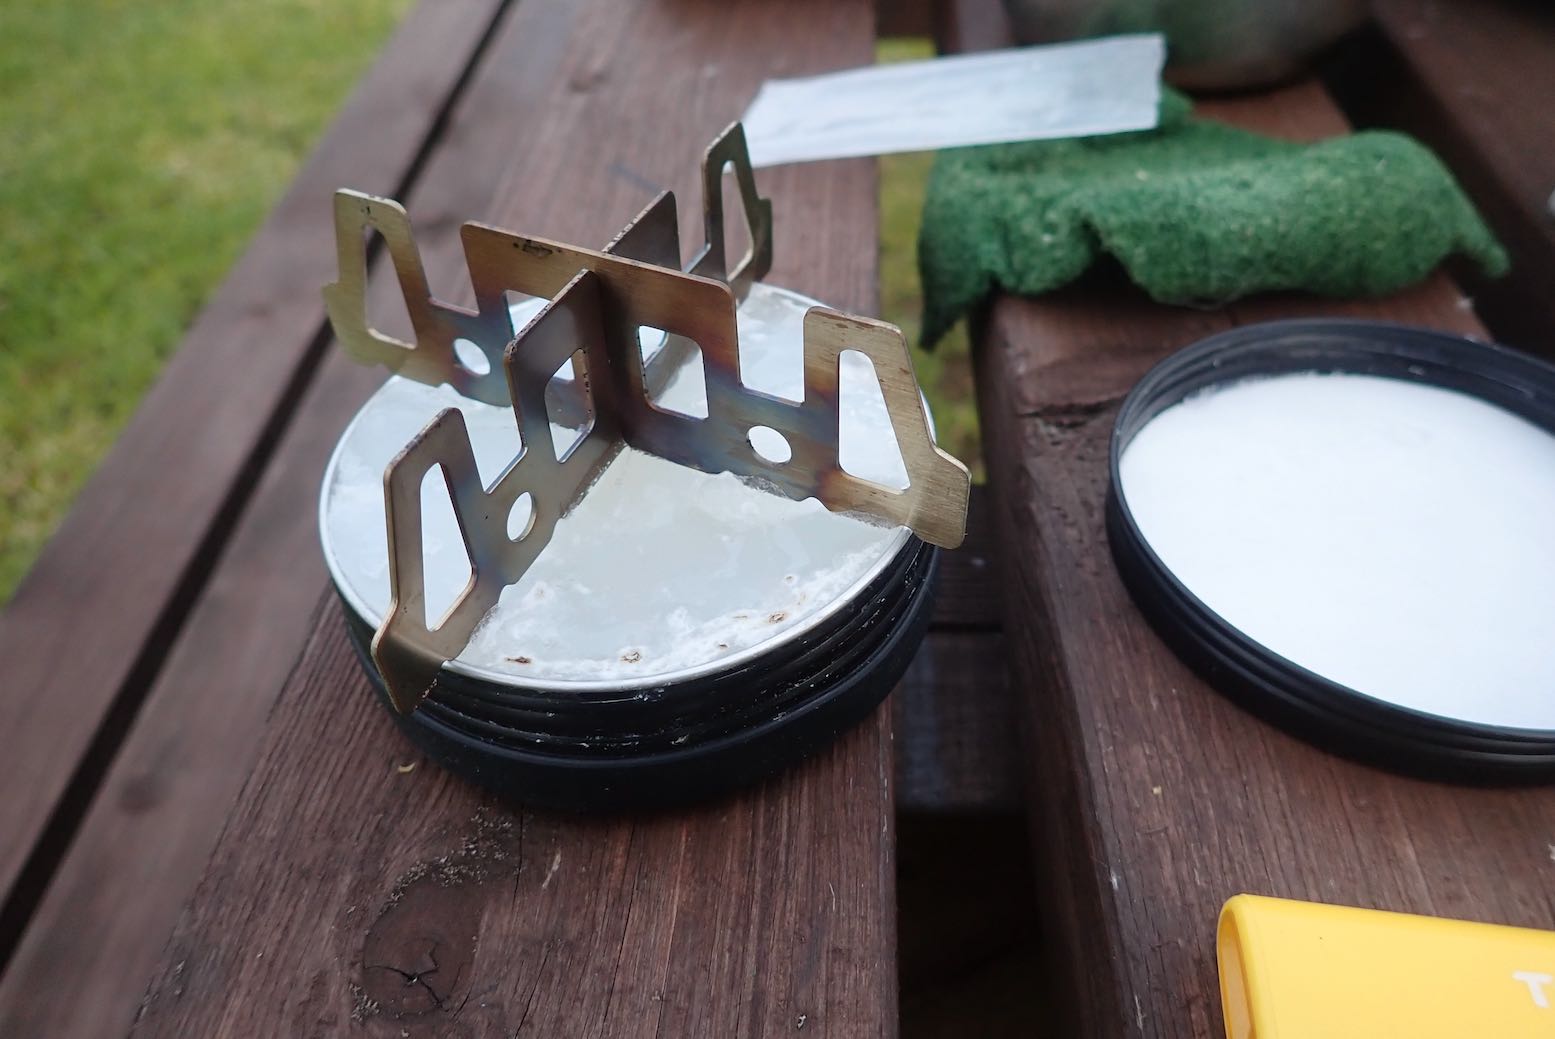
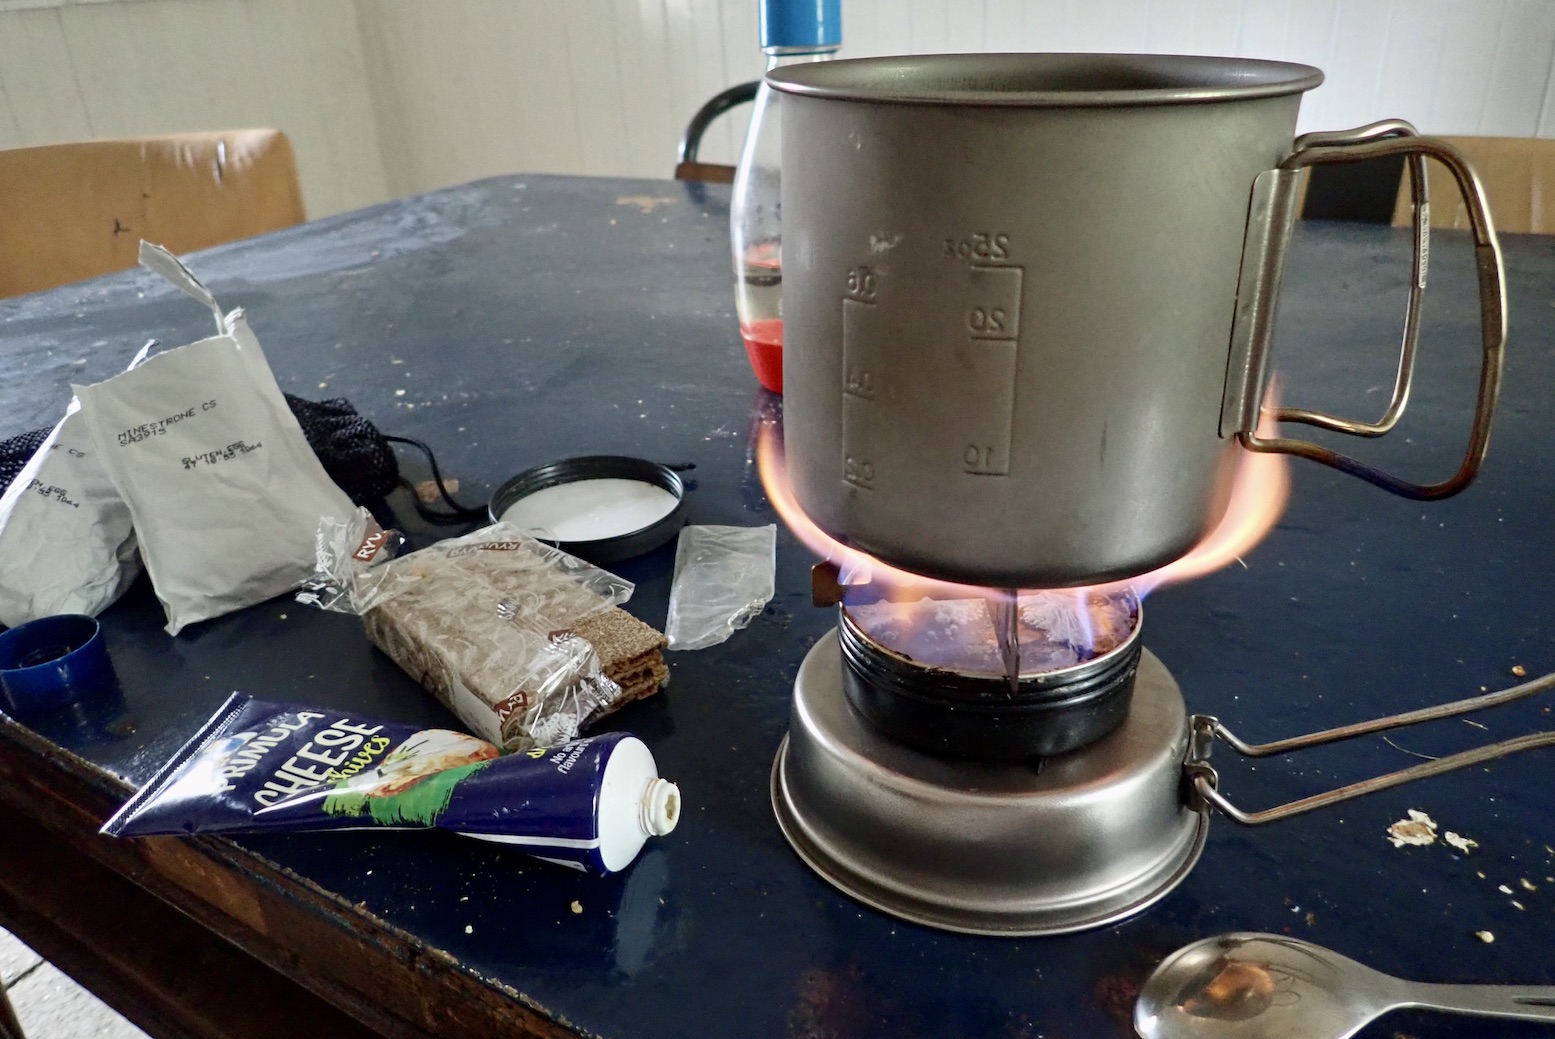
Review: This Gimp Stove (a military acronym, apparently) isn’t something you can buy off the shelf. My bush-crafty mate put it together once he learned FireDragon ethanol firelighter blocks could be packed into a ‘shoe polish’ tin and easily refilled and re-lit. He identified a small, screw-top tin (multi-buys off eBay or amazon) with the right diameter to fit the notches of the CNC-cut stainless steel cross-stand also widely sold online from around a fiver. For a stable set-up, finding a tin to fit this cross-stand’s notches is the key. Or you can as easily make your own stand to suit any tin you like, but the tin’s lid needs to be airtight so the fuel doesn’t dry up. My mate even added a silicon wrist band round the base so you can seal it good and tight.
I managed to cram about four blocks (108g) into my ‘100ml’ tin (actually more like 130ml). From this I got three 360-ml (big mug) boils in the field. To extinguish blow it out, or smother with the lid. The liquified gel quickly cools and resolidifies and will readily re-ignite next time. Timings were 4 minutes tested indoors, and about 7 mins outdoors, using a thick tinfoil windshield from the base of a fruit pie or a take-away curry. There is no noise, no smoke, no smell and unlike toxic hexamine tabs, no residue on your cup or toxic smoke. On the first freezing morning of our Wye trip, even though I’d slept with a 45% full gas can inside my sleeping bag, it failed to boil my water once out in the freezing morning air. The Gimp would have lit up readily and done the job. And the fact that you’re easily able to place a windshield on the ground, and need clever, faster but totteringly unstable, bulky and pricey JetBoils is another tick for the Gimp. All in all, the Gimp is a handy, cheap and foolproof pocket stove. I used the Gimp again on a four-day Scottish trip to heat up water for lunch soup. Light and compact enough to carry in your day pack, it made the whole business effortless, while saving gas for other meals.
Full tin + stand = Gimps stoveNote the rubber band to help seal / open the tin
A one-ounce block of FireDragon
FireDragon Fuel Made by BCB International from waste vegetable matter, the blocks come in individual sealed 27g (1oz) pods, bought 6 or 12 at a time. It’s the same (and can be used) as hand sanitiser. Once the packet is opened, the block (a mashable wax of ethanol or denatured alcohol, left) will evaporate and shrivel, but sealing in the screw tin works fine, at least for a few days. Long term you may want to verify this. The good thing with a full tin or two is you have no packaging to get rid of responsibly; you just come home with empty tins to refill. Apparently you can ignite with a flint (BCB’s stove kit, right). I tried but couldn’t do it on used fuel, even with some magnesium shavings (the fuel lit right up with a lighter). I may try again with a fresh block, but honestly Bushcrafters, a lighter takes one second. The best price in the UK works out about 28.5p a block by the dozen, so a penny a gram with a big mug boil at 37p – quite expensive. And you’ll struggle to find it at that price; very often it’s nearly double, or gets that way with postage. Your best bet seems to be larger Go Outdoors stores. I would guess you could get at least 30 same-sized boils from a typical 220g can of gas costing around £4 which is more than half price.
I skimmed through an online review (one guy was even wearing camo gloves!) and apparently the FireDragon boiled loads faster than hexamine (which I’ve never considered trying). I’m told the Brit army now use FireDragon instead of hexamine.
I love packrafts, but not their prices. Three years ago I bought a Klymit Litewater which served me well, but wanted something faster and more beautiful, yet almost as light. After a lot of internet research I decided the packraft I needed was an Alpacka Caribou or a Kokopelli Rogue Lite. But if I ever told my wife I had spent about 900€ on something that looks like a beach toy I would be in serious trouble.
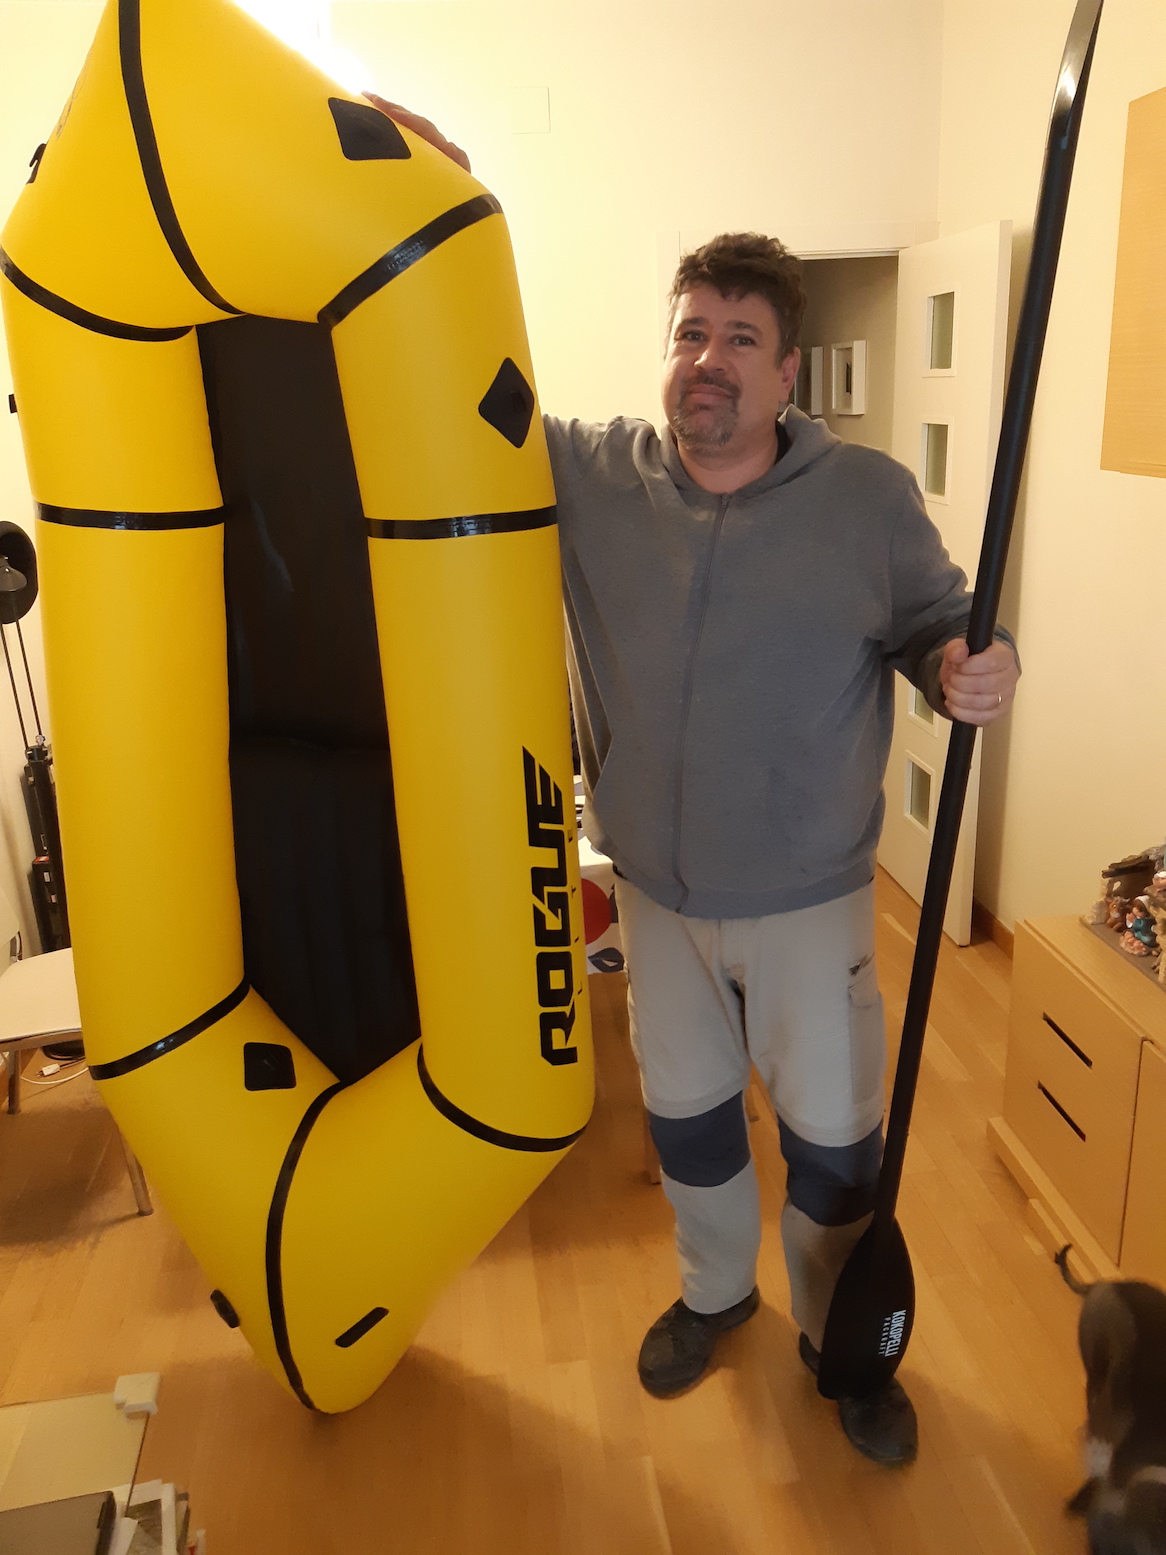
And then, early in 2020 I found a pre-owned but unused Rogue Light for just 450€ including a carbon fibre paddle. It seemed too good to be true – was it some kind of scam? In fact the vendor had bought it for a trip that had to be cancelled, and he had no further use for it. One man’s misfortune is another man’s luck…
Sadly, before I had the chance to try it, the pandemic was in full swing and we were confined in our homes. I had to wait for June for a chance to use the Rogue Lite. My parents-in-law own an apartment in Costa Brava on the Mediterranean. There are a lot of nice beaches, coves and beautiful spots there, and many of the best can only be accessed from the sea. As I was teleworking, we moved to the apartment from June to September: what a beautiful chance to use the Rogue Lite in full!
There was an unused closet in the apartment and the inflated Rogue Lite fitted in quite well (it’s 2.15 metres long and 94 cm wide). Kokopelli boasts about the Rogue Lite having ‘the most bombproof valve on the planet’; in those three months I only had to top it up once, so I think Kokopelli has some reason in that.
The beach is about two kilometres from the apartment. As the Rogue weighs under 3kg, I could easily carry it fully inflated under my arm… That’s what packrafts are for! The boat is very robust and the paddling position is comfortable. The seat is good, and you can back lean on the stern. I am 1.83m tall and can keep my legs fully extended, which means that I can paddle for hours without feeling cramped.
My usual starting point was the north side of Sant Pol Bay, between the towns of Platja d’Aro and Sant Feliu de Guíxols. The sea is usually quieter so it’s a good place for embarking and disembarking, but the beautiful coves are in the south side. In the beginning, I just crossed the 1-km wide bay always in protected waters, to a small beach in the other side, that can only be accessed by sea, had a rest then came back. But, as my confidence in the Rogue Lite grew, my excursions became longer, even going out of the bay into the open sea. I once obtained a top speed of 6km/h, and I could keep 5 km/h for 15 minutes and 4 km/h for more than an hour. A 10-km round trip in the sea is not difficult in the Rogue Lite.
I was surprised of how seaworthy the Rogue Lite felt: it’s not difficult to paddle against a head wind, and side winds don’t make it drift too much (I imagine that the pointed stern acts as some kind of keel). One day, the sea conditions seemed awful, with a strong Force 4 winds and metre-high waves (Mediterranean waves are short, steep and have a high frequency, so 1-m Mediterranean waves are worse than 2-mAtlantic waves; believe me). I decided to go out anyway, as the wind was blowing onshore. The Rogue Light did outstandingly: I could paddle into the wind, and the boat handled the waves easily. To make things worse, some large powerboats were around, creating their own waves, so sometimes I got waves from different directions at the same time. In some moments, I was in the trough between waves and completely surrounded by water… then, the Rogue Lite rode the wave and I was on top… easy! The tubes are high enough to avoid water getting in, even with these waves. If a wave seemed too menacing, I simply paddled straight into it. The rockered bow made an easy job of climbing the wave. Overall, it turned to be a lot of fun.
The only negative aspects I found are: the price, and the the floor: Kokopelli seems very proud of the kevlar floor, but they could have made it a little longer and wider, so it could better protect the lower part of the tubes. Overall, I really like my Rogue Lite and I hope to keep it for many years.
I fell in love with the idea of packrafting as soon as I read about it. Sadly, when I started looking at prices I almost had a heart attack… an average Alpacka or Kokopelli costs more than 900€ in Spain – that’s a lot of money for me. But then I found the Klymit Litewater cost only 200€ including transport and import tax. I decided it deserved a try.
Two weeks later the first thing that surprised me was it’s really light (1300g in my scales) and easily packable. At a toy shop close to home I got a] cheap 7-piece paddle. The boat, the paddle and my everyday gear all fitted in a 5-litre Decathlon backpack. From March to October I always carry it with me so if I have a couple of hours free, I can go to the nearest water body for a paddle. That’s the whole point of ultralight boats like this.
The inflation bag is small, but is sturdy and waterproof. It serves to carry the boat and once inflated, a place to keep your belongings safe and dry. It takes between 5 and 10 minutes to inflate, after which it needs to be topped by mouth. The integrated seat is mouth-inflated. Once done the shape feels a bit odd as it’s short (1.93 m) and wide (1.15m). It has six tabs around the outer edge of the tubes for securing your belongings.
The paddling position is surprisingly comfortable: the sidewalls are low, but the stern provides good back support. The boat is long enough for me (I’m 1.83 metres) to keep my legs fully stretched. The material feels REALLY thin, but in three years my Litewater has rubbed against sand, gravel, rocks and concrete, and it still looks good. No punctures. The valve is simple, but doesn’t leak. This summer I kept the Litewater inflated for more than a month with no need to top up The deflation valve is a simple dump valve and one good feature of the Litewater is it dries fast.
I’m an atypical packrafter, as I use my boats in the sea. I alternate the Mediterranean (Costa Brava) and Atlantic (Ria de Arousa, a very large bay in northwest Spain), so all my comments will be related to the behaviour of the Litewater at sea. On the water it’s slow, but this is to be expected, as it’s short, wide and low-pressure. I don’t think I’ve ever gone more than 3 km/h. On the other hand, it’s more seaworthy than I expected, can hold its own quite well in the waves, and you can make headway against a moderate wind. Once I found myself in an unfavourable situation: the sea and the wind were calm, so I paddled for 20 minutes to a small island one kilometre off the beach. But, when it was the time to come back, a strong wind had risen up, blowing across my course. There was also a noticeable swell, and a tidal current against me. It took me almost an hour to get back, but the Litewater managed it. Of course, with such low sides, you get pretty wet but overall, I’m very satisfied with it. I now have a Kokopelli Rogue Light but am keeping the Litewater for when I need to travel light, or for my son or guests.
In a line Nippy self-bailing 3-chamber PVC / high-pressure packraft/IK made in Czech Rep and suited to white water and surfing.
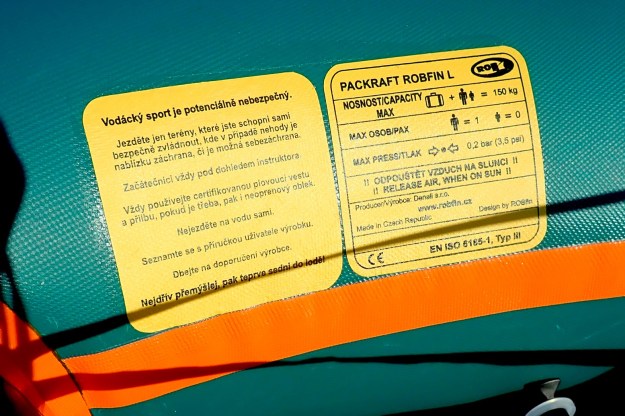
A nippy, light, taut IK with raft valves Tough, German-made 1.1mm PVC Mini barrel pump will get it to 3psi eventually Integrated thigh straps/footrest work well Thick floor forms a keel to limit yawingIt’s heavy for a packraft Heavier paddlers will still get a bit of wet bum on flatwater 0.2 bar ≠ ‘3.5psi‘ as printed on the yellow label
What They Say Completely new concept of packrafting. Instead of mushy packraft, you get a High Pressure Packraft from extremely heavy duty fabric, that takes you anywhere and make it fun! Stable and self–bailing (realy self-bailing) packraft with performance of hardshell boat. Fast and manoeuvrable, good for beginners, for experienced boaters or experts as well. Packraft for bigger boaters or for long expeditions, sometimes called Big Bro. For paddlers and gear up to 140 kg. Fast and responding boat from extremely tough fabric. High profile bottom with comfortable seat, self-bailing up to 5 secs completely full boat (with standard load). Price: €750
Out of the box
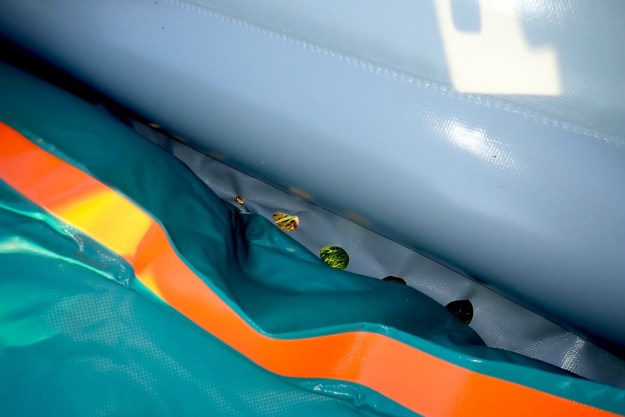
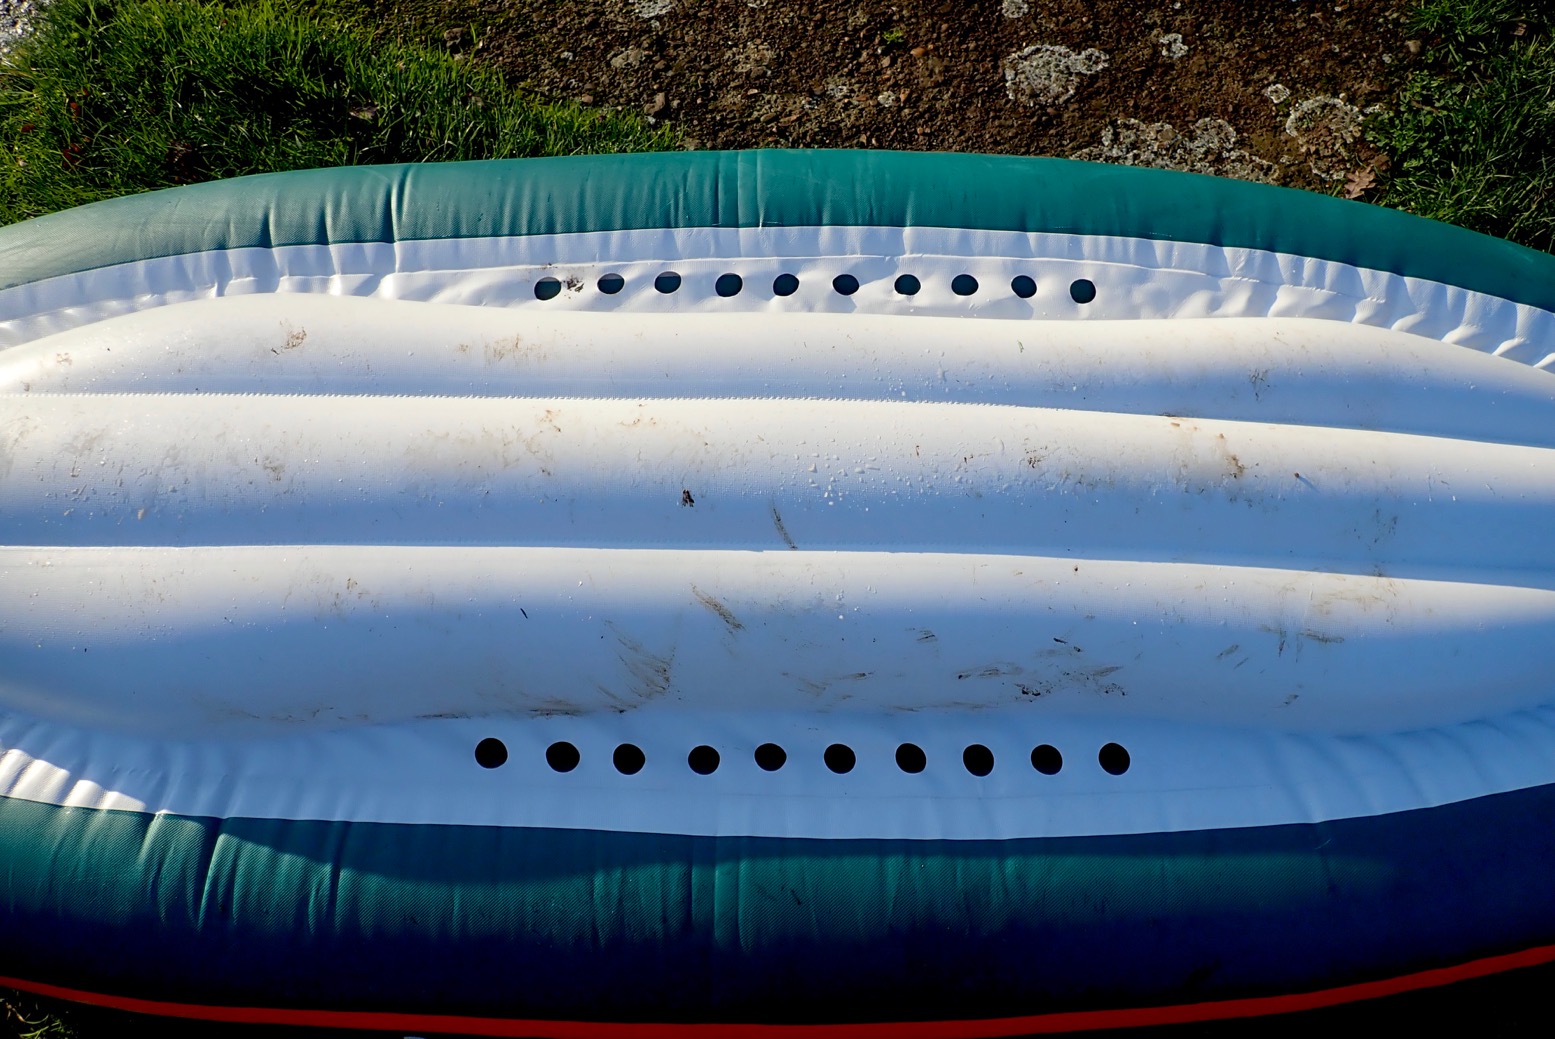
The Big Boy is the second largest in ROBfin’s range of four packrafts, rated for loads of up to 140kg. Self-bailing holes in the floor set limits on payloads; tape them up and you may well be able to carry more without sitting in water, but heavy hauling is not what a self-bailer is about.
Out of the box: quite bulkyThe floor tiles are 25cm
Although PACKRAFT is emblazoned boldly along the sides, this is not your typical, single-chamber TPU Alpacka or Anfibio, but more like an IK with three chambers including an inflatable floor.
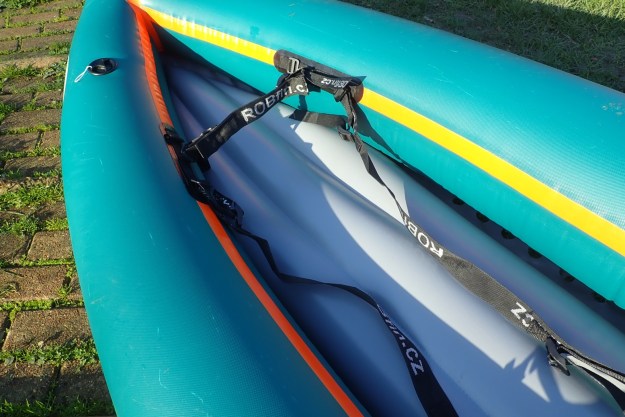
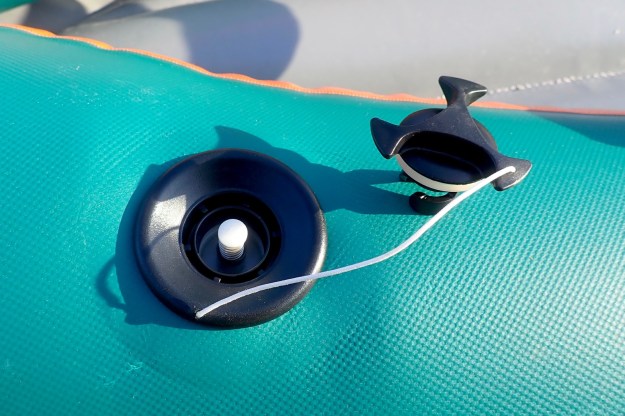
Thigh/footrest strapsProper push-push raft valvesRated at 0.2 bar (2.9psi)Thin seat pad and backrestIntegrated thigh/footrest strapsConformity labelDraining holesFloor and rear chamber inflated
Made from stiff, 1.1mm PVC and with raft valves, the small Bestway Air Hammer will get 3psi (0.2 bar) in there eventually. The stiff hull works well with the integrated footrest/thigh straps for a better connection with the boat. You may notice below left how the floor expands and thickens towards the back to add more buoyancy in the seating area where it’s needed.
Back of the floor is wider and thicker
On the Water
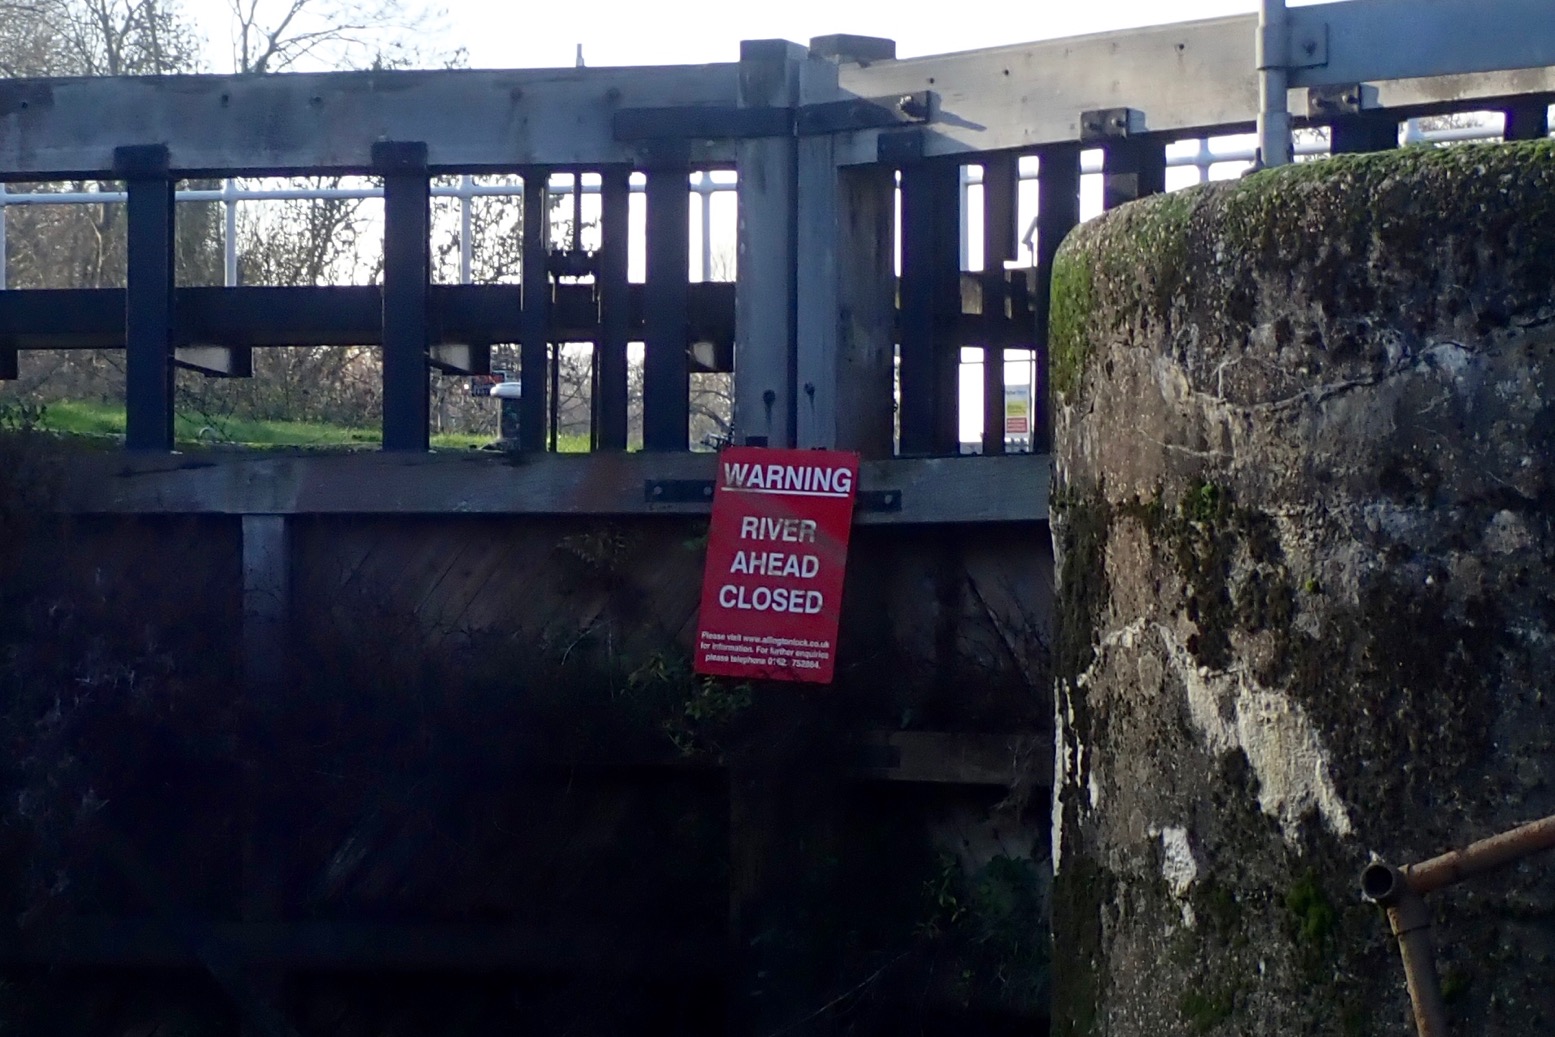
Where I live there’s no white water for miles. The Lee River White Water Centre on the other side of London would have been fun to visit, but was closed for Lockdown and requires passing an assessment course before they let you loose on the two short artificial courses. So the ever-reliable Medway and its sporty canoe chutes would have to do. And with the recent rains the river should be moving right along. But on arriving at Sluice Weir there were barriers everywhere, and the river level above the lock was several feet below the jetty. The upper Medway was closed for winter maintenance works. I’ve been caught out like this on the Medway before. Better to check at http://allingtonlock.co.uk.(click ‘river status’). So after waiting weeks to try out the ROBfin on a sunny day, all I got was a muddy, flatwater paddle. It was altogether a bit of a washout.
My big IK barrel pump inflated the boat in no time. The yellow conformity label says ‘0.2 bar/ 3.5psi’, but 0.2 = 2.9psi, so that’s what I put in. At this pressure the PVC ROBfin was firm like an IK and not mushy like a packraft. Setting off downstream, the way the floor drops like a keel helps the boat track reasonably well, though you can’t power on without the need to correct once in a while. If you stop it veers off to one side, like an unskeged IK or packraft. With gentle strokes, you move along with none of that bow yawing you get with a packraft. The packraft-like ~1-metre width meant it was stable too, even with the higher seating position.
As it is, the water level in the boat was only about two inches below where I sat, so any fast moves or turns brought it up momentarily. You will get a bit wet. Judging by some brisk riverside walkers, the boat was managing over 3mph against the current, and back at the lock it was easy to wipe down and dry.
It’s a pity I wasn’t able to get splashy with the ROBfin; it would have been fun to belt flat out down the bigger chutes to test out the bailing, and mess about below them. The taut hull means the thigh straps work well and the short length would make it agile in the rapids. And should you tip over, getting back on would be dead easy. For playing in white water I’d sooner get a boat like this than a decked packraft. But they make self-bailing packraft too. Packraft or IK? I’d settle on the latter which might put it up against a 12-kilo, 3.3m Gumotex Safari at more or less the same price. The shorter, wider ROBfin would be more stable a fun boat in the right element. What a shame I never got there.
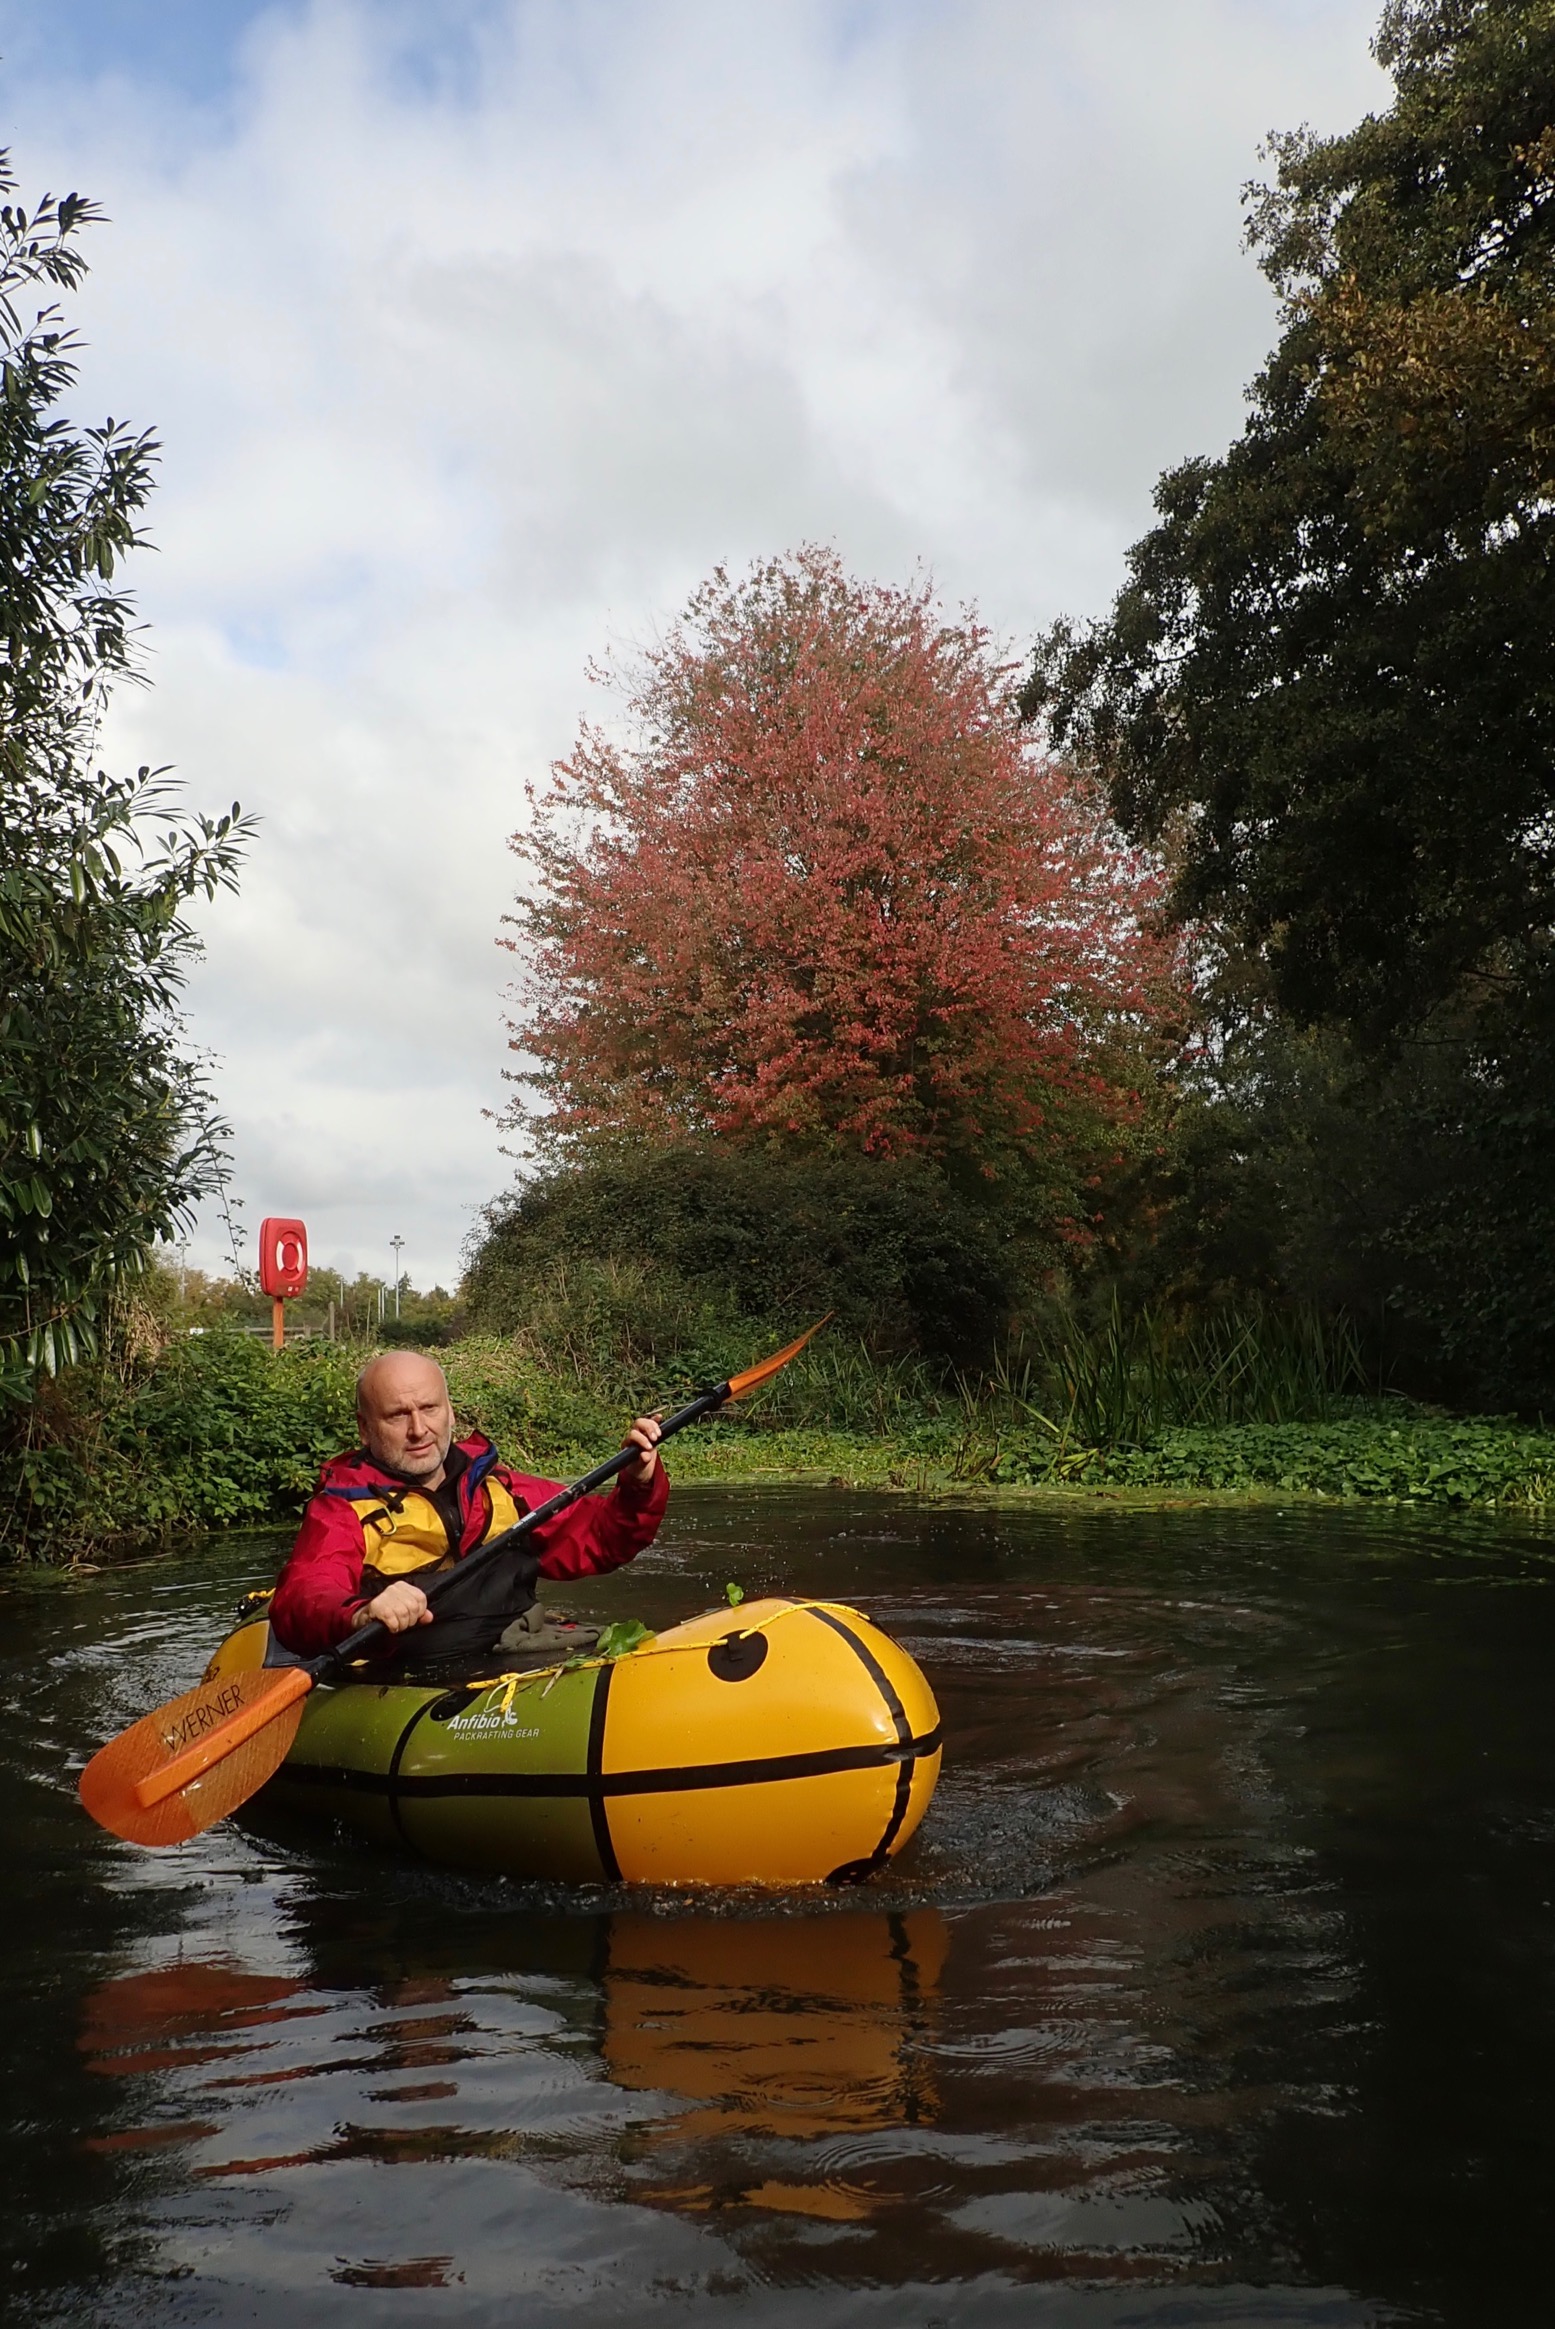
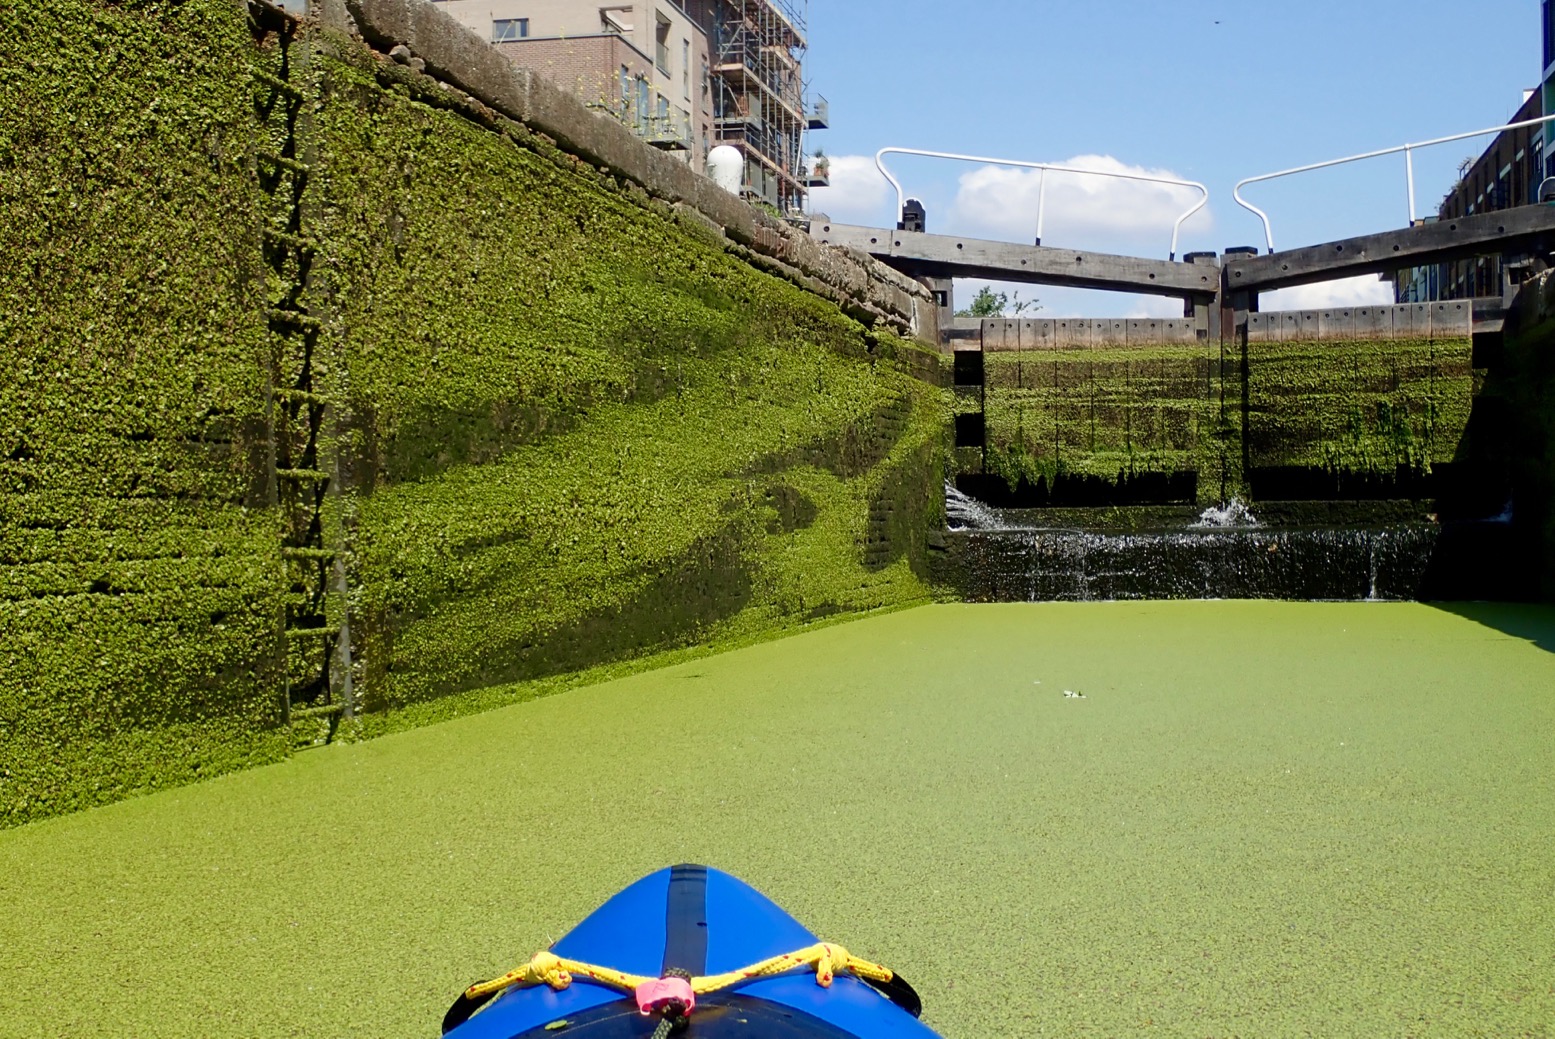
I had a chance to take a prototype Anfibio Rebel 2K out for a short paddle the other day. A couple of hours trapped between weeds and weirs on an obscure urban waterway meant I wasn’t able to properly try out the test boat’s many features. Just another packraft you might say. There’s now a booming cottage industry of packraft makers, each seeking ways to make their very similar looking boats stand apart from the competition. How is the Rebel 2K different?
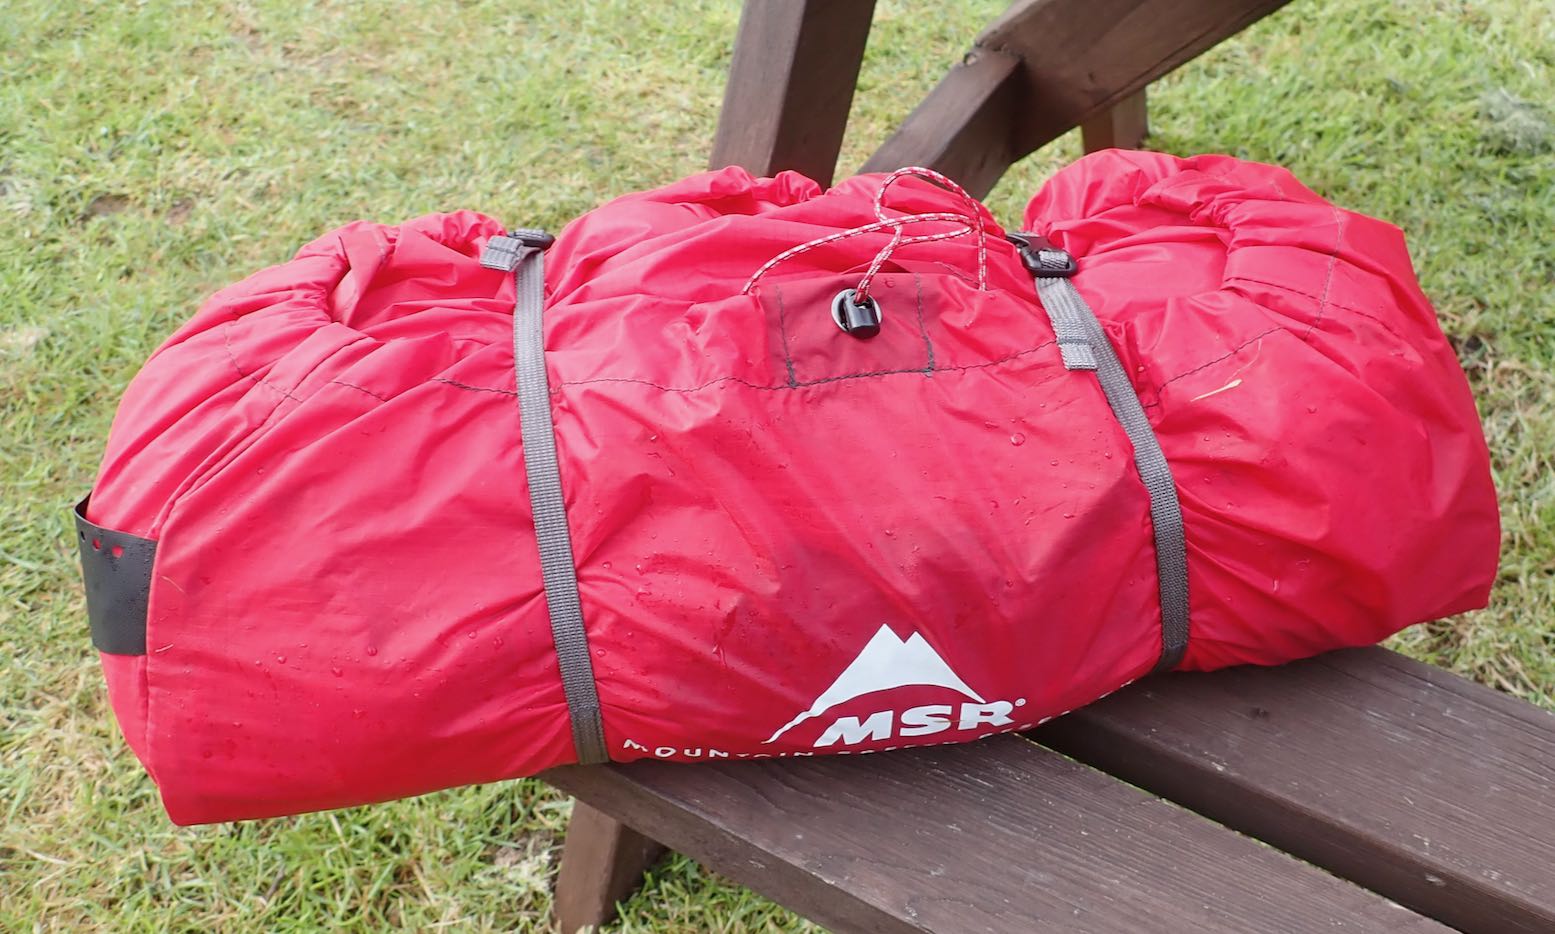
The Rebel 2K derives its name for a claimed weigh of under 2000 grams without the optional TubeBags: Anfibio’s answer to in-hull storage (more below). The boat we used was not standard and with the seat removed weighed about 15% more (as listed above. * Anfibio reweighed the same seatless boat and got 2450g). Saying the Rebel ‘… hardly takes up more space than a 2L drinking bottle..’ is a bit wide of the mark. That’s broadly true of the Nano RTC I tried the other week but, like most similar-sized TPU packrafts, the Rebel (210D hull and seat, 420D floor; 75D deck) rolls up to about the size of a compact 2-man tent. I like the ‘olive & lemon’ colour scheme and the whole boat looked put together as well as any packraft I’ve tried over the years. They’re really can’t be that much to it!
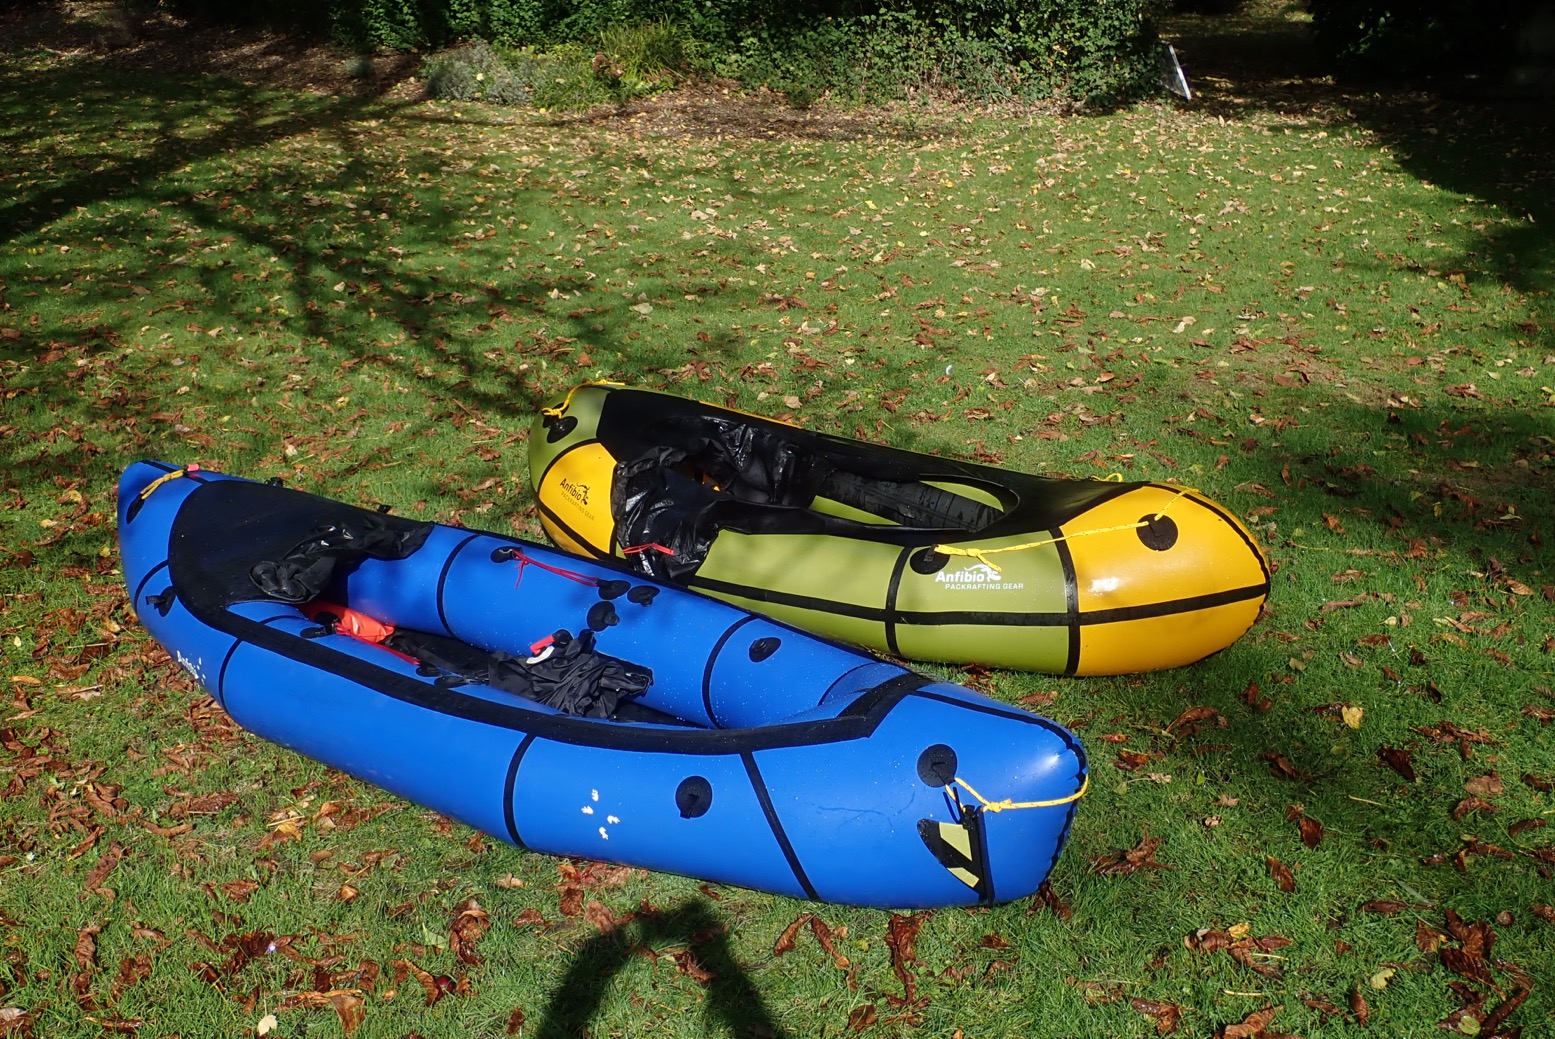
Besides the fitted TubeBags, the boat we tried had handy grab lines front and rear and a second patch for a frontal skeg. It may also have had patches for thigh straps inside. The front and rear tracking fins are a novel idea I’ve only seen on some drop-stitch IKs. Neither were fitted on our short spin. They weren’t needed and as you can see, they’d have probably stopped us in the thick weeds. I know that my blue, 60-cm longer Nomad certainly never needed the rear skeg (tracking fin) the way many IKs do.
Sure, like all packrafts the Rebel waggles its bow left and right in response to paddle input, but it still goes where you point it, gales notwithstanding. It would have been interesting to see how the frontal skeg affected this yawing. Assuming it eliminated it, would it have made the Rebel easier to paddle faster but at the same time harder to turn? That could be useful for longer crossings where a packraft’s relative lack of speed can hold you back. One for next time.
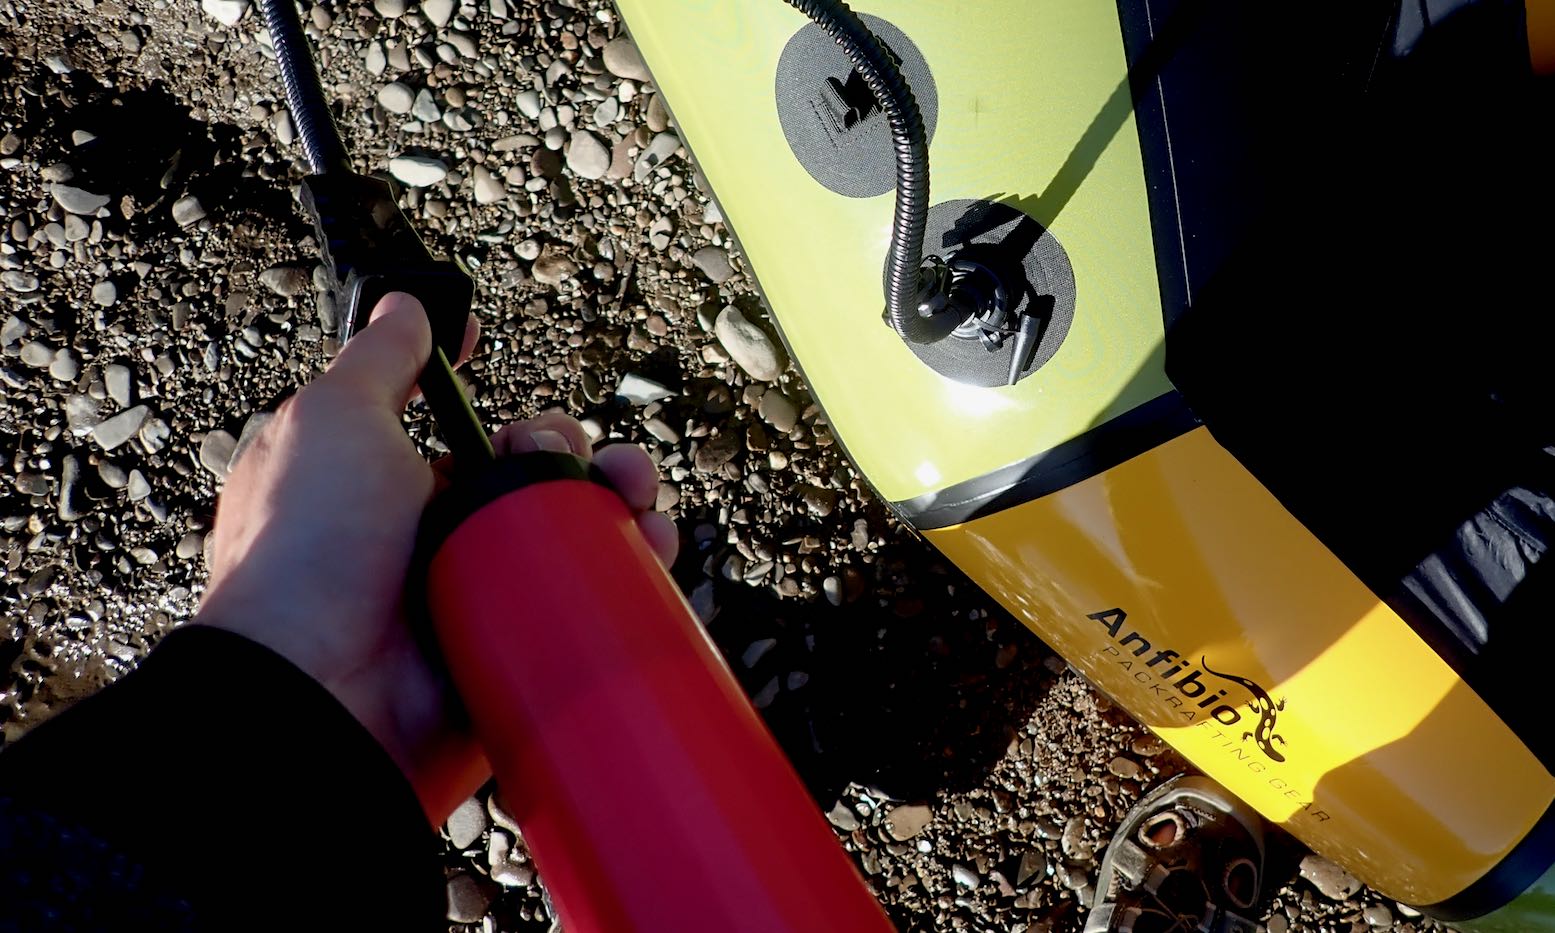
We used the Anfibio hand pump (left) to firm up the boats but had to back off the Rebel a bit to get the curved deck zip to close. With that done the 2K was taught and crease-free.
Normally I’m not a fan of decks, certainly not fixed ones, but on a chilly October day both I and Bob were glad to be tucked in and protected from splashes. One thing I’d like to see added is a tab on the right tube to secure the unzipped deck. [Edit: I’ve since been told it is a standard feature on production models.]
The TubeBags are also an interesting concept. Even before hearing of early failures, I was never won-over by Alpacka’s Cargo Fly (hull zip) innovation of 2014. Benefits in visibility and stability by storing luggage in the hull tubes were genuine, but is it a good idea to meddle with hull integrity in a single-chamber inflatable? The fewer failure points the better and who hasn’t had a zip jam or break? Now these airtight zips are commonly seen options on all packrafts and must be more reliable, but the zipper will always need care to seal well, especially in this era of pump- assisted hull pressures.
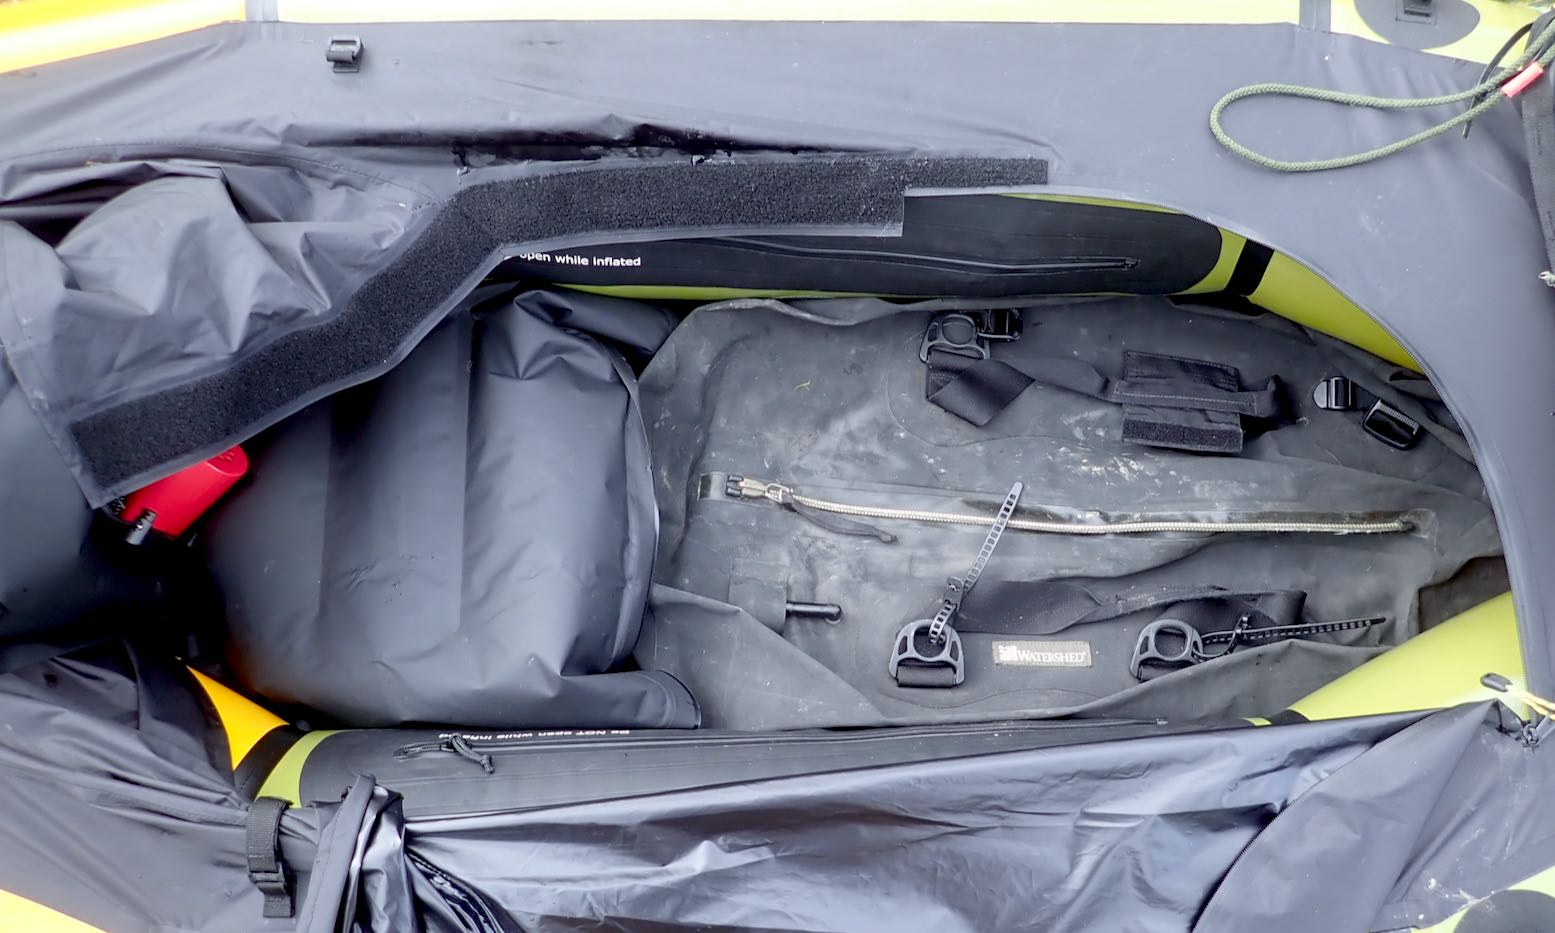
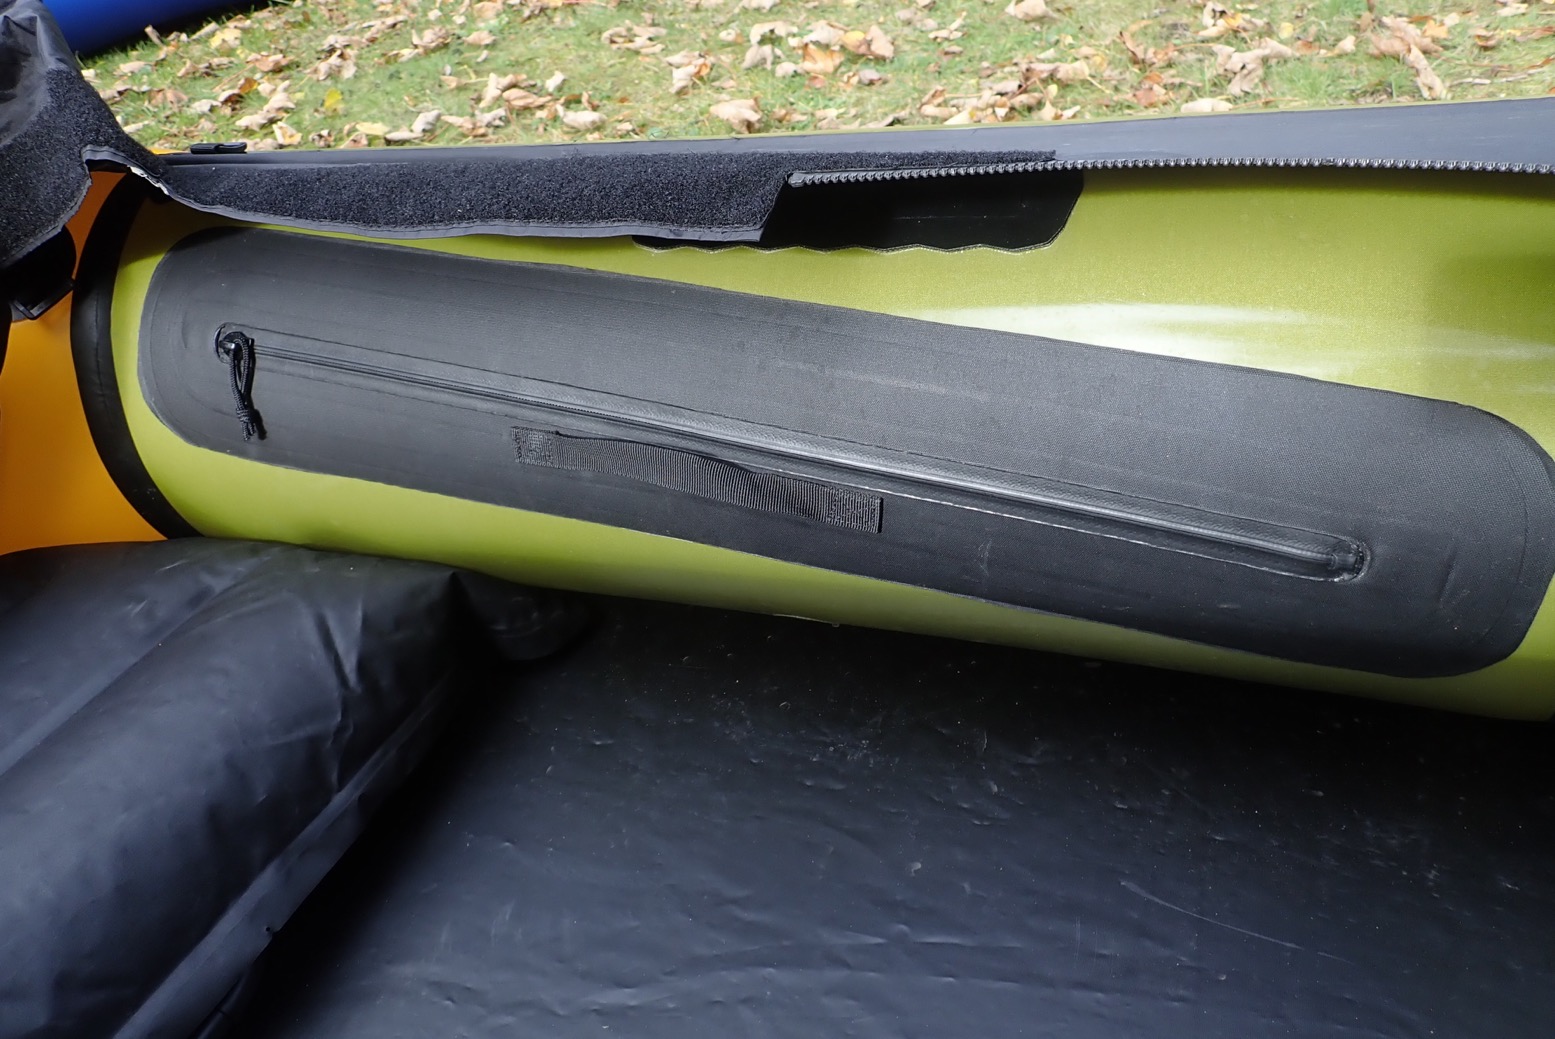
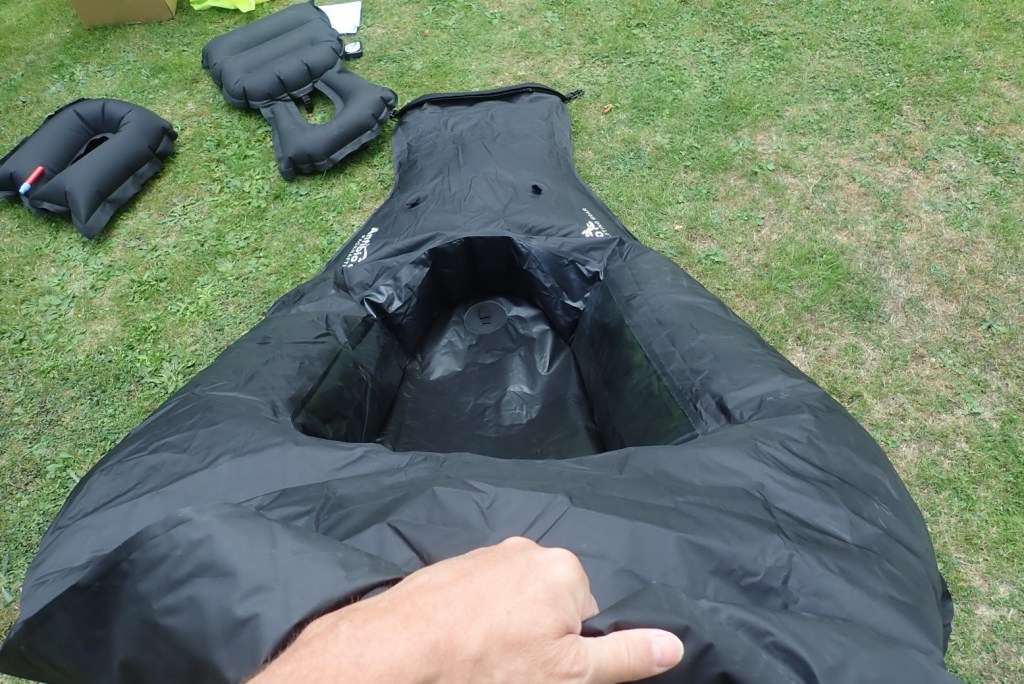
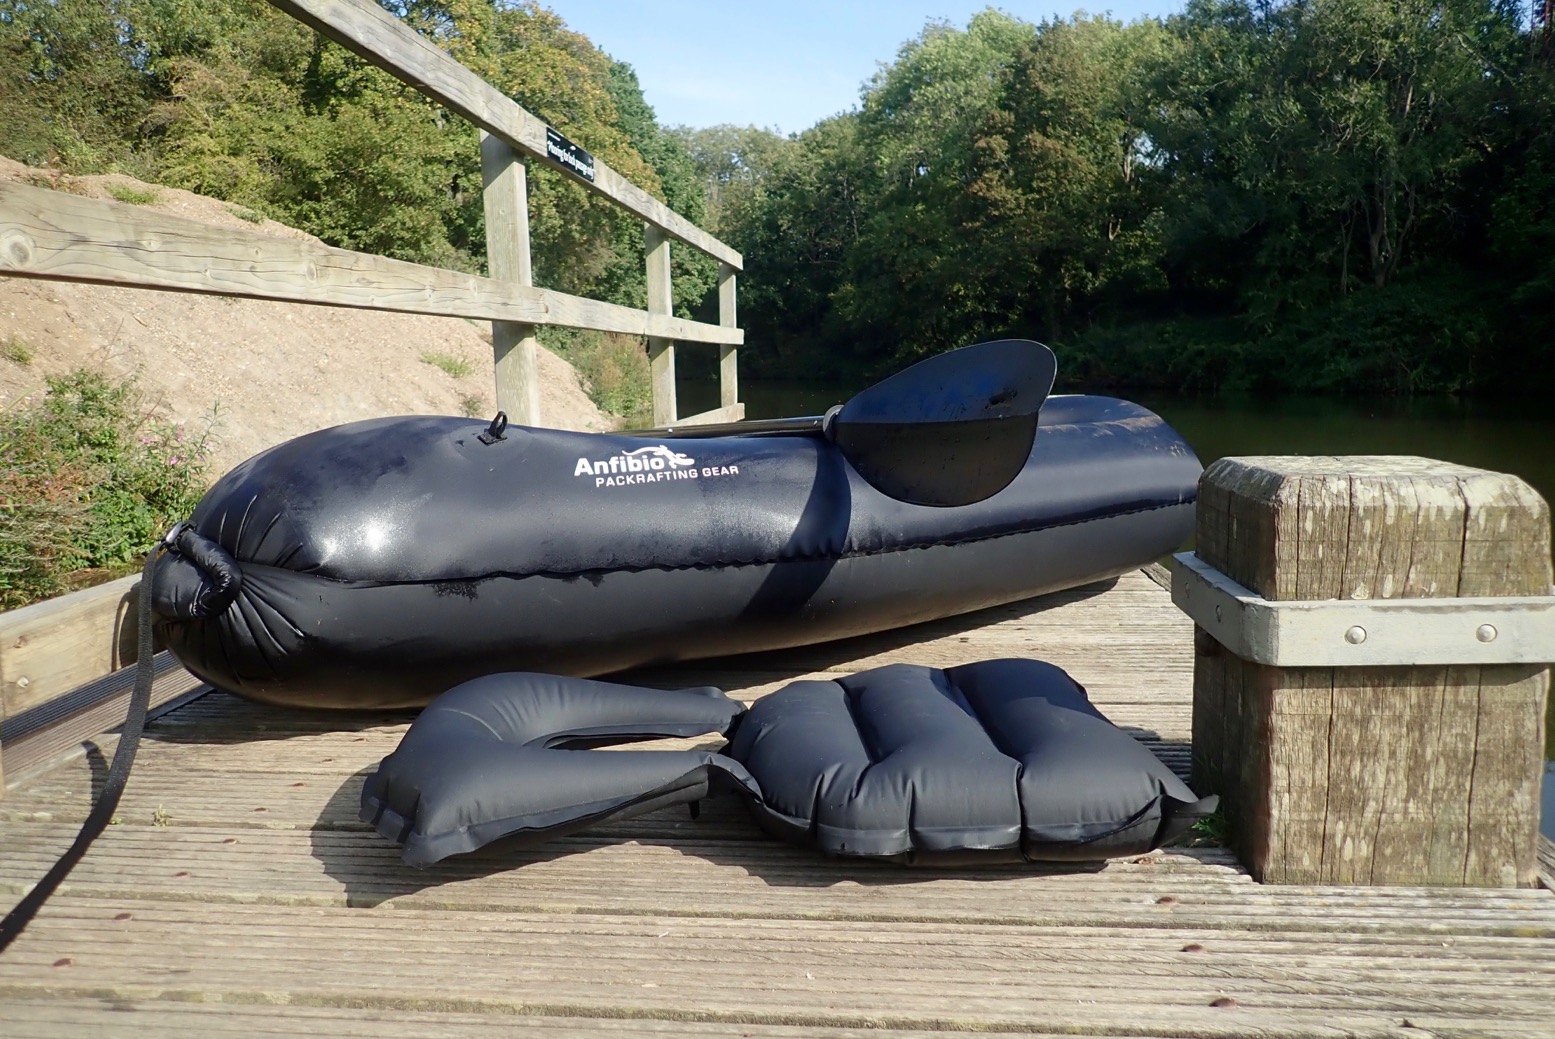
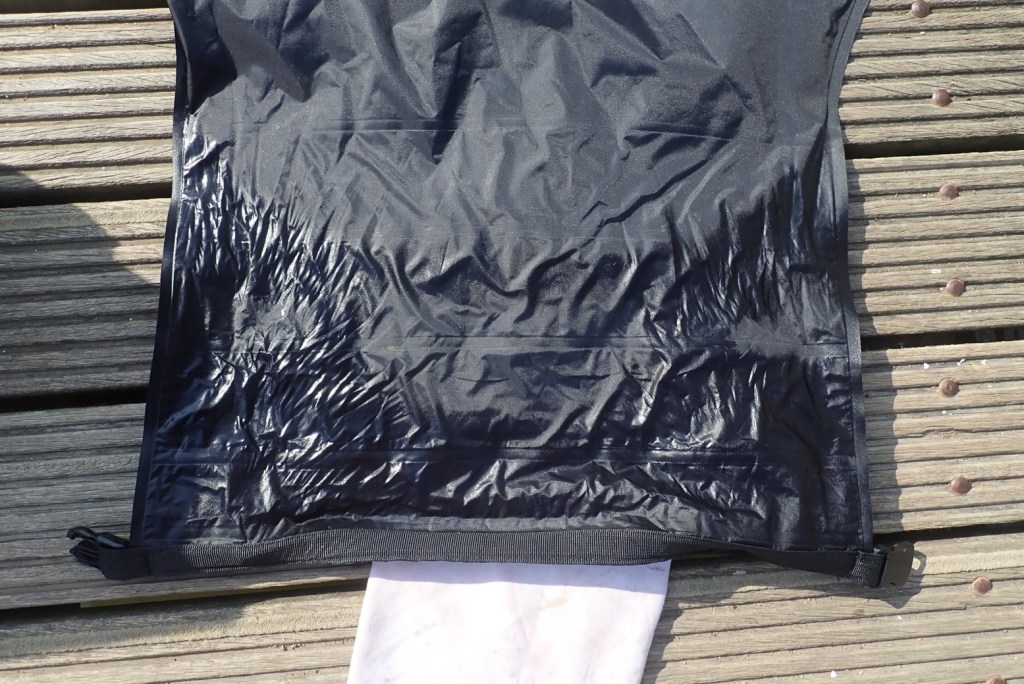
Like a hand pocket in your jeans, the TubeBags are pouches fitted into the side tubes and accessible from the cockpit via IPX7 zippers (left). But the 70-litre pockets must be packed and zipped up before the boat is inflated. Then once inflated and on the water they cannot be opened because the hull pressure behind them will cause the contents to disgorge until the pouch itself spews itself inside-out, leaving a slight drop in hull pressure. So if they’re not a handy ‘glove box’ what’s the point? Well, for starters once the boat is inflated the surrounding hull pressure keeps the bags’ contents pressed in place a bit like reverse vacuum sealing. Leave the pouch zip a little open as you inflate the hull and the contents will all be squished firmly in place. Then close up the zip up. Plus separate chambers add some back-up emergency buoyancy, and a faulty zip need not be critical to hull pressure. As with all in-hull storage, TubeBags won’t be that handy for day paddles but are a great way of storing stuff securely and out of the way on over-nighters. Once at camp you loosen the main valve to drop hull pressure a bit (as below). Then you can access your TubeBags. This will only work well when you’re on the water all day without interruptions. Portages with a loaded boat might be awkward compared to unclipping your bag from the bow and the rhythm of classic packrafting: walking then paddling then walking then paddling, might be slowed down a bit. But as long as you have a drybag or pack big enough, you can always bung it on the bow. You don’t have to use the TubeBags.
Other than that, the Rebel is fairly normal packraft. I found plenty of room my legs and hopping in off my kayak-like Nomad (my last paddle in it, as it turned out), it sure was nice to have something solid to lean on. As it came, with deck, tube storage and two fins, the Rebel would cost around €1000 and looks like a great do-it-all expedition boat. I can see it being ideal on a big French river where weirs are easily bypassed by shooting down glissieres (chutes). The cached baggage will be out of sight when leaving the boat moored and popping into a village for a pan au choc and visibility and stability in rapids will be improved.
In a line Super-light but sturdy packraft with a low-maintenance solution to in-hull storage.
Simple but well-detailed design 210-D fabric feels durable Optional mini-hand pump works very well and can be deployed on the water Holes easily sealed from the inside with a stick-on patch Compared to TiZips, RTC is a simpler, lower-maintenance way to achieve in-hull load carrying Raised floor lifts paddler, limits wear and may help limit yawingLike most short packrafts, it’s not a joy to paddle on flatwater for hours RTC will need care and may need practice to achieve a good seal Floor is same thickness as hull, not double-weight, as is usual.
What They Say Extremely light packraft with roll closure (RTC), which enables luggage to be stowed in the tube and thus offers higher transport capacity. Minimal pack size, 1kg light and robust enough for calm and tame waters allow combined adventures with increased payload. Price: from €335
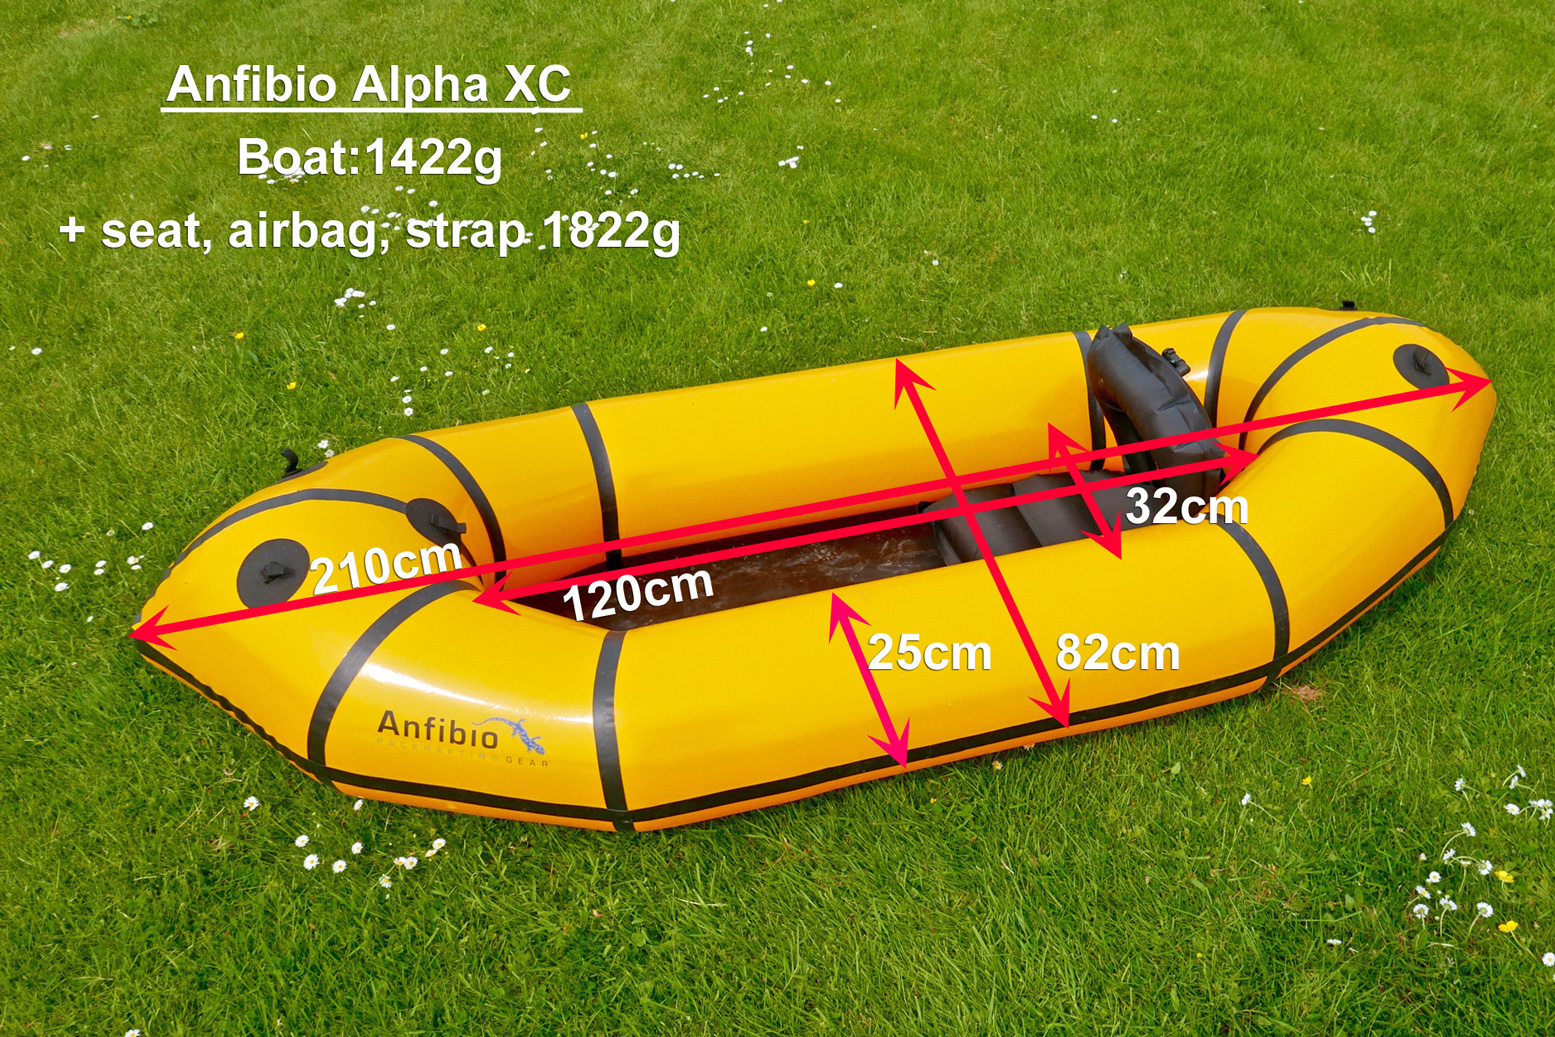
Out of the box This pre-used Anfibio Packrafting Nano RTC came with an optional backrest seat (€57), the airbag, an optional mini top-up hand pump (€10), a strap and 3 patches but no glue or instructions. The latter appear online. On the IK&P scales the boat alone came in at 1002g. The full seat adds another 237g with the horseshoe seat base weighing 135g. All the other dimensions in the image above closely match Anfibio Packrafting’s own data.
The rolled out Nano RTCThin TPU film layer to ensure a good seal
This is not your usual shiny-exterior packraft; the Nano’s coating is instead on the inside like the plain Nano SL model. The woven texture of the 210D nylon fabric still gives a sense of sturdiness which I can’t say I felt with the 75D Supai Flatwater and Matkat we tried a few years ago. Such perceptions are important when bobbing about in the middle of a breezy loch or tackling some light whitewater. Maybe it’s the black colour, but the Nano also managed to look bigger and tougher than the virtually same sized Alpha XC (left) we tried a year or two back.
The RTC is a new idea to Anfibio Packrafting, though the Rapid Raft in the US uses a similar closure. The Nano differs by being a more sophisticated design, with a hull made from just three pieces of fabric: hull top; lower hull and floor; inner ring. This adds up to just two long seams which ought to mean fewer chances of errors during assembly as well as less weight. You can have the closure up-front (normal) or at the back where, with just four folds rather than five, it creates an elongated stern which adds more buoyancy where most of the weight is and acts as a skeg to limit the side-to-side yawing endemic to short packrafts. Payload is 135kg.
The RTC has an extra TPUfilm bonded inside to ensure an airtight seal, as long as you roll it up tight with no wrinkles. Providing it works, as a way of enabling in-hull load-carrying, I’d sooner put my faith in this than a TiZip which must be kept lubed and clean and dried properly to work well. At the RTC-end you have four mounting tabs on the tube top. On this you can mount Anfibio’s DeckPack, as pictured below. Bigger exterior loads may also be more convenient here if your route includes many awkward portages where carrying the otherwise heavily loaded and inflated boat may be tricky. Otherwise, there’s a tab inside the hull to secure loads and keep them towards the RTC end. You get seat mount buckles at both ends too, though I found the fully inflated seats jammed in well by themselves. There will be the age-old annoyance of the backrest flopping forward as you get in, but used RTC-sternward you can hook it upright to one of the tabs. This backrest design hasn’t changed since I had my first Alpacka Denali over 10 years ago. What is actually wanted is lumber support which is best achieved from strap-braced backrests, as in my Nomad, but that gets complicated.
Boston valve – ideal for packraftsHorseshoe seat optionClean seams all round
No you can’t inflate it by opening the RTC to the wind unless there’s a gale on, but it helps to fluff the boat out, and using the usual airbag, 5-7 scoops fills the boat, after which you top up the one-way Boston valve or by mouth. If you find the latter a bit awkward, I find a section of half-inch garden hose works as a ‘blow-straw’. Or use the top-up handpump (137g) to get maximum firmness. On the Nano it worked very well and for only €10 I’d say is a worthwhile addition for any Boston-valved packraft.
“The RTC cannot be compared to the usual roll closures of simple pack sacks [dry bags]!” proclaims the website, and I can believe them. We all know that Ortlieb-like roll-top dry bags don’t have a proper seal; water will seep through and air will leak out. But the multiple rolling of the film layer, as well as the fact they’ve dared use RTC on a packraft, gives a sense of confidence. Time to get paddling and see if that confidence is warranted.
Nano on the water Mid-September and it’s nearly 30°C: too good to pass by so I head for a short run up and down the Medway. Airing up at Sluice Weir Lock, I had a good feeling about the Nano, even if at 95kg I expected to be on the limit, as I was on the Alpha XC. The extra 6 centimetres all round looked enough to make a difference, and one way to help the trim (level) would be to run the RTC at the stern and as long as possible (four folds) while perched forward on the backrest seat option. In the end I didn’t feel the need to do this.
Once inflated by bag and topped up by mouth, I knew the Nano would need a damn good tempering today. A boat firmly inflated by hot ambient air will go soft once cooled in the water. Sure enough, after some splashing the Nano went as limp as a stunned trout. While doing this I was reminded of the indispensability of a bow line to manage a boat at the water’s edge. I hooked the metre-long strap through the RTC (left); better than nothing. Back on the jetty I tried the two-way hand pump: 20 pumps firmed it up. After over a decade of proven hull integrity, it’s become the norm to top-up packrafts with mini-pumps and not by lung, raising pressures up to 2psi or more. This added tautness is what differentiates packrafts from slackrafts and has a huge benefit on paddling efficiency and satisfaction.
They say don’t overdo the pumping but how are you to know? A well-made packraft may well handle a massive 0.5 bar or more before it blows a seam, but assuming the Boston one-way valve can handle it, I think the mini PRVs I tested the other day would be a useful addition to packrafts. They cost only 4 quid and you just keep pumping away until they hiss, knowing the boat’s reached the valve’s purge pressure which cannot be exceeded. It’s like an in-built pressure gauge. Fitting one to the open-ended Nano (or any TiZip packraft) would be especially easy. I decided to try RTC bow first (it made using the DeckPack easier). Once in the boat I felt fine, though from the pictures it’s clear the trim looks nearly as back-heavy as on the Alpha. Too many pies! But on these ‘calm waters’ that didn’t seem a problem.
Confident I wouldn’t wet myself, I set off 2km up river for Oak Weir Lock, passing some happy Itwiters on the way (left). Those things are everywhere these days! Good on Decathlon for satisfying the huge demand. Within a few minutes it became clear the Nano had cooled further and needed another 50 pumps off a handy concrete slab below the steep riverbank. I also remembered that, unlike my IKs, low-floored/high-sided packrafts want the seat base pumped right up to give height so as to get the paddle over the fat sides.
Back on the move, speed and response increased dramatically, but not having paddled a normal-sized packraft for a while, I’ve forgotten how slow they are, topping out at maybe 2.5mph/4kph. Riverside walkers were outpacing me; normally it’s the other way round on the Medway, albeit heading downstream. Where noticeable, the current here is about half a mile an hour. I took off to explore some mysterious side creeks which I’d normally shoot past on my downstream burn-ups, careful to avoid the many brambles which line the river here. There’s a perception that the Nano’s textured woven surface could snag a bramble more easily than a smooth one, but should that happen it would be easy to open the RTC and slap a stick-on patch on the inside: the best place for such a repair. The heat and dense, overhanging vegetation reminded me of a boat trip I took years ago up the remote Roper River in Australia’s Top End.
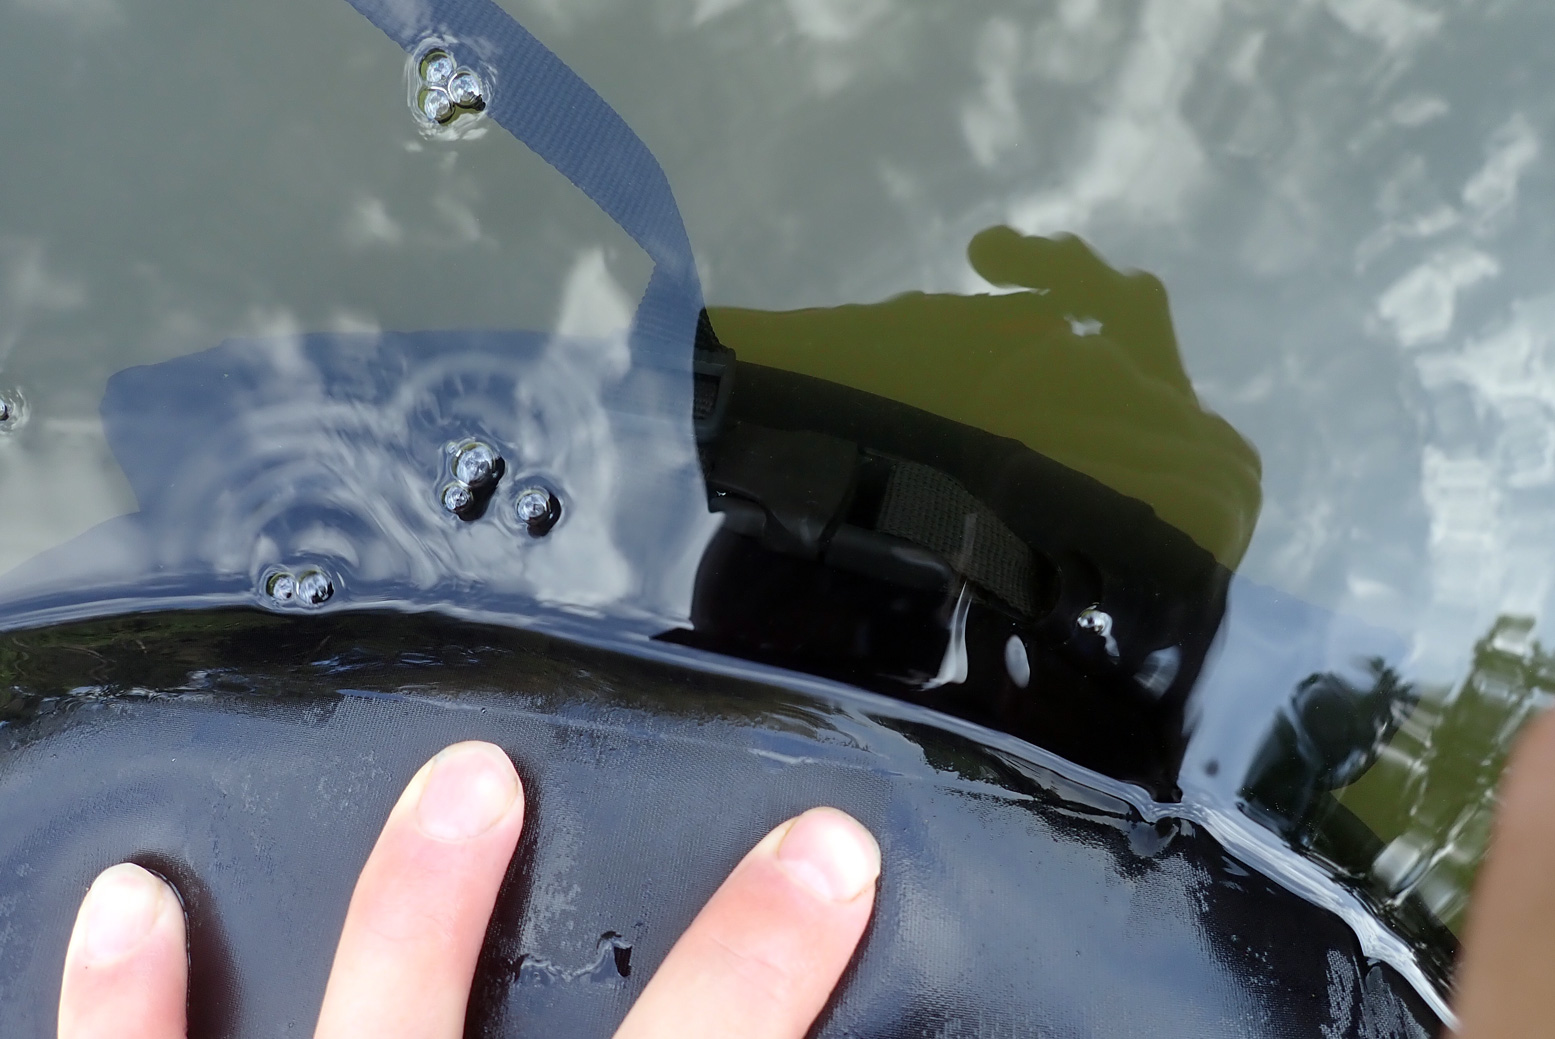
Back out on the main channel and heading upstream, after a while it took some effort to move the Nano along, with the tell-tale bobbing of a soggy slackraft. A squidge of the sides showed they were soft again. More tempering needed or a slow leak, probably from the inexpertly sealed RTC? I hacked on and at Oak Weir jetty got my weight over the bow to push the RT closure underwater. A couple of tiny bubbles popped up occasionally, but they may have been just trapped air escaping the folds.
The picture above makes it appear worse than it was, and being a hot day on cold water, I felt one more tempering may do the trick. I often have to do this with my bigger Nomad; which takes a good few minutes on the water to fully cool on a hot day. I did my best to check for tell-tale bubbles elsewhere, but anything easily spotted would have seen the boat droop in minutes.
I realised the seemingly redundant hand pump hose was actually ideal for topping up on the water. I reached behind and carefully undid the upper cap of the Boston valve (you don’t want to undo the main valve…), pushed on the pump hose nozzle and gave it another 50 jabs + 10 for luck (about 8-9 litres). With the Nano taught again, I couldn’t resist hopping out and sliding back down the shallow Oak Weir canoe chute which the Nano took in its stride. This boat could easily manage river riffles; the caveat would be too much scraping in the shallows. The exposed fibres can probably take some rubbing but it’s the coating inside that counts. I wonder if spraying a slippery coating (303 Protectorant springs to mind) on the undersides may help reduce possible wear.
I’d asked for the backrest seat option to push my bulk forward off the overloaded stern, but comfort, or a relaxed all-day paddling posture, will take some experimenting. With the unusual raised floor and seat base pumped right up, the now higher backrest had less to lean against so I tipped backwards. I should have tried deflating the seat base a bit. Even at my height (1.82m) I can still stretch my barefoot legs flat out, when in fact a bent leg is better for paddling. So you might want to fit Antibio’s footrest (as I use on my Nomad), shove a bag or shoes up there, or better still (for trim), put something behind you to act as a thicker backrest and centralise your weight (as we did on the Alpha). However you achieve it, a solid back–to-foot brace improves paddling efficiency which means it takes longer to get tired.
Trim not too bad
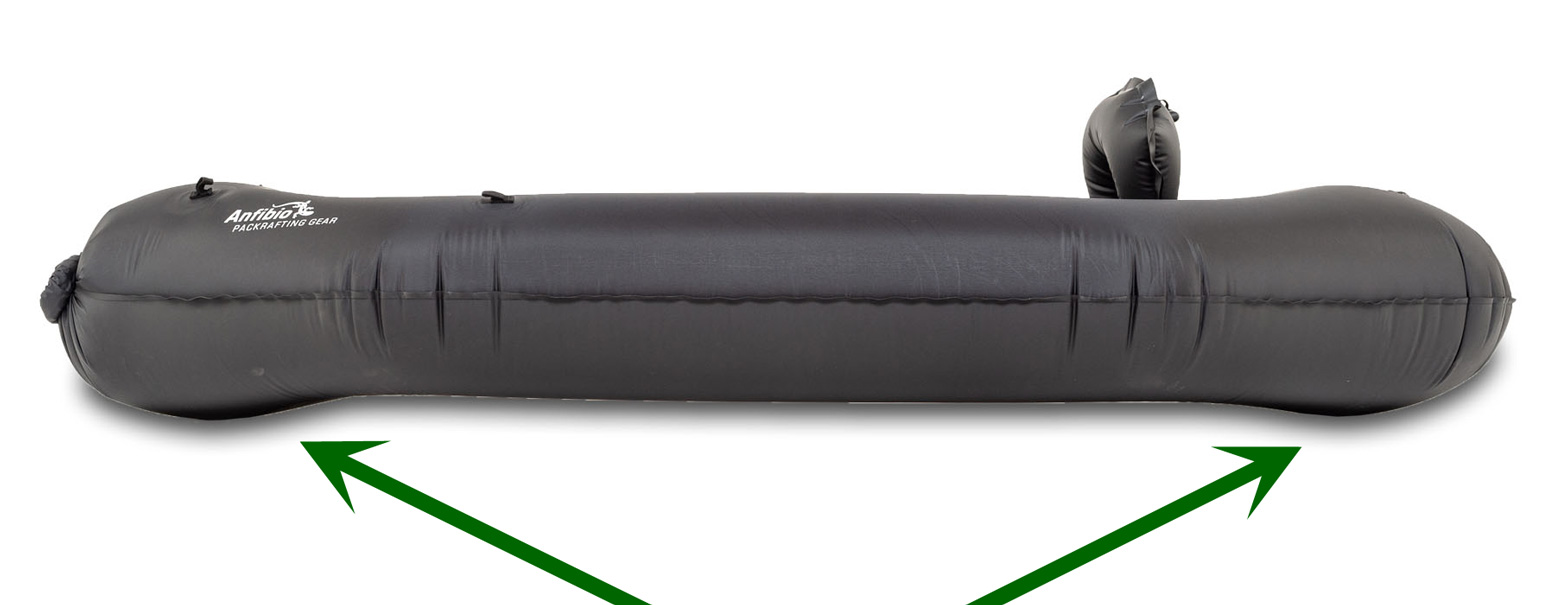
Running back downstream to Sluice Weir felt like it took half the time, and I got there with the boat still firm. I do wonder if wetting the inner film surface provides a better seal, just as licking a suction cup before sticking it to glass. One to try next time. I also noticed that for a short, wide raft, the Nano barely yaws left to right. Besides my fine technique honed over the years, the profile of the raised floor may help the side tubes ‘bite’, like ice skate blades. Or it may be the subtle protrusions (below) under each end of the boat which my 2.9-m Nomad also has and which are said to have a skeg/keel effect.
Either way, I was confident I’d survive the sporty Sluice Weir chute, catching only a cupful of water as I hit the frothing base. With that ticked off, I paddled over to the portage jetty, crawled out and aired down. Being a black boat on a hot day, the Nano dried itself off in no time.
Packing the boat up, I checked for seepage into the RTC when it had been submerged for a minute or two. As expected, water crept along the textured outer nylon surface but the inner film was dry, though as Gore Tex will tell you, air can pass where water can’t. If that was the issue, not just heat, I’m sure getting a good seal is a knack that can be acquired.
=
Conclusion Providing they can handle the added pressure of a hand-pump, I wouldn’t be surprised to see RTC-type closures becoming more common on packrafts. Using zippers for such a critical seal always seemed a bit dodgy to me, though I’ve only read of them playing up. Besides that novelty, the sturdy 210-D Nano makes a great crossraft at a price that’s competitive with the thinner Supai boats. It’s very light, compact (3 litres rolled up), comes fitted with enough useful tabs and can be paddled RTC-stern to level off the trim, if needed. Seats are quite a lot extra, but you can sit on your gear, and for a tenner, the little handpump is a no-brainer to get the most from your boat. And if the Nano’s RTC arrangement is not for you, choose the conventional Nano SL costing about 15% less. Either could make a great entry-level packraft or an ultra-light crossraft.
I fitted over-rated 4.8psi Ceredi PRVs to my Seawave’s side tubes a few years back. I like the idea of not having to worry about the boat getting hot in the sun (and exploding), just as much as gaining some extra rigidity by fitting PRVs rated a little higher than recommended side tube pressures.
I bought a pair of unbranded Chinese PRVs off eBay (<£9 posted – about 30% of Ceredi/Leafield prices) to consider for my next IK. Some sold on eBay don’t even mention the purge pressure! These ones did: 4psi or 0.27bar, just a bit over the 0.25 of the boat I have in mind.
Out of the bag, the quality of the molding looked no worse than a Ceredi. I was a bit surprised they’re smaller than usual PRVs, (the listing gave these dimensions), but what does it matter as long as they work. I worked out a way of testing them by removing the backing ‘nut’ and screwing the ‘male’ PRV housing onto a rubber motorcycle throttle grip. The other end of the grip I jubileed to the barrel pump nozzle. Pumping the pump, the pressure built up and PRV ‘burped’ suddenly at an indicated 0.4 bar. But as my manometer needle zeros at 0.1 bar and not zero, we can probably subtract that 0.1 and call that 0.3 bar which is 4.34psi. Close enough to 4psi. Now I can fit these PRVs with confidence.
The hole which must be cut in the boat to fit this valve is 24mm ø, but to get the back nut inside the hull you’ll need to go in via the larger inflation valve aperture. So cut the PRV hole close to the inflation valve. Once loosely screwed together, the knurled outer housing can be tightened with some wrench or another.
Accounting for manometer error, the PRV burped at 10% more than claimed, which is pretty good.
Urban canals have long been rediscovered as quaint, idiosyncratic backwaters for boat dwellers, joggers and cycle commuters, or have seen adjacent industrial wasteland redeveloped into glitzy apartment blocks or waterside business parks complete with mouth-watering eateries and amusing sculptures. The old cliche of filthy neglected ditches where joy-riders dumped scooters and drunks hurled traffic cones or shopping trollies is outdated, at least in central London.
These days, if Doctor Who needs a grotty urban canal to stand in for a toxic sewer where evil Cybermen are spawning The Invasion (1968; 00.57), they’d probably have to go abroad or something. All of which means that, once you include London’s excellent transport links, the capital’s fascinating canals make for great packboating.
The 200-year old Regent’s Canal is inner London’s best example, arcing nearly 9 miles (15km) across London from near Paddington eastwards to the old docks at Limehouse on the Thames. It starts at the dreamy, willow-rimmed mooring of Little Venice, passing Regents Park’s neoclassical mansions and the chattering apes of London Zoo before turning for Camden Lock Market where Jimi Hendrix bought his first Rosetti Airstream. Here the canal drops down a few locks to unrecognisably redeveloped Kings Cross, home of Google UK and where giant Victorian-era storage tanks have been converted into luxury flats. East of here, your water-level view flits between bohemian, suburban, light industrial and even rural parkland, until you arrive at the marina of Limehouse Basin by the Thames. On the way you’ll have portaged 13 locks and two tunnels (marked in red on the map below).
The Regent’s Canal
Britain’s canals helped kick off the world’s first industrial revolution. Canals linked or added to long-established river navigations and enabled inexpensive and reliable cross-country transportation of heavy, bulky or fragile commodities, like pottery. At this time the decrepit road network was still suffering from 1500-years of neglect following the Roman era. Packhorse trains were superior to wheeled carts but were way too costly. Around 1805 the Grand Union Canal linked the burgeoning industrial heartlands of the Midlands with Paddington – then a village on the western edge of London. The advent of Napoleonic Wars included attacks on coastal shipping, necessitating secure inland transportation to help provision the war effort. (The Wey-Arun Navigation linking London with the navy fleet at Portsmouth, was another example). The Regent’s Canal followed London’s northern perimeter to link the Grand Union with the deep tidal Thames at Limehouse (above) near the new West India Docks. Here, lock-controlled ‘wet docks’ were regarded as more efficient and secure than London’s old bankside wharves. The map below is from 1830 and shows that even a decade after the canal opened, most of it passed through open countryside. Within a few decades railways gradually brought about the demise of commercial canal transportation. I pinched most of this information from Jack Whitehead’s detailed version.
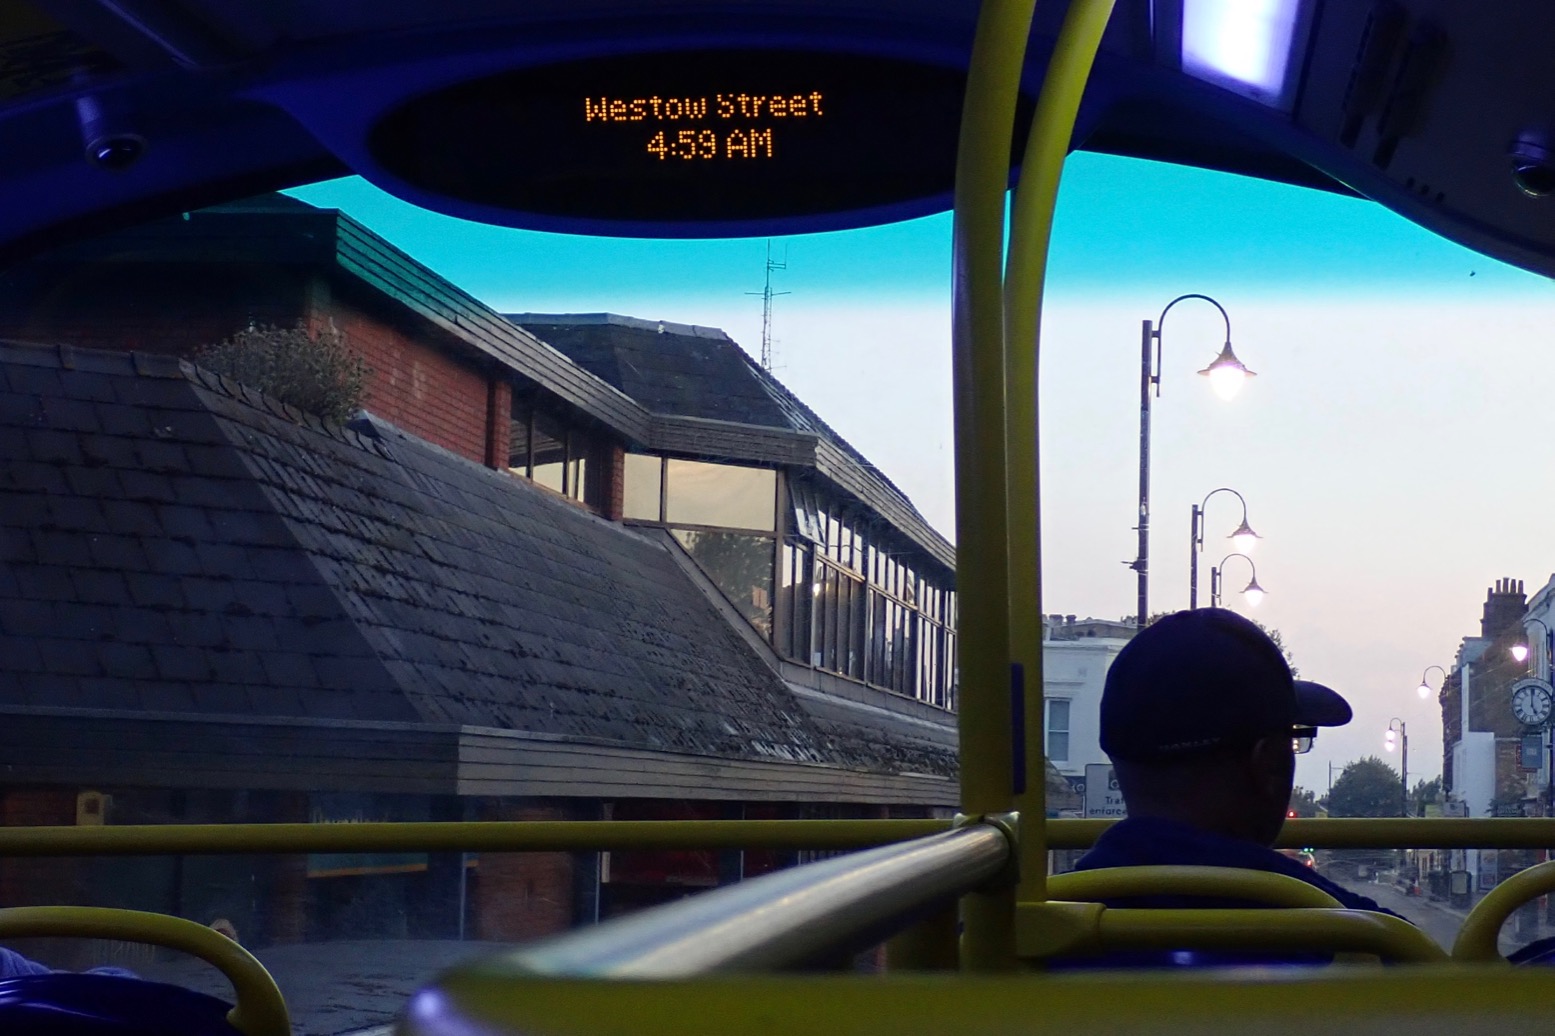
Time to go. I was on the bus before sunrise.
Bear with me, I’m still waking up.
Cables and cladding at Edgware Road tube.
New apartments, offices and the Fan Bridge at Merchant Place in Paddington Basin, the ‘Paddington Arm’ terminus of the Grand Union from Birmingham.
The canal ahead of the lifting Fan Footbridge is cordoned off so you can’t actually put in here. Along with the similar ‘Curling‘ Bridge nearby, a cynic might say these are eye-catching engineering solutions to non-existent problems while other celebrate innovative urban art. Both bridges make scheduled performances on weekends.
The Paddington Arm of the Grand Union. Regents Canal actually starts by the former barge turning-point known as Brownings Pool; today’s Little Venice.
Just up the way below a footbridge is a strange retracting weir whose purpose may be to keep the scourge of duckweed from spoiling Paddington Basin’s clear-water vibe.
You can put in anywhere around here but…
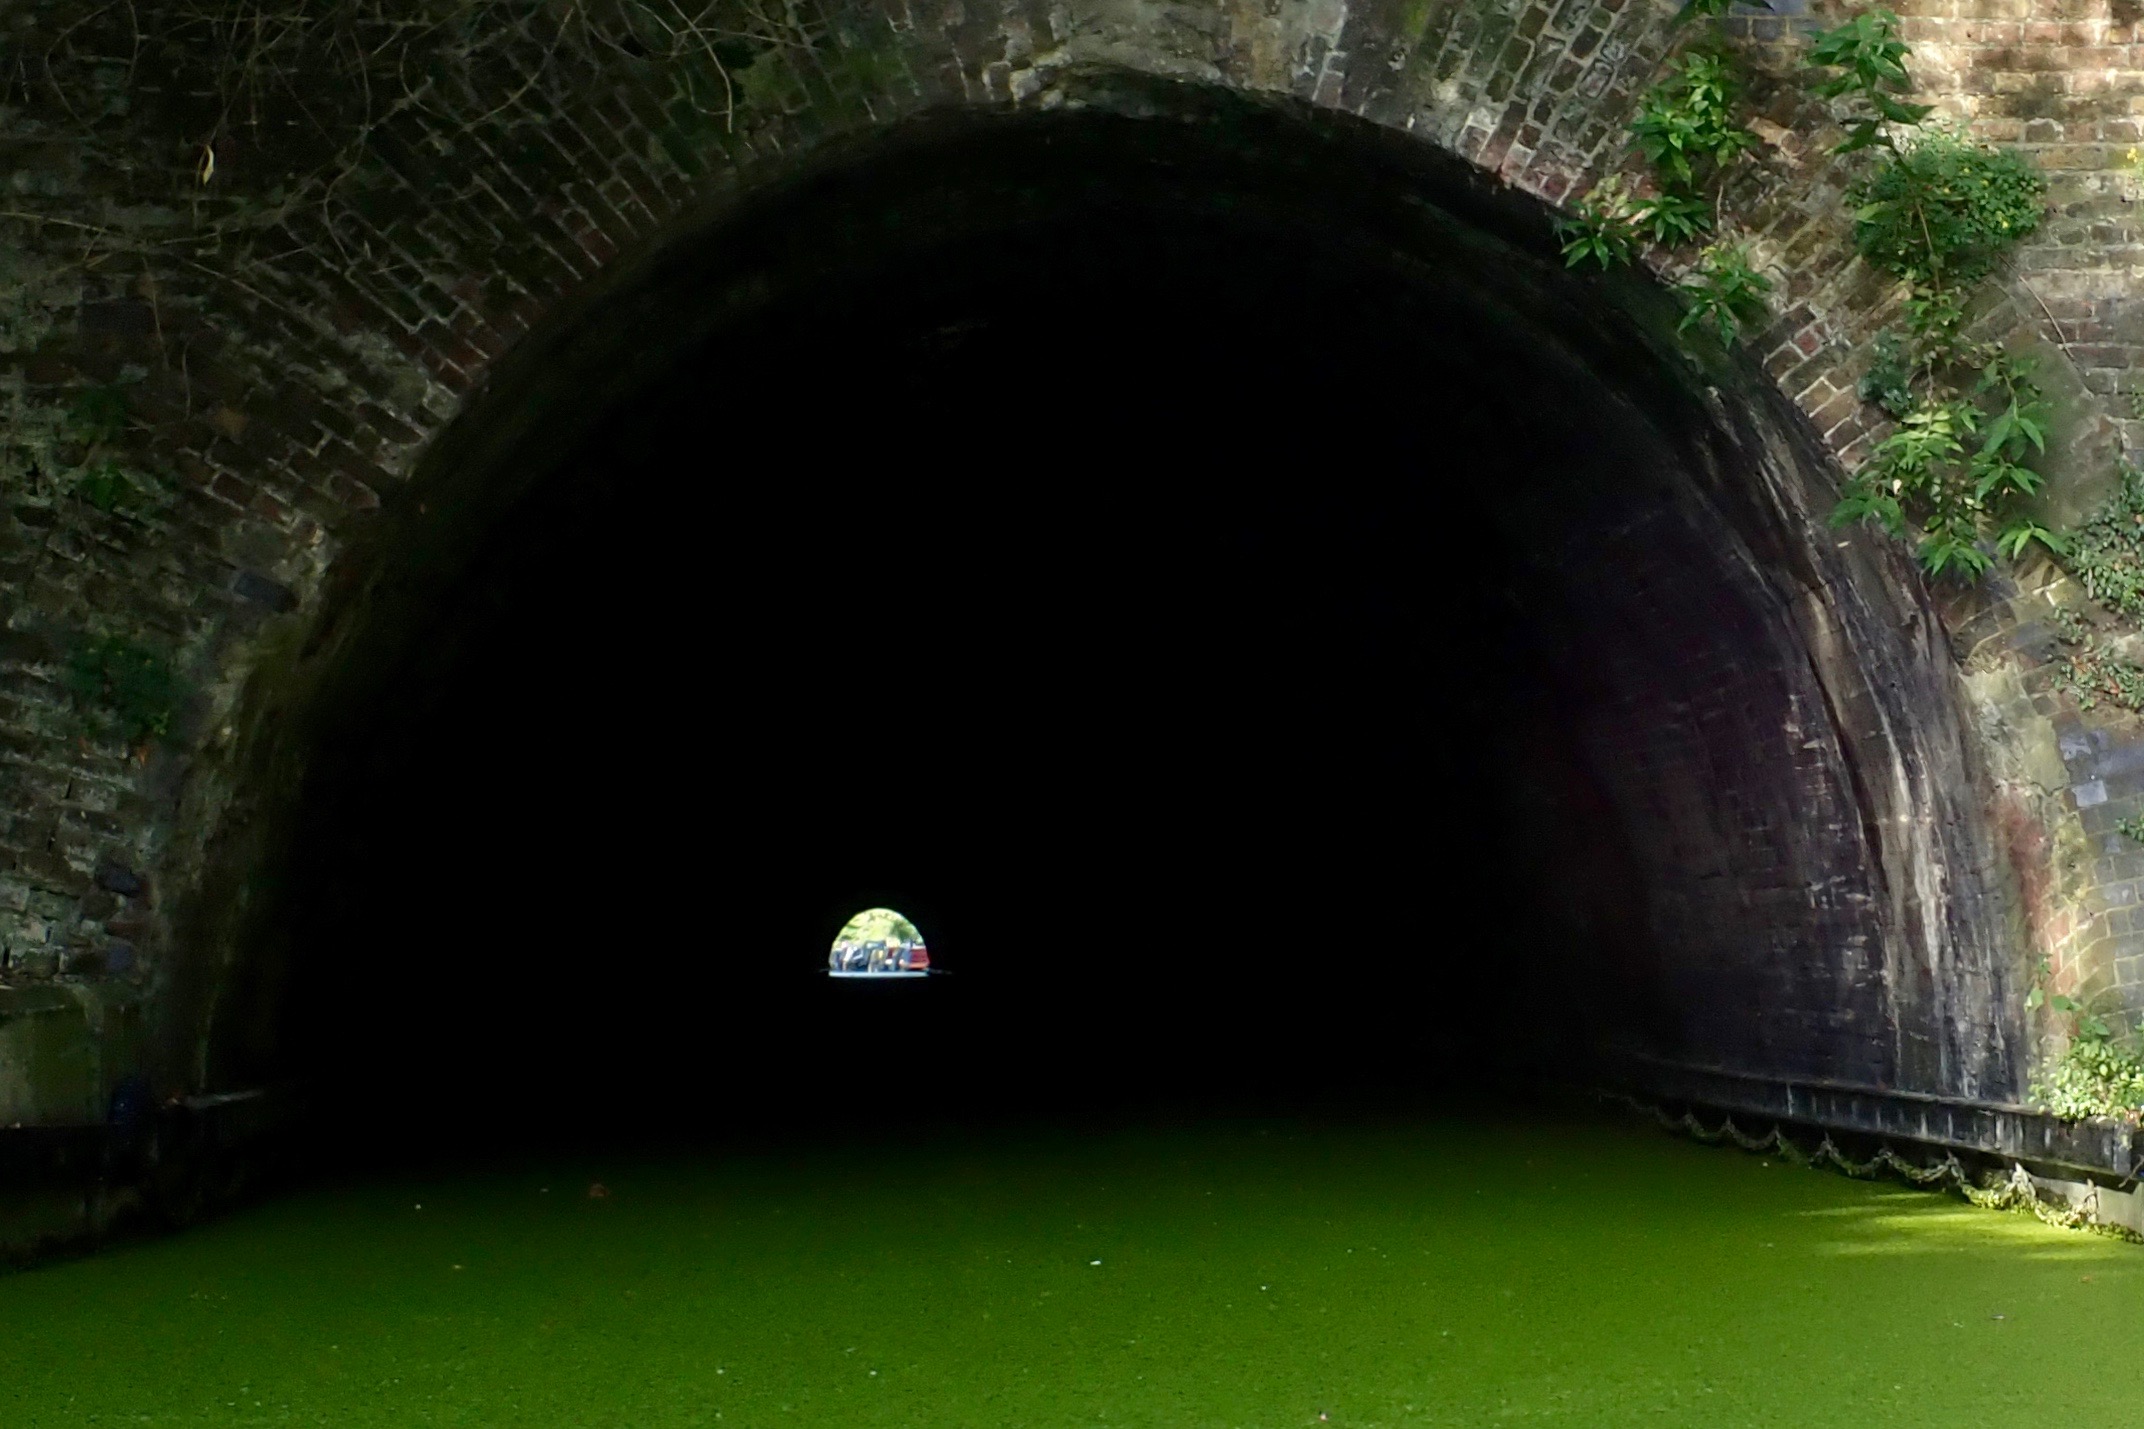
Maida Hill Tunnel Before you start assembling your boat, know that in about 5 minutes you’ll need to backtrack from and portage around the 250-metre-long Maida Hill Tunnel which is closed to ‘non-powered craft’. And it’s not a quick 250-m hop-around either. Because of a private towpath along Blomfield Road, and closures for repairs, currently it’s nearly a mile before you re-access the water below the Casey Street footbridge east of Lisson Grove. Knowing this, you may prefer to do as I did, and walk to (or start from) Casey Street Footbridge, about half a mile north of Marylebone tube. See map below.
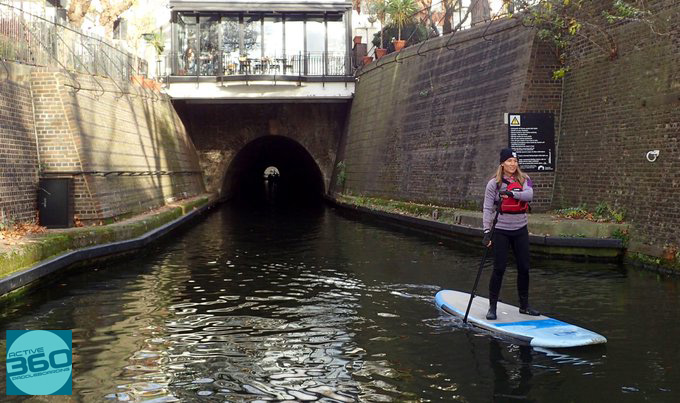
The temporary towpath closures (left) are to repair electric cables stemming from the power station at the end of Aberdeen Place at the tunnel’s eastern end. When it reopens the portage distance will halve, but that may be a while. So, you can paddle up to the western tunnel entrance from the Little Venice end (paddleboarder, below left), but you can’t get out here onto Blomfield Road because of a locked gate to the moorings. You have to backtrack to Little Venice, but it’s probably still worth it for a peep into the short if forbidden void.
In 2018 the Canal & Rivers Trust (formerly British Waterways) provisionally opened the 250-metre-longtunnel to paddle-powered craft. (Consultation document.) According to their own regs, any straight canal tunnel of less than 400m can be paddled. At Maida Hill you can clearly see the other end, anything coming at you will be silhouetted or lit, and the whole drama takes a couple of minutes to paddle, including taking pictures.
But to saves costs the tunnel is narrow and without a towpath (barges were legged through by ‘walking’ off the walls). Passing isn’t allowed or even possible, even in a slim kayak. Or a boat operator may not notice low-in-the-water kayaks, even with the mandatory headlight. Tour boats run via the tunnel daily from 10am between Camden and Little Venice.
‘Thank you for your enquiry. We do not allow kayaks through the Maida tunnel unless it is part of a special event”. Three months notice is preferred for your special event and solo transits are not allowed anyway. The website additionally warns: Non–approved unpowered craft shall not transit the tunnel eg. rafts and other types including inflatable arrangements designated for ‘fun’ use.
Clearly, they’re no more clued-up about modern IKs and packrafts than the BCU, or assume we’re all intoxicated pillocks goofing about on inflatable unicorns.
What could possibly befall a typically open and unsinkable IK, canoe, packraft or iSUP board in the tunnel? Do they assume such boats are inherently more dangerous than a beginner capsizing mid-tunnel in a tippy hardshell? Maybe the CRT has had problems with ‘inflatable arrangements’. Who knows, but I’ve also encountered this anti-inflatable prejudice on PLA media about padding the tidal Thames. I suppose it’s too much to expect these officials to know the difference between an Intex bin bag and a €3000 Grabner, but the common denominator must surely be the required BCUlicence (or a more expensive and limited pass direct from the CRT). I wouldn’t be surprised if it’s a canalised version of road-tax paying car drivers [cruise operators] vs freeloading pushbikes [kayakers]. The resentment the former feels towards the vulnerability of the latter generates irritation.
Here’s a suggestion: mount some traffic lights at each end on a 5-minute turnaround, and perhaps some low-level motion-activated illumination inside. That way the Maida Hill Tunnel could be safely and easily open to all users. Apparently, it’s currently being considered.
Long story shortened a bit, I enjoyed my exploratory walk and finally got to air-up my MRS Nomad below Casey Street footbridge looking down on the Lisson Grove Mooring (aka Marylebone Wide).
The canal surface was thick with a lush carpet of floating pennywort or, as I prefer to call it, Hydrocotyle ranunculoides. This lurid green matting covered the canal from bank to bank just about the way to Limehouse. At times it was so thick birds easily stood on it, but it didn’t noticeably impede my paddling…
… because an MRS Nomad doesn’t exactly slice through water like Poseidon’s scythe. Once on the water I paddled back west, under the Lisson Grove or Eyre’s ‘tunnel’…
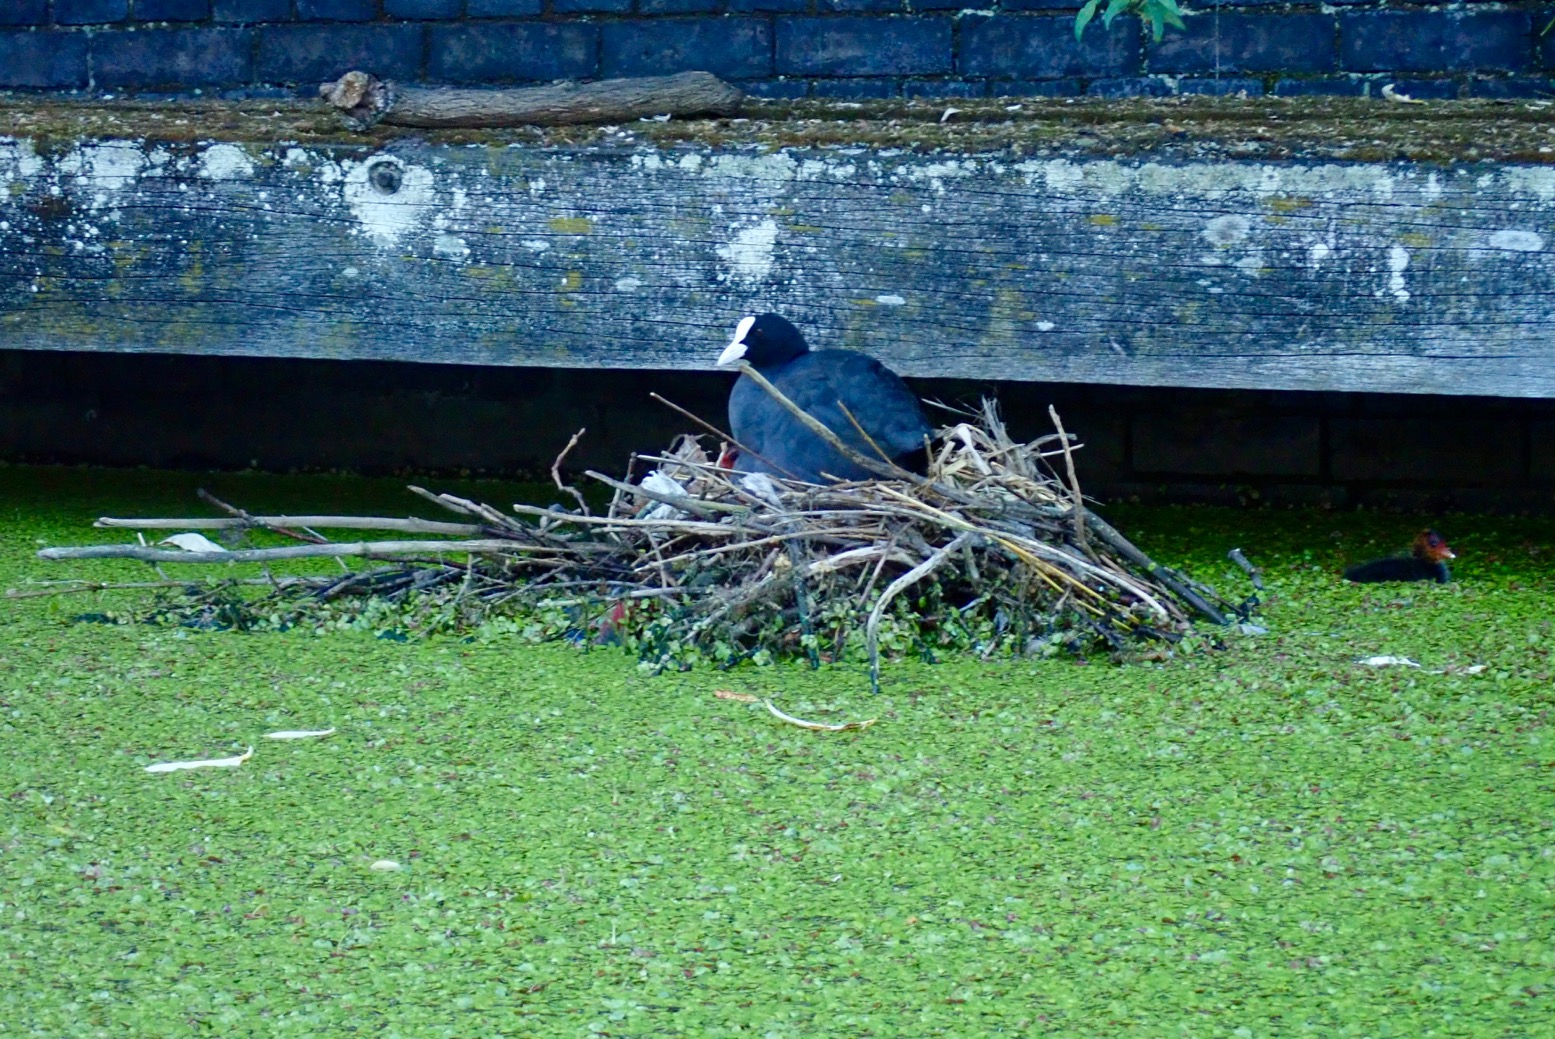
… for a peek at the eastern, ‘Doctor Who’, end of the Maida Hill tunnel. It didn’t look that far or that deadly. Then I paddled back, passing nesting coots…
… and preening fowl. By 8am I was on my way to Limehouse.
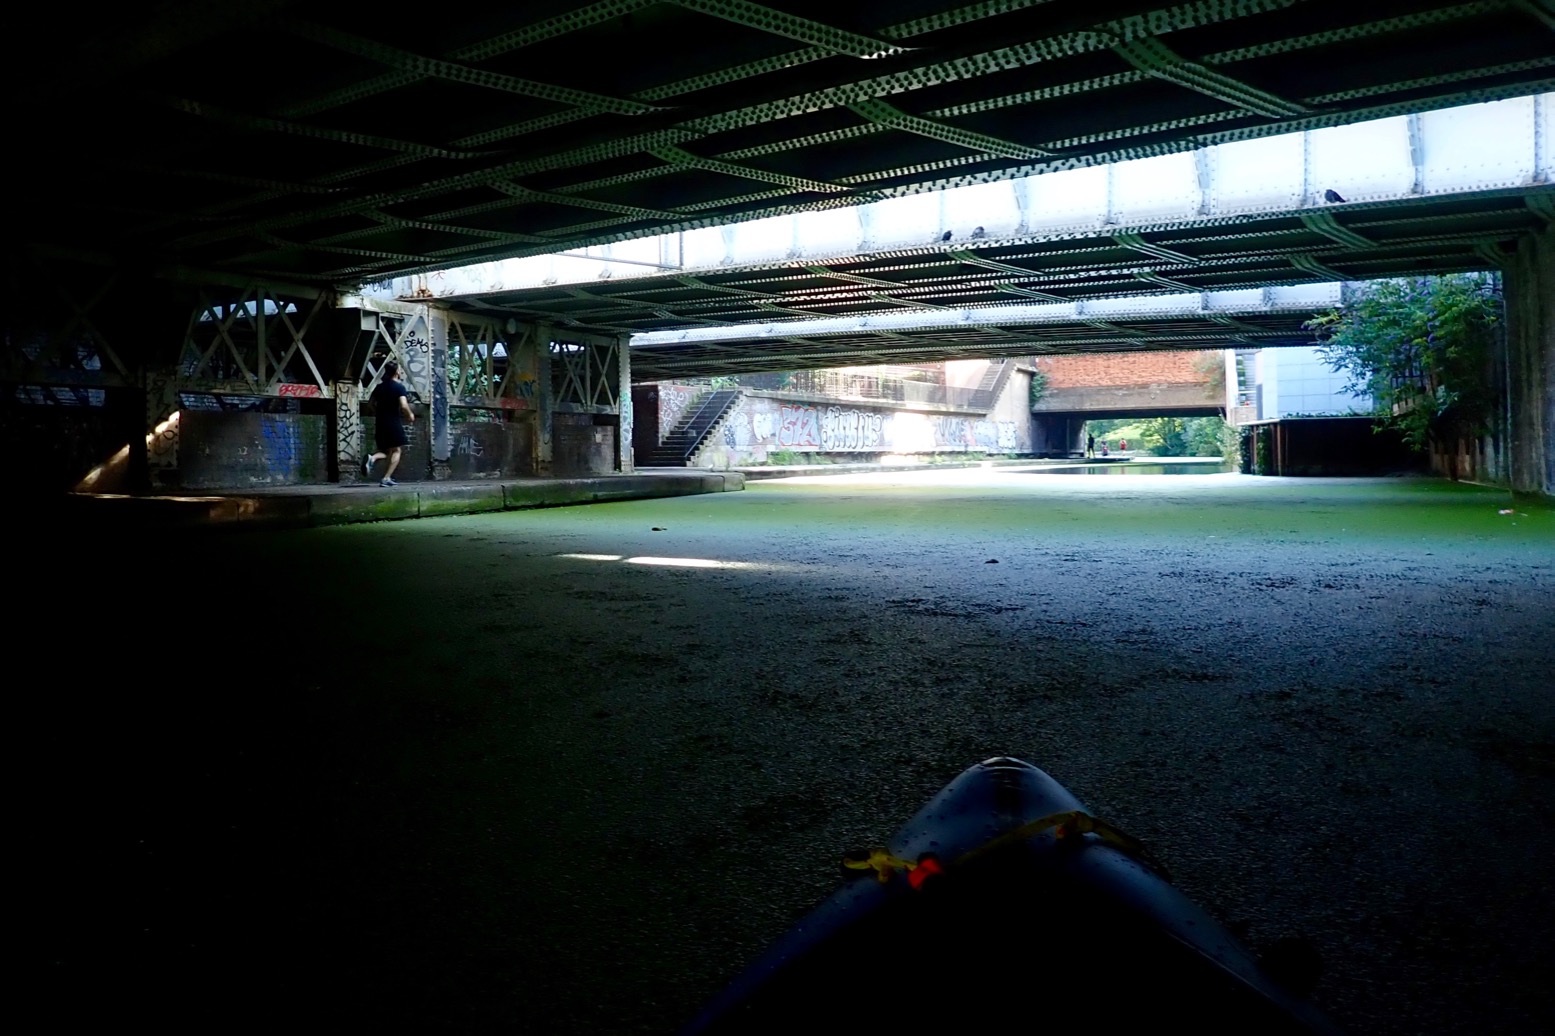
Under the Chiltern Line rail bridges and Park Road (A41).
And into the bucolic enclave of Regent’s Park, passing elegant mansions and accompanied by a phalanx of pushbikers and joggers dashing and dodging other joggers and pram-pushing nannies.
At London Zoo all was quiet. Not a squawk, a yelp or a roar.
Regents Park was built around the same time as the canal, and one reason the canal didn’t simply cut directly east from Paddington towards the City along today’s A501 Marylebone Road (called ‘New Road’ back then, blue below) is because the well-connected park developer objected under the Tudor Statutes of NIMBY. The dirty canal diggers were forced to burrow like badgers through Maida Hill before swinging off on a northerly arc, all adding hugely to the cost and completion time. Funding the canal was a real stuggle.
At now-filled in Cumberland Basin (red, above), by the famously top-heavy Chinese pagoda restaurant the canal, appropriately, takes a left turn into the borough of Camden. Soon I arrive at Camden Lock Market but it’s too early on a weekday morning for the place to be busy with beret-wearing tourists.
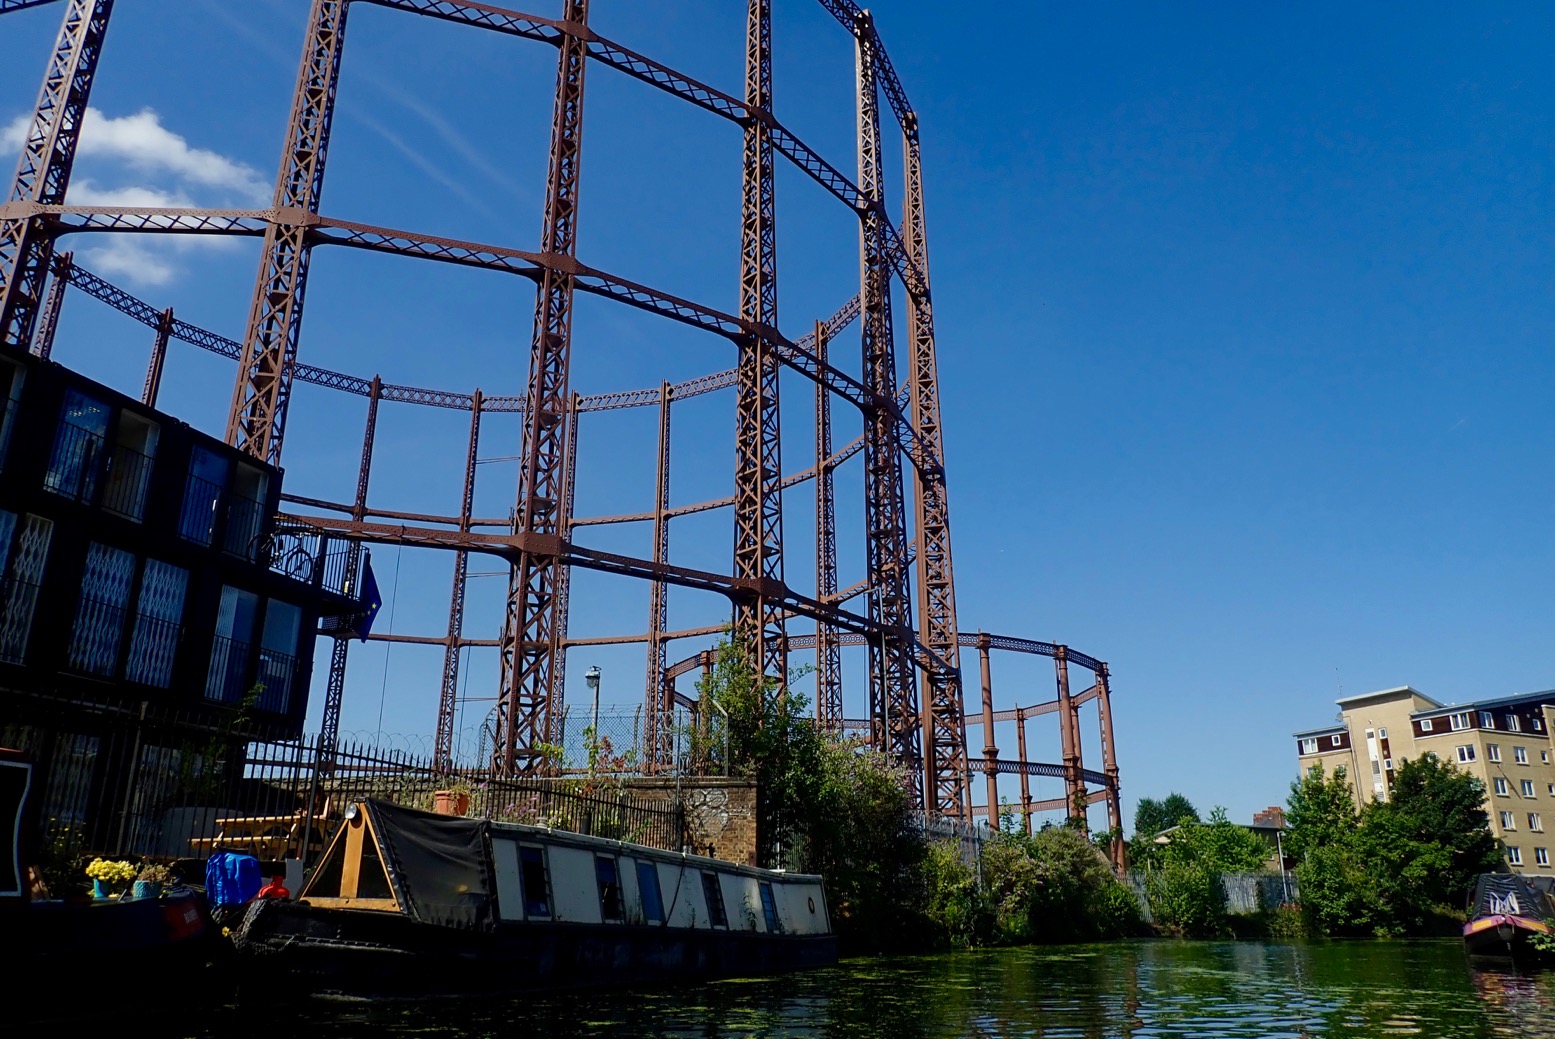
There are three locks here in less than 300 metres, so I line the boat along the bank like a Yukon voyageur. I paddle away from trendy Camden and soon pass under the deafening Eurostar rail lines at St Pancras before entering what they now call Gasholder Park. Old Kings Cross is long gone and some of the gas storage tanks have been turned into flats. Welcome to trendy Kings Cross.
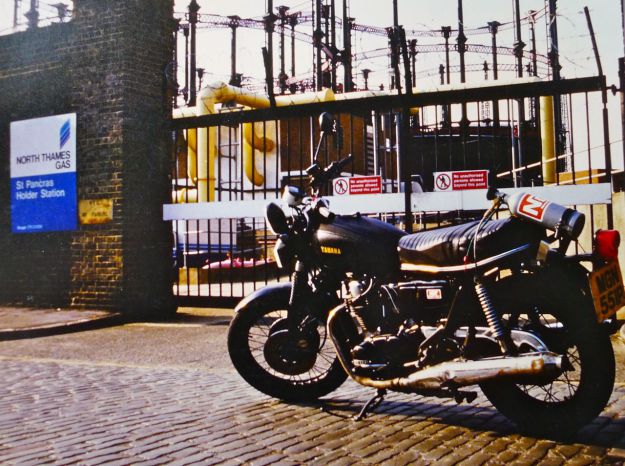
In the Eighties when I squatted near here, ‘trendy’ + ‘Kings Cross’ were not recognised combination. This was probably the seediest corner of central London and the real thing with junkies, prostitution and porno studios – a far cry from quaint, touristy Soho. One time we used the gas tanks as a backdrop for an article I’d written about a motorbike running on Nitrous Oxide or laughing gas. Fans of Mad Max will know about that. Mike Leigh’s High Hopes (1988) was filmed around the corner. Funnily enough, the story was about a lefty-slacker moto messenger, his woebegone mum and some pantomime-vile yuppies. Oh happy days!
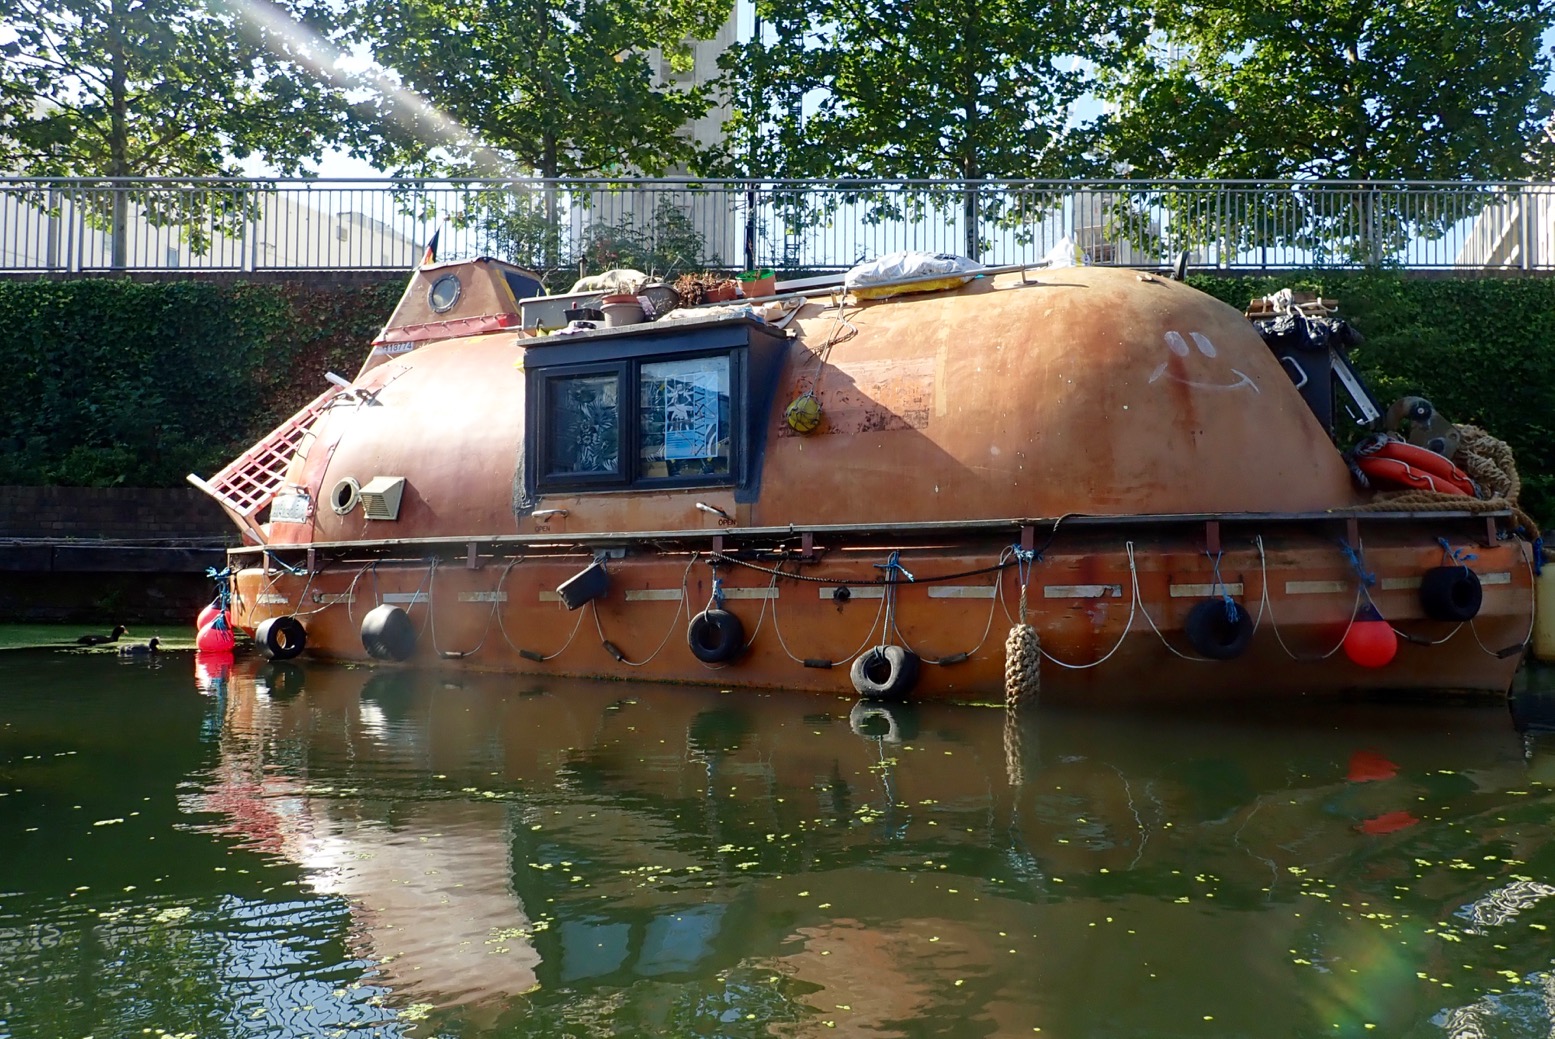
A lifeboat houseboat. No worries about rising sea level or tsunamis here.
The Word on the Water floating bookshop. I can’t quite square where I am with what lies around. I think back in my day it was all once a huge goods yard behind high walls. I swing into Battlebridge Basin but the museum isn’t open yet.
Up ahead is the 880-metre-long, Islington Tunnel. Again, as straight as a broomstick but closed to hand-powered boaters for similar reasons as Maida Hill. I was kind of hoping a barge might rock up and let me hook on for a lift, but the only things I’ve seen on the water are wildfowl, plastic bottles and Spirodelapolyrhiza. The museum organises boat tours through the tunnel two days a week. Maybe they’d agree to some slipstreaming.
I read that the portage follows helpful plaques set in the pavement. Cross the A1, Upper Street and head for Duncan St. It’s about a kilometre and would be somewhat of an arseache in a hardshell. Either way, I emerge at the eastern portal…
… and in need of a waterside snack at City Road Lock. It’s only 9.30.
By 10am I’m refreshed and on the move again. I put back in below the lock with a plop.
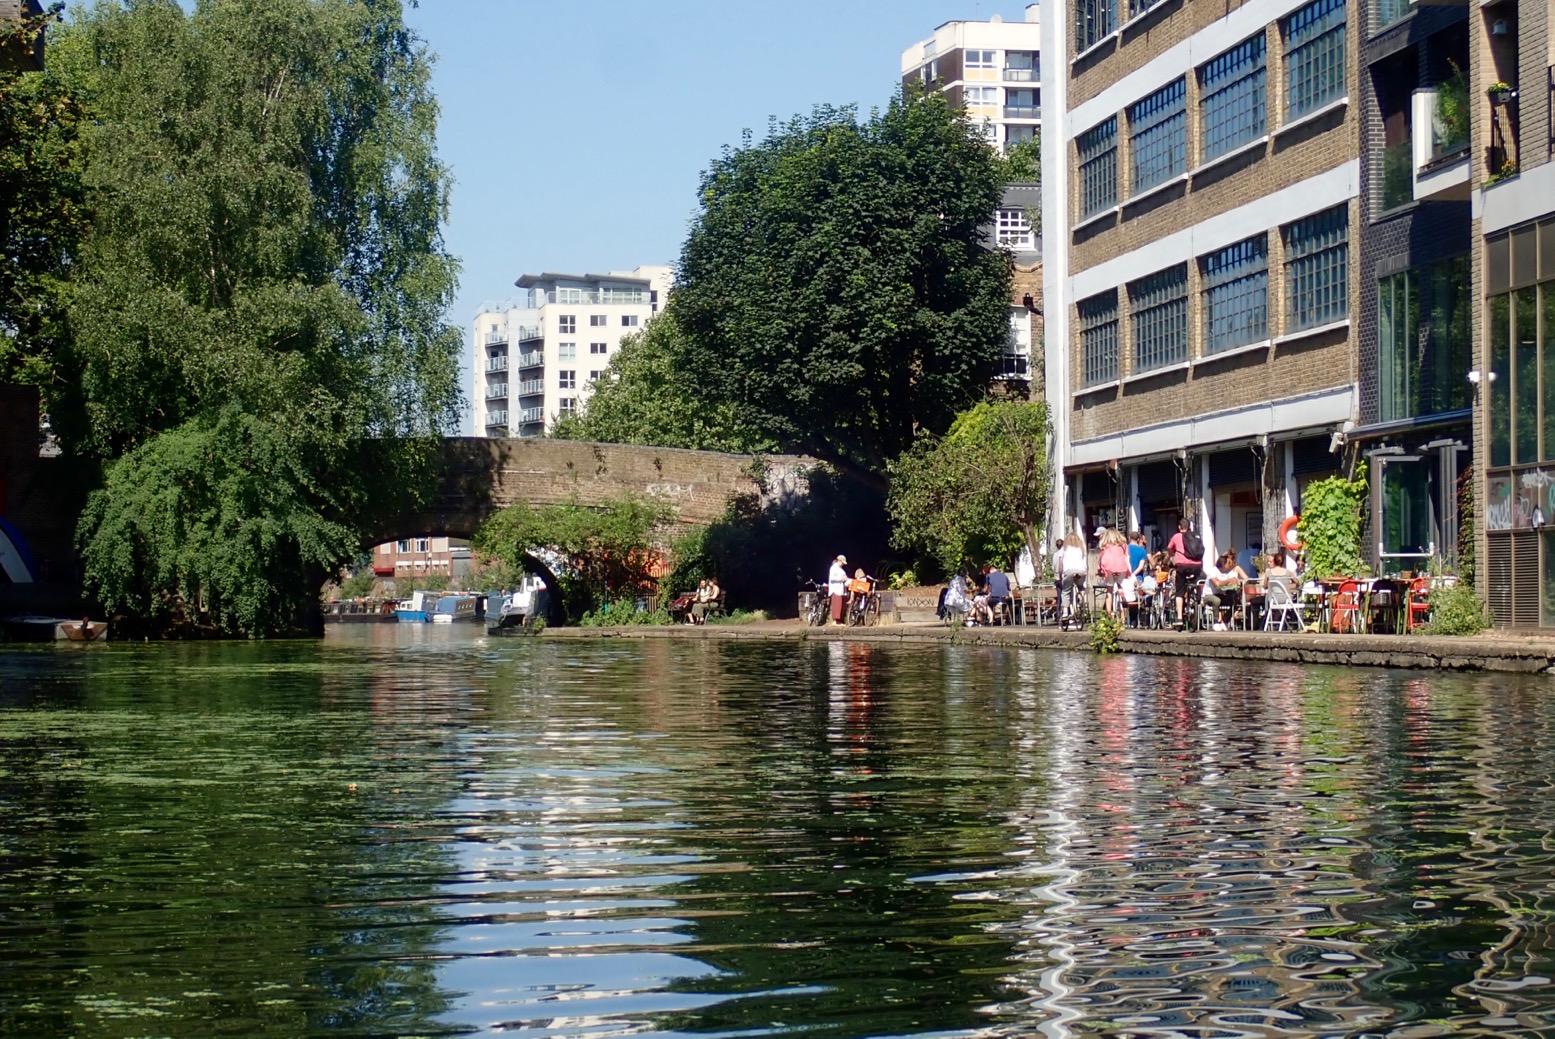
The canal turns north into Haggerston where, just after the Whitmore Road bridge, there’s a handy knot of cafes on the left. A better choice than City Lock if you want more than coffee and cake. It’s all yummy mummies round here, not the snarling, bottle-throwing punks I’d feared.
Kingsland Basin to the north, with a somewhat baffling kayak slalom course. Soon you pass under the Kingsland Road bridge, edging ever closer to south Hackney. or ‘Acne’ as some call it.
The canal is actually about 4 feet deep. near here I can see traffic cones and other junk on the bottom. But a prod with the paddle reveals two centuries of anaerobic silt, so don’t expect to be able to stand if you fall in.
A populist ambush. These Eastenders are such wags.
Swan narcissus. There’s a fairy tale in there somewhere, a swan that fell in love with its image and was turned into an ugly duckling.
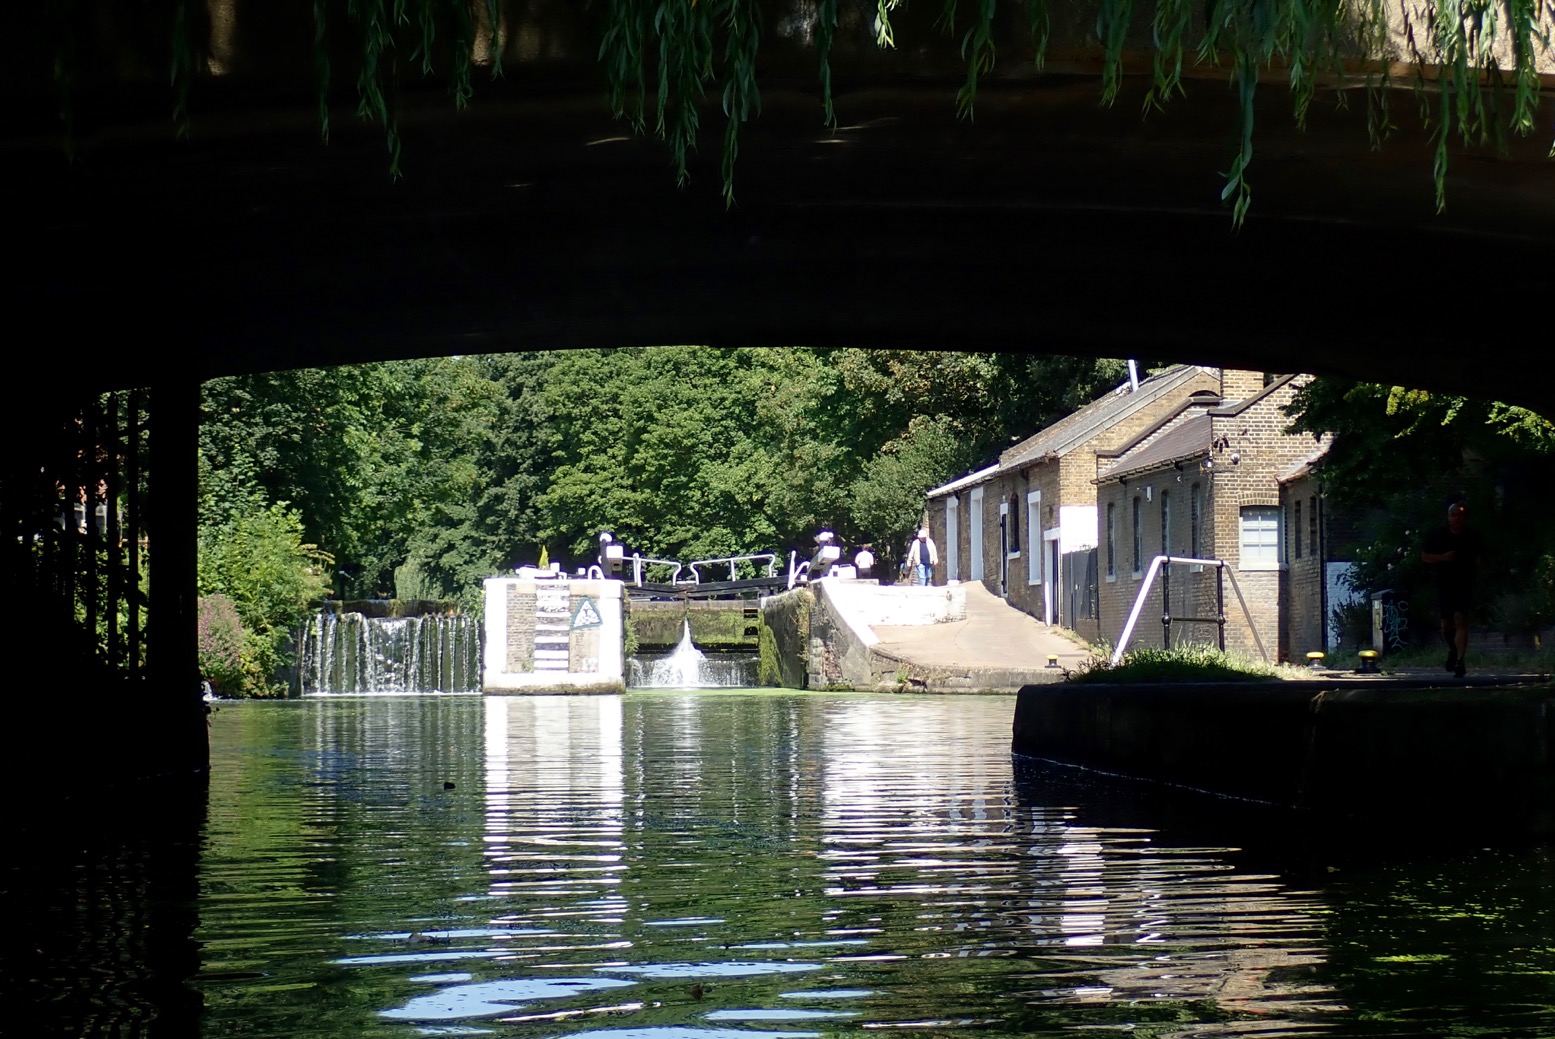
Another trickling spillway below a lock. I’ve lost track where.
Nosferatu guarding someone’s tent. Sure beats a shopfront on the Strand.
More gas holders near Cambridge Heath Road. You always find them near canals as the huge tanks need to float on water.
They’re actually like an upside-down cup resting buoyant on water and are as much about producing an even pressure as storage. Gas from a nearby factory is pumped in to the cavity above the water depending on demand, and the weight of the lid keeps the low pressure steady as it’s released out into the network (in an era before regulators).
New graffiti; 28-speed revolutions.
It’s that Nosferatu again. You just can’t get rid of him.
I’m approaching Victoria Park near Bethnal Green or South Hackney, it’s hard to tell. The precise name of your neighbourhood is very important to Londonders.
By Old Ford Lock (named after a car they dredged out of the canal in 1981) are the first canalside public toilets I’ve seen. Good to know. A nutty, bin-rummaging vagabond in a top hat has a quick chat and warns me of heavy weed ahead.
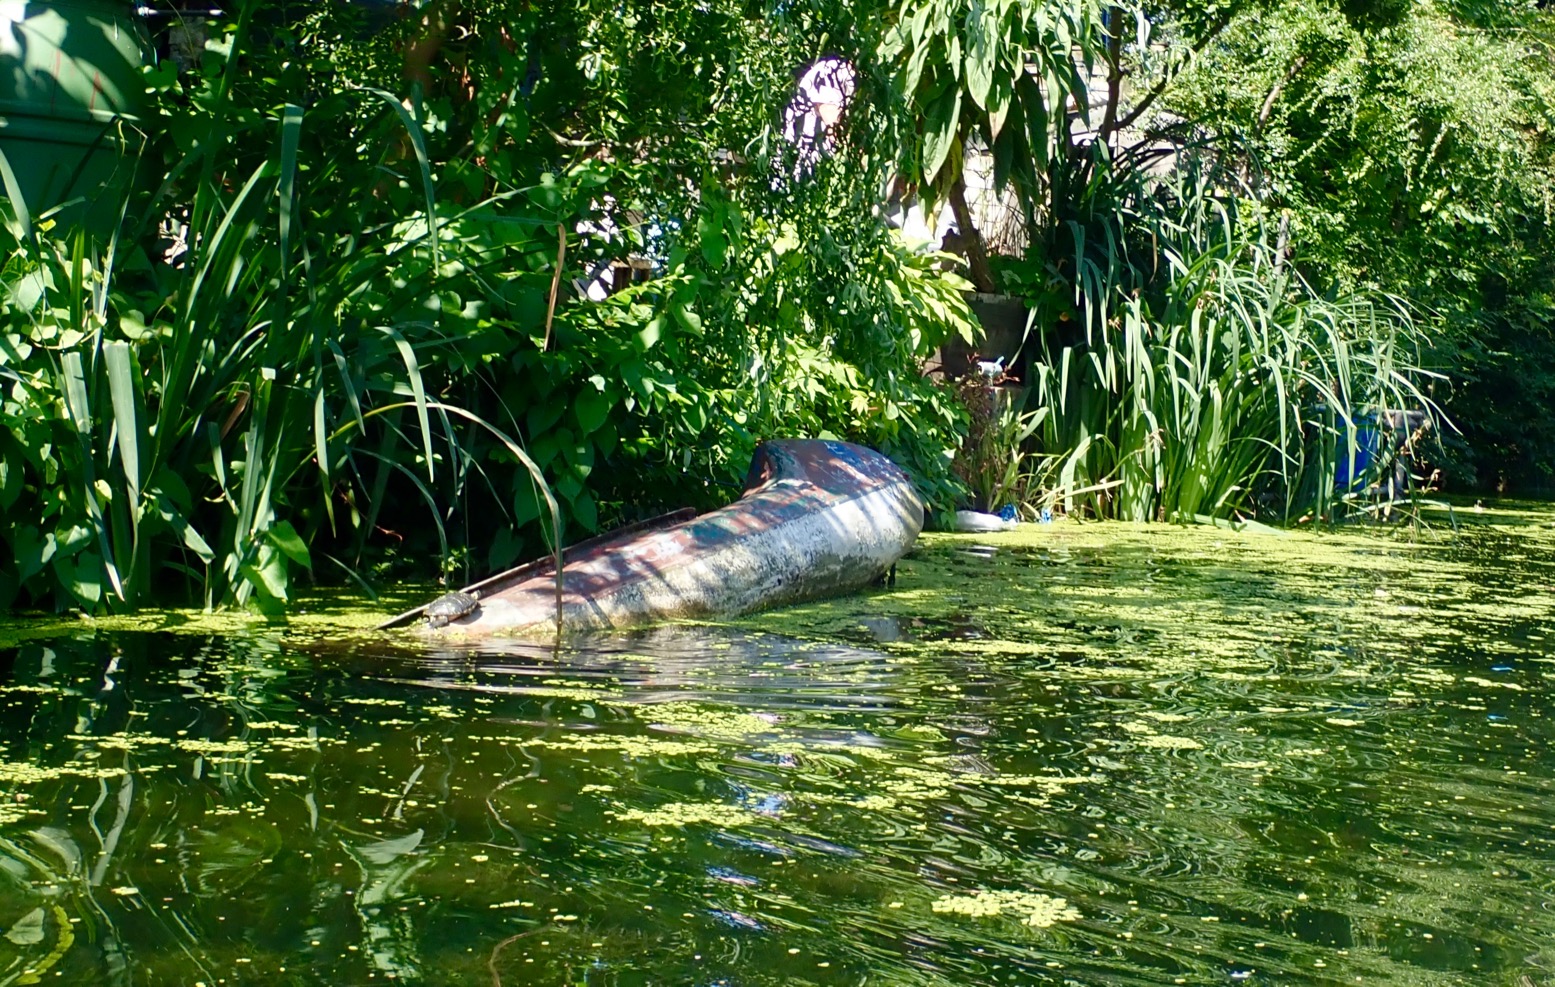
Is that a real turtle on the sunken kayak or a rubbery Hacknean joke?
On the left the Hereford Union which leads two clicks up to the Olympic Park and the River Lee Navigation. We’ll be exploring there shortly.
More of yer Acne ‘umour? Someone report these ratbags to the CRT, pronto! You won’t see such frivolity in la-di-da Little Venice.
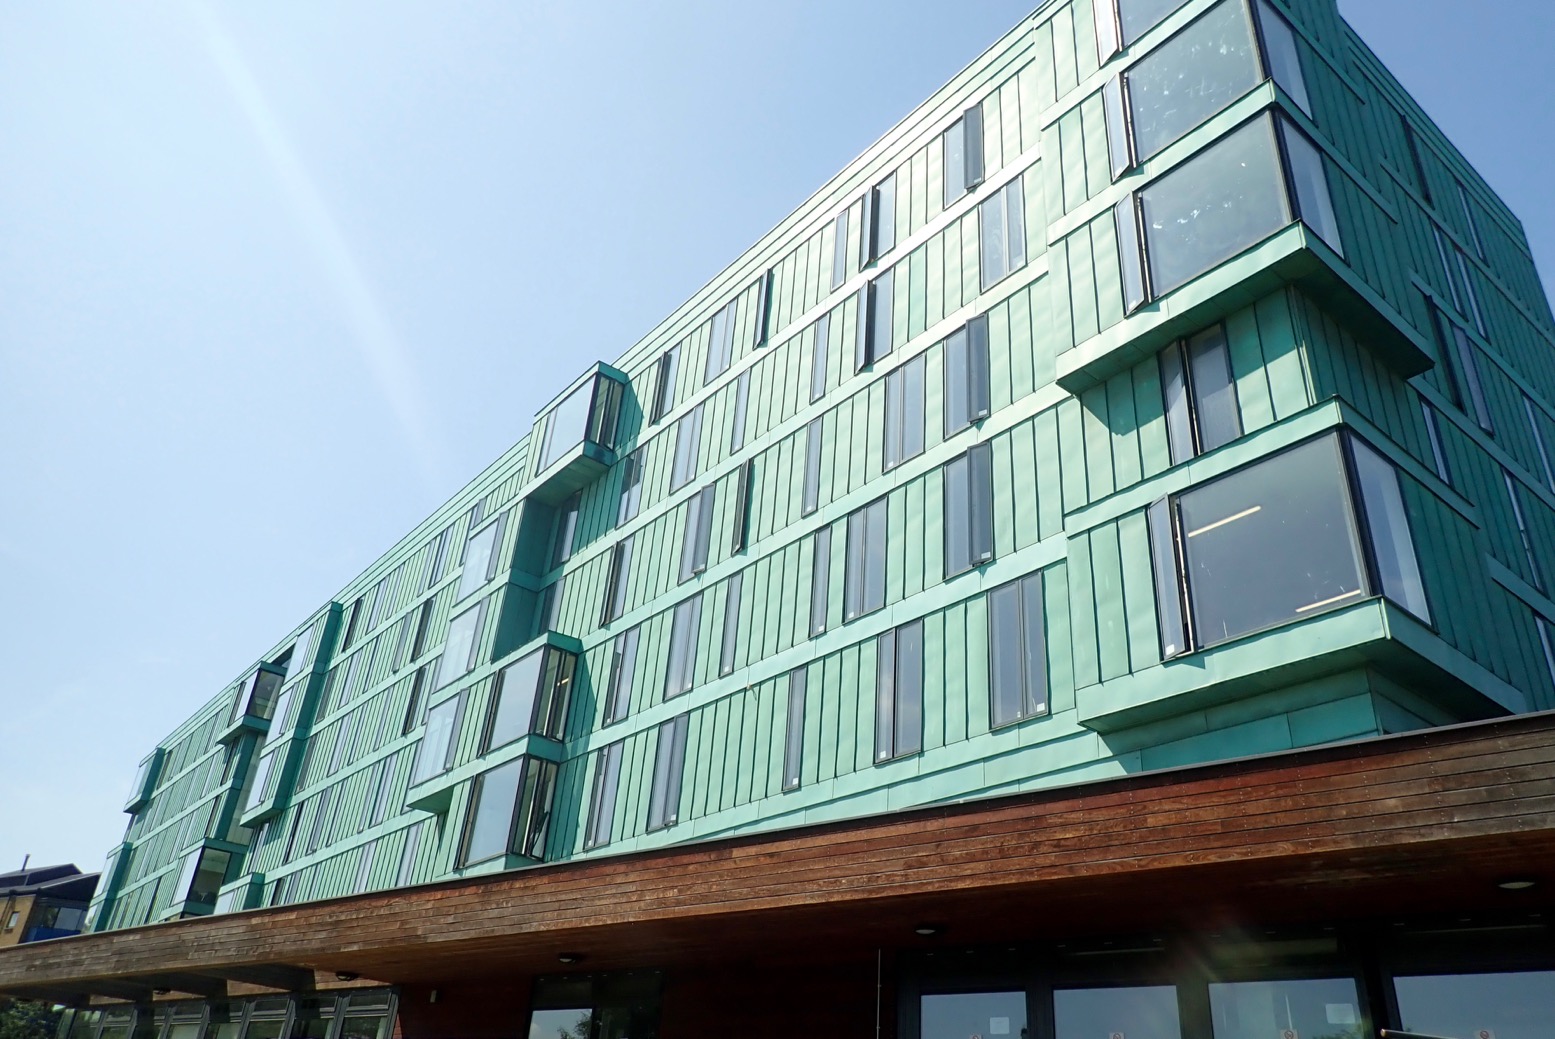
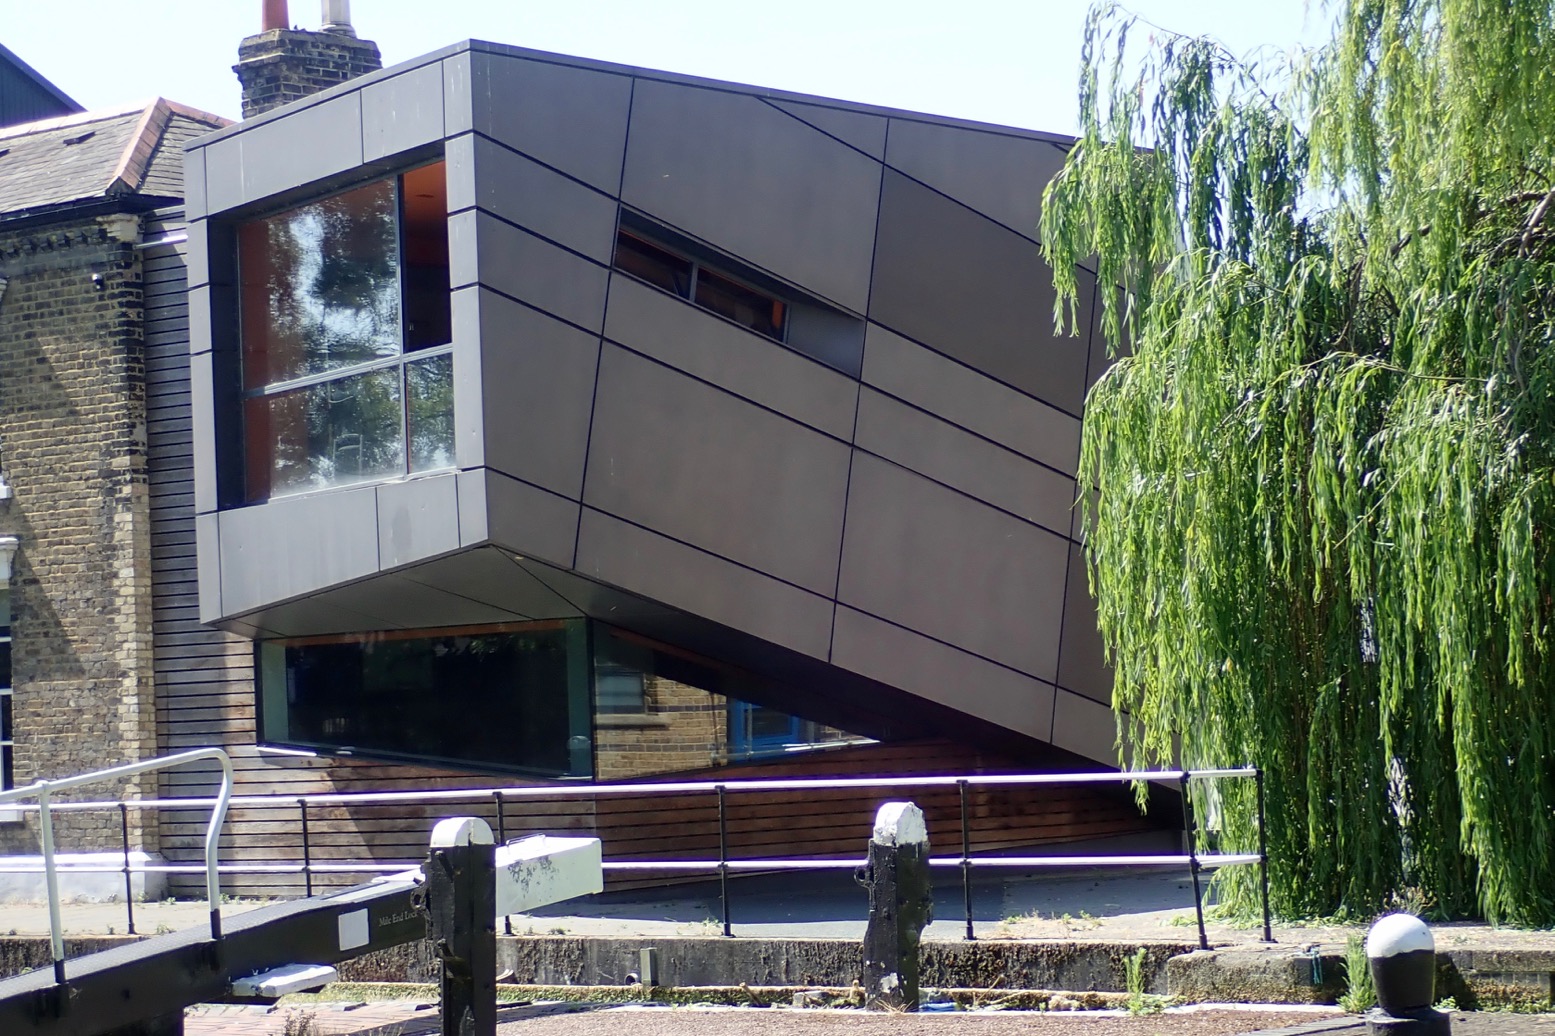
Architecture-spotting: new, old, industrial, domestic, elegant, ugly – is all part of the fun on the Regents.
I probe a weed-clad lock. Locks are creepy places.
Canary Wharf ahead – the former Docklands of London which was the Regents’ very raison d’etre.
And here we are at Limehouse Basin and the first actual moving boat I’ve seen since Paddington.
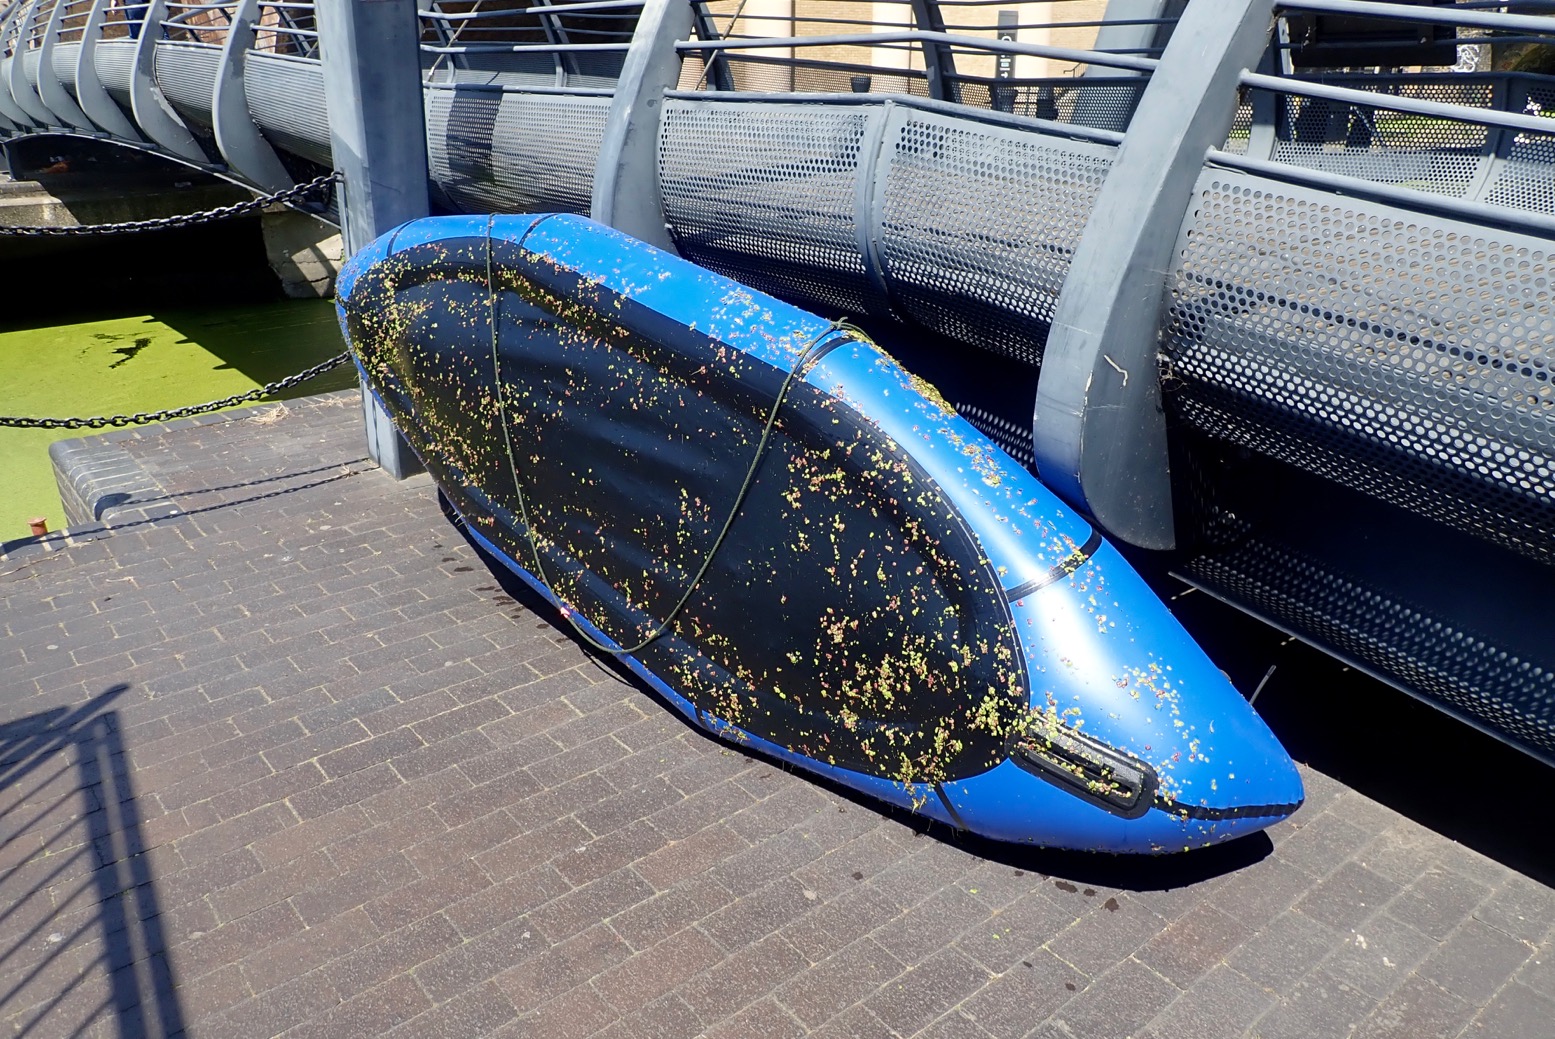
A lot of weed to clean off.
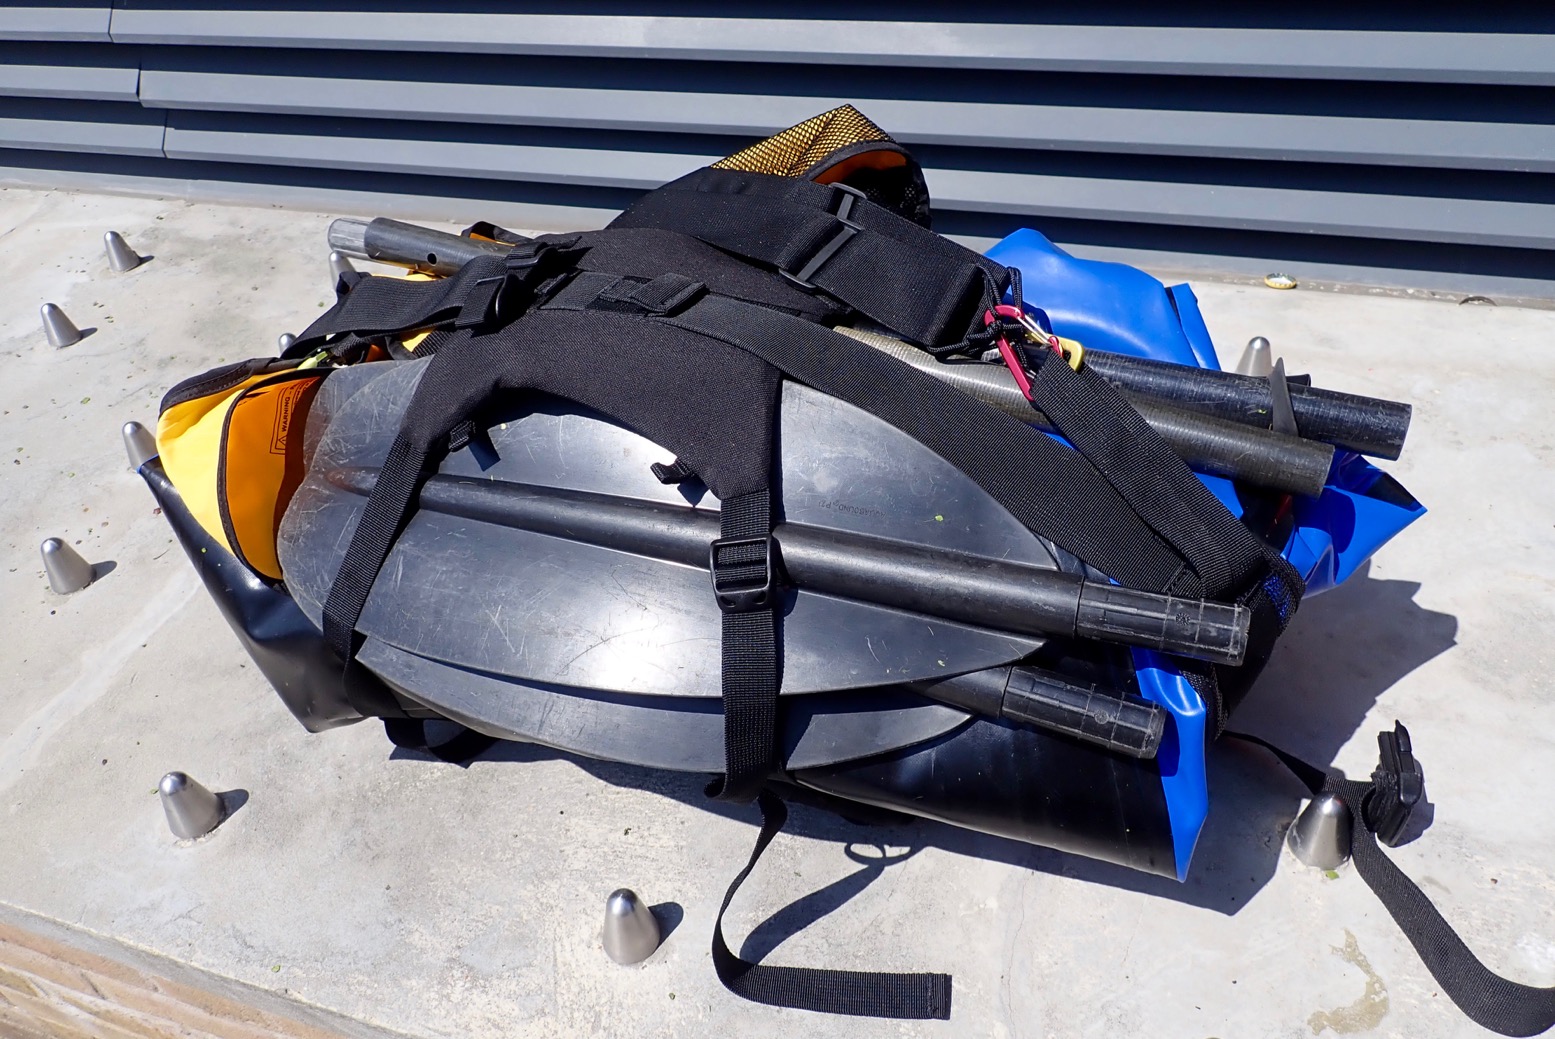
All wiped down and rolled up.
I set off to walk upstream along the Thames for a bit.
The river looks really quite choppy and a strong spring tide shoves an abandoned kayak upstream towards Wapping.
Bored [sic] as a coot? Not on the Regents Canal!
Thanks for reading.
Want to head back and beyond. Watch this series of vids from The Londonistas