In 2021 WindPaddle.com stopped trading. But Anfibio now make the very similar PackSail for just €119.
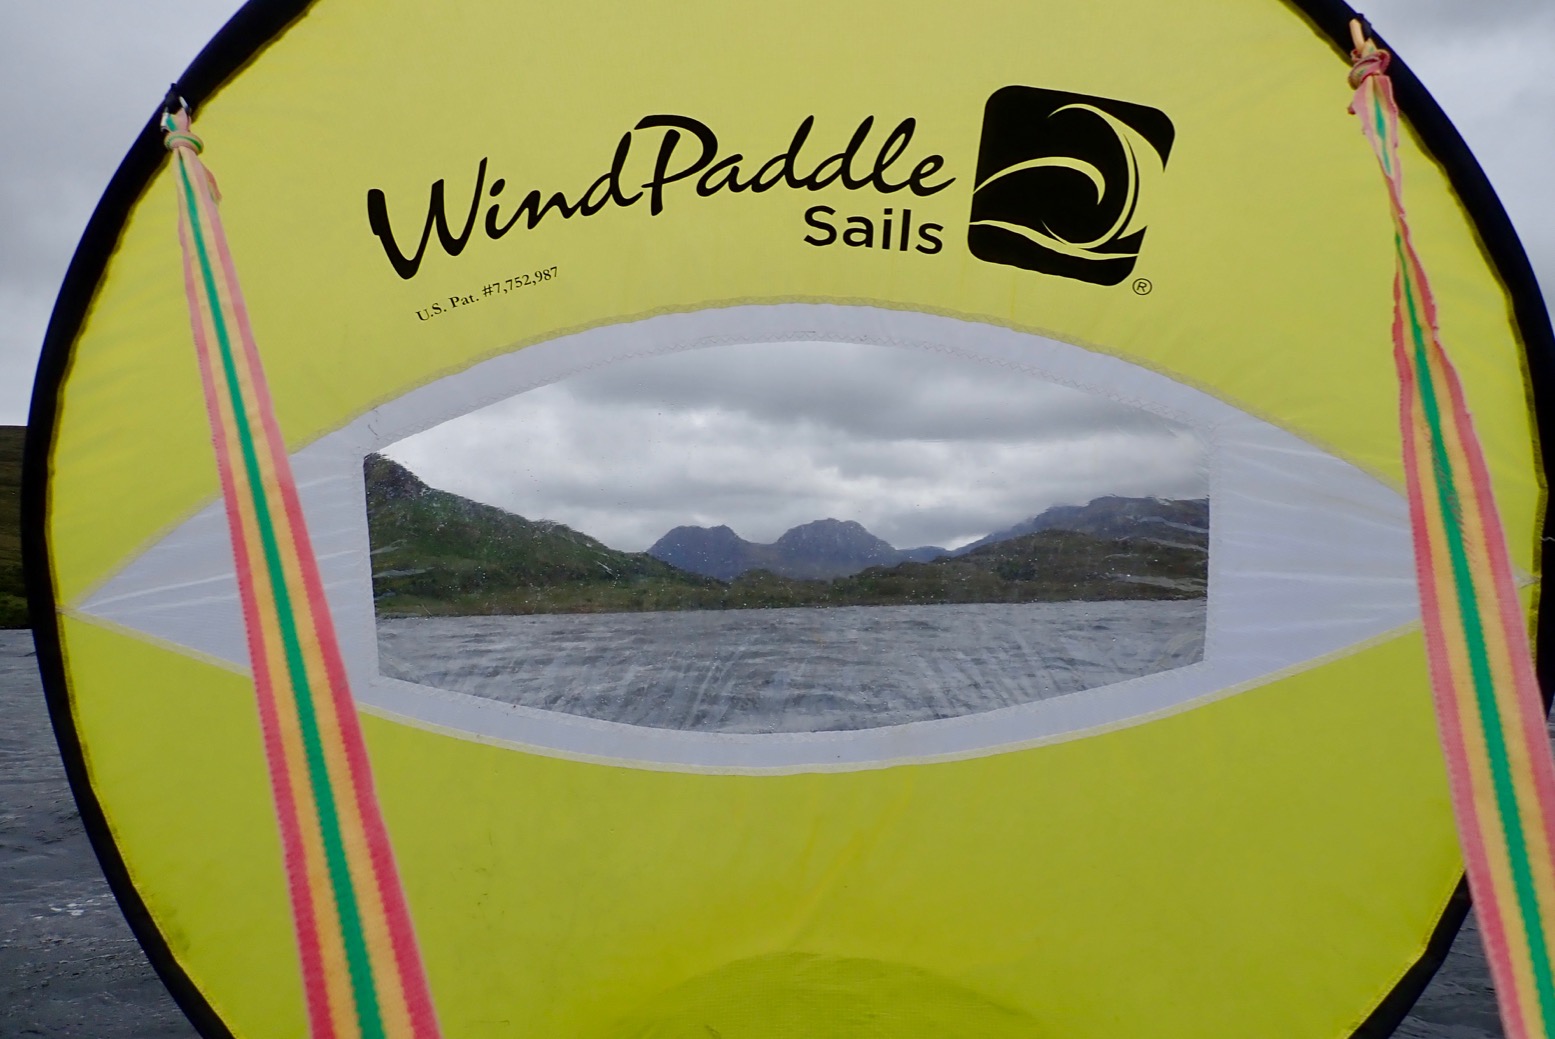
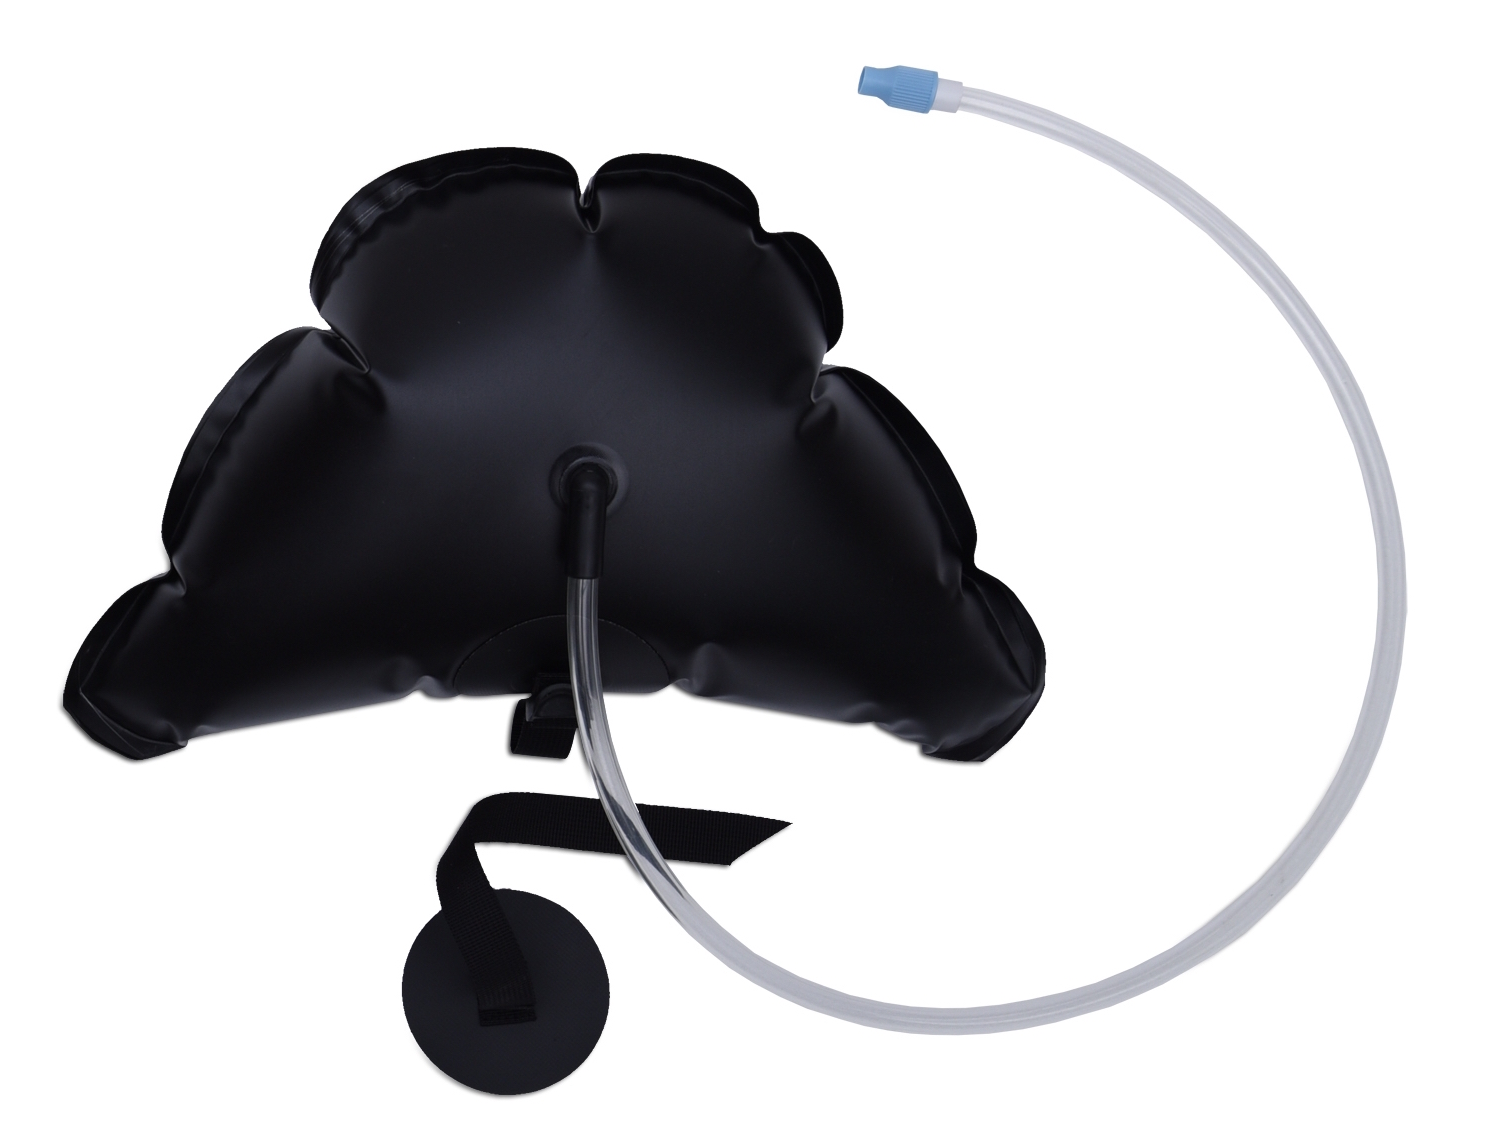
WindPaddle Adventure II Weight: 385g (+ 45g ‘reins’ with 2 mini carabiners) Folded 3 times: (takes a knack) 40 x 45cm ø Folded twice: (easier/quicker on the water) 60cm ø Open: 116cm ø
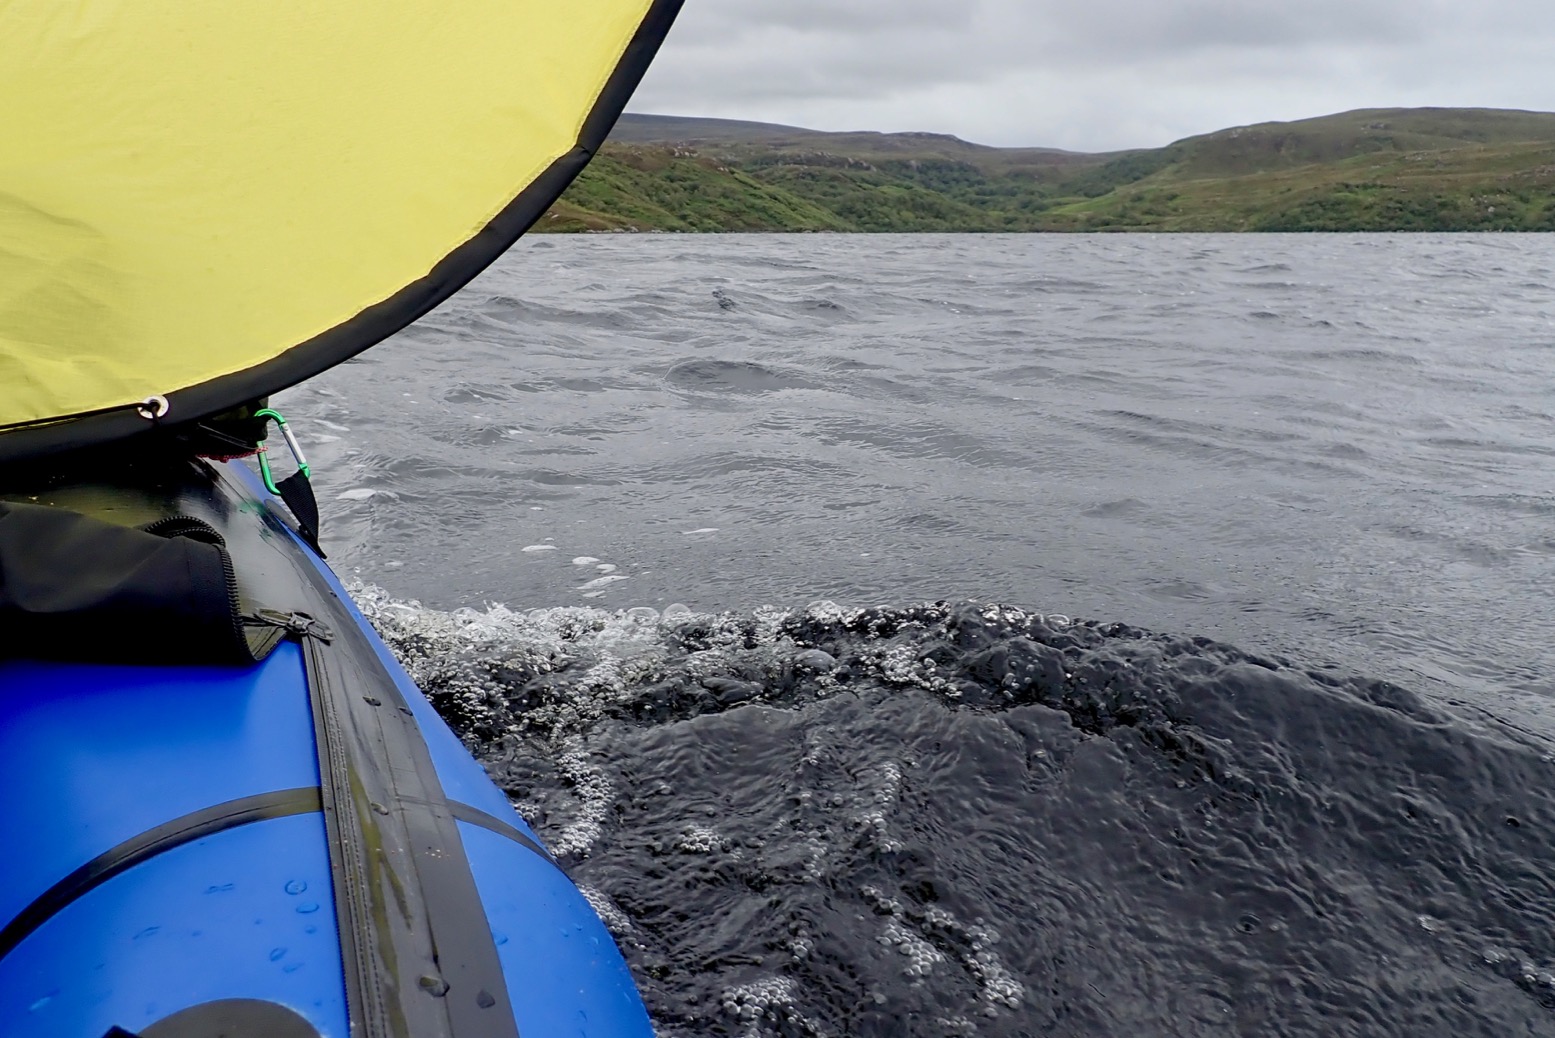
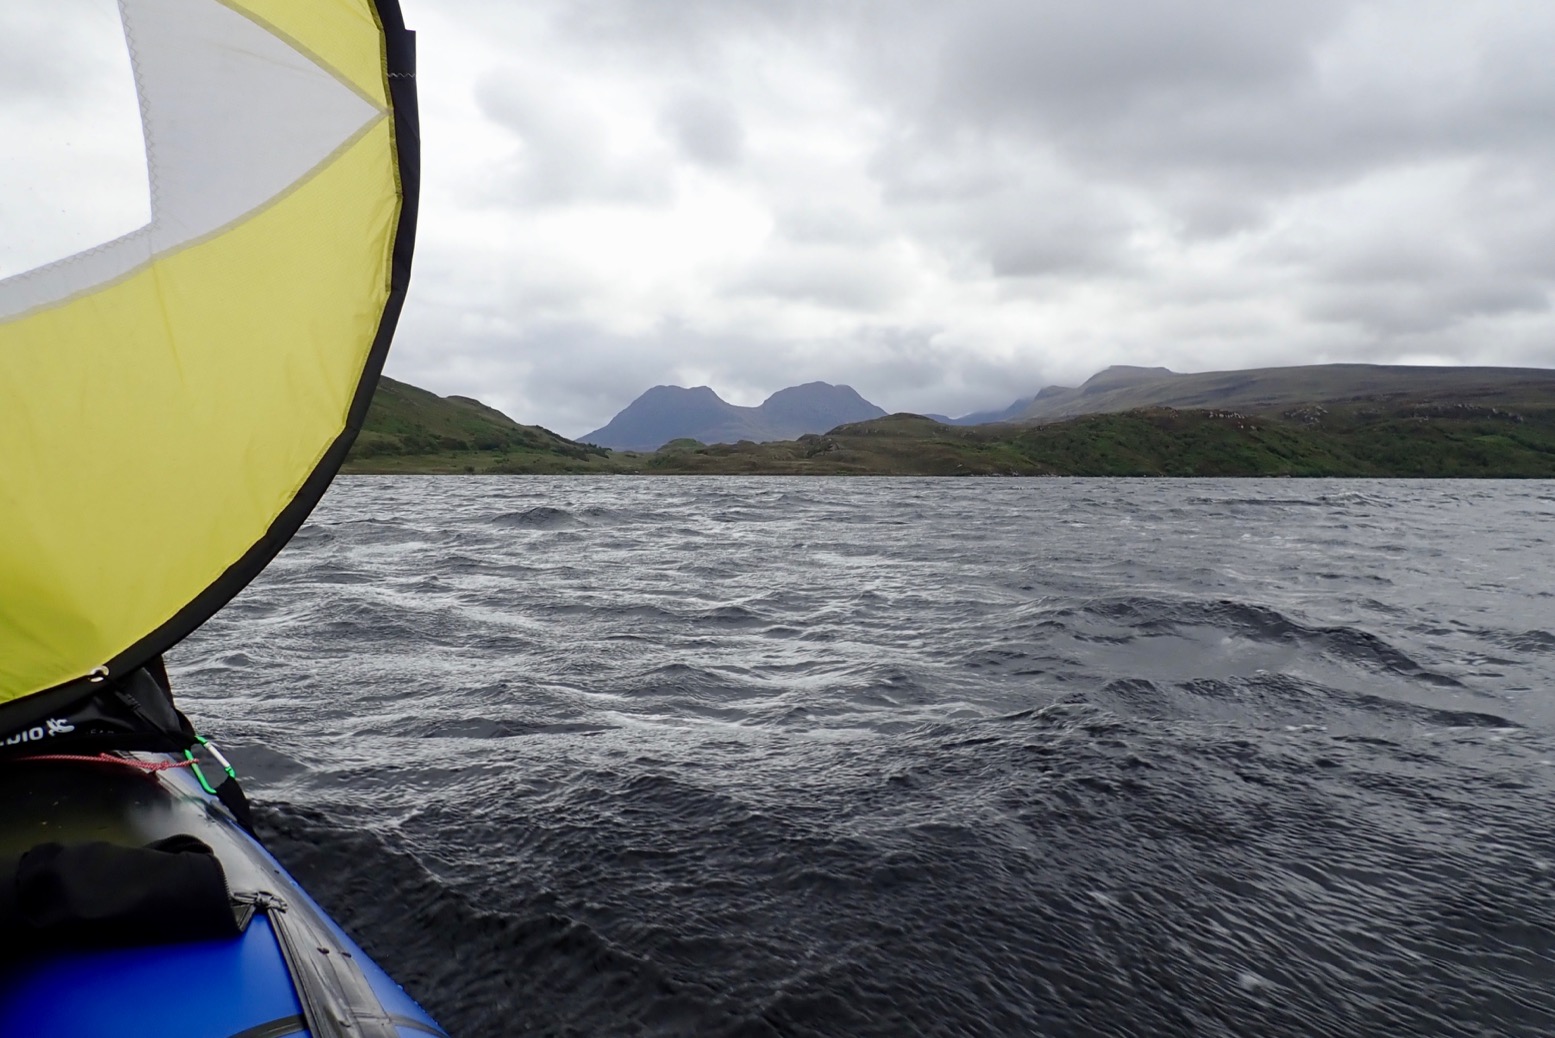
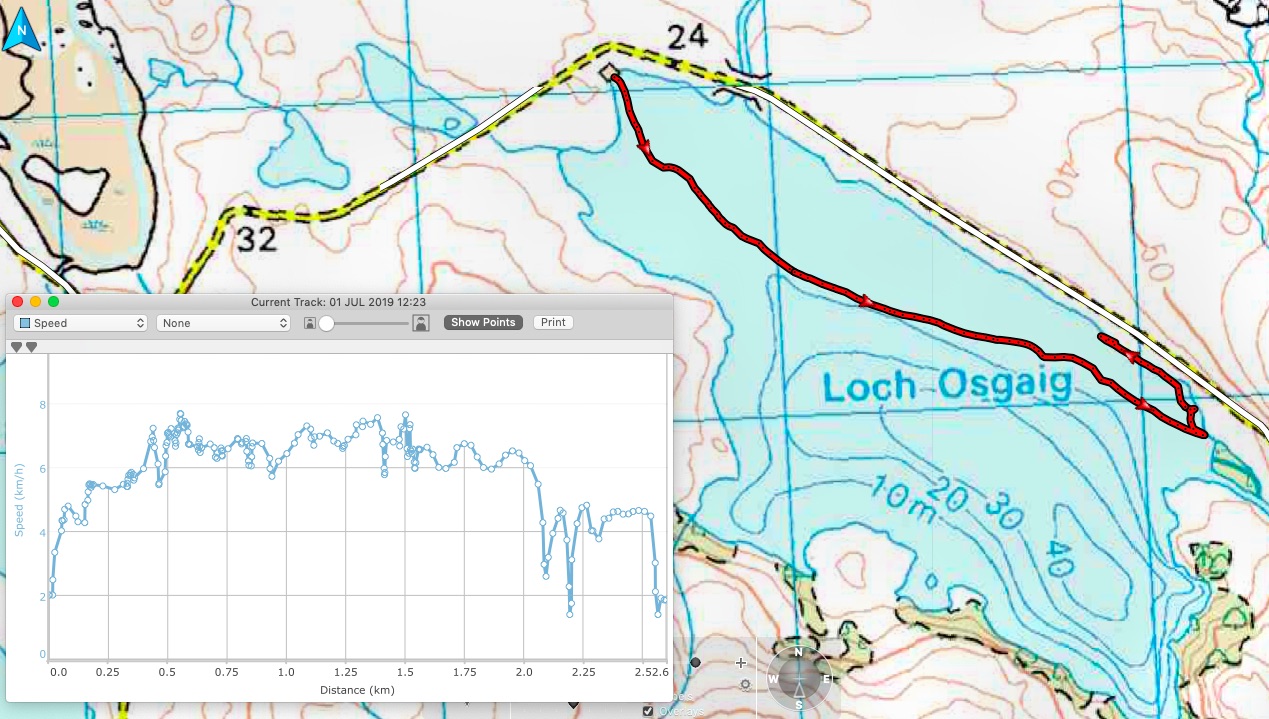
I’ve been waiting for the right kind of wind to have a proper go at WindPaddling my MRS Nomad. Sunday was not that day with SW gusts up to 25mph. Yesterday was more like it: direct from the west at 10-15 meant a chance to run down the full length of Loch Ossian with the wind erring towards the road for the walk back or if it all went wrong.
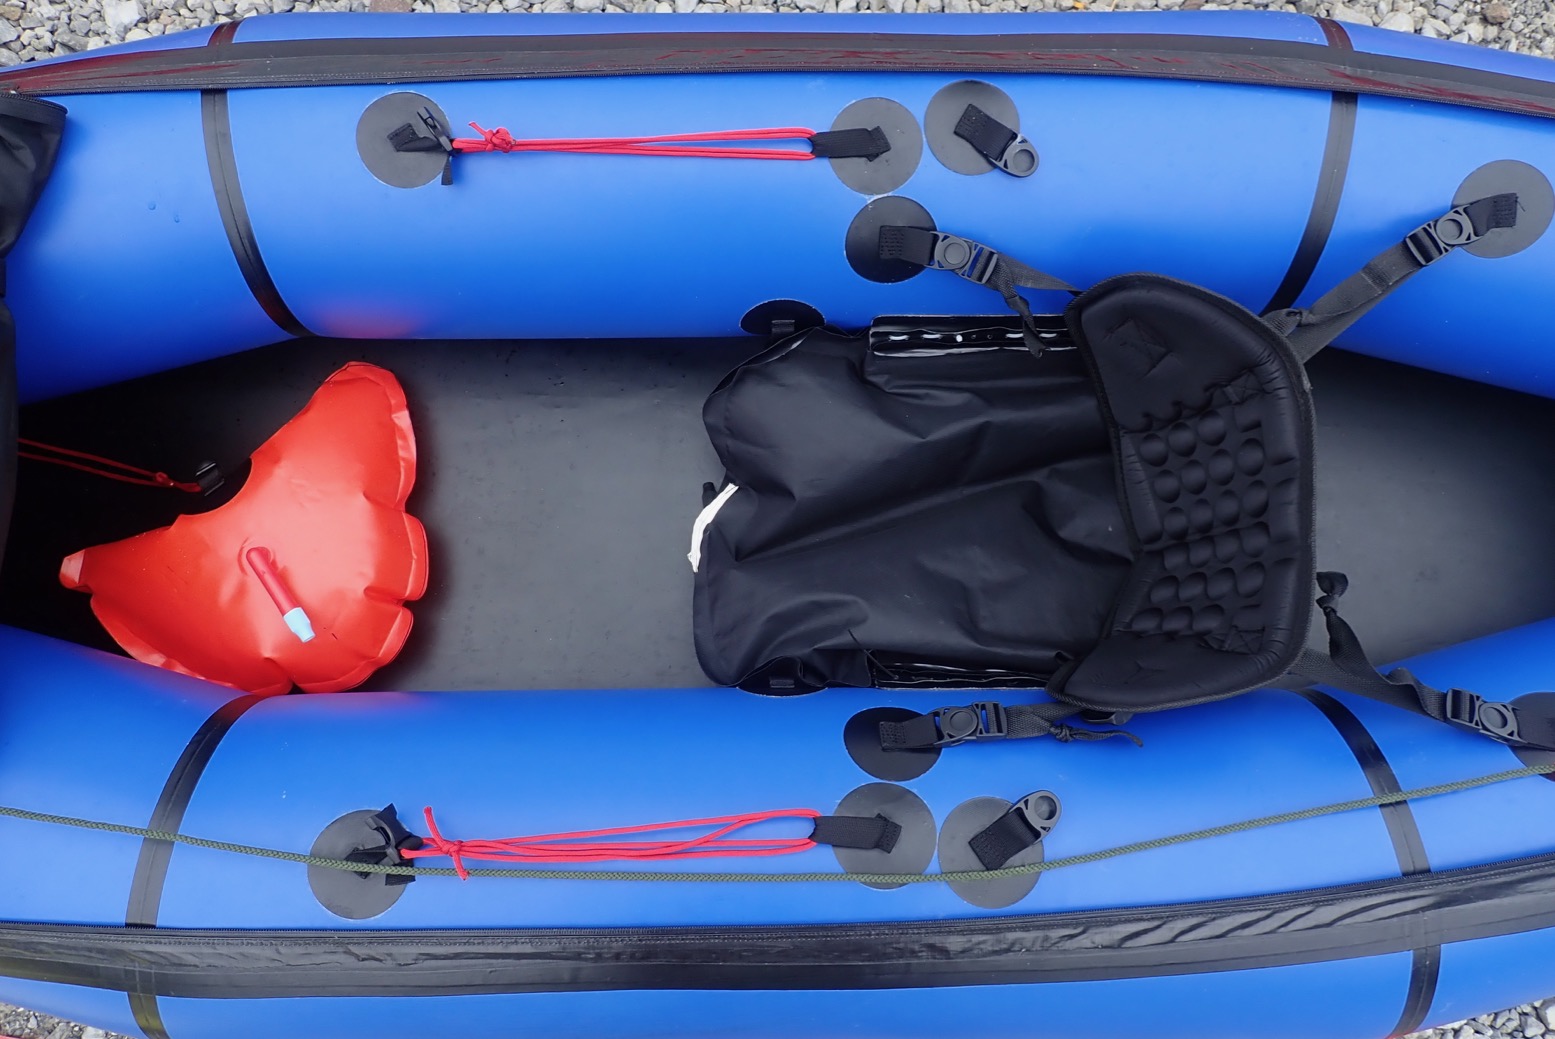
You forget that starting at the upwind end all is relatively smooth and calm, but soon the fetch kicks up and stays that way. Progress gets a bit lively so you need to be on top of things which includes stashing the paddle safely. I found tucking it across the boat under some red sidelines (left) worked well and are more often useful for manhandling the boat. Lunging after a lost paddle would be bad; so would letting go of the sail’s ‘reins’ and having the boat run over it. The sudden drag and deceleration might see the racing boat slew sideways and flip you out. And before you come up for air your packraft is skimming across the loch like a crisp packet.
I don’t know if gusts vary in direction but you also need to constantly modulate the reins left to right to keep on course. It’s said downwind sails like the WindPaddle have a narrow windspeed window which tops out around 15mph. After that, they start fluttering left to right in an effort to shed the load, as mine did a couple of times. Going out in stronger winds may be too hard to handle or very exciting. As it is, the maximum hull speed of a packraft must be less than half that and, just as a cyclist’s energy to overcome wind drag grows exponentially with speed, so to you can only push a paddle boat so far. A packraft is about as hydrodynamic as a training shoe.
With the gloomy skies I was initially a bit nervous. Controlled by the wind and without a paddle in your hands felt disconcerting; a sunny tropical locale would have fixed that I’m sure. As usual with packboat sailing, it’s never just sit back and skim along like yachts seem to do; you have to keep correcting. At nearly 3m with the skeg fitted, the MRS is longish which must help keep it on line. And as mentioned before, with the WindPaddle you can steer at least 30° off the wind. According to the GPS, 9.3kph (5.8mph) was the peak speed, though most of the time I was zipping along at about 7.5kph. It felt faster as wavelettes broke to either side and occasionally over the bow. With the big Corry paddle, at maximum paddle exertion on flatwater I can hit 6kph for a couple of seconds. So once you relax, sailing can be a fast and energy-saving way of covering distance, and the WP folded up and stashed easily under the DeckPack.
I was expecting to walk back but gave paddling a go and stuck with it, hackling along at 2kph with rests every 10 minutes. Fifteen minutes sailing downwind = a 50-minute paddle back. I still think for the price, weight, bulk and ease of fitting and use, a WindPaddle is a worthwhile packboating accessory.
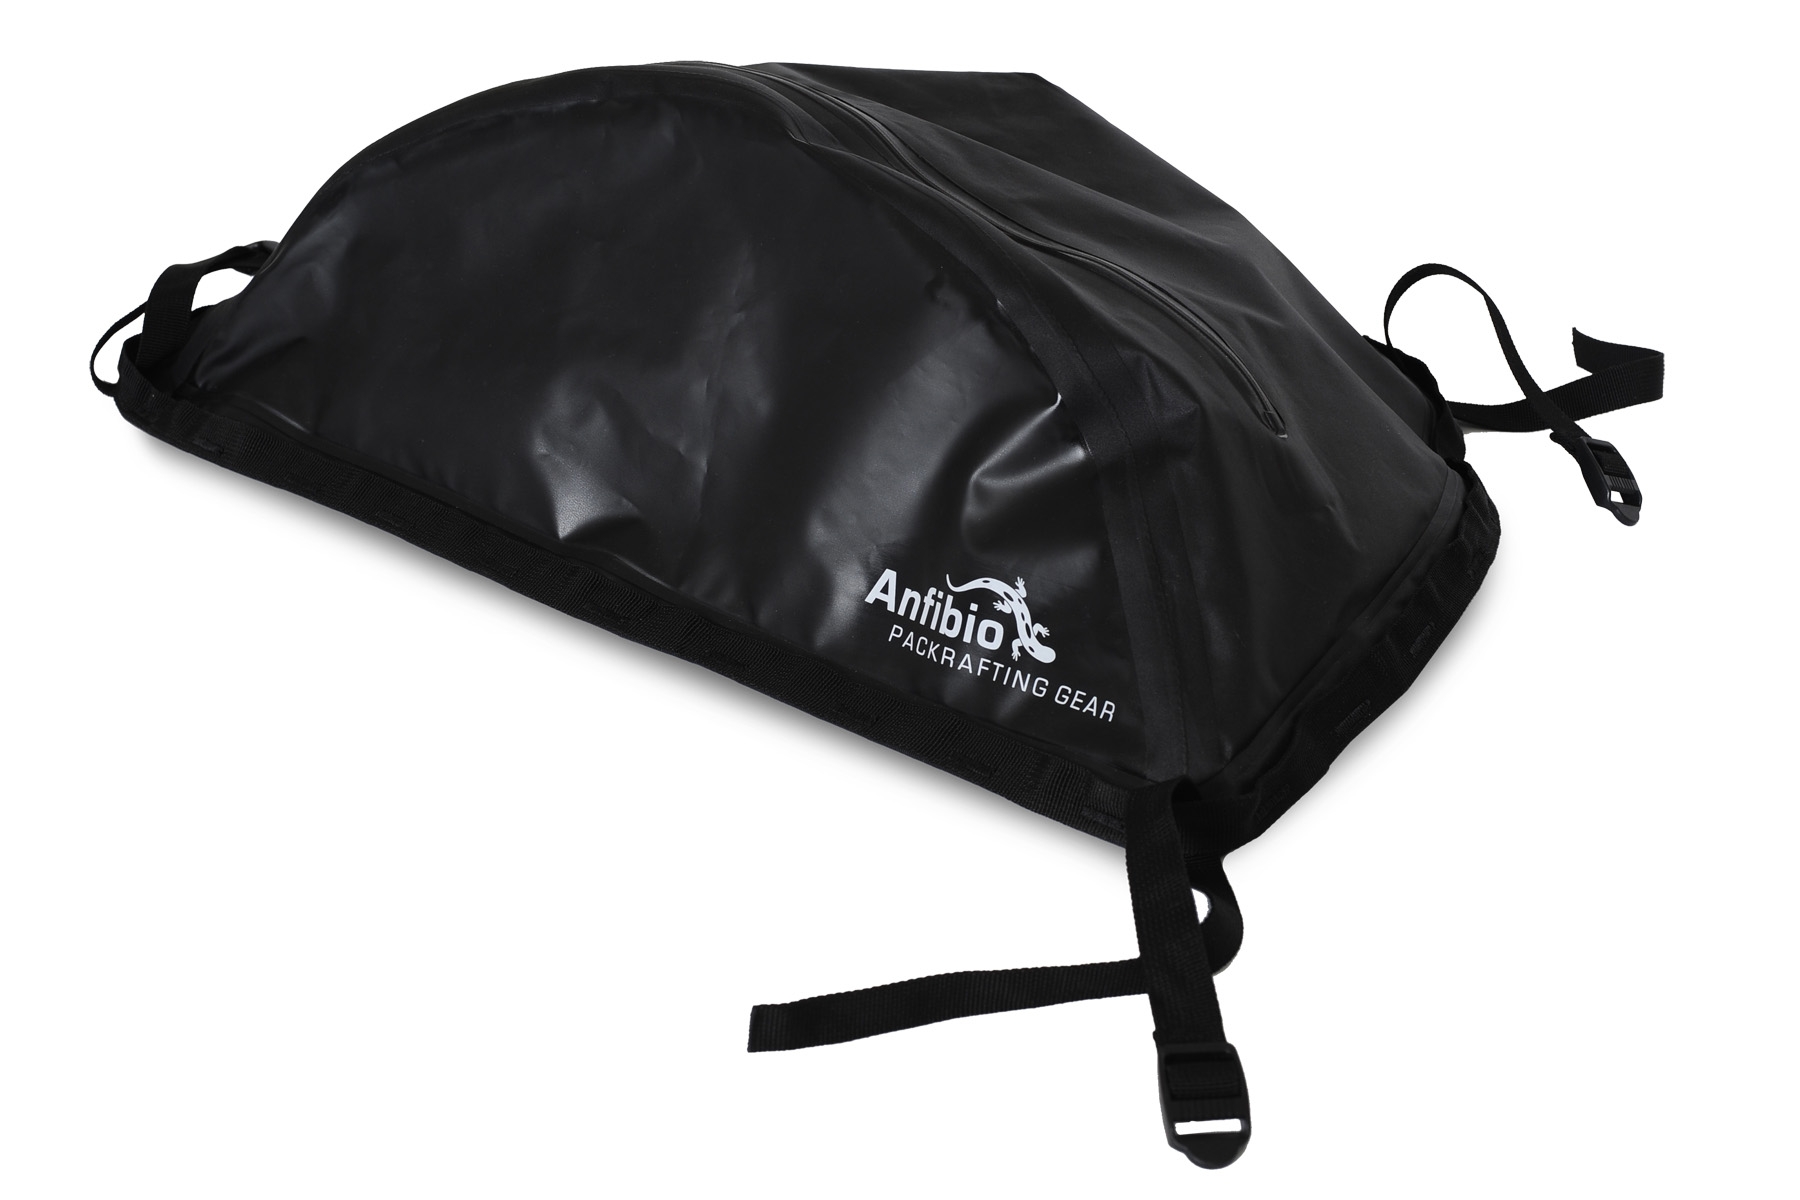
Weight, Size & Volume Bag: 224g; straps 11g each (verified) 59cm wide, 43 cm long and ~15 high when full. Volume: 22 litres.
Where tested Northwest Scotland, Medway, Knoydart, Jurassic Coast
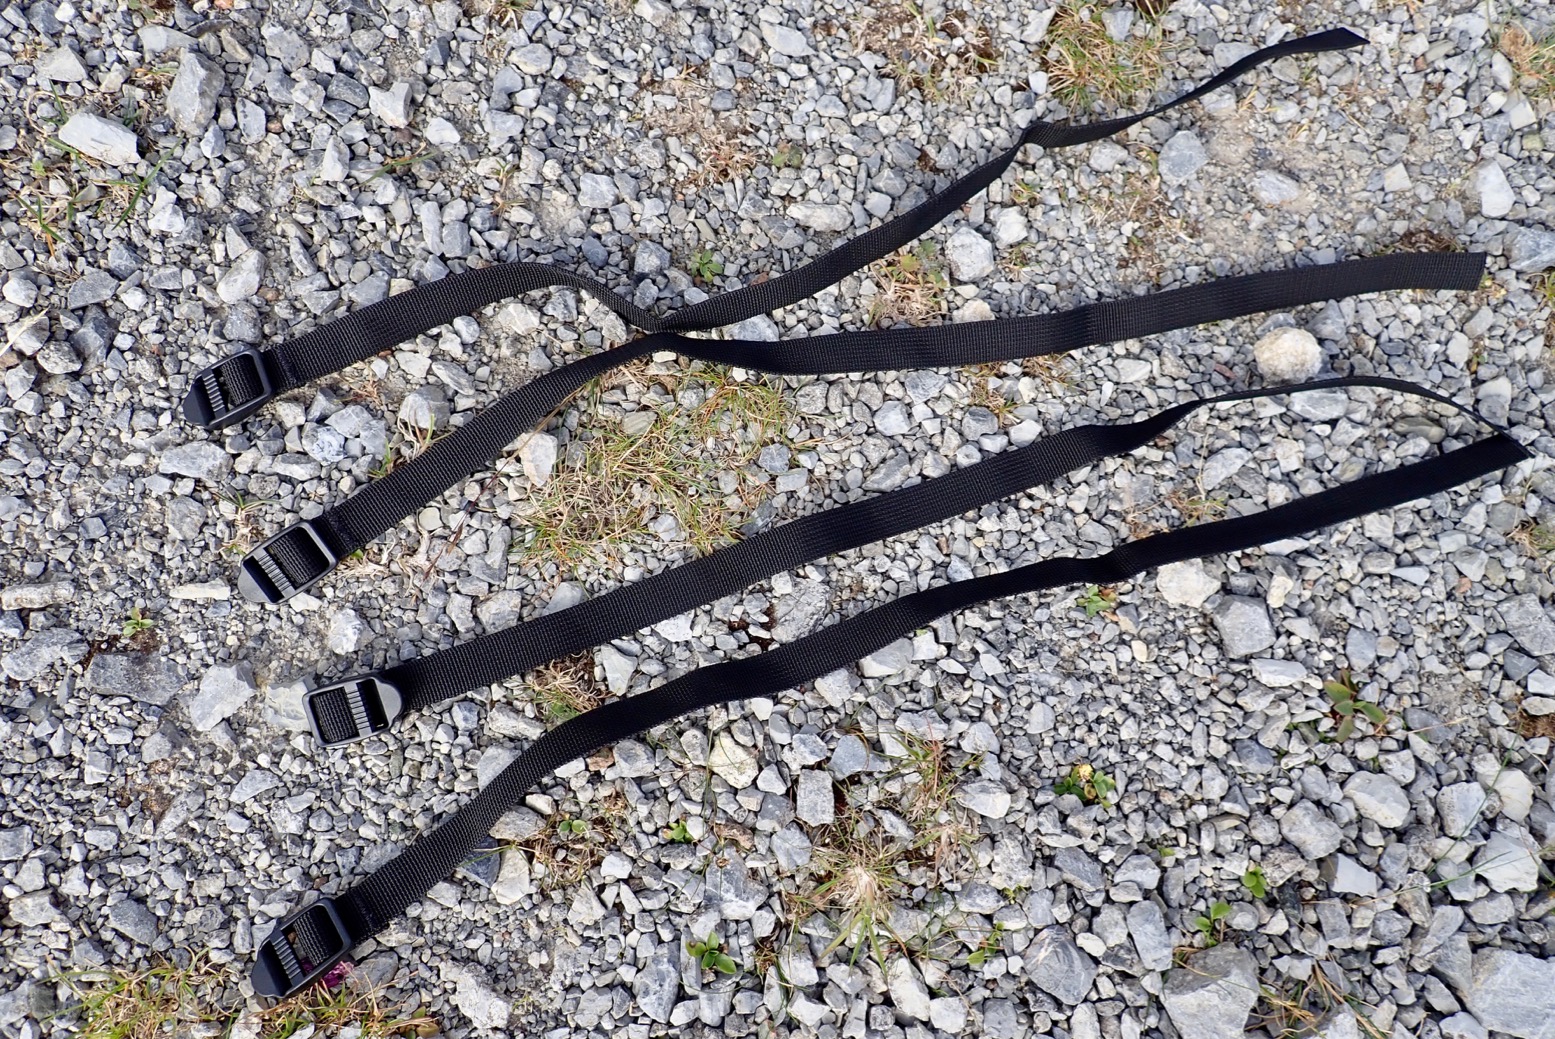
• Waterproof construction including IPX7 zip • Light • Variety of attachment options, providing you have the mounts • Four 58-cm straps included • Works great on the trail as a shoulder bag too • Handy Molle rim tapes • You can easily tuck a once-folded WindPaddle underneath or even inside
• On the bow of my Nomad was a bit of to reach; better on the Rebel 2K and TXL • Not convinced it works well as a floor bag • Won’t stay up to be a pillow • A white interior and external mesh pocket would be really good • Drop the straps and use reusable zip ties – quicker and easier
What they say Waterproof zippered packraft bow or stern bag for easily accessible essentials on the water. Fits any Packrafts (and a lot of other boats) by full perimeter daisy chain (for variable fastening). With the Anfibio DeckPack you can transport your essentials safely and securely in all conditions. Splash-sensitive valuables like a camera, keys or documents as well as emergency equipment and spare clothing are always at hand on the bow, the stern or on the floor beneath your knees. The DeckPack can also be quickly converted into a daypack for excursions on land or the use as hand luggage on your journey.
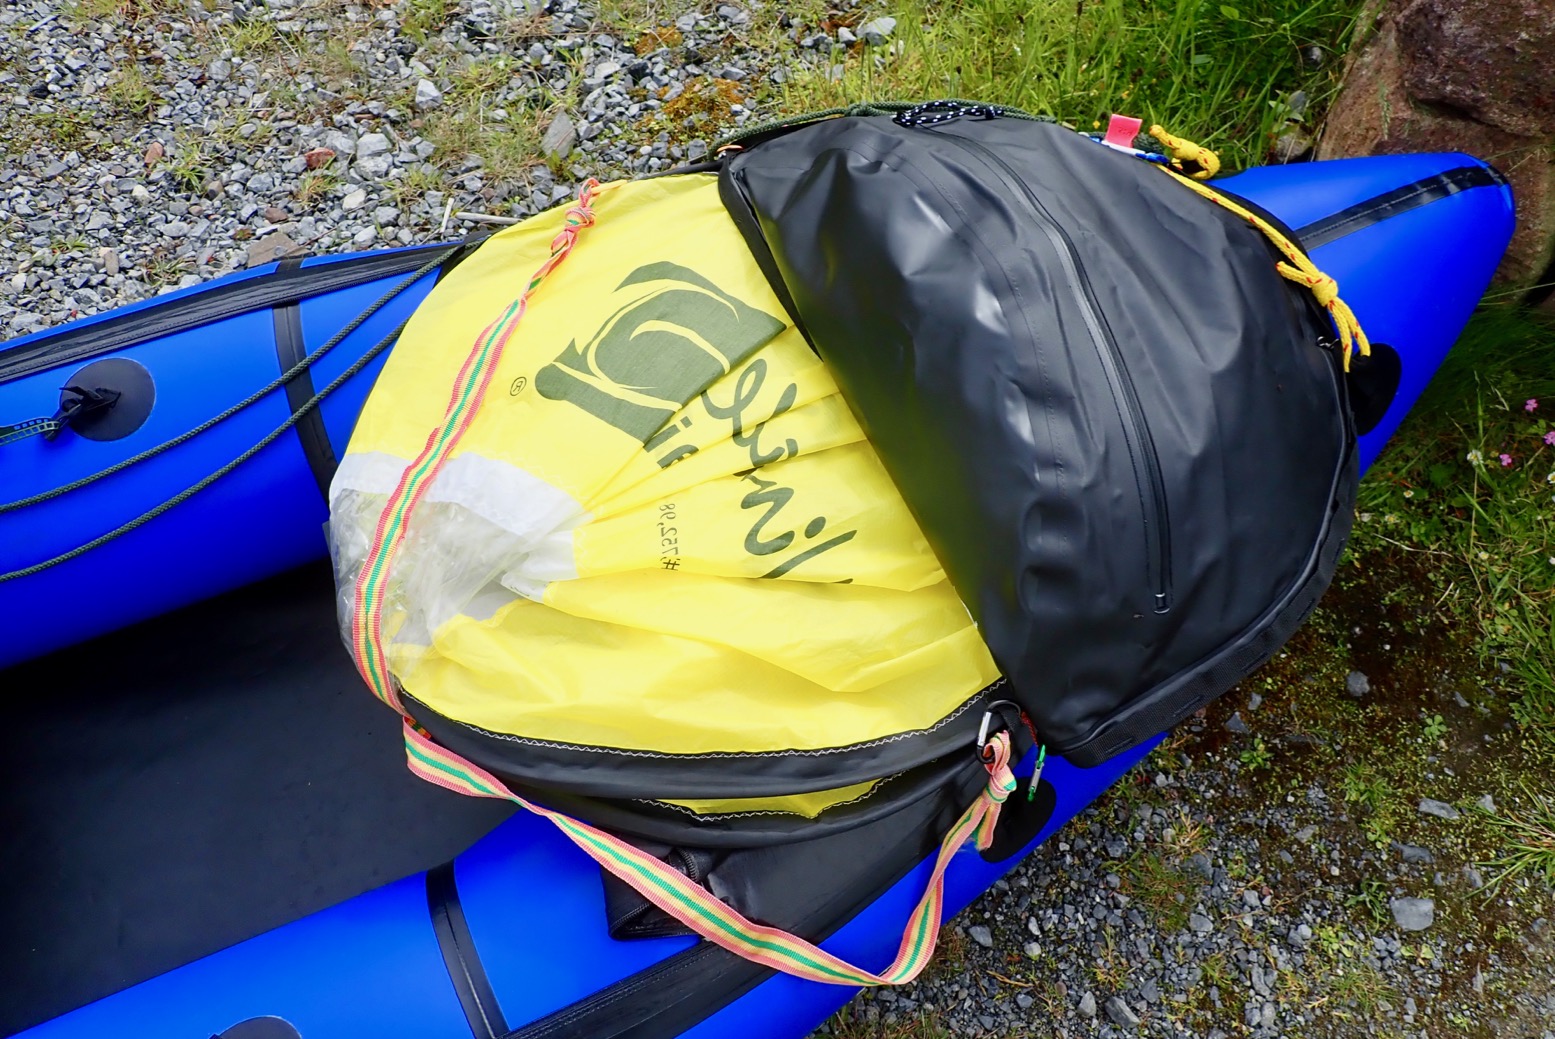
One great side benefit of a DeckPack is that a WindPaddle sail easily folds down and half tucks under the bag securely in seconds. A paddle can also tuck in under the bag securely while sailing.
Review The problem with packrafts is there’s nowhere to put your stuff other than the bag it comes in, usually a backpack. I wrote more about it here, before making my own small Pakbag.
Otherwise, I like a 20-30L holdall, like my old Watershed Chattooga, or my current Ortlieb Travel Zip (right) with a handier TiZip and mesh-zip external pockets. These bags sit accessibly, but out of the way, under my knees, and on previous packrafts attached to a tab mount glued to the floor for when you flip.
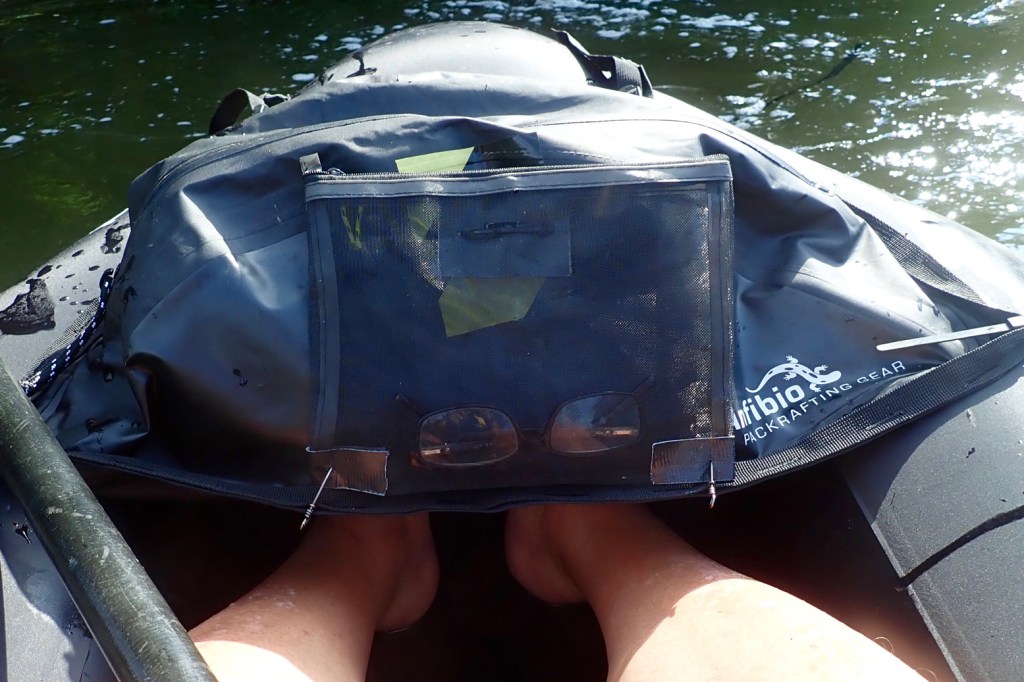
Anfibio DeckPack with added mesh outer pocket
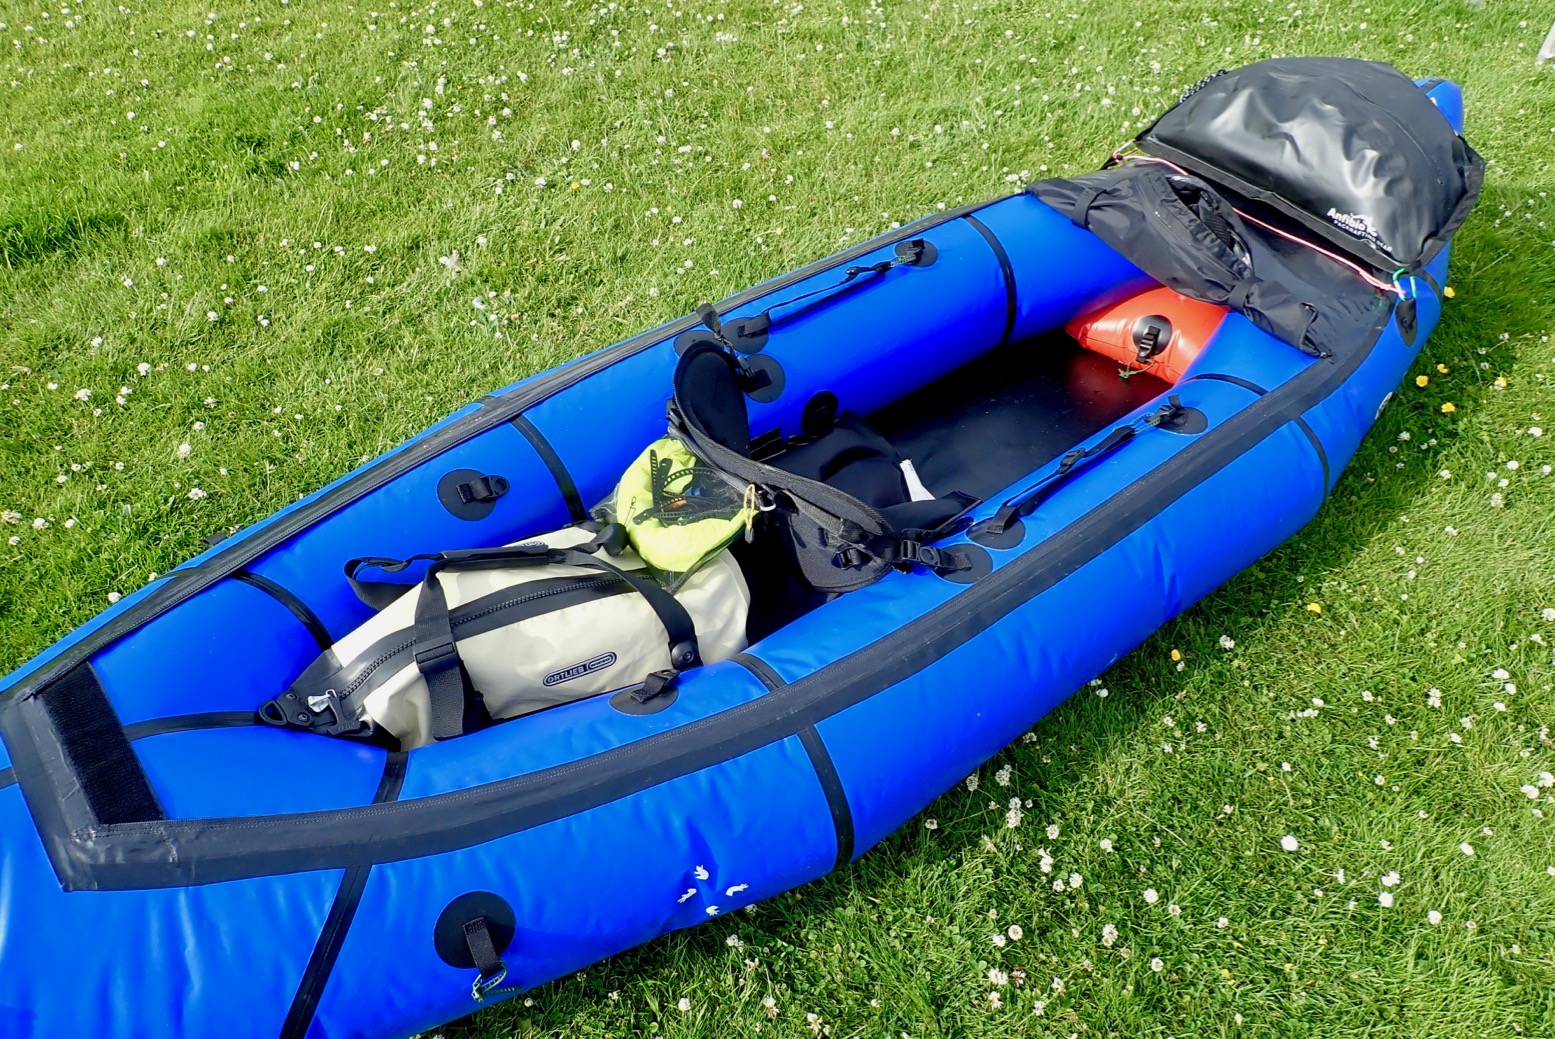
Anfibio’s DeckPack is another way of doing it. It resembles Alpacka’s larger, 24-litre Bow Bag but costs 25% less at current $/€ rates. It’s a vaguely semi-circular, PU-coated bag of around 22 litres which, unlike the Bow Bag, has a perimeter of daisy-chains (continuous attachment loops, a bit like Molle). It fits most obviously on a packraft’s bow, as this is where most packrafts have four tabs and where the weight trims the boat best. But you could as easily mount it on flatter sterns (as on my Nomad) if you already have a big backpack up front. Anfibio also suggest it can go inside on the floor too. Using the supplied straps, I’ve also used the pack as a shoulder bag while on the trail.
On my Nomad it just so happened the bow mounting tabs where just right to fit the bag without using the supplied straps. Reusable zip ties (below) are best. But mounted on the bow it was a bit of a reach on my Nomad unless I shuffled off the seat.
Too far forwardMore better
In fact there were enough hull mounts on my Nomad to position it further back (above right) using two front straps. Here it acts as a splash guard extension and was much more accessible on the water without making getting in and out too awkward.
Another very handy aspect of a DeckPack is that a mounted WindPaddle (left) or similar can be quickly folded in half and tucked under the bag out of the way when you’re setting off or need to change direction and start paddling. In strong winds this stashing of the sail is an important thing to be able to do easily and quickly; without a deck you can jam it under your knees, but with a deck the DeckPack or similar enables reliable stashing. Then, when you’re ready to sail again, you just pull out the sail and it’s up in a jiffy.
I submerged the DeckPack in the bath and, pushed underwater (ie: under some pressure) air bubbles slowly leaked out via the zip head. But Anfibio tell me:
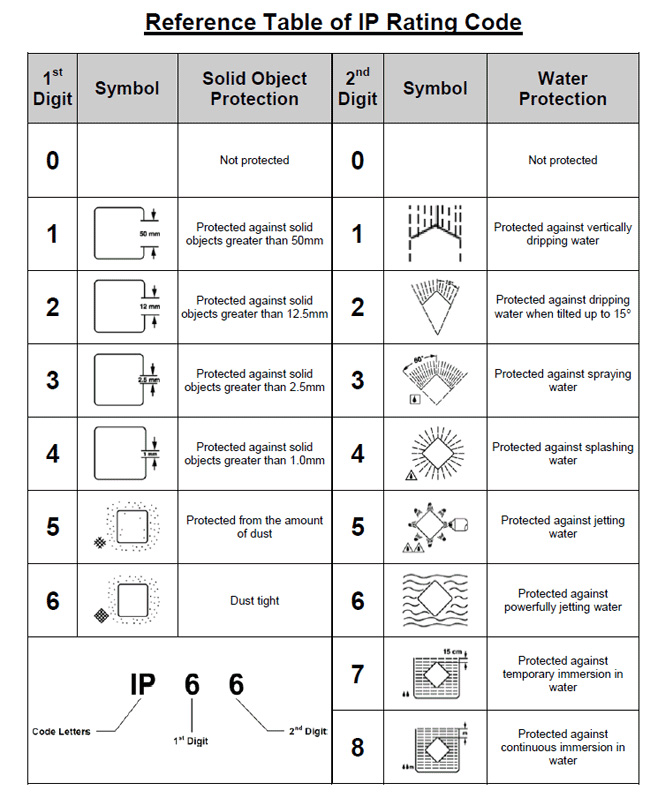
Please note, the zipper is one-way air penetrable, that means it will release air to the outside under some pressure along the zip, not only the head, but it remains watertight. It is actually rated IPX7. Under any circumstances, it can withstand submersion.
Without pressure, there may be no leakage and so the DeckPack doubles as a secondary buoyancy aid – always reassuring on single-chamber packrafts.
Once I realised it would work well on the IK, I ended up liking the Anfibio DeckPack a bit more than I expected, but here are a couple of suggestions: • Drop the price and make the straps (right) optional. Most paddlers will have their own mounting means or ideas. I use four reusable zip ties.
• A curved, meshed exterior zip pocket would be really handy for knick-knacks or having a GPS in a readable position. Or, run a line of daily-chains alongside the main zip, so you can DIY a mesh pocket to the outside without interfering with the main zip or bodging as I have done (left). It would make the DeckPack even more versatile and save over-working the waterproof zip to access stuff while on the water.
MYO Seatback Mesh Pouch As mentioned above, zipped mesh pouches on exterior surfaces are dead handy. You can put stuff in them, they drain or dry fast and they enable handy access without digging into a main bag. It’s one of the things I like on my Ortlieb Travel Zip.
On eBay I found 9″ x 7″ zip mesh pouches for makeup at about 3 quid each and quite well made. I zip-tied one around the side hem to the buckles on the back of my packraft’s foam backrest (above and below). It’s a handy place to stash the inflation bag, some cord, snaplinks, zip ties and the top-up adapter for my K-Pump. I even fitted one to my Anfibio DeckPack.
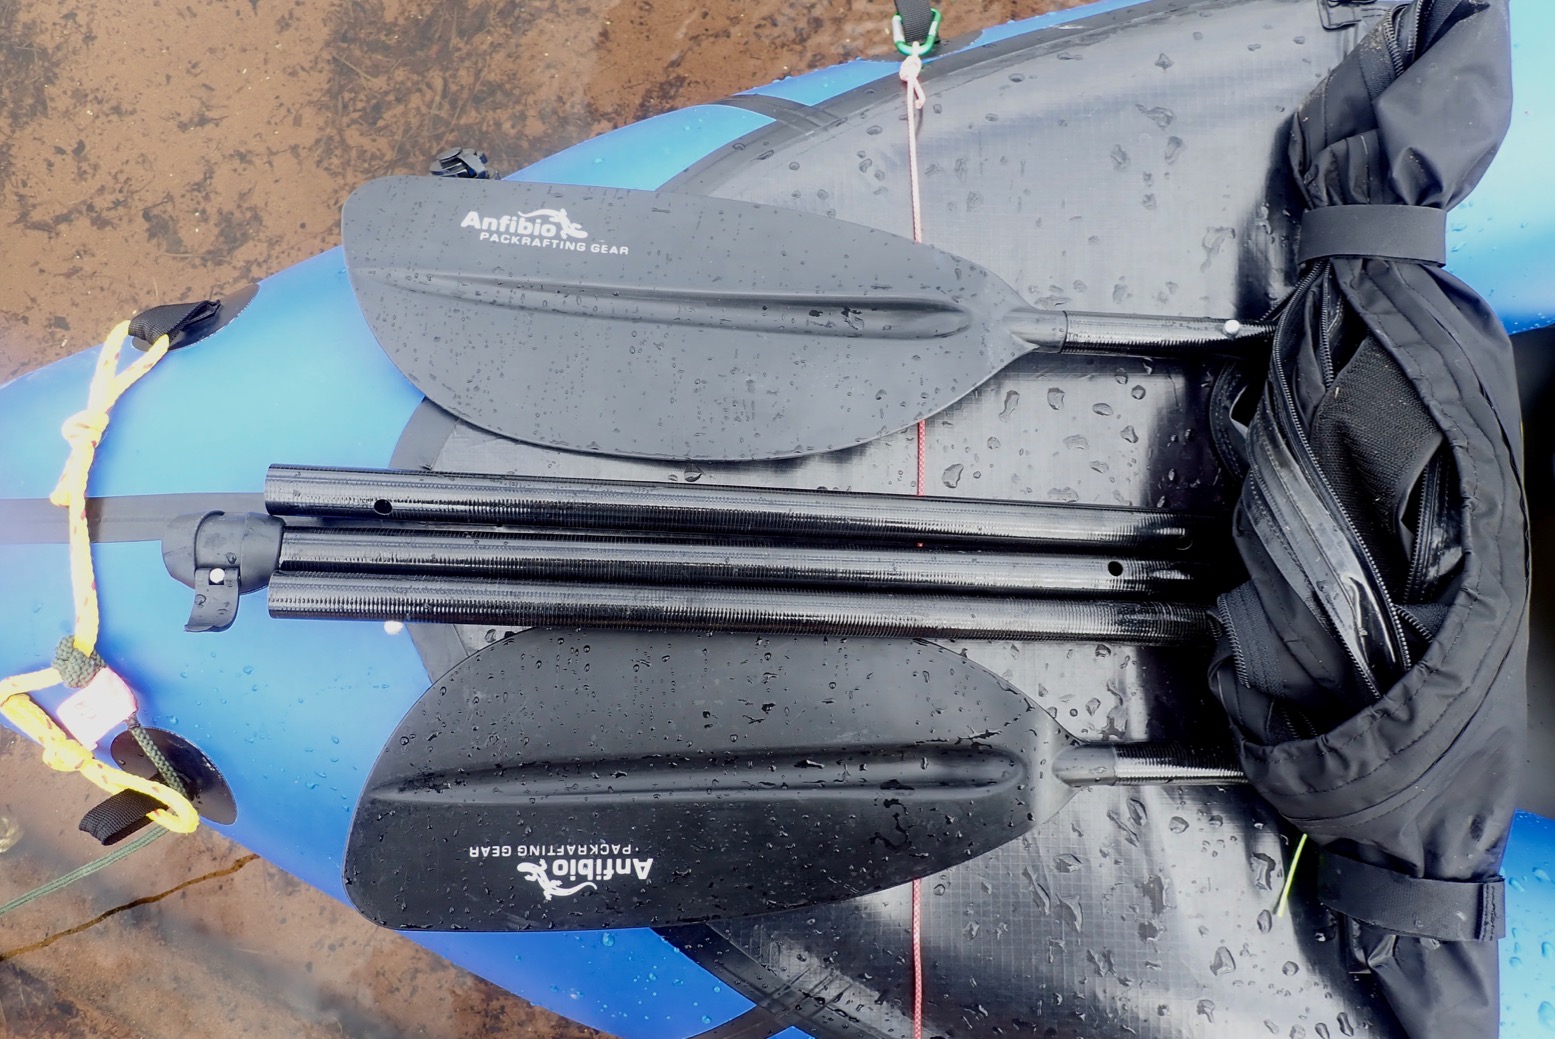
Weight:451g (verified); length: 178-210cm, shaft 24mm; blades 34cm x 15.5cm
Where tested: Sardinia sea and lake kayaking; loch packrafting in Scotland
• Very light • Inexpensive • Collapses into 5 parts of 49cm or less • Single lock clamp to vary length and blade offset • Telescopes down to 178cm – good for short paddlers or kids • Would work as an adjustable tarp pole
• Feels flimsy • Small, 34cm flexy blades • Thin 24mm shaft diametre • 210cm is a minimal useful length for chubby packrafts
What they say Those who pay close attention to boat weight and packability should also make the right choice with the paddle. The Anfibio Fly has a minimum weight of just 460g making it an ideal ultra-light companion. It can be broken down into five segments none longer than 49cm so can be easily stored in any daypack. Despite its minimalist features, the Anfibio Fly is well featured for a wide range of uses.
Review:
Fly set at 178cm and a big-bladed, 220cm Werner Corryvreken
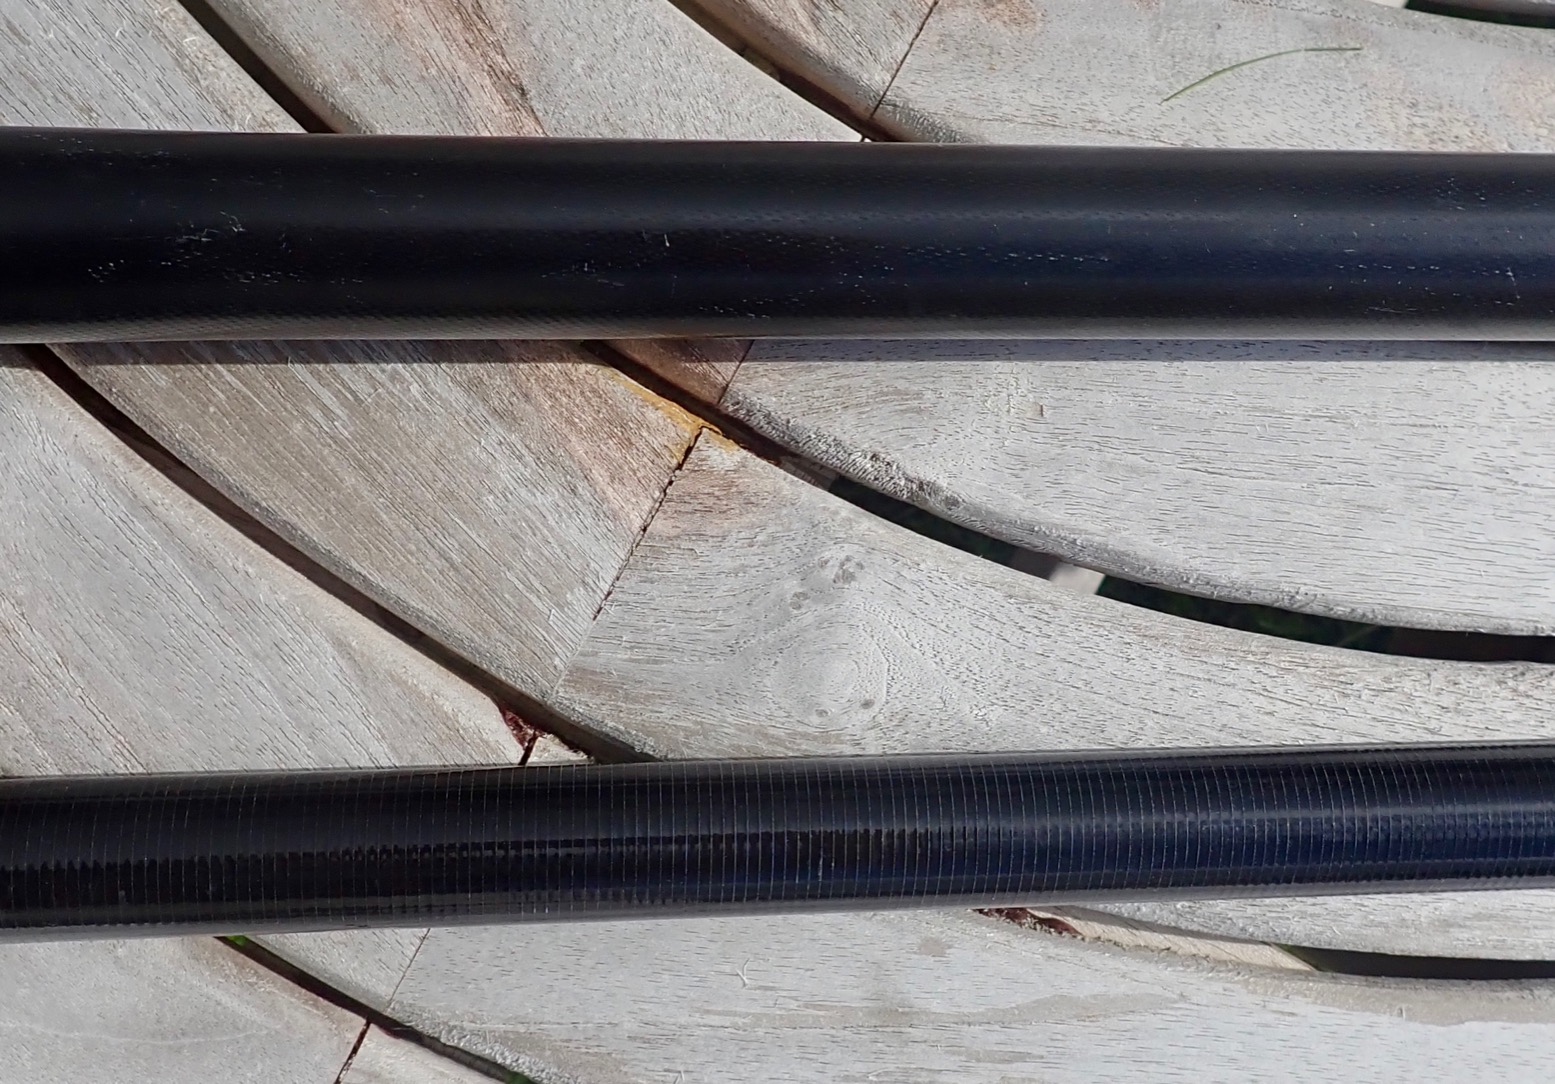
Held up and powered by your arms all day, a paddle wants to be light, but it also needs to be rigid so none of that input is lost in power-sapping flex. Combining the two effectively usually means spending hundreds while still compromising a little on durability. The Anfibio Fly is about as light and compact as a usable paddle gets (a Supai Olo is lighter still). Paddling my packraft downwind I found the 5-piece Fly’s OK,
but the thin shaft and small, bendy blades lacked the solid feel of a conventional, full-sized paddle. Add my ‘Maori-war-party’ paddling style (as I was told, once), and the Fly’s flex didn’t produce the sort of confident propulsion needed in a principle paddle. Even the much lighter and less energetic g-friend didn’t take to it – though that was in our 17-kilo kayak. Used back-to-back against my Werner Corrywrecken, I paddled about 15% slower (5kph vs 6kph max). My other Aqua Bound Manta Ray 4-parter (left) may weigh all of 880g, but without spending at least $500 on something like a Werner Ovation (from 460g), this is simply the mass needed to get the job done at a reasonable cost.
A day later I was paddling into a 10-15mph wind with the solid Corry. It was hard on my arms and hard on the paddle; I needed to rest every 10 minutes and progressed at about 1mph. I’m sure I would have damaged the joints and maybe even broken the Anfibio Fly in such conditions, and yet at some stage, you may find yourself having to do paddle like this to get to shore.
In calm conditions or as a back-up it will be fine and would suit a packrafting trek in a light packraft like an Anfibio Alpha XC where you’re crossing small calm lakes or briefly following benign rivers where you don’t need to power through rapids. The thin-diametre shaft, light weight and length adjustment down to a flex-minimising 178cm would also make the Fly an ideal children’s paddle.
Packboat is my made-up word for easily portable boats that roll into a bag but deploy in minutes, in contrast with hardshell kayaks or canoes in aluminum, plastic, or composite. I’m here to suggest that if lugging a cumbersome hardshell on your overland rig isn’t for you, then a packboat weighing from 2 to 40 pounds and never bigger than a backpack might well be, while adding another great way to explore the outdoors…
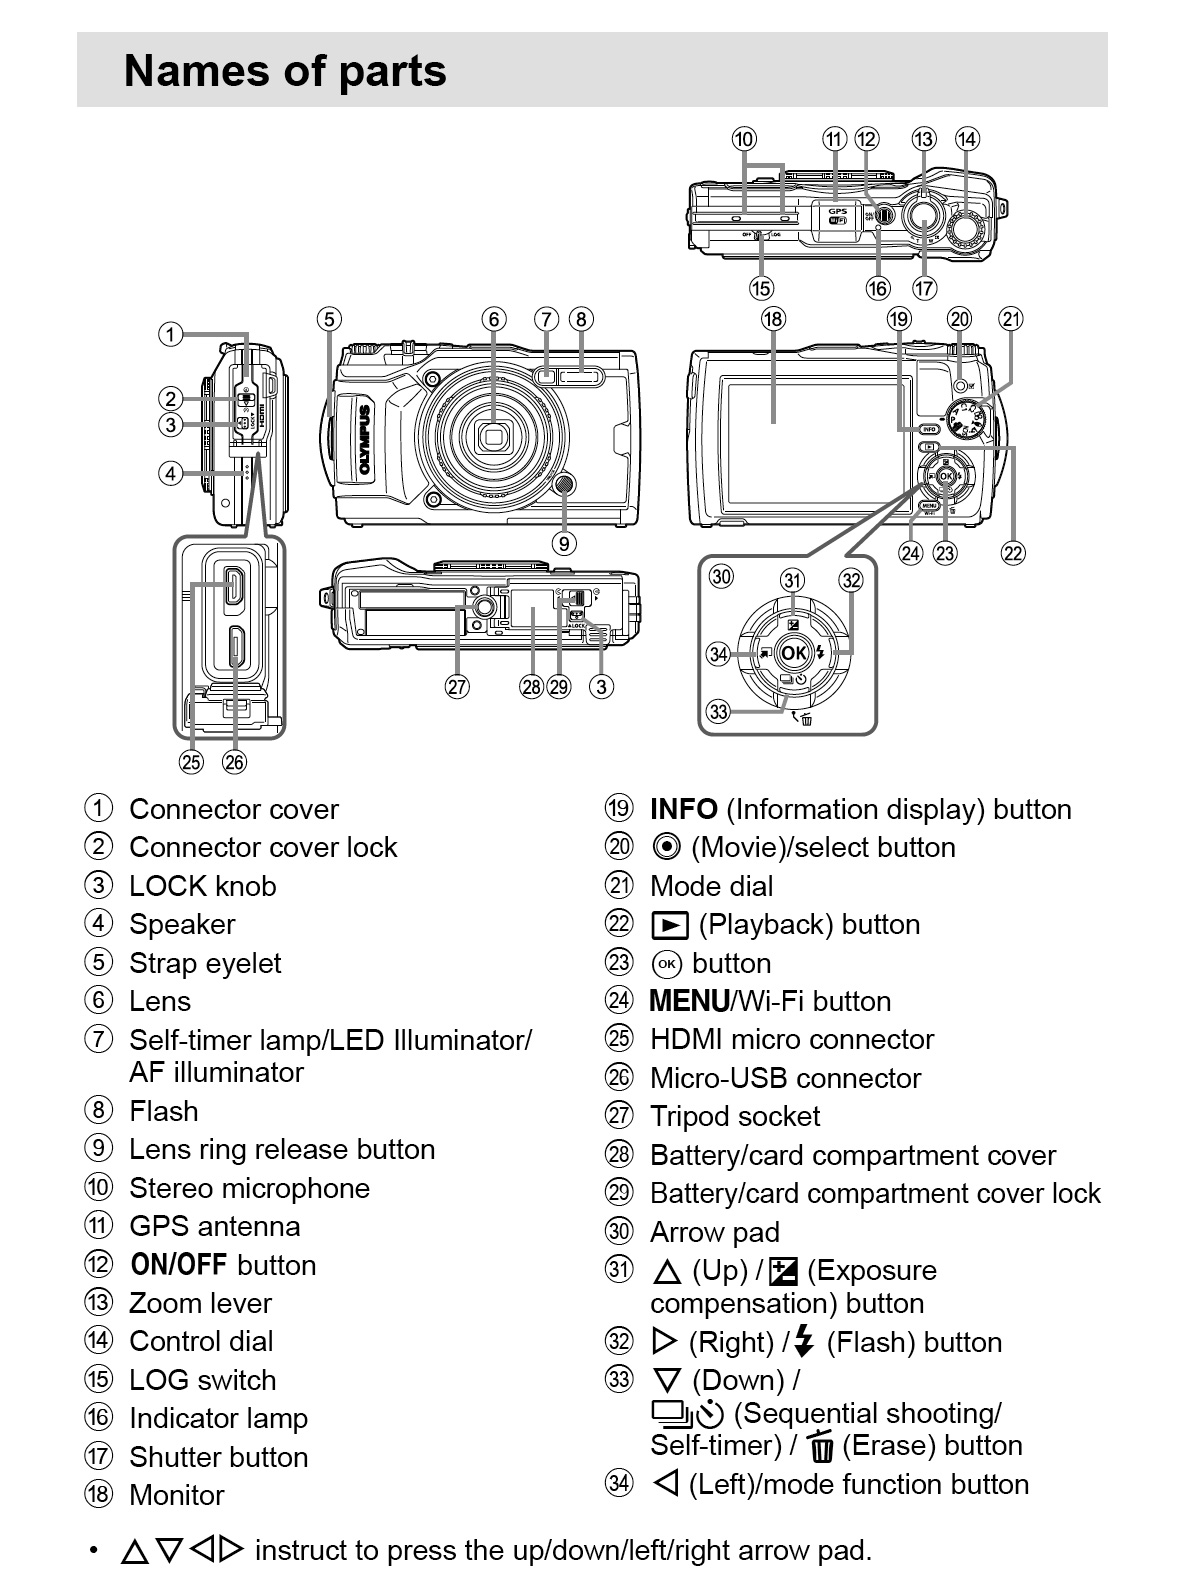
I used Panasonic’s Lumix FT2 wet cameras for 13 years or more, a simple, slim, one-handed, all-weather P&S which didn’t have to be mollycoddled. In 2011 we even used them to make a series of packrafting videos. Later FTs seemed to lose the functionality of the FT2, so as they died or sank, I replaced them with used cheapies off ebay until they got too hard to find. Desert, pocket or sea, I’ve always liked the Lumix range’s preference for a wider 24mm-ish lens. Ridiculous zoom levels were far less important because picture quality dived. But after a really old FT1 burner unsurprisingly failed to survive a few minutes of snorkelling the other month, I decided to step up to a used OlympusTG-5 after some paddle boarders rated them.
Commonly the Olympus TG-5 (from 2025 a TG-7 but barely changed) and Panasonic FT7 (left) get rated as the best P&S waterproof cameras. But they seem expensive for what they are, and when you consider the tiny zoom lens tucked inside the inch-thick body, you’re never going to get great shots, especially in low light or at full zoom.
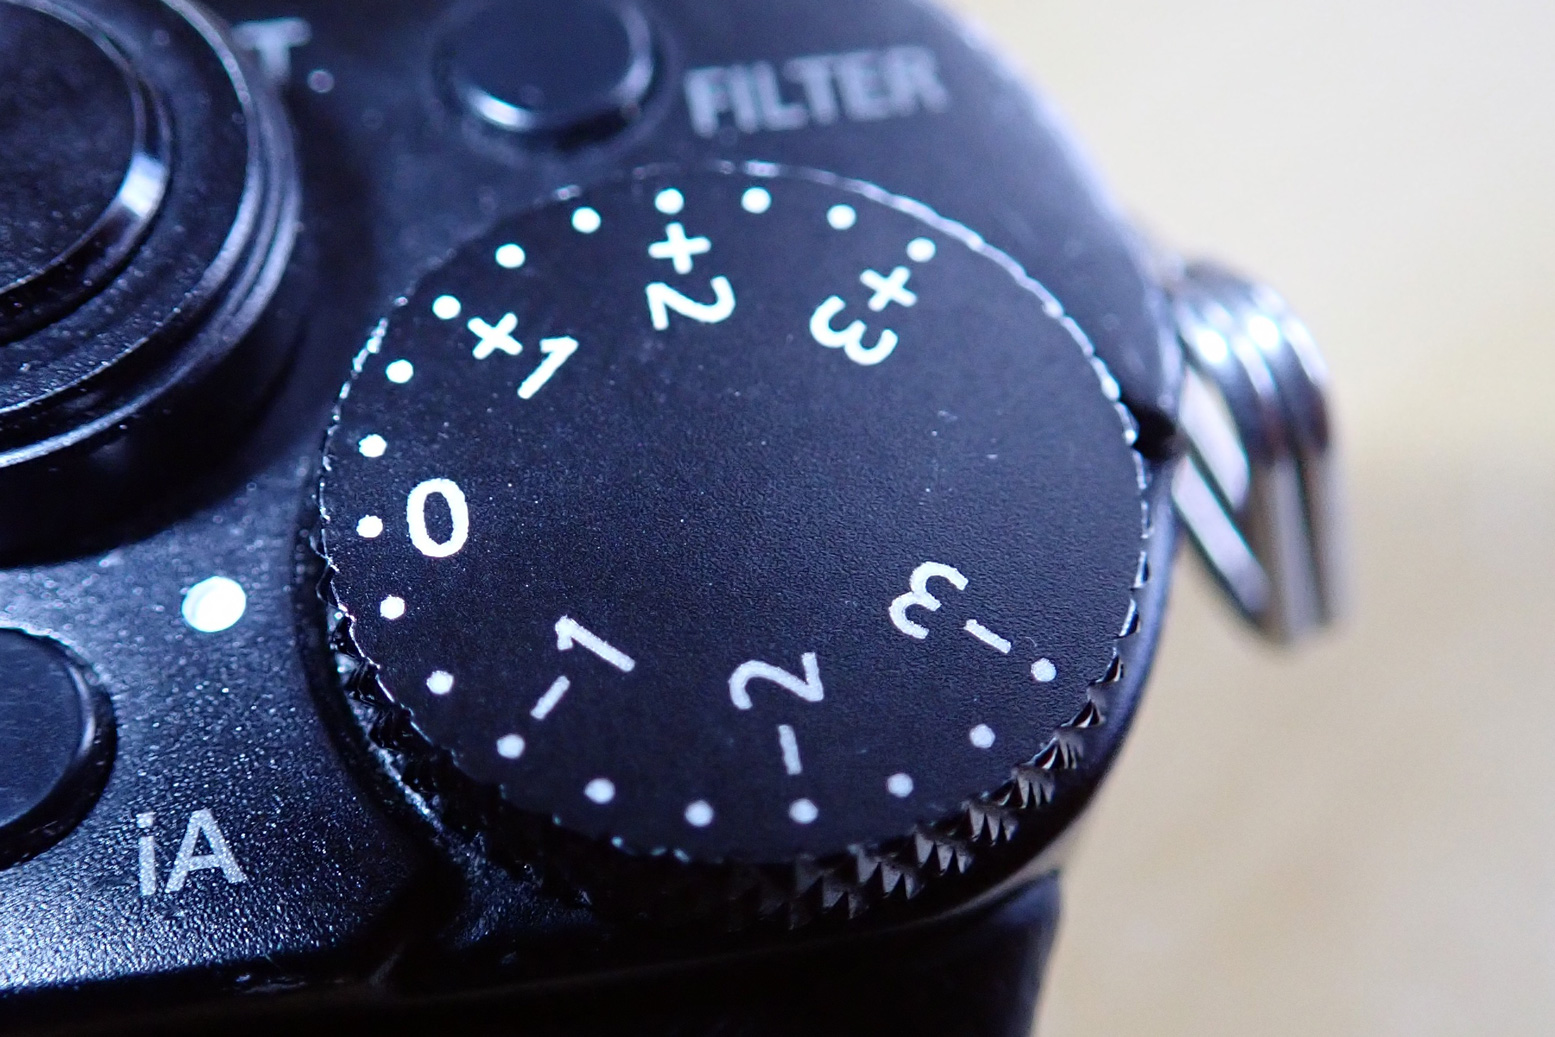
Even then, my FTs always needed to be tricked into slightly lower (better) exposures by half-clicking on the sky, pulling down and composing before clicking. It was only when I got a Lumix LX100 that I realised a: how handy an EV Comp dial (left) is; I use it on almost every shot. And b: how relatively crappy some of my FT pics were. I used the FT less and less.
Back to the TG-5. Watching one of the vids below I learned it has an unmarked ‘control dial’ in the same, top-right position and which can work as an EV Comp dial. That alone is worth the price of the camera.
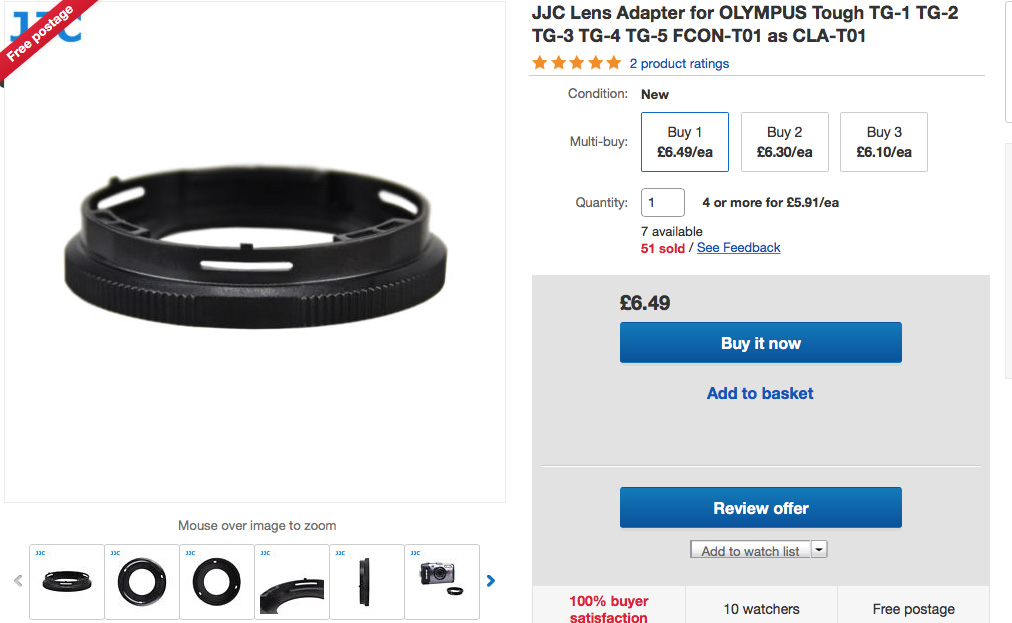
Having been inspired to RTFM for once, I now realise the TG-5 is actually much closer to the LX than I though, not least in terms of the staggering number of things it can do. You can even clip on wide or tele converter lenses (a bodge, imo, if photo quality matters) but more usefully, you can fit a clear filter over the vulnerable lens window. For that you need the Olympus CLA-T01 adapter (£20; or a £6 JJC knock-off; above left) to which you then screw in a regular 40.5mm filter: UV, polarised, whatever (above).
With a piece of screen guard stuck over the LCD, the Olympus Tough can now be treated Olympus Rough, with both screen guard and UV filter being inexpensively replaceable. Note: towards the end of my TG’s life I dispensed with the 40-mm filter to make it slimmer in the pocket. Within a few months the stock built-in lens cover glass/plastic had become scratched (left) to the point of ruining pictures and finally finishing off the still-working camera for me. Moral: fit a quality UV lens filter; the stock cover is not up to it.
It also has an easy-to-use custom self-timer, a blessing for us paddle-blogging singletons. Normally I’ve had to settle for 3-shots-at-10 seconds, or simply shoot video and extract a cruddy still, but on the TG you press the sequential shooting (‘6 o’clock’) button and press the Info button to edit: • delay (1–30 secs). • number of frames (up to 10) and • frame interval (0.5–3 secs).
I have tried doing selfies with the video and extracting stills, but even on the highest ‘SuperFine’ video setting, the extracted 16:9 still is 1920 x 1080 pixels, while a photo is 4000 x 2256. You do notice the difference so getting to grips with the custom self-timer is best, even if autofocusing on a passing boat can be hit and miss.
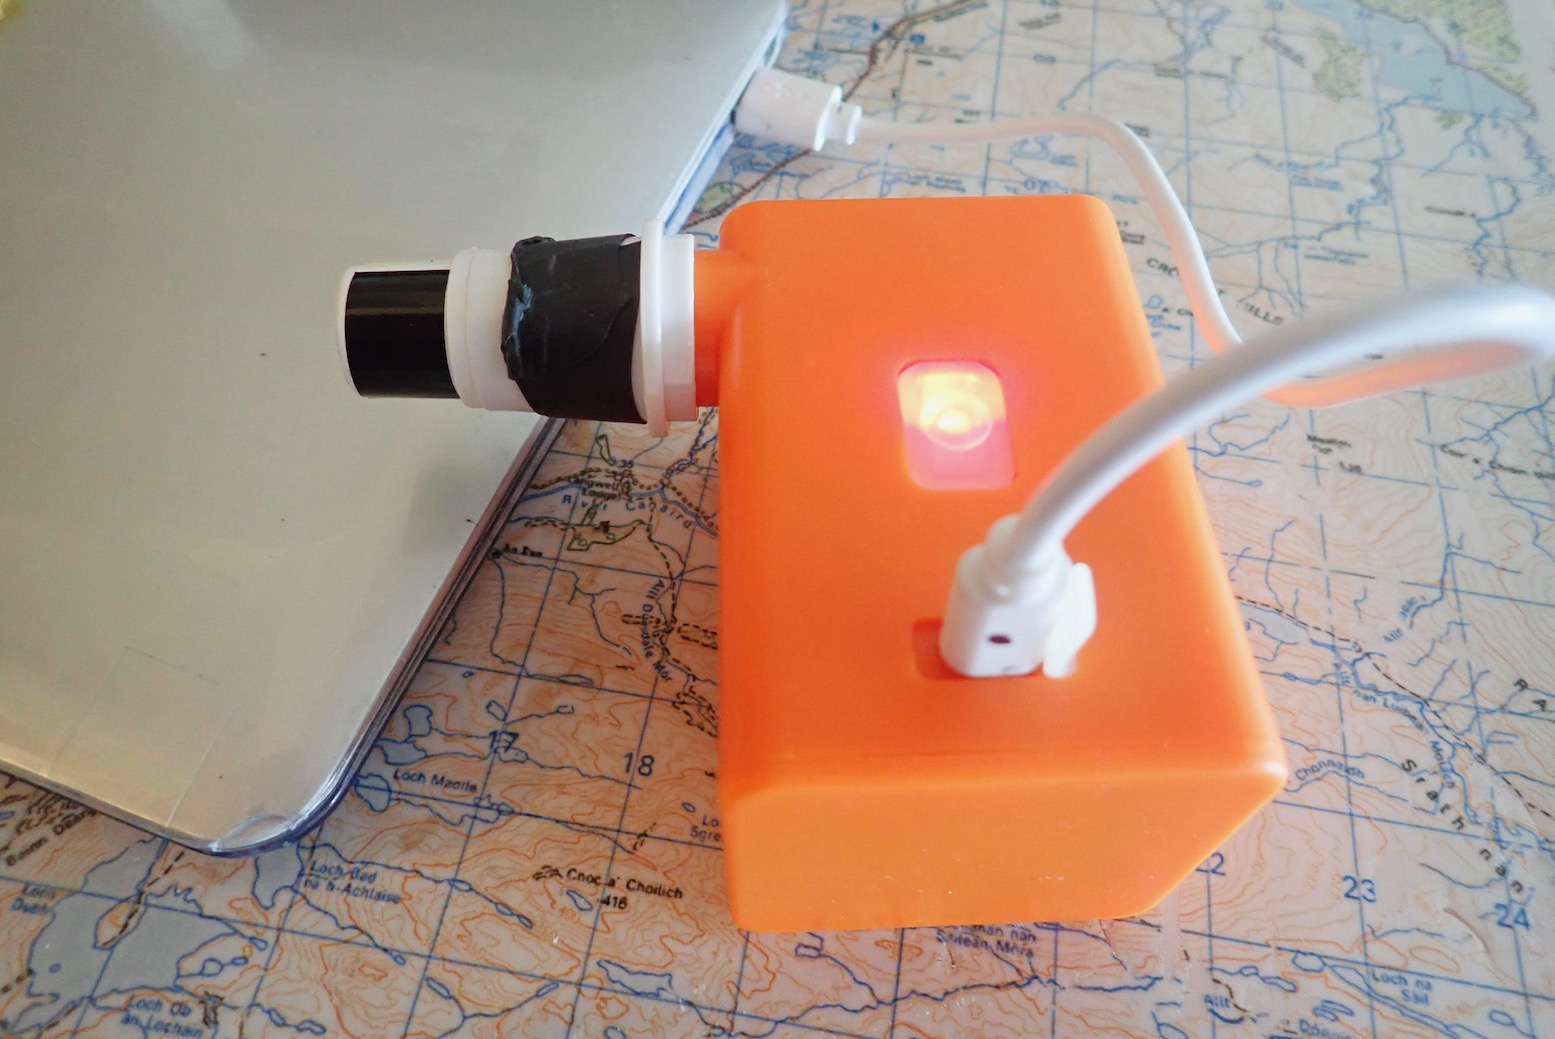
The battery is a slim 1270Ah which does masses of shots (four days or more) and you can charge it in the camera which is one less thing to carry. But for 20 quid I bought 3 clone batteries plus a travel-friendly USB housing rather than a mains charger (right) which will work off a laptop, battery pack, USB wall plug or a solar snorkel.
Once I’d have said GPS position, elevation and a compass in a camera were gimmicks. Now I’d admit they add some redundancy when a proper GPS unit goes flat, as it did on me one time. There’s an easy-access external switch to turn the GPS on to log a waypoint of the picture, for what that’s worth. Otherwise, all the other data, as above, is viewable by simply pressing the Info button with the camera off. Up it comes for 10 secs, north by northwest. The TG-5 will also take great pictures. At home I use my TG almost every day.
Tough by name and tough by nature (see below) Red; easy to find on the river bed EV Comp dial in the usual position Battery charges in the camera Easy to turn on and zoom one-handed (good on a moto) Spare 3rd-party batteries from £4; USB charger from £8 Good hand grip Rated at 15m of water so ought to survive some splashes Slim and light (260g with chunky wrist strap) GPS, elevation, compass, and even tracking with the camera off Easy to access and configure custom self-timer
A baffling new menu to master – sigh LCD text is a bit small Expensive, but discounted to ~£330 new Annoying ‘Olympus Digital Camera’ meta data on imports cannot be switched off That’s it!
Camera fell down there
A smashing camera Two times I thought I’d killed my TG, as I’ve done with so many cameras over the years. Biking in the Moroccan Sahara one time, the red wrist strap loosened unnoticed and the TG tumbled along a hard road at 30mph. Picking it up, one corner was smashed in, but amazingly it still worked. I taped up the hole, gluing it later and used it for a few more years. Scotland 2021: lunch on a slatted plank bridge up a glen. The camera slipped out of my pocket and fell through the gap into the a stream bed where it lay for at least five minutes before I noticed. This must be it, surely; just as long as the SD card makes it. Because I never use it under water, I’ve never bothered silicone-greasing the two access doors as they recommend, but I fished it out, blew the water out of the battery compartment and it still took pictures! But soon the screen gradually clouded over, so did the lens and one by one, functions dropped away. Eventually turning it on gave nothing. Water must have worked its way though the system, shorting everything out. Back home, a couple of days later I bought another used TG and had just started stripping the old one when I thought, I’ll just slip a battery in on the off chance. To my utter amazement the TG5 fired up good as before. All functions resumed and photos saved to and exported from an SD card. This is a Tough camera! I now have a spare as-new TG5 one which I was thinking about getting anyway.
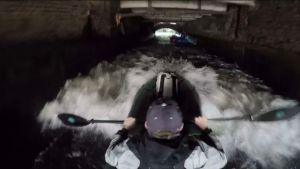
We had a good look, then shot this underground weir and were spat out the other end, grinning and alive.
Screenshot
Years ago I recce’d South London’s Wandle ‘River’ from Merton Abbey Mills to the Thames at Wandsworth – a varied urban run of just a few miles – and all from the safety of my pushbike. It’s not far from where I live but I decided the Wandle held too many elements which played to my watery phobias, not least near the end where the current sucks you into a series of sunless tunnels (left) under a shopping centre and former brewery. Sounds like a perfect setting for a macabre Gothic horror story.
But not everyone is so timid. Tim from Longshore International (defunct) followed tnhe Wandle with a couple of his boats. Full story with a description of the real hazards and more photos on Medium.
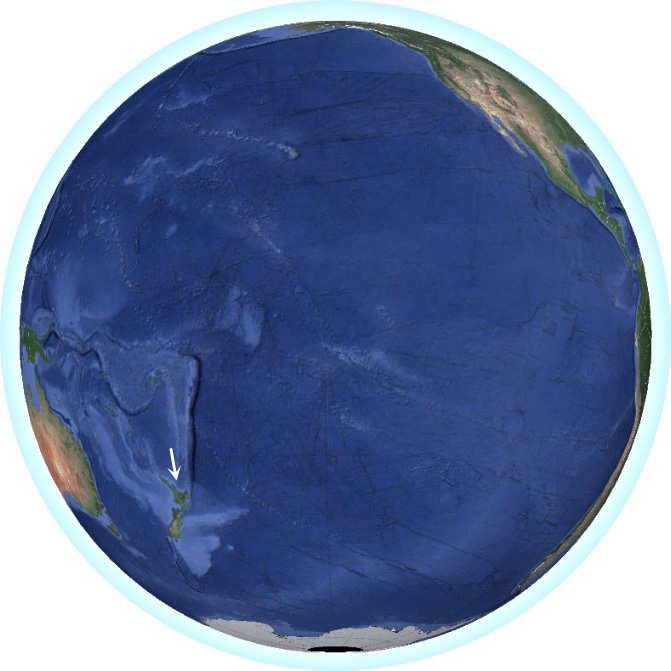
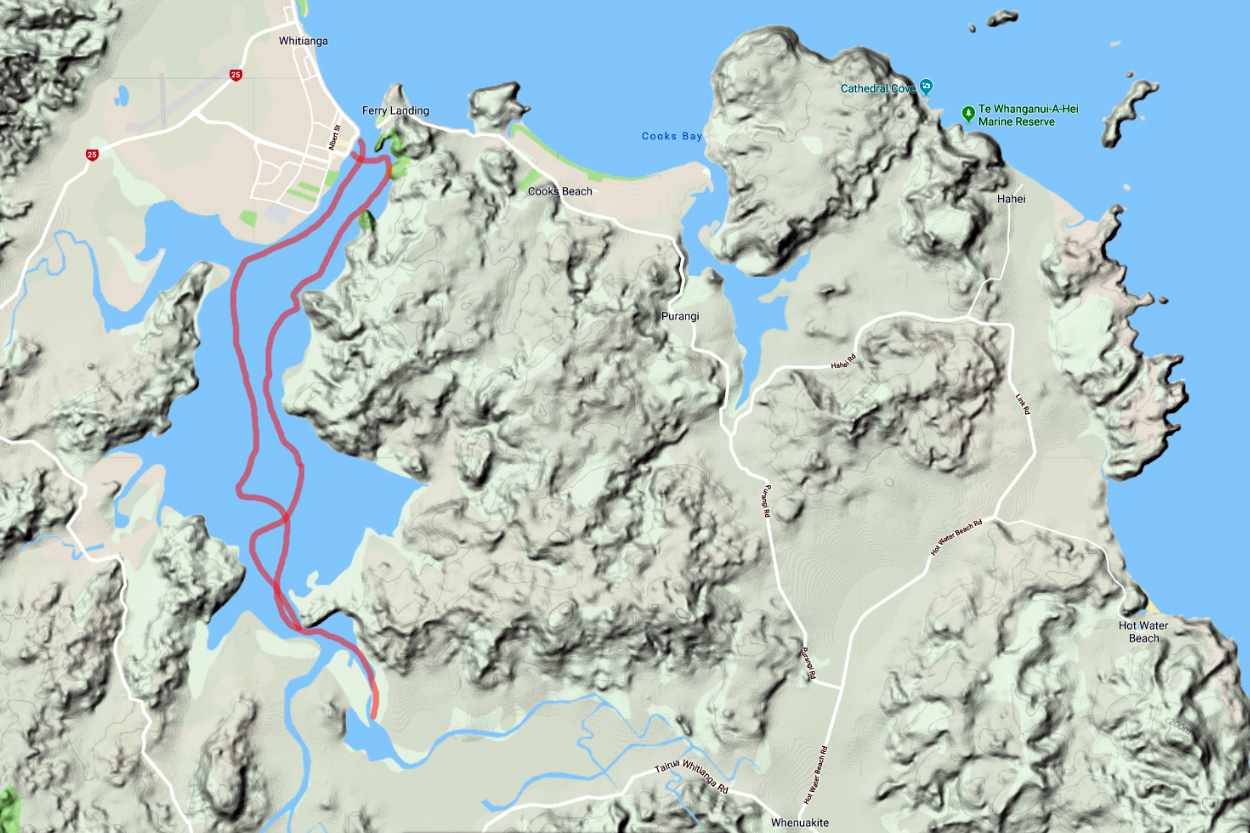
At a Dive shop in Whitianga on the North Island’s Coromandel peninsula half a day from Auckland, I asked the teenage girl left at the till which way the tidal currents flowed around here. She smiled at me like I was an idiot and explained slowly. ‘Well, when the tide comes in it like, comes towards you, and when it goes out, it sort of goes away.’ Before I got into sea paddling that’s what I would have said, but I explained what I meant, that tidal flows moved to and fro in a given direction along a coast, not just in out, in out, like a Can-Can dancer’s legs At any constriction or headland it’s a good thing to know when planning or timing a paddle. She looked it up on the internet.
‘Anticlockwise.’
‘Thanks.’
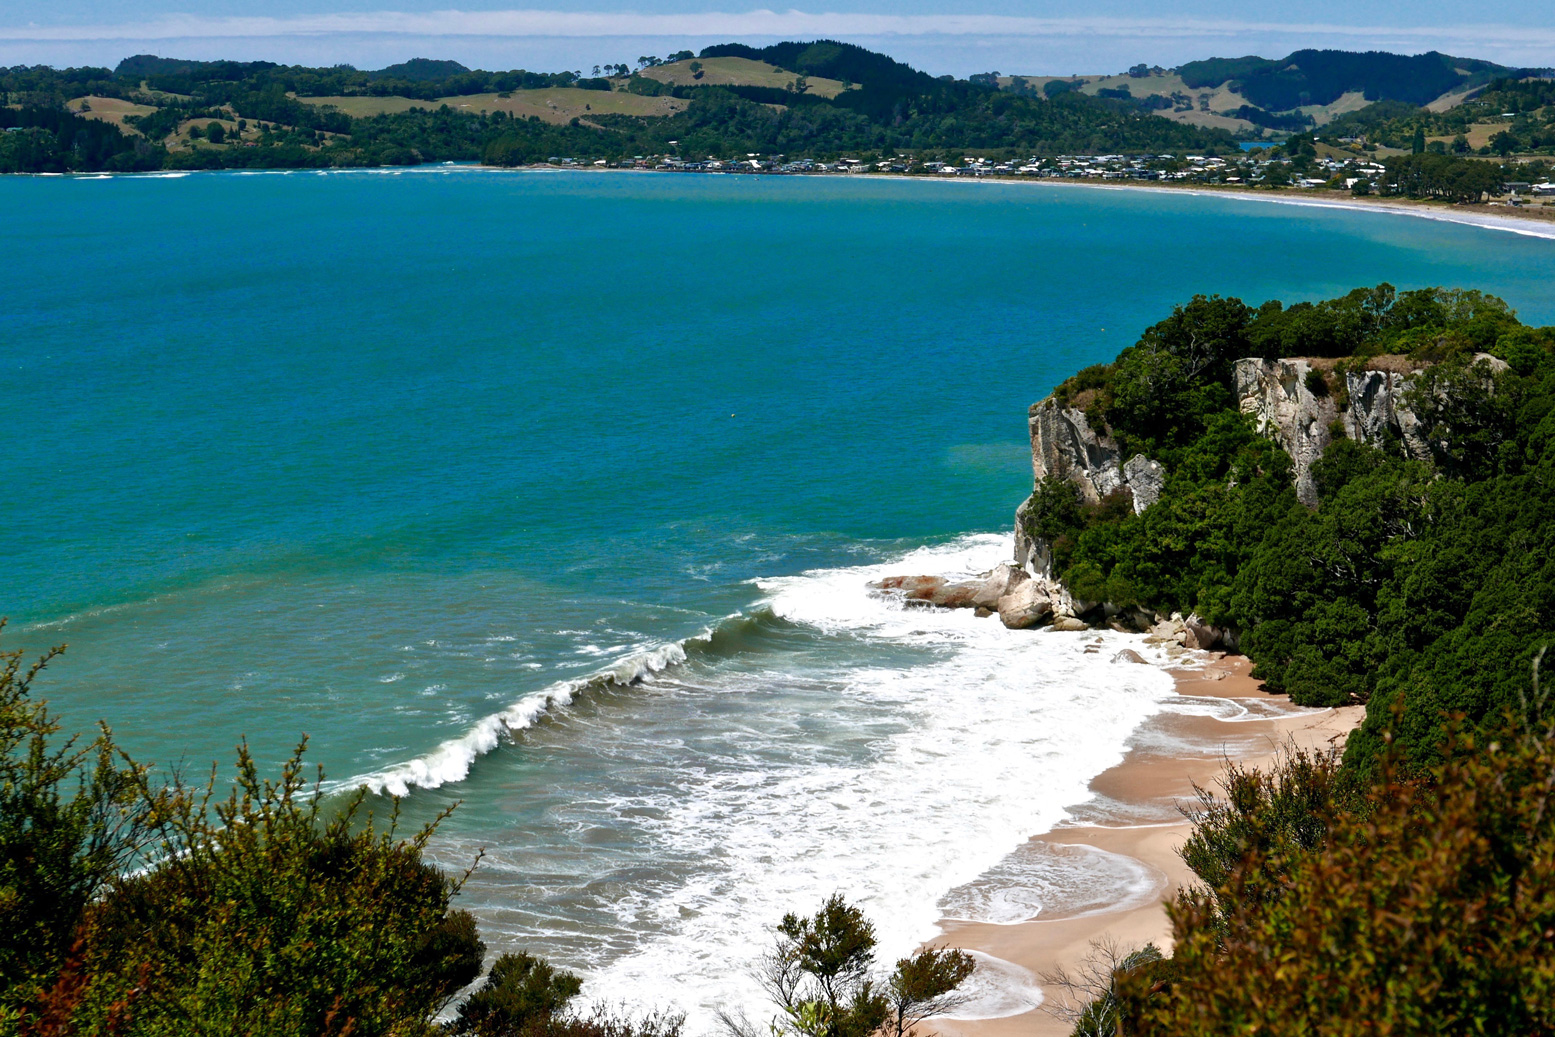
Tides apart, did I really think the surging expanse of the Pacific would be calm enough for a humble 10km coastal packayak round the cliffs of Cook Bluff to the famous and much fridge-magneted tourist icon of Cathedral Cove (painting below)? No, but now on my wavelength, Dive Girl went on to offer me tomorrow’s gloomy forecast: 4-metre swells, 35 knot gusts and occasional showers of razor-billed flying fish. A good day for a cliff walk then. Coming back next evening from Cooks Beach, I was a little appalled to see Mercury Bay awash with white-capped rollers, as if some tsunami was on the go. Surf’s up, if you have the nerve. It was right here in 1769 that Captain Cook and his crew – on the hunt for the fabled Terra Australis – first raised the British flag on the New Zealand shore while engaged in observing the transit of Mercury.
Maybe I’d get a chance the day after, my last. But even in the calm morning, the storm’s after-swell was still pounding the cliffs and beaches of Mercury Bay. Who knows how it was at the Cove of Broken Dreams which, they said, was still closed from the land side, anyway. Luckily, the cliff-rimmed natural harbour of Whitianga was sheltered from all this Pacific aggression. And better still, the tides were ideally timed to be swept into the inlet, before getting spat out on the mid-afternoon ebb like a retching gannet’s breakfast.
Settling up on a grassy strand near the marina, I realised I’d left my pfd at the hostel – this after noting a warning sign advising that all in <6-m long boats required them. Oh well, if spotted hopefully the harbour master will zoom up alongside me on his jet ski and lend me one for the day. As it was, I was heading inland where there’d be no one. Once tempered up via my hose extension, I scooted over the yacht-clogged harbour mouth, ferrying across the strong current filling the shallow inlet, tilting marker buoys as it went. I was told later that, partly as a result of dredging a channel for marina access, that Whitianga’s natural harbour was fastest flowing in New Zealand.
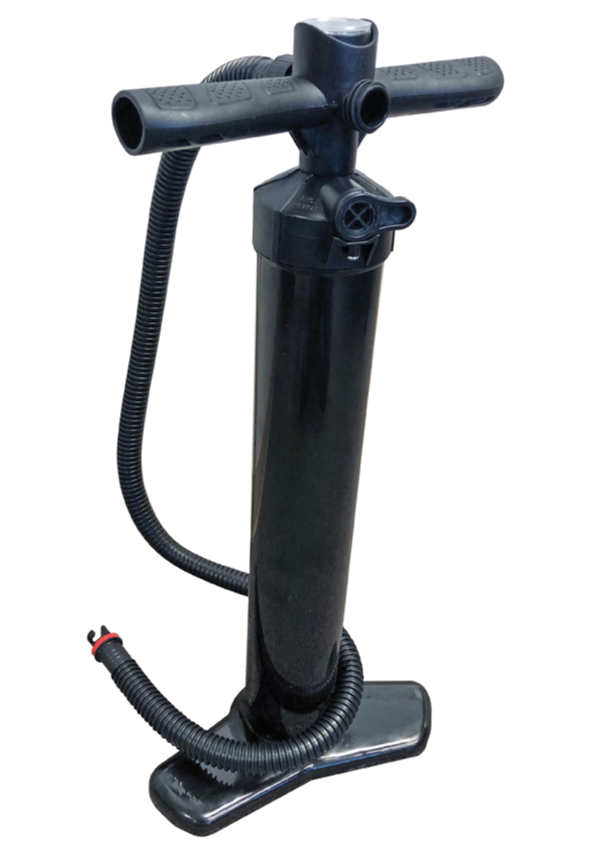
On the west side, under a wave-carved overhang (left) I hopped out to temper the MRS again. I like an inflatable as firm as possible but am finding, perhaps due to its larger than normal volume for a non-pump inflatable, that the S1 commonly needs a second pump up a few minutes in. I’m now wondering if something about half the size or volume of my 600-g K-Pump Mini would be handy to get the Nomad up to operating pressure in one go. This eBay pump (right) cost me just 3 quid posted and is actually similar to the mini pump Alpacka initially offered with their $2000 Alpackalypse. With a pump like this, after high-volume air-bagging, you could judiciously pump to a highish pressure on the shore – assuming the cheapo eBay pump can hack it. Yes, a pump’s another thing to carry/lose and the comparatively bulky K-Pump will do the job in a few short strokes. But unlike a paddle, it’s not ‘mission critical’, as they say in the movies.
Fitting a PRV and being able to pump away until the PRV purged (as I do with my Seawave IK) would be even easier, because you could also happily leave the boat out on a hot beach without fear of it exploding into a thousand ribbons of ruptured TPU. PRVs are unknown on packrafts so maybe I’m over-thinking it, but double-tempering is a bit of a faff even if, as humans go, I have a good pair of nicotine-free lungs.
Anyway, I padded southwards, weaving among the lifeless yachts and cruisers, reminding me of our Hayling Island paddle last summer. Let me tell you, in this world there are a lot of massively under-used boats bobbing around and gathering algae. Once past a sinister big black tug, the bay opened out and I was in the clear. Nearby, alongside a jetty below a cliff leading to a dwelling hidden in the bush, I spotted this pioneering-era carving.
Beyond here the shore looked oddly mangrovey and inaccessible. Mangroves this far south at nearly 37°? I’d only ever seen then around Darwin where I’d once eaten a so-called oolie worm which feeds in their trunks. Sure enough, turns out hereabouts is the southermost extent of mangroves. I’m not so keen on this sort of drab coastline, but live and let alternative lifeforms live, I suppose. In fact it was fun to probe the passages below the shady groves as it was due to reach 30°C today.
It took a bit more idle nosing about before I finally located the channel leading southeast to the two small rivers which fed the harbour inlet. The channel narrowed as the supposedly slack tide swept me into the tangled maze of salt-loving woodland. Curving left and right, south and east, as the scaly boughs closed in, it occurred to me that this far down in the bay wouldn’t be a great place to get lost and then stranded in thigh-deep, oolie-ridden silt for the next few hours. Who knows how quick the tide turns. Anticipating this, I’d clocked a hilltop landmark over on the western hills to help orientate myself, then pushed on in as far as I dared, getting maybe 500m from shore before spinning around into the still-rising tide and scuttling back out into the open.
The tide really ought to have turned by now, carrying me back the way I’d come, but the forecast nor’westerly was on time and in my face. Luckily the Nomad’s generous stub nose stopped me making a mockery of the harbour’s 5-knot limit so it was a long hour’s slog back to the harbour mouth, bent against the breeze and slapping waves. A similarly windy afternoon on the Wairoa River a few days back must have got me into paddling shape, so the effort was all put down to good exercise. Once past the marina, I’d hoped to slip below the jetty, under the harbour master’s cabin and out into Mercury Bay itself. Maybe cruise below Shakespeare Cliffs and then land on Buffalo Beach, like a proper Pacific navigator. But it was not to be. Chances are I’d have just embarrassed myself, tumbling through the surf and into the shore fishermen’s barbed hooks.
My time was up in NZ. Next day, rolling my cleverly adapted UDB (more below) to the bus stop, all was as calm as a kiwi’s cozy nest. I was reminded how sea kayakers must feel when they haul all the way up to the Summer Isles to be met by tent-bothering gales, only to find great conditions as they pack up. It’ll be there next time and for sure the east side of the Coromandel looks like the fantastic place for some fabulous sea paddling. The beachside hostel I stayed at laid on hefty old SoTs for free and there were plenty of kayak touring outfits in town and around. Give it a go if you ever find yourself down here.
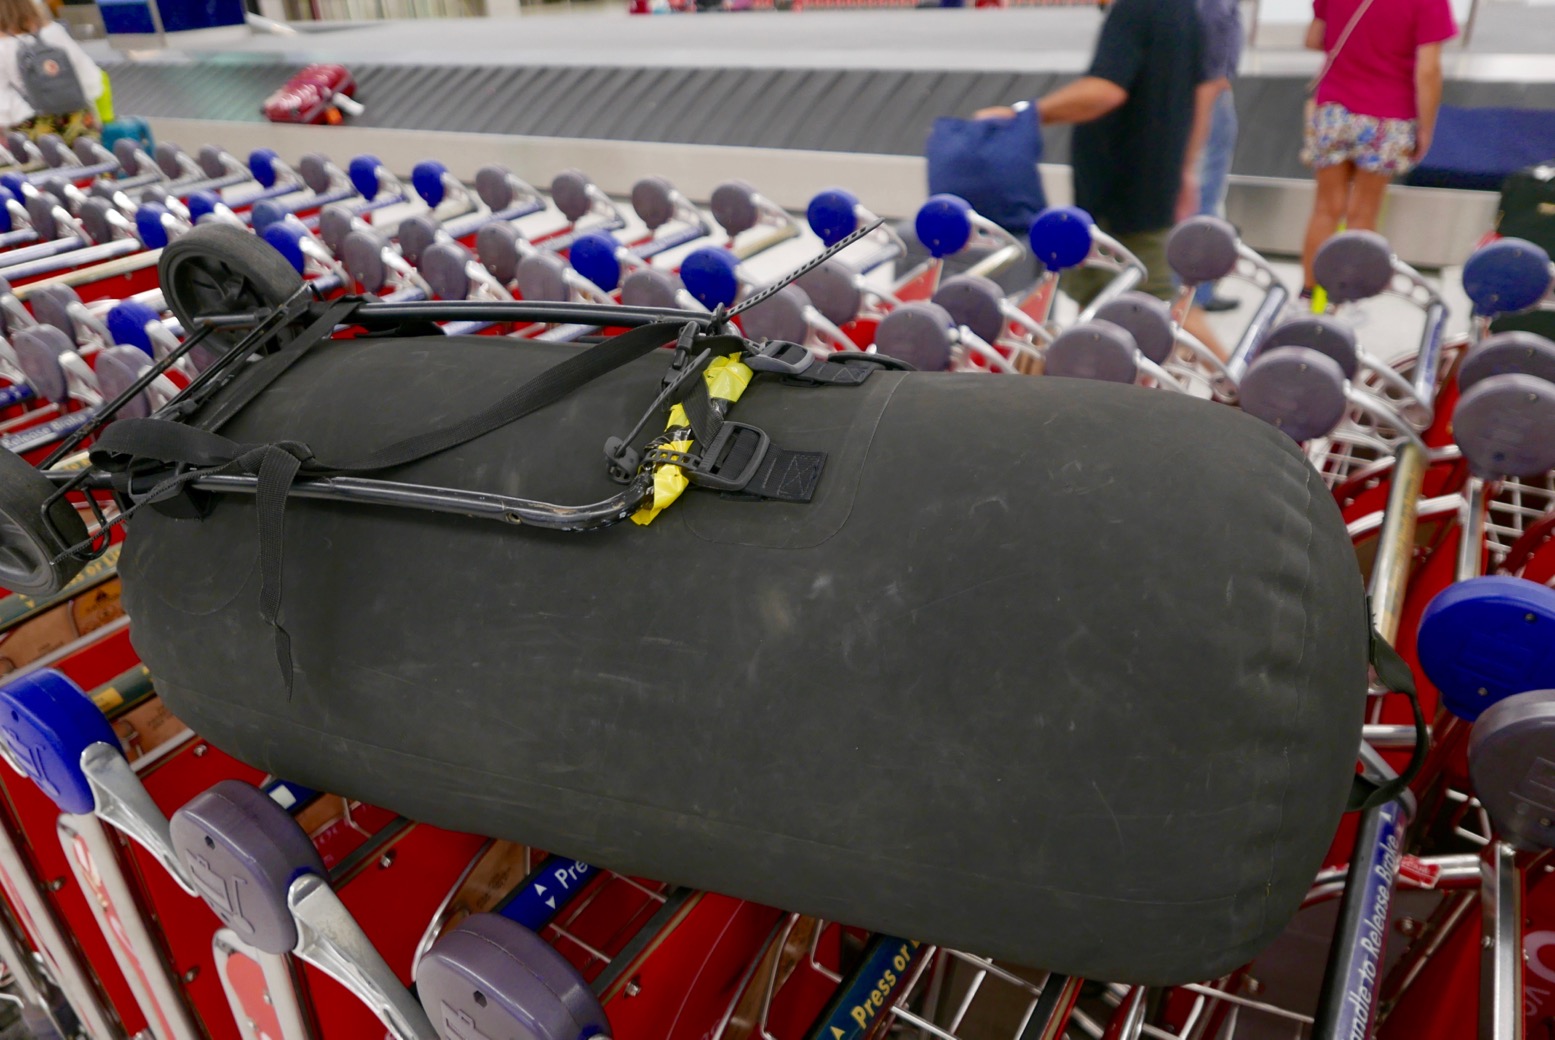
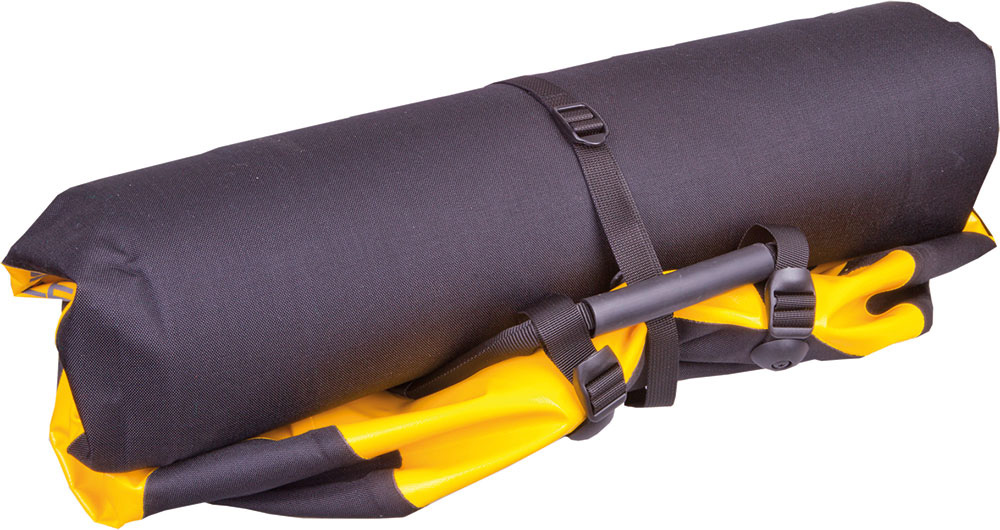
For this trip moving from airport to airport and in a bid to spare my creaking back, I mated my trusty Watershed UDB to a chopped-down lightweight folding trolley I’ve used on previous packboating trips. With chunky zip ties and a strap, the shortened frame fitted securely to the rugged UDB’s back harness tabs. My load was way under the airline limit, but the thinking was that, once packboating my planned river for a few days, the UDB and small trolley would still be compact, compared to a regular wheeled travel bag. It was all a way of stopping myself buying the painfully pricey but actually only 500g heavier Ortlieb Duffle RS 140 I’ve been eyeing up. Fitted with an IP67 TiZip (not as good as the UDB’s brass drysuit zip), it’s the biggest one they do, so ought to take my Seawave IK and gear. Lacking a backbone frame of Ort’s RG duffles, the 140 actually rolls up even smaller (right) than my DIY contraption. A handy side benefit (which might also apply to the airtight Ortlieb), was that being able to inflate my UDB into a rigid airtight sausage made it easier to wheel around (but not as comfy as a full-framed wheel bag). I got some odd looks giving my bag a blow job by the arrivals luggage carousel, because at departure check-in I had to tug the zip open a bit to ensure it would air-off safely at 32,000 feet. In my hand I carried my nifty Ortlieb 30-L Travel Zip.
The MRS Nomad S1 I tested last summer in Scotland is my new packraft. Goodbye to my great little Alpacka Yak. Like the Yak before, it held its value and I sure got my money’s worth out of it over 4 years. The Nomad is an unusually long packraft with a central seat, making it more of a packyak which paddles much like a short IK (no yawing), has more space and weighs under 5kg with a roll-back skirt and thigh braces. So – easy to walk with for as long as you like.
I’d originally planned the classic North Island paddle: the canoe-able and therefore safely packraftable Whanganui River in the southwest. The best section is a 5- or 3-day-with-huts run for which you need to be self-sufficient as there are no towns, let alone roads or bridges until you take out at Pikiriki. I was set up for that, but it turned out getting to the remote Whakahoro put-in, then from Piki back to Auckland for my plane took more time than I’d allowed myself, once my flights got rescheduled. No worries, this in New Zealand: international nexus for outdoor activities. I’d had a bike test arranged at Tauranga on the North Island’s Bay of Plenty, so decided to stick around that region instead of watching days pass by from a bus window.
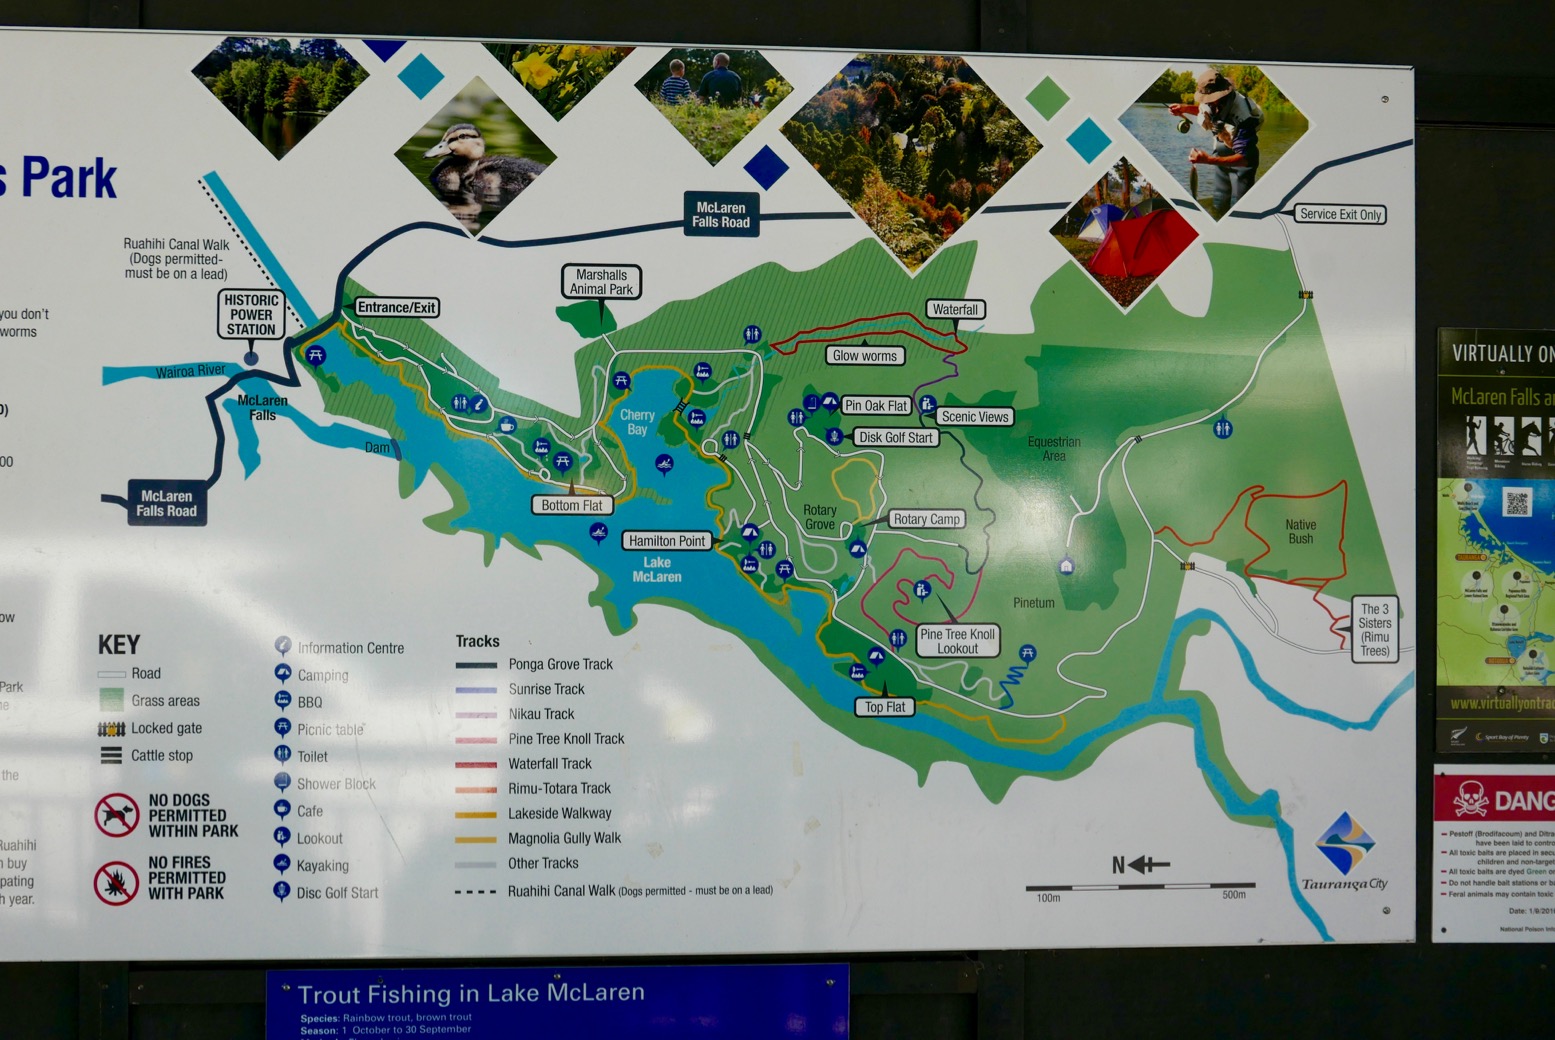
A brochure at the hostel proposed evening kayaking up a glow-worm gorge off Lake McLaren, 20kms south of town. Even in daylight that sounded fun, so I taxied over and planned to walk and paddle back. Lake McLaren is a country park (left) with forest trails spread around a small reservoir and an old power station by a waterfall. A good place to reacclimatise myself with the S1 as a quick spin in Sydney a week earlier showed up a crease mid-hull which suggested a slow puncture or just the usual ‘is-it-a-bit-soft?’ neurosis combined with too much fine dining.
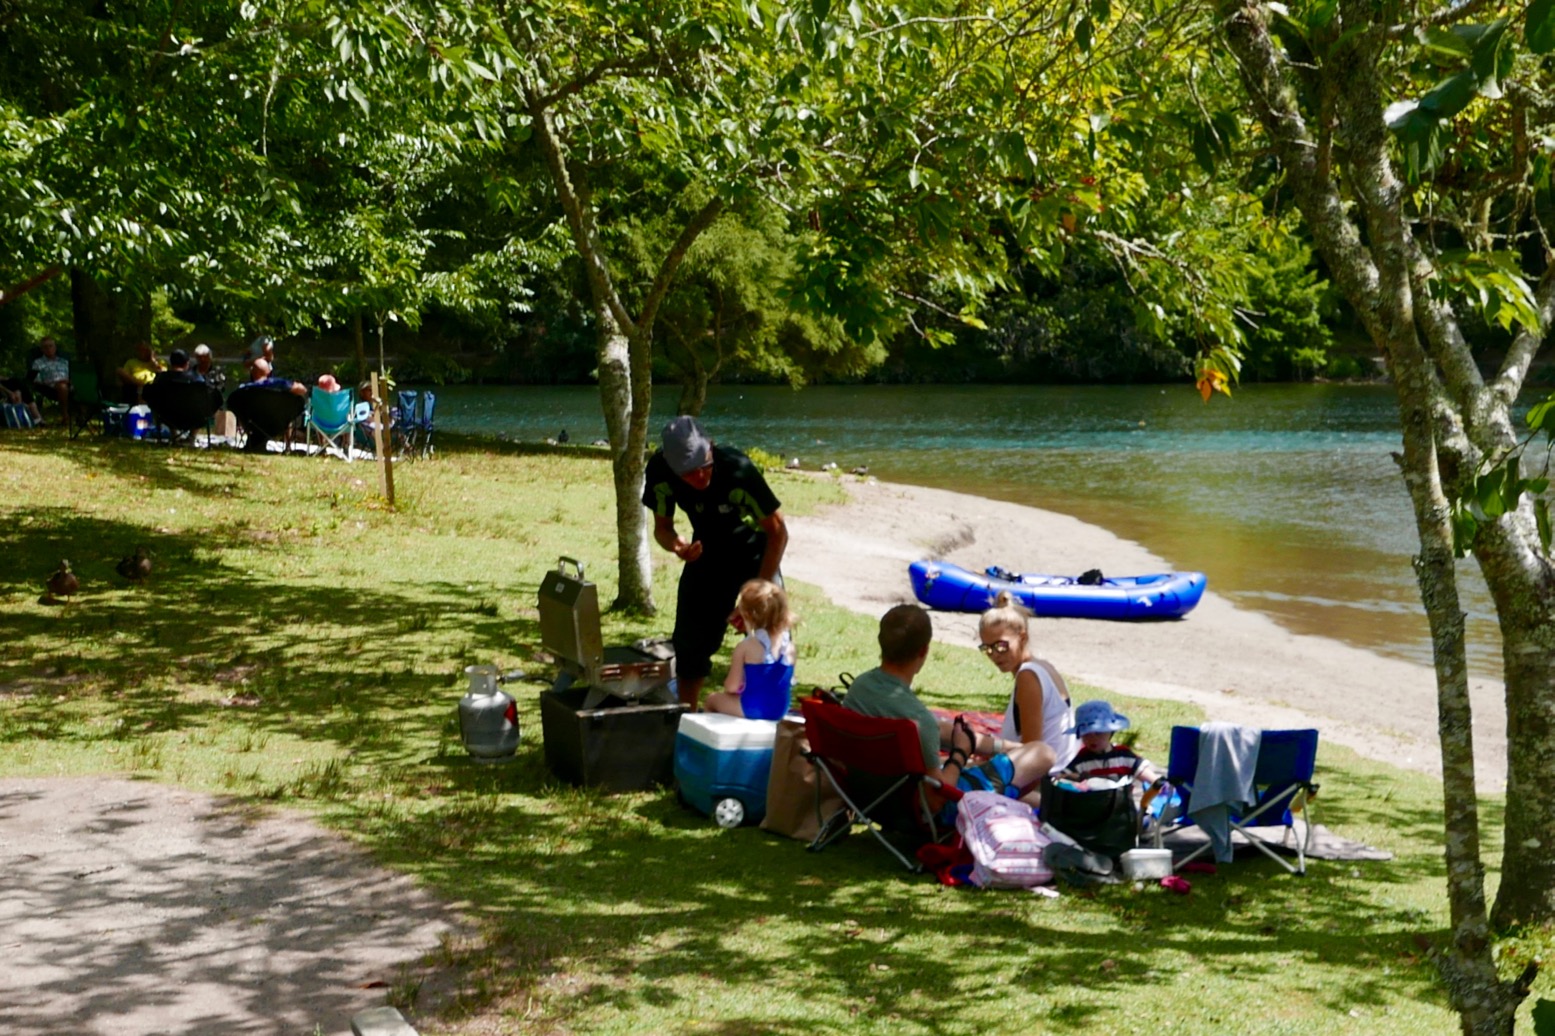
The boat was tempered and inflated to the max with my patented IAT (inflation assist tube; right). With the yellow hose you’re able to do a much better puff than just with your mouth on the Boston valve. I paddled my way round to the glowworm gorge inlet where families where feeding the ducks and enjoying Waitangi Day picnics. But the gorge stream was barely deep enough to float a duck and my quick foot-recce didn’t go far enough. If there was a paddleable pool up there, it was probably tiny. So I settled for cruising about the lake a bit and force-feeding more air where it wouldn’t go. I didn’t recall any hull creases when I tried the S1 last summer. And I’m sure the seat was suspended off the floor which spreads the load better, rather than pressing on the floor. Anyway, no leaks on this boat.
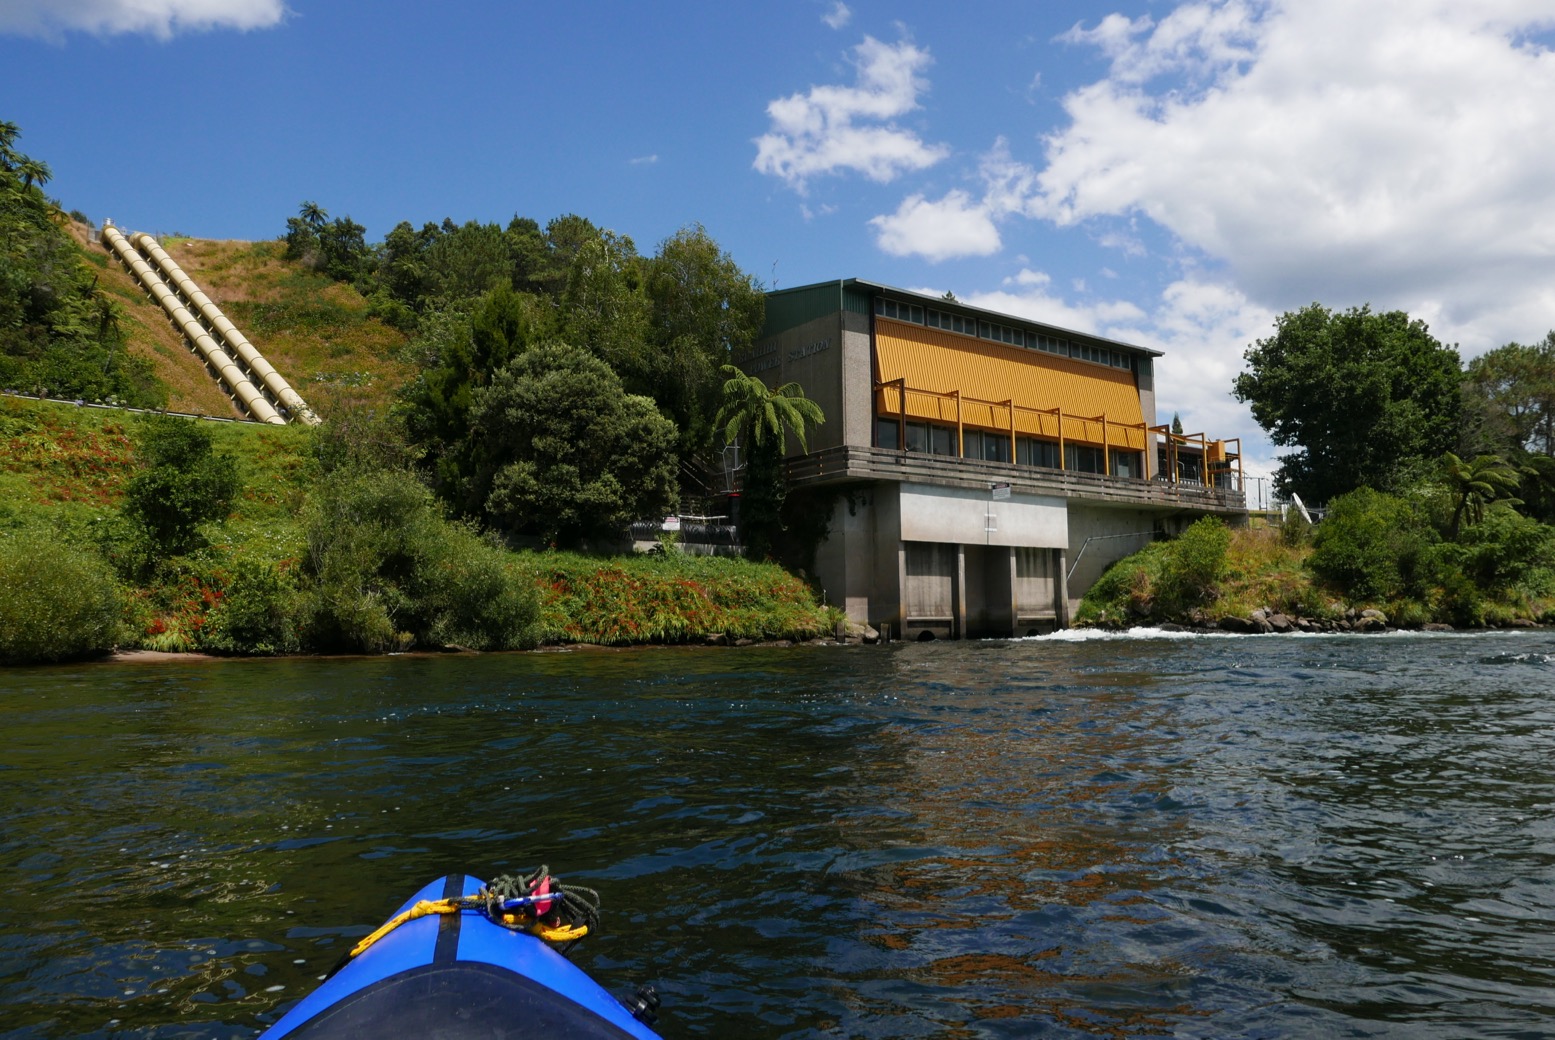
From the park it was a 6km walk back along the main road to rejoin the river at the newer Ruahihi power station. Between the park and Ruahihi I presume the lake’s output gets diverted through pipelines, baring occasional releases for the white water brigade. Having appraised the range of Newzealandish roadside detritus, just by the station I slithered down a steep bank thick with red flowers (left) and reinflated.
A nice current kicked out of the power station’s bores and I set off for the 12km run to a water park by a road bridge west of Tauranga. It would be nice to report the Wairoa was a magical paddle. Giant, palm-like fern trees certainly give NZ’s lush, English-looking countryside an other-worldly, Jurassic quality. It’s no coincidence that just down the road they’ve renamed a town Hobbiton (below) in honour of the movie filmed there.
The Wairoa might make a nice afternoon’s flatwater canoeing, but I do miss a bit of easy Massifianeau vivant. Youtube vids suggested the Whanganui has some rapids fit to tip beginners’ canoe, but here all I got was the cooling breeze which developed into an annoying headwind. I put my head down and dug away, on the way passing a clifftop tree (left) which surely must be one good deluge away from crashing down into the river.
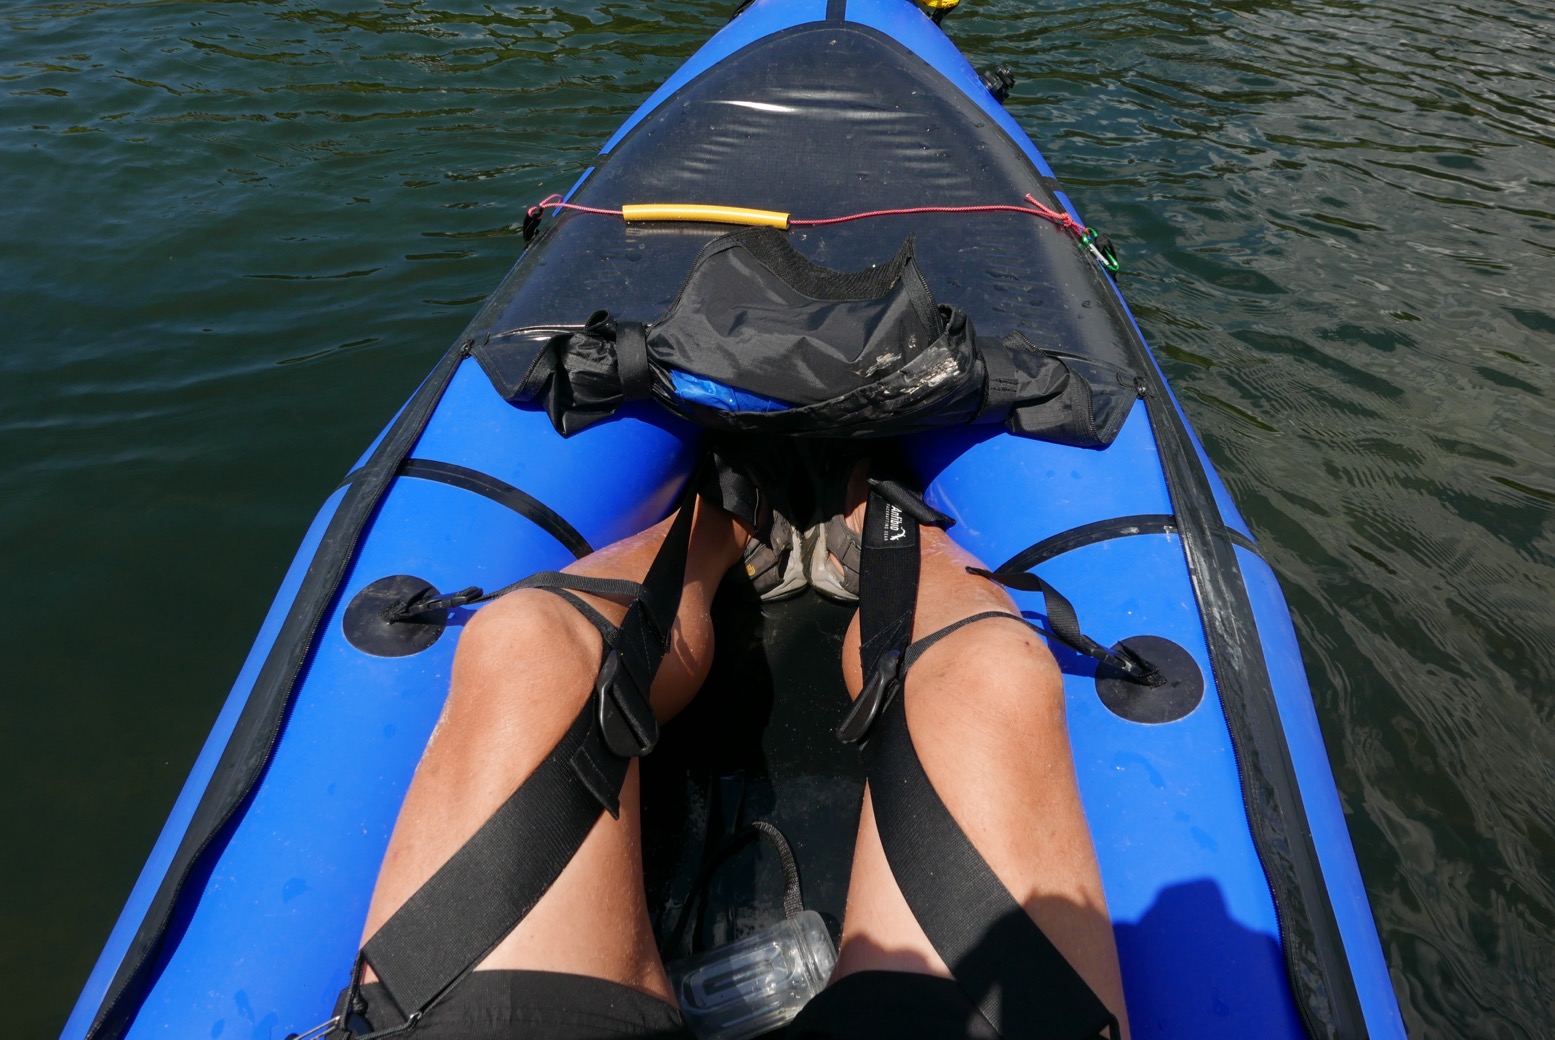
I may have skipped lunch and haven’t padded since the summer, but I was getting more tired than I should be. Something felt off with the seating and bracing set-up meaning I wasn’t relaxed. One problem with the mid-seated Nomad (or any packraft much longer than 130cm inside) is that you can’t jam yourself in, back-to-foot, leaning on the stern with the feet braced against the bow. The Packrafting Store included Anfibio knee braces which, after some adjustment, improved things a bit, but wasn’t as good as bow-braced feet. I see the Store are now selling an MRS footrest for €30 (right) which shortens the distance by six inches or so. I’ve since fitted one, improving bracing and comfort.
A jet ski shot by up river, kicking up some welcome wake. Then a paddle boarder passed by and a group getting merry on a motor pontoon. It had been over two hours now so I asked a bank-side dog lady how far to the water park ’Oh it’s a few kilometres’. Surely not. I pulled over and, clinging to a moored boat against the wind, fired up the GPS. That’s more like it – not so far at all.
Soon there were kids churning along on pedallo-powered water slides, SoTs, giant inflatable silliness and a water chute hurling screaming infants into the river. What better way to spend Waitangi Day. Beyond, traffic rumbled over the road bridge and before that, a steep tidal bank lead up to a nicely mowed lawn for a dry-off during a bit of a lie-down. One-fifty minutes for 12 clicks – not so bad considering it felt like dog water much of the way.
From here it was a 7-km hike through Tauranga’s affluent suburbs back to the hostel. On the way, a supermarket called me like a siren: ‘Food… Foooood, large amounts’. Once out, I’d didn’t even re-park my trundler (as trolleys are called here) before gorging myself on a pain-au-choc, peaches and yoghurts. The rest of the shopping for the evening meal nicely balanced my paddle for the long walk back.
Your inflatable packboat needs a pump to take form as well as to top-up once on the water. These functions may be best performed by two different pumps. The folding bellowsfootpump (left) is history and even low-pressure IKs now come with some sort of hard plastic barrel pump. Some pump on both up and down strokes to fill your boat faster, but as you reach higher pressures they automatically or manually switch to downstroke-only inflation to reduce the effort. They work best on flat, firm ground where you can stand on the stirrup plates and get stuck in. The excellent Bravo 4 RED Kite pump below (newer ones are blue) is still well under £20 and will pump up an IK in 5 minutes.
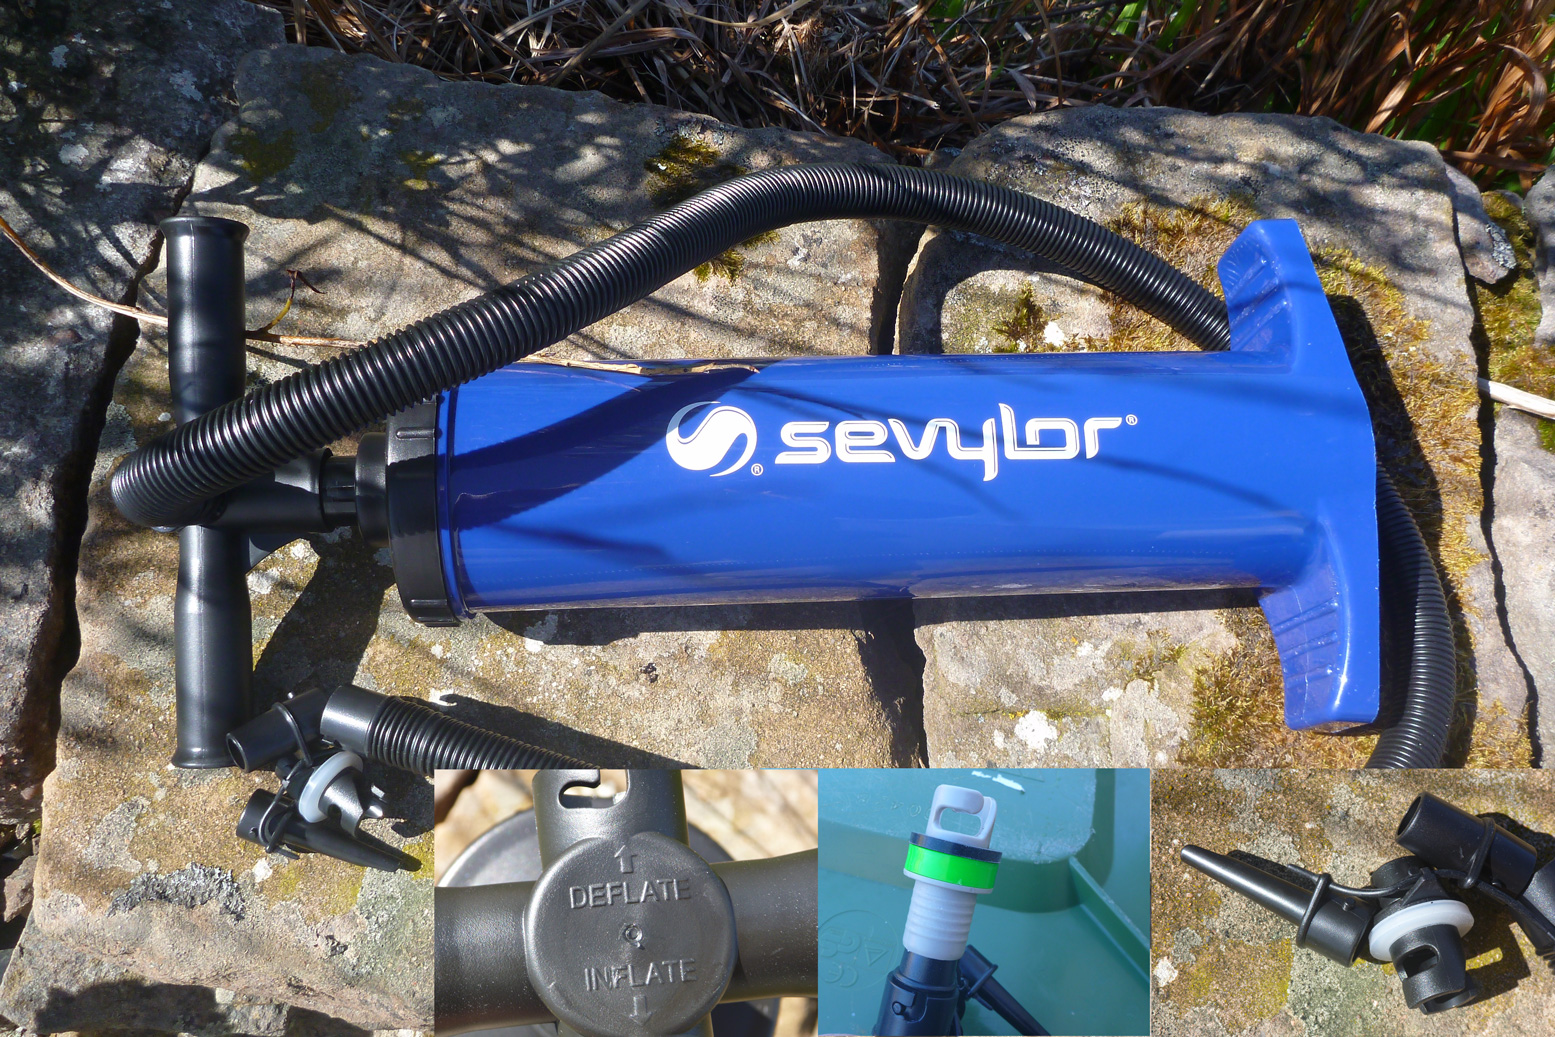
I got a Bravo 6 with my Seawave once but found it hard work – who knows why. The cheaper Bravo 4 does claim to be an ‘R.E.D’ (‘reduced effort device’) and I can confirm this isn’t some gimmicky acronym. The other port on the Bravo’s handle can be used to suck air from an IK so it rolls up good and flat; you can see creases forming in the hull as you suck it down. I left my Bravo 4 RED at home one time so bought a Sevylor RB2500G barrel pump (below left) for a tenner. Same size as the Bravo barrels, it did OK for the awkward topping-up of my Semperit’s lilo plugs and came with others adaptors plud sucked as well as pumped. But pumping up my Seawave from flat was exhausting towards the end: I actually got out of breath and had to rest! Morale of this fascinating anecdote: get a Bravo 4 RED and the right adaptor for your boat. Not all barrels have a built-in pressure gauge which is obviously dead handy in getting the right pressure without needing to faff about with a separate manometer (see below). It’s worth an extra tenner to get a built-in gauge, especially with DS boats.
Cheapo Sevy barrel – tiringHandy K-Pump Mini for topping up on the water
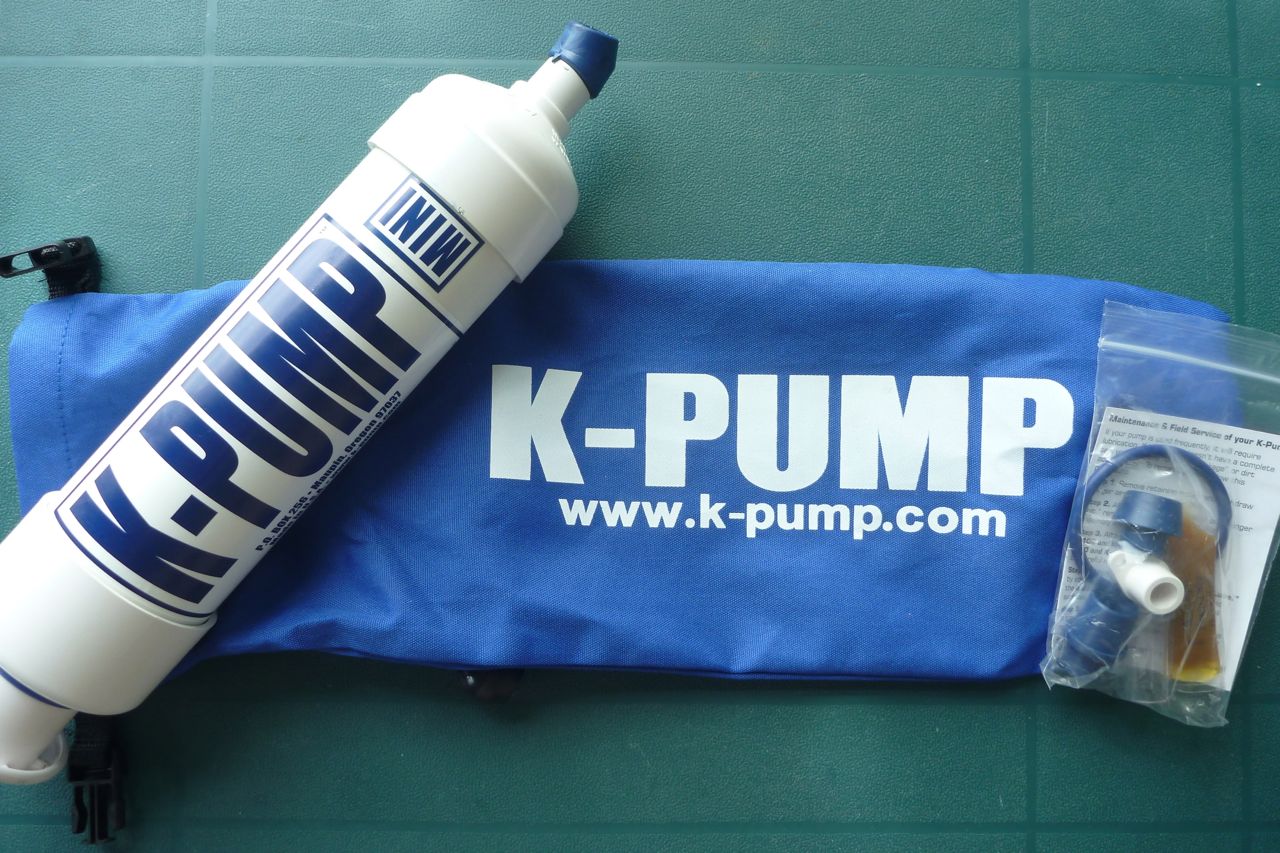
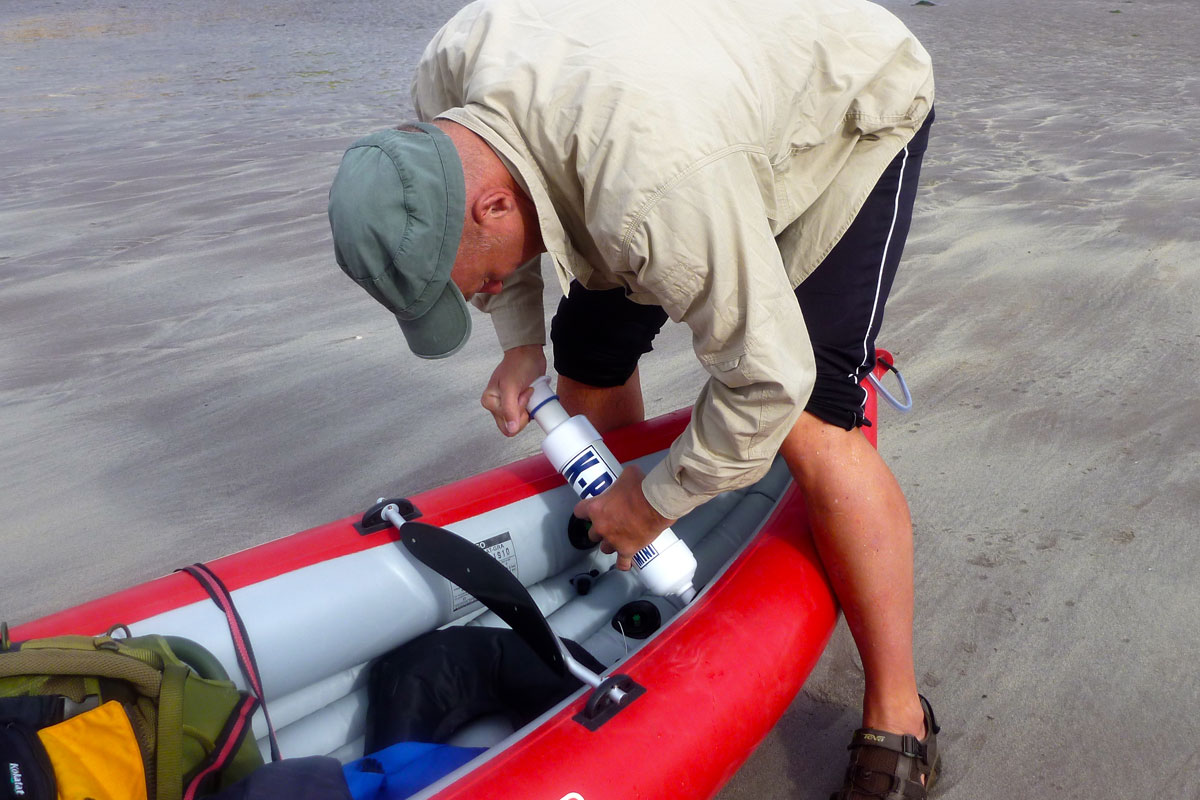
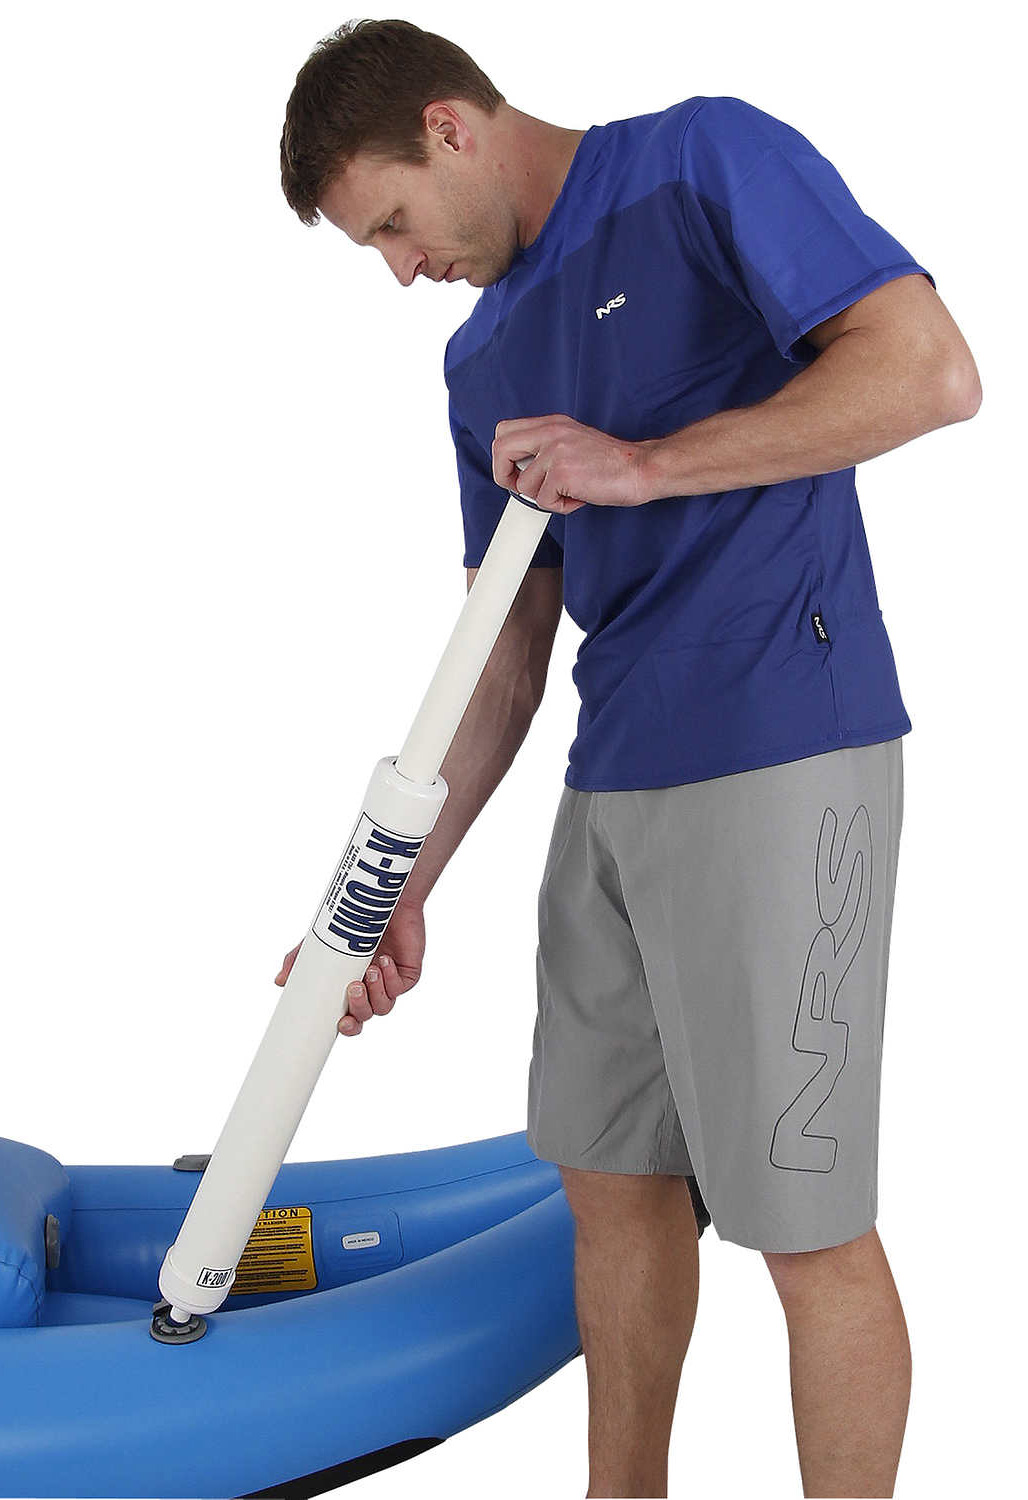
The K-Pump Mini (above right) is a handy top-up pump or compact 600-g travel pump. It took 15 minutes to fully inflate up my 14-foot Seawave; the push-fit nozzle works on any IK with one-way spring valves. You have to press and hold the nozzle against the valve. Using it a lot one time, I got the feeling it might break something or wear out the seal (which needs regreasing once in a while). I’ve also used the K-Pump to top up my Nomad S1 packraft which was too big and long to inflate firmly with just its airbag. Fuller review of the K-Pump Mini here. They’re hard to find in the UK, the very long, and slim US-made K-Pump 200 (right) may also be suited to higher-pressure dropstitch applications.
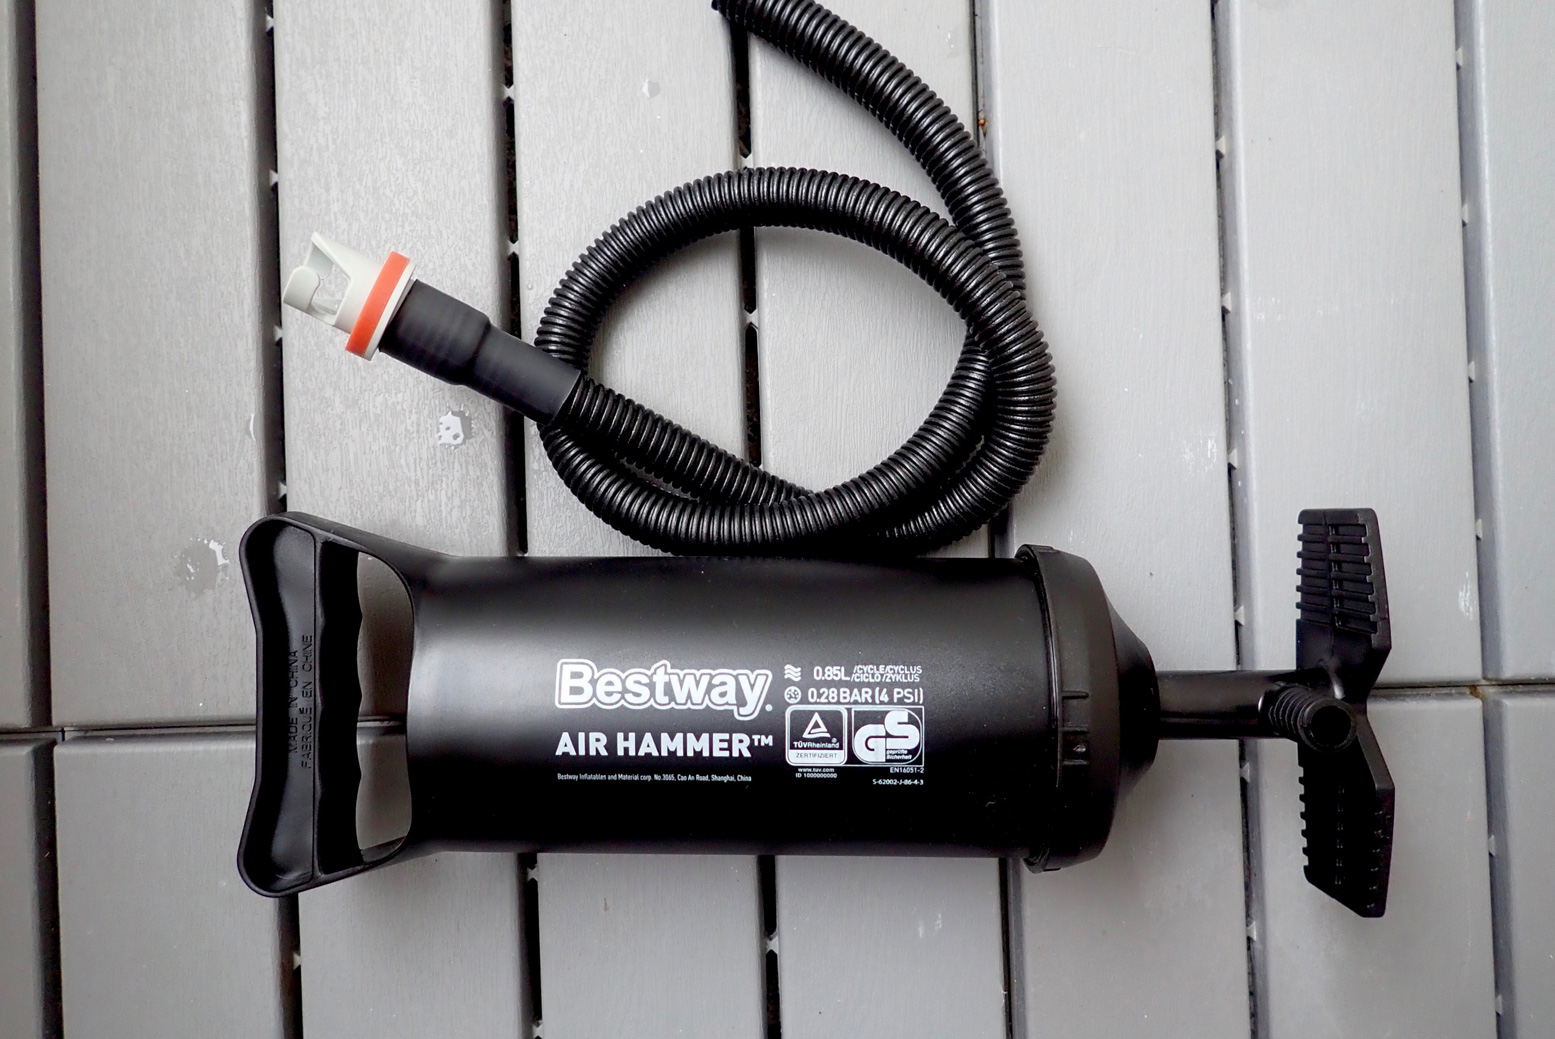
Left, the Bestway Air Hammer is an ‘upside-down’ barrel pump which comes in three sizes and costs from just £6 on eBay. If you don’t want to paddle with your full-size barrel pump, the smallest Air Hammer could work as a compact top-up pump like the K-Pump, but a tenth of the price. The one on the left came with a ROBfin and was rated at 4psi.
High-pressure pumps
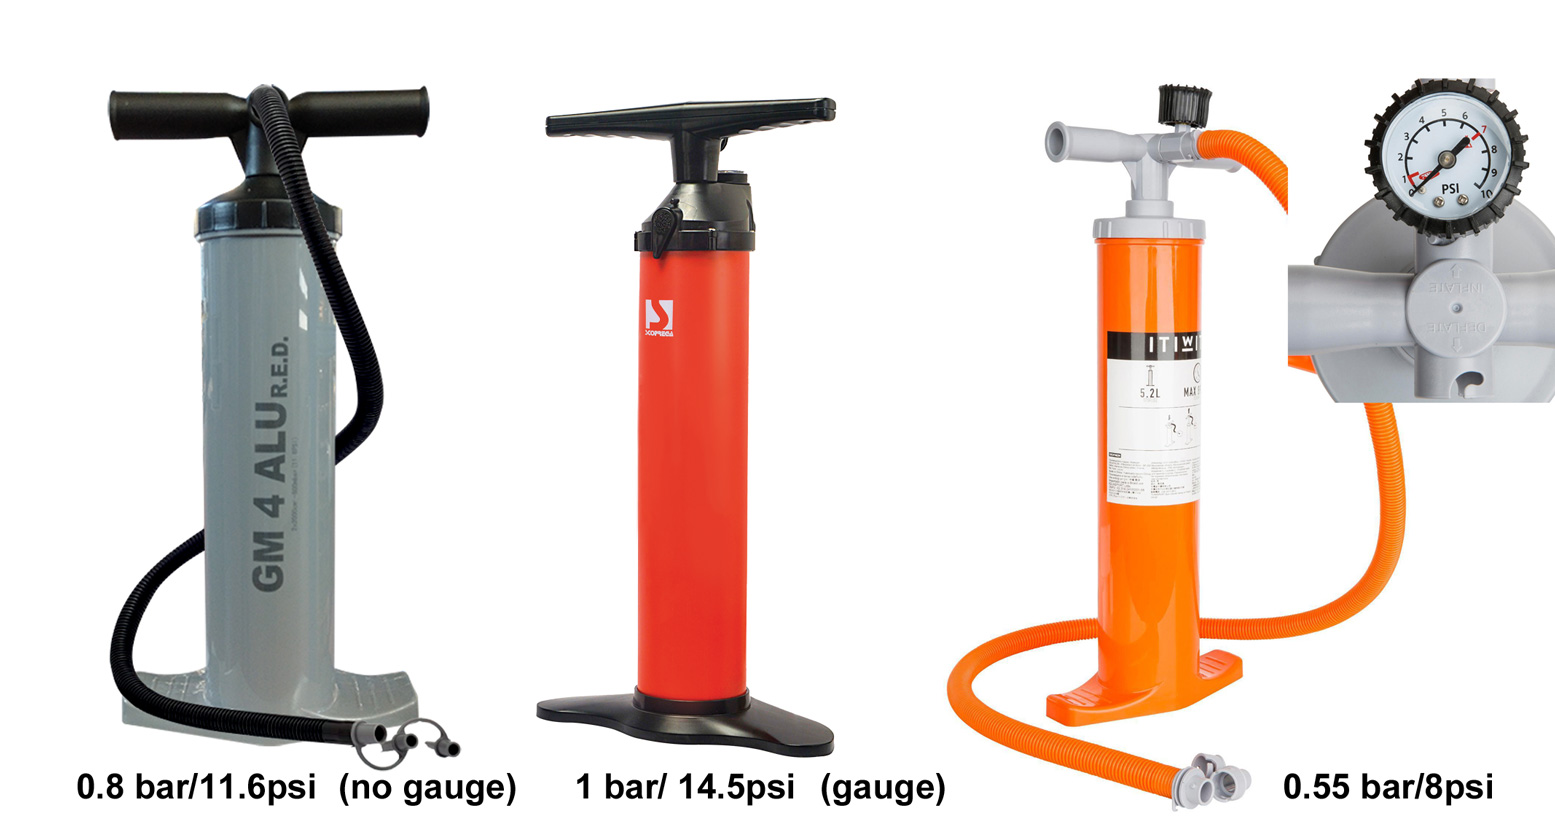
More and more IKs now feature super-rigid, high-pressure dropstitch hulls – either just floors or the entire hull which runs 2–5 times higher pressures than regular IKs. Your old Bravo footpump will blow its brains out trying to reach a typical 7-10psi. Barrel pumps with long, slimbodies, as opposed to the shorter, stockier examples above, put out less volume (DS IKs have less volume anyway) but can more easily attain higher pressures. It’s something to do with the ø of the pump face x the stroke. You don’t necessarily need a super high-pressure iSup board pump.
Left: Bravo Alu RED from £16 • Middle: Bravo 110 >£40 • Right Itiwit (Decathlon) £20
Some of these pumps may be double action. At a certain psi they become single action (downstroke only). I believe the Bravo Alu 4 RED (0.8 bar) works like that. Or they have a switch to do the same and help attain higher pressures. It works. Whatever pump you get for your DS IK, make sure it is rated to comfortably exceed your DS boat’s pressure rating.
Left: Kokopelli Nano pump ticks all the boxes: fold-out feet, screw-off handles, switch for one-way pumping as pressures increase, manometer in the handle. Right: twice the volume Bravo Alu 4 with auto one-way switching (so it says). The bayonet valve nozzle on the Nano keeps the valve open and so is for live (constant) manometer readings. With the push-fit (non-bayonet) adapter on the blue pump suited to Boston valves, a manometer only reads as you pump and push open the valve. Both are better than soggy footpumps.
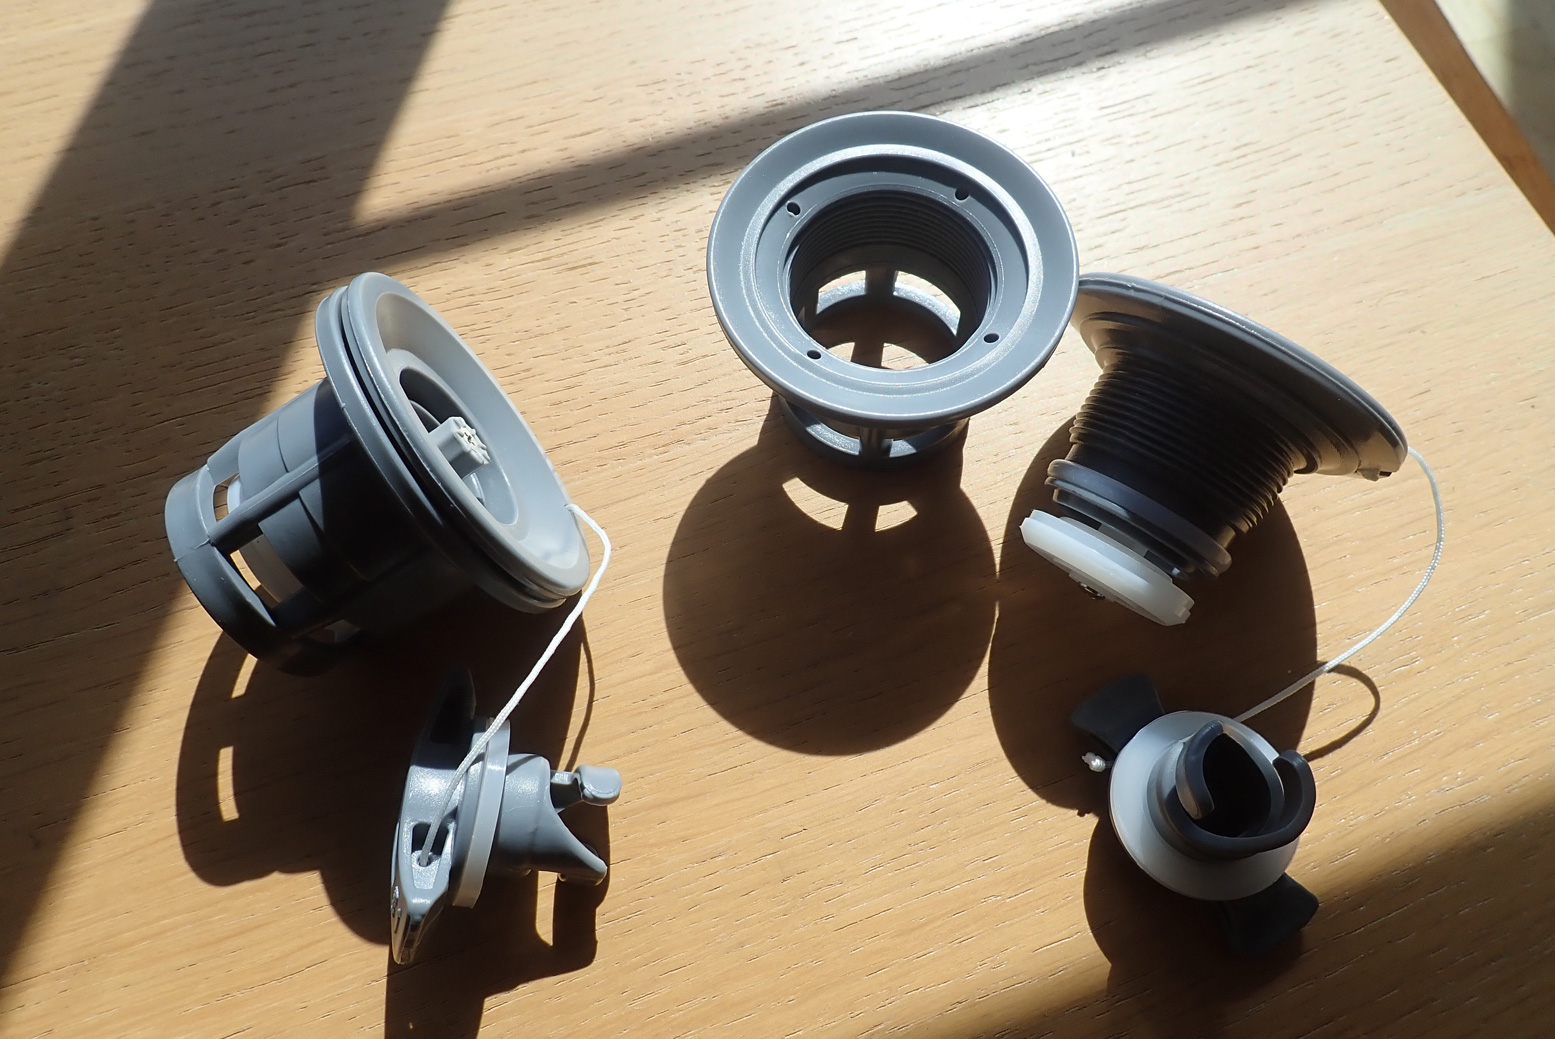
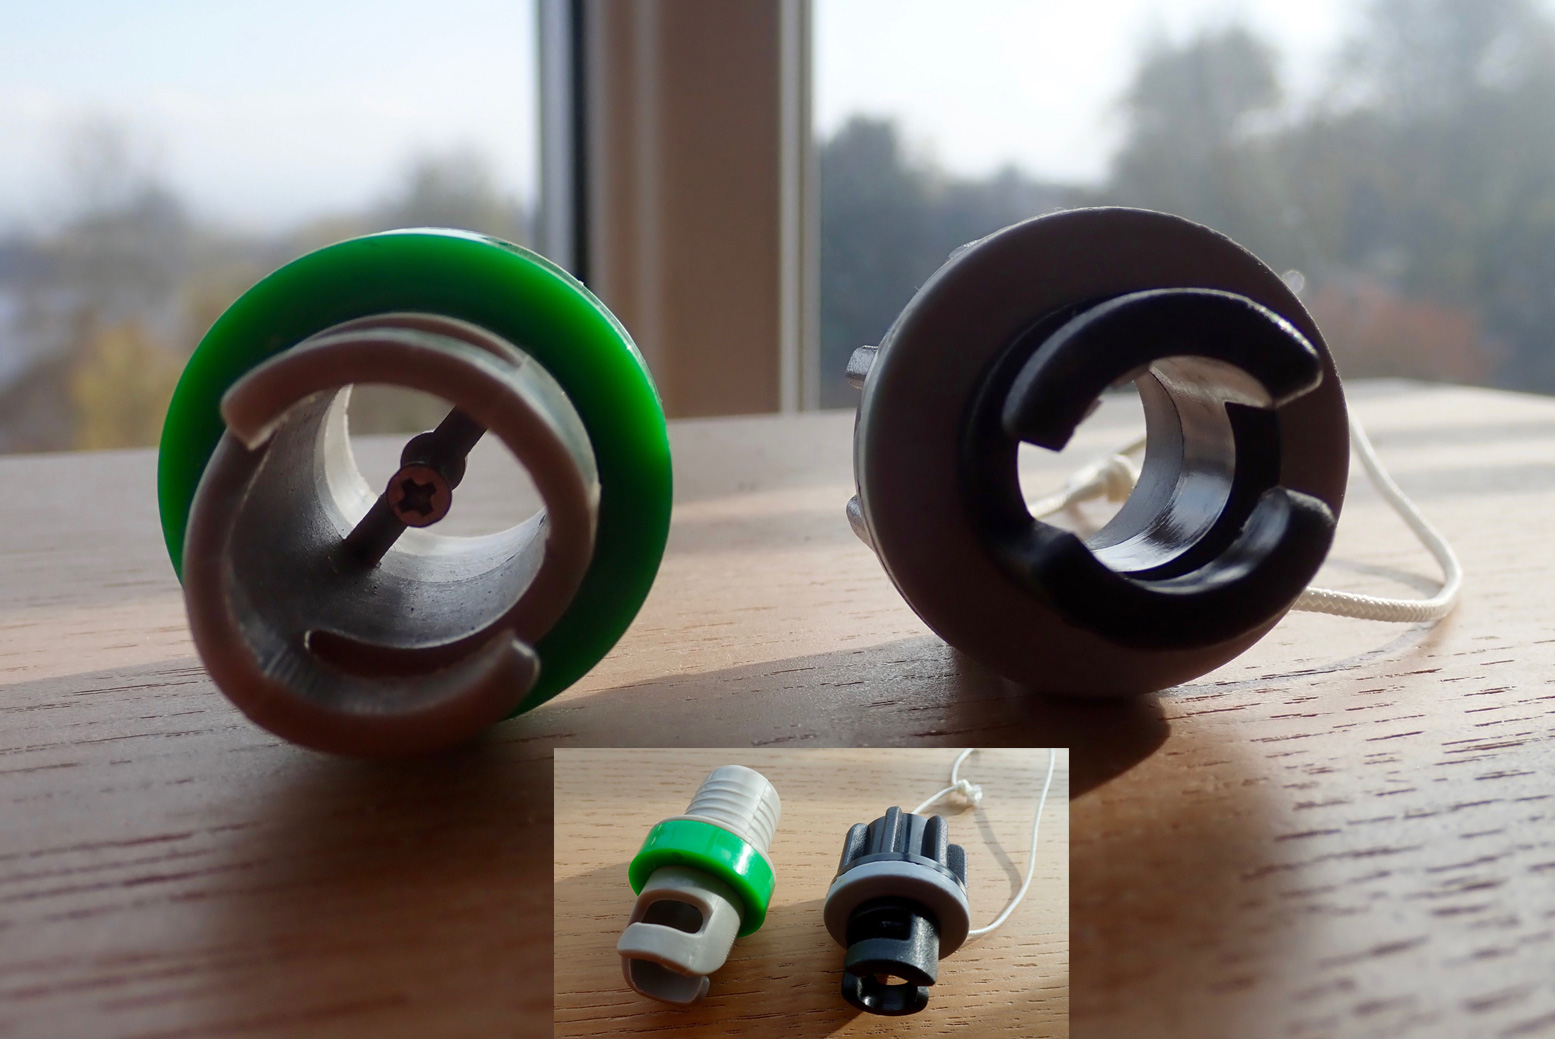
Bayonet nozzles for ‘raft’ valves. Who would have thought there’s something to be said about bayonet nozzles? Well there is. There are two types: plain (below right, Gumotex) and crossbar-peg or detent (left, Bravo). Both need soft spacer washers to fit snugly against your boat’s raft valve, but the small peg inside the green one will press open your valve stem as you connect it.
You will notice a similar peg on car tyre inflation hoses and also on a hand manometer (below). A manometer can’t get a pressure reading without this peg partially opening the valve as you push it on. A nozzle with a peg/detent means that: a: you’re not pushing the valve spring open each time you pump (easier pumping) and b: if your pump has a manometer you will get a constant/live reading as the pressure climbs which is the point of having a built-in manometer. The Bravo one goes from 3 quid; search: ‘Bravo Adjustable HP Valve adapter’. The only drawback might be that you need to remove a pegged nozzle carefully with Push-Push (Gumotex) valves. Normally a little air escapes as you do this, but if the valve doesn’t spring back closed, air will rush out. Turn slowly then pull away briskly; you’ll get the knack.
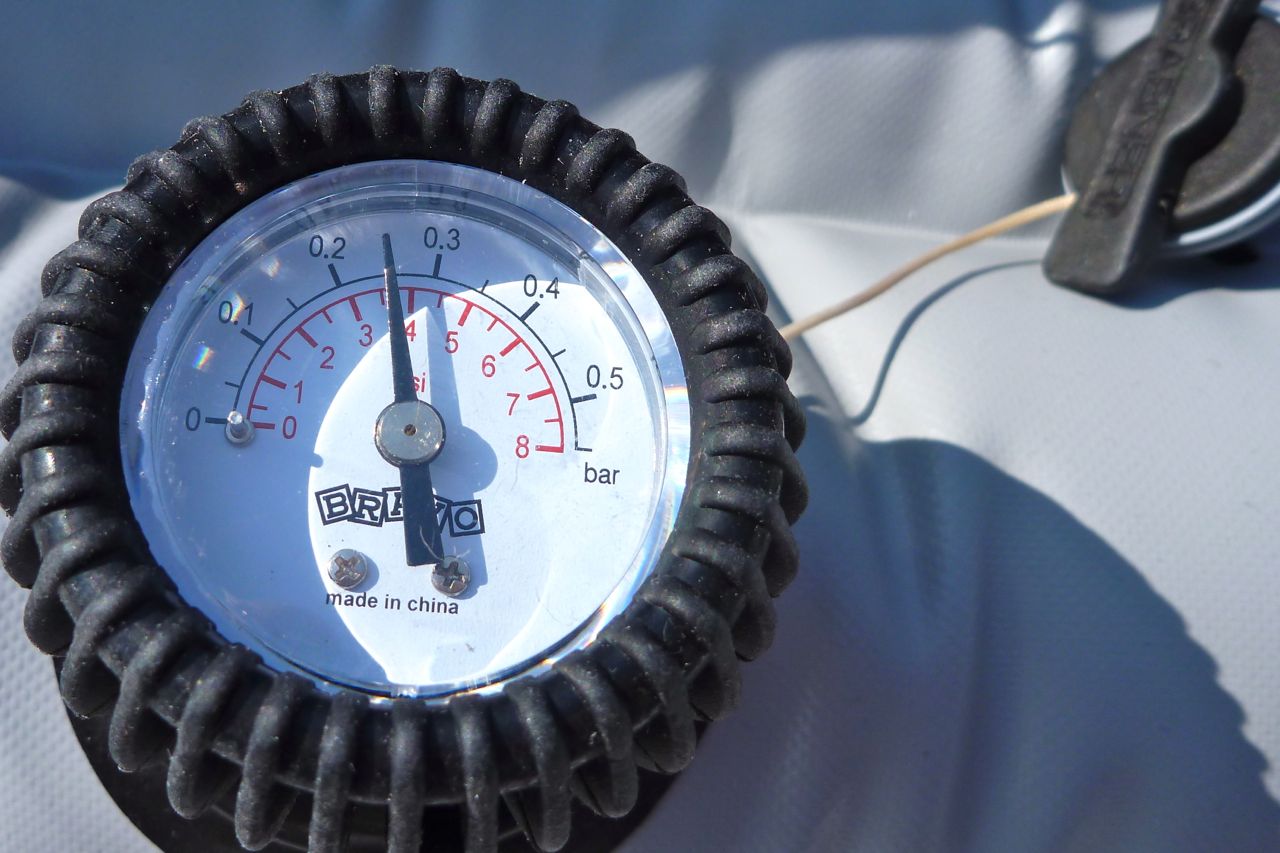
Pressure gauge (manometer) Until I got a Grabner which has no PRVs but ran a relatively high, 0.3 bar (4.3 psi), I never bothered with a pressure gauge (manometer, below) and just pumped up by feel. A lot of people do this. Since then, I ran a Gumotex Seawave and fitted PRVs to all chambers. That meant I still didn’t need a pressure gauge to get the right pressure; I simply kept pumping until each PRV hissed: the boat was then at operating pressure. My Seawave 2 was left stock (no side PRVs) so I have got into the habit of keeping a Bravo manometer with the K-Pump Mini and checking the sides at each paddle when I top up. I have checked this manometer against the floor and it measured 0.25bar which matches with the PRV rating, so I think it’s pretty accurate. Try and get a model with a range of no more than 1 bar (as below left) as that is the range you’re working in. With high-pressure DS IKs, you probably want a pressure gauge as the boat will perform best at the right pressure which may be higher than you’re used to.
Bravo manometer: from 13 quid and accurate
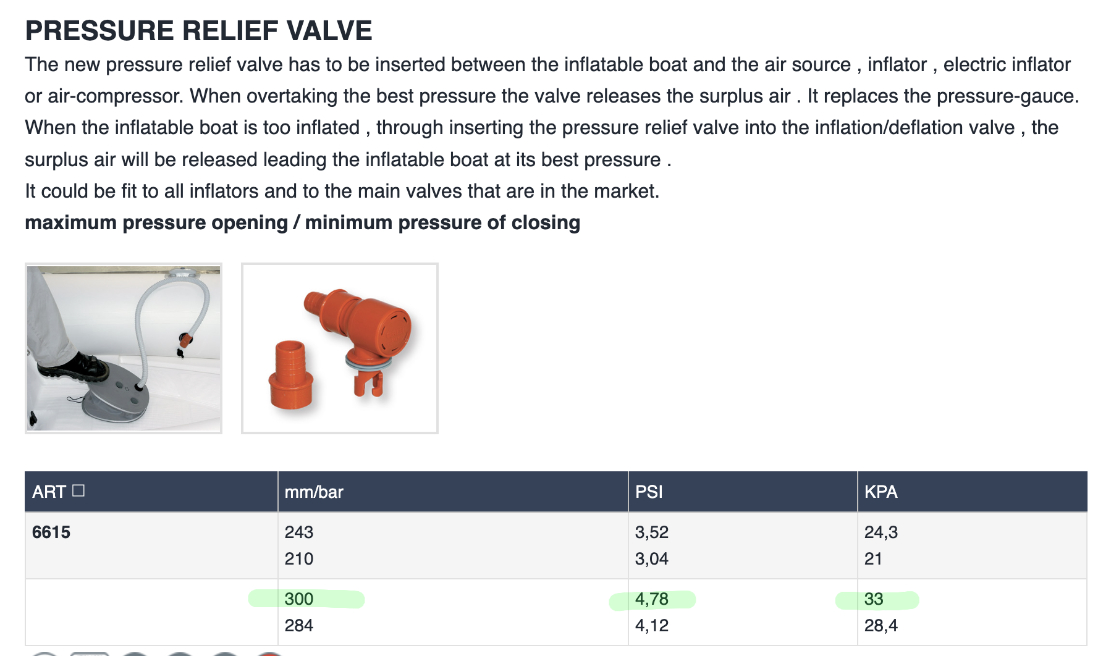
Ceredi 6615 PRV inflation hose adapter
PRV inflation adapter No manometer? You can buy a PRV adapter to fit to the end of your pump hose to fill up a boat to a pre-defined purging pressure without needing to refer to a manometer. It’s a handy gadget providing that rating is right for your boat. You pump away until the PRV hisses, then you know your boat is at the rated pressure. The 6615 Ceredi adaptors come in two ratings and cost just £12 in the UK. The lower rated one is the same pressure as a Seawave: 0.25 bar/3.5 psi. You could also use this one to moderately over-inflate a 0.2 bar factory-rated boat, like a Gumotex Twist by 25%, so making it stiffer but of course risking the thing blowing up if left in the hot sun too long. The ‘300’ version (highlit green below) is less easily found and rated at 0.33bar/4.78psi, the same as the in-hull PRVs I fitted to my old Gumotex Seawave. Grabner make one for €25 (see vid below), also rated at 0.33.
If you can’t track the 6615s down, try the similar black Grabner inflation relief valve which is also rated at 0.3 bar, but, like everything Grabner, is double the price of the Ceredis.
Packraft Pumps
Packrafts used to be inflated with a featherlight airbag which came with the boat. A nozzle on the bag screwed into the boat’s valve and you scoop air into the bag (easier with a breeze) and ‘bear hug’ it to cram the air into the boat. It’s takes about ten scoops and two minutes to inflate a boat this way, then unscrew the bag nozzle and quickly screw on the valve without losing too much air. Next, you used to top off by mouth on a separate twistlock valve: the firmer the boat the better it rides. In the video below (speeded up x 15) from walking up to a beach with my paddle in my pack, to loading up and paddling away took 8 minutes.
Things have moved on. Most packrafts now have a single one-way Boston valve which tackles initial inflation and topping up to a firm pressure. Inexpensive and tiny rechargeable electric pumps (left and below) now effortlessly do the initial job of the air bag, once you fit the right adaptor. Flextail minipump reviewed here.
Mini electric pump
And for those who don’t have lungs like Luciano Pavarotti, once aired up a light and compact mini handpump (left) will get the boat good and firm. Firm boats paddle better, and like IKs, a packraft that feels firmly inflated by hot ambient air on land will go soft once cooled in the water and will need more topping up.
The Anfibio pump above is an adapted eBay balloon pump with an added hose so you can top-up on the water, if needed. It also differs from eBay cheapies in that the handle now unscrews from the pumping shaft to make it less prone to snapping in transit (as I found with the earlier version). With a Flextail and an Anfibio pump you’re packing good to go, but I always keep the original air bag plus a short section of garden hose (for topping up; below) with my boat in case either pump fails.
Note: a good packraft should hold air for days at a time, but don’t leave it fully inflated and out of the water in the hot sun. The air inside heats up and expands, pressures rise and the seams will get strained and may rupture.