Tag Archives: Grabner Amigo kayak

Grabner Amigo and Medway Canoe Chutes

River status

A sunny day in the south of England saw me back on the water with the Big Kahuna Man  after many months off. It was a chance to anoint my new Grabner Amigo’s slick, factory-oiled hull with the Medway’s occluded discharge. If you’re interested, there’s more on why I got myself an Amigo right here.

mapmap

amiassem

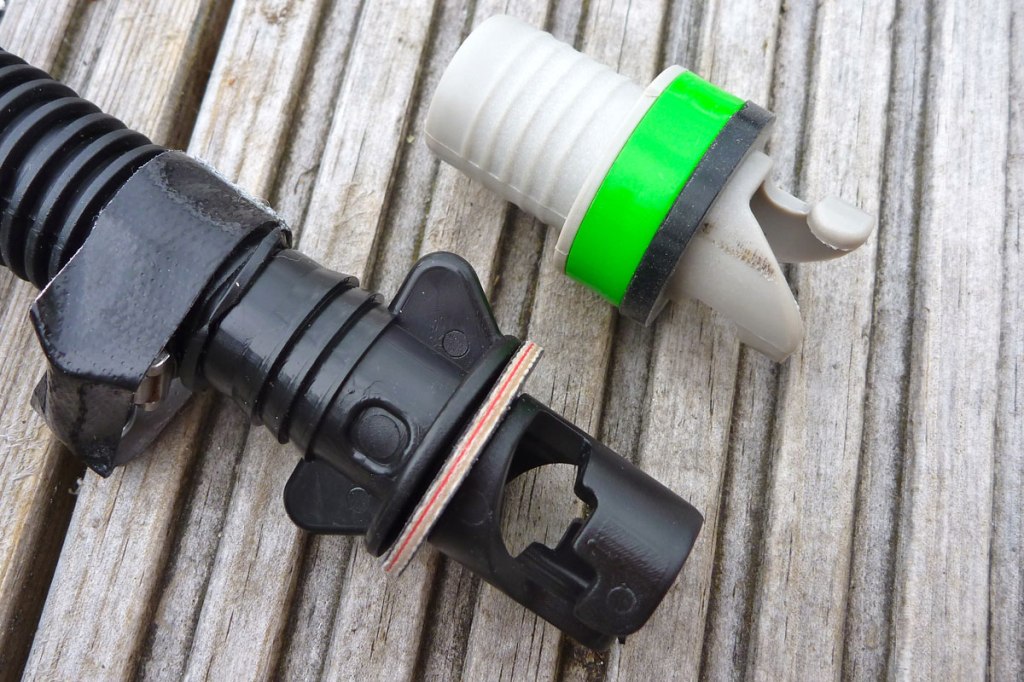
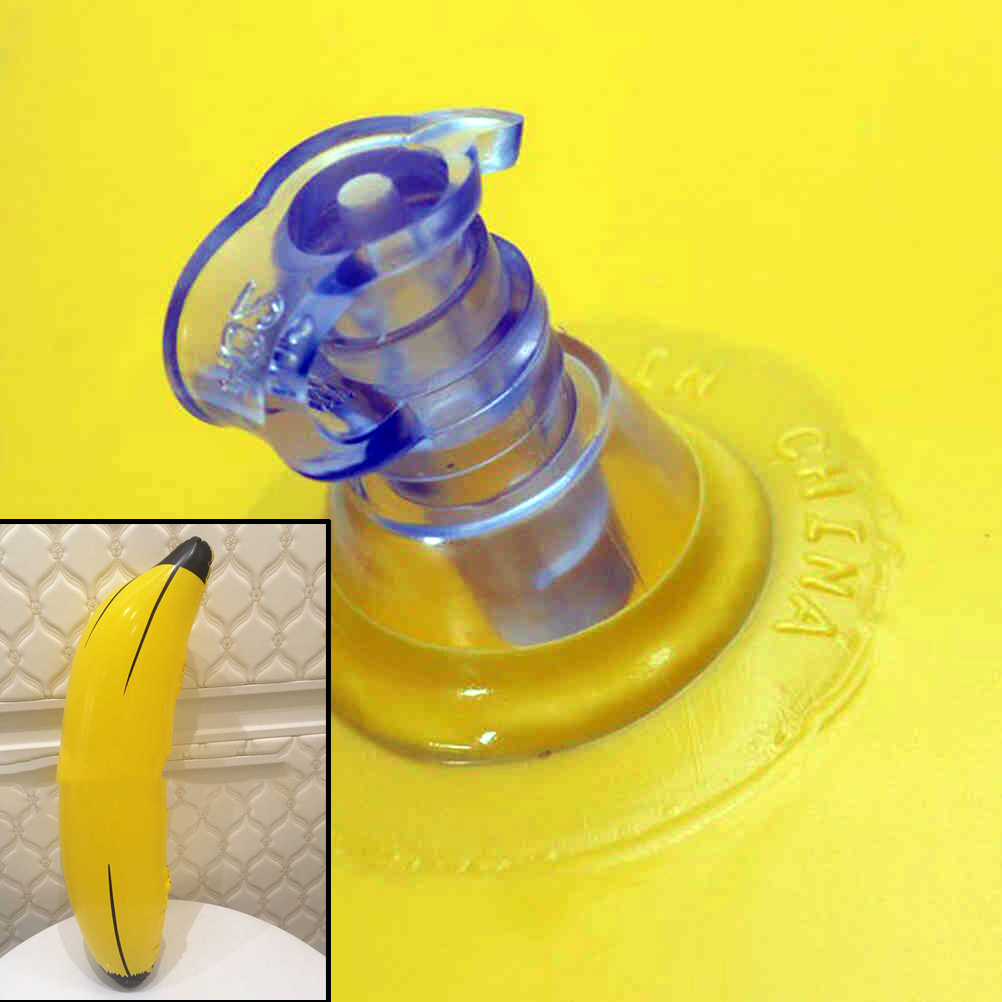
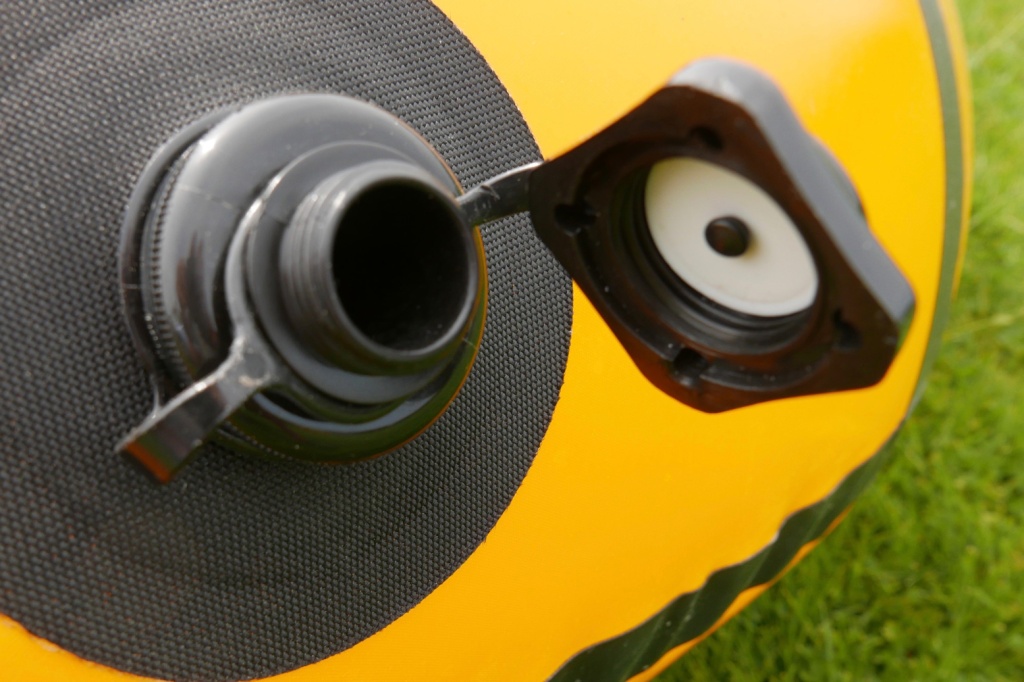
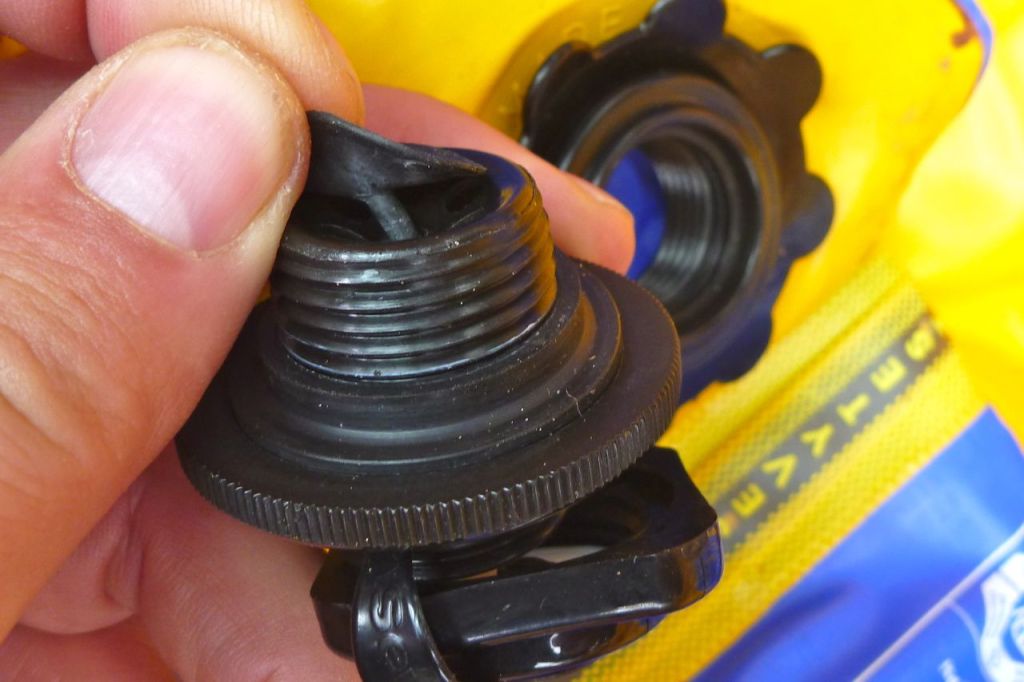
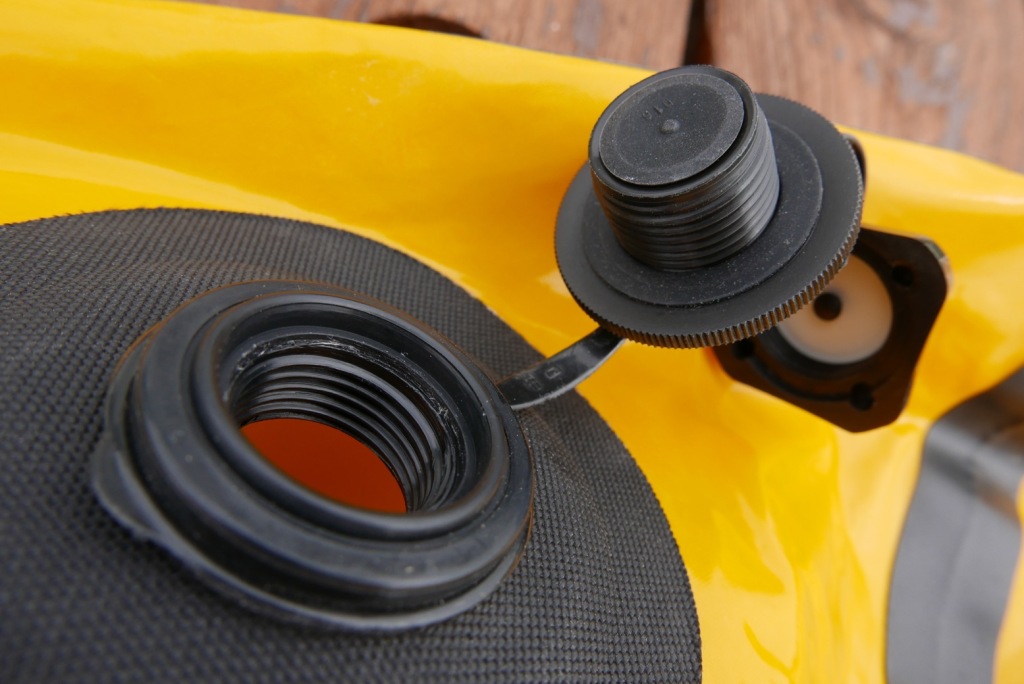
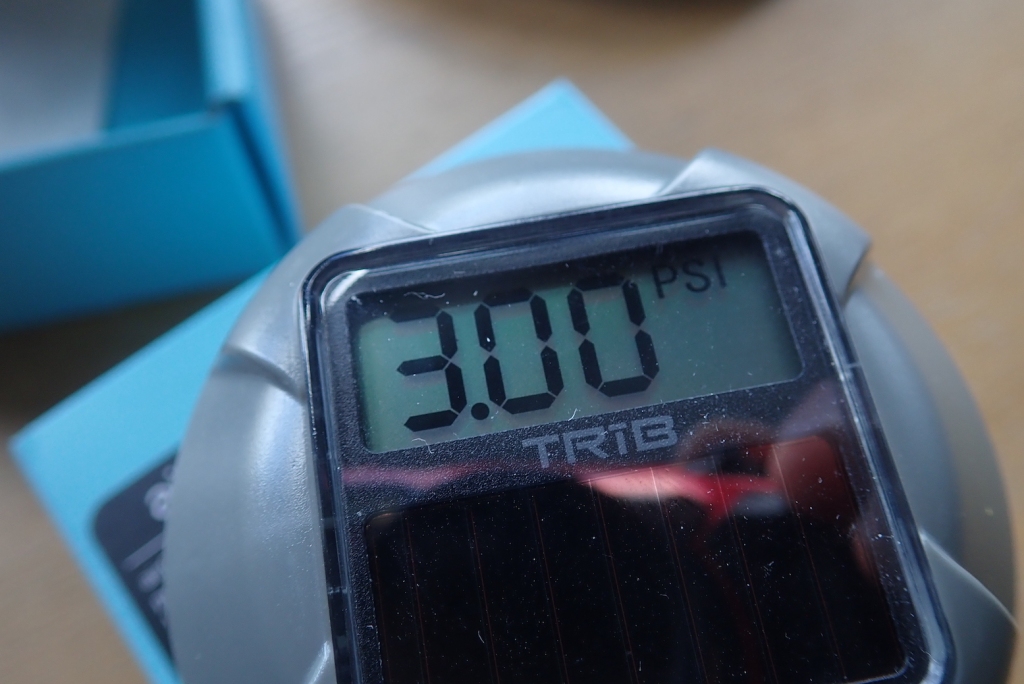
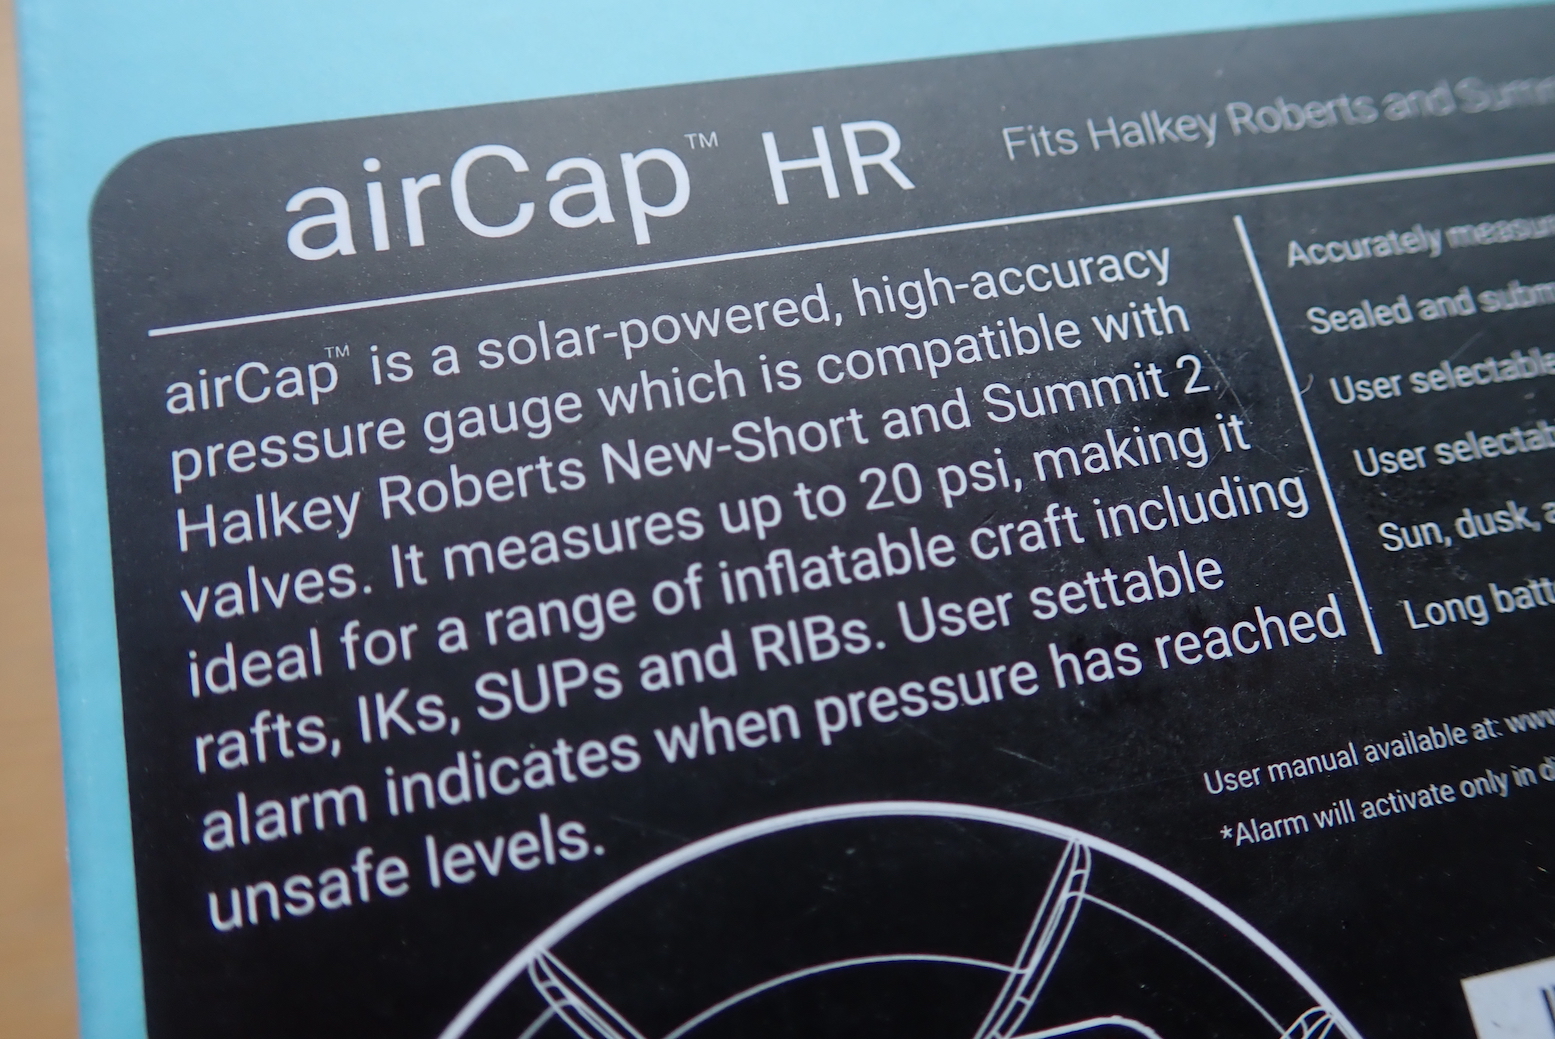
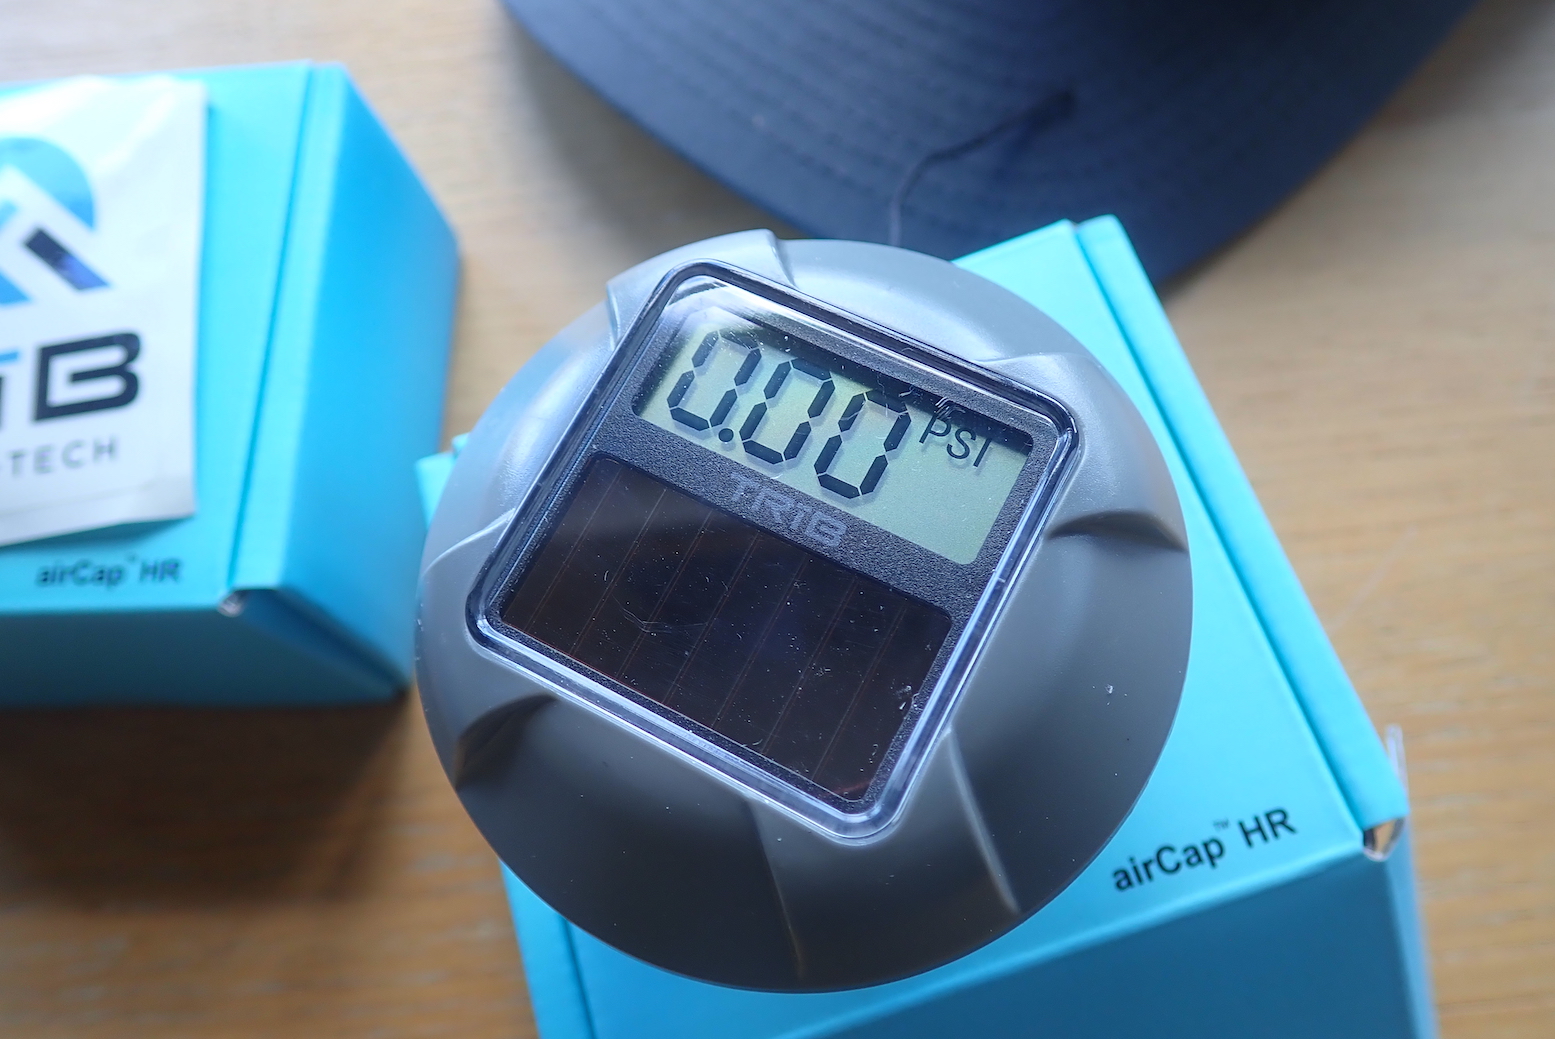
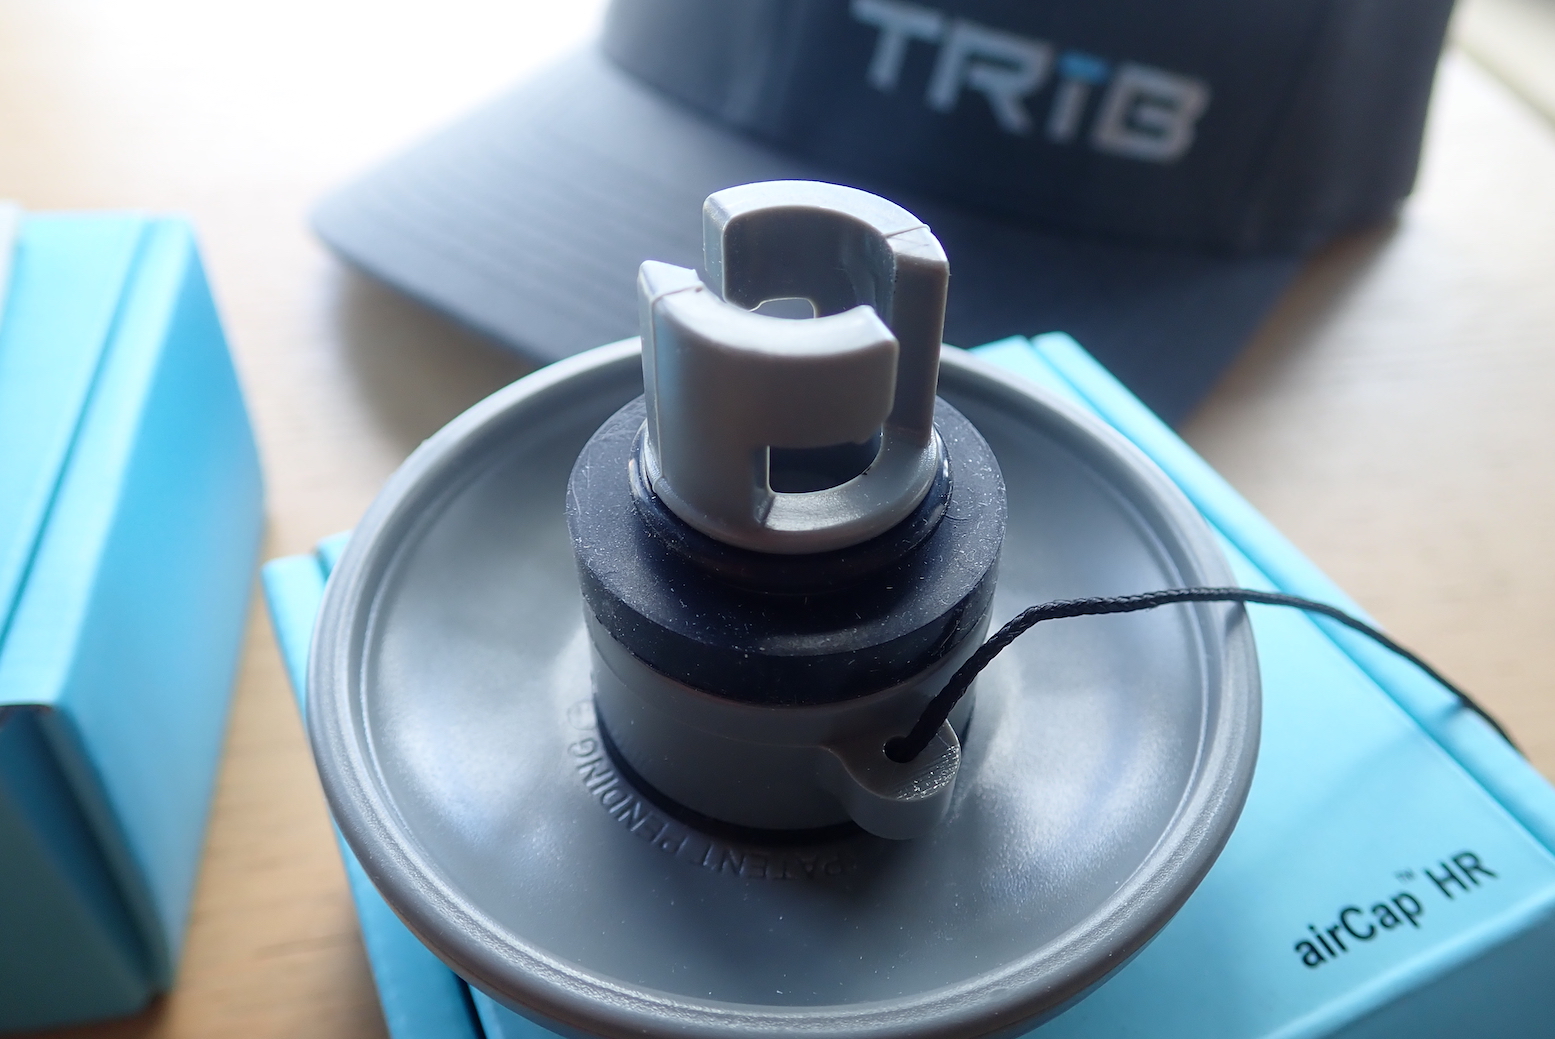
BK Man and I started out of Tonbridge with a plan to replicate our icy winter run of last year when at times we had to crack our way down the river. Assembling the Amigo for the first time was of course simple once I had the bayonet adaptor fitted to the end of my aged Bravo foot pump, but that pump could barely manage to get the requisite 0.3 bar (4.3psi) the Amigo runs. More about all that malarkey on the mods page.

amitownchute

We slipped down the rather tame Tonbridge Town Lock chute (right) where it soon became obvious the Amigo was not going to break any speed records. This may be a false impression as there was a stiff head-breeze, negligible current and my lack of paddling fitness and of course the Amigo’s 3.75m and 80cm width – over half a metre shorter and 11cm or 4.3 inches wider than my old Incept. All that made for hard yakka while the slick Kahuna glided effortlessly by.

amishooter
amiportrait

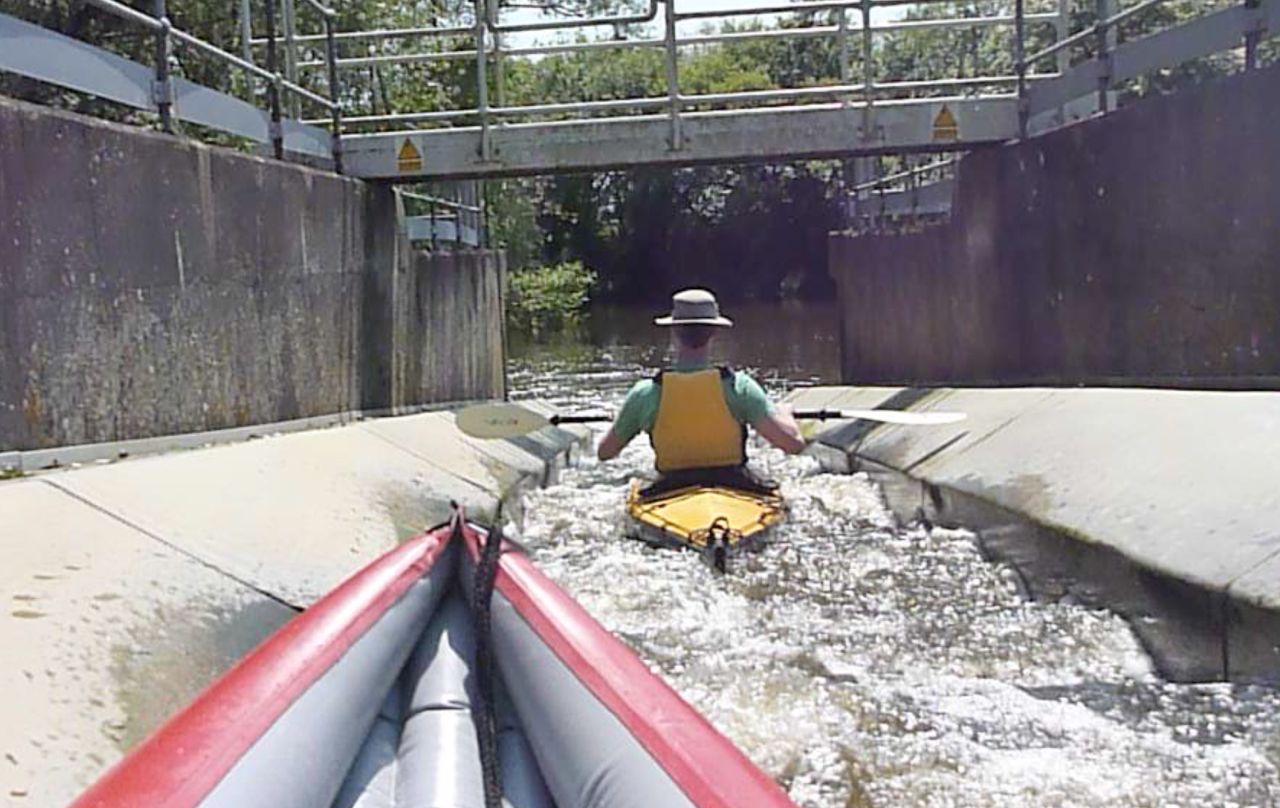
On a positive note the Medway hereabouts now appears to be fully chuted up for canoes – we could have got all the way to Yalding without getting out. As mentioned, some chutes are rather dull affairs where fixed bristles churn up the water and slow a boat down. Others, as we knew well, were steeper and more sporty numbers that you attack at full pelt (left). We like those!

amiportchute

The recently fitted Gumotex skeg tracked flawlessly but still kept the curly ended Amigo turnable. It will be good to try paddling without it; not such a good idea at sea but always handy in shallow rivers where the current should provide the speed you otherwise gain from being able to paddle harder with a skeg.

amidasbo

In between the fun chutes, the simpering Medway crept by. BK Man combed the water as gently as if he was brushing Kate Middleton’s perfumed hair, while I hacked away like the Barber of Seville with my too-large Corryvreckan paddle; very light and stiff it may be but it’s not the blade of choice when unfit. Also, the boat’s secondary seat lugs tended to catch my thumbs, the spare packraft seat was a bit sloppy on the factory oil and I was in dire need of a footrest: all things to refine or fit once relocated up north.
Later I just rested on the seat back with no air padding from the Alpacka seat and that was fine and enabled a good back posture, though I do worry about snapping that seat bar in a hard hit or clumsy moment. It did dislodge a couple of times as the boat flexed down steeper chutes. I suppose a stick or even just a strap will make do as a replacement.

amiamio

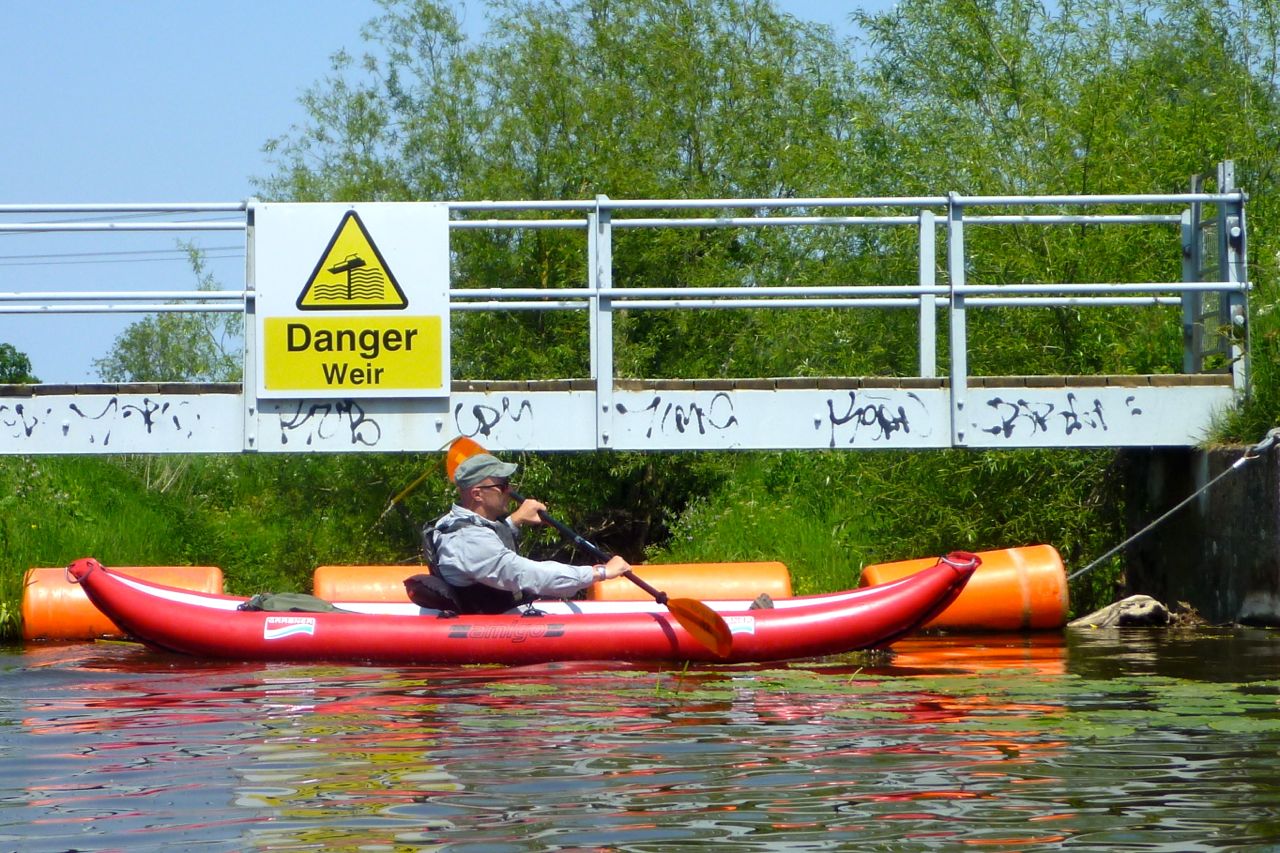
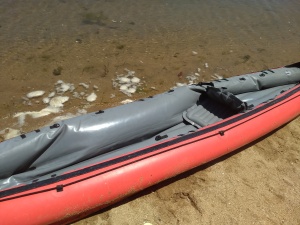
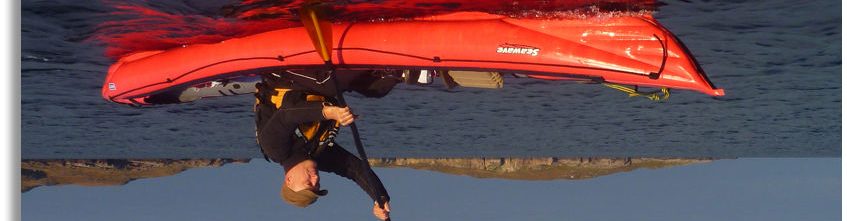
You can see from the pic on the right that even with my weight and only .25 bar in the side tubes, the Amigo is as straight as a boiled hardshell and unlike the Sunny of old. In future I’ll pump it up to 0.33 or so to compensate for the cooling once it gets in the water.

amisloocer

amisluicer

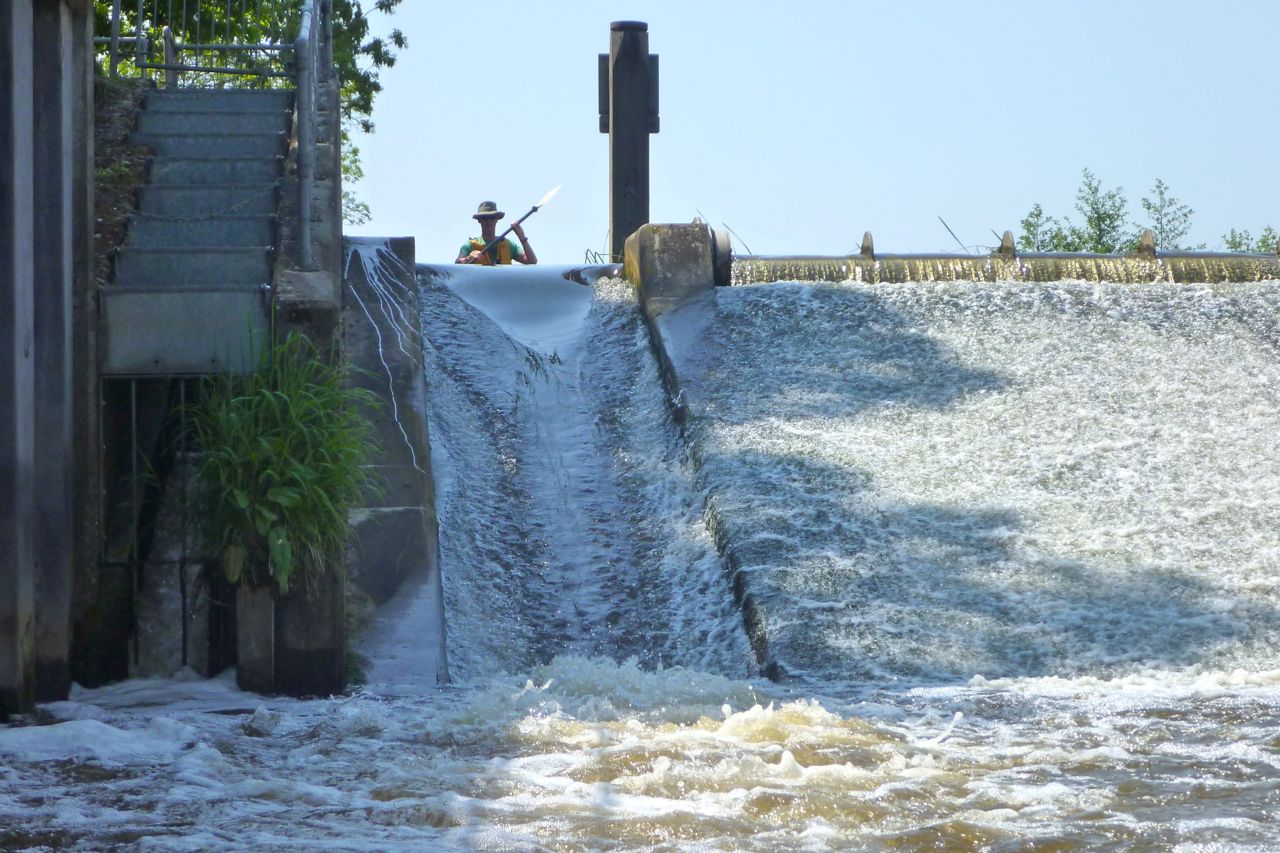
By the time we got to the sporty Sluice Weir Chute (lef and right) I was knackered, sore and starving, a torment made worse by the gusting breeze and the succulent aroma of wild garlic emanating from the lush, green river banks. Southern England in early summer really is a great place to be an insect.

amikinder

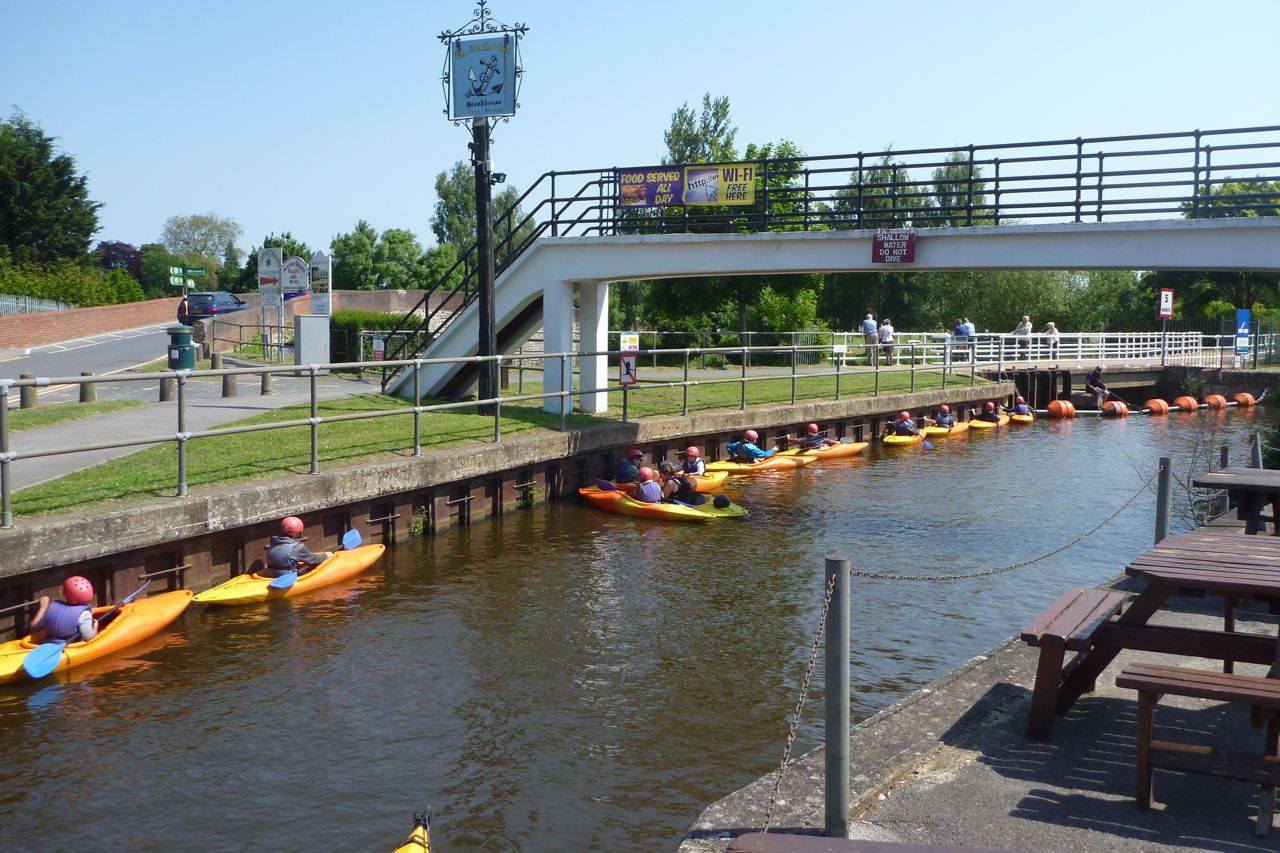
We had high hopes of snaring a good feed at Ye Olde Anchor Inn at Yalding, but it was so poor it wasn’t even worth a picture. I ate as well in primary school back in 1968. What a waste of a great location; someone keel-haul the chef! Next time we’ll revert to the tea room on the other bank. As we approached the Inn we were puzzled by a string of schoolkids in mini kayaks lining up to slip down the flat Yalding weir face. Like some neoprene Pied Piper, their teacher or guide was actually pushing away the orange safety booms so the little mites could slip through and potentially plummet to their deaths. I suppose the river police must allow it. At the low levels we knew  the flat slide down the weir face was not so suited to our long boats – the Kahuna’s nose would dig in to the concrete at the base and spin the back around while I’d scrape my skeg all the way down to the sound of melting plastic. Btw, check out this vid of what happens at Yalding when they open the taps. Scary!

amidrier


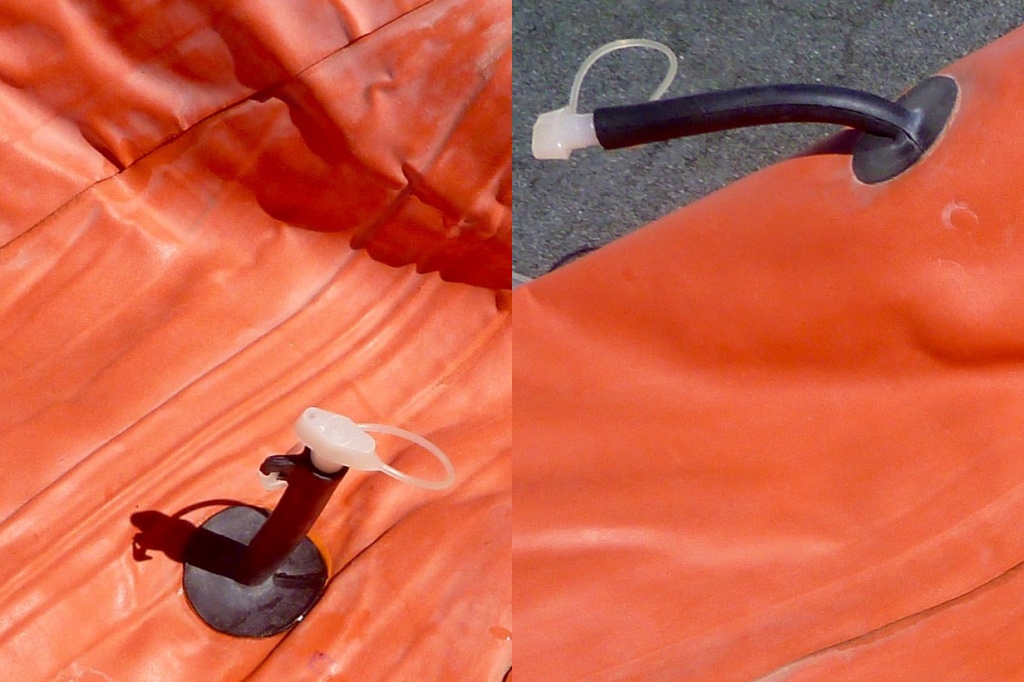
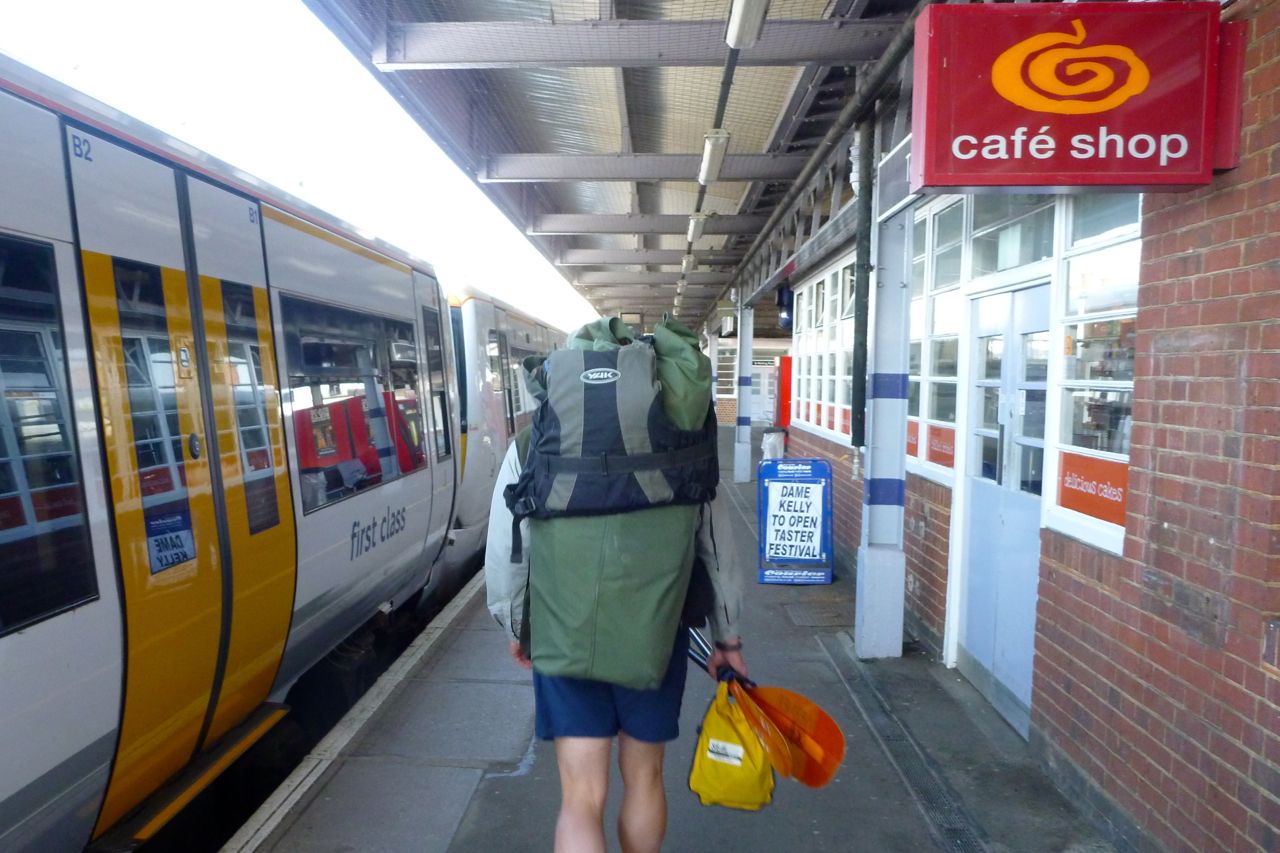
Gastronomically unsatisfied, we lowered ourselves back into our boats for the short hop to Hampstead Lock (no chute). Here, in the full spirit of The Pack Boating Way, we dismantled our boats, walked 5 minutes the station and caught the train back to Tonbridge. I can confide that like a Sunny, an Amigo is so easy to dry, just splay it out (right) like a Peruvian hamster entree, give it a wipe, roll it up and off you go.

amidame

One thing I can to say about the Grabner – you do appear to get what you pay for. Construction appears to be flawless – far superior to the Incept, better than Gumoes I’ve had and with not a smudge of stray glue or ill-adhered creases, gaps or lumps. Once the set up is optimised it’s an IK that ought to last many, many years. More Amigo action to come up in the Summer Isles in the next couple of months

Inflatable kayaks. Part 1: Fabrics and Fabrication

Page updated and moved here

Inflatable Kayak and Packraft Valves & PRVs

Pumps are here
Installing high-pressure PRVs
Testing unbranded mini PRVs
Fixing a leaking PRV

The best inflation valves for an inflatable packboat aren’t the bungs you find on an airbed or an old Semperit. Nor the thin, twist cap stems off a Feathercraft Java or an old Alpacka.
What you want are one-way valves. Like a car-tyre valve, one-way operation as well as a secure seal are the key, so what pumps in doesn’t push back or escape when you remove the inflation hose. Found on cheaper IKs and packrafts Boston valves are simple and effective for lower pressures. More below.

gumvalves


What I call raft valves (left) like Halkey Roberts, Leafield suit higher pressures and are needed for dropstitch panels. In America they’re called ‘military’ valves.
With raft valves you either push and twist the button clockwise to lock open (deflating). For pumping up, push lightly and turn anticlockwise so the button springs back up to seal. This closed ‘button up’ position is the best way to transport an IK too. To lose a little pressure (say, the boat is getting hot in the sun) just jab the valve core button, same as on a car tyre.

Many raft ​valves are now ‘push-push’ (graphic left) which work like a clicking biro so are even easier to use. I always refit the cap seal straight away to keep water and grit out of the mechanism.

Two raft valves. On the left the collar goes inside the hull, the valve body screws into it tightly and the dust cap goes on top.
grabtool

I’ve found these valves reliable on all my IKs, although this Gumotex 410C owner didn’t. Once in a while – or after the boat is new – you may want to check the valve is screwed tight against the fabric with the valve spanner, right. They’re also useful for removing the valve (or a PRV; see below) should it play up.

When it comes to inserting the inflation hose, a simple push-fit plug as shown below left can work; just jam the adaptor into the valve body and it usually stays in place while pumping. It looks cheap but on a Gumotex at least, works fine. With higher-pressure boats like Grabners and Incepts and some Gumotex (as well as dropstitch boats), the jam-fit can blow off so you’re better off using a bayonet fitting (below right) which won’t pop off as pressure builds.

Low-pressure valves for packrafts

Alpackas and even Feathercraft used to use crappy, soft plastic twist-lock oral stem valves (below left) which you could never be sure were done up just right and which didn’t take well to pump nozzles. I suppose they were a step up from blow-up airbed plugs (below) which are still found on cheap IKs.

Now best used on inflatable seats and the like, they’ve been superseded by similar one-way stem valves (below right) with a light spring closure easily openable by lung pressure. They’re a bit trickier to deflate: you have to depress the ‘X’ with a finger while squeezing out the air. The one below right is actually on a buoyancy vest.

Boston valves is a generic name for a one-way valve long used on cheap IKs as well as slackrafts and have now become common on packraft hulls. Note they’re widely copied and not all may be identical, like well-known branded IK valves.
The square top cap screws onto the round valve body which itself has a knurled edge to easily unscrew from the hull port (below right). Here you attach your air inflation bag or open to quickly dump the air when rolling up.

Ideally suited to low-pressure boats like packrafts, they use a simple rubber ‘mushroom’ valve on a stem (above middle). Once the main valve body has been screwed back into the hull, unscrew the square cap to finish the inflation process by either topping off by mouth or with a hand pump.

A one-way Boston-type valve eliminates the need for the old separate stem valve and the whole assembly has swivelling plastic lanyards so nothing drops away when unscrewed.

Pressure release valves (PRV) for some IKs

I’ve learned the hard way to be careful and not let an IK get too hot when out of the water. On a hot day you can feel the more exposed sidetubes tighten like a drum. This of course happens to be good for rigidity and paddling efficiency but isn’t good for the seams or an I-beam floor or the sewn seams of a cheap shell&bladder IK.

lefielda6

The floor tube on my old Sunny had a pressure release valve – oddly it’s something rarely mentioned in the specs, even on current Gumboats. It’s there to protect the I-beam floor which could rupture inside under pressure (I-beam floors explained here).
The valve is set to purge (open) at a certain pressure when the air inside heats up, expands and pressures rise. With Gumotex it is 3psi or 0.21 bar. It means an IK can feel a bit soft on a cool morning following a hot day; don’t worry, you don’t have a leak, it just purged some air when hot yesterday and in the cool air make sit a bit soggy. A quick top up is all you need to do.
The handy thing with a PRV is that it makes a good guide to how hard you ought to pump up the other chambers of the boat without PRVs when you don’t have a pressure gauge. At whatever pump effort the floor PRV starts hissing, that’s the same or a bit more pressure to put in the side tubes which usually don’t have PRVs.

As mentioned, the air in an IK can also get cooled, for example when pumping up on a hot day and then putting the boat in a cool river: a normal scenario. Cold air contracts (loses volume/pressure). Because you want the boat to be as rigid as possible, after initial inflation it’s worth topping up again once the boat is in the water; splashing helps cool the sides.
Topping up, or tempering as it’s called, optimises rigidity and with long, 2psi boats you need all the rigidity you can get. Conversely, pumping up your boat in sub-freezing temperatures then putting it on water which actually ‘heat’ it up, though this is a much less likely scenario.

prv-leak
PRV leaking from the sides not through the valve.
Needs tightening with a special tool; a common necessity
with hastily assembled new IKs.

My higher pressure Incept K40 had PRVs on all chambers which meant you could confidently leave it in the Sahara and it would safely purge then feel a bit soft once cooled down back in the water. Picture above: Incept PRV test with the protective cap removed and purging correctly through the centre.
Below: a PRV being resealed after leaking from the edges (left). This was because I failed to check tightness after buying the new boat, as recommended by the manufacturer. (My Gumotex IKs never needed such tightening or checking in years ownership.)
I ended up also fitting sidetube PRVs to my Gumotex Seawave to run higher pressures and the be able to leave it pumped up and out of the water for months at a time.
Like any valve, PRVs can leak due to grit on the seal or a weak or sticking spring. Grit is not so unlikely when you think they can’t have a cap and have to sit on the floor of an IK, with water and sand occasionally swilling in and down into the body. Try removing the cap and blasting it out with air and maybe give the spring a squirt with 303 (UV protectorant). The best thing is to remove the PRV with the same valve tool, inspect and clean the sealing surfaces and reinstall.

Oddly, my old Grabner Amigo had no PRVs at all and neither do the latest Holiday models and a few other Grabners, even though all run higher than normal 0.3-bar pressures. One presumes Grabner are so confident in their construction they’re not needed, despite the warnings above.
It should be included with the boats, but if your pump has no gauge, Grabner do pressure relief adaptors to fit on the hose (left) which purge at 0.3 bar, so dispensing with faffing about with a handheld pressure gauge. It’s a good idea.

My current Zelgear Igla 410 has closeable 0.25 bar PRVs on the twin I-beam sidetubes (below). The separate DS floor runs twice that pressure but has no PRVs. I find it’s actually quite handy to ‘lock in’ the air during cool transits or when getting into the water. When the paddle is over I open the PRVs which hiss a bit back down to 0.25 bar. I leave it like that until the next paddle when I top everything back up.

Lockable PRVs; quite handy actually

Another good idea are TRIB airCap live pressure monitors so your boat doesn’t end up like the Seawave left (actually an unexplained internal rupture while in the water).
These TRIB solar-powered gadgets replace the valve cap on bayonet-type inflation valves like Halkey Roberts or Gumotex. One fitted securely an LCD display displays your pressures in psi, kPa or bar, a bit like TPMS for cars and motos. And like TPMS, you can even set a bleeping alarm at anything up to 20psi / 1.37bar.
You need to make sure the seal is good and air is not slowly leaking out, but you can also use them as simple digital pressure gauges: twist on, measure and remove. Once fitted, you can watch as pressure drops after you put the boat in the water, and then seeing it rise out on a hot river bank. If I kayaked in a hot country (ie: not the UK) they’d be a simple alternative to the faff of installing PRVs. TRIB airCaps cost $40 in the US and the same in £s in the UK. The ribstore sells them.