A Grabner Holiday 2 running the weir chutes of the Ammer river southeast of Munich in southern Germany.
Lovely droning. Looks great fun.
Tested: Tyre pump adaptor for inflatable kayaks
Leave a reply
See also
Pumps
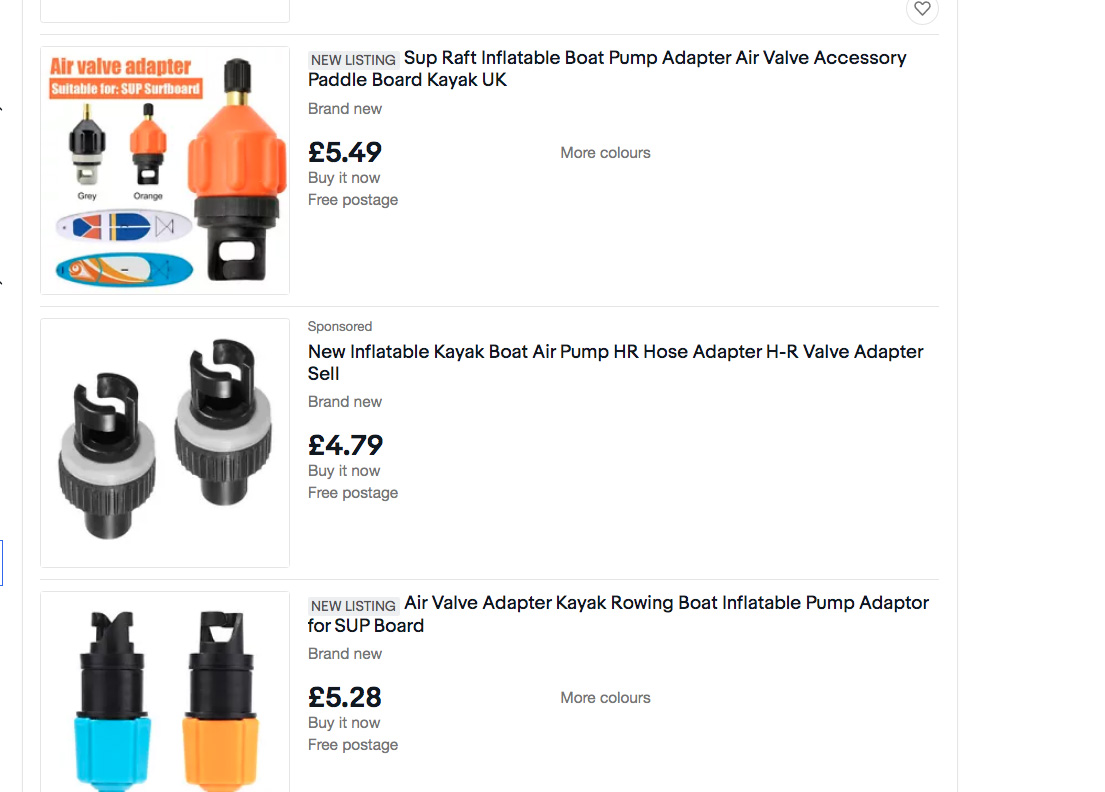
You may have seen these bayonet/car tyre adapters on eBay in recent months (left). The bayonet end clamps into your IK’s raft valve (won’t work on Boston valves). The other end is a regular Schrader valve like on your car/bike wheel. Attach that to your 12-volt Halfords tyre compressor and you can inflate your IK from your car battery. No more of that effortful, back-breaking pumping!
Me, I’ve never seen the value of electric pumps for IKs. (Packrafts are another matter). You can only use them near a power source, or the rechargeable battery will run out. And how hard and slow is inflating an IK with a good barrel pump anyway? As IKs catch on with more mainstream recreational users (whose cheap boats may come with a rubbish pump), some find manual pumping too tiring. What is this world coming too?!

The difference between tyres and IKs:
• a car tyre is a low-volume, high-pressure vessel (~30 litres @ ~30psi)
• an IK has high volume but runs low pressure (3 chambers of 50–160 litres @ ~3psi). Drop-stitch has less volume but runs much more pressure.
That’s up to five times more volume in an IK, but at a tenth of the pressure. I would guess the swept volume of my better-than-average car pump (left) is 3–5cc. My Bravo RED 4 barrel pump is 2 x 2000cc (it pumps on the up and the down strokes).
Even if my 12-volt compressor whizzes along at 1001rpm, it will still take a long, long time to fill a 160-litre IK floor. But for a fiver, I thought I’d prove myself right.
The Test
The easiest way was to pump up my Seawave’s floor to the point the PRV purged at about 3psi. The actual psi is immaterial but it’s consistent.
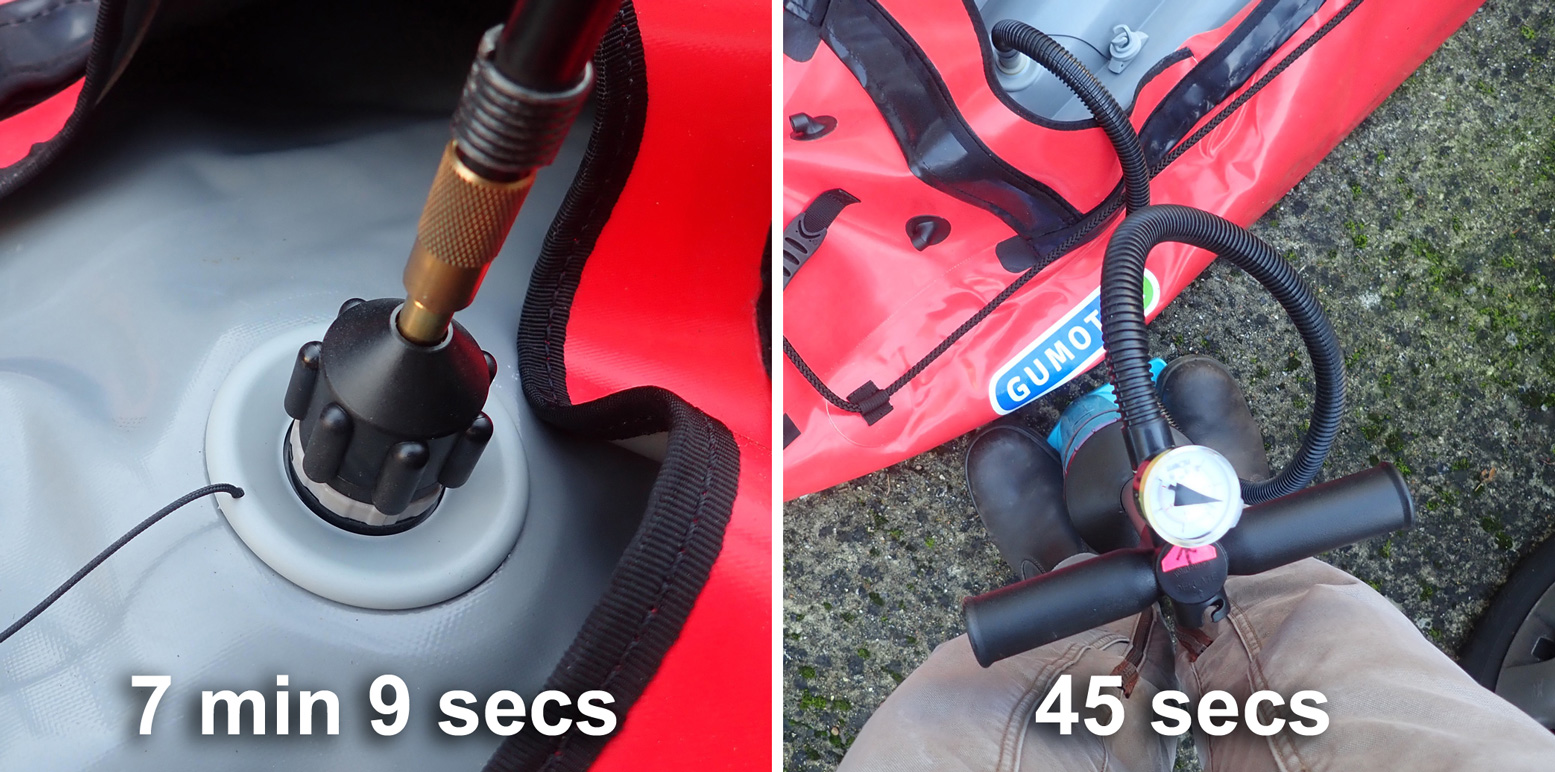
No surprise: it took less than a minute to pump up the 160-litre floor with the barrel. With my car tyre pump it took over 7 minutes.
And if you want say 4psi in the sides, or a 10psi drop-stitch boat, the duration of the tyre pump (or effort with the barrel pump) rises exponentially. It will take forever with the car pump adapter and I think the tyre pump would auto shut-off or burn-out before it reached anywhere near 10psi.


I looked into rechargable or D-cell battery or mains/car electric pumps like above. They go on amazon from just £9.99, or even less for mains only or 4 x D-cell battery. These may be great for pool toys, air beds and other low-pressure items like slackrafts which just need a shape, not rigidity.
The Pumteck (left; £15) claims an obscure pressure rating of 4.5 kPa which sounds impressive but translates to just 0.65 psi or 0.045 bar. That is slackraft pressure; there is no worthwhile IK that runs such a low psi.
All these pumps do is save you the initial pumping which merely takes time (< 5 mins), not effort. The rechargeable ones will be spent in 10 minutes and then need hours of recharging. For a typical 3-psi IK you’ll still need some sort of manual pump to top off to full pressure; even more so a higher pressure DS IK.
If your back can’t handle a barrel pump (taller pumps work better for taller folk), consider a Bravo foot pump, but with any dropstitch IK there is no getting round the need for a high-pressure barrel pump or a very expensive SUP electric pump.
Repairing a huge rip in your Inflatable Kayak

As mate was getting out of a current-model full-Nitrilon Twist 2 the part of the boat under a jetty rose up into the sharp end of a bolt securing a mooring ring.
KABOOM!!
.. a two-and-a-half foot rip tore across the top of the hull in both directions with a puff of South Moravian talc. As it’s a largely linear rip in an accessible location, making the repair was fairly straightforward: sew, then patch.
[FYI: I know of two other Twists which have suffered similar long rips: here and here. But not any other Gumotex model].

Because the coated core of the red Nitrilon fabric is a woven mat, sewing is an effective way of holding the two sides of the rip together to reduce the tension on the eventual glued-on patch once the boat is inflated. You need an awl spike to pre-poke each hole for the thick polyester thread. This fabric is hard to cut with sharp scissors, let alone thread with a needle.
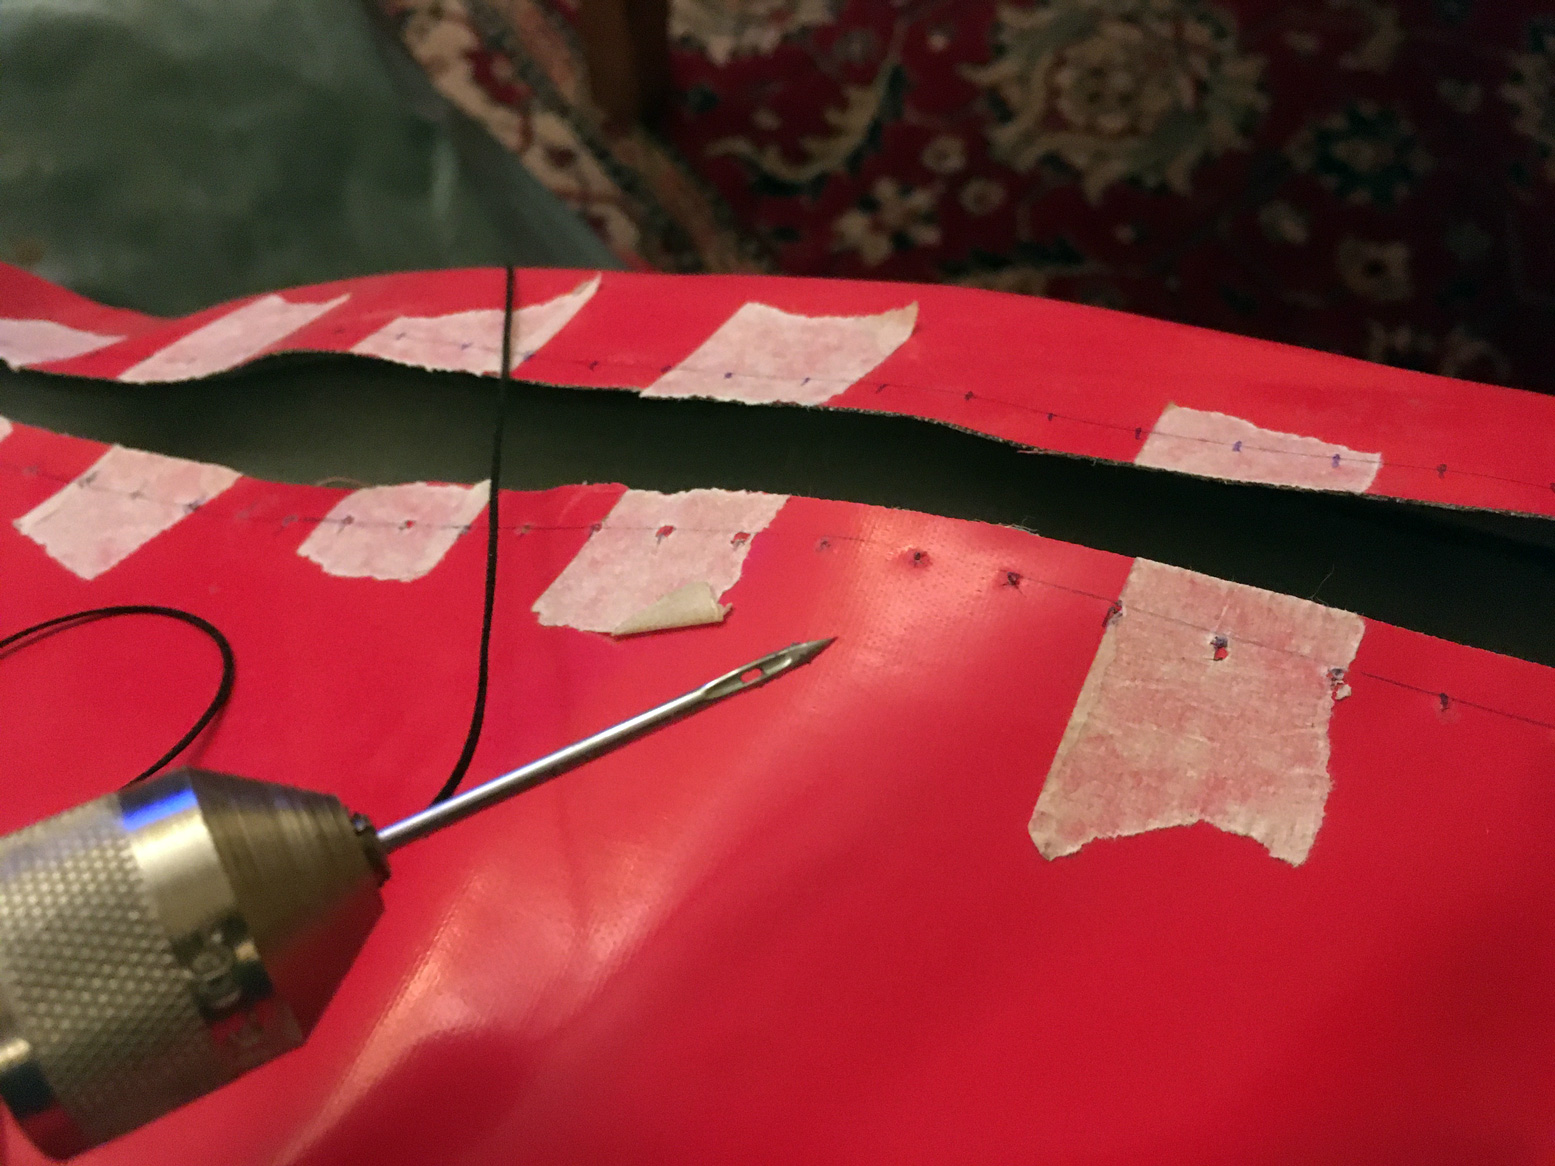
Rip neatly sewed up with a special cobbler’s reverse herring backflip cross-stitch. One thing that got forgotten was sanding then cleaning the surfaces alongside the rift before sewing began.


Completed repair. This would work on a PVC IK too, but most of them are shell and bladder or drop-stitch. PVC is a bit harder to glue well.

The repaired Twist back on the water.
Anfibio Rebel 2K packraft

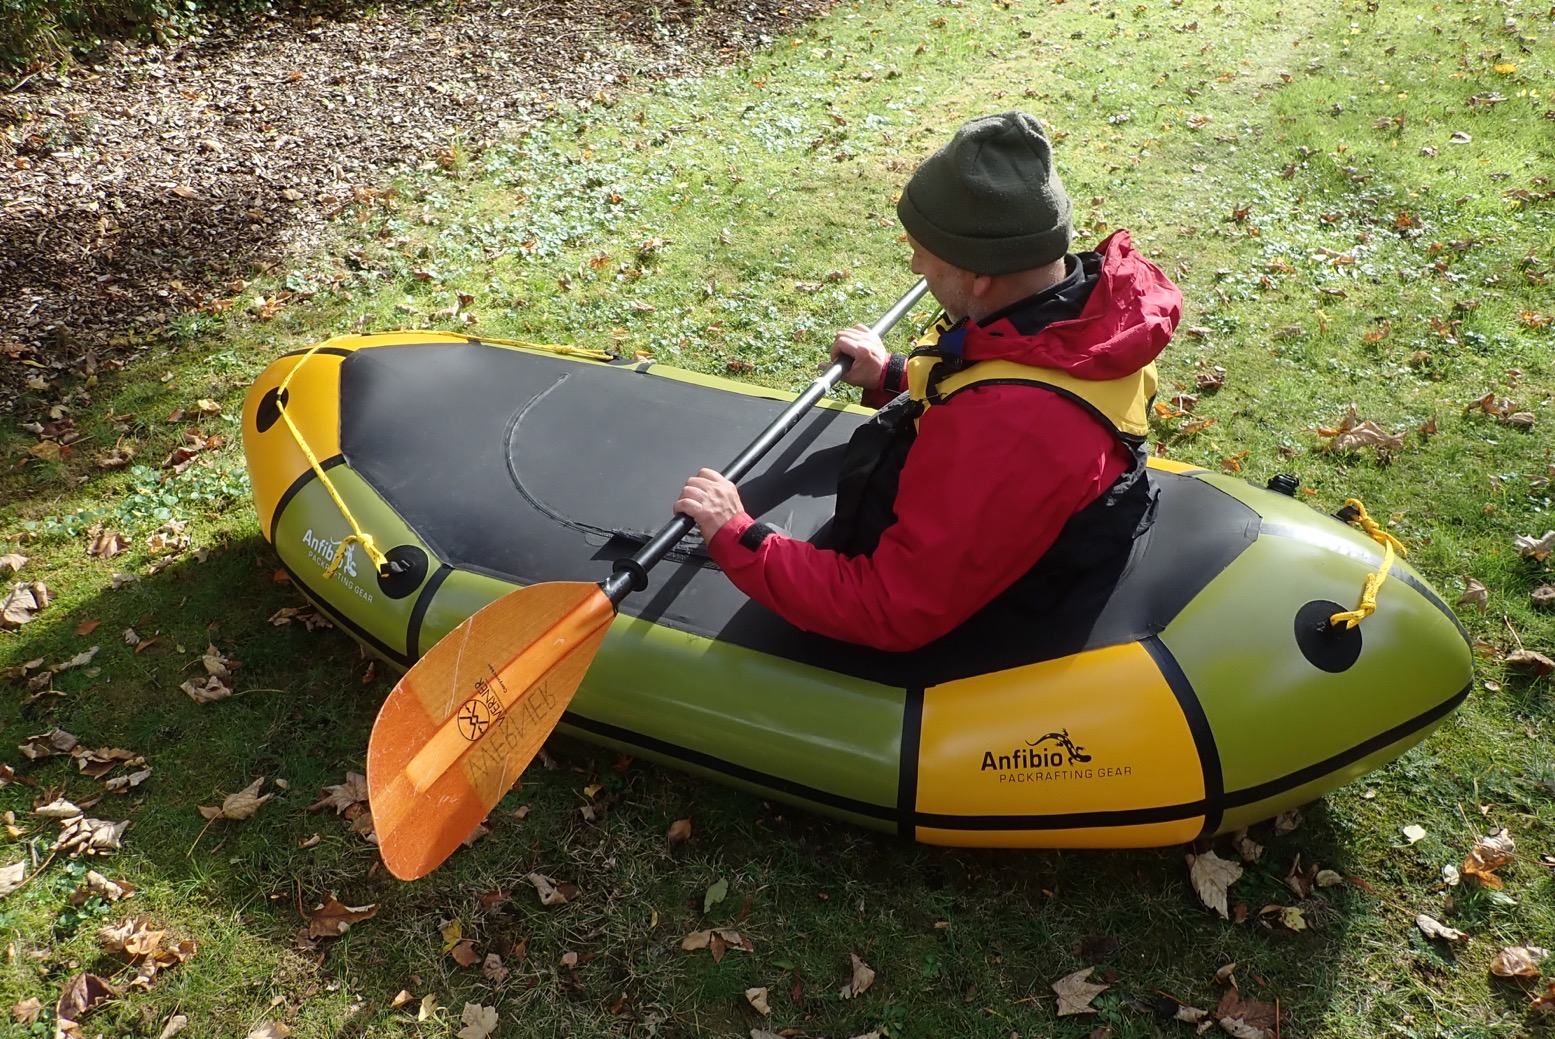
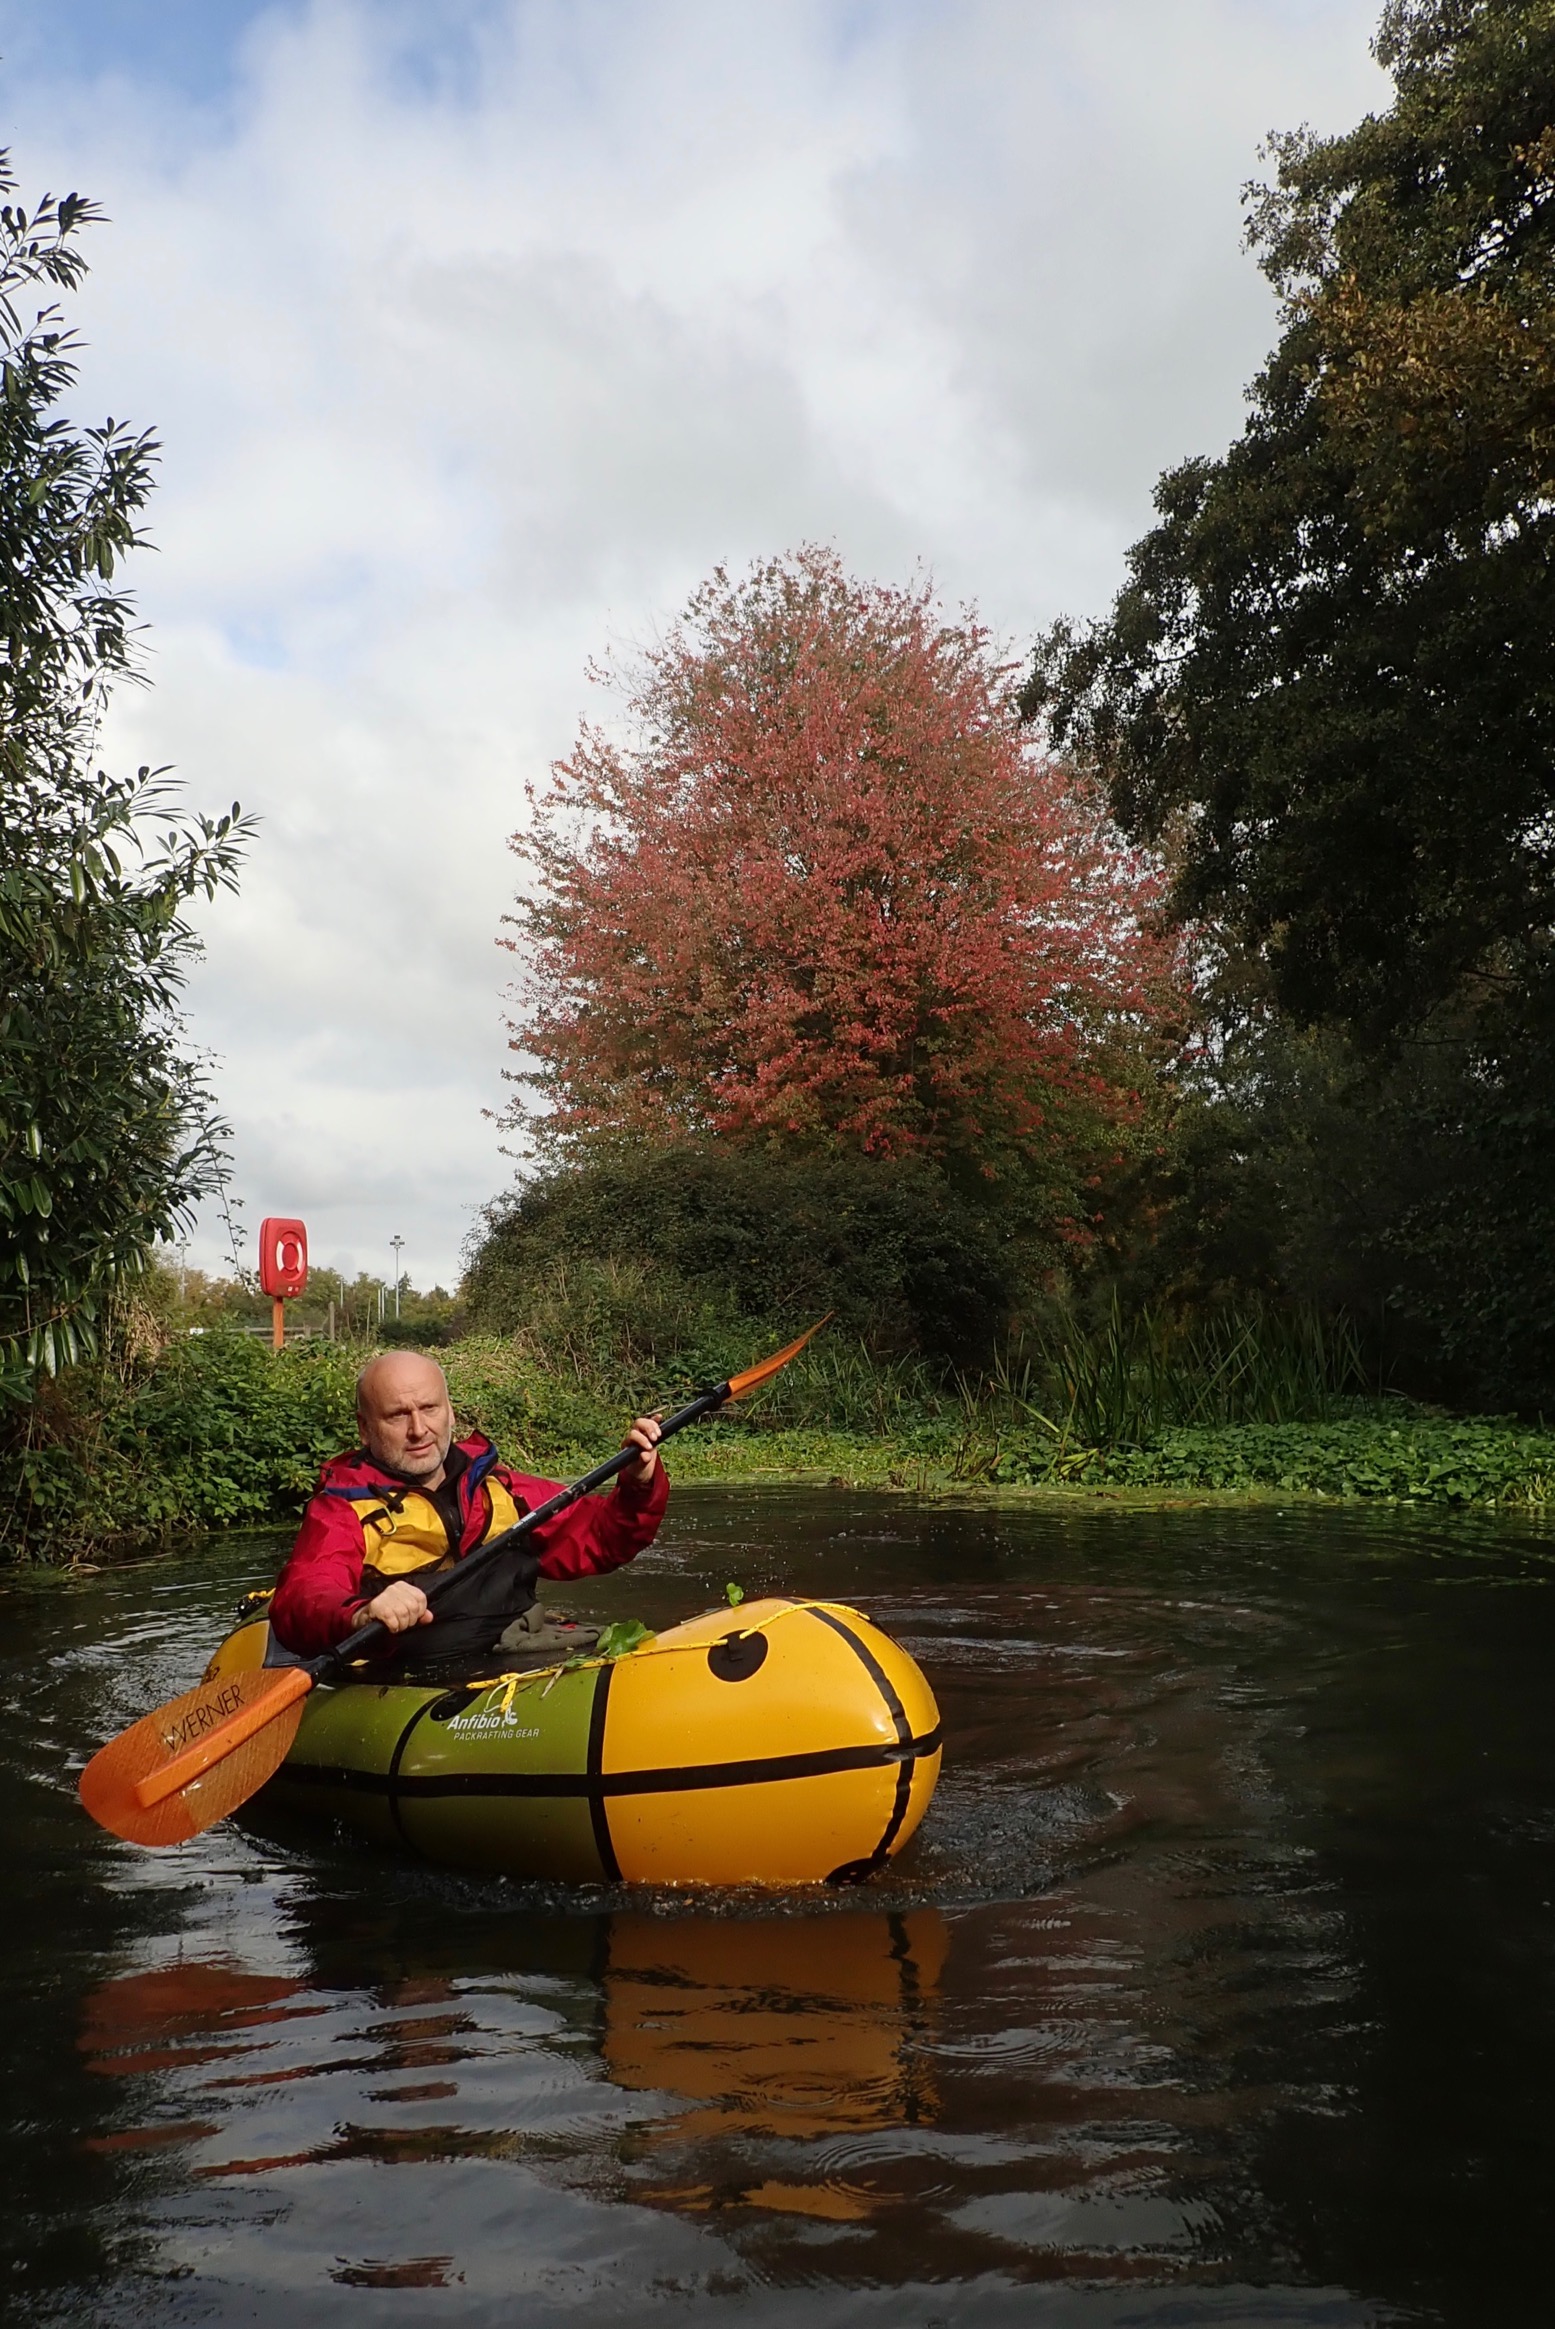
I had a chance to take a prototype Anfibio Rebel 2K out for a short paddle the other day. A couple of hours trapped between weeds and weirs on an obscure urban waterway meant I wasn’t able to properly try out the test boat’s many features.
Just another packraft you might say. There’s now a booming cottage industry of packraft makers, each seeking ways to make their very similar looking boats stand apart from the competition. How is the Rebel 2K different?

The Rebel 2K derives its name for a claimed weigh of under 2000 grams without the optional TubeBags: Anfibio’s answer to in-hull storage (more below). The boat we used was not standard and with the seat removed weighed about 15% more (as listed above. * Anfibio reweighed the same seatless boat and got 2450g). Saying the Rebel ‘… hardly takes up more space than a 2L drinking bottle..’ is a bit wide of the mark. That’s broadly true of the Nano RTC I tried the other week but, like most similar-sized TPU packrafts, the Rebel (210D hull and seat, 420D floor; 75D deck) rolls up to about the size of a compact 2-man tent.
I like the ‘olive & lemon’ colour scheme and the whole boat looked put together as well as any packraft I’ve tried over the years. They’re really can’t be that much to it!


Besides the fitted TubeBags, the boat we tried had handy grab lines front and rear and a second patch for a frontal skeg. It may also have had patches for thigh straps inside.
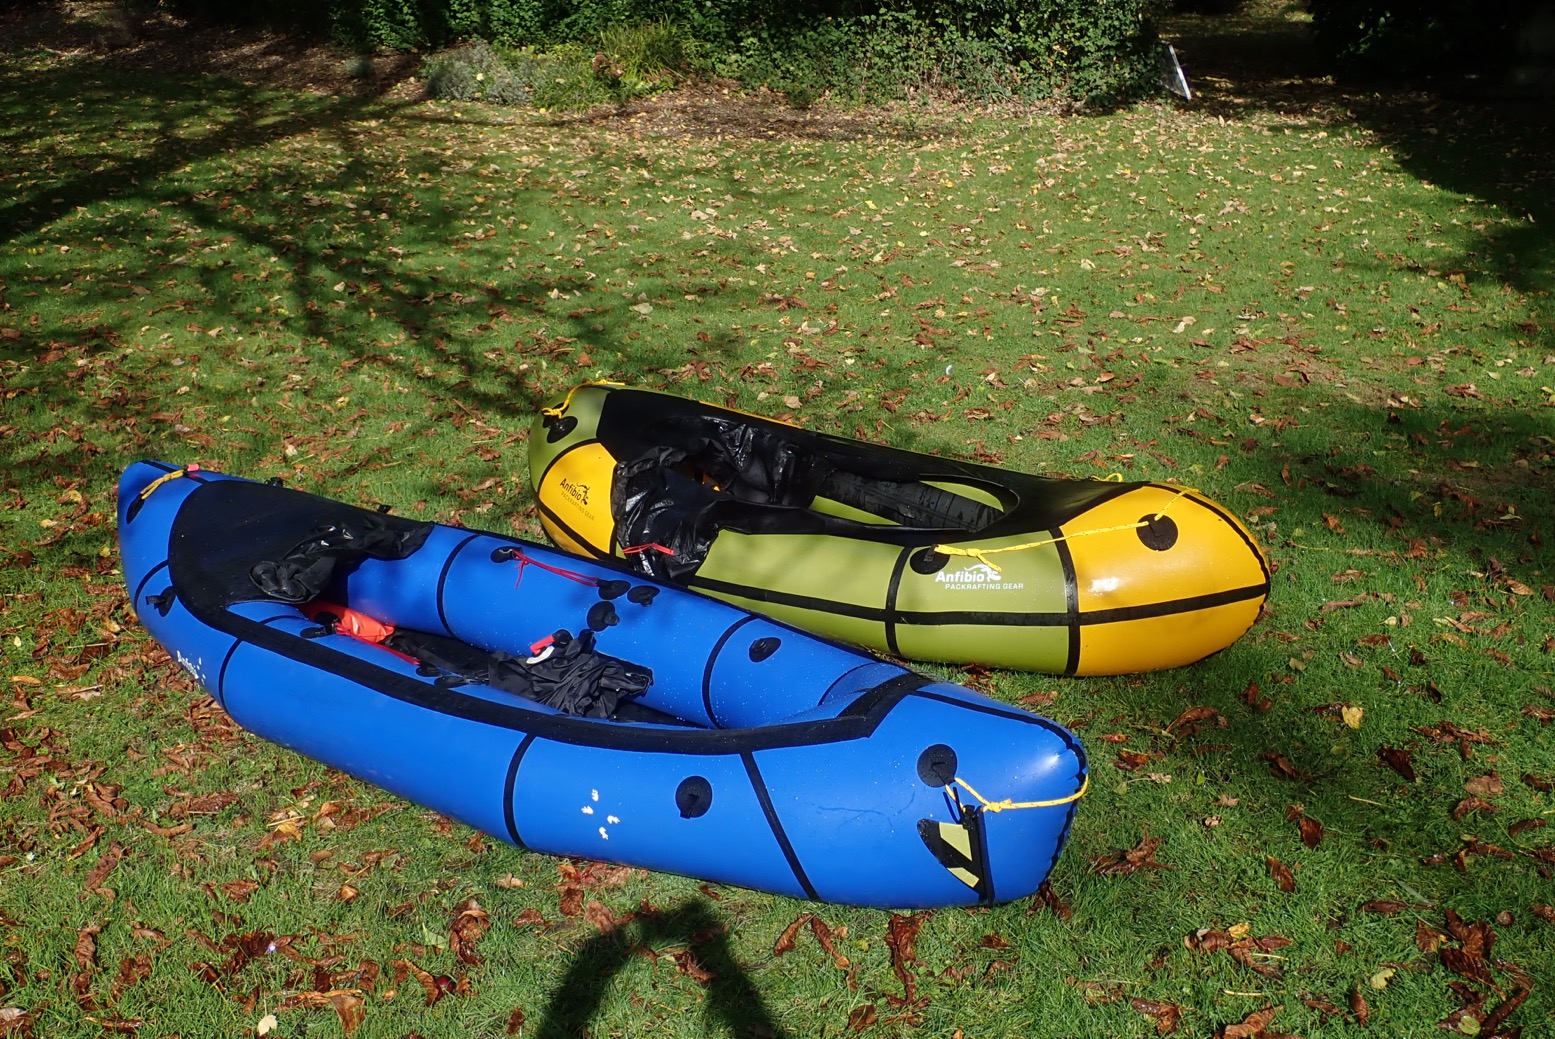
The front and rear tracking fins are a novel idea I’ve only seen on some drop-stitch IKs. Neither were fitted on our short spin. They weren’t needed and as you can see, they’d have probably stopped us in the thick weeds. I know that my blue, 60-cm longer Nomad certainly never needed the rear skeg (tracking fin) the way many IKs do.

Sure, like all packrafts the Rebel waggles its bow left and right in response to paddle input, but it still goes where you point it, gales notwithstanding. It would have been interesting to see how the frontal skeg affected this yawing. Assuming it eliminated it, would it have made the Rebel easier to paddle faster but at the same time harder to turn? That could be useful for longer crossings where a packraft’s relative lack of speed can hold you back. One for next time.

We used the Anfibio hand pump (left) to firm up the boats but had to back off the Rebel a bit to get the curved deck zip to close. With that done the 2K was taught and crease-free.
Normally I’m not a fan of decks, certainly not fixed ones, but on a chilly October day both I and Bob were glad to be tucked in and protected from splashes. One thing I’d like to see added is a tab on the right tube to secure the unzipped deck. [Edit: I’ve since been told it is a standard feature on production models.]


The TubeBags are also an interesting concept. Even before hearing of early failures, I was never won-over by Alpacka’s Cargo Fly (hull zip) innovation of 2014. Benefits in visibility and stability by storing luggage in the hull tubes were genuine, but is it a good idea to meddle with hull integrity in a single-chamber inflatable? The fewer failure points the better and who hasn’t had a zip jam or break?
Now these airtight zips are commonly seen options on all packrafts and must be more reliable, but the zipper will always need care to seal well, especially in this era of pump- assisted hull pressures.
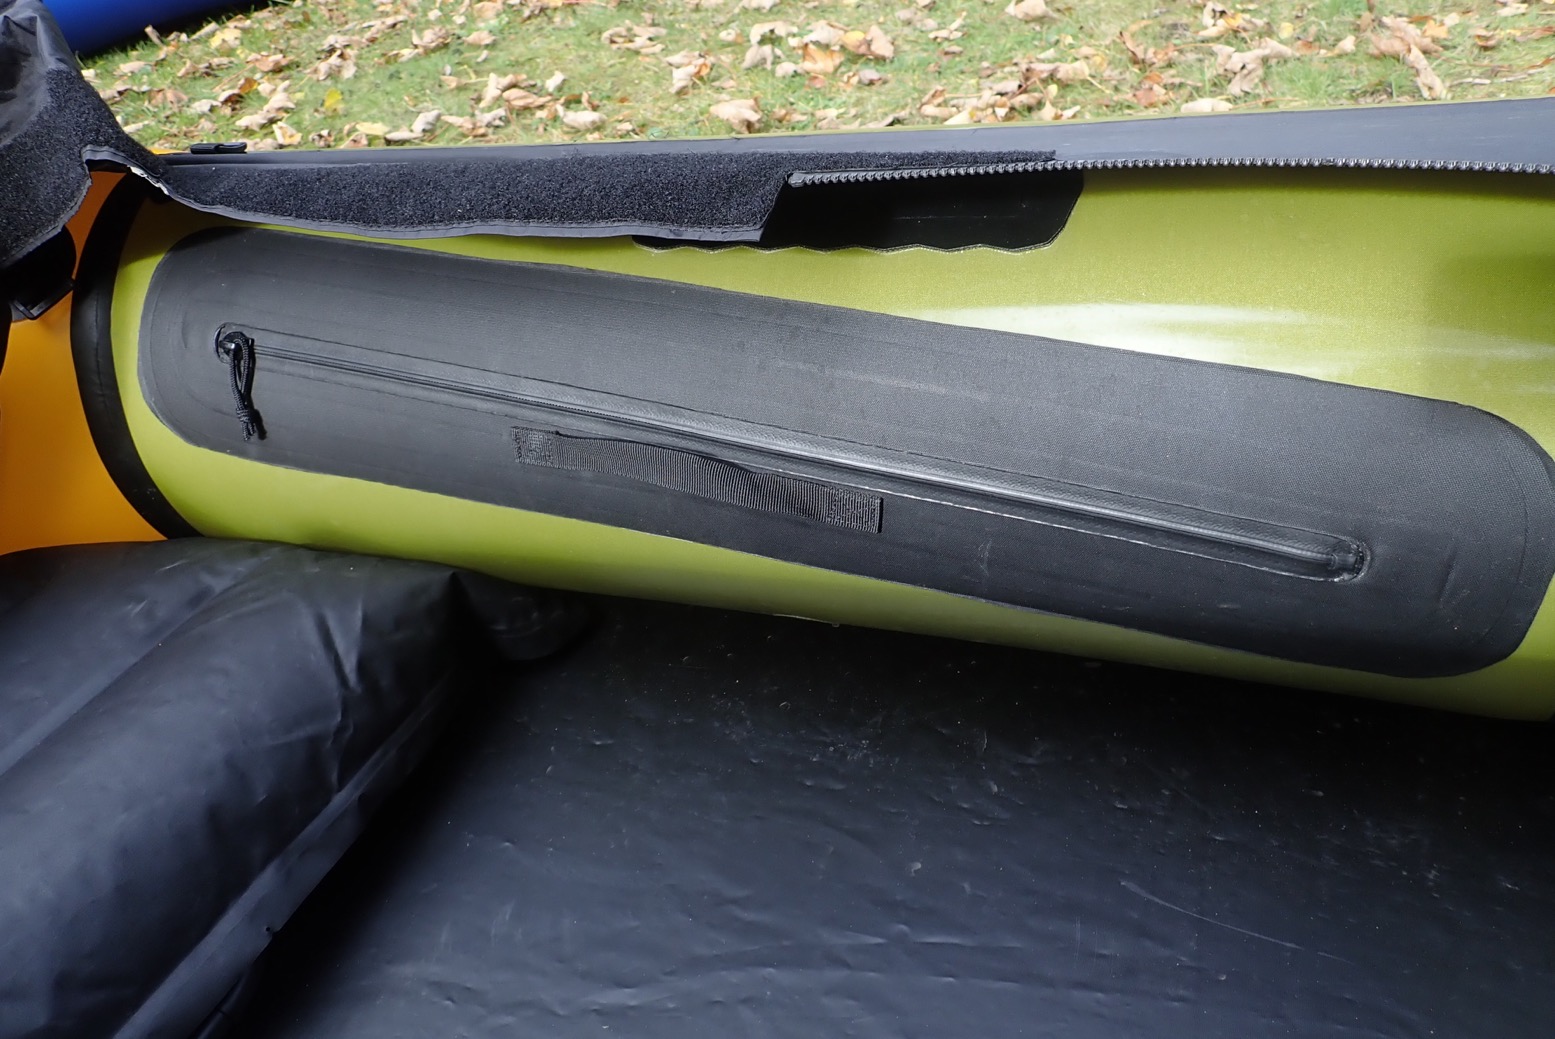
Like a hand pocket in your jeans, the TubeBags are pouches fitted into the side tubes and accessible from the cockpit via IPX7 zippers (left). But the 70-litre pockets must be packed and zipped up before the boat is inflated. Then once inflated and on the water they cannot be opened because the hull pressure behind them will cause the contents to disgorge until the pouch itself spews itself inside-out, leaving a slight drop in hull pressure.
So if they’re not a handy ‘glove box’ what’s the point? Well, for starters once the boat is inflated the surrounding hull pressure keeps the bags’ contents pressed in place a bit like reverse vacuum sealing. Leave the pouch zip a little open as you inflate the hull and the contents will all be squished firmly in place. Then close up the zip up. Plus separate chambers add some back-up emergency buoyancy, and a faulty zip need not be critical to hull pressure.
As with all in-hull storage, TubeBags won’t be that handy for day paddles but are a great way of storing stuff securely and out of the way on over-nighters. Once at camp you loosen the main valve to drop hull pressure a bit (as below). Then you can access your TubeBags. This will only work well when you’re on the water all day without interruptions. Portages with a loaded boat might be awkward compared to unclipping your bag from the bow and the rhythm of classic packrafting: walking then paddling then walking then paddling, might be slowed down a bit. But as long as you have a drybag or pack big enough, you can always bung it on the bow. You don’t have to use the TubeBags.

Other than that, the Rebel is fairly normal packraft. I found plenty of room my legs and hopping in off my kayak-like Nomad (my last paddle in it, as it turned out), it sure was nice to have something solid to lean on. As it came, with deck, tube storage and two fins, the Rebel would cost around €1000 and looks like a great do-it-all expedition boat. I can see it being ideal on a big French river where weirs are easily bypassed by shooting down glissieres (chutes). The cached baggage will be out of sight when leaving the boat moored and popping into a village for a pan au choc and visibility and stability in rapids will be improved.
More about the Rebel 2K at Anfibio.
In spring 2021 I bought one.





IK&P video of the Week: Gumotex do the Loire
I’ve often thought of doing a really long river in France, but once you get out of the hills I get the feeling they can drag on a bit, even if it is France.
It didn’t stop these two guys; 5 weeks from Goudet near Le Puy (near the Allier) to St Nazaire bridge just under Brittany. First couple of days they had to wrestle some pretty gnarly rapids in their 4.1-metre IKs. Never mind ‘dress for the swim’ – ‘pack for the capsize’ too!
Interestingly, one suffered a flat on the Framura’s relatively pointed back corner, presumably from all that rock scraping. I’m amazed those rudders survived, too.
Even with its fixed deck, sometimes I fancy a Framura. At just 75cm wide, it was the new Seaker but half the weight. But then I see how they flex, being long but only regular 2.9psi Gumboats, not 3.6psi like the Seawave. It’s quite a difference. And those are twin-tube sides, so jacking up the psi there, then fitting PRVs, as I did to my Seawave, would not be such a good idea (the I-beam in the side tube could rupture).
Review: Aqua Marina Tomahawk Air-K 375 full drop-stitch kayak
See also:
Full drop-stitch inflatable kayaks main page
Andrew Cassely (guest reviewer)

I recently bought myself an Aqua Marina Tomahawk Air-K 375, after floating around on a cheap Bestway Hydro Force (right) over the summer. The choice was partly driven by availability – the Tomahawk was still on sale where others had sold out, perhaps because it was specifically listed as an intermediate to advanced kayak, while beginners are driving the shortage.


Overall I am pretty satisfied with the boat, though it’s not perfect. It comes in a fairly hefty package, but it is manageable for myself, an average fitness male. Smaller people and/or those with less strength may struggle a bit. The bag fits well and it technically a backpack. I wouldn’t want to go far with it but it works sufficiently well to get it out of the flat, down the stairs, and into the car.
Some work is required for set-up – the included pump is effective but needs some effort towards the end when approaching 10PSI. I may invest in an electric at some point. In fact the hardest bit is fitting the twin skegs: these are very stiff, and it’s difficult to apply pressure to the thin edge. I may need to take some sandpaper to get these to fit better, though I’ll try some silicone grease first. The seat and footrest are effective, a little strap threading is needed for the latter, nothing terrible. The seat straps keep their tension once set up, but the footrest doesn’t. Total setup time is about 20 mins, though that may reduce as I get more familiar with the kayak.


On the water it is a step change from the basic inflatable, though you’d expect that based on the price! It’s much faster, tracks amazingly well, and is a lot less tiring to paddle. The addition of an entry-level carbon fibre paddle provides a lot more range before fatigue sets in (though I still need to improve my stamina!). It turns relatively slowly to compensate, but I’ll take the better tracking any day.
I removed the front skeg to see if it would make it turn better. Turning was indeed a little easier, but the tracking was noticeably less effective (though still far better than the budget IK). In the end I decided I preferred both skegs, plus it’s reasonably heavy and right at the bottom of the boat and so provides a bit more stability.
It would work fine without through so it’s more a case of personal preference. It is noticeably tricky in the wind – because it’s relatively light, I’m slower in a headwind than a friend with a Point 65 sit-on-top. In crosswinds the high sides catch the air which makes stability less good in a gust.
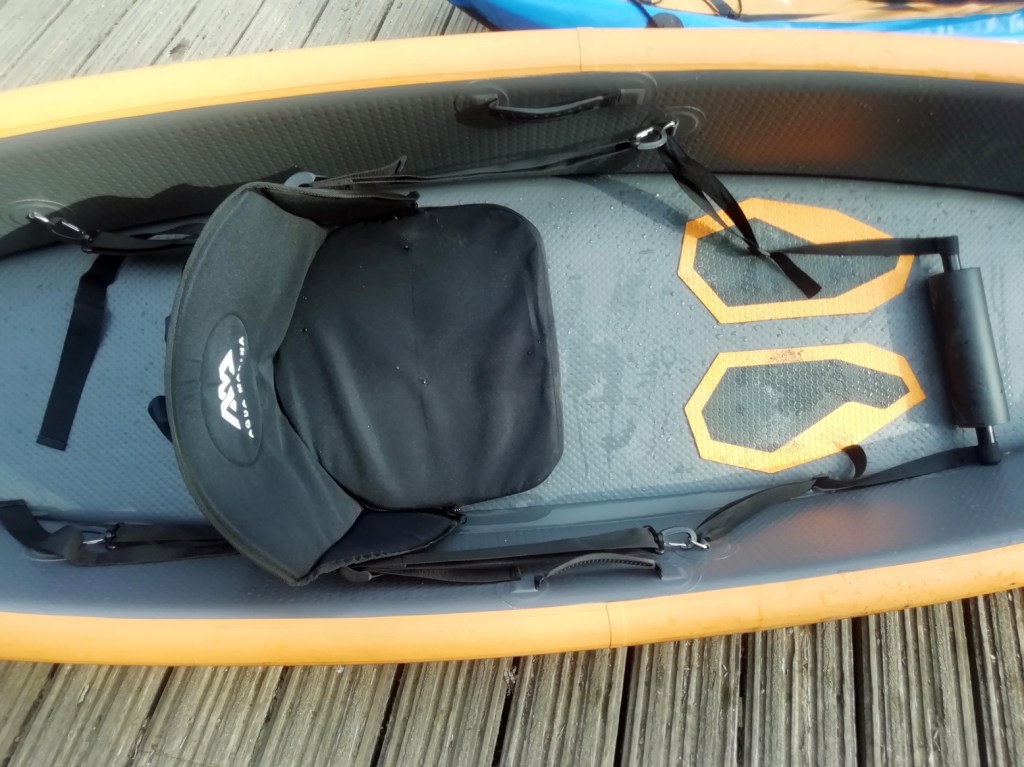

It feels a lot less stable than the Bestway (I’m 77kg). I’m constantly working to balance it though I think more use will see that become less of a worry. Once or twice I’ve had a wobble and almost felt like I’ve gone over. However I think it’s actually a little better than it seemed. I deliberately flipped it to ensure I could re-enter and it took a lot more leaning over than I thought to capsize. It is probably not suitable for beginners whose balance is questionable, though. Re-entry was a little tricky put perfectly doable.
Packing up is reasonably quick – note that I do it with minimal drying on site, then re-inflate it fully once home to give it a proper wipe-down and time to dry. The drainage issue mentioned in the article is definitely evident: it’s basically impossible to get every last drop of water out, though I’d say no more than a tablespoonful was left which is not terrible. The joins between the floor and the sides also tend to attract sand and grit – the wipe-down gets rid of most, but I suspect at least a little is starting to build up there, though I don’t know how much of an issue this is in the long run as they shouldn’t rub against each other.
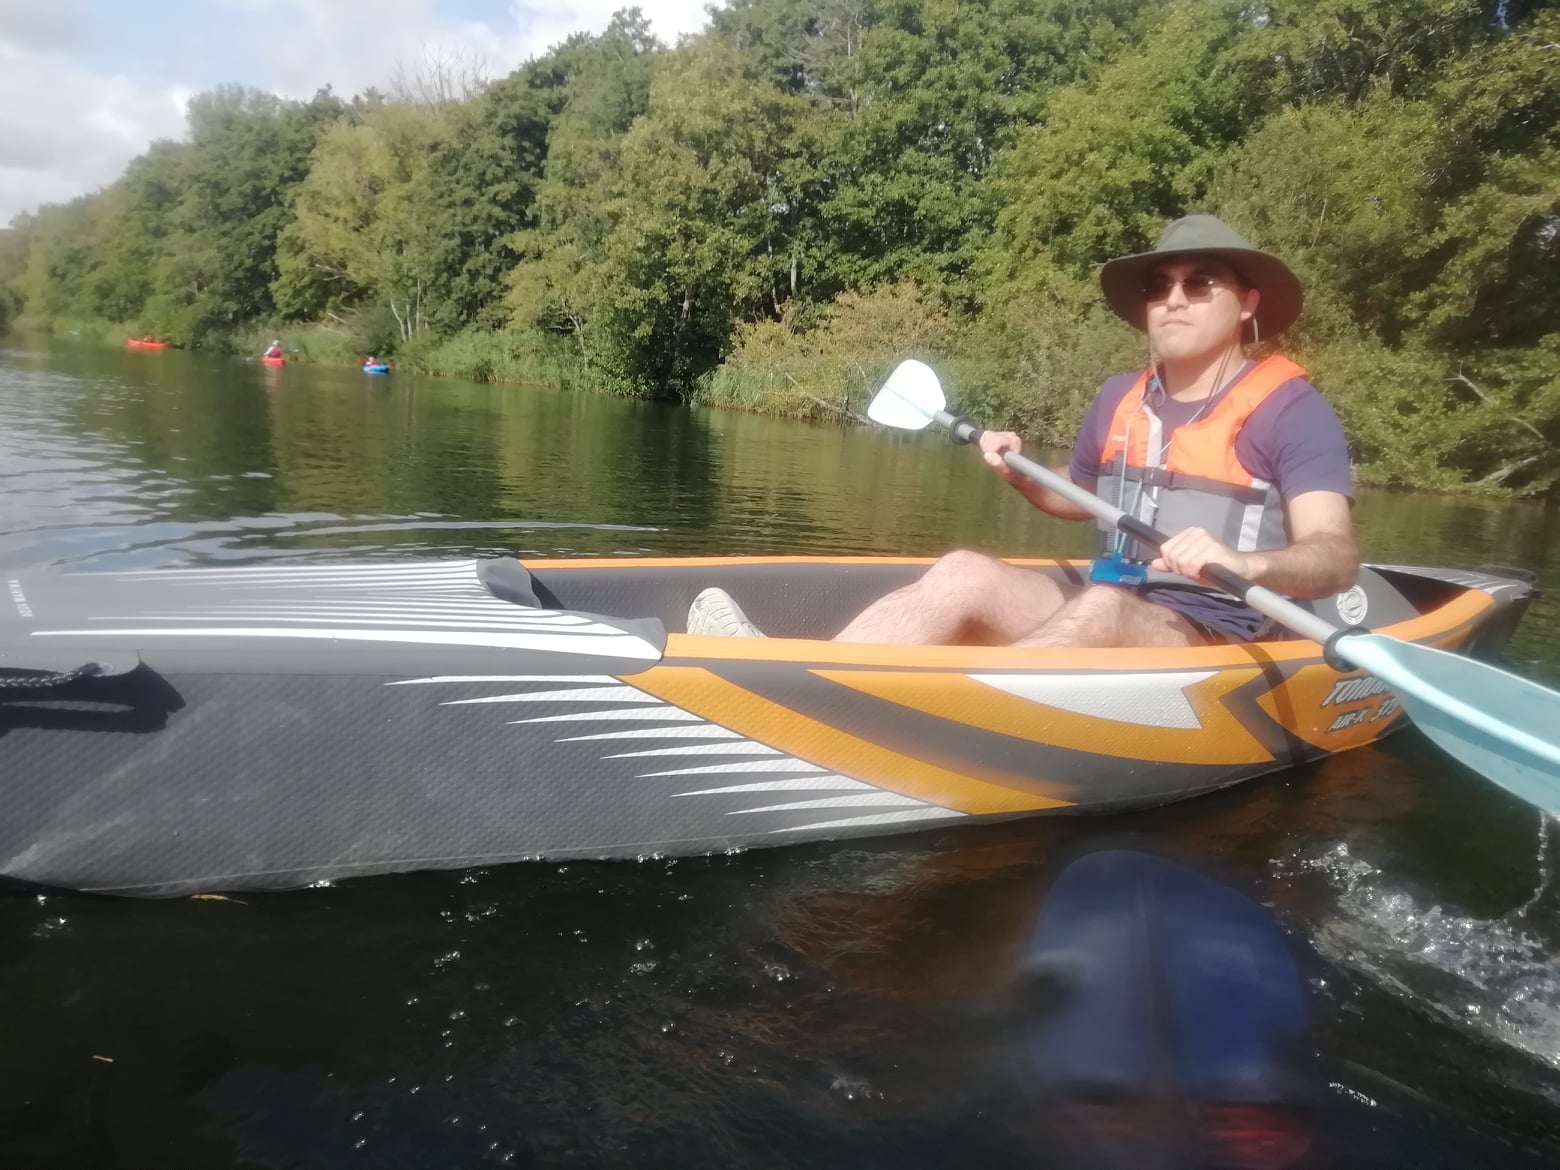
Despite the ‘Intermediate to advanced’ labelling, I think a beginner wanting to move on from an Intex or similar could do worse as long as they have at least a modicum of balance and confidence. I don’t think it would be for everyone though, as there are definitely more stable FDS kayaks out there. Overall I’m pretty pleased with with the Tomahawk, and hope the construction is good enough to provide many years of kayaking to come!

Drying your inflatable kayak
This video shows how to properly clean and dry a 3.8-metre Itiwit 2-3 seater, one of the most popular IKs of Covid 2020 – or at least one which remained available when stock of so many others ran out.
It also shows the inner bladders and how they fit: something that’s rarely described on vendors’ websites.
Like so much Decathlon gear, their shell & bladder (S&B) IKs are a bargain. This orange Itiwit cost just £300, but the cleaning and drying process takes a while and realistically, is something best done over a couple of hours back home, if you have the space.
Quite rightly, after a sea paddle the owner was concerned about sand and other grit getting into the nooks and crannies around the floor, and even inside the sleeves which house the relatively fragile bladder ‘inner tubes’.
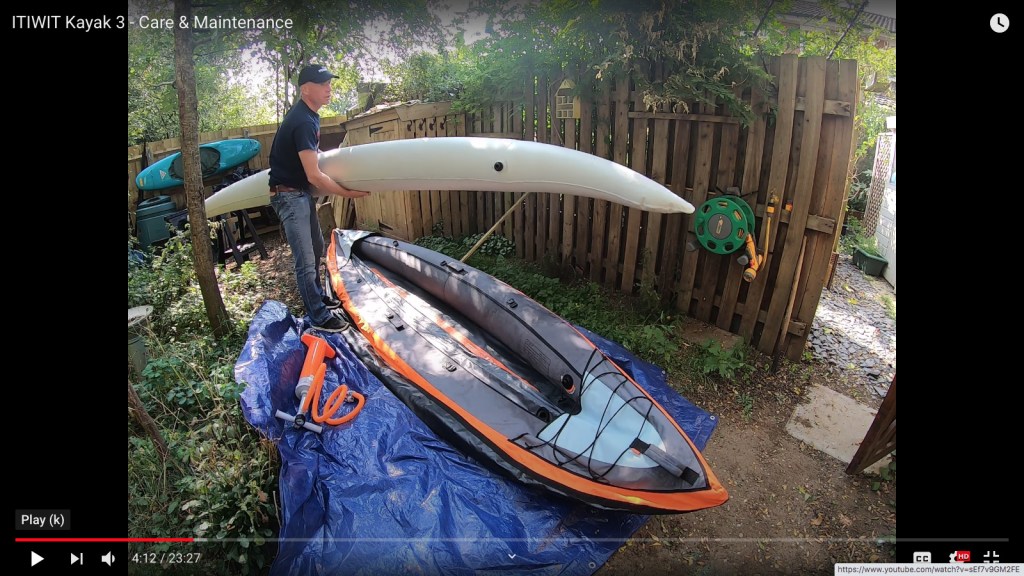
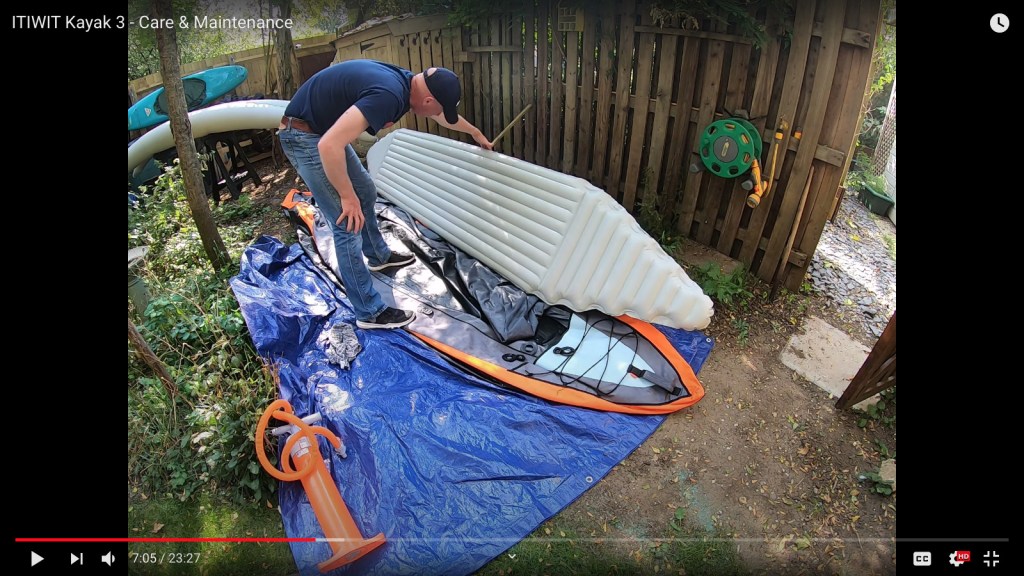

As it happens, the sidetube and removable floor sleeves plus their respective bladders (above) were merely wet inside. As on all IKs, the grit mostly settled down in the gutters inside where the floor joins the sides. This is why, with full drop-stitch (FDS), drop-stitch floor (DSF), or sink and bladder (S&B) IKs like this Itiwit, a removable floor makes proper rinsing, cleaning and drying so much easier.
Tubeless IKs like vinyl ultra-cheapies, most PVC Sea Eagles and IKs made from synthetic rubber, like the old Gumotex Sunny (below; and packrafts, come to that), merely need seats unclipped before a freshwater hosing and wipe down. A river paddle on a warm day won’t even require a rinse: just wipe the boat dry and roll up till next time.

Tested: Anfibio Packrafting Nano RTC packraft review

In a line
Super-light but sturdy packraft with a low-maintenance solution to in-hull storage.

210-D fabric feels durable
Optional mini-hand pump works very well and can be deployed on the water
Holes easily sealed from the inside with a stick-on patch
Compared to TiZips, RTC is a simpler, lower-maintenance way to achieve in-hull load carrying
Raised floor lifts paddler, limits wear and may help limit yawing

RTC will need care and may need practice to achieve a good seal
Floor is same thickness as hull, not double-weight, as is usual.

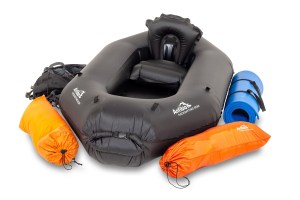
What They Say
Extremely light packraft with roll closure (RTC), which enables luggage to be stowed in the tube and thus offers higher transport capacity. Minimal pack size, 1kg light and robust enough for calm and tame waters allow combined adventures with increased payload. Price: from €335
Out of the box
This pre-used Anfibio Packrafting Nano RTC came with an optional backrest seat (€57), the airbag, an optional mini top-up hand pump (€10), a strap and 3 patches but no glue or instructions. The latter appear online.
On the IK&P scales the boat alone came in at 1002g. The full seat adds another 237g with the horseshoe seat base weighing 135g. All the other dimensions in the image above closely match Anfibio Packrafting’s own data.


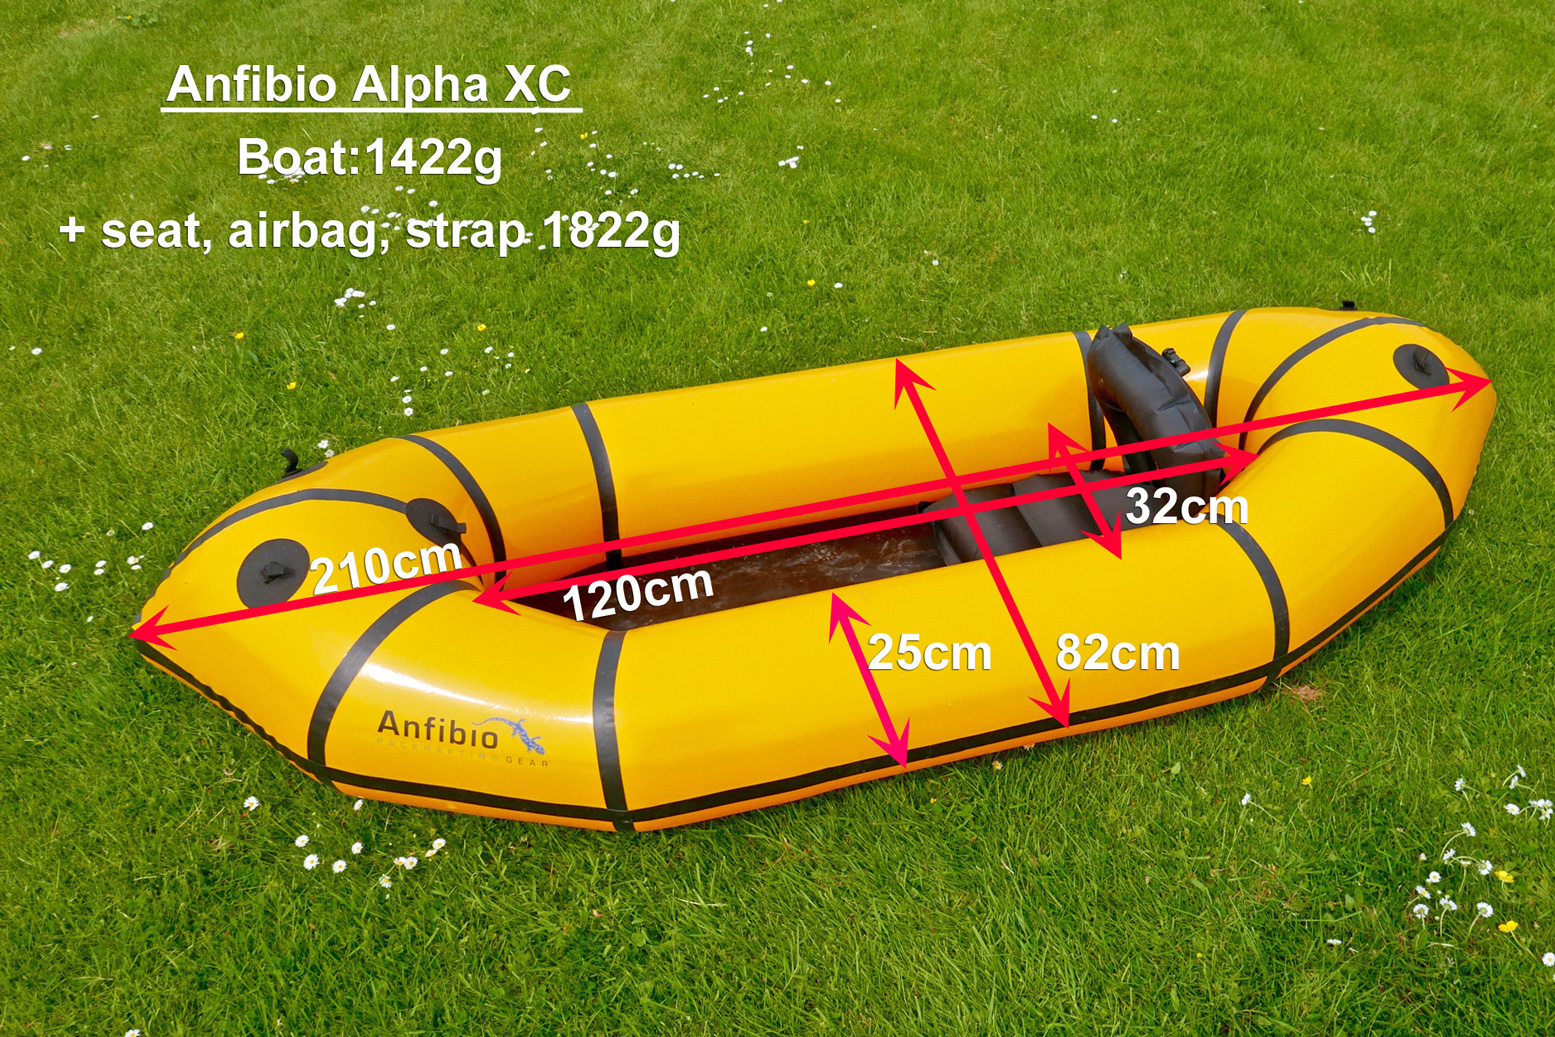
This is not your usual shiny-exterior packraft; the Nano’s coating is instead on the inside like the plain Nano SL model. The woven texture of the 210D nylon fabric still gives a sense of sturdiness which I can’t say I felt with the 75D Supai Flatwater and Matkat we tried a few years ago. Such perceptions are important when bobbing about in the middle of a breezy loch or tackling some light whitewater. Maybe it’s the black colour, but the Nano also managed to look bigger and tougher than the virtually same sized Alpha XC (left) we tried a year or two back.
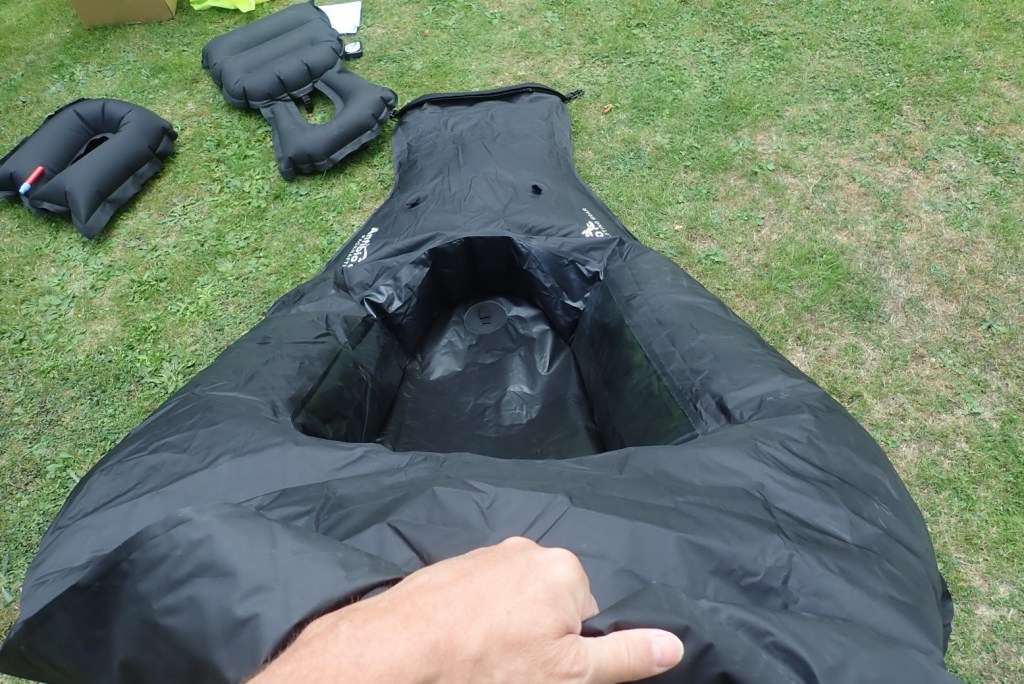
The RTC is a new idea to Anfibio Packrafting, though the Rapid Raft in the US uses a similar closure. The Nano differs by being a more sophisticated design, with a hull made from just three pieces of fabric: hull top; lower hull and floor; inner ring. This adds up to just two long seams which ought to mean fewer chances of errors during assembly as well as less weight. You can have the closure up-front (normal) or at the back where, with just four folds rather than five, it creates an elongated stern which adds more buoyancy where most of the weight is and acts as a skeg to limit the side-to-side yawing endemic to short packrafts. Payload is 135kg.

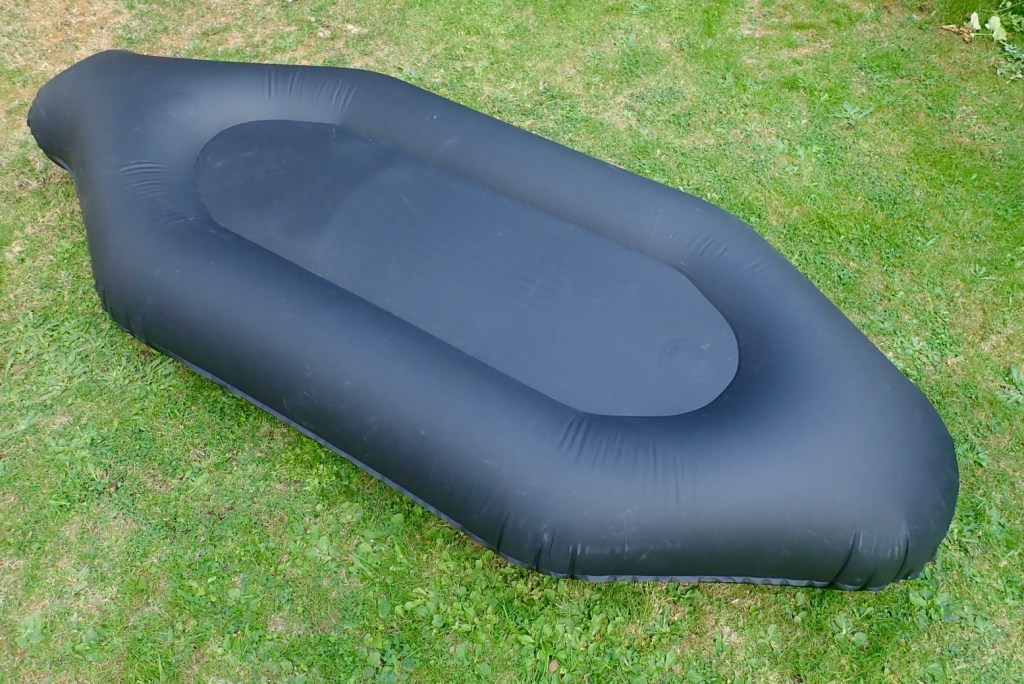
The RTC has an extra TPU film bonded inside to ensure an airtight seal, as long as you roll it up tight with no wrinkles. Providing it works, as a way of enabling in-hull load-carrying, I’d sooner put my faith in this than a TiZip which must be kept lubed and clean and dried properly to work well.
At the RTC-end you have four mounting tabs on the tube top. On this you can mount Anfibio’s DeckPack, as pictured below. Bigger exterior loads may also be more convenient here if your route includes many awkward portages where carrying the otherwise heavily loaded and inflated boat may be tricky. Otherwise, there’s a tab inside the hull to secure loads and keep them towards the RTC end.
You get seat mount buckles at both ends too, though I found the fully inflated seats jammed in well by themselves. There will be the age-old annoyance of the backrest flopping forward as you get in, but used RTC-sternward you can hook it upright to one of the tabs. This backrest design hasn’t changed since I had my first Alpacka Denali over 10 years ago. What is actually wanted is lumber support which is best achieved from strap-braced backrests, as in my Nomad, but that gets complicated.


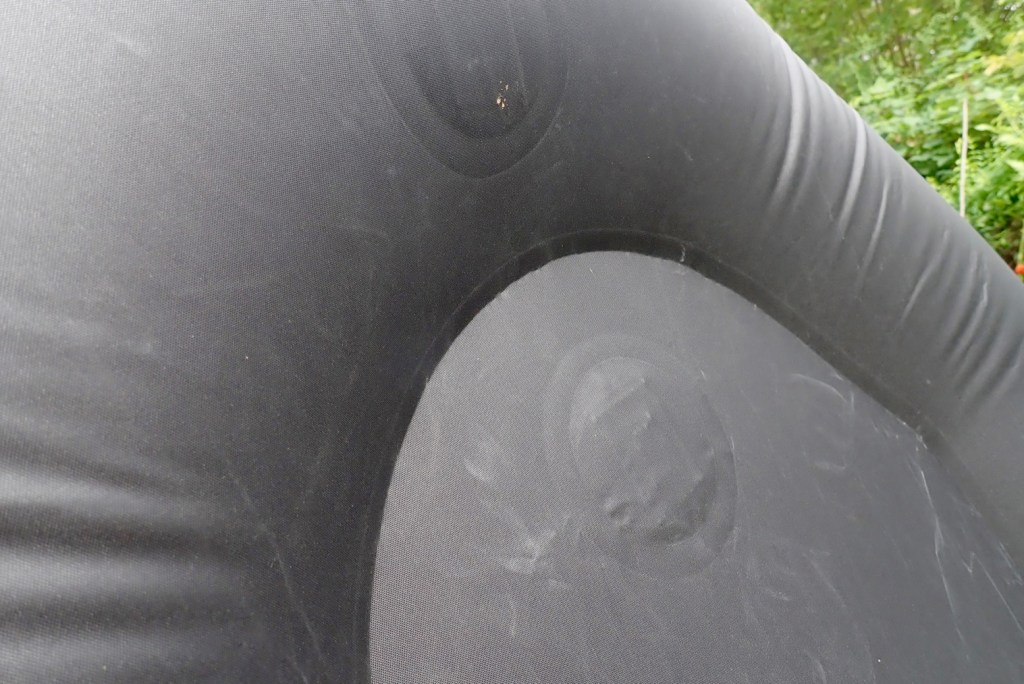
No you can’t inflate it by opening the RTC to the wind unless there’s a gale on, but it helps to fluff the boat out, and using the usual airbag, 5-7 scoops fills the boat, after which you top up the one-way Boston valve or by mouth. If you find the latter a bit awkward, I find a section of half-inch garden hose works as a ‘blow-straw’. Or use the top-up handpump (137g) to get maximum firmness. On the Nano it worked very well and for only €10 I’d say is a worthwhile addition for any Boston-valved packraft.
“The RTC cannot be compared to the usual roll closures of simple pack sacks [dry bags]!” proclaims the website, and I can believe them. We all know that Ortlieb-like roll-top dry bags don’t have a proper seal; water will seep through and air will leak out. But the multiple rolling of the film layer, as well as the fact they’ve dared use RTC on a packraft, gives a sense of confidence. Time to get paddling and see if that confidence is warranted.

Nano on the water
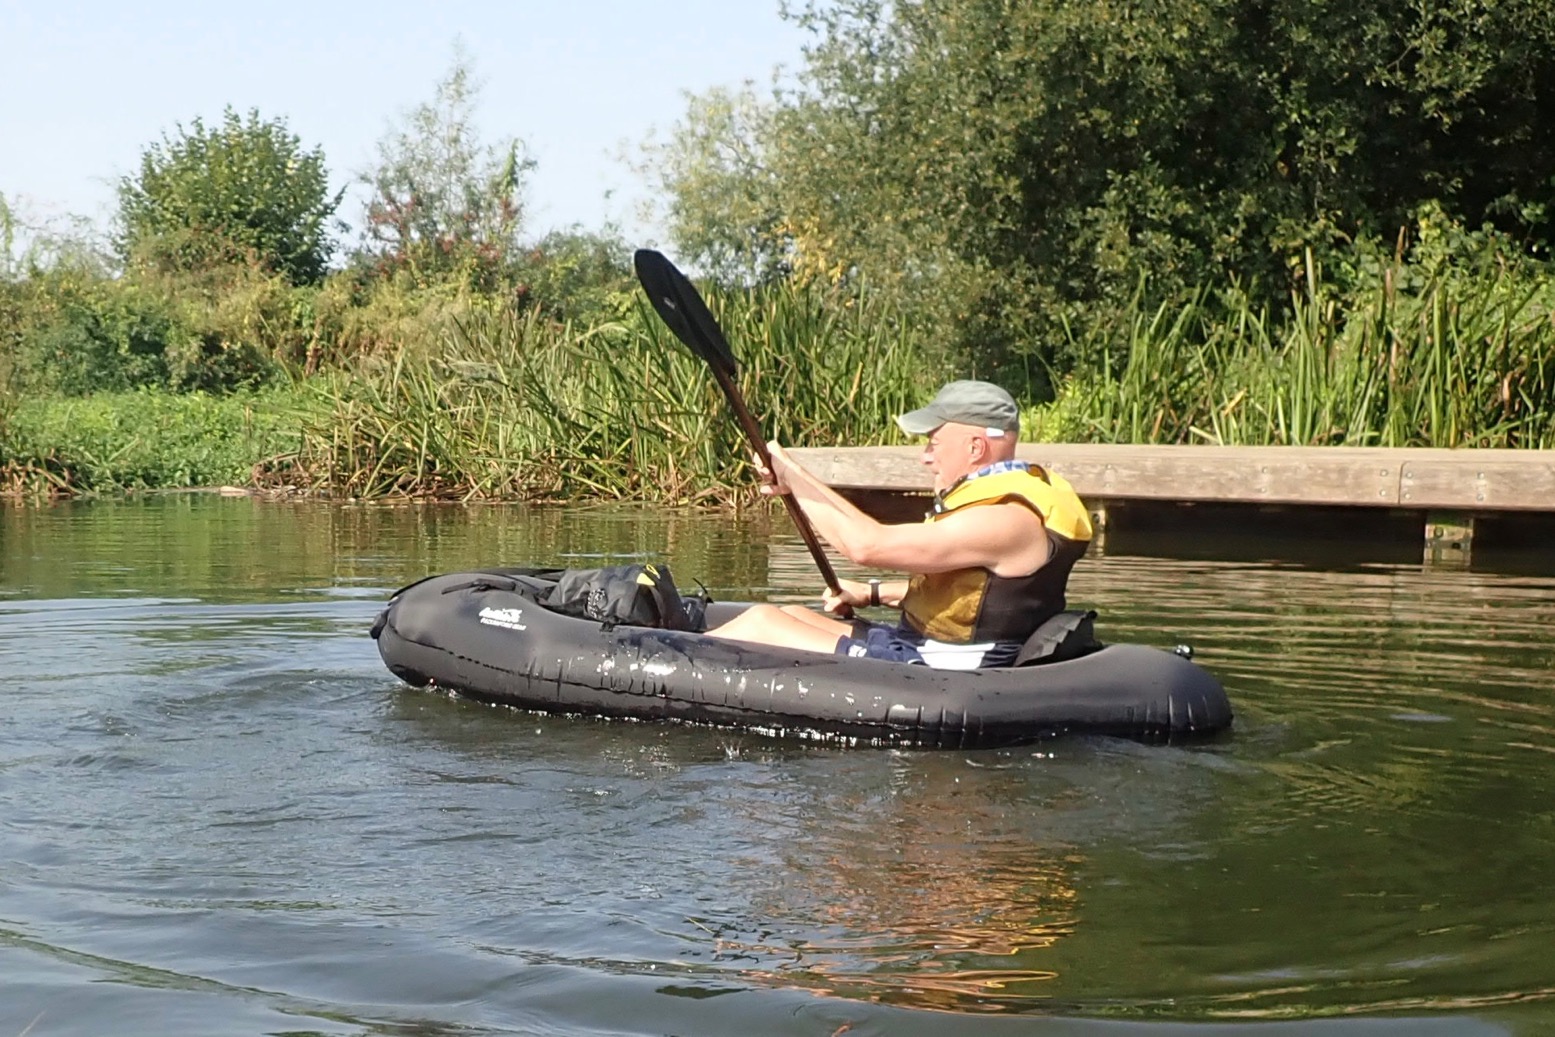
Mid-September and it’s nearly 30°C: too good to pass by so I head for a short run up and down the Medway. Airing up at Sluice Weir Lock, I had a good feeling about the Nano, even if at 95kg I expected to be on the limit, as I was on the Alpha XC. The extra 6 centimetres all round looked enough to make a difference, and one way to help the trim (level) would be to run the RTC at the stern and as long as possible (four folds) while perched forward on the backrest seat option. In the end I didn’t feel the need to do this.

Once inflated by bag and topped up by mouth, I knew the Nano would need a damn good tempering today. A boat firmly inflated by hot ambient air will go soft once cooled in the water. Sure enough, after some splashing the Nano went as limp as a stunned trout. While doing this I was reminded of the indispensability of a bow line to manage a boat at the water’s edge. I hooked the metre-long strap through the RTC (left); better than nothing.
Back on the jetty I tried the two-way hand pump: 20 pumps firmed it up. After over a decade of proven hull integrity, it’s become the norm to top-up packrafts with mini-pumps and not by lung, raising pressures up to 2psi or more. This added tautness is what differentiates packrafts from slackrafts and has a huge benefit on paddling efficiency and satisfaction.

They say don’t overdo the pumping but how are you to know? A well-made packraft may well handle a massive 0.5 bar or more before it blows a seam, but assuming the Boston one-way valve can handle it, I think the mini PRVs I tested the other day would be a useful addition to packrafts. They cost only 4 quid and you just keep pumping away until they hiss, knowing the boat’s reached the valve’s purge pressure which cannot be exceeded. It’s like an in-built pressure gauge. Fitting one to the open-ended Nano (or any TiZip packraft) would be especially easy.
I decided to try RTC bow first (it made using the DeckPack easier). Once in the boat I felt fine, though from the pictures it’s clear the trim looks nearly as back-heavy as on the Alpha. Too many pies! But on these ‘calm waters’ that didn’t seem a problem.
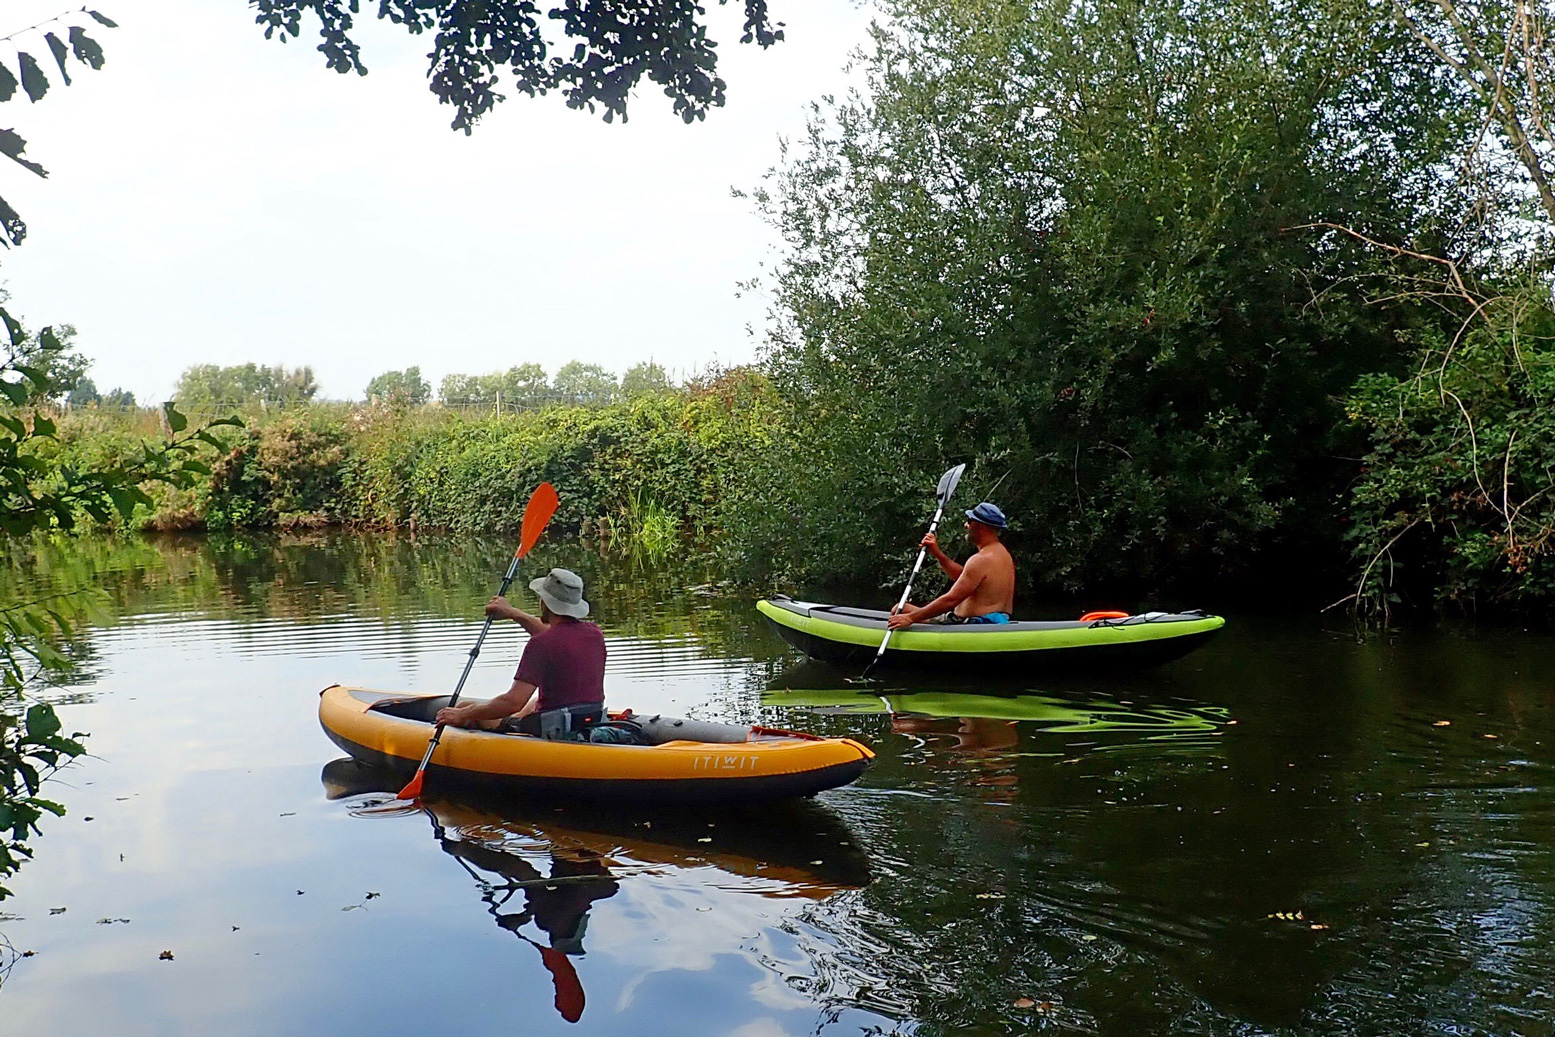
Confident I wouldn’t wet myself, I set off 2km up river for Oak Weir Lock, passing some happy Itwiters on the way (left). Those things are everywhere these days! Good on Decathlon for satisfying the huge demand.
Within a few minutes it became clear the Nano had cooled further and needed another 50 pumps off a handy concrete slab below the steep riverbank. I also remembered that, unlike my IKs, low-floored/high-sided packrafts want the seat base pumped right up to give height so as to get the paddle over the fat sides.
Back on the move, speed and response increased dramatically, but not having paddled a normal-sized packraft for a while, I’ve forgotten how slow they are, topping out at maybe 2.5mph/4kph. Riverside walkers were outpacing me; normally it’s the other way round on the Medway, albeit heading downstream. Where noticeable, the current here is about half a mile an hour.
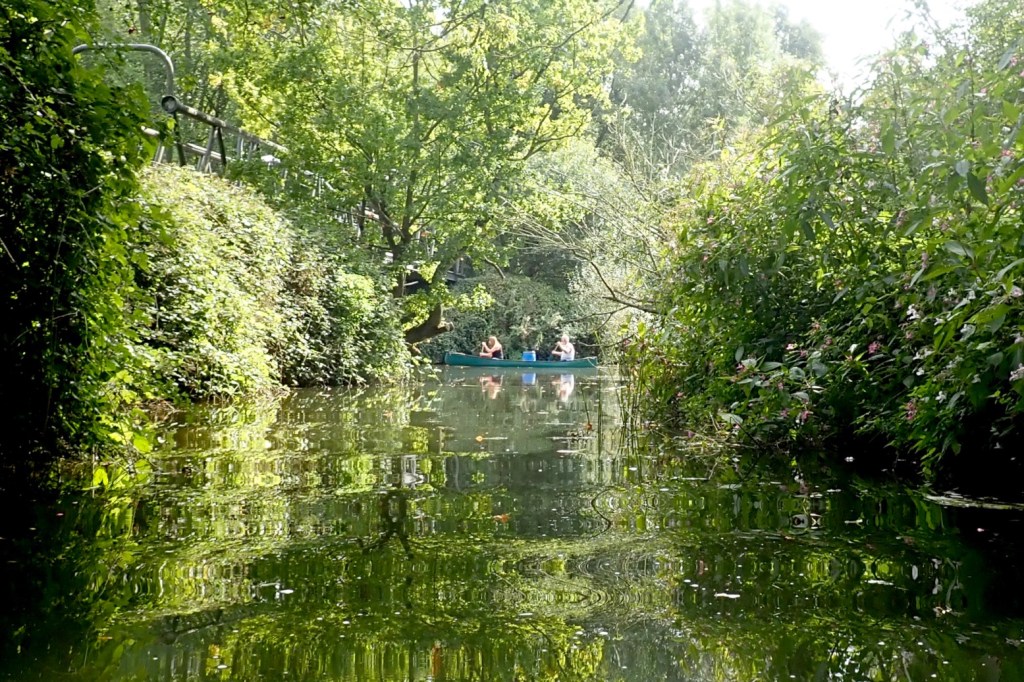
I took off to explore some mysterious side creeks which I’d normally shoot past on my downstream burn-ups, careful to avoid the many brambles which line the river here. There’s a perception that the Nano’s textured woven surface could snag a bramble more easily than a smooth one, but should that happen it would be easy to open the RTC and slap a stick-on patch on the inside: the best place for such a repair. The heat and dense, overhanging vegetation reminded me of a boat trip I took years ago up the remote Roper River in Australia’s Top End.
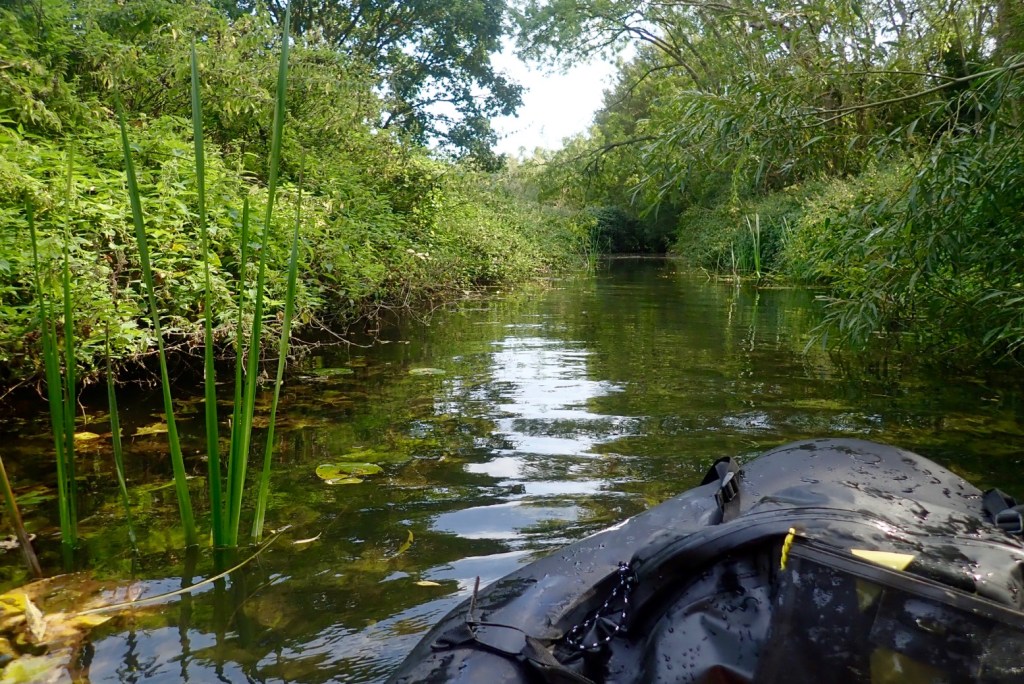
Back out on the main channel and heading upstream, after a while it took some effort to move the Nano along, with the tell-tale bobbing of a soggy slackraft. A squidge of the sides showed they were soft again. More tempering needed or a slow leak, probably from the inexpertly sealed RTC? I hacked on and at Oak Weir jetty got my weight over the bow to push the RT closure underwater. A couple of tiny bubbles popped up occasionally, but they may have been just trapped air escaping the folds.
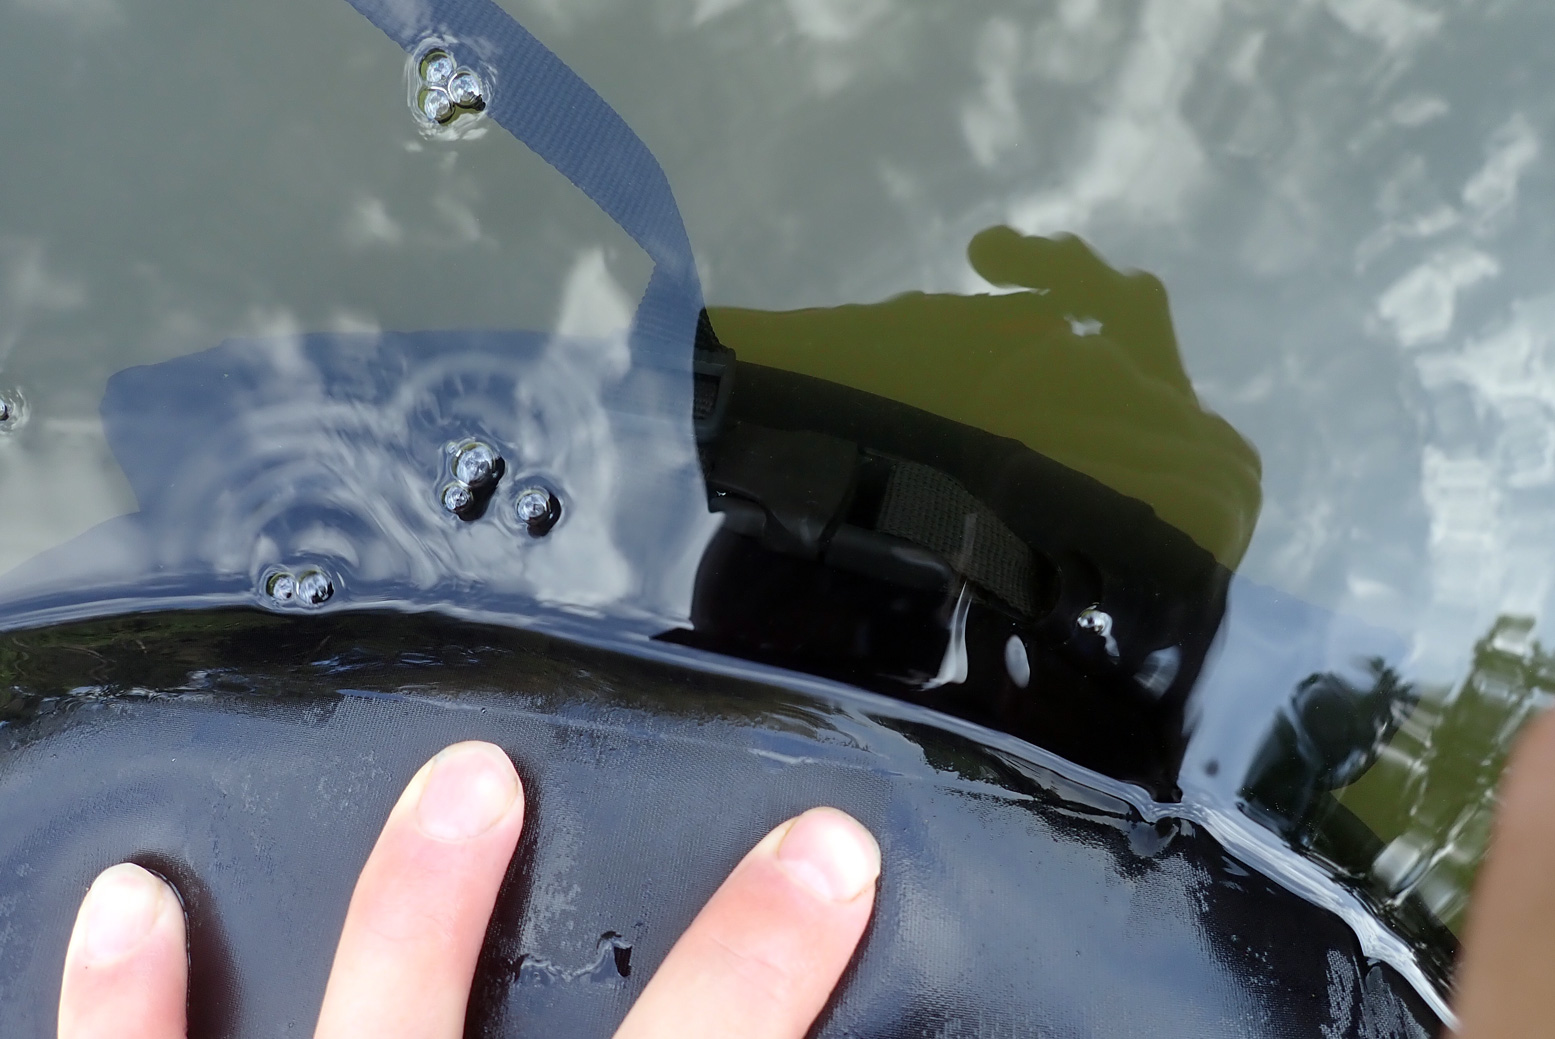
The picture above makes it appear worse than it was, and being a hot day on cold water, I felt one more tempering may do the trick. I often have to do this with my bigger Nomad; which takes a good few minutes on the water to fully cool on a hot day. I did my best to check for tell-tale bubbles elsewhere, but anything easily spotted would have seen the boat droop in minutes.
I realised the seemingly redundant hand pump hose was actually ideal for topping up on the water. I reached behind and carefully undid the upper cap of the Boston valve (you don’t want to undo the main valve…), pushed on the pump hose nozzle and gave it another 50 jabs + 10 for luck (about 8-9 litres). With the Nano taught again, I couldn’t resist hopping out and sliding back down the shallow Oak Weir canoe chute which the Nano took in its stride. This boat could easily manage river riffles; the caveat would be too much scraping in the shallows. The exposed fibres can probably take some rubbing but it’s the coating inside that counts. I wonder if spraying a slippery coating (303 Protectorant springs to mind) on the undersides may help reduce possible wear.
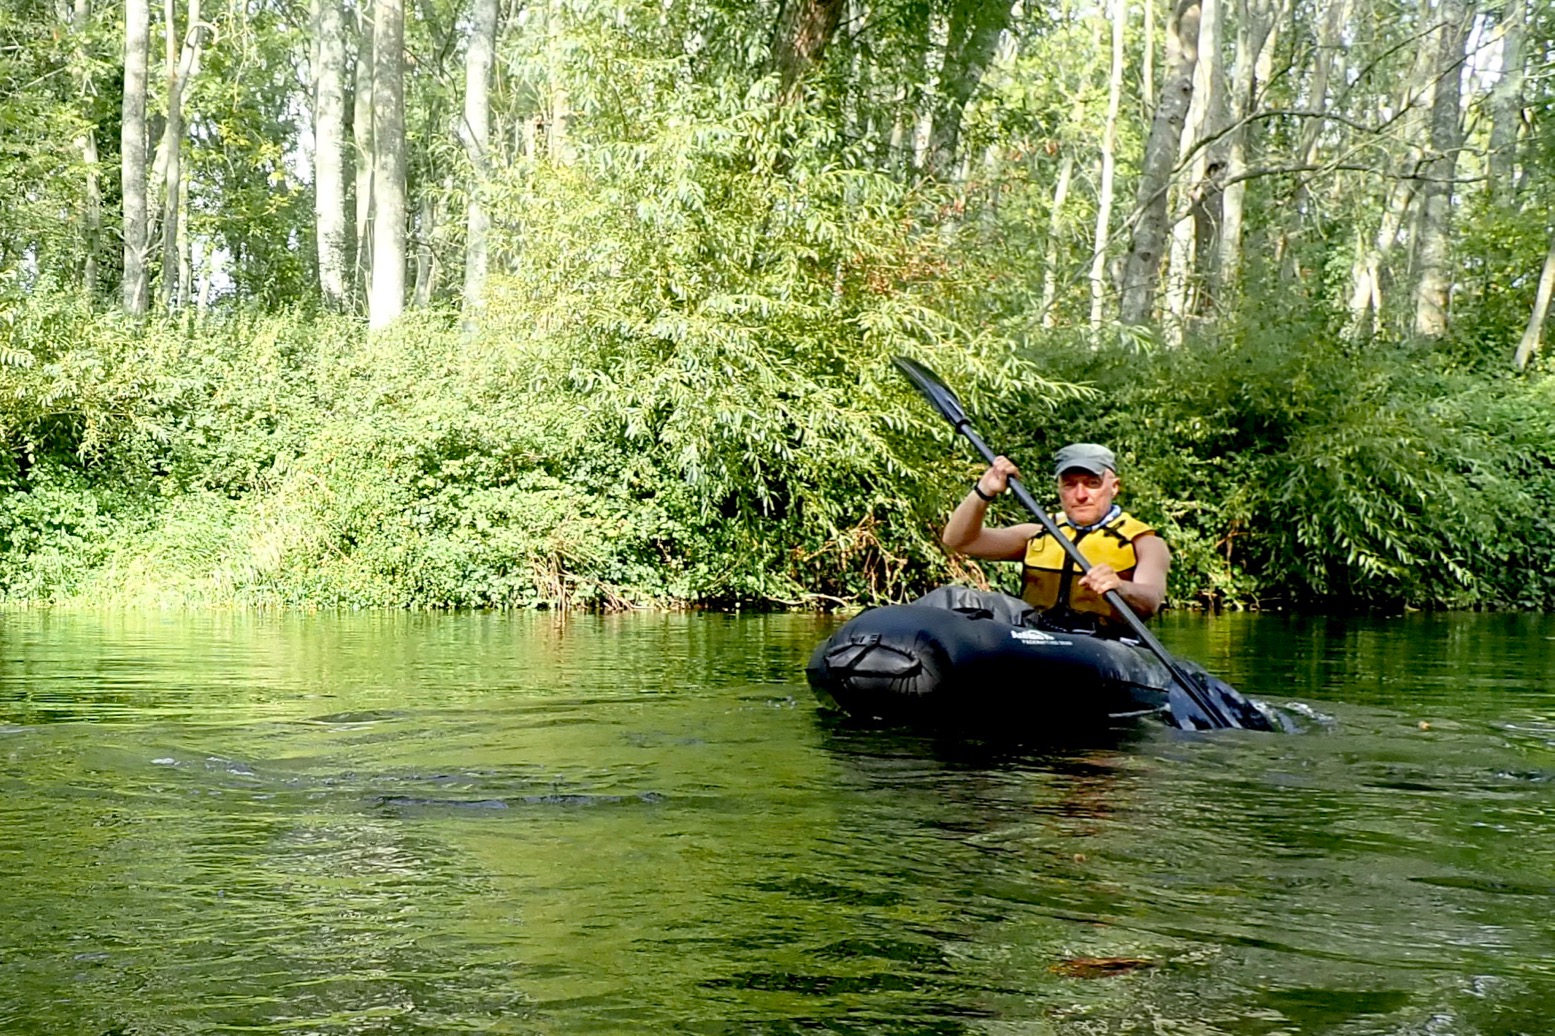
I’d asked for the backrest seat option to push my bulk forward off the overloaded stern, but comfort, or a relaxed all-day paddling posture, will take some experimenting. With the unusual raised floor and seat base pumped right up, the now higher backrest had less to lean against so I tipped backwards. I should have tried deflating the seat base a bit.
Even at my height (1.82m) I can still stretch my barefoot legs flat out, when in fact a bent leg is better for paddling. So you might want to fit Antibio’s footrest (as I use on my Nomad), shove a bag or shoes up there, or better still (for trim), put something behind you to act as a thicker backrest and centralise your weight (as we did on the Alpha). However you achieve it, a solid back–to-foot brace improves paddling efficiency which means it takes longer to get tired.
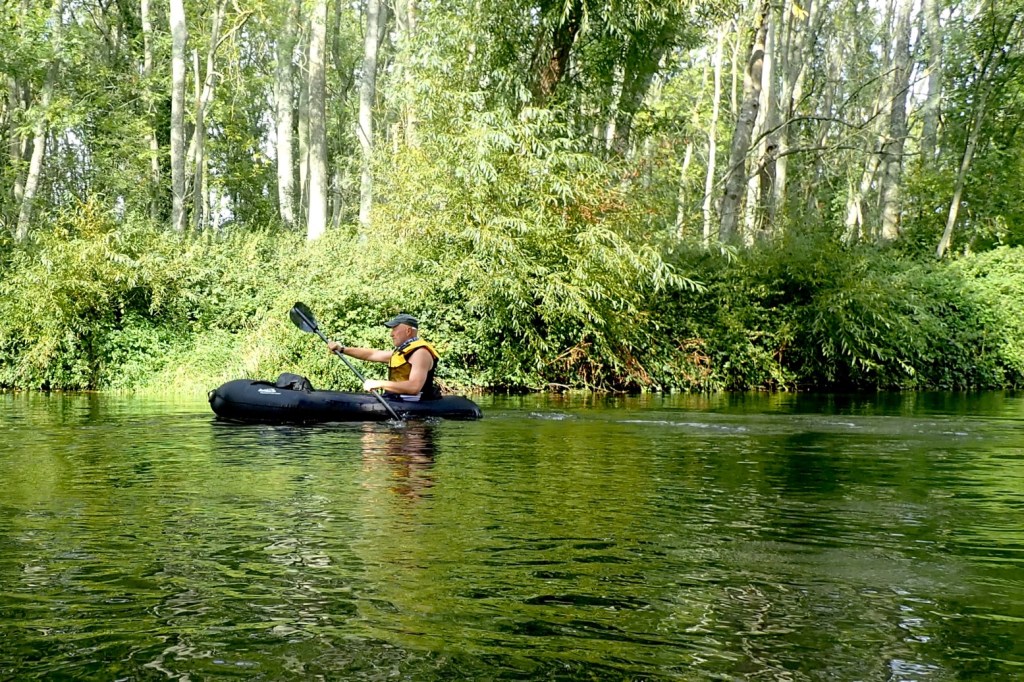
Running back downstream to Sluice Weir felt like it took half the time, and I got there with the boat still firm. I do wonder if wetting the inner film surface provides a better seal, just as licking a suction cup before sticking it to glass. One to try next time.
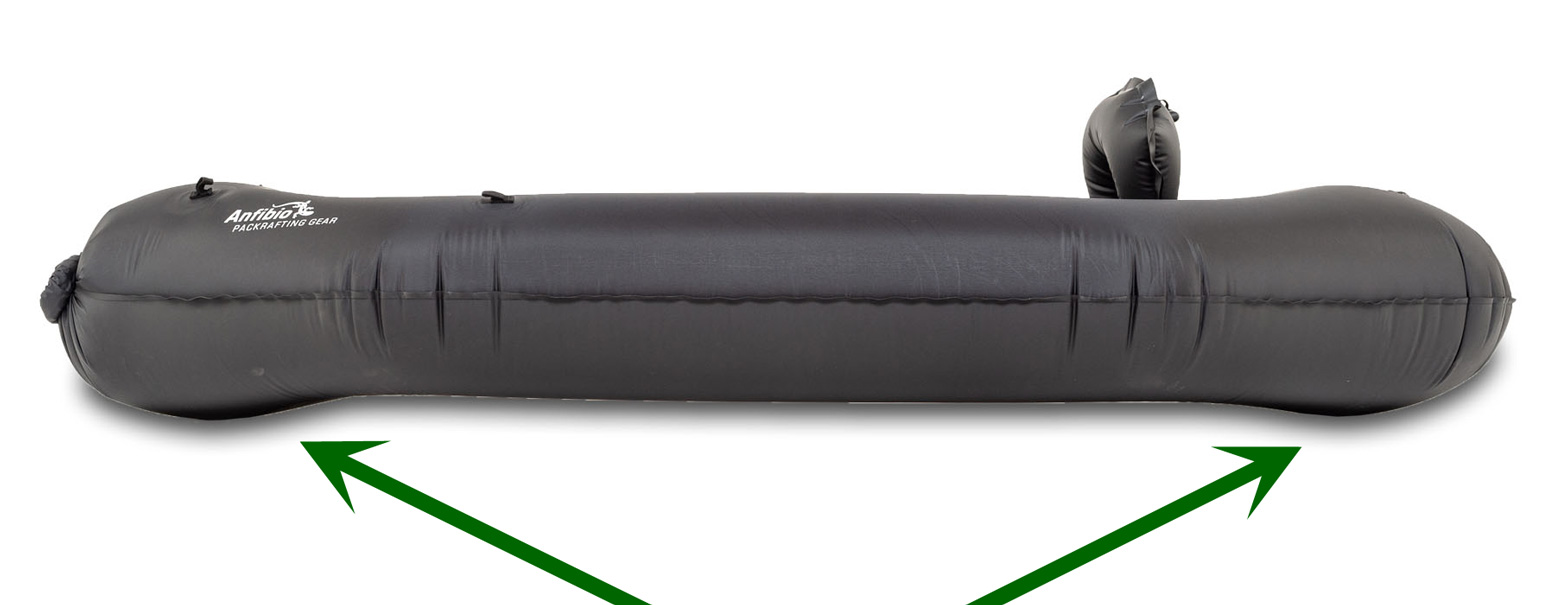
I also noticed that for a short, wide raft, the Nano barely yaws left to right. Besides my fine technique honed over the years, the profile of the raised floor may help the side tubes ‘bite’, like ice skate blades. Or it may be the subtle protrusions (below) under each end of the boat which my 2.9-m Nomad also has and which are said to have a skeg/keel effect.
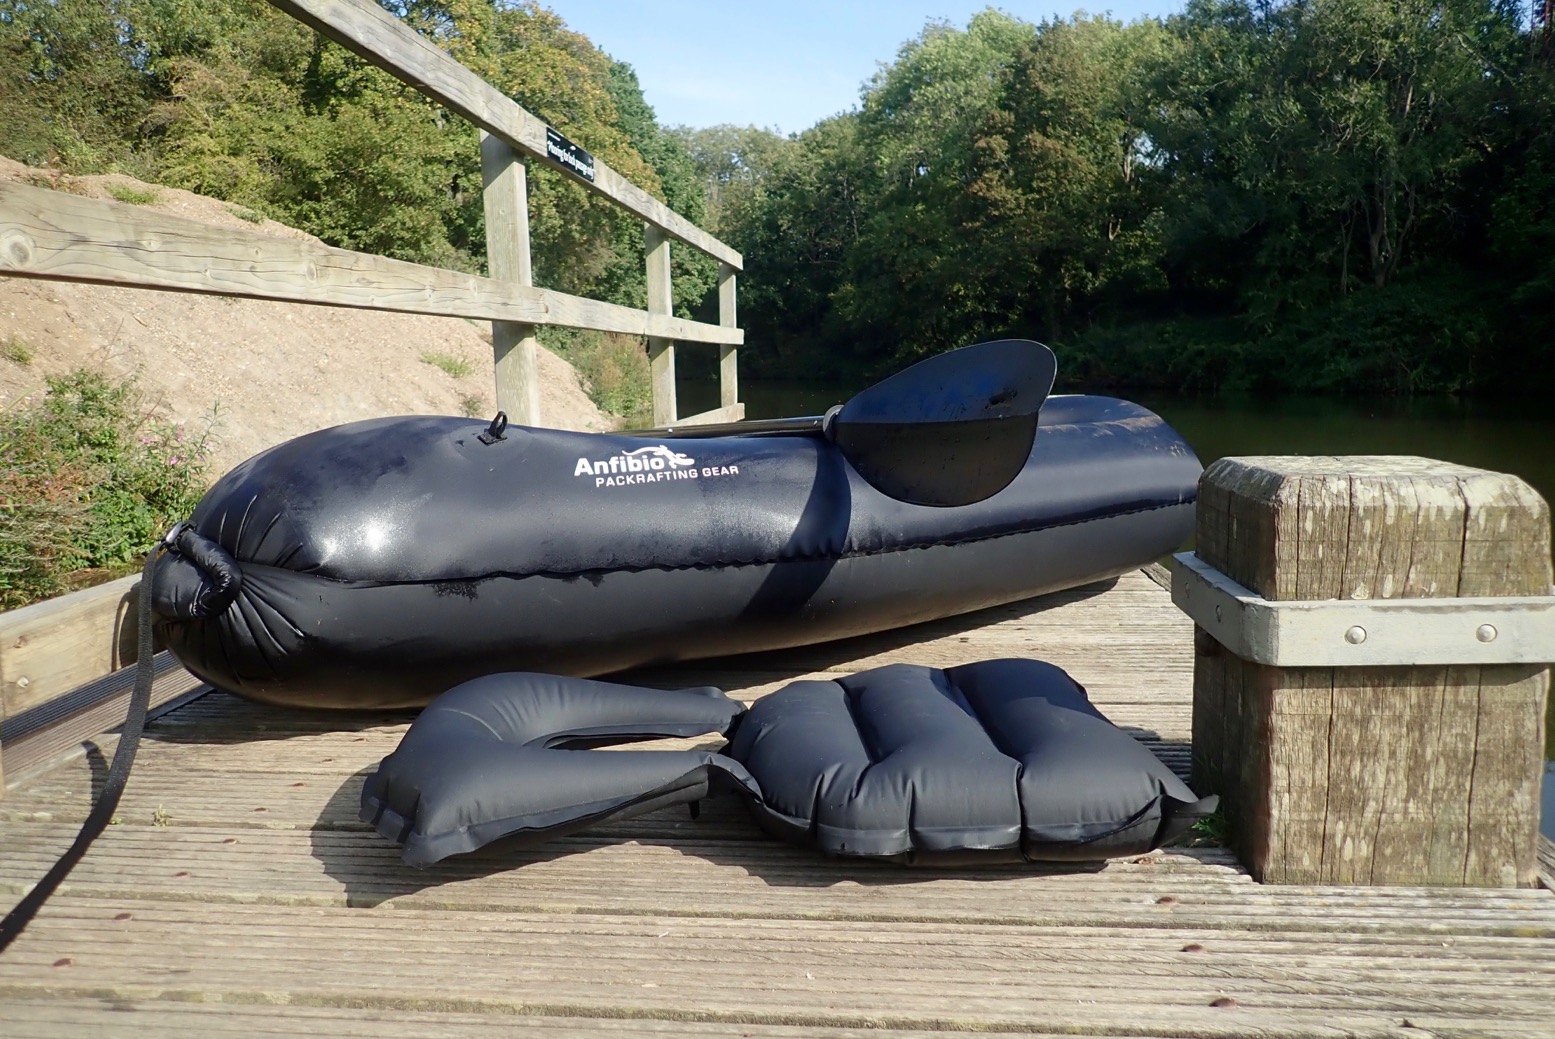
Either way, I was confident I’d survive the sporty Sluice Weir chute, catching only a cupful of water as I hit the frothing base. With that ticked off, I paddled over to the portage jetty, crawled out and aired down. Being a black boat on a hot day, the Nano dried itself off in no time.
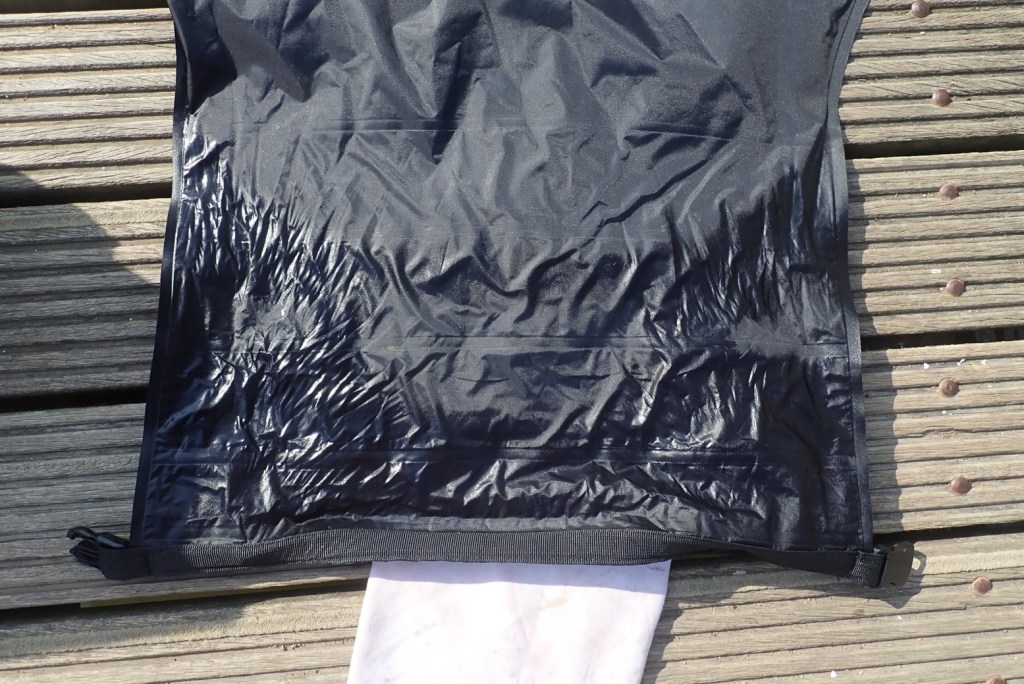
Packing the boat up, I checked for seepage into the RTC when it had been submerged for a minute or two. As expected, water crept along the textured outer nylon surface but the inner film was dry, though as Gore Tex will tell you, air can pass where water can’t. If that was the issue, not just heat, I’m sure getting a good seal is a knack that can be acquired.

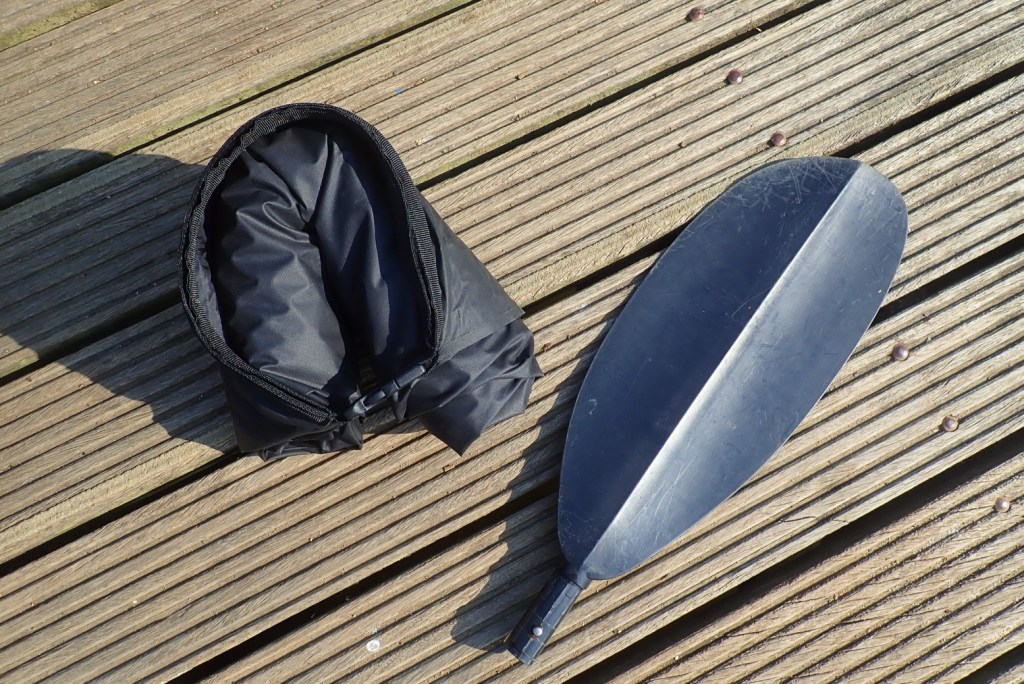
Conclusion
Providing they can handle the added pressure of a hand-pump, I wouldn’t be surprised to see RTC-type closures becoming more common on packrafts. Using zippers for such a critical seal always seemed a bit dodgy to me, though I’ve only read of them playing up.
Besides that novelty, the sturdy 210-D Nano makes a great crossraft at a price that’s competitive with the thinner Supai boats. It’s very light, compact (3 litres rolled up), comes fitted with enough useful tabs and can be paddled RTC-stern to level off the trim, if needed. Seats are quite a lot extra, but you can sit on your gear, and for a tenner, the little handpump is a no-brainer to get the most from your boat. And if the Nano’s RTC arrangement is not for you, choose the conventional Nano SL costing about 15% less. Either could make a great entry-level packraft or an ultra-light crossraft.
Testing unbranded mini PRVs
See also:
IK valves and PRVs
Fitting 4.8psi PRVs to a Seawave

Mini PRV on the right
I fitted over-rated 4.8psi Ceredi PRVs to my Seawave’s side tubes a few years back. I like the idea of not having to worry about the boat getting hot in the sun (and exploding), just as much as gaining some extra rigidity by fitting PRVs rated a little higher than recommended side tube pressures.
I bought a pair of unbranded Chinese PRVs off eBay (<£9 posted – about 30% of Ceredi/Leafield prices) to consider for my next IK. Some sold on eBay don’t even mention the purge pressure! These ones did: 4psi or 0.27bar, just a bit over the 0.25 of the boat I have in mind.

Out of the bag, the quality of the molding looked no worse than a Ceredi. I was a bit surprised they’re smaller than usual PRVs, (the listing gave these dimensions), but what does it matter as long as they work.
I worked out a way of testing them by removing the backing ‘nut’ and screwing the ‘male’ PRV housing onto a rubber motorcycle throttle grip. The other end of the grip I jubileed to the barrel pump nozzle.
Pumping the pump, the pressure built up and PRV ‘burped’ suddenly at an indicated 0.4 bar. But as my manometer needle zeros at 0.1 bar and not zero, we can probably subtract that 0.1 and call that 0.3 bar which is 4.34psi. Close enough to 4psi. Now I can fit these PRVs with confidence.
The hole which must be cut in the boat to fit this valve is 24mm ø, but to get the back nut inside the hull you’ll need to go in via the larger inflation valve aperture. So cut the PRV hole close to the inflation valve. Once loosely screwed together, the knurled outer housing can be tightened with some wrench or another.

Accounting for manometer error, the PRV burped at 10% more than claimed, which is pretty good.
 Inflatable Kayaks & Packrafts