Author Archives: Chris S

Drysuits for kayaks: Anfibio Packsuit drysuit review

For my sort of paddling integrated latex socks, latex wrists, neoprene at the neck plus a front entry zip and a relief zip add up to the best all-round combination.

Anfibiodry-6

About Drysuits
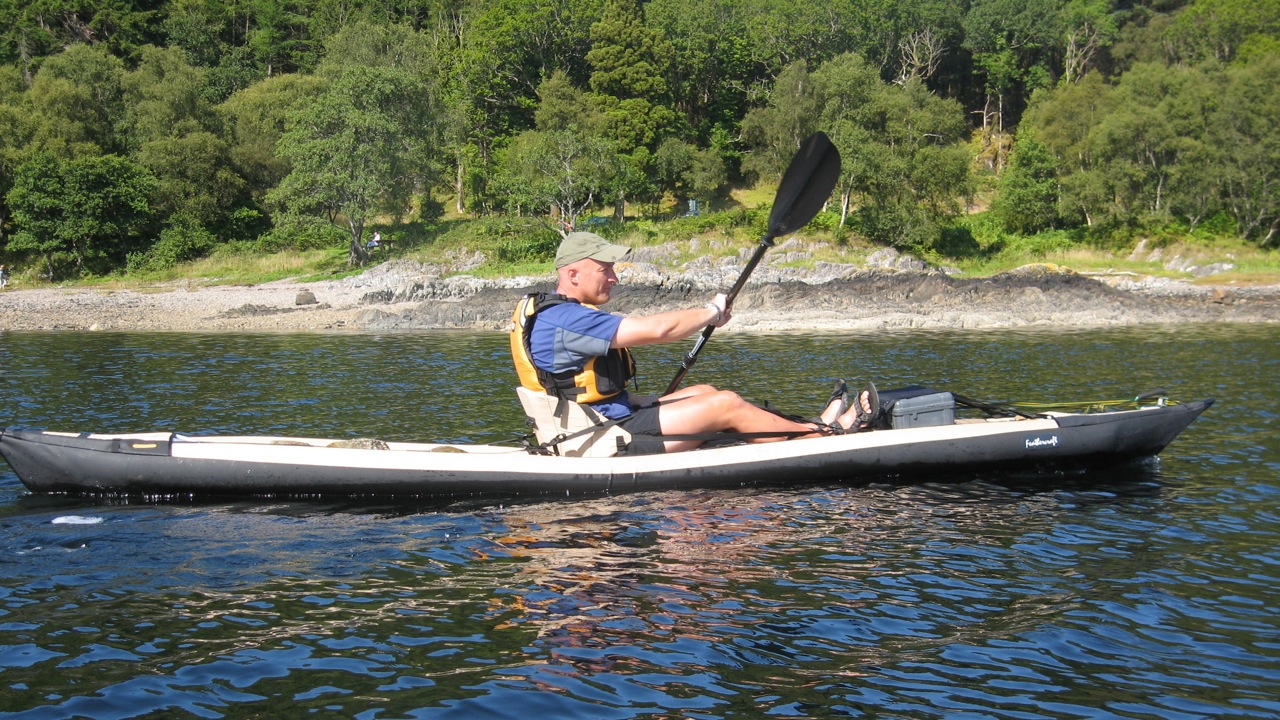
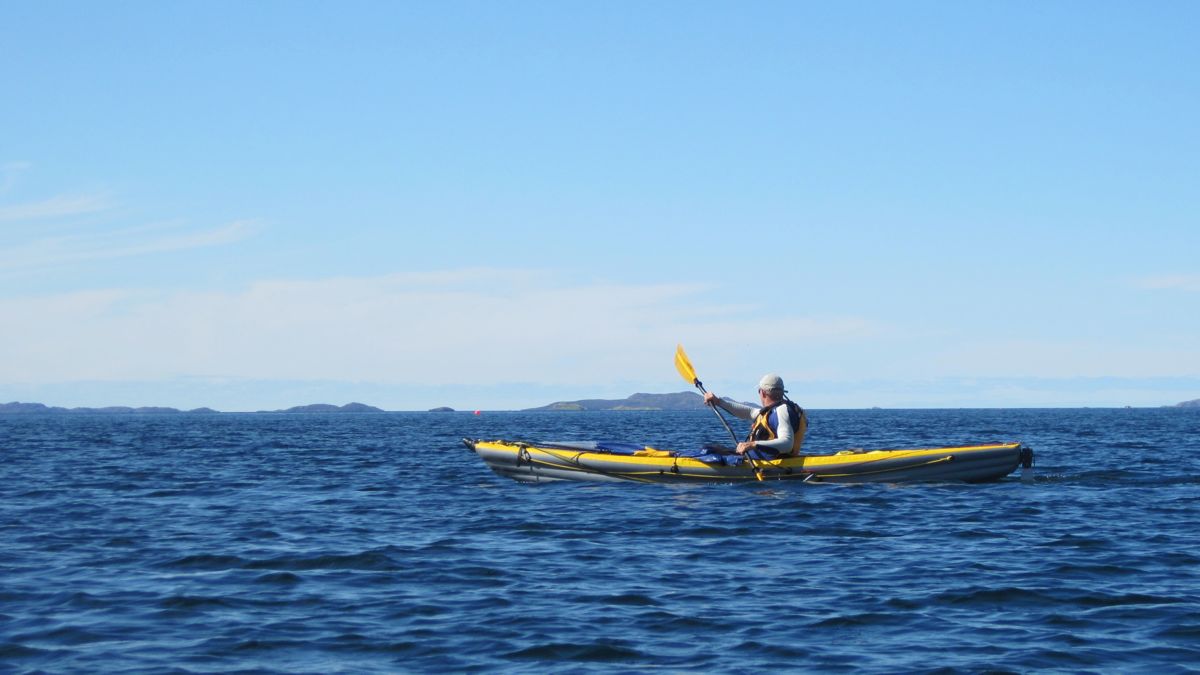
Even in summer the benefits of a drysuit for northern British paddling are worthwhile. Like wearing overalls to get stuck into a messy job, you know you’re covered. You can wade in as deep as you like and take all the splash that’s going without risking getting chilled should your underclothes get soaked when a waist or limb seal leaks. And for me, nervous of the deep and often paddling alone in the northwest (even if it’s rarely more than a mile from shore), it’s an added layer of security.

My chunky old Crewsaver Hyperpro drysuit (left) cost only £180 and did the job amazingly well. But even at 2kg, it was heavy enough to need internal braces and was often too hot and sweaty for active paddling. I don’t tend to get cold easily but wonder do if it was more of a sailing suit less well suited to energetic paddling.

Anfibiodry-1
gul

When it comes to exposure, should you fall in, being wet from trapped sweat is nearly as bad as getting wet from seawater. Once pressed against your body by water pressure, I’m told the actual benefits of a drysuit in slowing down hypothermia are only measured in a few extra minutes. To be agile enough for paddling, drysuits are not immersion or survival suits (above right) made to snuggly bob around for hours until the RNLI find you. In such a scenario it’s the fleece underneath that can make a difference, and I have a Gul one-piece (left) for those chilly days. At anything above single-digit temps, it’s just too warm, but if anyone remembers romper suits from their toddling days, they know how comfy it is to wear a onesie over their nappies. They go for about £25 and many outlets throw them in for free with the drysuit.

Re-entry training and drysuit testing

Whatever membrane fabric the Crewsaver used, like many sub-Goretex fabrics it was more waterproof than breathable. As it is, I’ve never experienced the true magic of breathable membranes which work under a much narrower set of parameters than we imagine (temperature gradients, fabric saturation, and cleanliness), even if they’re surely better than being wrapped in bin bags and duct tape.

Before the Hyperpro I briefly owned a much lighter Kokatat Tropos (below) which I sold in haste and which closely resembles my Anfibio Packsuit. Kokatat are known for their high-end Goretex expedition kayaking drysuits, but they don’t use two-layer ‘Tropos’ membrane fabric anymore so maybe it’s just as well I flogged it. The closest thing Kokatat now sell is the better breathing three-layer Hydrus 3.0 Swift Entry which goes for over £700 in the UK.

tropos
Relief zipper: don’t even hesitate; it’s chilly out there. Might work for women using a SheWee, too

Semi drysuit
I’d often wondered what exactly a semi-drysuit was – a half-arsed fabric that sort of keeps water out? Sven at Packrafting Store explained: it’s a drysuit with a comfier neoprene rather than a latex neck seal. Latex (as on my Hyperpro) seals very well but worn all day gets uncomfortable. I recall reading about some guys who paddled South Georgia in the South Atlantic fitting ‘venting hoops’ into the latex neck seals of their top-of the range Kokatats during less stormy episodes to stop them choking or boiling over. Unless you expect to be frequently immersed in storm- or whitewater conditions, you may prefer a neoprene neck seal. The rationale is that because the head and neck are usually above the water when wearing a buoyancy aid, the seal here is less critical than on submerged wrists or ankles/feet.

Relief zips; responding to Nature’s call
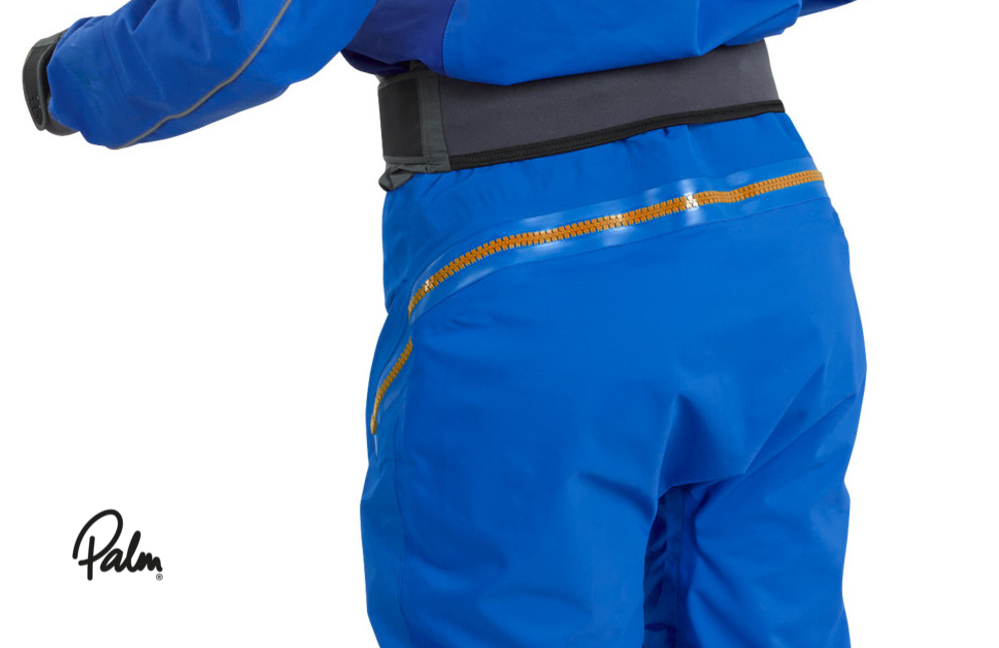
Presumably you won’t be paddling the tropics in a drysuit so, at the very least, the need for a slash can become paramount, especially as the years pile on. Get a suit with a relief zipper or, as I did with the Tropos, pay an extra 100 quid to have one fitted later. A woman could use a front relief zip with a SheWee, otherwise women-specific drysuits feature a dropseat zip across the back of the hips for the same purpose. note the waist drawcord or seal too; also helpful to retain body heat.

Integrated socks or ankle seal?
It’s a drysuit so you want to be dry, and that includes your feet. Far better to have integrated socks than ankle seals and then find another way of keeping your feet dry or at least, warm. Looking at drysuits again recently, I see that nearly all come with integrated feet laboriously made of sewn and taped membrane fabric, yet the benefits of any breathability in the feet are minimal, while the membrane will eventually fail and be difficult or expensive to repair or replace.
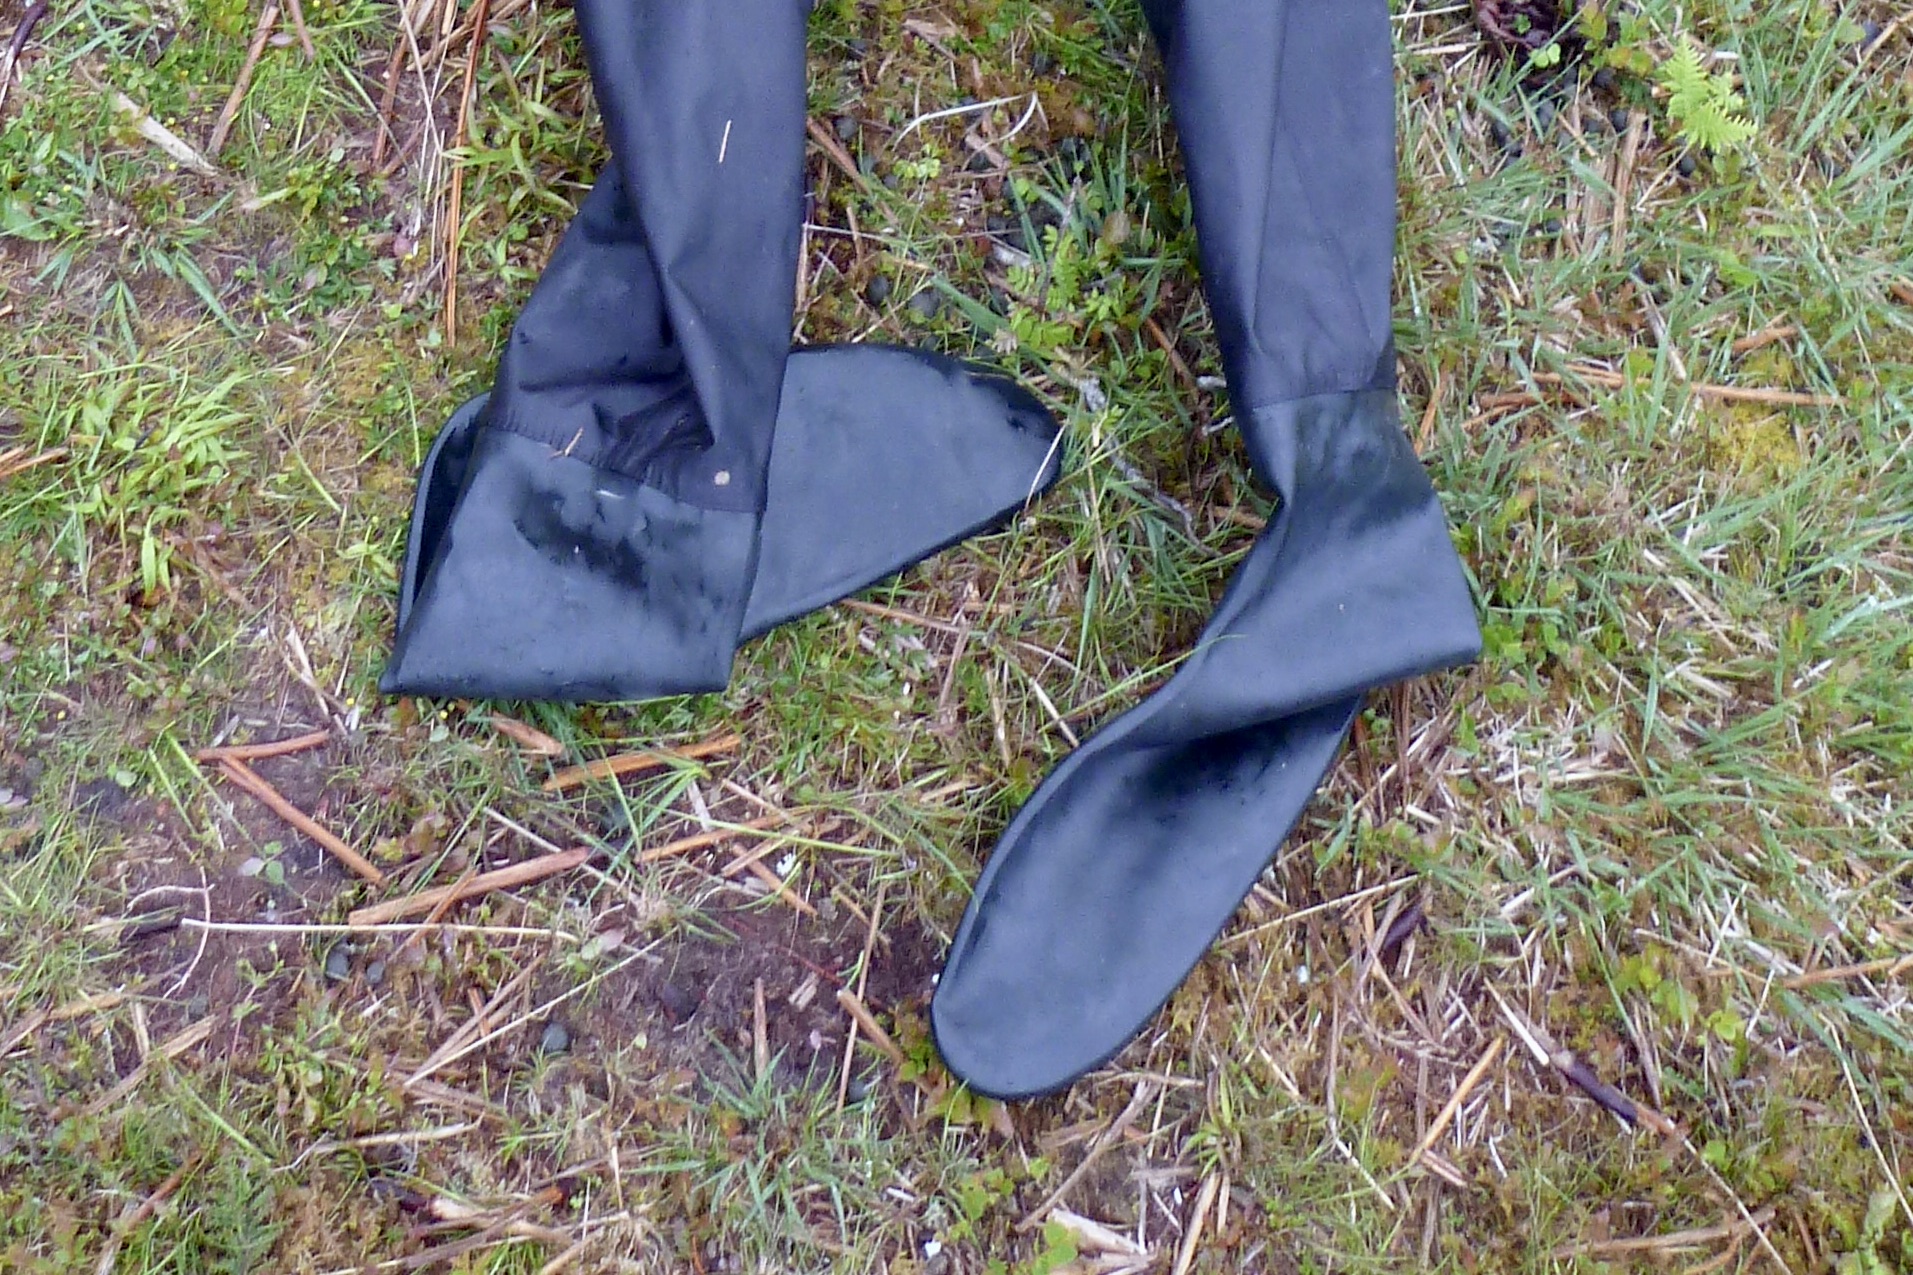
Sven at Anfibio confirmed what I felt: integral latex rubber socks are the way to go; they may be heavier than membrane versions but are much easier to repair, more robust for walking as well as reliable. Wear some thick socks and a pair of wet shoes on top and the feet will be dry and warm.
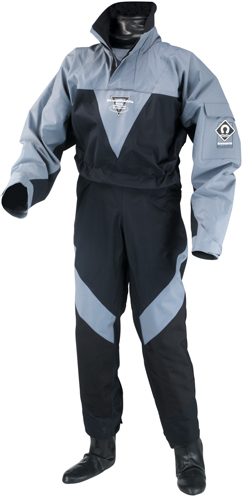
crewsaver-hyperdry
Anfibiodry-8

Drysuit zips
The Crewsaver had a horizontal back zip, the Tropos was front diagonal while the Anfibio is front horizontal. The back zip may look neat (right) but when tired or cold, I found the articulation required to unzip myself was quite an effort. It does mean you can open it on the water to vent off while guarding against frontal splash, but it would be hard to zip up in a hurry. Front diagonal doesn’t seal so well with spray skirts they say (not an issue with IK&Ps) and so it’s hard to find fault with the front horizontal format.

Anfibio Packsuit
I found the Anfibio Packsuit easy to get into, light enough not to sag and the zip easy to work and check that that you’ve sealed it properly. The Anfibio suit uses a plastic TiZip Masterseal dry zip (top of the page) that’s lighter and easier to slide than old-style brass YKKs. Wax or silicon spray is all the TiZip needs, as with YKKs.

Anfibio’s Packsuit can weigh as little as 800g in smaller sizes. My XL version was custom tailored and with the latex socks and the relief zip options at 1332g and rolls up to about half the volume of my old Hyperpro. Weight is saved with no cuffs covering the latex parts which are said to be vulnerable to UV. A regular dose of 303 Protectorant (right) should see to that. There are also no pockets or other features, just what you need to keep you dry.

Anfibiodry-5
Anfibiodry-4

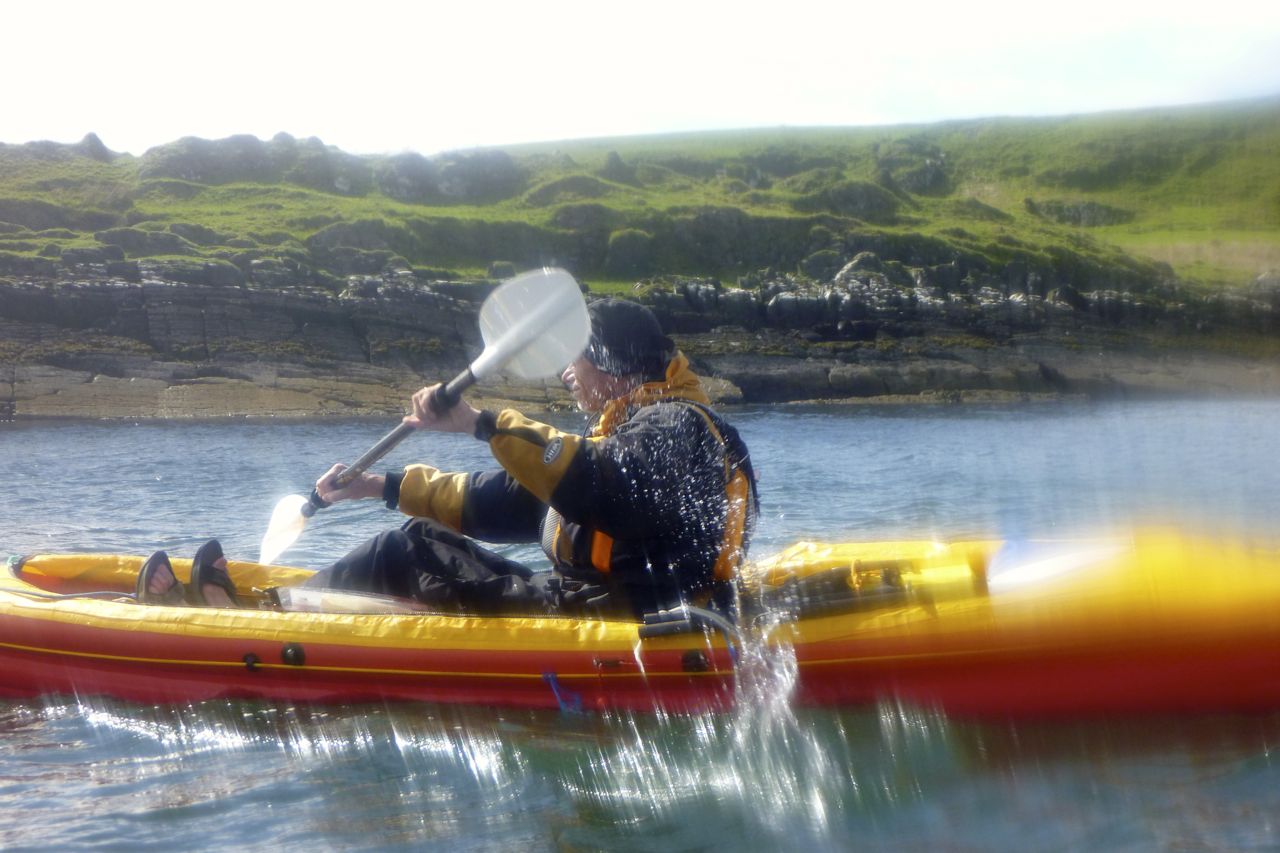
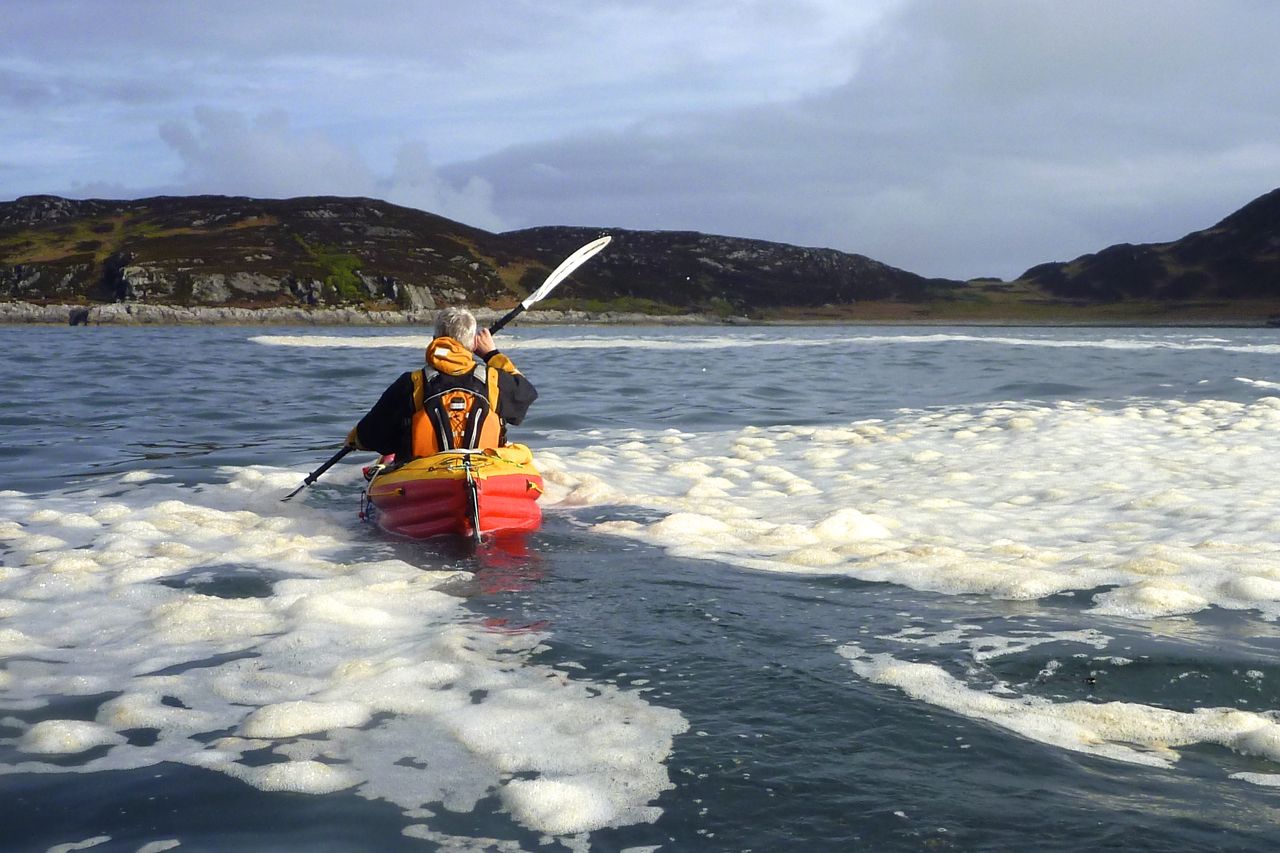
Best of all, on our four-day paddle around the Slate Islands I found the Packsuit unobtrusive to wear. Unlike previous drysuits, I rarely felt the need to peel off at the slightest stopover, and the relief zip is a no brainer, enabling on-water ‘defuelling’, if necessary, just like a B52 on a long-range mission. Wearing just a shirt and runner’s leggings, I never felt hot on the water nor got chilled, and during a downpour on land one evening, was happy to wear it right up to the point we scurried for our tents.

packrafting_store_logo

I’ve yet to do an immersion test but have found that stretching made the inside coating peel off the neoprene neck seal but don’t know what this coating is actually for. It’s certainly not waterproofing so doesn’t really matter. Other than that, no issues.

I received the Packsuit in return for editorial work on the Anfibio Packrafting Store website. It costs from €419 with tax and in my custom spec would have cost €550.

Good drysuit Q&A

P1040386

Cape Wrath Trail ~ paddling the Assynt

I am slowly working my way through a western variant of the Cape Wrath Trail, a hardcore, unofficial Long-distance path that runs some 200 miles between Fort William and Cape Wrath. More about the CWT here.

cwtasymap

After scraping through the first part of the variant from Dundonnell in December 2013, I returned with paddlechum Jon to complete the remainder from Stac Polly mountain to Kylesku bridge where the regular route comes in from the east at Kylestrome. Following several humiliating episodes orchestrated by me in slackrafts, Jon finally saw the light and bought himself a red Alpacka Alpaca (the next size down from my Yak).

cwtsul02

After kayaking around the Slate Islands near Oban I rode up to Achiltibuie on my very overloaded bike and met Jon at Di’s croft in Altandhu. We fixed up her electric bike, extended the goat shed then next day left a car at Stac car park (above) for our two-day paddle-walk to Kylesku. But things had already got off to a bad start: Jon had done his knee in on the previous day’s Etape Caledonia cycle race.

cwtsul07

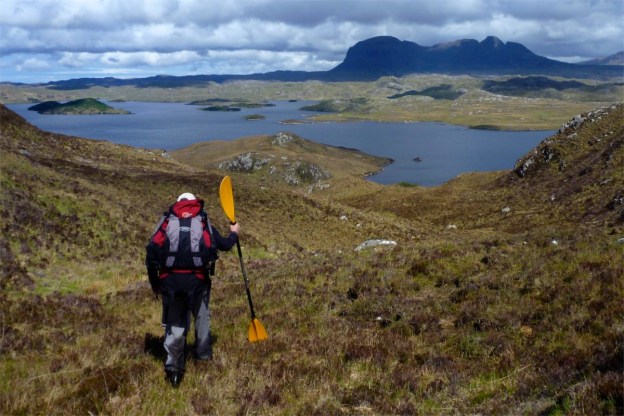
As a result progress was slow up the steep path onto Stac mountain and even slower once we left the path down the north side (above) for the trudge towards Sion’ loch. By this time Jon had recognised the value of using his hefty TNP paddle as a packstaff.

cwtsul08

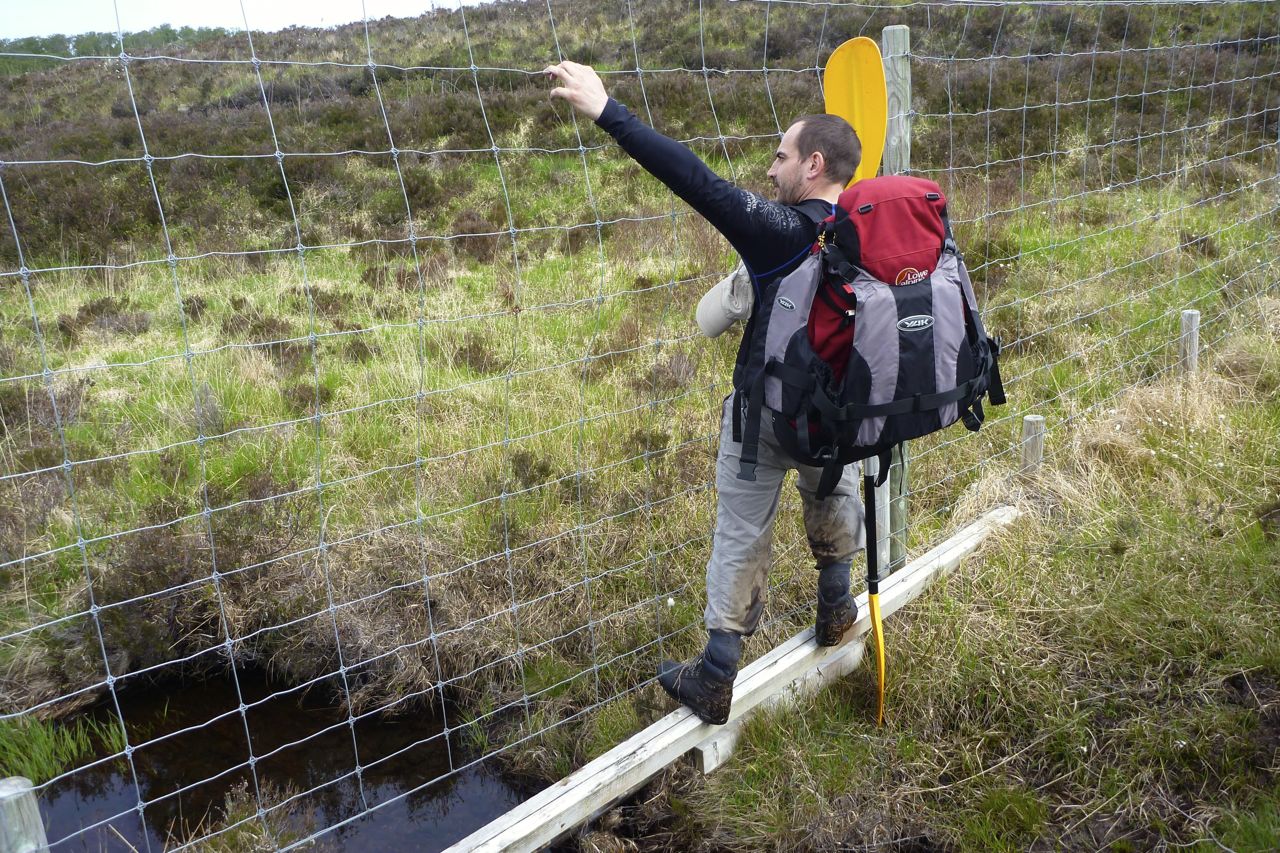
As the slope levelled off, ahead of us a deer fence cut through the scrub; we followed it until a stout corner post provided an easy hop to the other side. We were now heading directly for a bay with a small island to put in, but that was further than it looked, down small cliffs before dropping through an enchanting light birch woodland which the deer fence may have helped preserve.

cwtsul10

While it was nice to come across the lost pocket of woodland, walking or boating, next time I think I’d take the Linneraineach path which starts a mile or so east of Stac. It leads all the way to the wadeable stream running into the loch (on the edge of the map, above) and is probably quicker and less effort. A walker would certainly be better off going that way instead of rising halfway up Stac and then down again, as we did.
As it was, we were lucky that a recent dry spell had left a spongy crust on top of the saturated post-winter mire. On a few occasions that crust sheared away from the soggy underlay and sent me flying. Either way, this was packstaff terrain par excellence. Have I mentioned packstaffs yet?

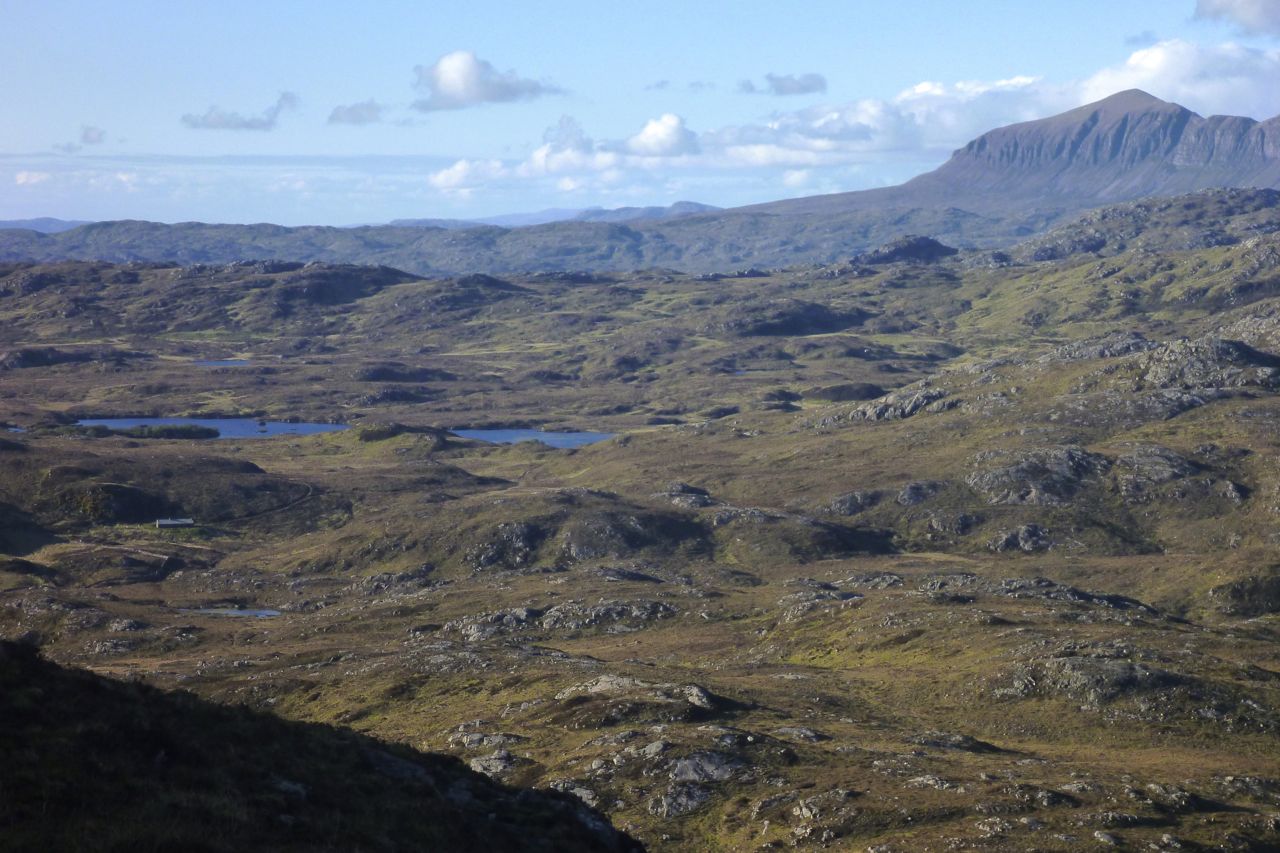
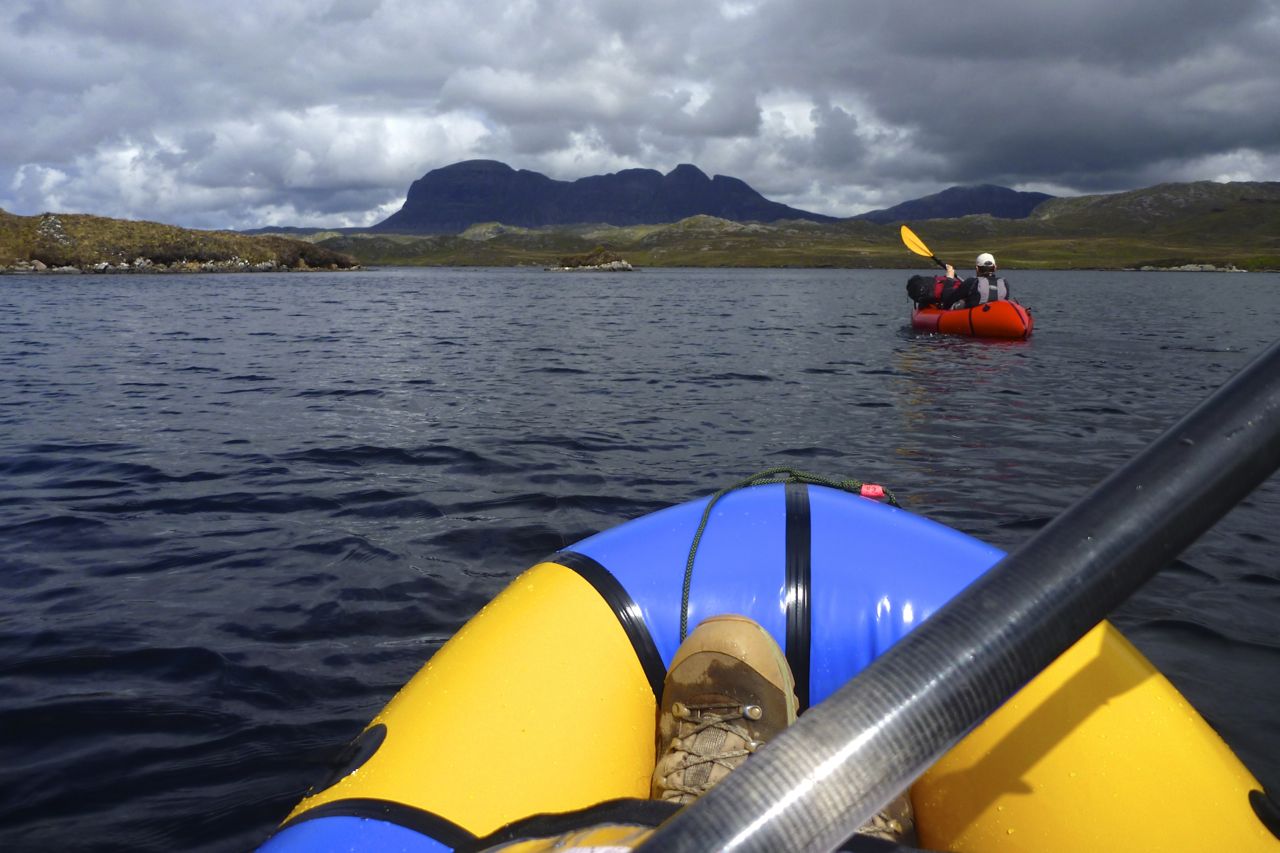
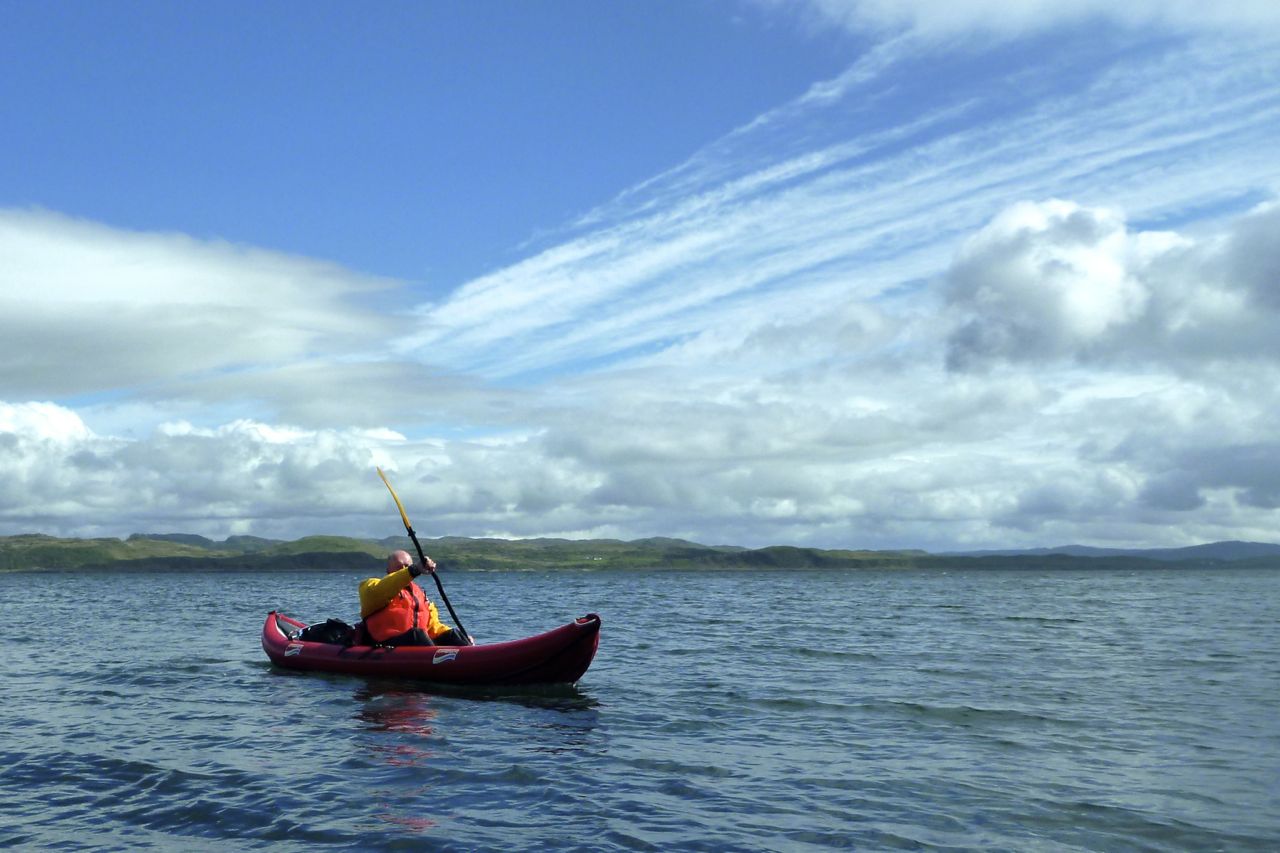
On the small beach at ‘Island Bay’ we pumped up our supple new Alpackas and paddled out north across the loch towards Suilven mountain, passing between small islets and landing an hour later for lunch near ‘Shielding’ on the map. Initially the northwest breeze put us at the fetchy end of the loch and we took on the odd splash. But even with a wet bum, from any vantage point you care to choose, with its ring of peaks, the primeval Inverpolly basin (below) has got to be one of northwest Scotland’s most dramatic landscapes.

cwtsul06
cwtsul14

Over lunch I measured up Jon’s red Alpaca against my Yak but could hardly see a difference (it’s 3 inches shorter inside and out). But Jon was having trouble getting a full draw of the paddle with his bag across the bow (mine was below my knees). It’s possible these newer Alpackas have more of a wave-riding upturn at the bow which makes any bow-mounted bag slide backwards. That, plus a need to adapt to a gentler but more frequent ‘packrafting cadence’ saw Jon’s red Alpaca lag behind my Yak. Later we swapped paddles which made a small difference – we should have swapped boats too to see if man or boat was the culprit. My 2014 Yak has the slightly longer stern, but paddles much like my old one.

From Shielding we walked over the pass to Fionn Loch directly below the south wall of Suilven. As before, some canoeists were camped by the Uidh Fhearna  river crossing (a deep wade for a walker; right), practising their moves and barely noticed us slipping into the water from a reedy lagoon. Once on the north side we found an oddly deep channel which led inland for a hundred metres saving some tussock and bog walking.

cwtsul15

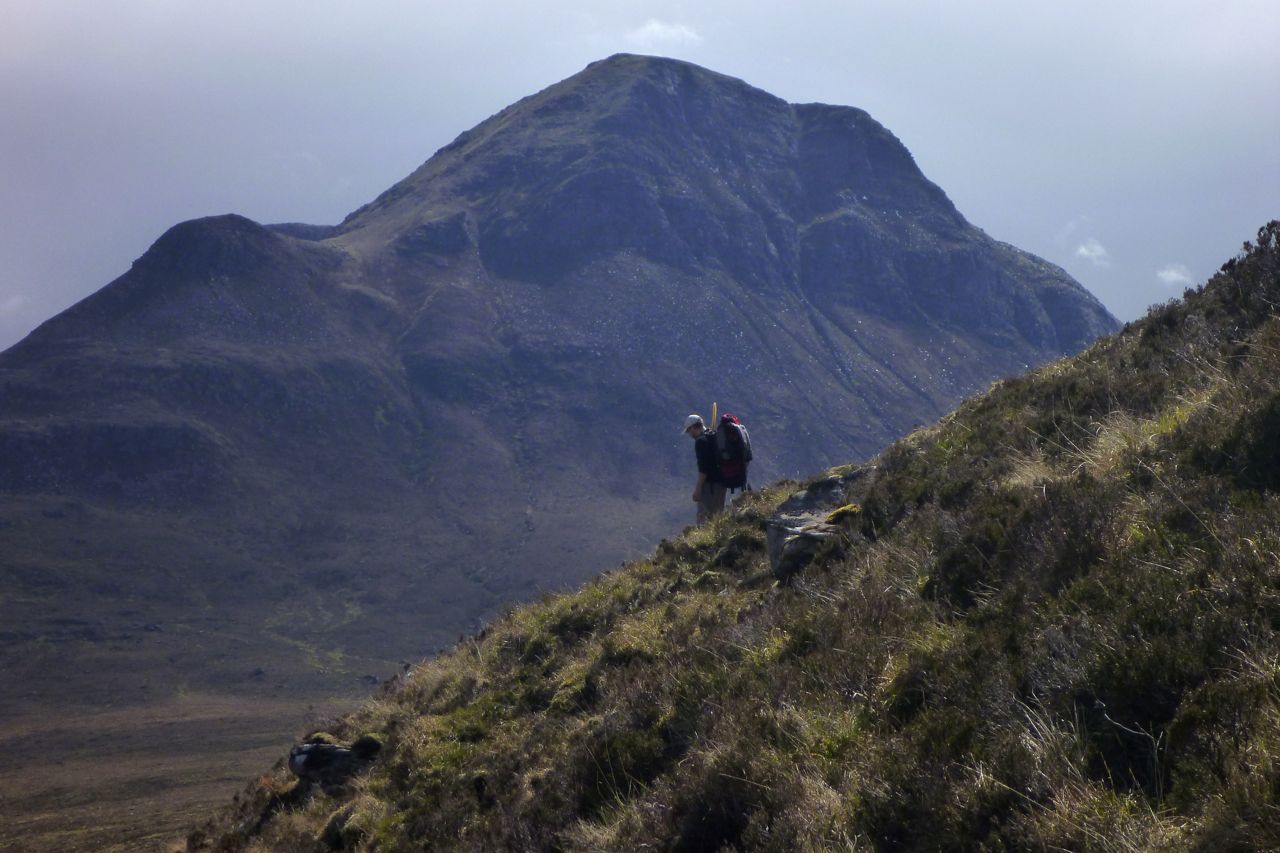
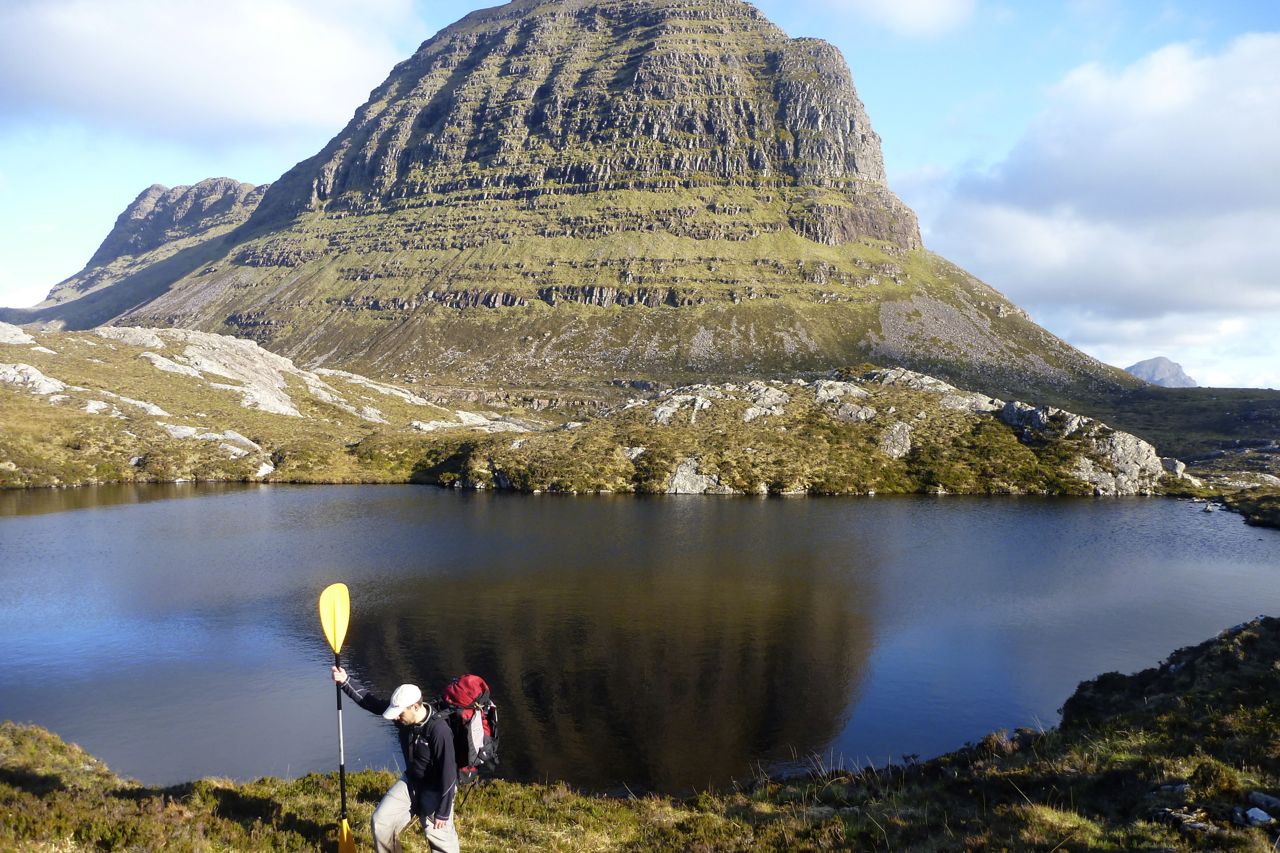
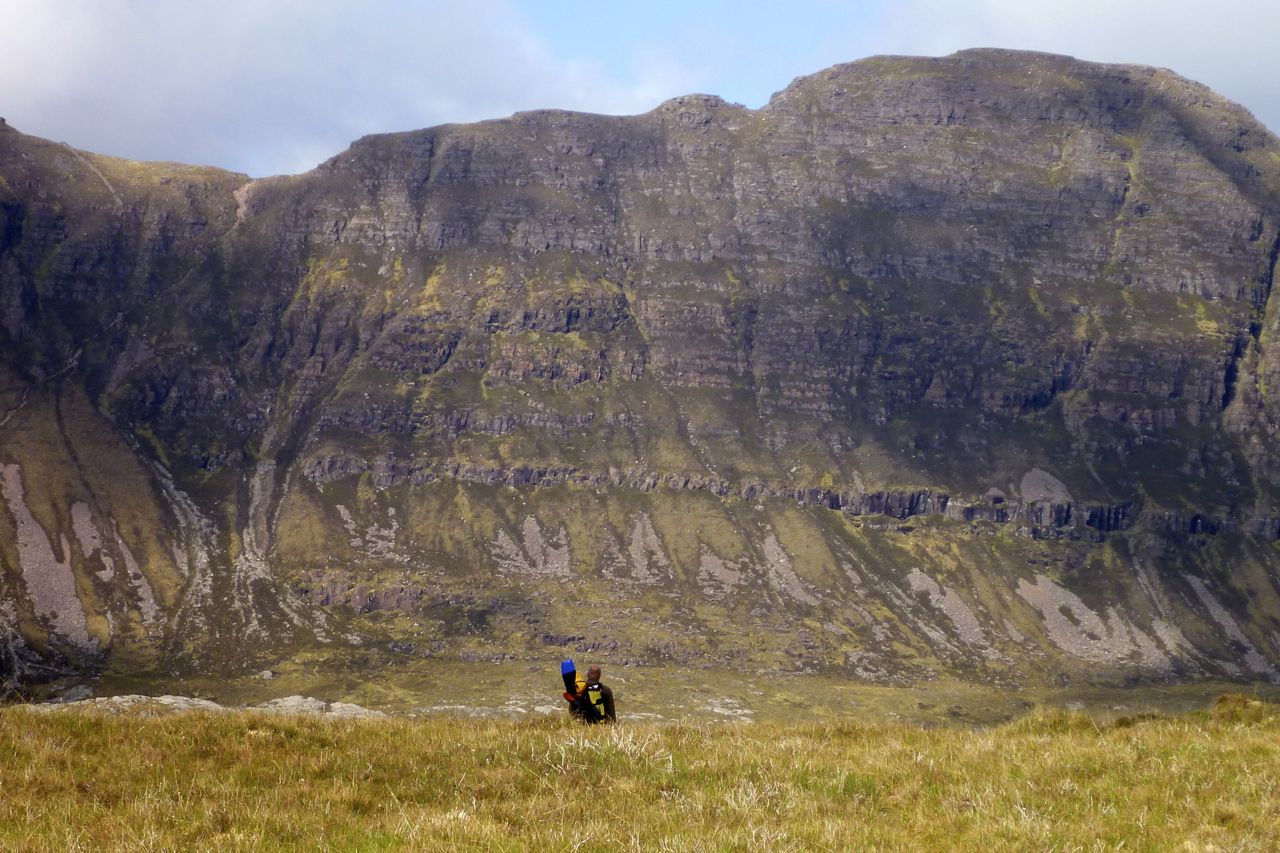
Rolling the boats up, I tried to persuade Jon that the seemingly vertical clamber up Suilven’s south face would be excellent knee therapy, but he wasn’t  buying it. He had ten weeks to get into shape for a four-day trans-Pyrenean ride and didn’t want to risk it. So we set off north below the western prow of what the Norsemen called ‘the Pillar’ (below).

cwtsul25

The 50k map doesn’t show a series of gradually ascending ups and downs over ridges running parallel to the mountain. With Jon’s paddle-supported hobbling it took an hour and a half to get to the high point where a view of our next challenge – Quinag (below) – revealed itself across a string of lochans.

Soon we caught a view of Suileag bothy far below but the terrain got gnarlier still, winding around lochans, small passes and down steep slopes. Somewhere here Jon chose to follow an indirect low route to spare his knee and somehow managed to sneak past me while I scanned from a high point for half an hour, trying to track him down. He was behind me all the time, kettle on and yellow paddle resting by the bothy’s doorway as a marker. I needlessly paddled over Loch an Alltain Duibh, assuming the river gully just upstream would be too awkward to cross. In fact Jon had found it an easy ankle wade.

In hindsight I’d say the path climbing up and down the saddle of Suilven to pick up the jeep track west to the bothy wouldn’t have been much slower than our route around the mountain’s western prow, let alone the added appeal of taking a quick detour from the saddle to Suilven’s western summit. Since we did this, the path on the north side of the mountain has been improved.

cwtsul27

Suileag bothy is one of the tidiest I’ve seen, clean and basic with a fireplace and water from a nearby burn.
It’s so much more agreeable to barge into any bothy and spread out like a normal person, than crawl around a tent like an invertebrate.

Next morning we followed the path north over a pass for two or three miles to the footbridge over the River Inver to Little Assynt; all up much quicker going. At the footbridge we carried on west then north, over another deer fence and ankle twisting tussocks to a beach beyond the sluice where Loch Assynt drained into the river.

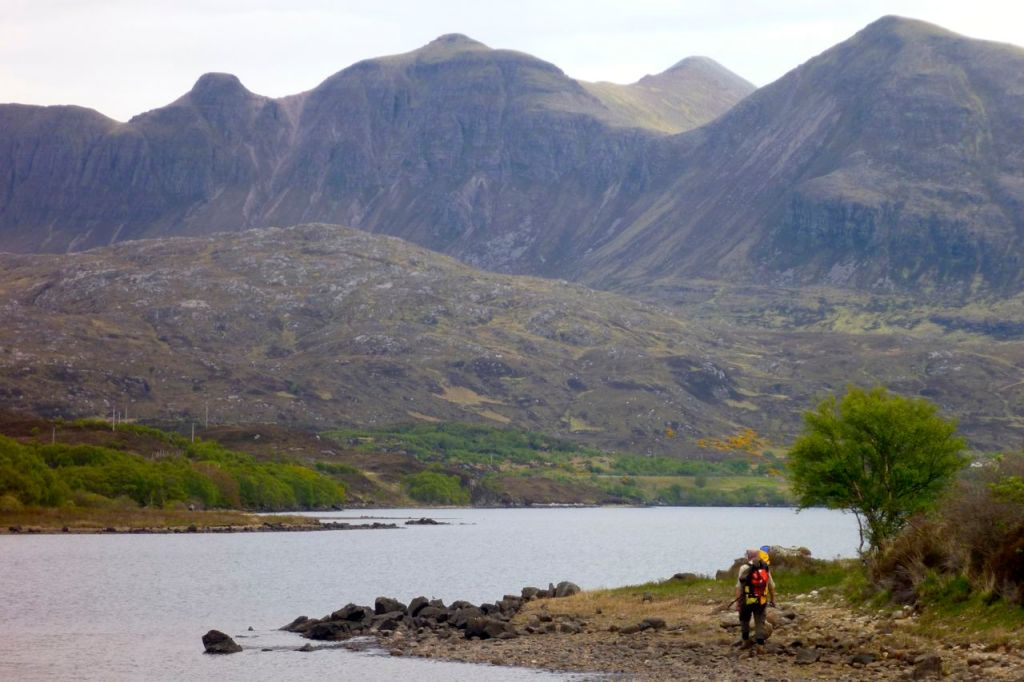
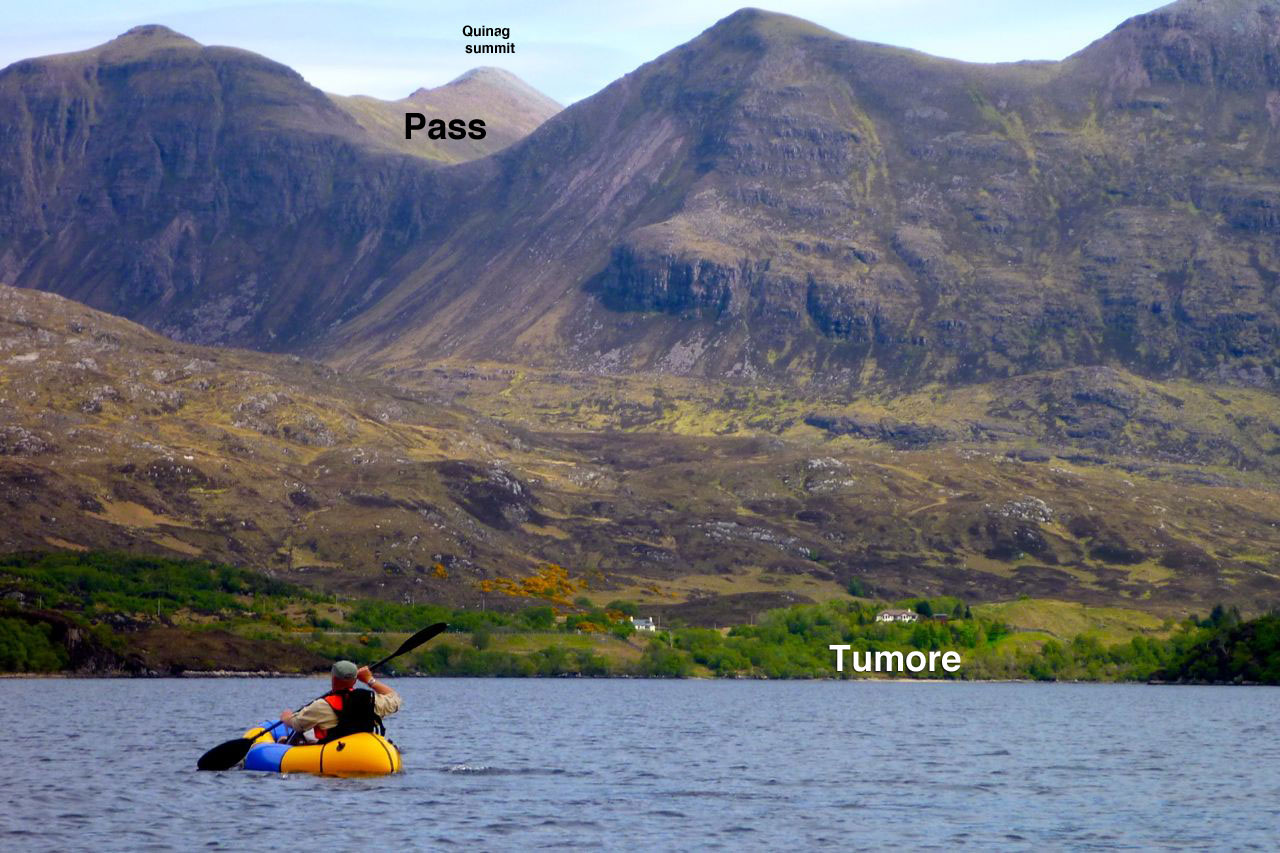
Up ahead loomed the mass of Quinag mountain (above) and Jon and I debated the feasibility of tackling the Bealach a Chornaidh from the pathless west side. Leaving the Drumbeg path, a slope leads a kilometre and some 400m up to either a harmless scree bank or a lethal cliff. It was probably the former but too much for Jon’s gammy knee. We finished off our food under a gale-bent birch below Tumore and, as the wind was with us, decided to paddle Loch Assynt east to the road junction instead. The back way up Quinag pass would have to wait for another time.

cwtsul39

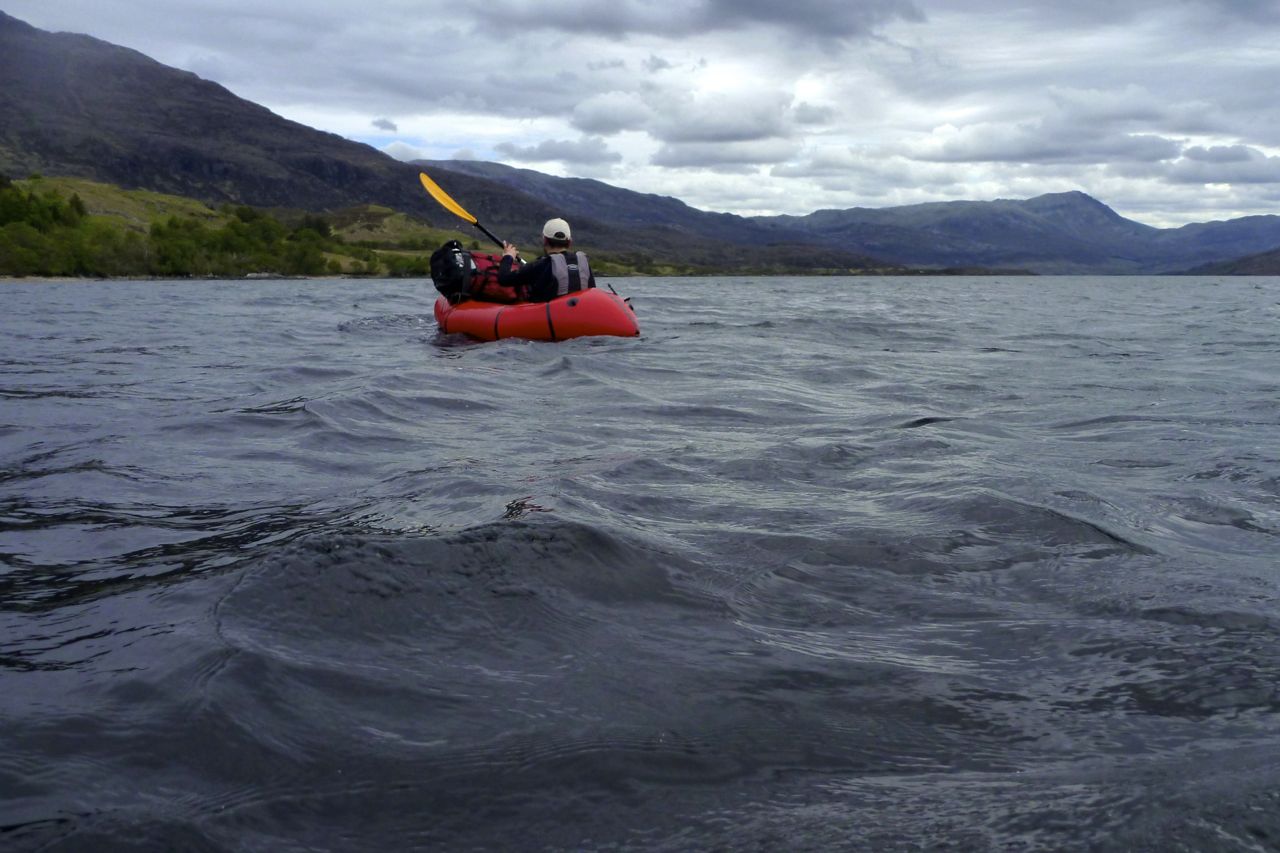
On the water the southwest breeze wafted us helpfully down the loch, though the Alpaca was still notably slower despite my helpful demonstrations on how to paddle. I really ought make one of those instructional dvds, like Jane Fonda. Once ashore all that remained was a seven-mile road walk to Kylesku by which time the forecast wind and rain had caught up with us.

On the road walk I eyed up the terrain northwest of Quinag massif. It looks like the planned orange path shown on the map above would have been another convoluted cross-country struggle, even if it was a more direct line. Leave that to the crows and follow the regular path down from the pass east to the road (unshown on the map but it’s there).
And that was the lesson learned on the land stages of this CWT variant. While there may now be a right to roam across the glens and bens of bonnie Scotland, who in their right mind would want to do that for any longer than necessary? Even wild animals develop paths; it’s less effort and happens to be quicker, even if it’s not a direct route.

cwtsul40

Lured by the promise of a free meal at the hotel, Di drove up right on time and took us the last mile to Kylesku where a TV crew happened to be recording the retirement of the postmistress following no less than 61 years on the job.

So, my summary for this nearly completed CWT Assynt variant? For a boatless walker, once over Loch Broom and in Ullapool, the Postie Path is a dramatic way of getting to Achiltibuie where there’s a hostel, pub and shop. Over the hill it’s a major wade across the Narrows of Loch Lurgainn after which I’d recommend the Linneraineach path between Stac and Cul Beag to the stream before the long cross-country trek to a shorter wade across the Uidh Fhearna river at Fionn Loch. From here take yourself up and down Suilven’s saddle, then from the bothy take the track to Little Assynt footbridge. From here it’s a two-mile road walk to Tumore where you take the Drumbeg path before breaking off up to the Chornaidh pass and down to the road using the path to get you there.
With a boat the Narrows can be paddled, so can Loch Sionasgaig, cutting out a long cross-country yomp. Another quickie over Fionn Loch, up and over or around Suilven and paddle the west end of Loch Assynt to Tumore from anywhere north of the sluice. Job done.

cwt-kyle

As far as I can tell, there are few other places on the regular CWT path where a packraft is worth carrying (which is probably why the path goes that way and avoids the Assynt). Except of course to get across the Kyle of Durness sea loch after the walk’s finale at Cape Wrath, if the boatman is not around and you don’t fancy the detour to the head of the loch. The image left from a few years ago must be a very low tide, but as you can see it’s potentially just a swim of a few metres. Eight years later I finally got to paddle the Kyle (below).

Crossing the Kyle of Durness; Cape Wrath headland behind

Cape Wrath Trail ~ a Coigach-Assynt variant

CWTML
cwtbook

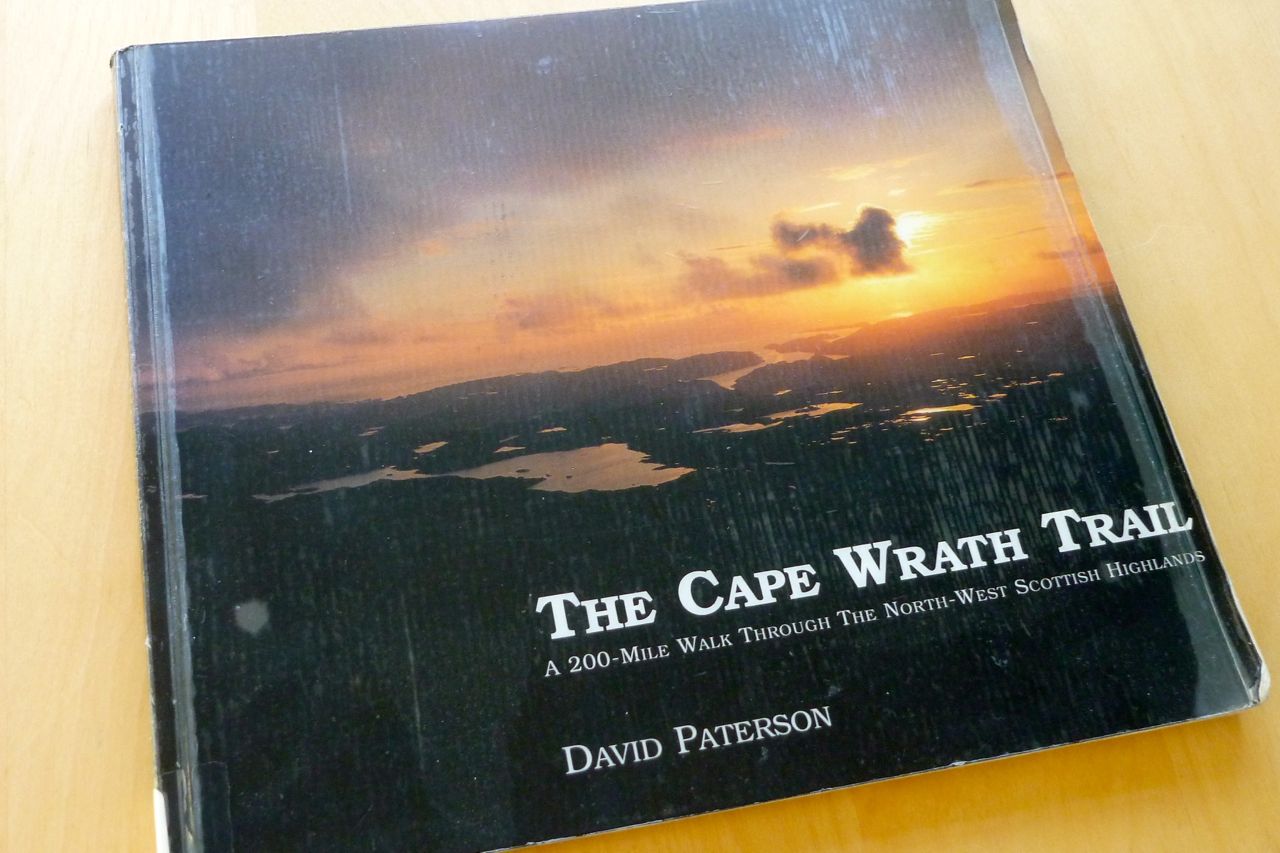
The 200-ish mile Cape Wrath Trail from Fort William to the top of Sutherland was cooked up in the early 1990s by David Paterson, a photographer who’d just come off a job shooting the West Highland Way.
Paterson wondered if you could extend the WHW through the North Western Highlands to the very tip of the British Isles in Sutherland. Over many visits he established a route and in 1996 produced a beautiful book: ‘The Cape Wrath Trail: A New 200-mile Walking Route Through the North-West Scottish Highlands’, creating what he humbly ‘dared to call the Cape Wrath Trail’.
Since then various other routes have evolved between the two points. There’s no set route, far less two helpful waymarks to rub together, but it would not be an exaggeration to describe the CWT as Britain’s toughest long-distance path. Though it’s tracklogged comprehensively on walkhighlands, follows passes and valleys, and tops out at just one 600-m summit, the terrain, weather, scarcity of resupply points or any other services in the North Western Highlands puts the CWT in a class of its own. On occasions,
there is no path at all, but the advent of the 2003 Scottish Land Reform Act opened the moors to all, offering an infinity of options or ‘variants’.

cwt-altna

Originally Paterson’s route passed from Dundonnell through Ullapool, crossing the half-mile of Loch Broom from Altnaharrie on the Scoraig peninsula using a regular ferry. That ferry ceased operating in 2003 and the CWT now reroutes itself miles inland up to the head of Loch Broom and via Oykel Bridge. But as none other than Cameron McNeish suggested in a rather hastily written ‘Foreward’ on a Cape Wrath Trail website:

‘…the route should follow a south to north line as close as possible; it should allow passage through the most scenic areas; it should try and avoid tarmac and paved roads or paths but instead follow existing footpaths and stalkers’ tracks whenever they were useful and it should avoid crossing mountain ranges and major rivers except where necessary.’

In 2013 Cicerone published The Cape Wrath Trail guidebook. They’d published an earlier version as ‘North to the Cape’ in 1999. The 2013 Cicerone author Iain Harper has a website on which he questions and then decides not to include his Coigach-Assynt route option for safety reasons. ‘… Not including an Assynt alternative in the guide was a difficult decision, but on balance I came down on the side of caution, however for the more adventurous walker it should definitely considered…’.

cwtsul09

I’m not an especially adventurous walker and have not done the CWT, but knowing the Coigach-Assynt area, and from the walkhighlands reports I’ve read on the current route, Postman’s Path excepted (see below), the Coigach-Assynt doesn’t seem much more dangerous or remote than many other rather hairy sections on the CWT. And furthermore, our variant stays closer to McNeish’s ‘south to north line [and takes a] passage through the most scenic areas’.
The peaks of the Assynt are like nothing else in the Scottish highlands and it seems to me a shame that the original CWT route had fallen into disuse for want of a half-mile boat ride across Loch Broom.

That boat ride (or using a packraft, of course!) is the key to unlocking this Coigach-Assynt variant and on a pleasant summer’s morning it would be perfectly packraftable paddle from Altnaharrie jetty to Ullapool on the north side of the loch (David H did so in 2012 on his northwestern epic).

cwt-boater

But after the six-mile walk up from the Badralloch turn-off near Dundonnell, arriving at Altnaharrie jetty on a rainy evening in early December 2013 with a spring tide in full ebb against a 20mph wind, paddling towards Ullapool’s harbour lights seemed less of a jolly jaunt. To cut a long story short, we ‘d contacted the harbour master to see if he could help out with a lift. At least one other CWT walker has done this. He arranged for the night shift to come over and pick us up. [It’s worth noting the former Altnaharrie Inn gourmand’s restaurant alongside the small jetty in now a private residence].

cwtwh406

After a cozy night and a lavish brekkie in Ullapool’s Ceilidh Inn, Robin and I set off set off for the 12-mile walk to Culnacraig via the notorious Postman’s Path. We didn’t quite make it and as it involves no actual paddling, you can read about it on Walkhighlands.
In 2021 round-Britain coastal walker Quintin Lake recalled the path:
I thought I’d seen it all by now, but the postman’s “path” to Culnacraig passes over some of the steepest ground I’ve yet encountered. If there weren’t a path to lure me onwards, I’d have turned back.

cwtwh5-24

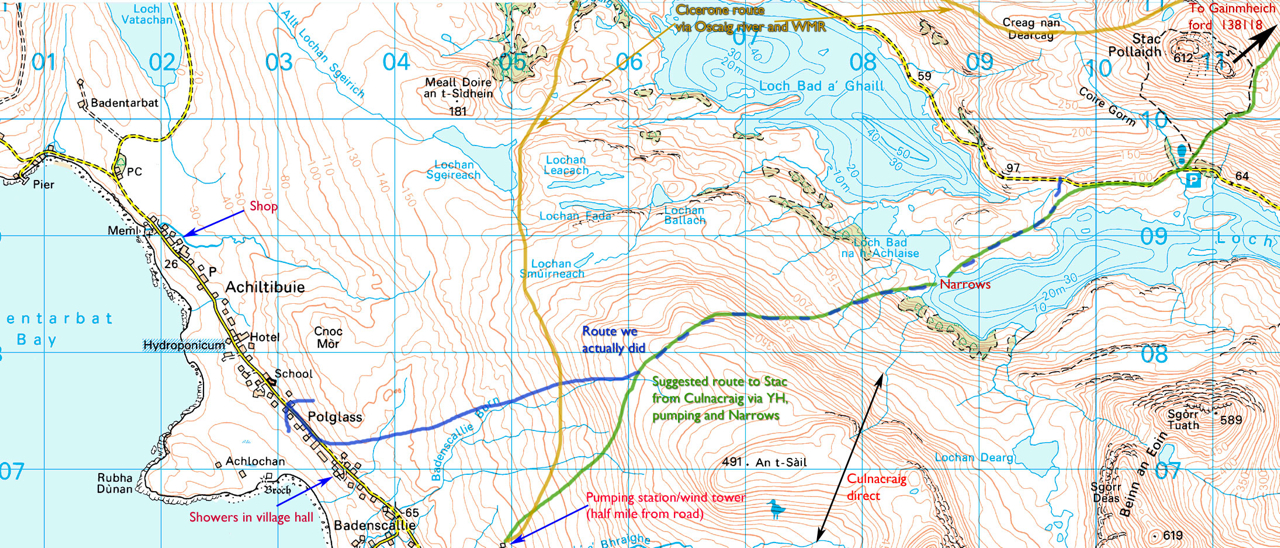
From the vicinity of Culnacraig our suggested variant takes a more direct line than the Cicerone suggestion shown in yellow (above). It crosses over to the narrows at Loch Lurgainn which are just about wadeable to a boatless walker with a stout stick, but which we paddled during a break in the December storms. You can read about that here.

cwtsul11

A few months later Jon and I returned to Achiltibuie with our new Alpackas to pick up the variant from the foot of Stac and follow it through to Kylesku where it rejoins the regular CWT for the last lap to Cape Wrath. It can all be walked or waded but our route was streamlined by taking three paddles (right) and a shallow wade. 
You can read about that here.

Grey Dogs and dog water; kayaking the Slate Islands

Deadly whirlpools await

Fellow IKer Gael proposed we meet up during his May visit to the Hebrides; his chance to get a closer look at places he’d passed on the SSKT. Once he’d done his own thing on Mull I suggested Coll and Tiree as a satisfying and remote offshore destination. Those two outer Inner Hebs may claim to be the sunniest places in the UK and looked interesting in Google sat, with many sandy coves. But it also became apparent that all that sunshine required unusually strong winds to blow away the clouds. Whatever’s blowing in the Inner isles on a given day, on Coll and Tiree you can bank on double. Sea Kayak Oban admitted that they’d only managed to run two tours there in six years.

slatemap


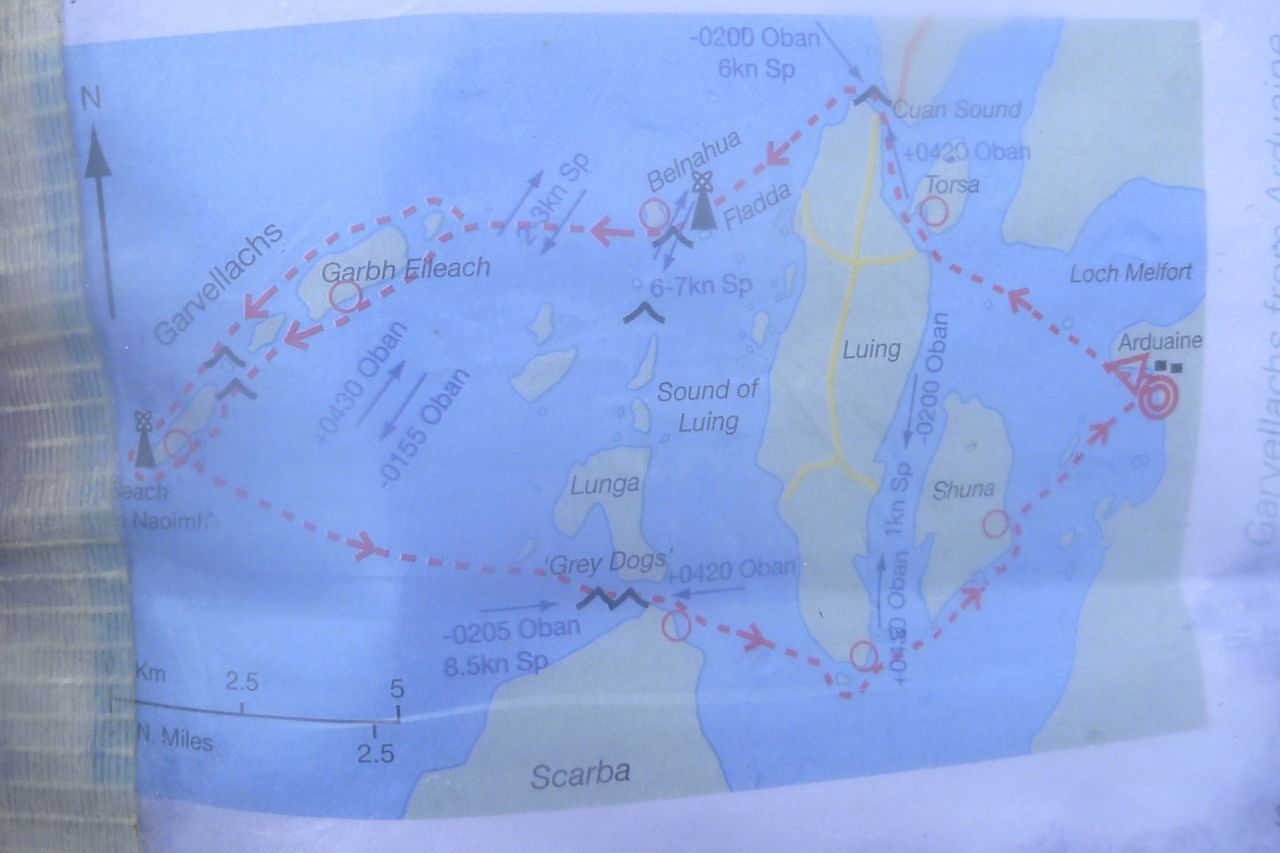
When we met up in Oban, Gael had already made contingency calculations, multiplying several locations by the state of the tide and then dividing the result by the 5-day forecast and subtracting our IKs’ average speed in knots. According to his complex computations, a three-day run out of Arduanie around the Slates would work out best for us.

Oban; a ray of hope

After a brilliant seafeed at EE Usk on the waterfront (left), we squeezed my moto into Oban Backpackers’ storeroom and set off to Arduanie where a sleet shower pelted us while we loaded the boats. The rest of today was actually going to be OK weather, a bit windy. Tomorrow less bad but Friday might be a tent bound zip-in according to the forecast, so our Kindles were charged up.

Over the sea to Shuna

I was snuggly wrapped in my new, lightweight Anfibio drysuit as we set off for a late lunch on Shuna’s east shore before curving around into the wind to cross to Luing. From here we worked our way down to its southern tip then made a dash to Scarba, eyeing up the sinister and all too near Gulf of Corryvrecken which gave me the heebie-jeebies.

Gael had been told of a camp spot overlooking another tidal phenomenon, the Grey Dogs, and once pitched up on the moderately dry platform, we walked over to survey the Dogs where a metre-high standing wave rose up and collapsed every few seconds. Even though we were in neap tides it did this continuously all evening; only at 6am did I see the waters briefly still.

Rainbound on Scarba

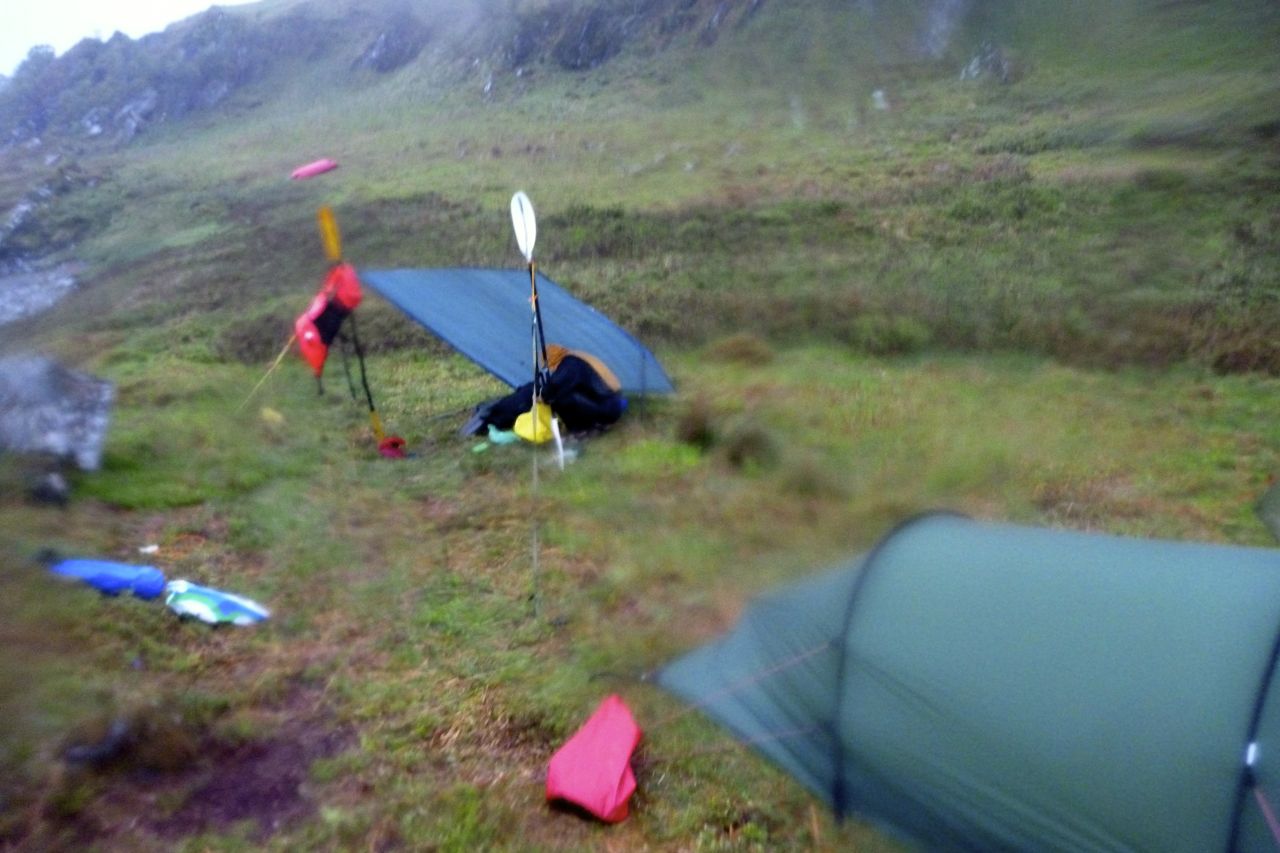
That night the rain closed in and pelted down. We huddled under a tarp – a good last-minute decision to take that – then made the delicate acrobatic contortions to get out of our gear and into our tents without spreading the wet.

Early next morning the Dogs dozed under clear skies, but by the time we were on the water they’d risen again from their submarine lairs and water rushed along the channel’s shores like a river. Even Google sat snatched its picture with the Dogs in spate. In fact, during neaps, either side of the breaking waves looked flattish water, but who knew how a boat would react in there so I assumed we’d head directly north. But when Gael turned his K40 purposefully into the Dogs’ maw I gulped and bleated, ‘We’re not going in there are we?’ Too late, the current had caught me and the ride was on.

Turbid dogs

What looked like flat water between the boiling shore and the midstream surf zone was actually a rolling swell a metre or two high but easily manageable in an IK. Gael rode into the middle for a play – the picture left shows the turbid water between us – and soon we were flushed out into the Firth of Lorn on Lunga’s west shore where the sea state was more placid. What that place must be like to paddle in spring tides doesn’t bear thinking about, but obviously some lap it up (below). There’s probably less risk than tackling the same sort of white water on a river.

Strictly speaking, Scarba isn’t part of the Slate Islands to the north, but this whole area is well known to boaters for its convoluted tides and associated races. For a paddler, the water pushing up and pulling past the isles and channels creates all sorts of complexities in route planning, something which Gael grasped far better than me.

Fladda

As we approached the lighthouse at Fladda he pointed out a cross-current where he advised we pieleffe. What was ‘pieleffe’, some kind of French nautical term? No: ‘paddle like fuck’. Oh, OK then. Now safely on Fladda’s slatey beach we took a tea break, me still a little frazzled after running [alongside] the Grey Dogs [in neaps] and not being torn limb from limb by clashing whirlpools.

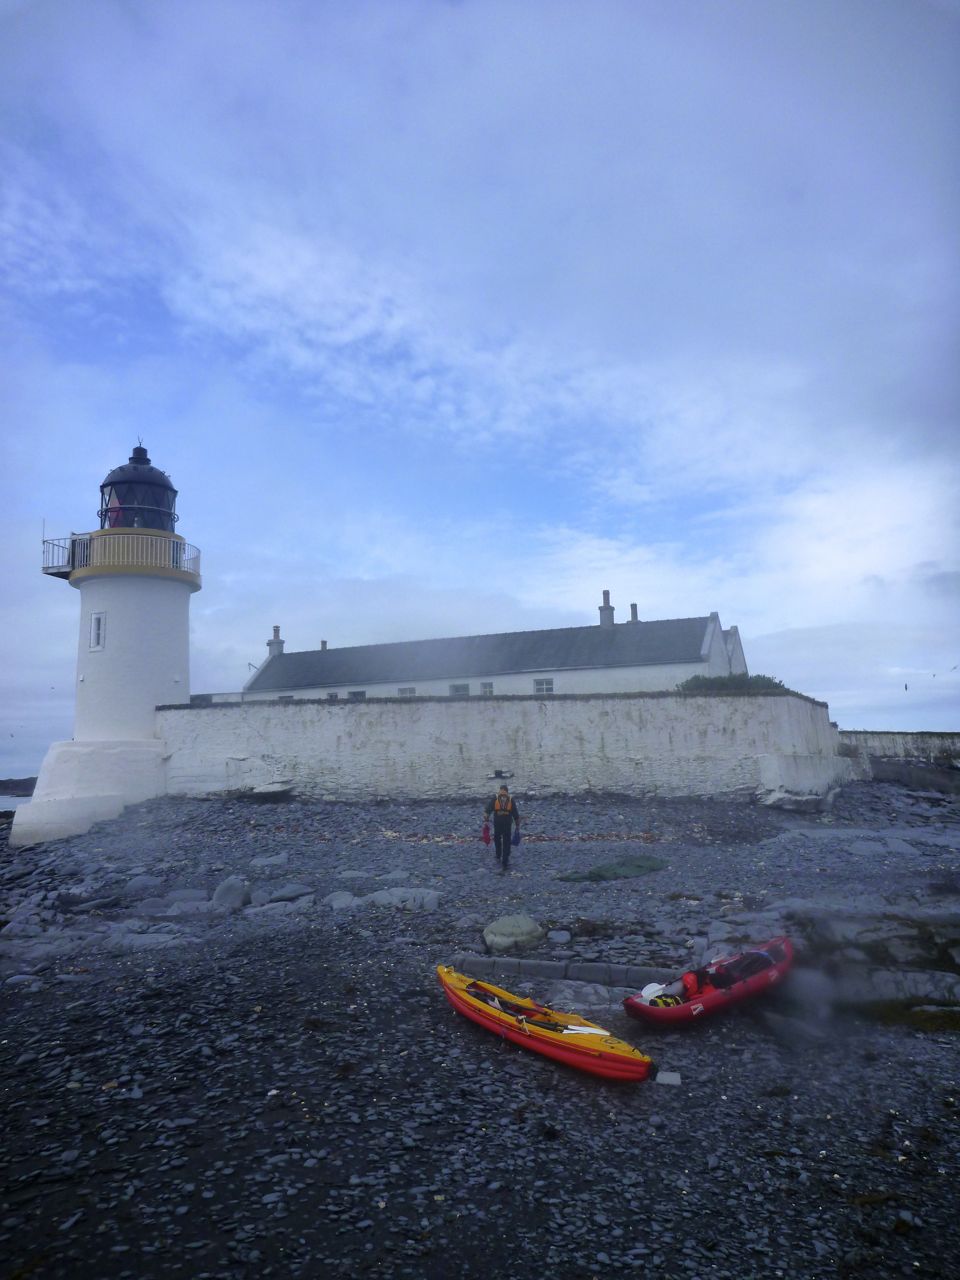
Fladda had a big walled garden and similarly well-protected longhouse attached to the lighthouse. On the adjacent island of Belnahua the 19th-century ruins of quarrymen’s lodgings survived. Apparently, there was another island somewhere here which they’d excavated well below sea level until there was only a rim left. Then came a great storm and washed it all away.

Cullipool slate quay

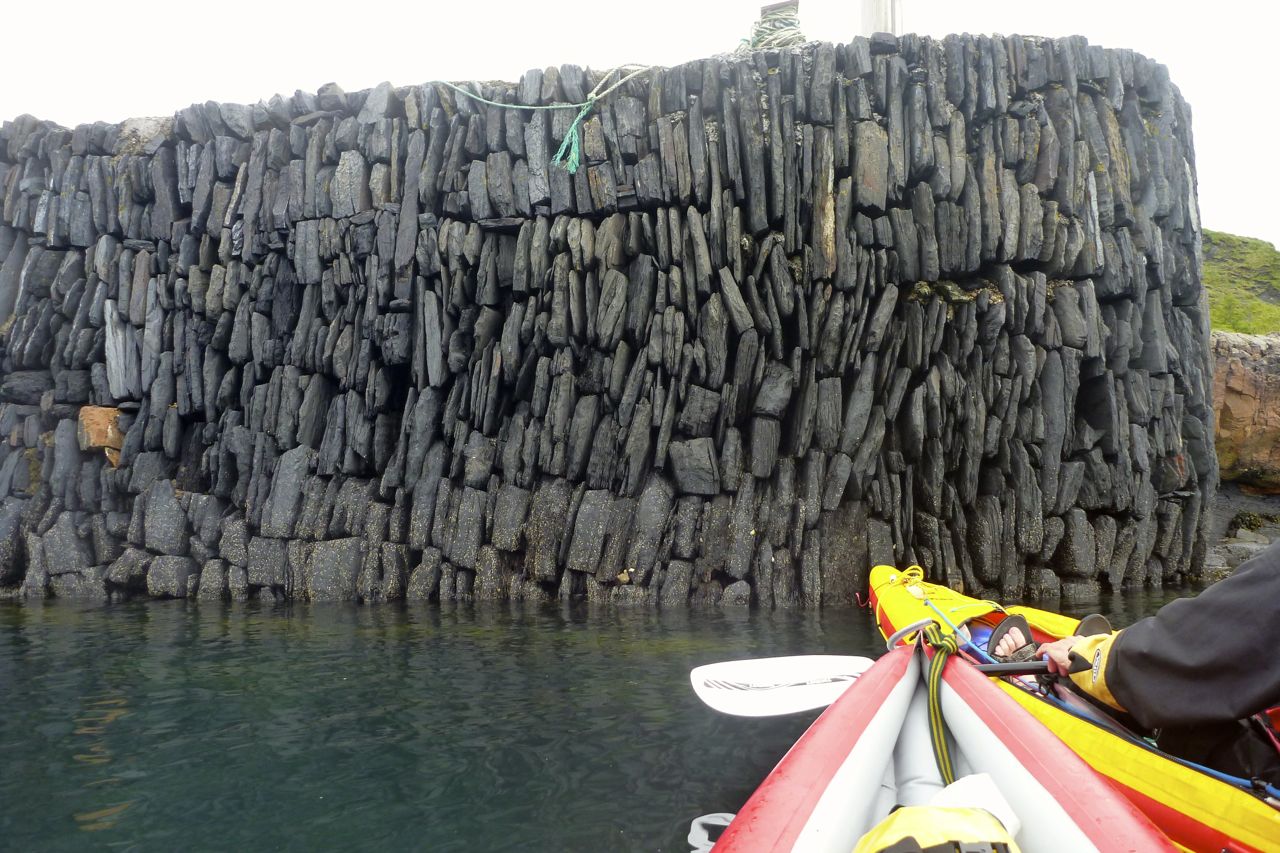
We headed with the brisk tide over to Cullipool harbour on Lunga; the unusual jetty is built of vertically set drystone slates, not something I’ve seen before. From here it was up to the Cuan Sound as the sun began to creep out. Once inside we hit dogwater so that the proposed lunch at the pub by the bridge became overruled by our appetites. A grassy shore on Seil island did just as well and provided space to dry out the tent.

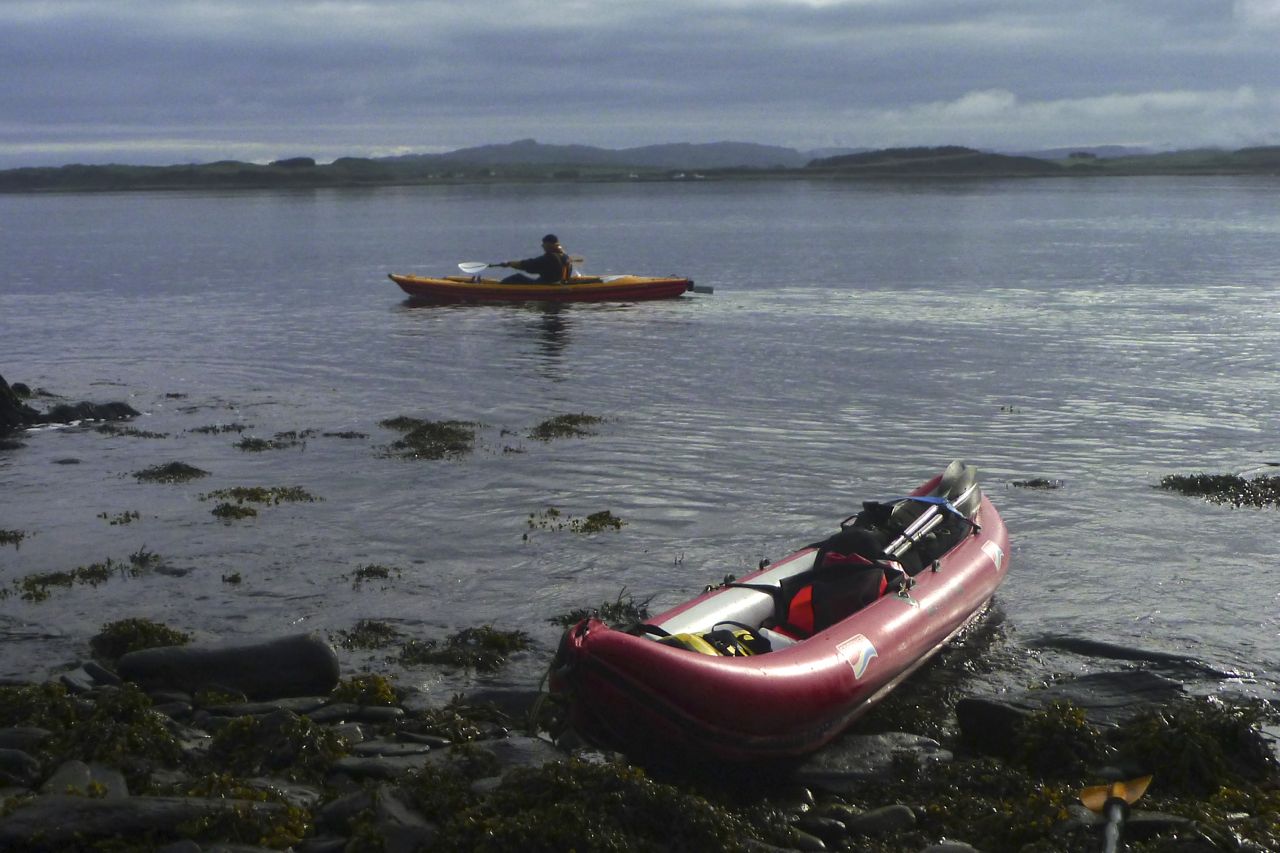
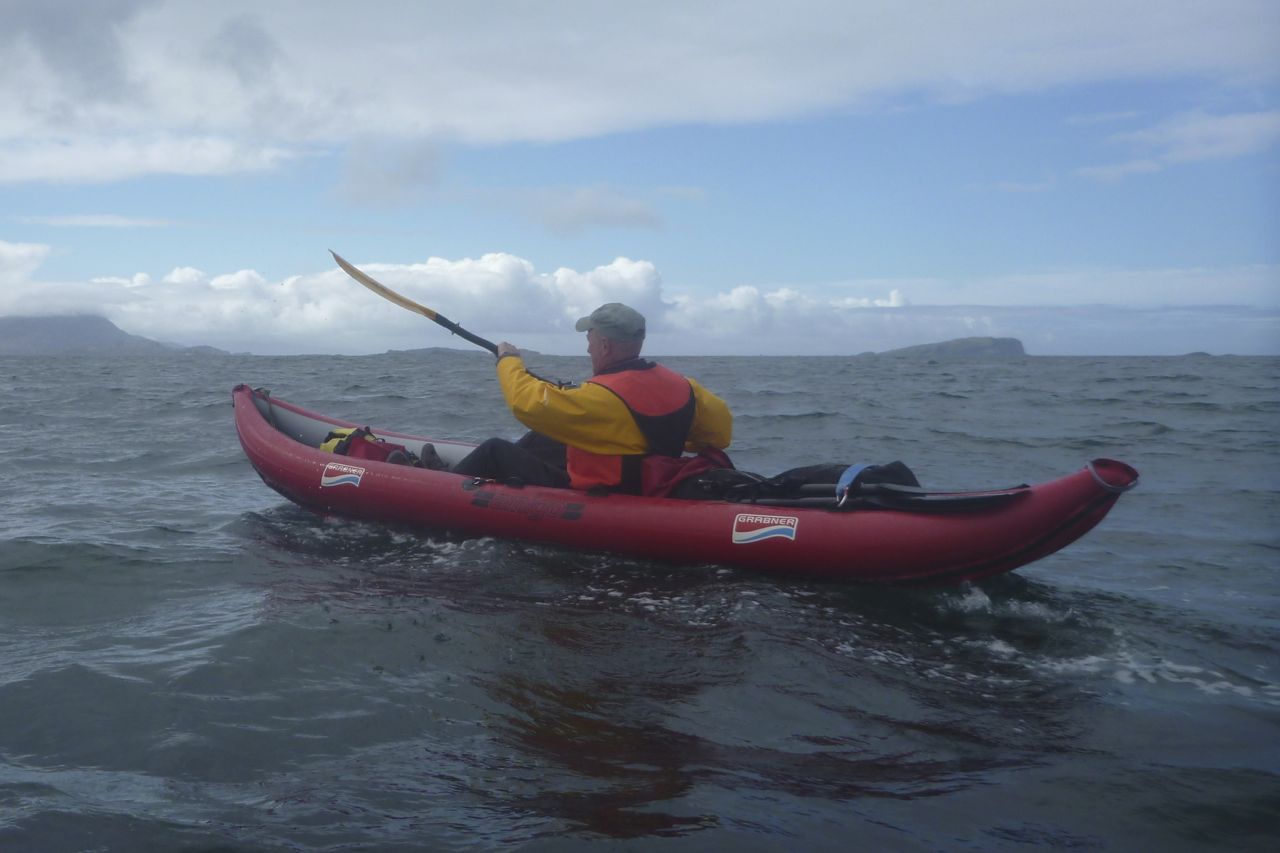
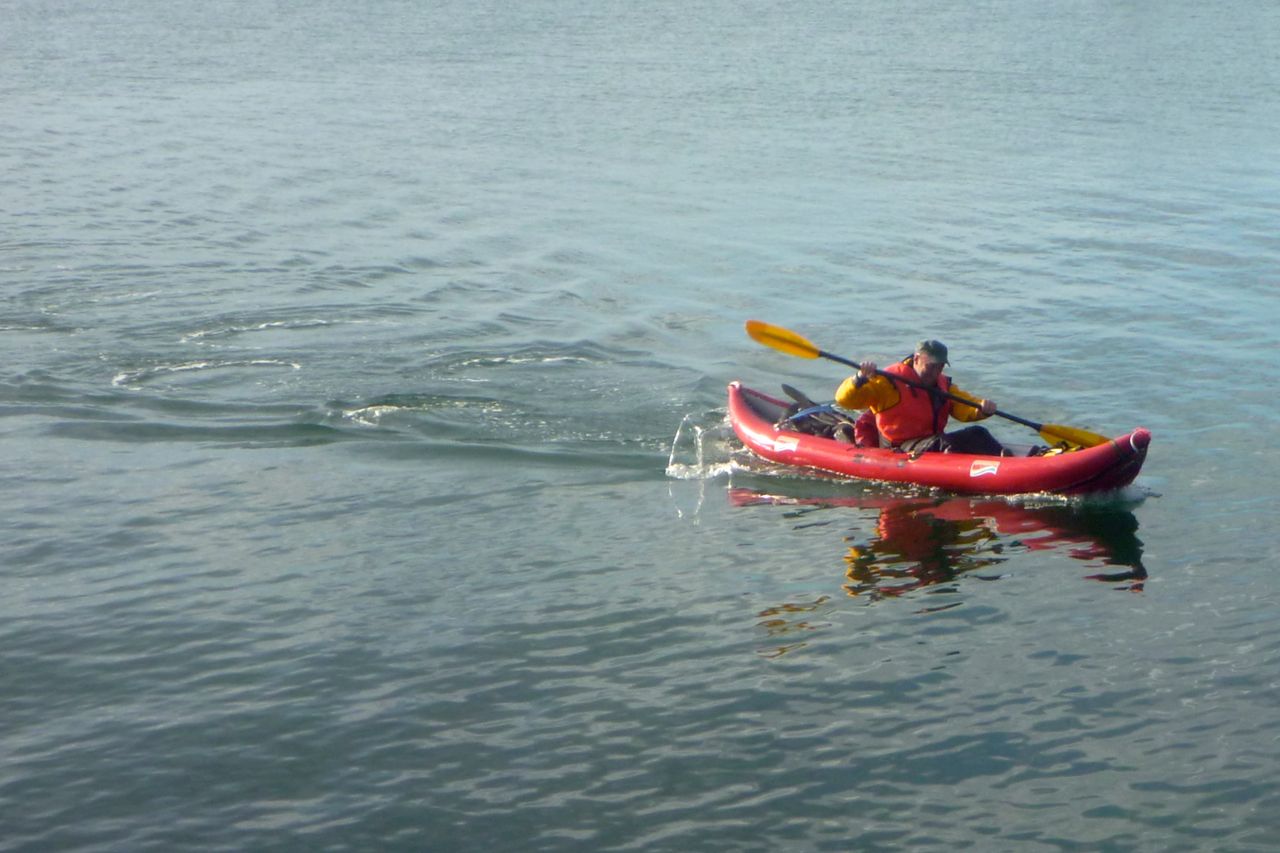
The channel narrowed and became lined with expensive-looking holiday homes which rather tainted our exposure, and as we neared the bridge we passed the only other paddlers we saw, a couple in a canoe letting the tide wash them south. At Telford’s late 18th-century [Clachan] Bridge over the Atlantic we swapped boats. While I shot ahead in the K40, against the current Gael’s impression of my Amigo wasn’t so amicable. Compared to my Grabner, his Incept is a good 20% faster (or less effort, if you like). A lot of the time on this trip Gael was coasting while I felt like I paddled non stop which may have explained my fatigue. I dozed off at lunch and slept like a log overnight, no matter what fits the tent was having. Near the top of Seil we pulled past some sailboats to the back of an inlet and pitched the tents with taut guys in preparation for Windy Friday.

slates-28
brucey

In fact, that day dawned fair; a cold front from the northwest brought in lovely clear air in which the Incept seemed to glow. Gael suggested we edge out to the outside of Seil to see if the sea was manageable to Easdale. We probed outward and while I’d not have gone on alone, by the time we were committed it was only two miles to Easdale. There were no actual whitecaps, just large waves that didn’t even swamp my boat but required momentum to maintain direction. A plastic coffin would have been in its element here, slicing the waves like Bruce Lee attacking a jelly.

Turning into Easdale port was a welcome relief but it had only taken me two nights out to find people annoying and the place suffering from what I perceived as tourism fatigue. Coaches pulled in and disgorged passengers who milled about for a few minutes then moved on. The so-called village shop looked like nothing more than a stockpile of porcelain and lace trinkets; I couldn’t wait to move on. What must locals think when their village becomes colonised like this? Make hay I suppose.

Lunch on Torsa

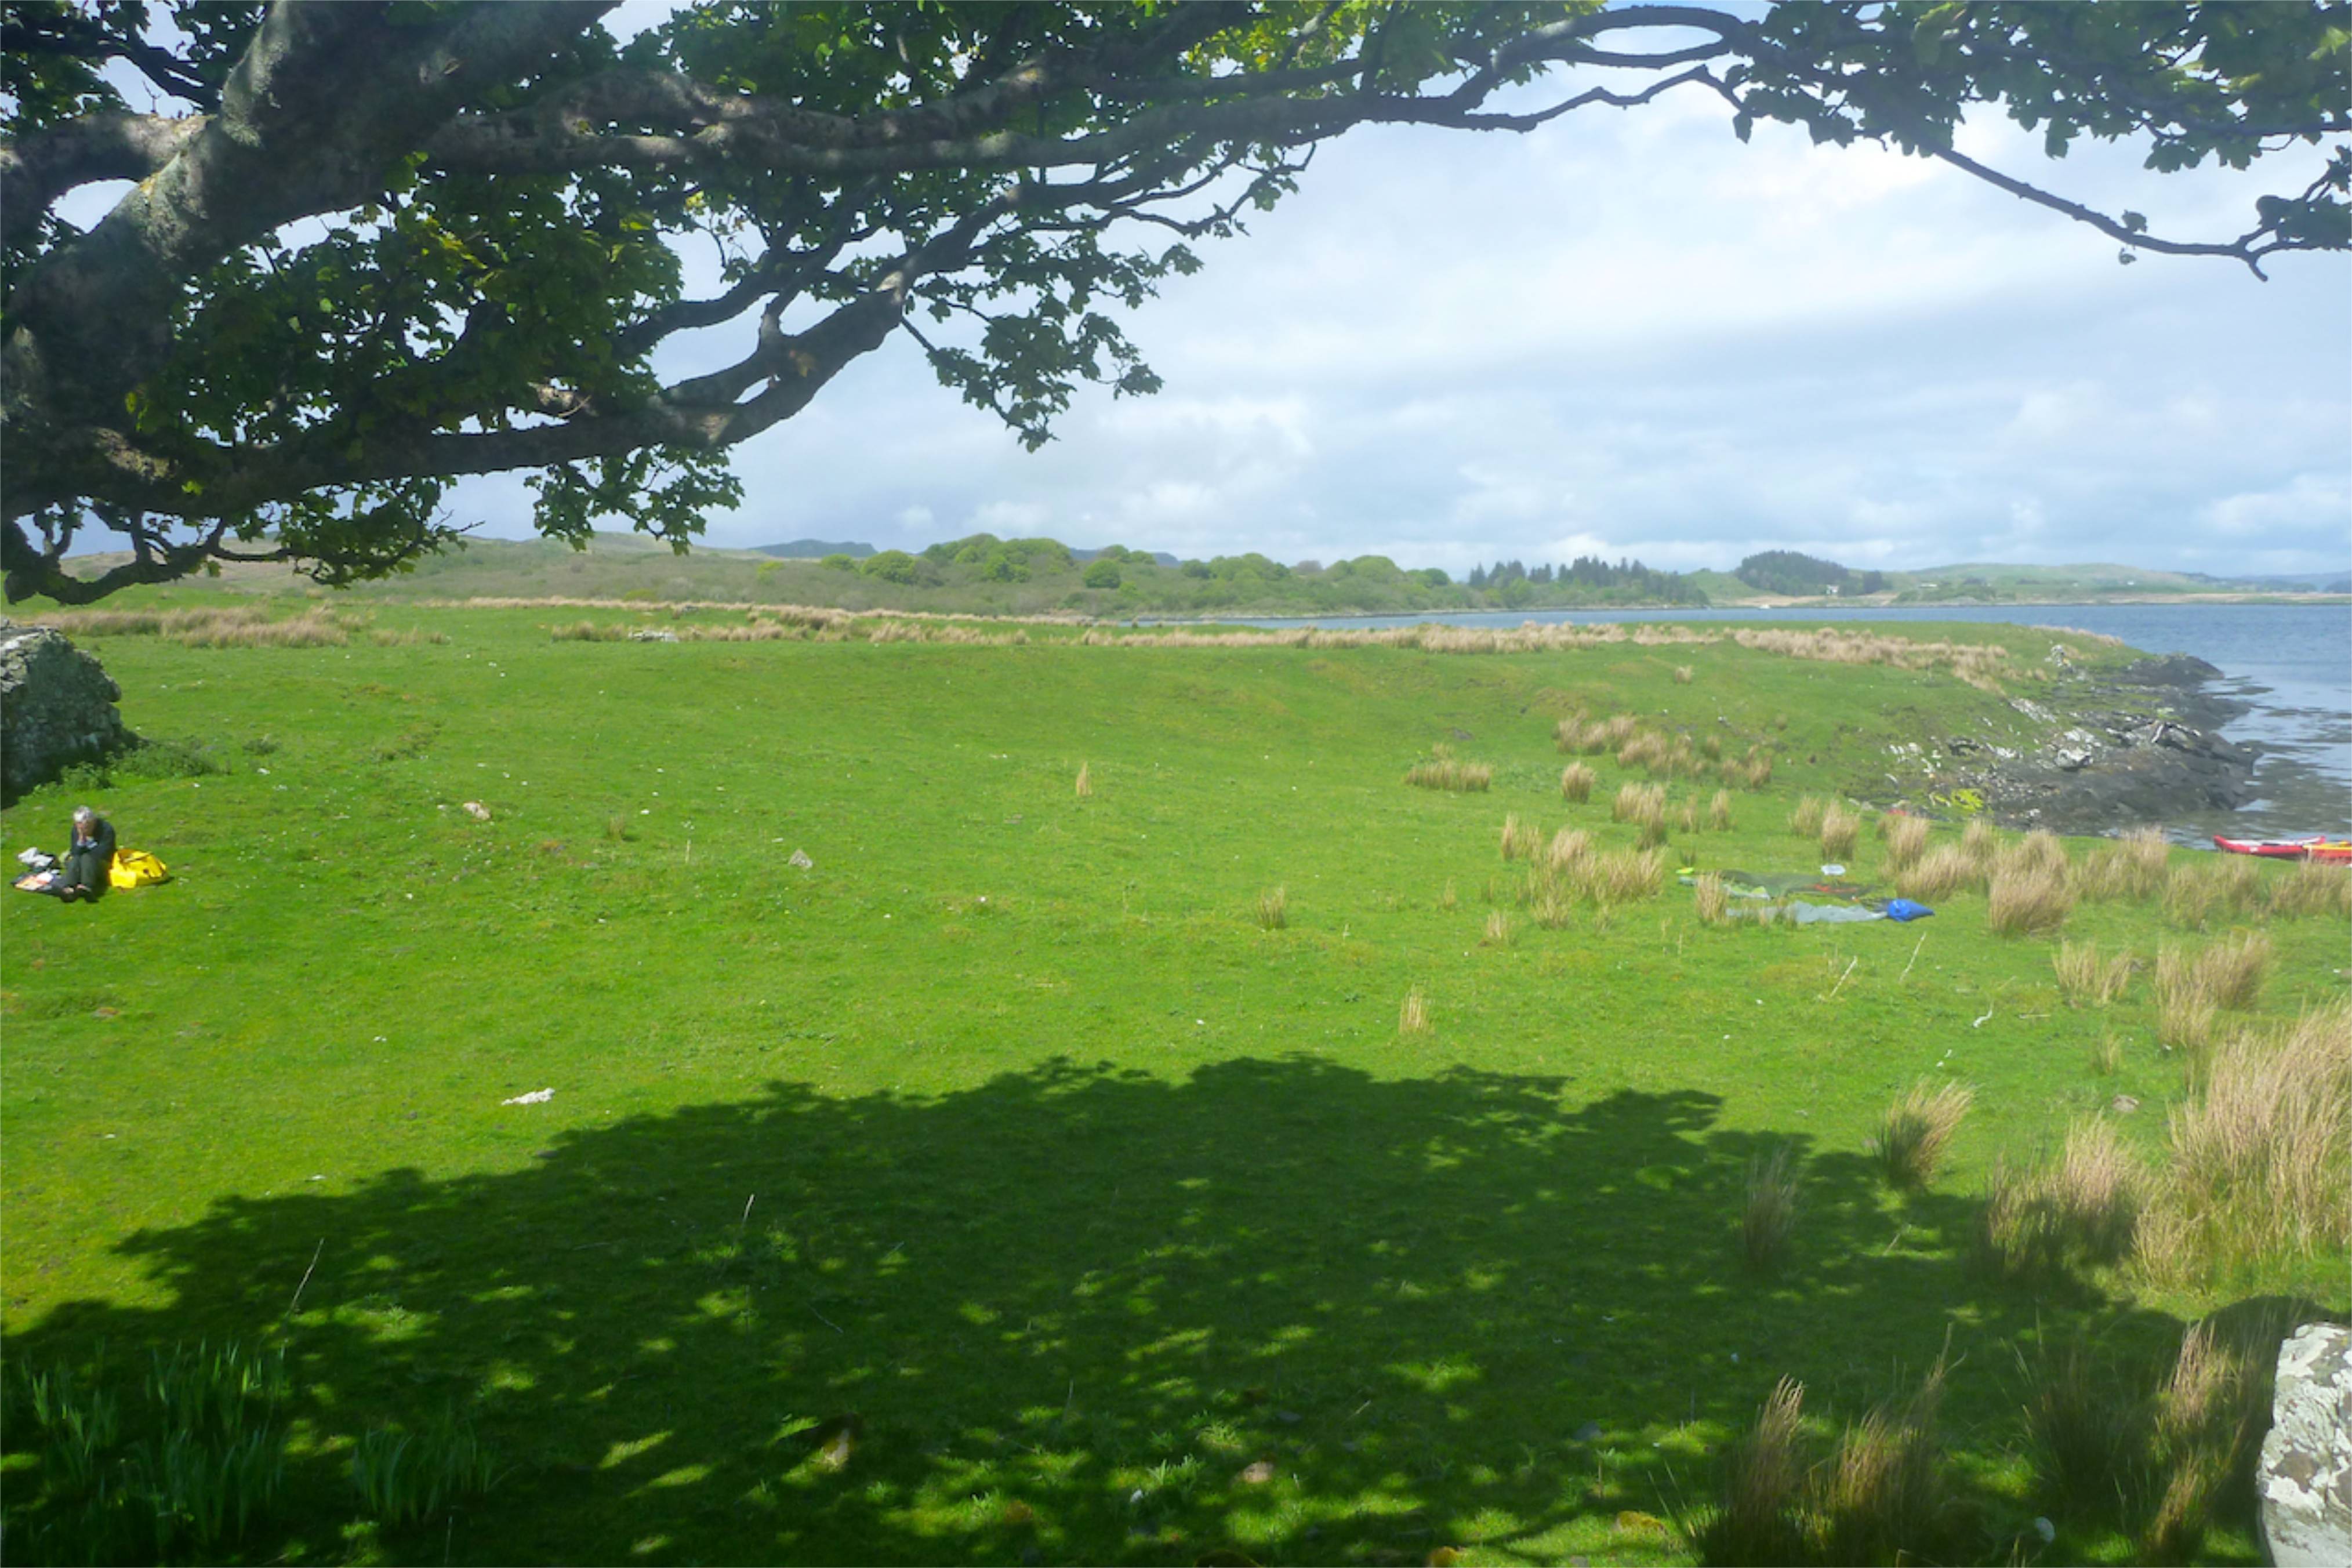
We decided to head back to the car, across the bay’s side waves, back through Cuan Sound then more dogwater and a grassy extended lunch by the big tree on Torsa island. Then it was back out into the sideslap across the mouth of Loch Melfort to Arduanie.

After some 33 miles of island hoping I’d caught enough sun to turn my head into a beetroot and we’d tackled a variety of easy sea conditions. It had been fun exploring the more commonly visited locales of Hebridean sea kayaking, all accessible and escapable, notwithstanding the complex tides. And a chance to do so with someone who grasped the concept of ‘3D’ sea kayak navigation was an added bonus, like a free course. Plenty more to see down here. Back at the jetty we lashed the boats to the roof and headed south to the Mull of Kintyre.


Kayaking Gigha Island

gighamap

With a day to spare after our two-night run around the Slate Islands, Gael suggested we head down to Gigha off the Mull of Kintyre. I’ve always wanted to visit this Scottish appendage and for Gael, Gigha had a special resonance as the starting point of the Scottish Sea Kayak Trail which he completed two years ago. Quite an achievement alone in an IK.

gig02

First of all though, I was ravenous for food on a plate not mush in a bag. We pulled into a cafe in the pretty port of Tarbert for some 1980s decor and food to match (right), then marched over to the Co-Op to see what was going cheap. Whatever I’d been eating on the Slates, it hadn’t been enough

gig04

We camped opposite the island, then once the wind abated next morning, carried the boats onto the ferry. Once underway I came over all lethargic on account of the Slate paddle (or perhaps the gluttonous Tarbert episode). It wasn’t helped by pushing a headwind up to Gigha’s northern point on our anticlockwise lap.

Finally we turned downwind, portaged the sandy isthmus at Eilean Garbh and moved on to the next sandy beach for a long lunch break and what had become my customary doze. Out on the northwest horizon pale blue humps marked the Paps of Jura. I read this short book partly about Jura recently (no so satisfying); among the Inner Hebrides Jura seems to have a certain allure.

gig12

Whether it was a pumped up seat, a good rest or the benefits of three days’ sea kayaking, I got belatedly reacquainted with my paddling mojo. I sat up straight, drew like a pro and soared across the waves like a surf ski, while Gael dabbled along the shore. The ocean side of this narrow island was a bit wilder, but for me lacked the features and interest of the far northwestern coast. Or maybe is was pre-doomed by the stigma of being too far south to be exotic.

gig07

We covered the 5.5 miles to Gigha’s southern tip in an hour thirty; a good pace for a pair of bloats. Back on the sandier mainland side we dipped about looking for a secluded wild camp but there were too many properties or not enough space. And with little wind now, the boathouse campground looked less inviting than a 3-mile scoot back to the mainland.

gig15

We set off, giving the day’s last ferry a wide berth by aiming for a big green buoy about halfway across. Once there and still feeling on form, I decided to PLF to the mainland jetty just to see if I could. Halfway there, with steam pouring from my drysuit’s vents and the tide pulling us south, Gael passed in the Incept without too much effort. I hammered away regardless as the jetty crept closer and touched down in 48 minutes, a minute after Gael. A good, end-of-tour burn up to clear out the cylinders.
It was good to see some other islands and with easy access and escape routes, Gigha would make a great first circumnavigation for a beginner. But as always, the wilder isles to the north and west hold more intrigue.

gig16

Feathercraft Aironaut IK

Discontinued
Early owner’s review

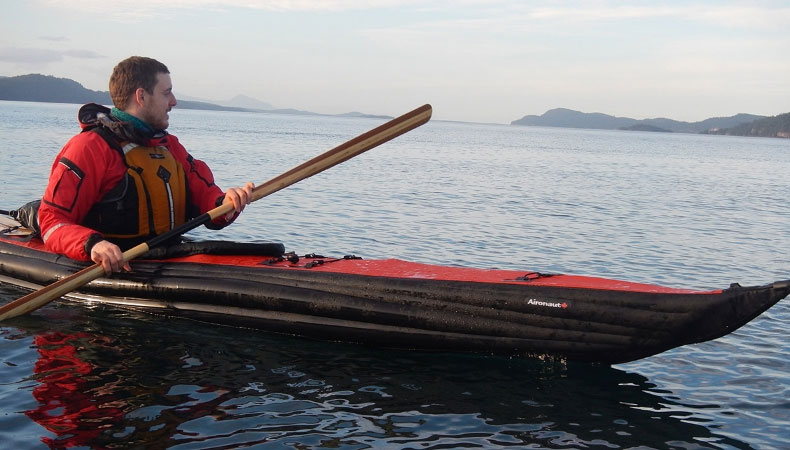
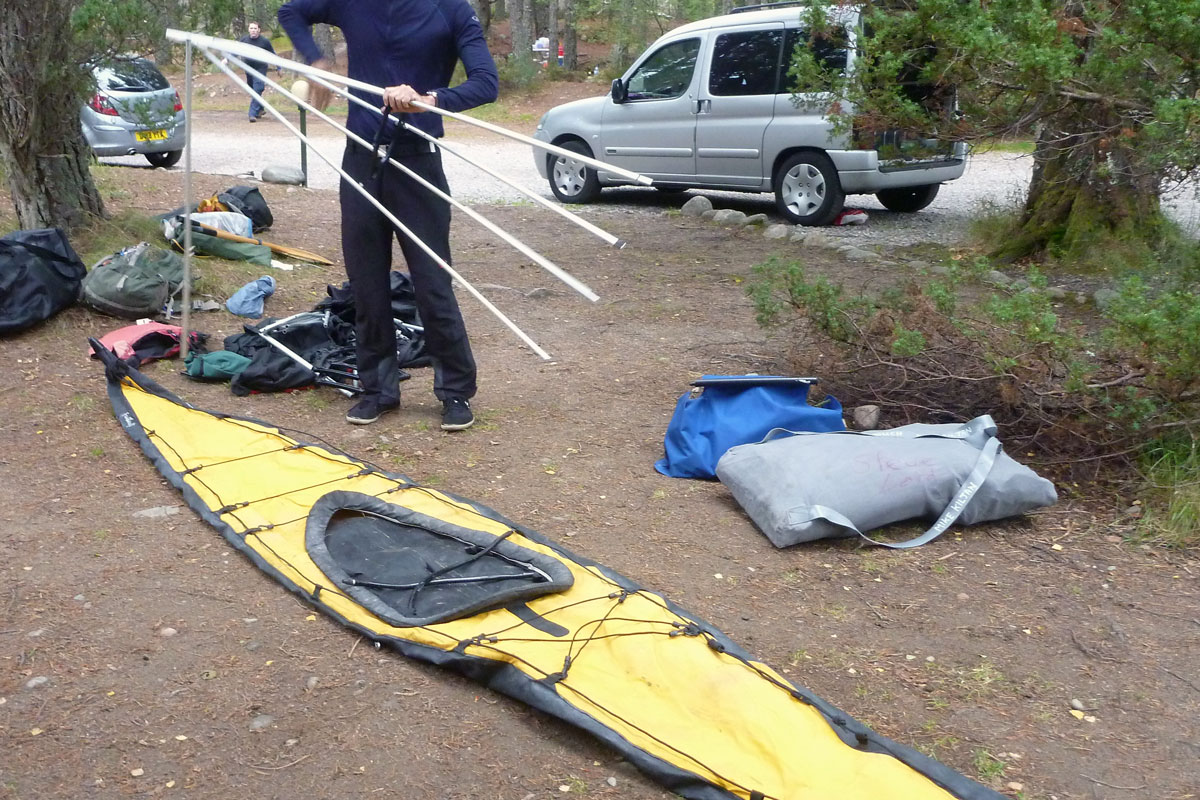
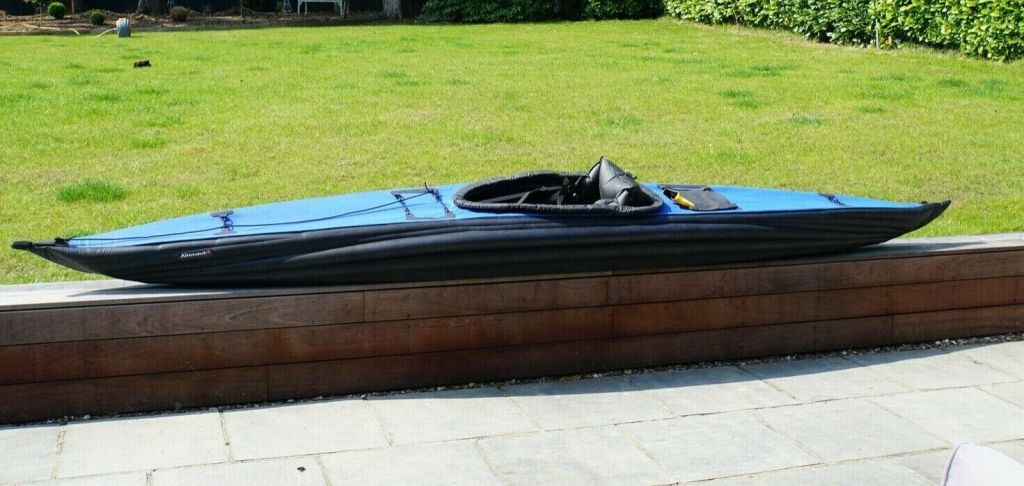
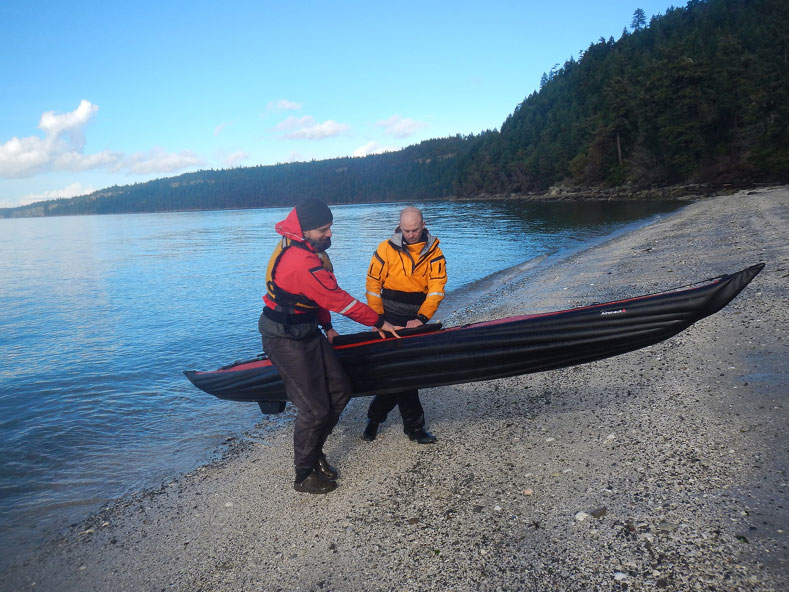
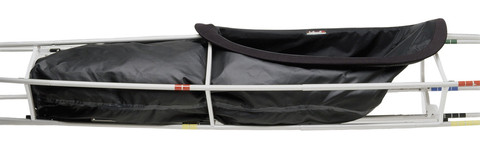
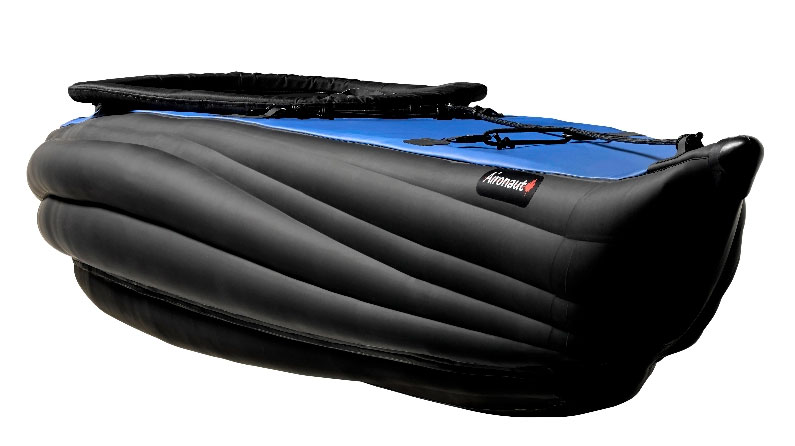
Feathercraft’s short-lived Aironaut IK looked like a breath of fresh air. As with their folders, FC managed to turn the usual IK sow’s ear into a very silky looking purse. With all kayaks, it’s the sensation of gliding or responsiveness to paddle strokes that has as much appeal as being in the outdoors. And judging from looks alone, the Aironaut did that better than other IKs even if the concept may have been flawed and the boat was discontinued.

fcassem

The Airo’ was pitched as a nippy recreational day boat for folks who find Feathercraft folding kayaks a faff to set up on the spur of the moment (left) and a pain to store or transport fully assembled.
It’s the relative effort and complexity as well as assembly time that can kill spontaneity, especially if you’re at an age when you’re no longer as supple as a leaping salmon. I’ve also encountered the fragility of ally-framed folders – something to which IKs are immune, though both are susceptible to cuts and abrasions.

A few years ago I briefly owned Feathercraft’s Java, what they rightly called a ‘sit on top’ IK, but I didn’t get on with it (read the link). The Airo was a conventional sit in IK, complete with a fixed deck like the Gumotex Framura. By IK standards, even the Aironaut name was clever too, suggesting a light, cutting-edge boat. From the images it’s got to be the slickest-looking IK out there, though the competition isn’t that great.

The magic numbers are: 4.5m (14’ 9”) long, just 66cm (26”) wide, a weight of only 9kg (20 lbs) but a modest payload of 136kg. The rest you read here is my usual speculation based on those details and the photos I have pinched from the Feathercraft Aironaut webpage and eBay.

airotop

airoside

airomen

As with my old Incept K40, using ‘plastic’ coated fabrics means it can all can be heat-welded together, which you presume is cleaner and less expensive than gluing by hand. Urethane-coated nylon may not sound such a ‘high quality, technical fabric’ (to quote the FC blurb), but packboat manufacturers are notoriously cagey about fabric specifics. As with Alpacka packrafts, exactly what type of urethane is key, as is the composition of the nylon base. Both may be custom specified from a source manufacturer to deliver certain properties. A nylon weave base fabric is supposedly more stretchy than polyester which is good against spikes, but less good in containing a rigid inflatable form. That’s probably why it needed to run a such a high pressure.

airohull

My Incept was a fast IK, aided by a notably slick PVC-urethane coating over a ‘1100 polyester dtex’ (= about 1000D)  base. Knowing that, suddenly the Airo’s 420D doesn’t sound so robust, but that’s how Feathercraft managed to halve the weight of a K40, which otherwise has very similar dimensions. Another clue might be in the payload of 136kg; the Airo’s many tubes may add up to a relatively small volume. The Incept was rated at 160kg.

airocalm

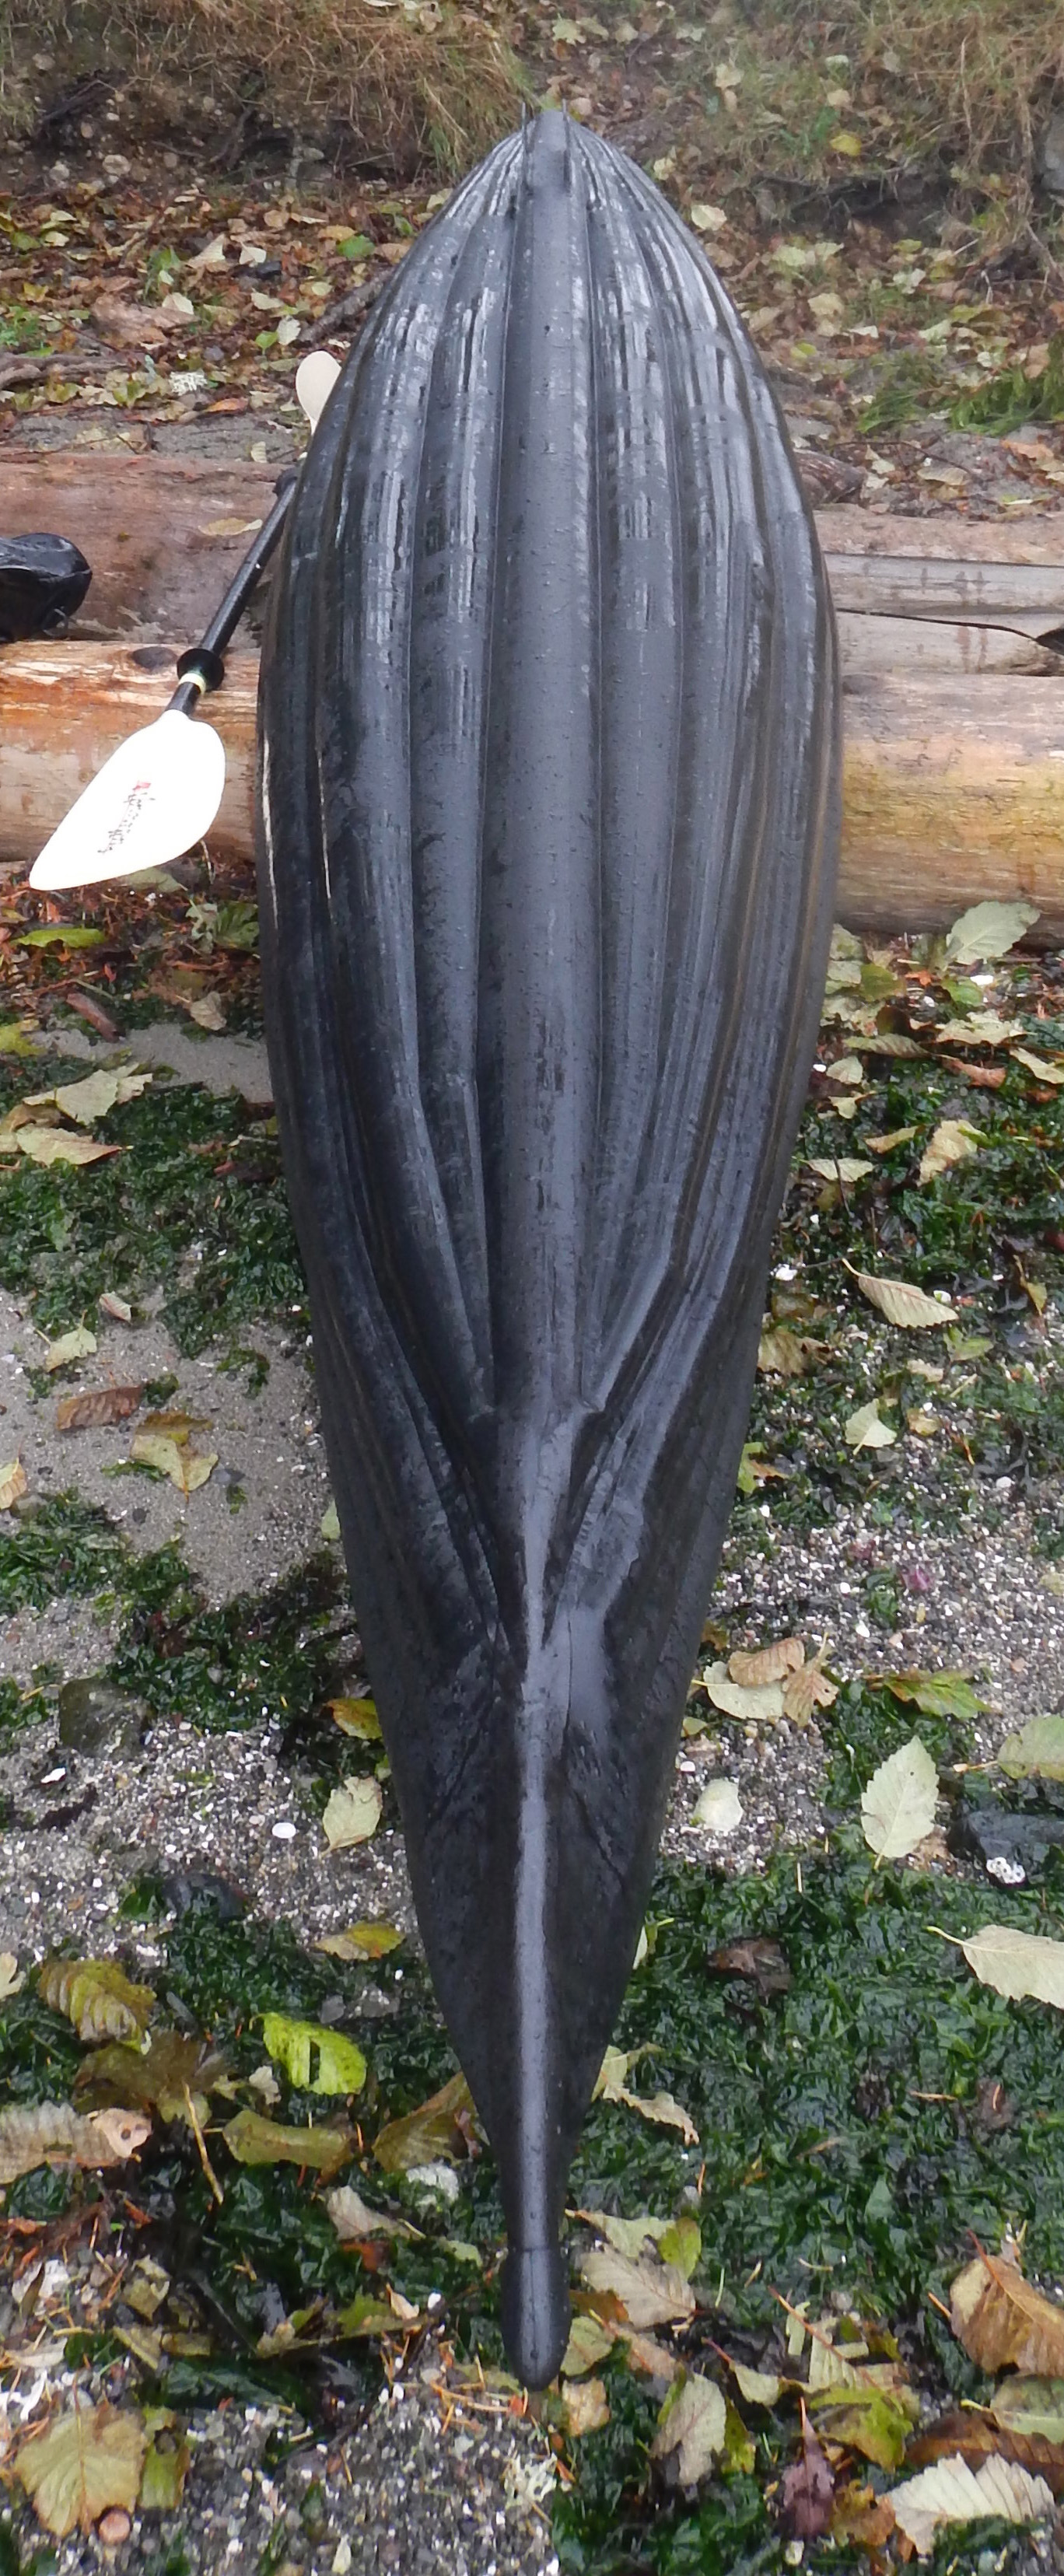
They achieve that amazing weight by fabricating the Airo from 210D urethane-coated nylon on the deck and multi-tubed black sides, and 420D in the hull (hard to tell the later two apart in most pics). So it’s a regular three-chamber IK. When I recall the Supai packraft was made from 75D polyester, triple that for the sides and six times for the hull sounds reassuring, though direct denier comparisons are misleading. It’s about weave density not actual fabric thickness.

airoroof

The Airo had Halkey inflation valves like the Incept, and pressure-release valves on all three chambers. PRVs are vital so the seams won’t stress and pop if it gets hot (as happened to my Java). I’m always a little perturbed that my high pressure Grabner had no PRVs and added them to my Gumotex Seawave’s sides for protection with sun-induced over-pressurisation.

However, see the link at the bottom of the page. It seems the combination of a long, solo IK made from a thin fabric needed a high 5psi rating to not sag in the middle, but even with PRVs all round, there were reports of a couple of Aironauts blowing apart irreparably which may be why it was discontinued (FC claimed ‘high costs’). Soon after FC sadly closed down for good. You might think: fit lower-rated PRVs to spare the hull, but if the boat was designed to work at 5psi, anything less would see it sag like a Sevylor bloat, especially with a girthsome paddler.

Airo+Seawave

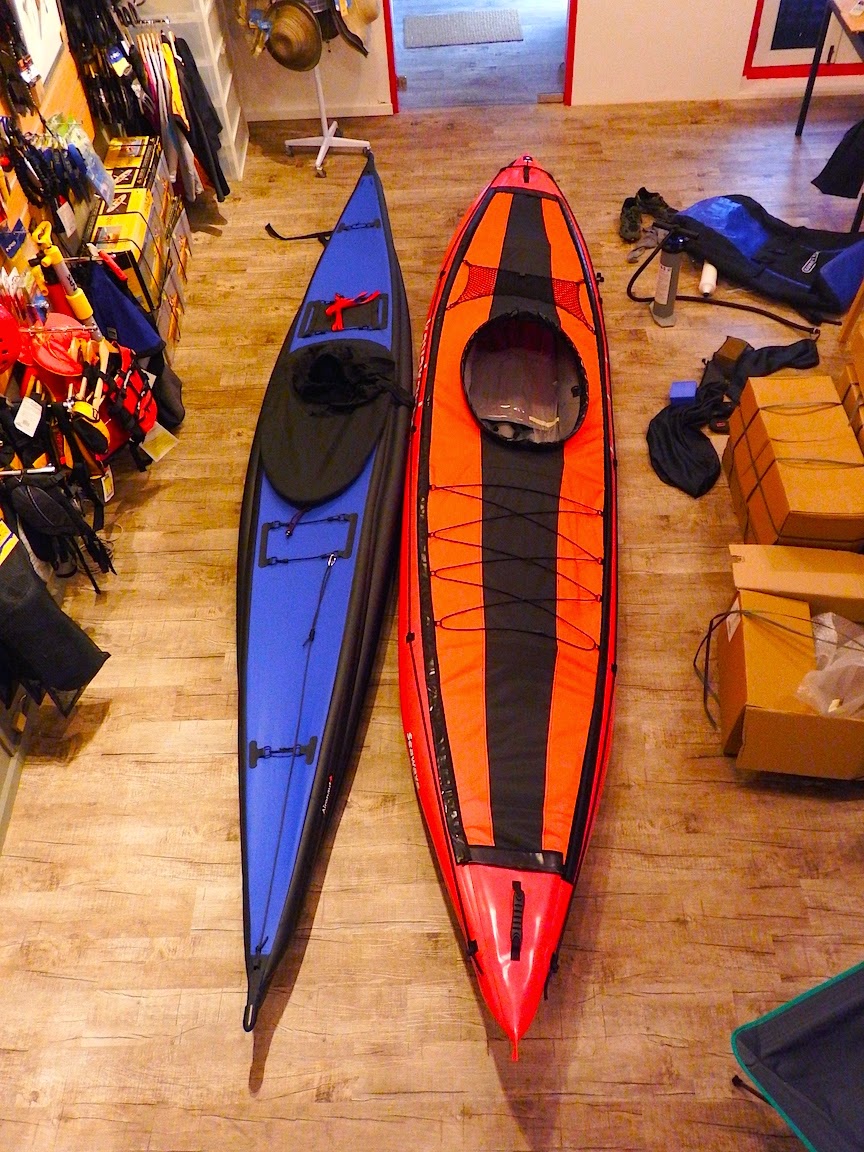
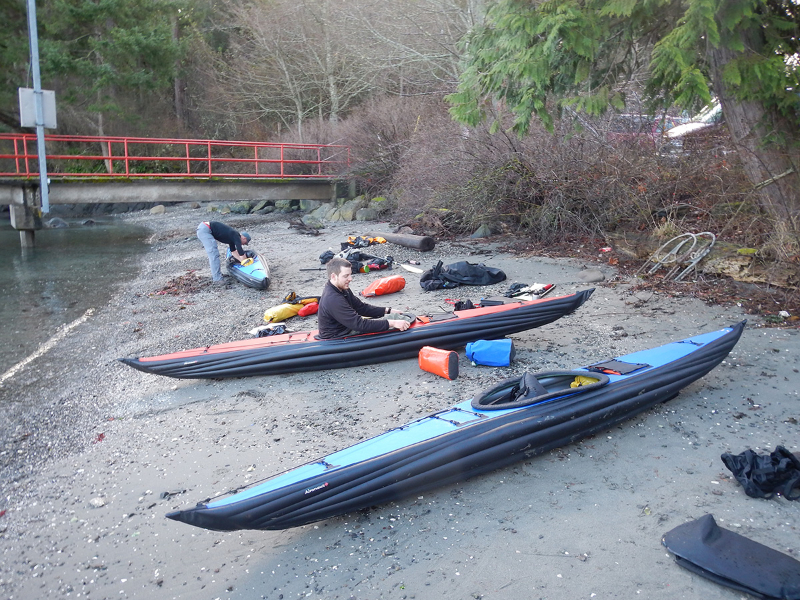
Also, like my old Sunny, Incept, Grabner and Seawave (left, alongside and Airo), the Aironaut is a European-style ‘tubeless’ IK with no slip-in sponsons (‘inner tubes’) to give a hull shell its form.
Perhaps that too was necessary to run a high 5psi (0.34 bar) pressure, something which requires a good pump as well as good construction if it’s not to leak at weak points.
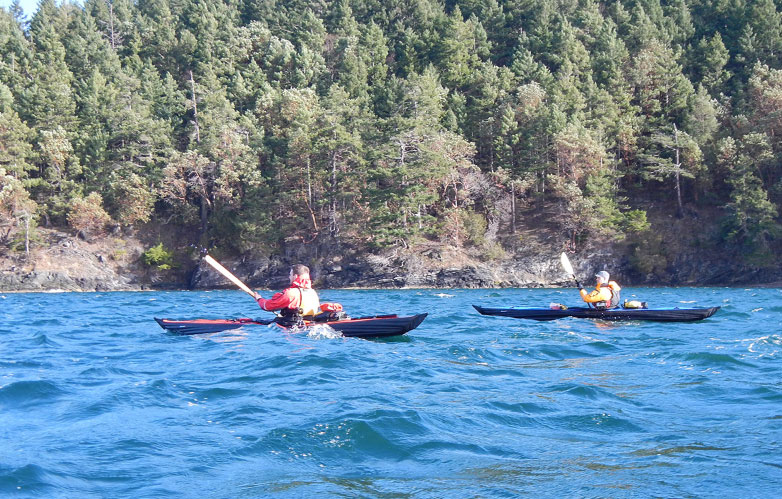
Once on the water though, high pressure hulls have real benefits in terms of hardshell-like hull rigidity and paddling efficiency. Look at the pictures and see how straight the kayaks appear, even allowing for light paddlers (and compare to my Java here). Then factor in the Airo’s Java-like cheese-cutting bow and I suspect this may have been a fast IK, and all without clumsy and bulky stiffening rods or dropstitch floors. It’s no great surprise that it was Feathercraft who managed it, but it seems it the design was flawed.

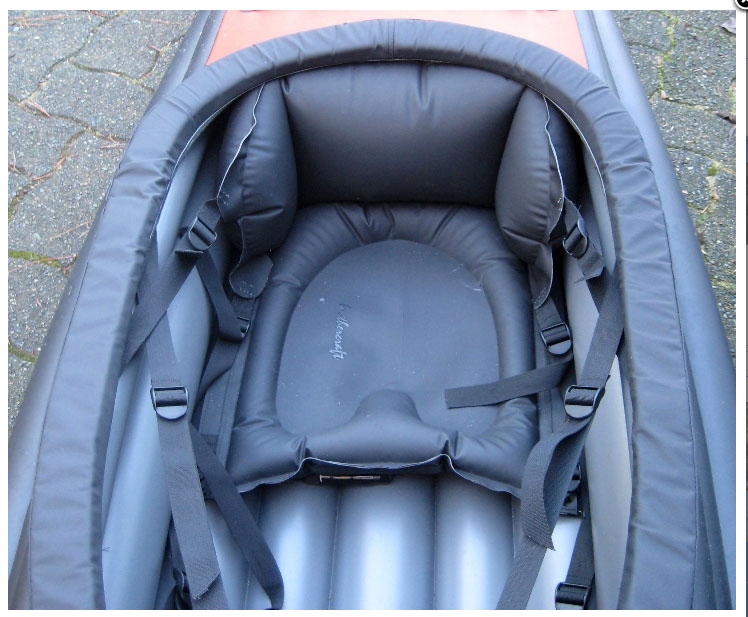
FC seem keen on you using their sea sock insert which fits around the coaming and stops the boat filling right up in a capsize. The thought of snagging that while trying to get out in a hurry would be a worry.
It’s also a little unnerving that they include a paddle float in the package (left), admitting perhaps that the 26-inch wide Aironaut was a tippy IK and getting back into the cockpit would be tricky on the high and buoyant Aironaut. I tried it with the Incept once, but as we know, practicing near the shore with a mate taking photos is not the same as tipping over out at sea, especially when alone. You would be better off getting the knack of rolling.

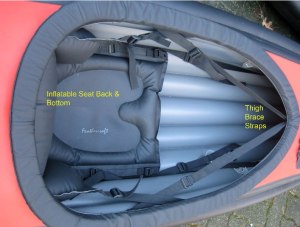
At 75cm long (26.5 inches) the Aironaut’s cockpit hatch is the same as my mate’s Big Kahuna. In all my clobber and fluctuating girth I wouldn’t want it any smaller, though I imagine there is more’ squidging’ space and no Kahuna alloy bars getting in the way; instead there are the thigh straps – essential for rolling and bracing. You also got a spray skirt plus a detachable, low profile skeg which is also a good idea at sea; the latter in my experience is much less faff than a rudder which I’ve found to be inadequate anyway once a tailwind gets beyond a certain strength. Good on FC for including all this in the package. Grabner and others take note.

The Feathercraft Aironaut was made in Canada and went for around CAN$3000 or the same price as the otherwise similar Incept K40 or a good Grabner.

airoflot

Compared directly with the K40, the Aironaut was nearly half the weight, had a fixed deck which to me limited the appeal, had a simple skeg instead of a complex rudder, was a little narrower but a little longer, ran less payload and was supposedly tippy which, however they managed it, the K40 never was. Judging by other FCs I’ve tried and owned, I bet the Airo was better made than the K40 too, though that weight-saving fabric choice appears to be at the a cost of durability.

Airo flaws; a discussion thread – Paddling impression

Adapt your packraft paddle into a Packstaff

Some people place a rubber cap on the paddle shaft and use it as a walking stick.
This application makes me nervous about damaging the paddle shaft.

Luc Mehl, The Packraft Handbook

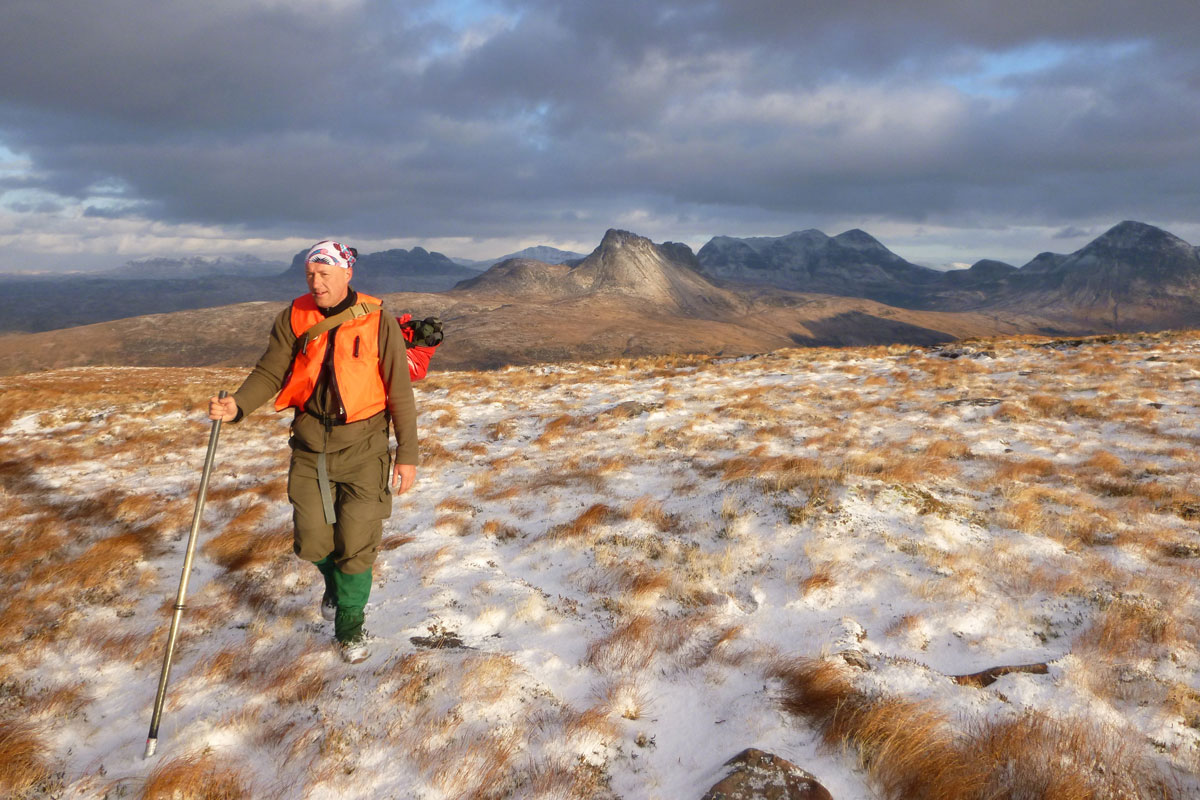
No one’s ever asked me how to make a packstaff attachment for their four-part paddle, but I’m going to tell you anyway. After nearly two decades decade, I’m still a big fan of my idea for traversing rough terrain with heavy loads (above).

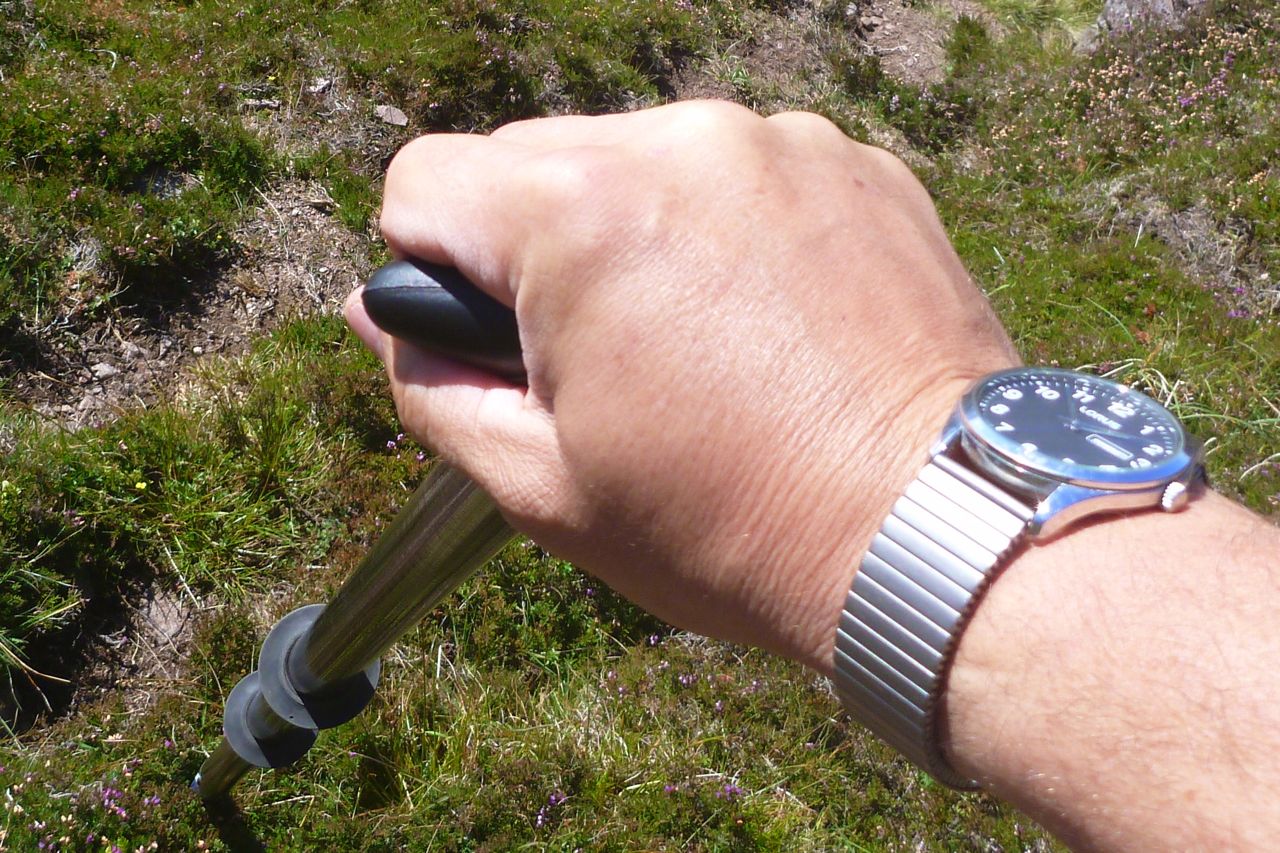
What’s so good about packstaffs? Well, they’re a great way of converting your light but strong paddle shaft into a light but strong walking staff that’s stronger and longer than too short trekking poles or hefty camera monopods, both of which are useful on the trail, but largely redundant on the water. Not needed on flat ground, staffs help you trek uphill and down dale with the same benefits as trekking poles, spreading the load off your ageing knees to your arms and chest. And when hauling a full load, they help with balance, reducing the effort need in your core for self-correction. I‘m sure my legs have felt less tired after a full day of loaded packstaffing in the hills.
Why not just use some trekking poles like a normal person? I tried them once years ago and can see the benefits, but it’s just more gear and I actually prefer using a longer single staff in one hand, while maximiusing gear functionality on land and water.

A longer packstaff can easily support your weight as you inch downhill with a heavy backpack pushing you forward. A cheap telescopic trekking pole would collapse, or sure feels like it might, same as a repurposed monopod. Like any long staff, they’re also handy for prodding bogs, fighting off killer Turkish mastiffs, just like tubmen in the old days, plus help with vaulting narrow streams and ditches or fording stepping stones in a bid to keep the feet dry. Again, a lightweight walking pole may not be stiff enough to do this.
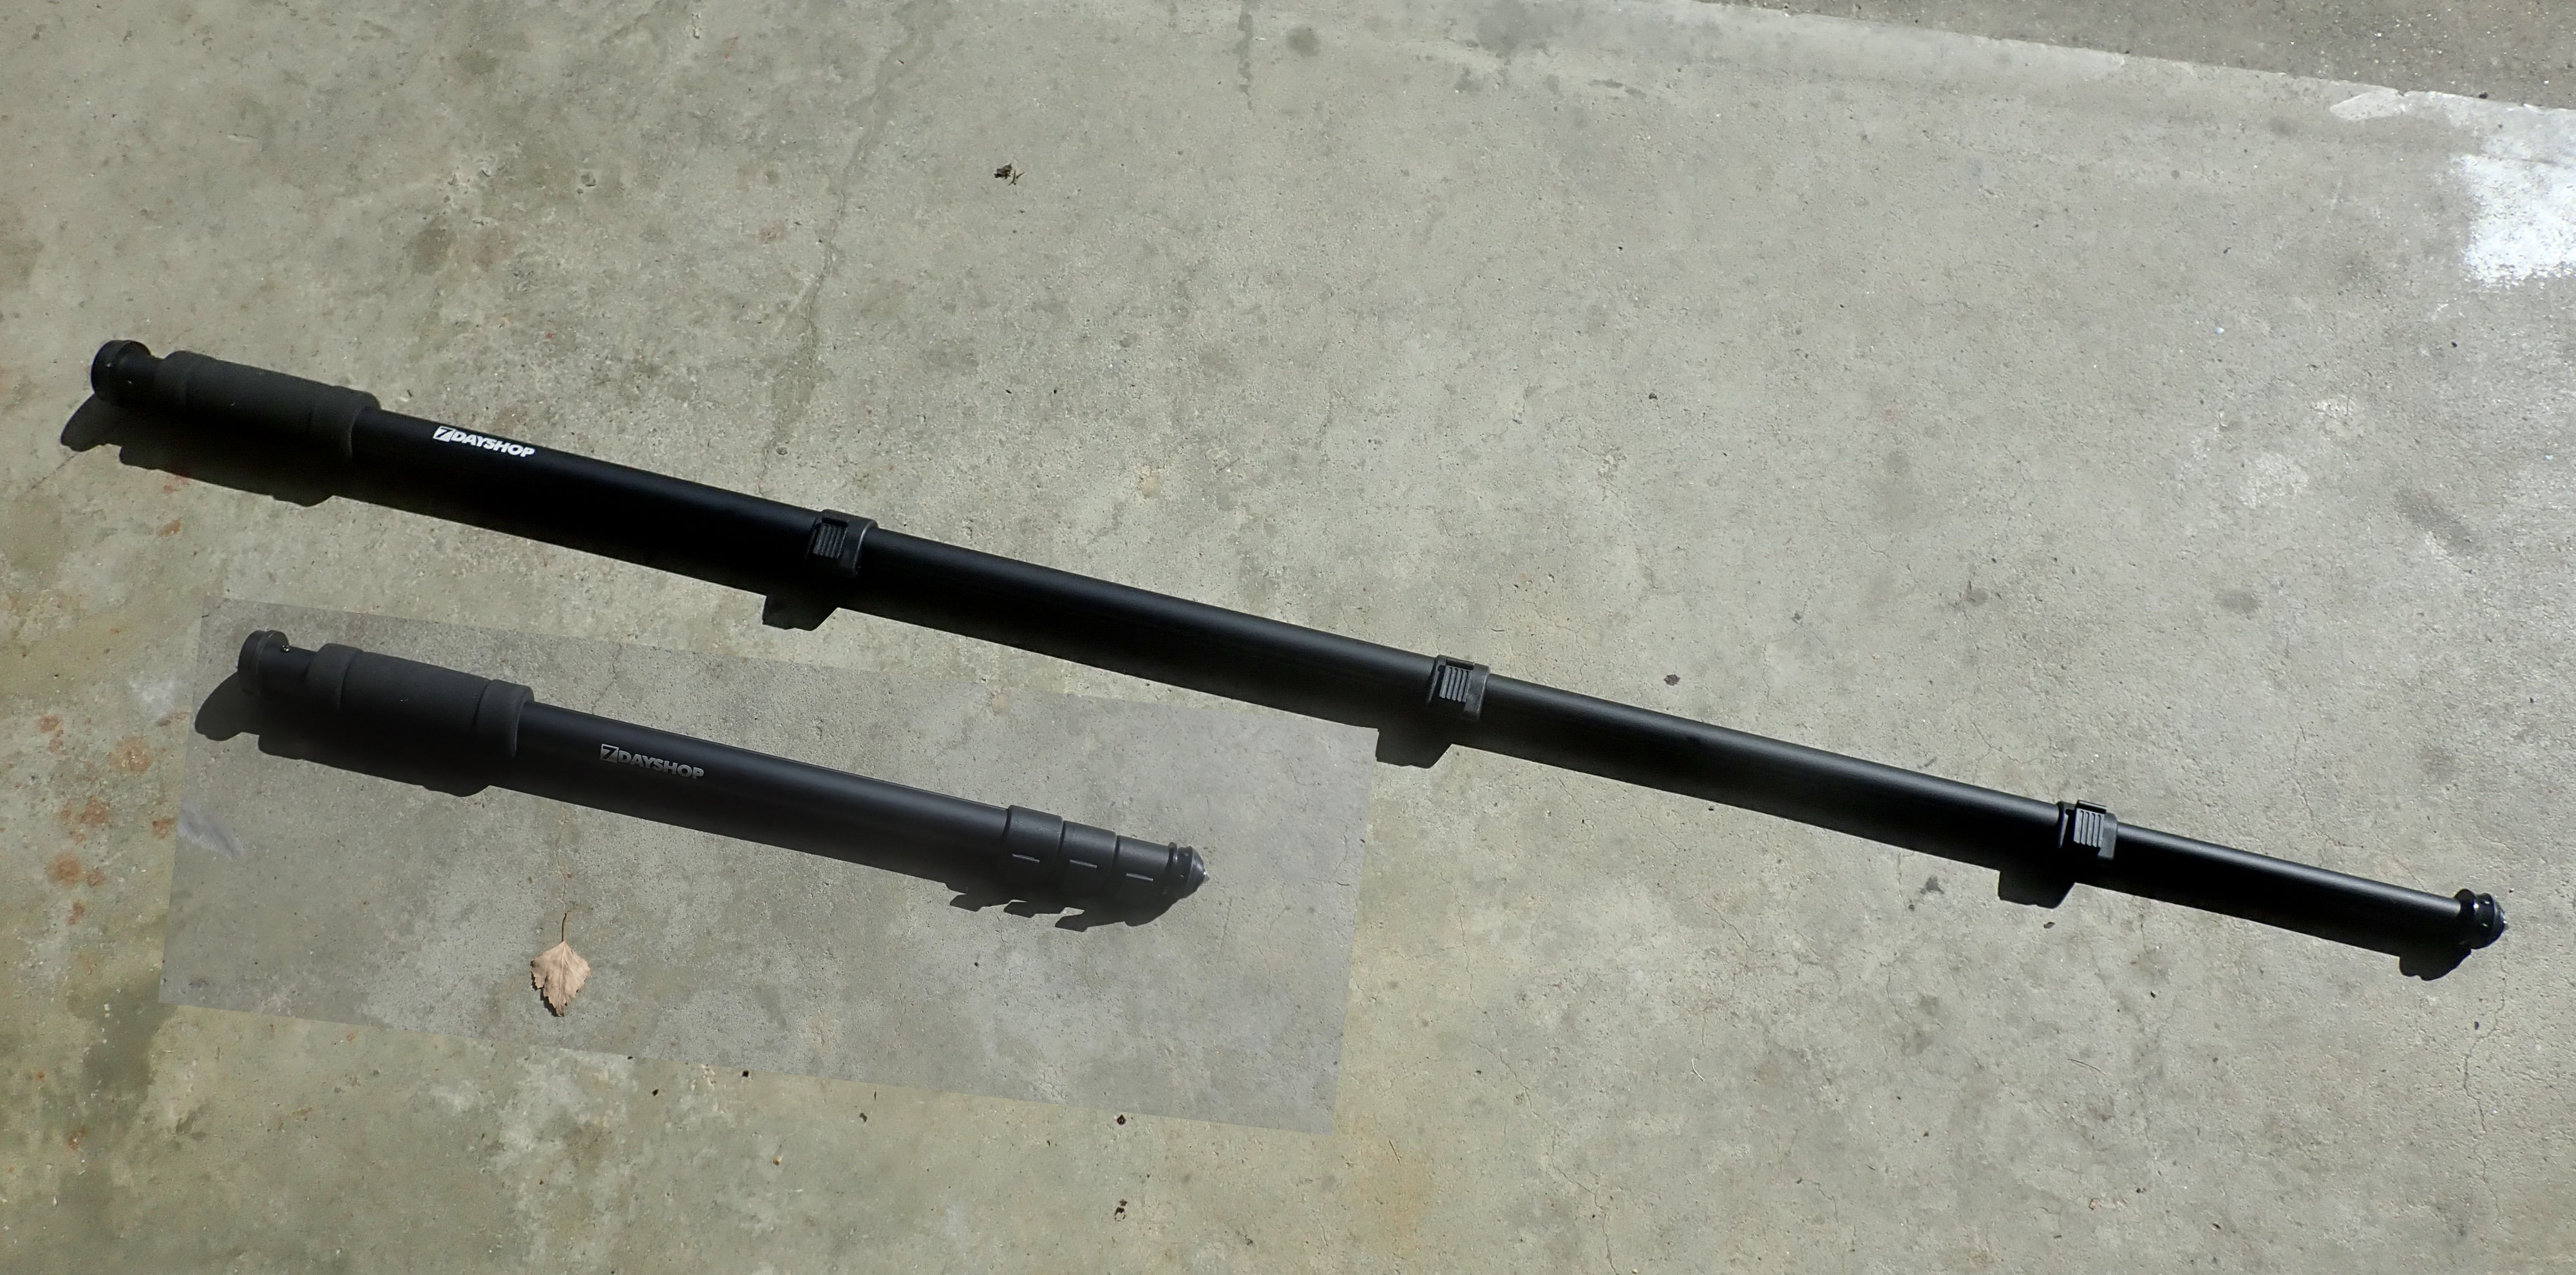
An MYO packstaff nib weighs 200g, costs next to nothing, and works with any four-part paddle, like my old Aqua Bound Manta Ray. There’s even a bloke on ebay who’s partly copied my concept.
See bottom of the page on how to simply convert an Anfibio Vertex Tour by sawing off the end of a canoe paddle handle of one section and using the other canoe paddle handle section.

Find a bit of tube that’s close to the right diametre to slip into your paddle where the blade goes. My blue tube was from some cheap paddle that came with a long-gone slackraft. Add tape to make a snug fit, if necessary. But not so tight that you risk jamming when wet.
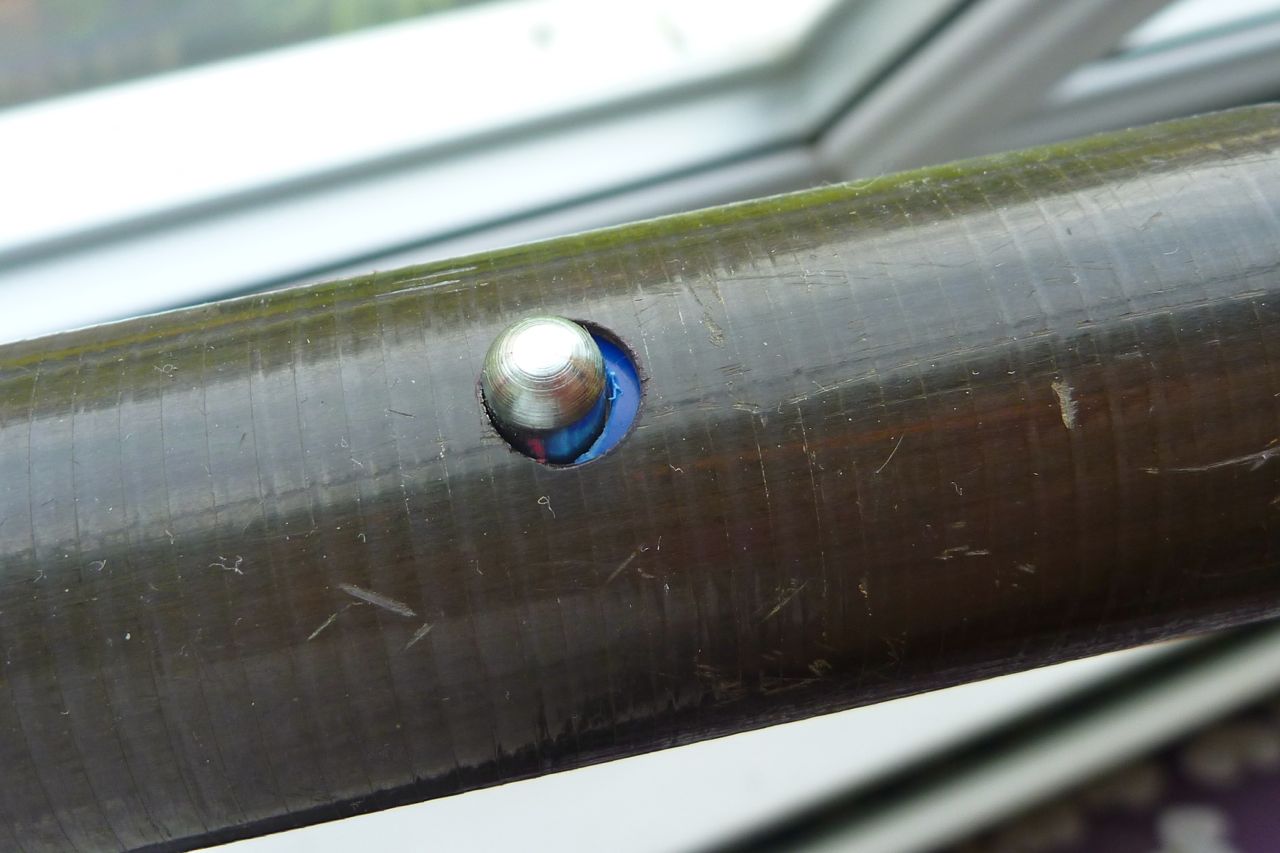
Drill a hole at a point where there’s enough overlap to make the assembly strong, and then fit a spring clip. I bought a pair on eBay for a fiver, though you can buy cheaper pressed out ones for less.
As it happens it turns out my Aqua Bound uses cheap pressed clips. You may not be able to find the typical 7-8mm buttons to fit the AB files. I settled with 6mm. This spring clip is easy to fit and a big improvement over my previous ‘slip-on’ nib which got sucked off in bogs.

pakstik1
Collar is important to take loads off the button
staffcork

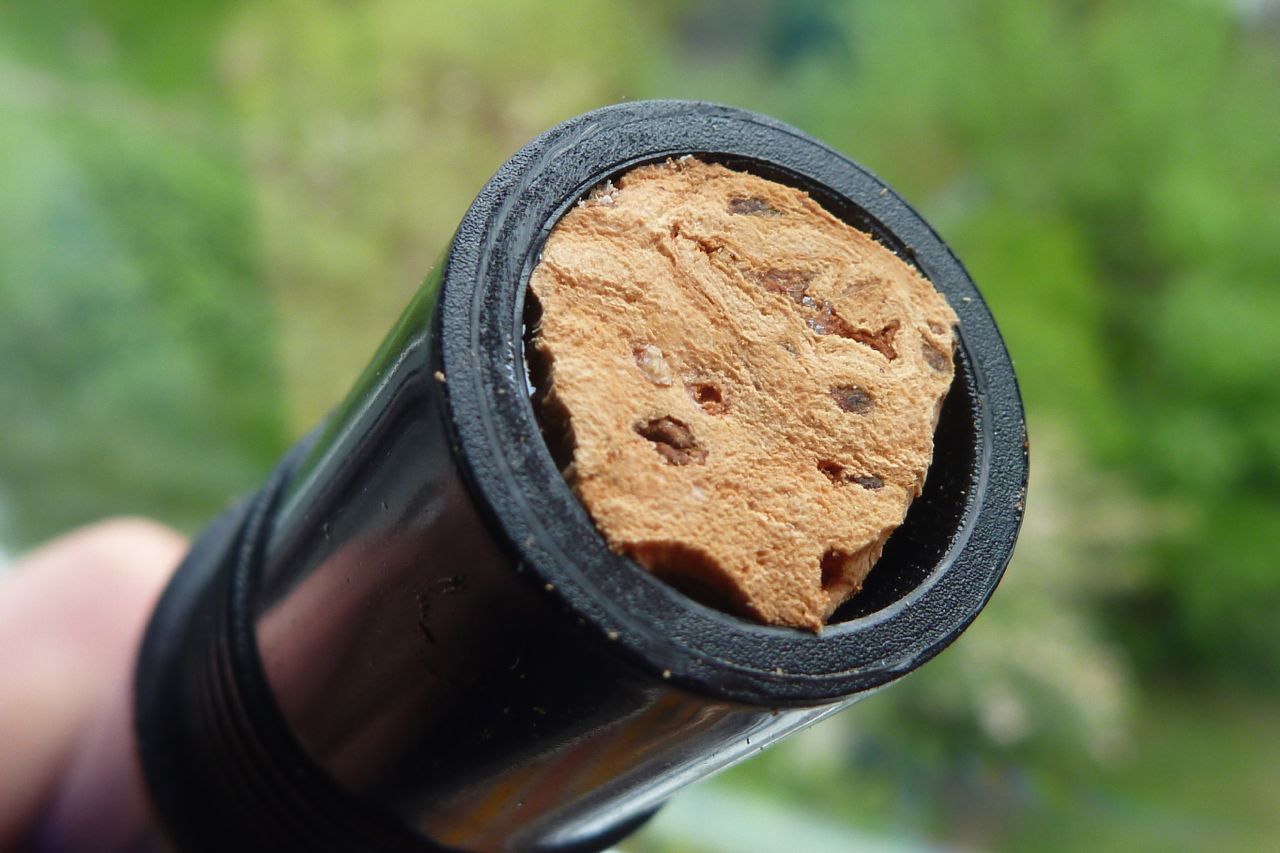
Next, line up the two holes or fit the spring clip and add a collar. You don’t want the nib’s striking force impacting on the clip’s button alone. I sawed a bit of old fibreglass kayak shaft which was a tight fit on the blue tube, so split it then glued it on. That glue didn’t work so well so I added a couple of rivets. The collar also protects the end of your paddle shaft. The actual end ‘nib’ is currently a black plastic screw section. Stuff and glue in a bit of cork or other blockage in your nib end (right) to stop the tube slowly filling with mud or stones. The nib weighs 137g. 

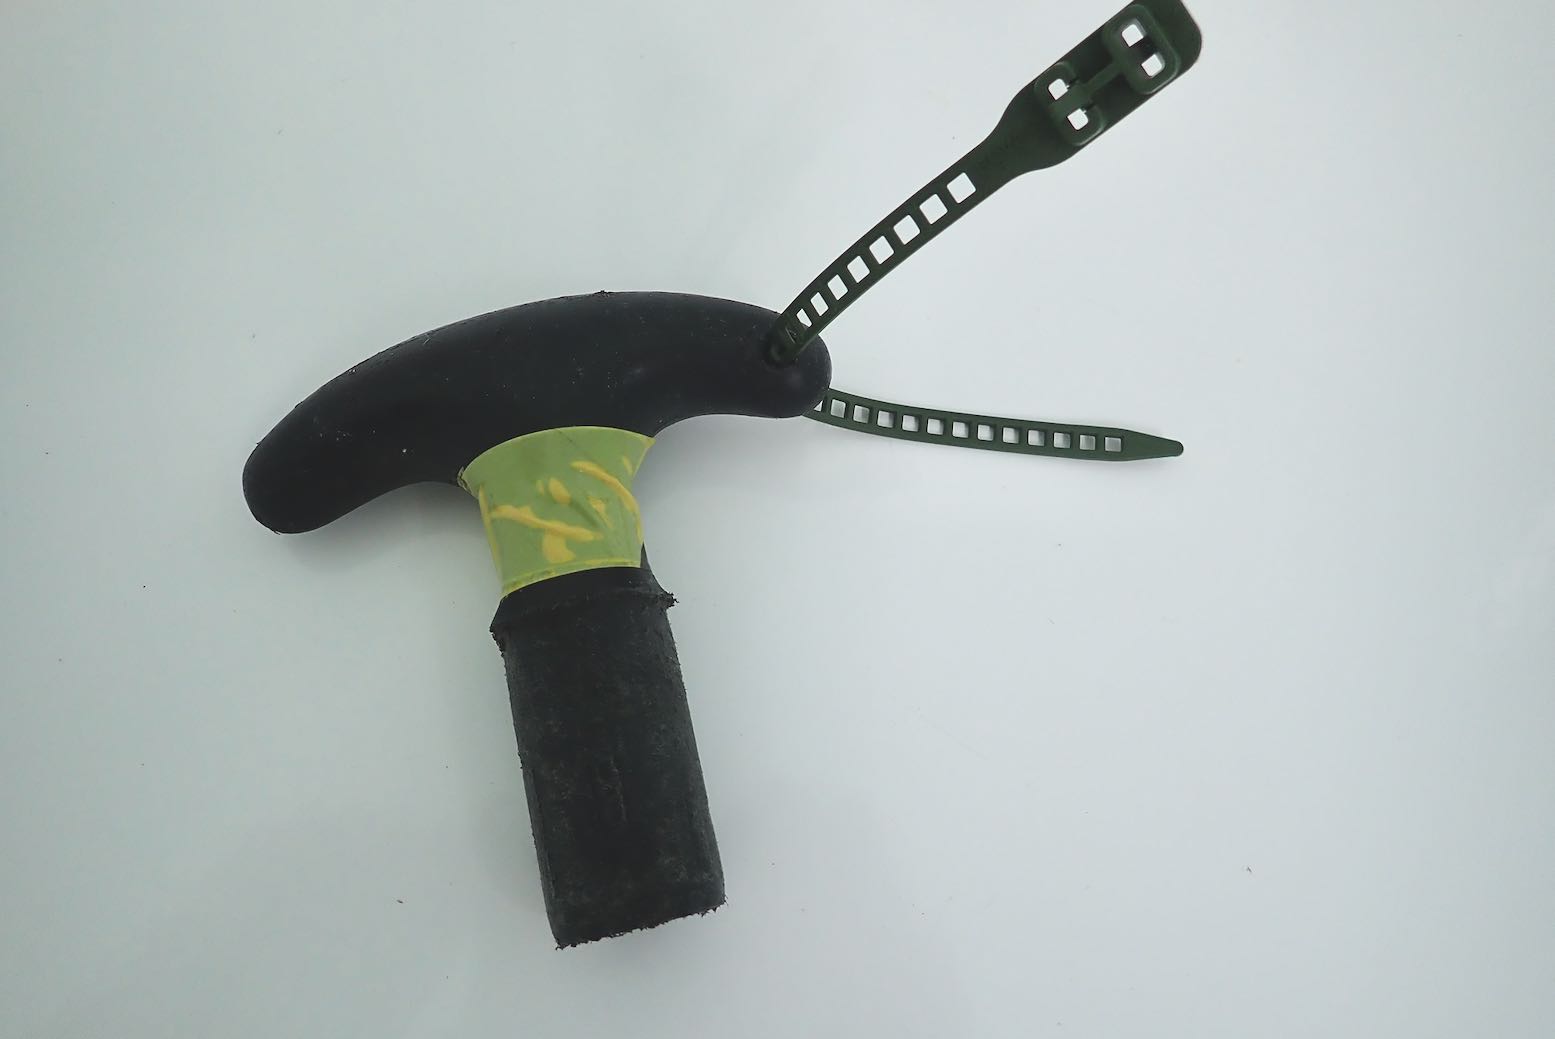
Using the packstaff with an open shaft at the top, I sometimes worry that stumbling onto that shaft at face height could take an eye out. With a canoe T-grip (below left; fiver on ebay) you can press comfortably on the staff coming down a hill, and it also acts as a handy hook. Mine had to be ground down to fit. It weighs 78g with a 6mm SoftTie to attach it to the nib during transit.

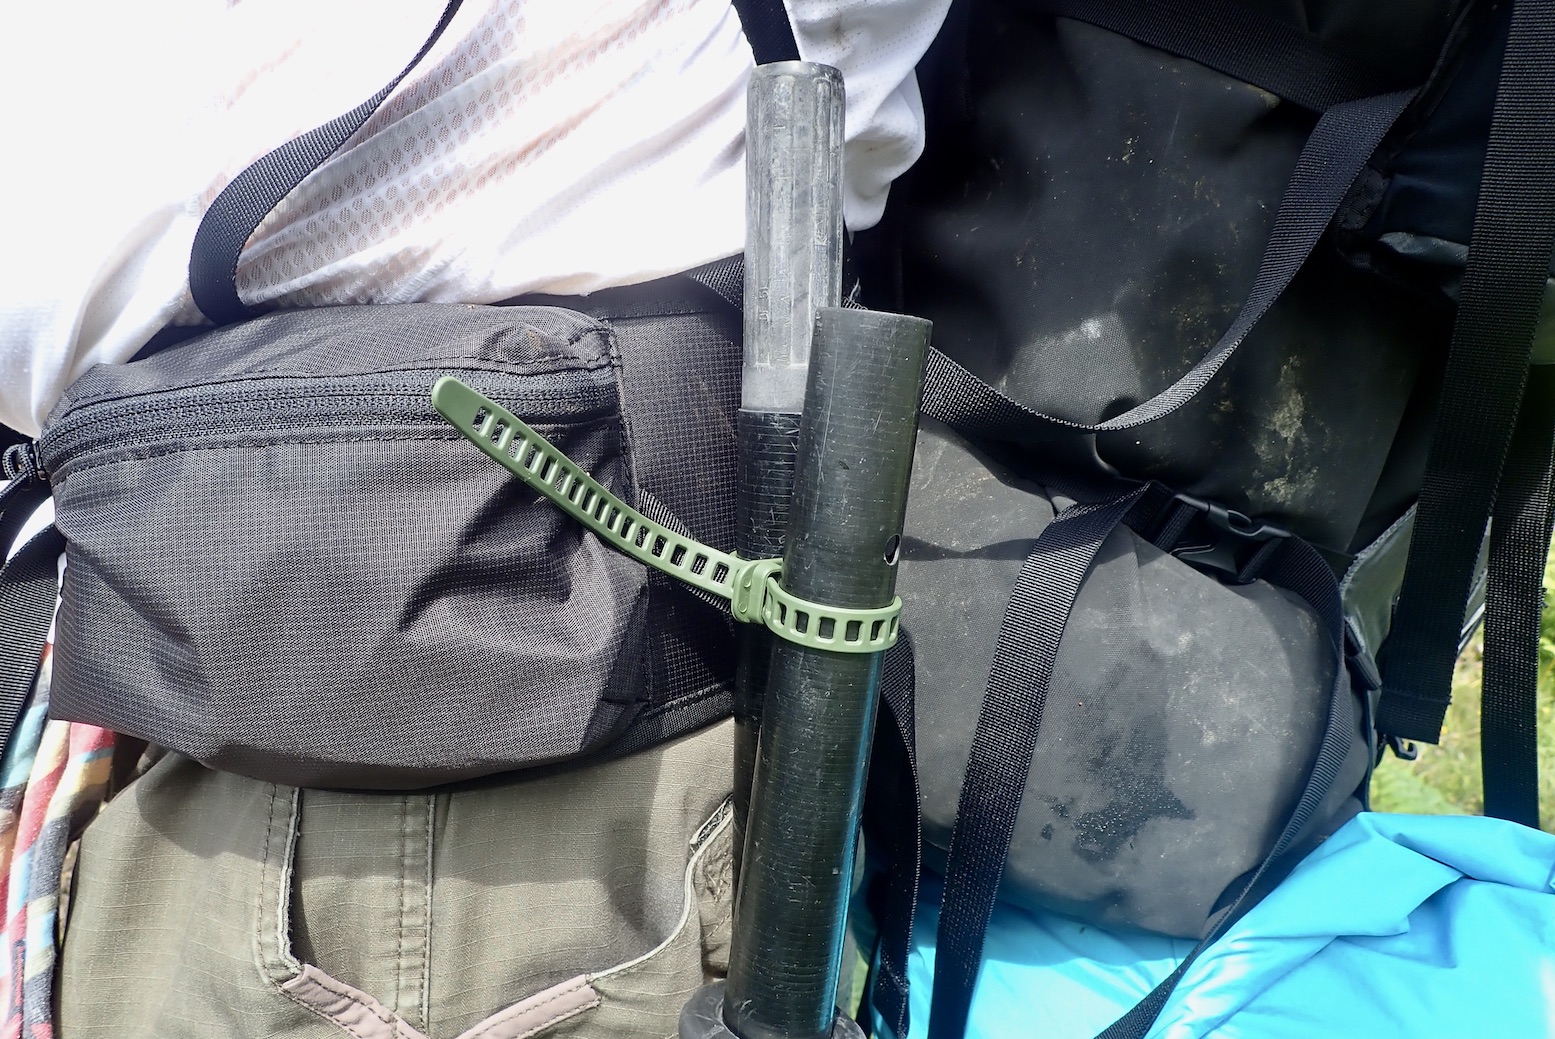
When you don’t need to carry the packstaff you can stick it under a shoulder strap, but I find it slips out. So better to break it down to two parts and slip it under a belt or similar loop. Again, I find the double-loopable SoftTies handy for this, and the loop stays on this paddle to make a handy paddle leash attachment using the mooring line when sailing or in rough open water.

Packstaff 2
In 2022 I got an Anfibio Vertex Multi Tour 4-parter so sold my old Aqua Bound Manta Ray 4P which weighed about the same. The Multi Tour comes with two canoe handle sections to make a pair of canoe paddles. I can’t see myself canoe paddling but figured there must be a way to convert these pieces into a Vertex packstaff.
Sure enough there is. Use the canoe paddle add-on handle with the clamp on the end and the section of paddle shaft also with the clamp, then saw the handle off the plain canoe handle section. You now have a three-part, length adjustable packstaff. Jam whatever nib you think is needed onto the thick carbon-plastic end of the sawn-off handle. The whole thing weighs 400g, and the advantage of length adjustment between 100cm and 133cm, which may have its uses.
Annoyingly, in a noble bid to reduce excess gear I sold the Vertex and kept the Wave. I’ve since found an unused alloy, telescopic camera monopod that’s as long, weighs 370g, a bit less than the Vertex set up. It’s clearly not designed for packstaffing so I’m not sure it won’t slip under heavy loads. We shall see.

PackStaff Gallery

Anfibio Buoy Boy inflatable packrafting vest

Updated May 2018 – see bottom of page

bbboy

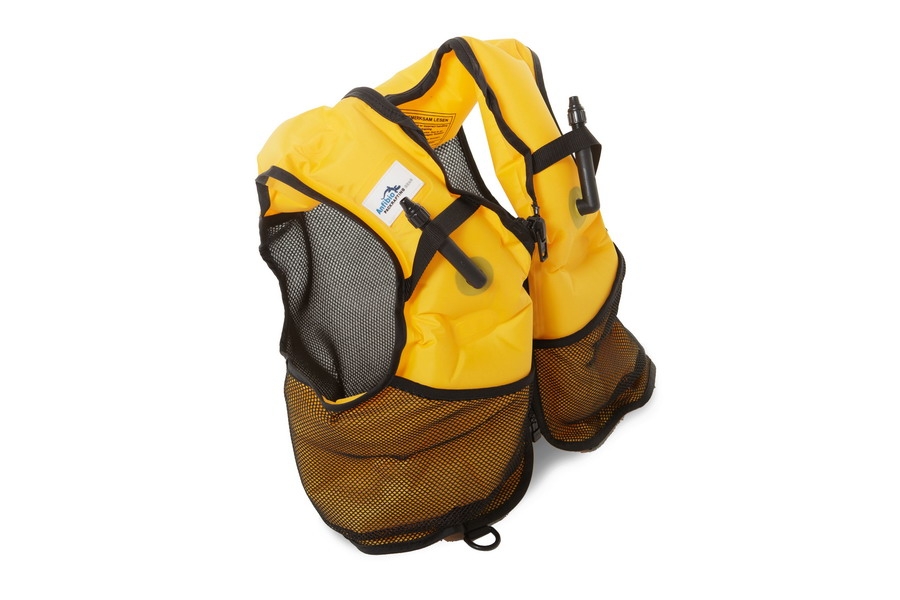
Back in 2015 the Packrafting Store in Germany sold us a couple of pre-production Anfibio inflatable packrafting vests to try out. These came without the big mesh pockets, unlike the current production item, left.
Called a Buoy Boy, an ‘inflatable jacket’ or buoyancy aid is all they claim to be, not a PFD, far less life jackets. They don’t even claim to have the rescue/harness elements suited to white water recoveries, as found on better PFDs. A warning label inside spells it all out. Instead, your Buoy Boy bad boy is just a compact, unobtrusive buoyancy aid that’s well suited to sedate packraft touring.

bouybo
lj55

You clip the waist clip and hook the strap under the crotch to stop it riding up, as can happen with a regular PFD, then zip up the front. Our prototypes had two ‘push and blow’ valve tubes inflating the two chambers (three breaths each). These chambers don’t cover the lower back which is composed of a thick, stretchy mesh below the inflated collar (left), so avoiding that inelegant ‘pushed-up PFD’ look in your packraft. The rear collar around the neck might even float you unconscious, face up, like a proper life jacket, but that would be a happy coincidence and despite the appearance, it is not a design element.

lj44

We weren’t even planning to take our regular PFDs on this mid-winter trip, so a compact option came in welcome, especially when a late-night boat ride required them.
Best thing: it’s unobtrusive to wear deflated, doubling up as a high-viz vest whose benefits we also appreciated when road walking in the Scottish  mid-winter gloom. We even inflated them while walking in freezing conditions to act as extra insulation, while at other times the Buoy Boy will be less hot than a 
regular PFD; another problem I’ve found when foam PFDs and paddling in 25°C+.

packrafting_store_logo
lj2

Weight is from 340g to 400g for a Med/Large. My ‘M/L’ was a snug fit once fully inflated over all my mid-winter clobber (I’m normally 42″ chest). A great bit of kit that I can see becoming my regular day-tripping BA, especially when I have to wear one due to regs rather than need to due to conditions.

499_1

Update.
I used my orange BBoy proto just about all the time as most of my paddling is flatwater and it’s great not to feel cluttered. I bought myself a larger L/XL with horizontal valve straps and very handy large frontal mesh pouches just what was needed. Unfortunately it was black – I prefer brighter colours for safety and photos.
Now in 2018 colours are blue (S), yellow (M/L) and black or yellow (L/XL) – hooray! A roomy Large on me weighs 450g with crotch strap. Price is €99. More details and photos here.

boyboy

Assynt picture on BBC Scotland

stores
bbcwinds

A photo I shot exactly a week ago as we walked over the Coigach peninsula having paddled Loch Lurgainn narrows. We’e heading towards Achiltibuie for a cup of tea (right). Notice how Robin’s hair melds magically with the mid-winter bracken. Must be a form of archaic Celtic camouflage carried through the genes.
From the far back left coming forward and right, the amazing mountains of the Assynt: Quinaig (‘Kun-yak’); Suilven of course with Stac behind Robin and Cul Mor on the far right. All great climbs. It was the weather the day before (left) forced a change of plans. Full story with more pics evolving here.

BBC Scotland gallery link

bbcc