Category Archives: Inflatable Kayaks

Urban Packrafting: London’s 9-mile Regent’s Canal

See also:
Wandle: An Urban Packrafting Nightmare
Urban Packrafting: Kebab Death Weir Tunnel
Kayaking through London
Urban kayaking East London

rk1

Urban canals have long been rediscovered as quaint, idiosyncratic backwaters for boat dwellers, joggers and cycle commuters, or have seen adjacent industrial wasteland redeveloped into glitzy apartment blocks or waterside business parks complete with mouth-watering eateries and amusing sculptures. The old cliche of filthy neglected ditches where joy-riders dumped scooters and drunks hurled traffic cones or shopping trollies is outdated, at least in central London.


doctorwhomaida
cyber

These days, if Doctor Who needs a grotty urban canal to stand in for a toxic sewer where evil Cybermen are spawning The Invasion (1968; 00.57), they’d probably have to go abroad or something. All of which means that, once you include London’s excellent transport links, the capital’s fascinating canals make for great packboating.

map-regent.jpg

The 200-year old Regent’s Canal is inner London’s best example, arcing nearly 9 miles (15km) across London from near Paddington eastwards to the old docks at Limehouse on the Thames. It starts at the dreamy, willow-rimmed mooring of Little Venice, passing Regents Park’s neoclassical mansions and the chattering apes of London Zoo before turning for Camden Lock Market where Jimi Hendrix bought his first Rosetti Airstream. Here the canal drops down a few locks to unrecognisably redeveloped Kings Cross, home of Google UK and where giant Victorian-era storage tanks have been converted into luxury flats. East of here, your water-level view flits between bohemian, suburban, light industrial and even rural parkland, until you arrive at the marina of Limehouse Basin by the Thames. On the way you’ll have portaged 13 locks and two tunnels (marked in red on the map below).

The Regent’s Canal

Britain’s canals helped kick off the world’s first industrial revolution. Canals linked or added to long-established river navigations and enabled inexpensive and reliable cross-country transportation of heavy, bulky or fragile commodities, like pottery. At this time the decrepit road network was still suffering from 1500-years of neglect following the Roman era. Packhorse trains were superior to wheeled carts but were way too costly.
Around 1805 the Grand Union Canal linked the burgeoning industrial heartlands of the Midlands with Paddington – then a village on the western edge of London. The advent of Napoleonic Wars included attacks on coastal shipping, necessitating secure inland transportation to help provision the war effort. (The Wey-Arun Navigation linking London with the navy fleet at Portsmouth, was another example).

The Regent’s Canal followed London’s northern perimeter to link the Grand Union with the deep tidal Thames at Limehouse (above) near the new West India Docks. Here, lock-controlled ‘wet docks’ were regarded as more efficient and secure than London’s old bankside wharves. The map below is from 1830 and shows that even a decade after the canal opened, most of it passed through open countryside. Within a few decades railways gradually brought about the demise of commercial canal transportation. 
I pinched most of this information from Jack Whitehead’s detailed version.

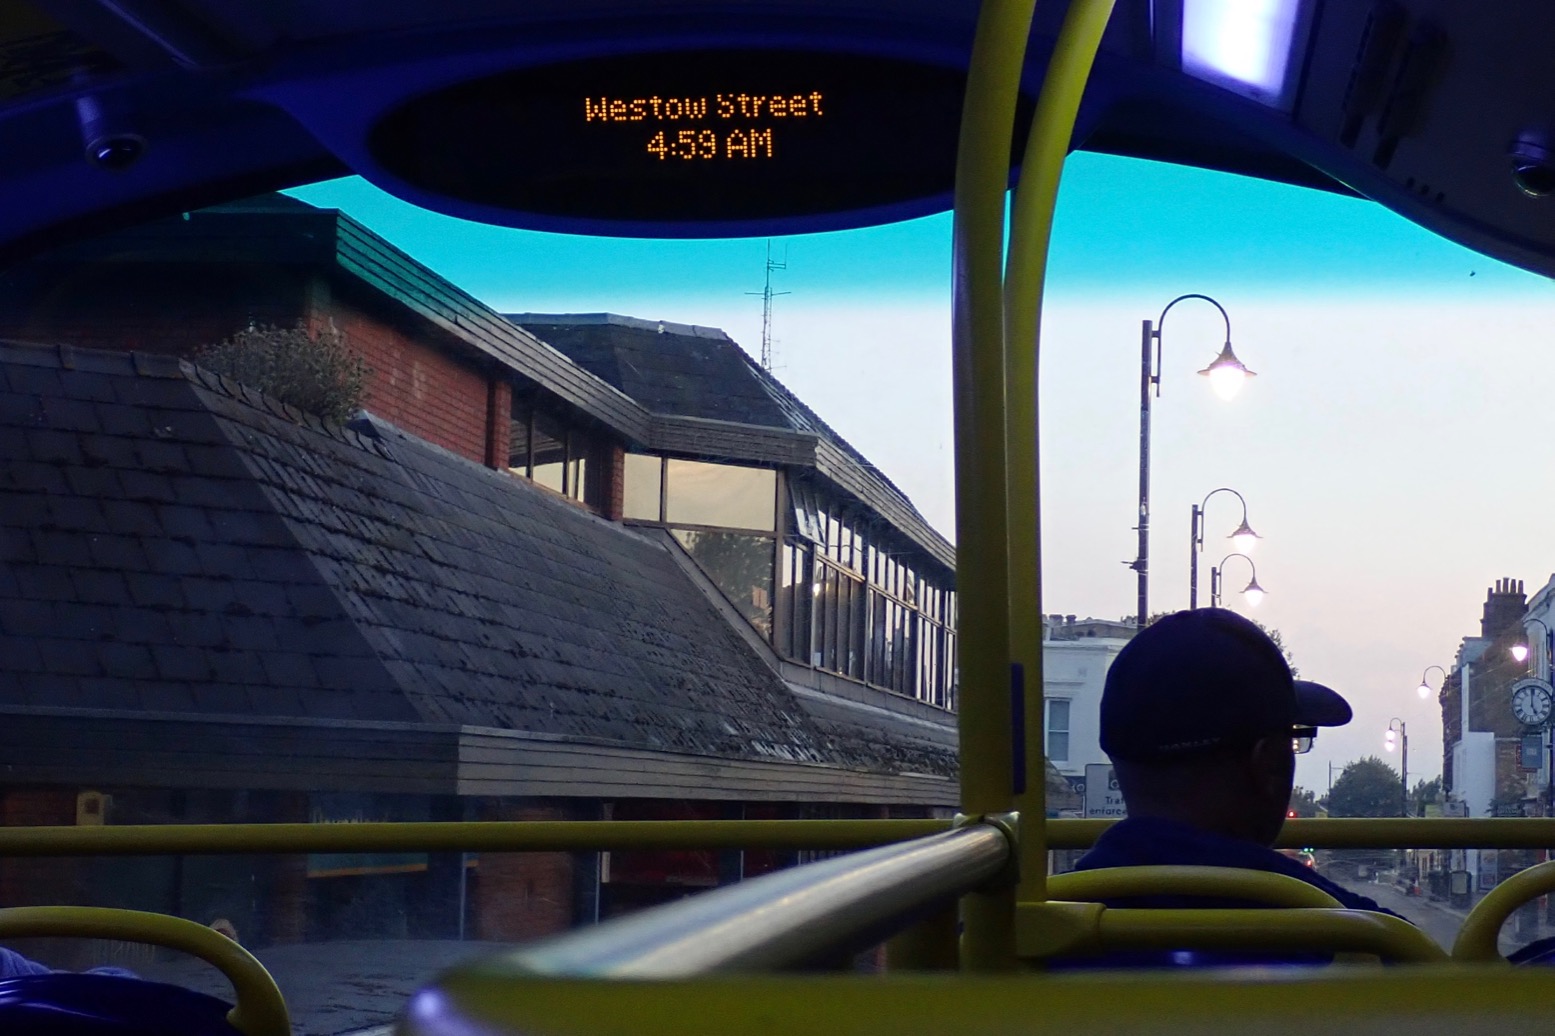
Time to go. I was on the bus before sunrise.
OLYMPUS DIGITAL CAMERA

Bear with me, I’m still waking up.

OLYMPUS DIGITAL CAMERA

Cables and cladding at Edgware Road tube.

OLYMPUS DIGITAL CAMERA

New apartments, offices and the Fan Bridge at Merchant Place in Paddington Basin, the ‘Paddington Arm’ terminus of the Grand Union from Birmingham.

OLYMPUS DIGITAL CAMERA

The canal ahead of the lifting Fan Footbridge is cordoned off so you can’t actually put in here. Along with the similar ‘Curling‘ Bridge nearby, a cynic might say these are eye-catching engineering solutions to non-existent problems while other celebrate innovative urban art. Both bridges make scheduled performances on weekends.

OLYMPUS DIGITAL CAMERA

The Paddington Arm of the Grand Union. Regents Canal actually starts by the former barge turning-point known as Brownings Pool; today’s Little Venice.

Just up the way below a footbridge is a strange retracting weir whose purpose may be to keep the scourge of duckweed from spoiling Paddington Basin’s clear-water vibe.

You can put in anywhere around here but…

iu-5

Maida Hill Tunnel
Before you start assembling your boat, know that in about 5 minutes you’ll need to backtrack from and portage around the 250-metre-long Maida Hill Tunnel which is closed to ‘non-powered craft’. And it’s not a quick 250-m hop-around either. Because of a private towpath along Blomfield Road, and closures for repairs, currently it’s nearly a mile before you re-access the water below the Casey Street footbridge east of Lisson Grove. Knowing this, you may prefer to do as I did, and walk to (or start from) Casey Street Footbridge, about half a mile north of Marylebone tube. See map below.

maidadetour.jpg

OLYMPUS DIGITAL CAMERA

The temporary towpath closures (left) are to repair electric cables stemming from the power station at the end of Aberdeen Place at the tunnel’s eastern end. When it reopens the portage distance will halve, but that may be a while.
So, you can paddle up to the western tunnel entrance from the Little Venice end (paddleboarder, below left), but you can’t get out here onto Blomfield Road because of a locked gate to the moorings. You have to backtrack to Little Venice, but it’s probably still worth it for a peep into the short if forbidden void.
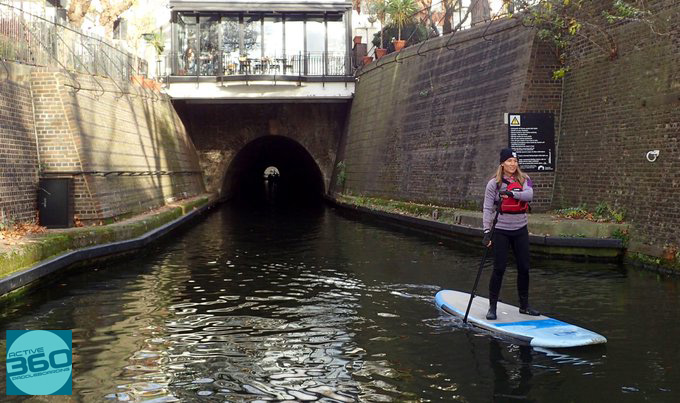
maidasup

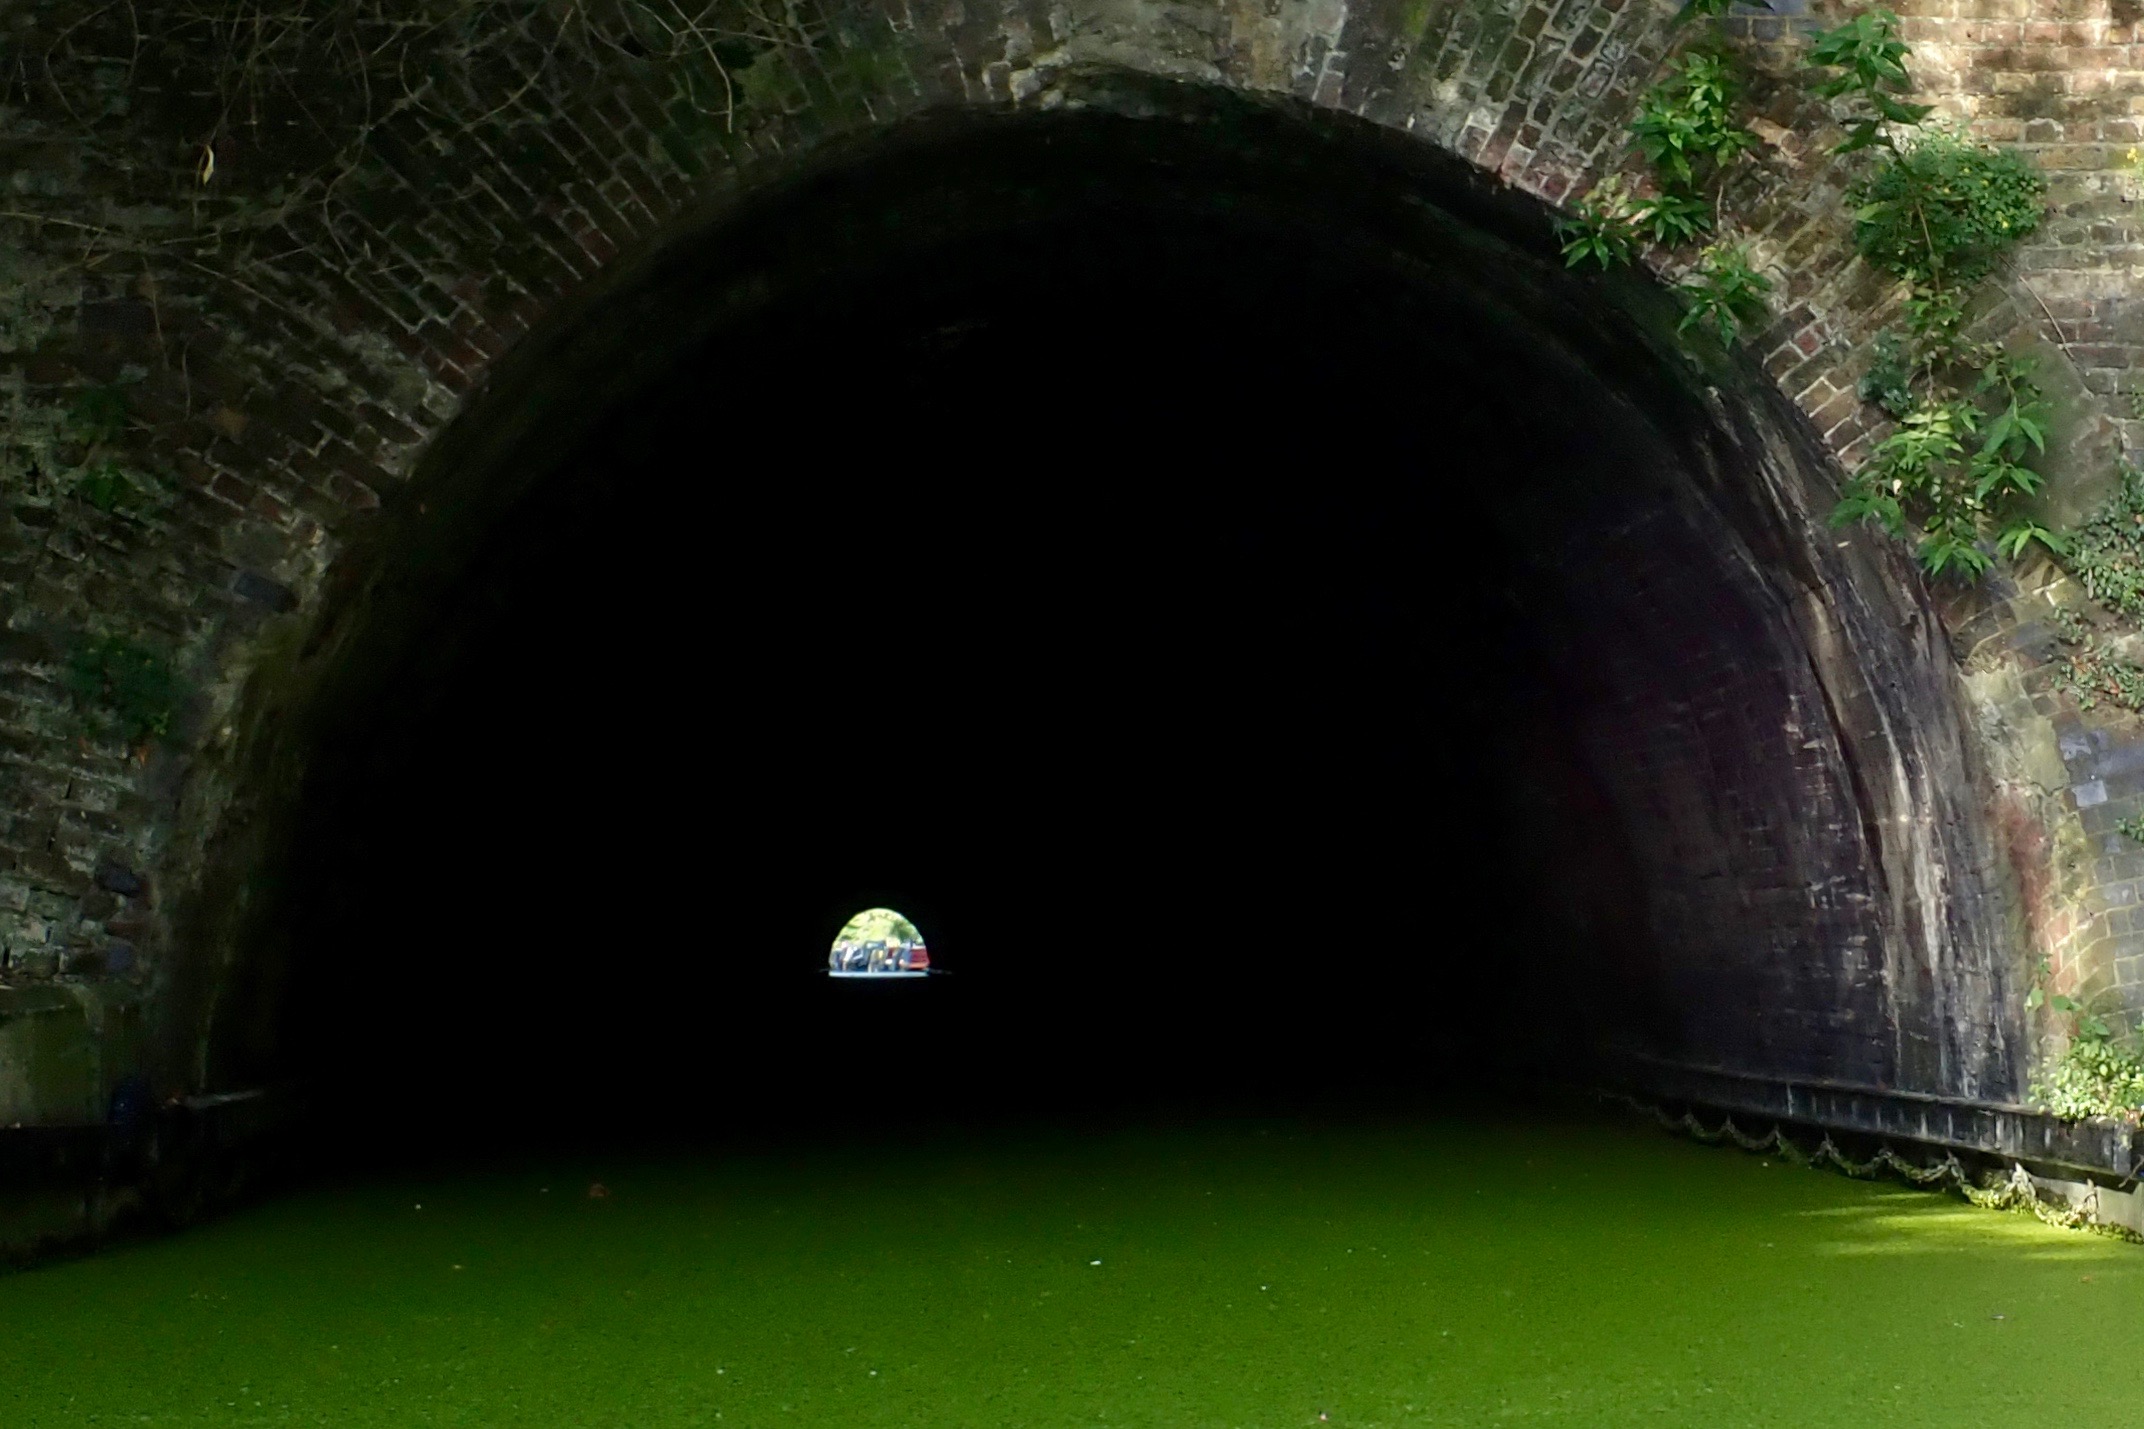
In 2018 the Canal & Rivers Trust (formerly British Waterways) provisionally opened the 250-metre-long tunnel to paddle-powered craft. (Consultation document.) According to their own regs, any straight canal tunnel of less than 400m can be paddled. At Maida Hill you can clearly see the other end, anything coming at you will be silhouetted or lit, and the whole drama takes a couple of minutes to paddle, including taking pictures.

rk-crtmaida

But to saves costs the tunnel is narrow and without a towpath (barges were legged through by ‘walking’ off the walls). Passing isn’t allowed or even possible, even in a slim kayak. Or a boat operator may not notice low-in-the-water kayaks, even with the mandatory headlight. Tour boats run via the tunnel daily from 10am between Camden and Little Venice.

‘Thank you for your enquiry. We do not allow kayaks through the Maida tunnel unless it is part of a special event”.
Three months notice is preferred for your special event and solo transits are not allowed anyway.
The website additionally warns:
Non–approved unpowered craft shall not transit the tunnel eg. rafts and other types including inflatable arrangements designated for ‘fun’ use.

rk-corn

Clearly, they’re no more clued-up about modern IKs and packrafts than the BCU, or assume we’re all intoxicated pillocks goofing about on inflatable unicorns.

rk-concerns

What could possibly befall a typically open and unsinkable IK, canoe, packraft or iSUP board in the tunnel? Do they assume such boats are inherently more dangerous than a beginner capsizing mid-tunnel in a tippy hardshell?
Maybe the CRT has had problems with ‘inflatable arrangements’. Who knows, but I’ve also encountered this anti-inflatable prejudice on PLA media about padding the tidal Thames. I suppose it’s too much to expect these officials to know the difference between an Intex bin bag and a €3000 Grabner, but the common denominator must surely be the required BCU licence (or a more expensive and limited pass direct from the CRT). I wouldn’t be surprised if it’s a canalised version of road-tax paying car drivers [cruise operators] vs freeloading pushbikes [kayakers]. The resentment the former feels towards the vulnerability of the latter generates irritation.

traffic

Here’s a suggestion: mount some traffic lights at each end on a 5-minute turnaround, and perhaps some low-level motion-activated illumination inside. That way the Maida Hill Tunnel could be safely and easily open to all users. Apparently, it’s currently being considered.

Long story shortened a bit, I enjoyed my exploratory walk and finally got to air-up my MRS Nomad below Casey Street footbridge looking down on the Lisson Grove Mooring (aka Marylebone Wide).

rk-boat

The canal surface was thick with a lush carpet of floating pennywort or, as I prefer to call it, Hydrocotyle ranunculoides. This lurid green matting covered the canal from bank to bank just about the way to Limehouse. At times it was so thick birds easily stood on it, but it didn’t noticeably impede my paddling…

… because an MRS Nomad doesn’t exactly slice through water like Poseidon’s scythe. Once on the water I paddled back west, under the Lisson Grove or Eyre’s ‘tunnel’…

OLYMPUS DIGITAL CAMERA

… for a peek at the eastern, ‘Doctor Who’, end of the Maida Hill tunnel. It didn’t look that far or that deadly. Then I paddled back, passing nesting coots…
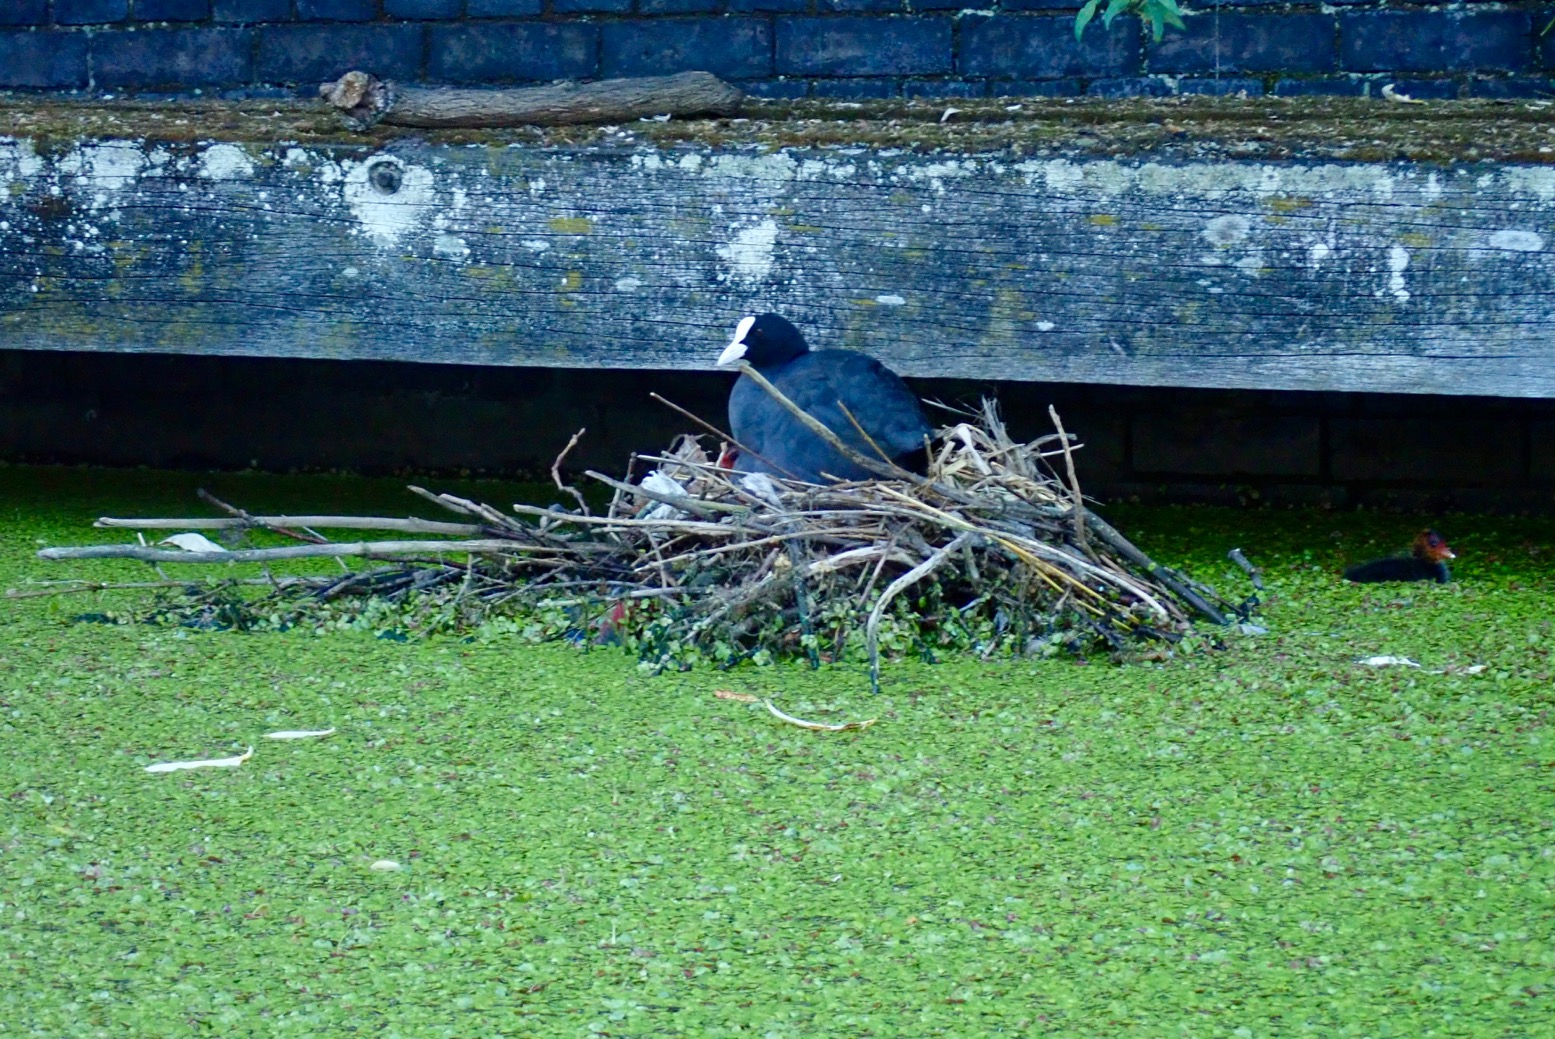
… and preening fowl. By 8am I was on my way to Limehouse.

Under the Chiltern Line rail bridges and Park Road (A41).
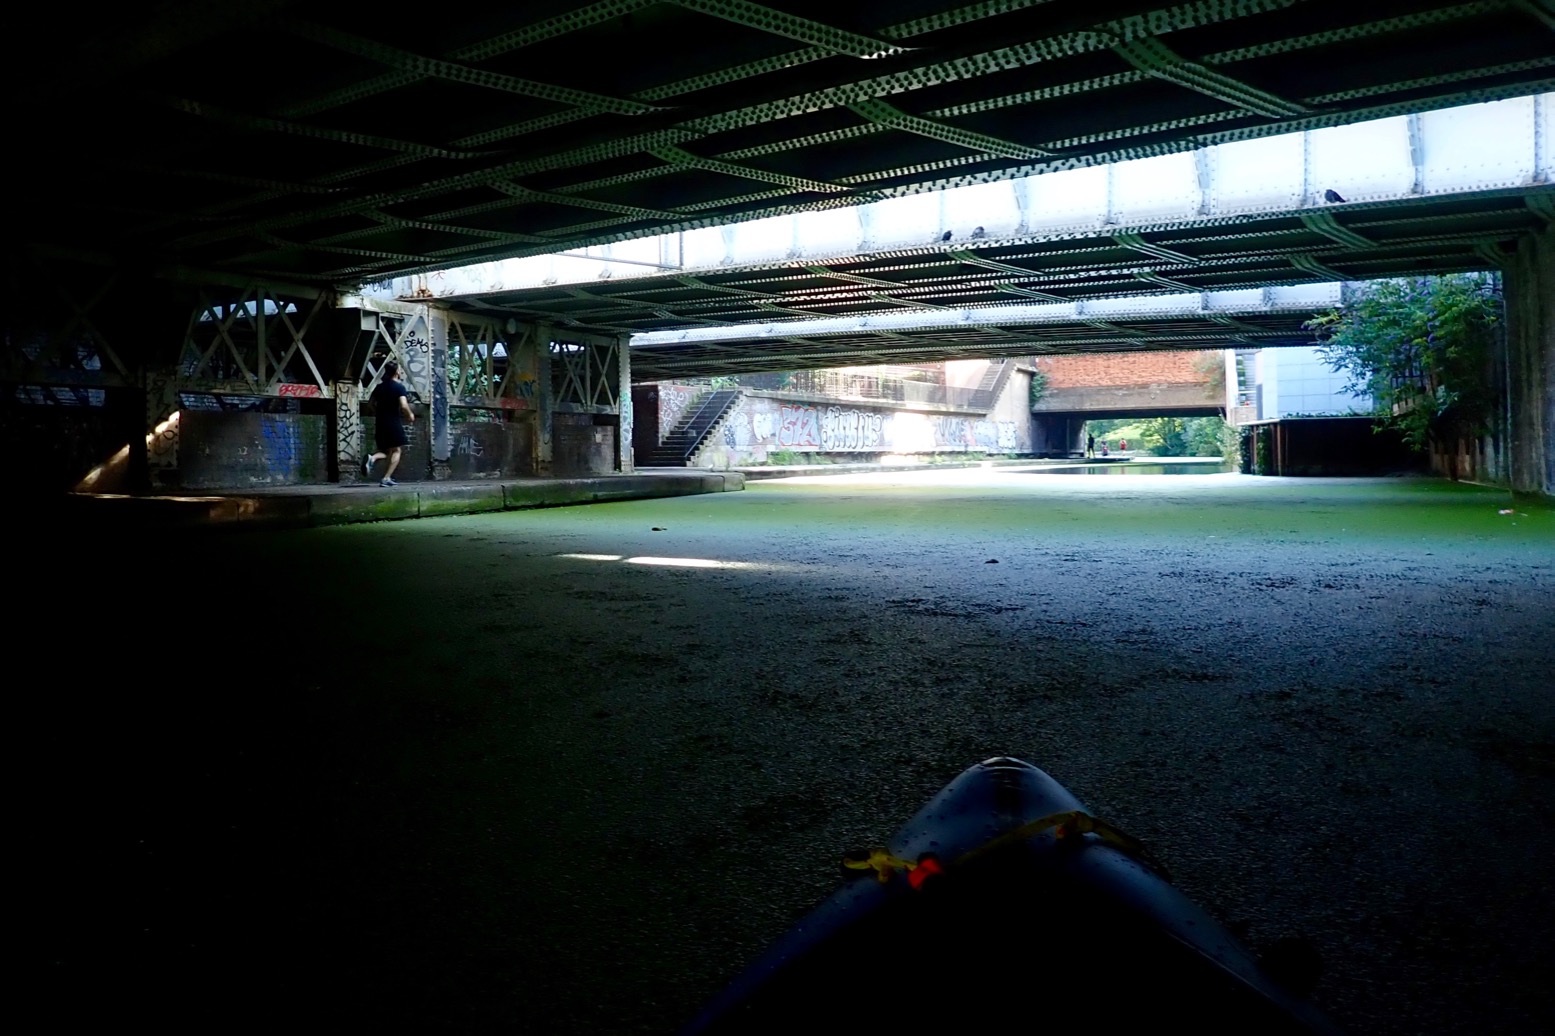
And into the bucolic enclave of Regent’s Park, passing elegant mansions and accompanied by a phalanx of pushbikers and joggers dashing and dodging other joggers and pram-pushing nannies.

OLYMPUS DIGITAL CAMERA

At London Zoo all was quiet. Not a squawk, a yelp or a roar.

OLYMPUS DIGITAL CAMERA

Regents Park was built around the same time as the canal, and one reason the canal didn’t simply cut directly east from Paddington towards the City along today’s A501 Marylebone Road (called ‘New Road’ back then, blue below) is because the well-connected park developer objected under the Tudor Statutes of NIMBY. The dirty canal diggers were forced to burrow like badgers through Maida Hill before swinging off on a northerly arc, all adding hugely to the cost and completion time. Funding the canal was a real stuggle. 

regentpark1833.jpg
OLYMPUS DIGITAL CAMERA

At now-filled in Cumberland Basin (red, above), by the famously top-heavy Chinese pagoda restaurant the canal, appropriately, takes a left turn into the borough of Camden.
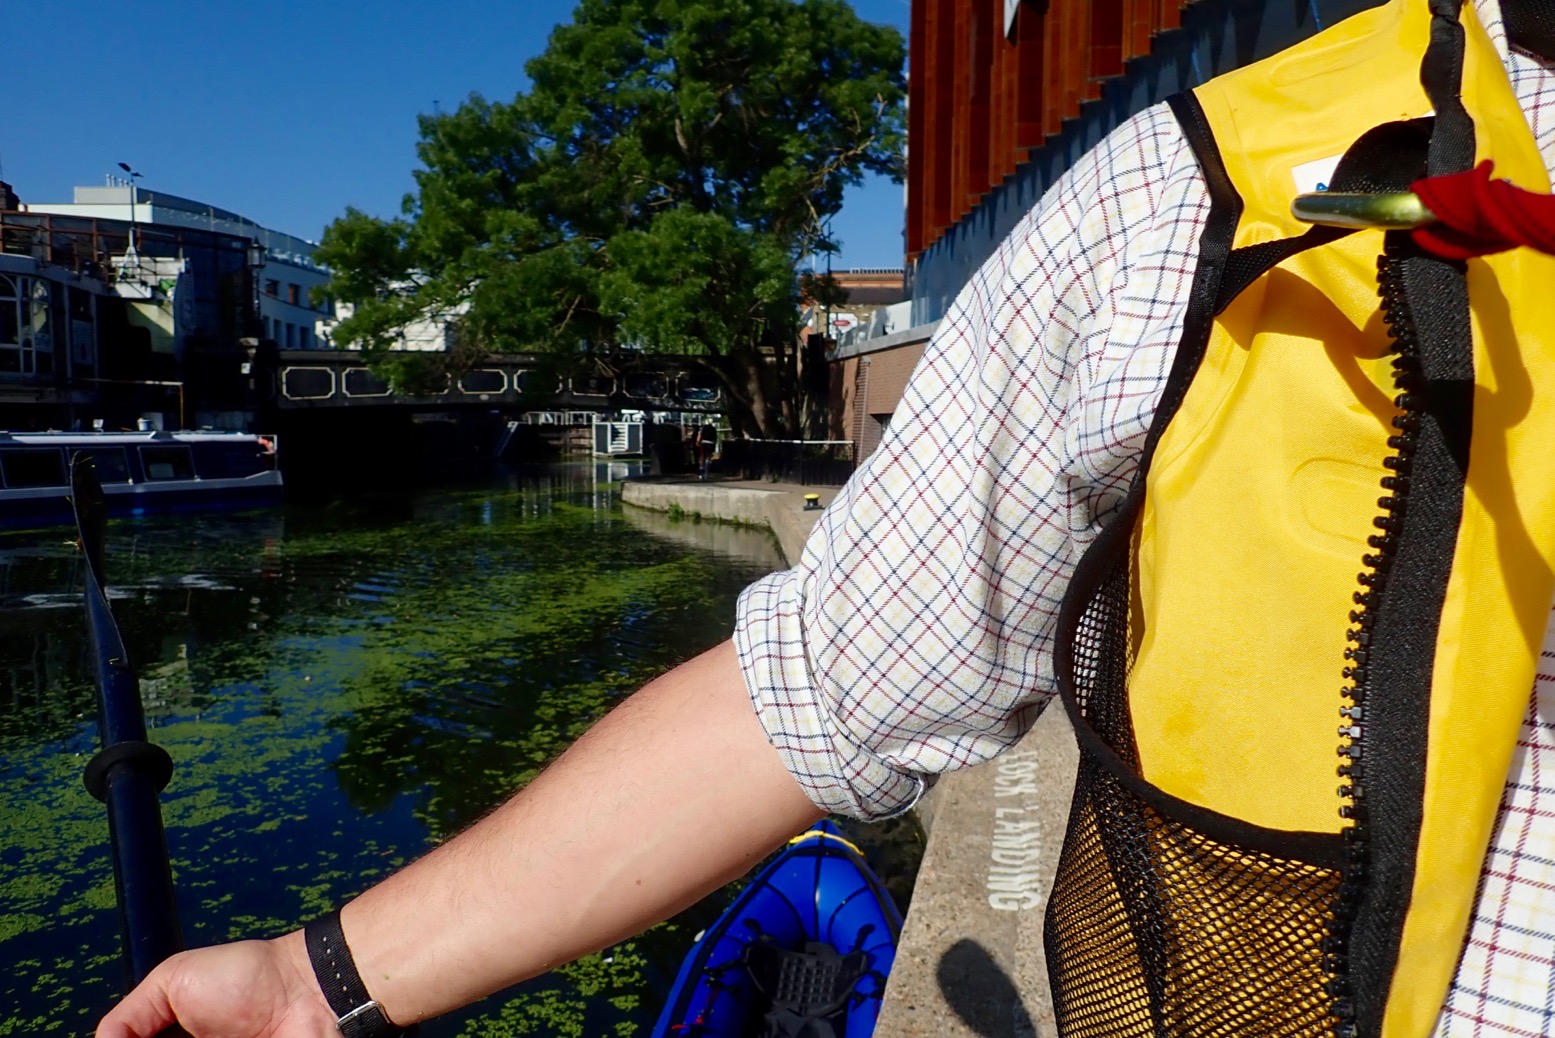
Soon I arrive at Camden Lock Market but it’s too early on a weekday morning for the place to be busy with beret-wearing tourists.
OLYMPUS DIGITAL CAMERA

There are three locks here in less than 300 metres, so I line the boat along the bank like a Yukon voyageur.
I paddle away from trendy Camden and soon pass under the deafening Eurostar rail lines at St Pancras before entering what they now call Gasholder Park. Old Kings Cross is long gone and some of the gas storage tanks have been turned into flats. Welcome to trendy Kings Cross.
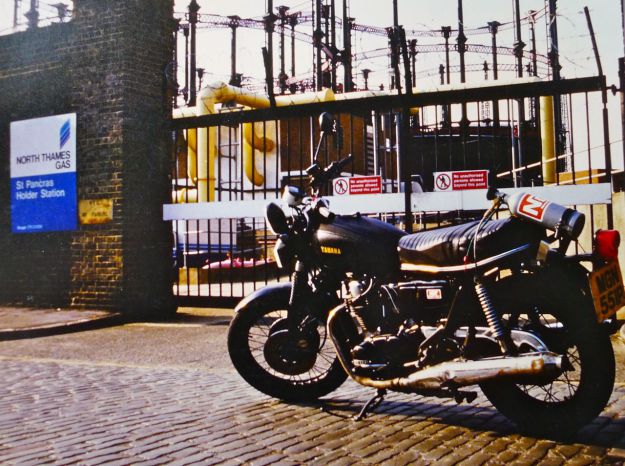
85-nitrox

In the Eighties when I squatted near here, ‘trendy’ + ‘Kings Cross’ were not recognised combination. This was probably the seediest corner of central London and the real thing with junkies, prostitution and porno studios – a far cry from quaint, touristy Soho.
One time we used the gas tanks as a backdrop for an article I’d written about a motorbike running on Nitrous Oxide or laughing gas. Fans of Mad Max will know about that. Mike Leigh’s High Hopes (1988) was filmed around the corner. Funnily enough, the story was about a lefty-slacker moto messenger, his woebegone mum and some pantomime-vile yuppies. Oh happy days!
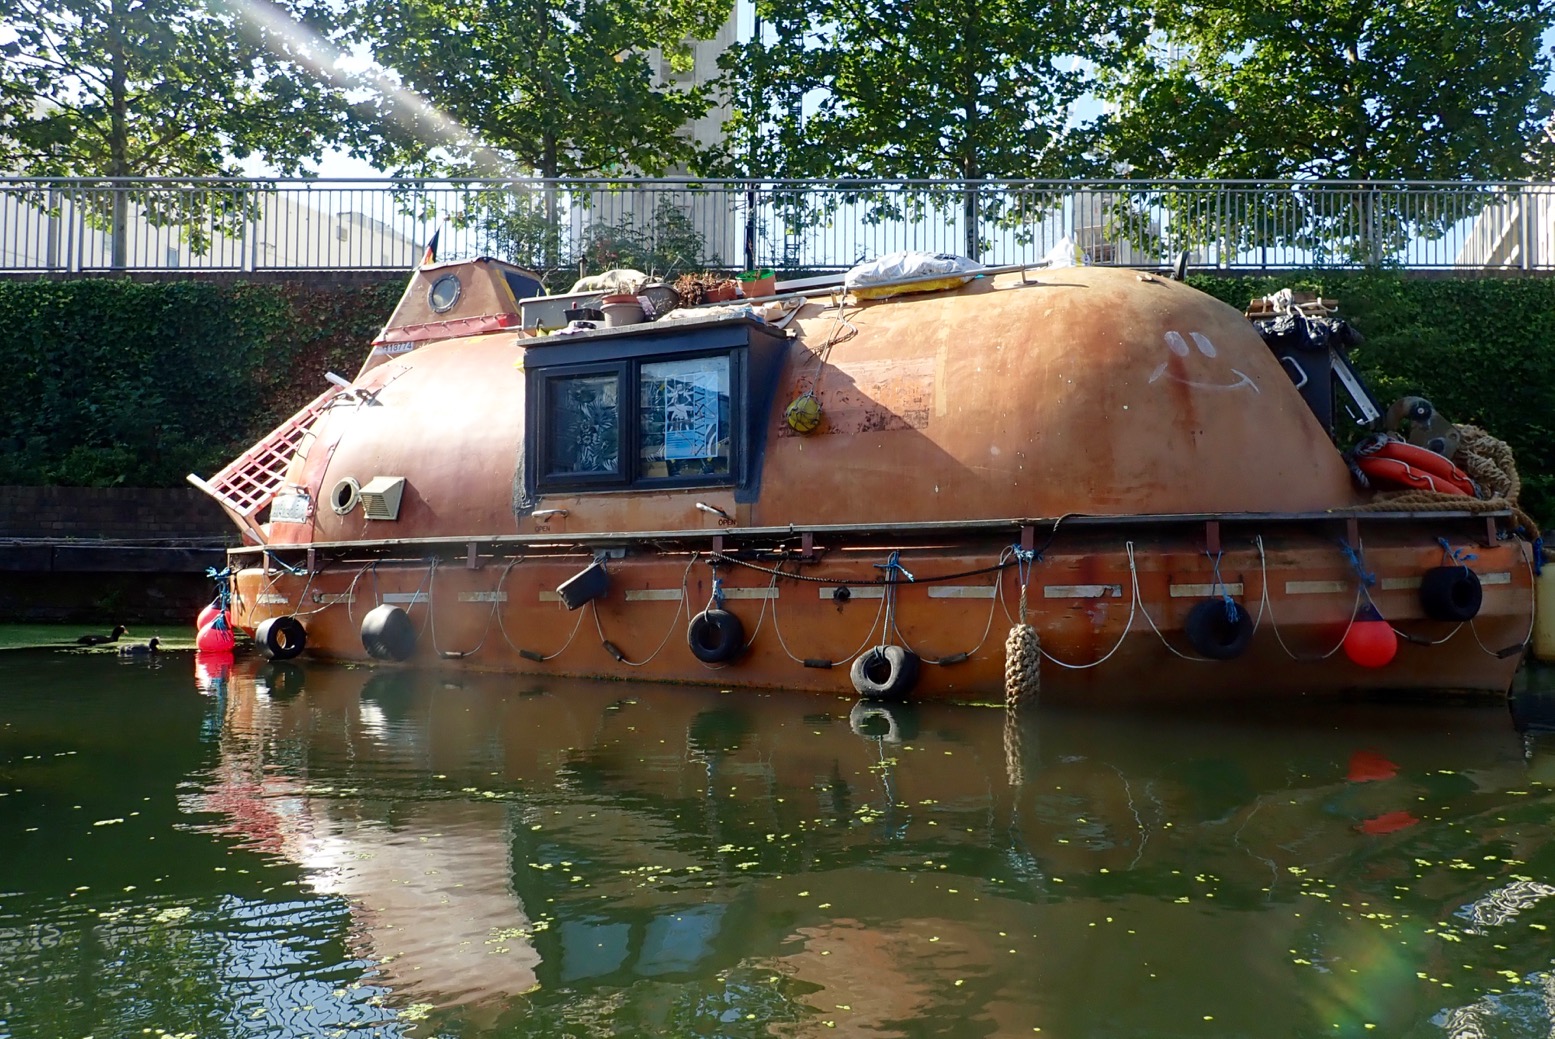
OLYMPUS DIGITAL CAMERA

A lifeboat houseboat. No worries about rising sea level or tsunamis here.

OLYMPUS DIGITAL CAMERA

The Word on the Water floating bookshop. I can’t quite square where I am with what lies around. I think back in my day it was all once a huge goods yard behind high walls. I swing into Battlebridge Basin but the museum isn’t open yet.
OLYMPUS DIGITAL CAMERA

iu-5

Up ahead is the 880-metre-long, Islington Tunnel. Again, as straight as a broomstick but closed to hand-powered boaters for similar reasons as Maida Hill. I was kind of hoping a barge might rock up and let me hook on for a lift, but the only things I’ve seen on the water are wildfowl, plastic bottles and Spirodela polyrhiza. The museum organises  boat tours through the tunnel two days a week. Maybe they’d agree to some slipstreaming.
OLYMPUS DIGITAL CAMERA

I read that the portage follows helpful plaques set in the pavement. Cross the A1, Upper Street and head for Duncan St. It’s about a kilometre and would be somewhat of an arseache in a hardshell. Either way, I emerge at the eastern portal…
OLYMPUS DIGITAL CAMERA

… and in need of a waterside snack at City Road Lock. It’s only 9.30.

OLYMPUS DIGITAL CAMERA

By 10am I’m refreshed and on the move again. I put back in below the lock with a plop.
OLYMPUS DIGITAL CAMERA

The canal turns north into Haggerston where, just after the Whitmore Road bridge, there’s a handy knot of cafes on the left. A better choice than City Lock if you want more than coffee and cake. It’s all yummy mummies round here, not the snarling, bottle-throwing punks I’d feared.
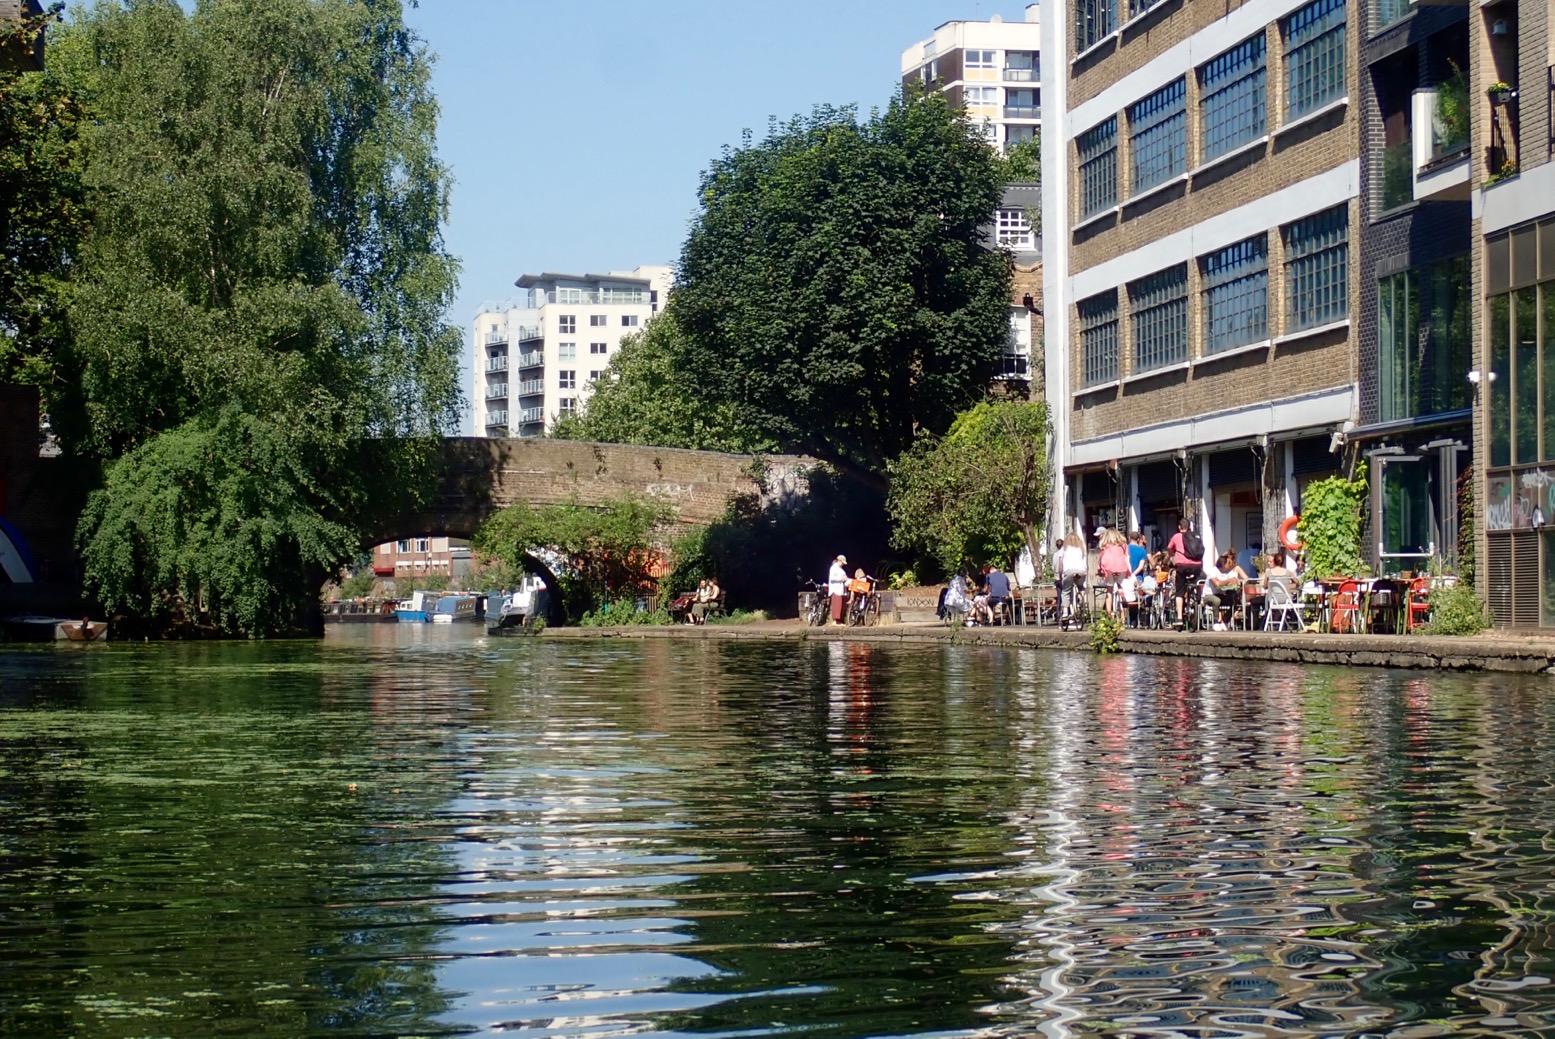
OLYMPUS DIGITAL CAMERA

Kingsland Basin to the north, with a somewhat baffling kayak slalom course. Soon you pass under the Kingsland Road bridge, edging ever closer to south Hackney. or ‘Acne’ as some call it.
OLYMPUS DIGITAL CAMERA

The canal is actually about 4 feet deep. near here I can see traffic cones and other junk on the bottom. But a prod with the paddle reveals two centuries of anaerobic silt, so don’t expect to be able to stand if you fall in.

OLYMPUS DIGITAL CAMERA

A populist ambush. These Eastenders are such wags.

OLYMPUS DIGITAL CAMERA

Swan narcissus. There’s a fairy tale in there somewhere, a swan that fell in love with its image and was turned into an ugly duckling.

OLYMPUS DIGITAL CAMERA

Another trickling spillway below a lock. I’ve lost track where.

OLYMPUS DIGITAL CAMERA

Nosferatu guarding someone’s tent. Sure beats a shopfront on the Strand.

OLYMPUS DIGITAL CAMERA

More gas holders near Cambridge Heath Road. You always find them near canals as the huge tanks need to float on water.
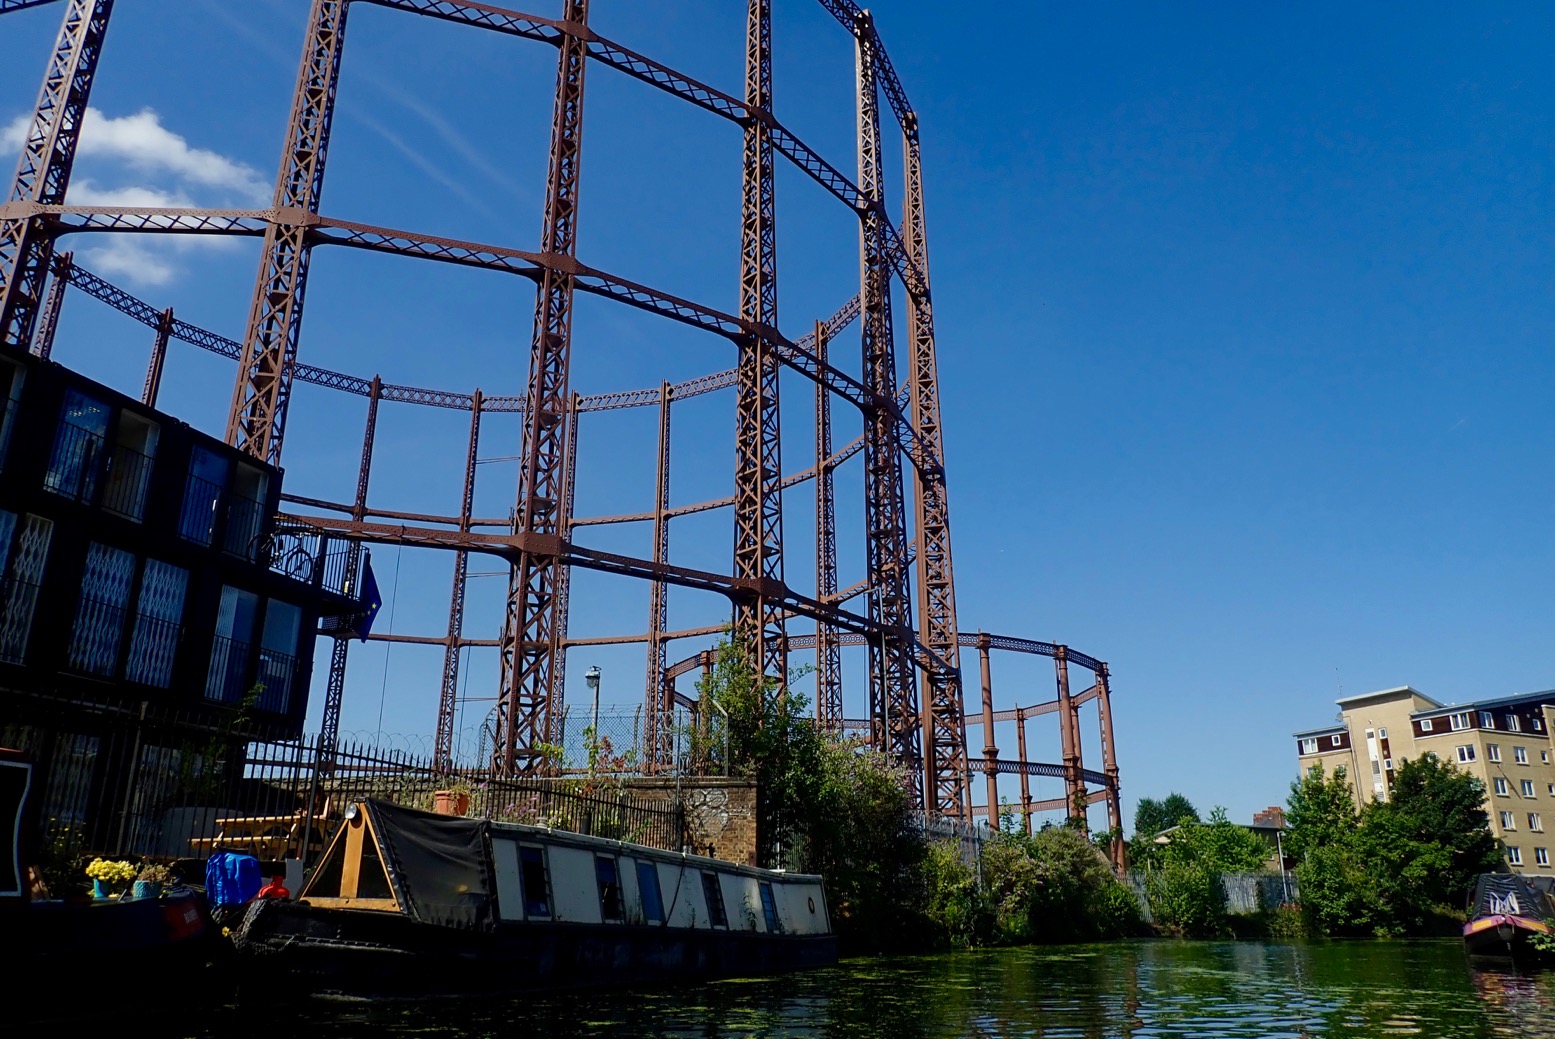
OLYMPUS DIGITAL CAMERA

They’re actually like an upside-down cup resting buoyant on water and are as much about producing an even pressure as storage. Gas from a nearby factory is pumped in to the cavity above the water depending on demand, and the weight of the lid keeps the low pressure steady as it’s released out into the network (in an era before regulators).

New graffiti; 28-speed revolutions.

OLYMPUS DIGITAL CAMERA

It’s that Nosferatu again. You just can’t get rid of him.

OLYMPUS DIGITAL CAMERA

I’m approaching Victoria Park near Bethnal Green or South Hackney, it’s hard to tell. The precise name of your neighbourhood is very important to Londonders.

OLYMPUS DIGITAL CAMERA

By Old Ford Lock (named after a car they dredged out of the canal in 1981) are the first canalside public toilets I’ve seen. Good to know. A nutty, bin-rummaging vagabond in a top hat has a quick chat and warns me of heavy weed ahead.
OLYMPUS DIGITAL CAMERA

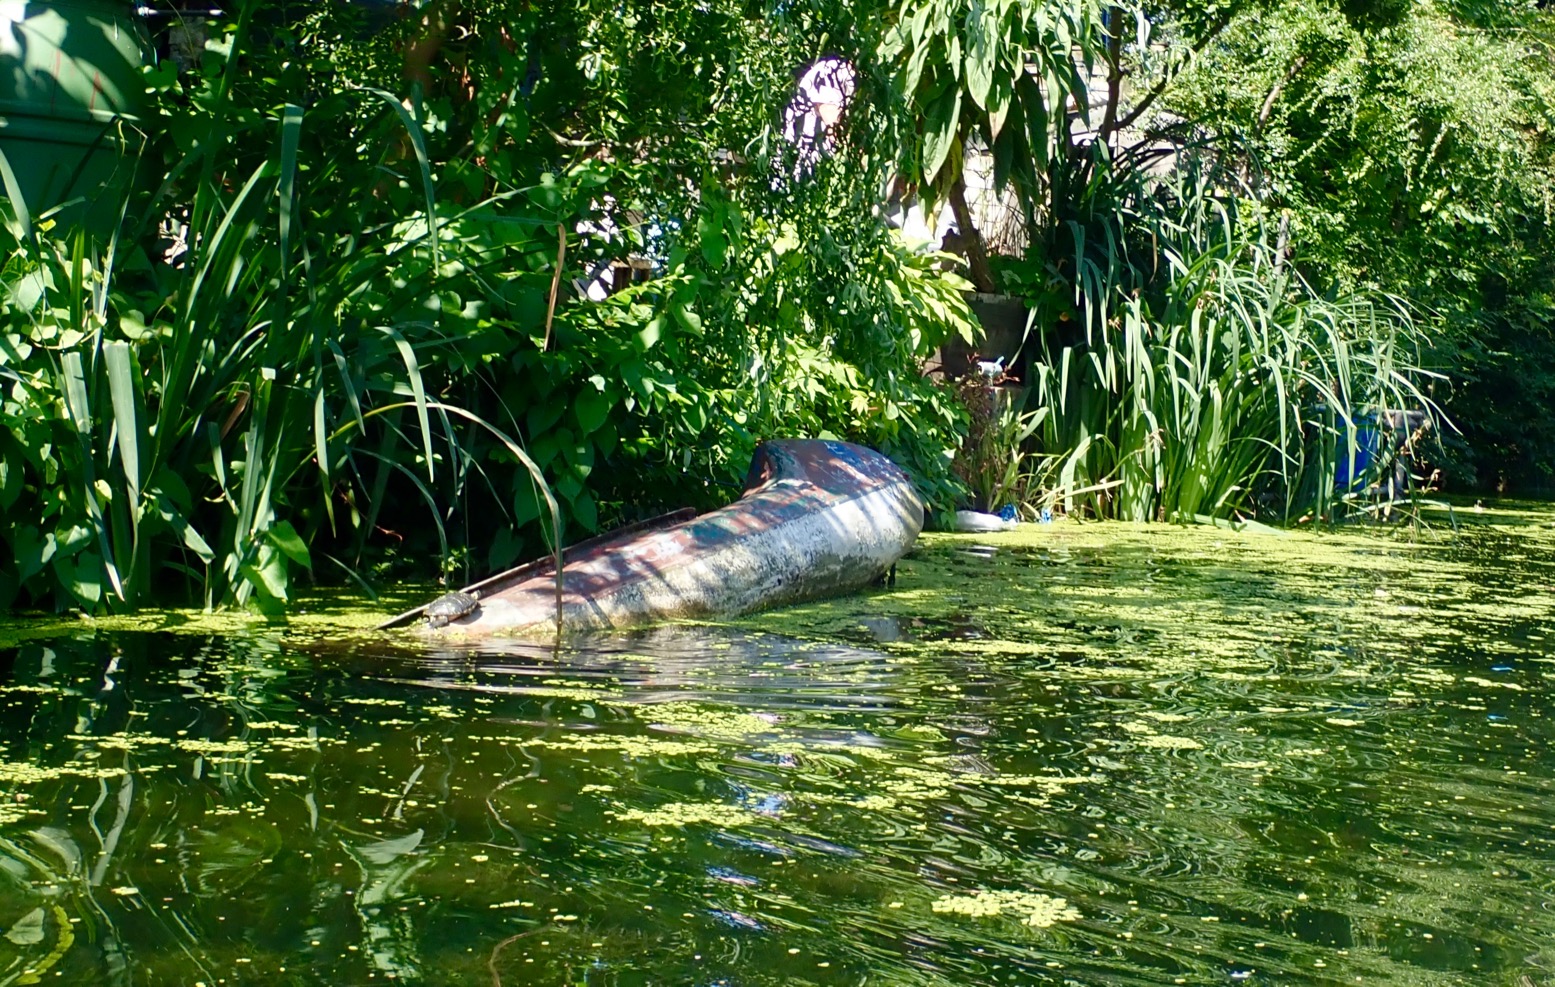
Is that a real turtle on the sunken kayak or a rubbery Hacknean joke?
OLYMPUS DIGITAL CAMERA

On the left the Hereford Union which leads two clicks up to the Olympic Park and the River Lee Navigation. We’ll be exploring there shortly.
OLYMPUS DIGITAL CAMERA

More of yer Acne ‘umour?  Someone report these ratbags to the CRT, pronto! You won’t see such frivolity in la-di-da Little Venice.
OLYMPUS DIGITAL CAMERA

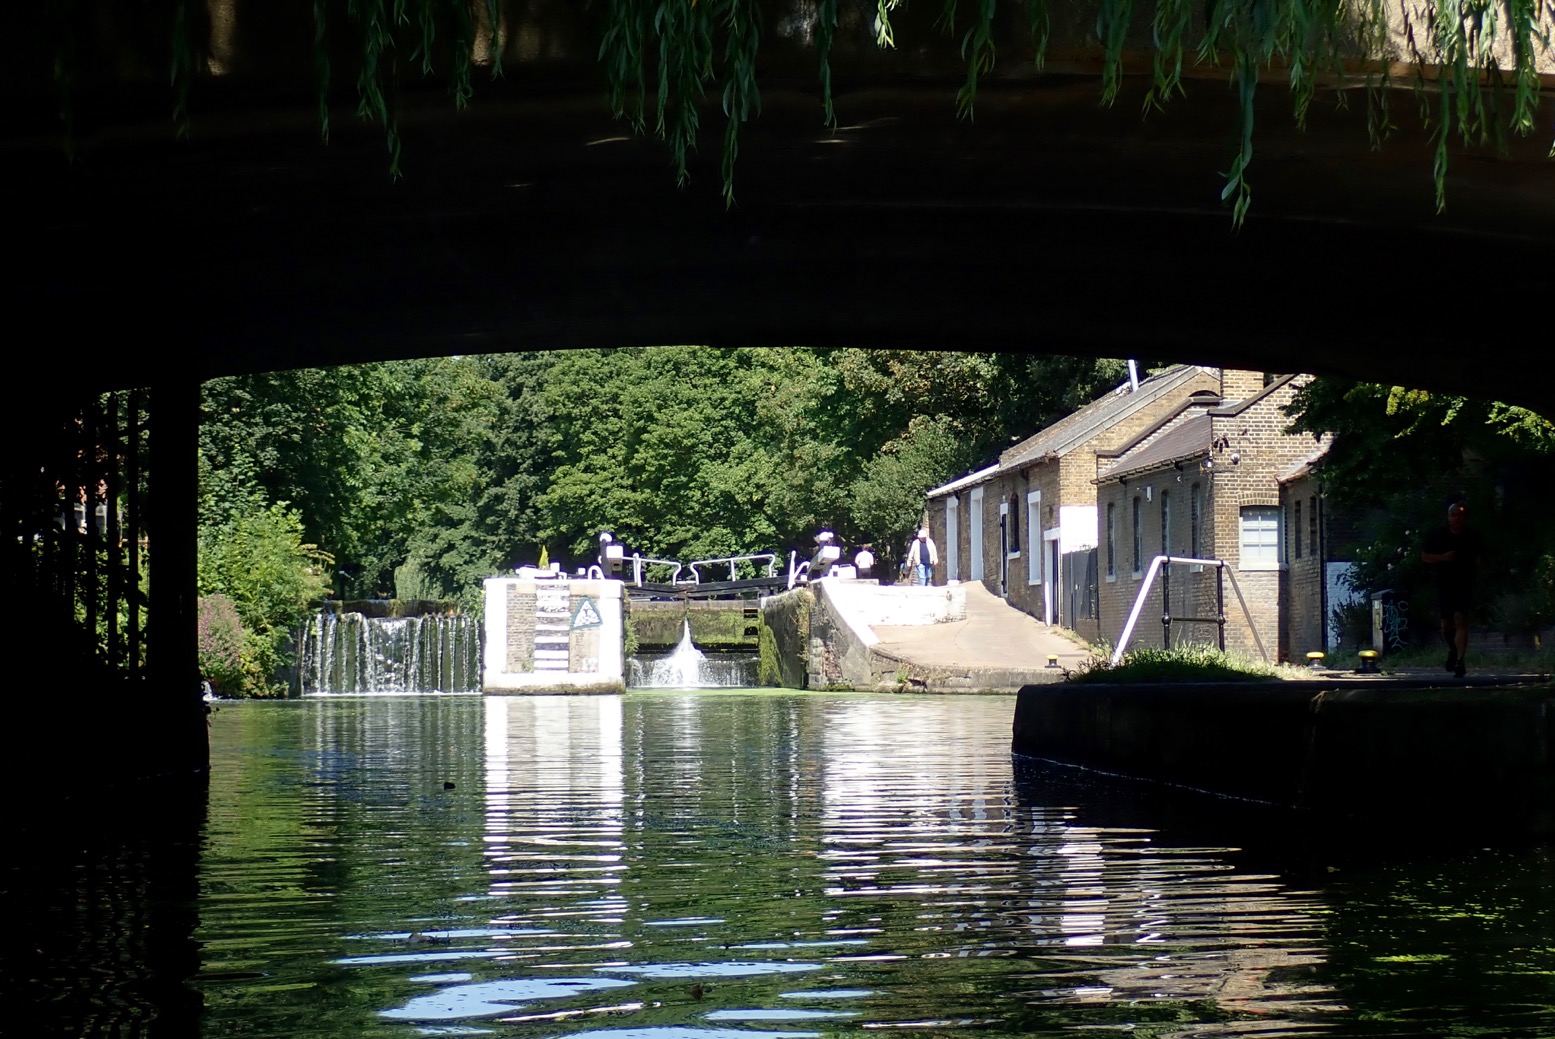
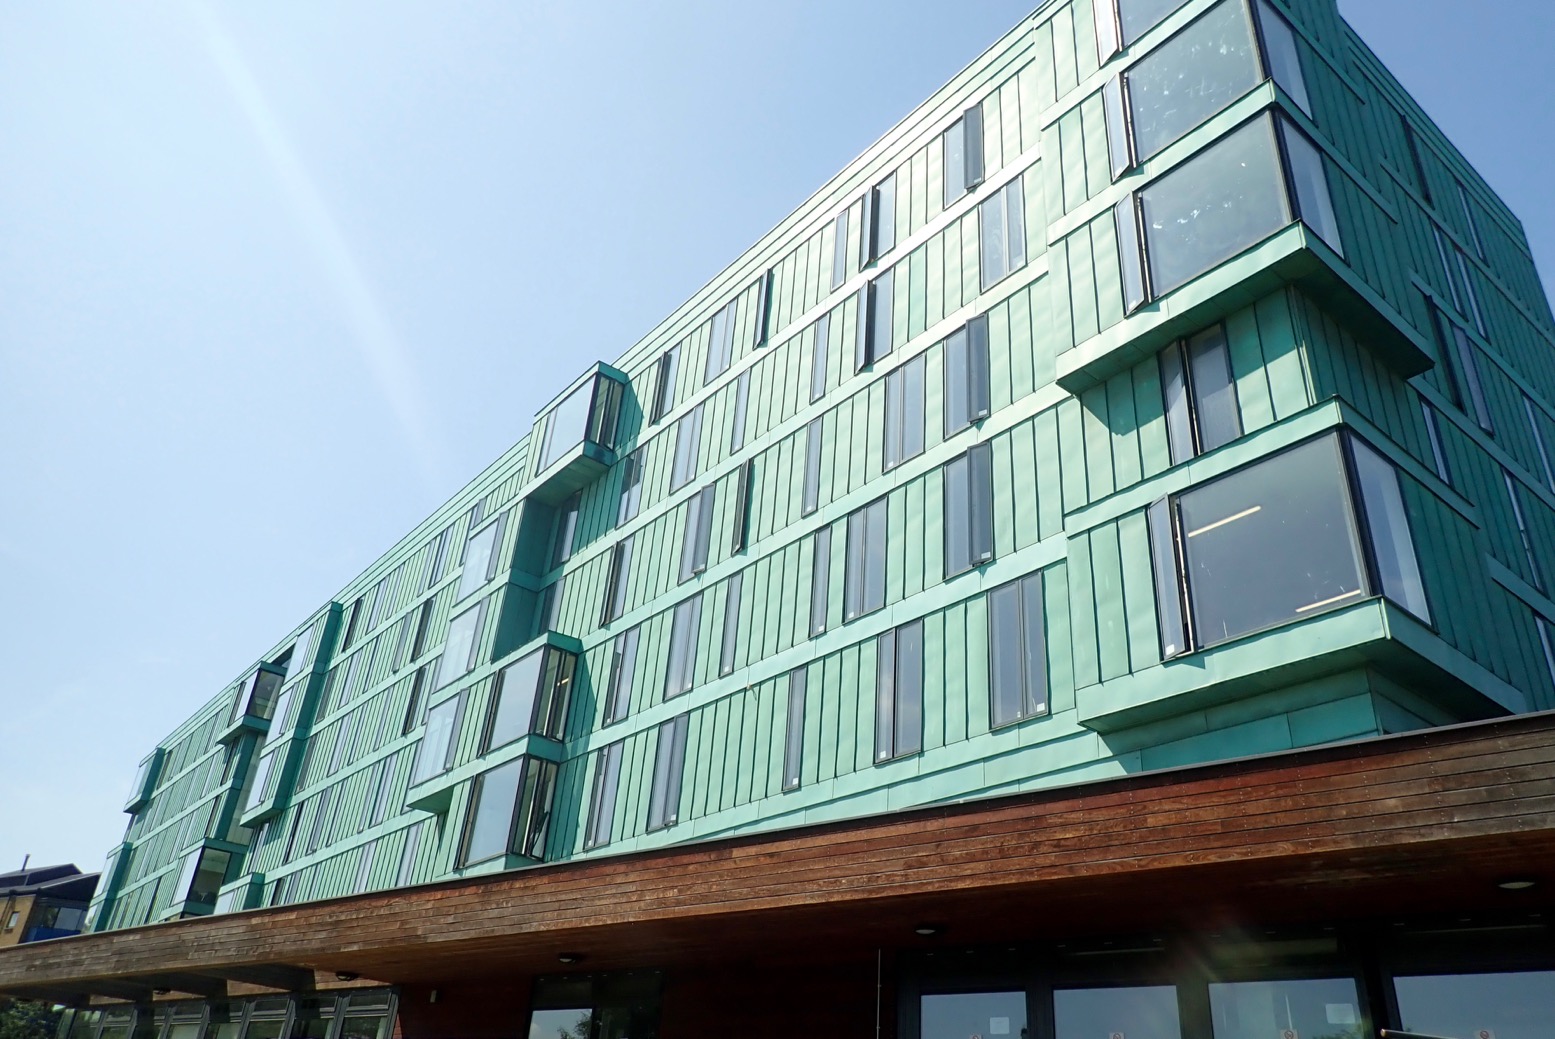
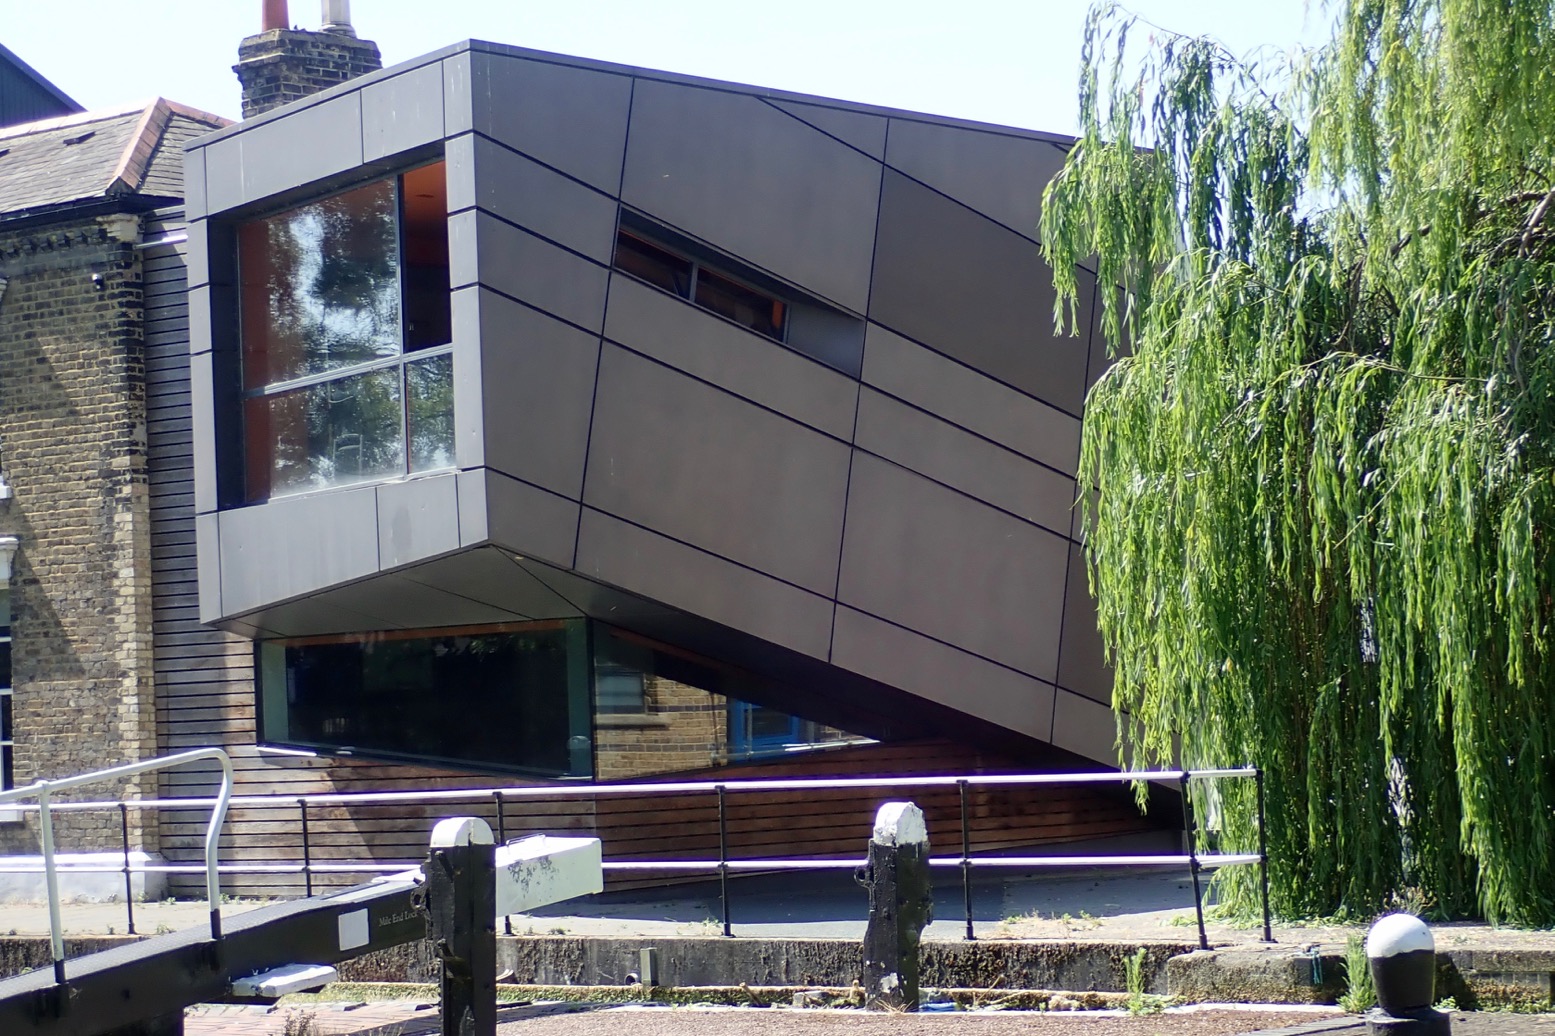
Architecture-spotting: new, old, industrial, domestic, elegant, ugly – is all part of the fun on the Regents.
OLYMPUS DIGITAL CAMERAOLYMPUS DIGITAL CAMERA

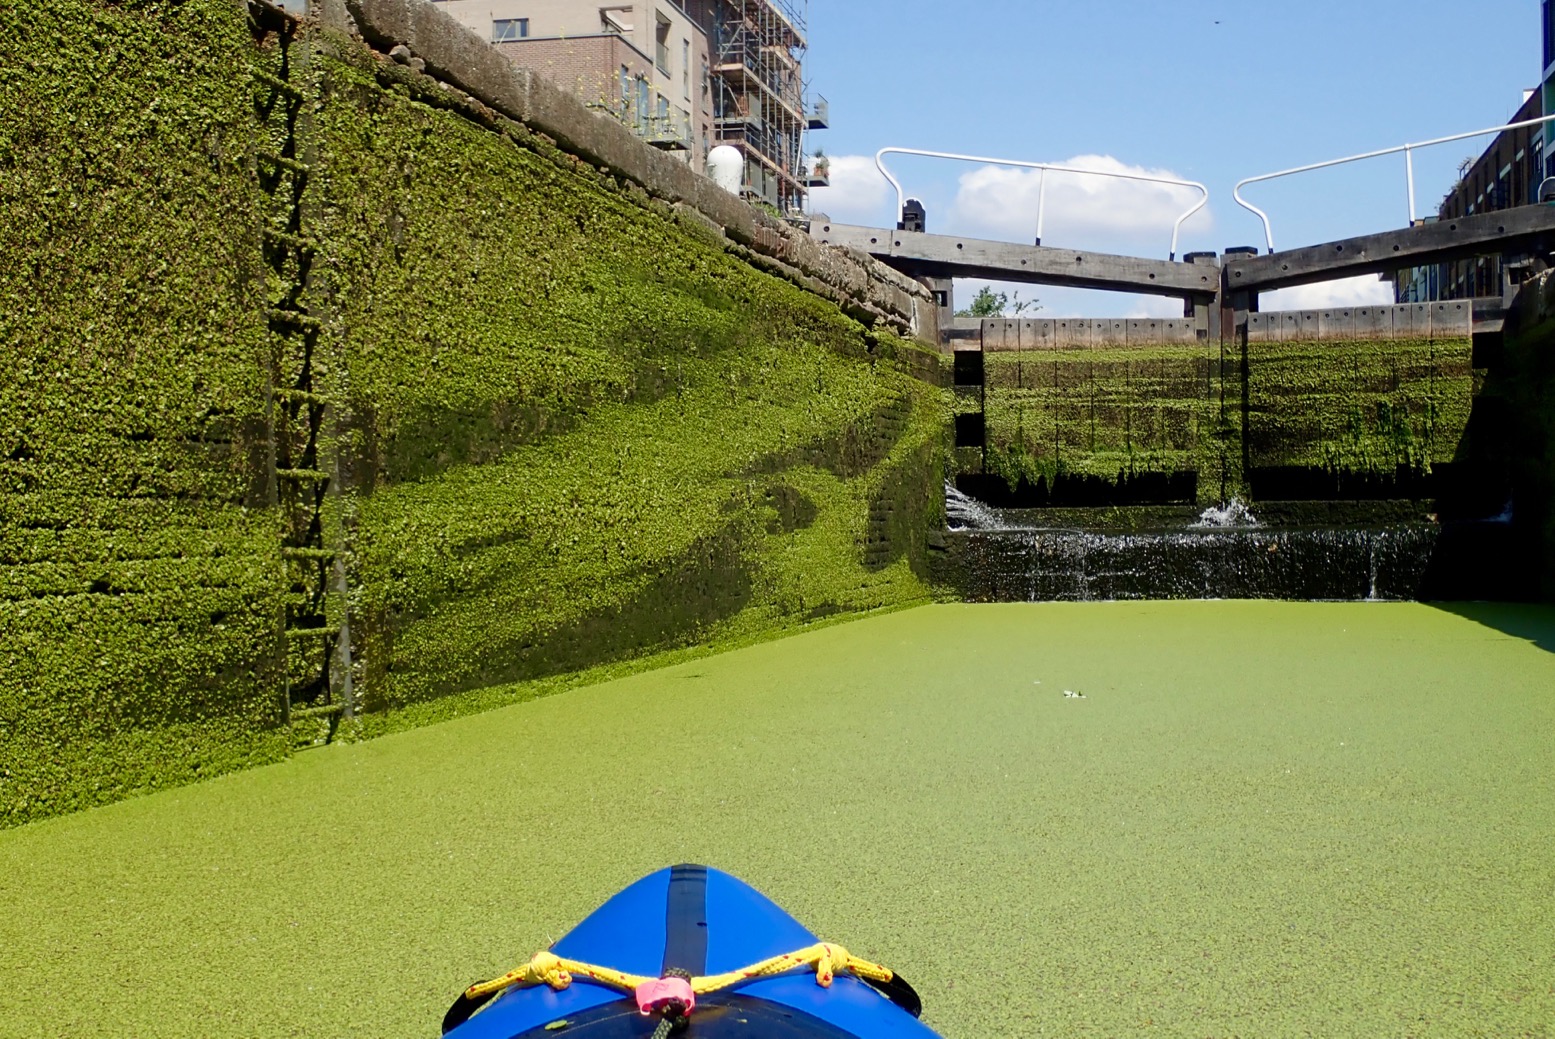
I probe a weed-clad lock. Locks are creepy places.
OLYMPUS DIGITAL CAMERA

Canary Wharf ahead – the former Docklands of London which was the Regents’ very raison d’etre.

OLYMPUS DIGITAL CAMERA

And here we are at Limehouse Basin and the first actual moving boat I’ve seen since Paddington.OLYMPUS DIGITAL CAMERAOLYMPUS DIGITAL CAMERA

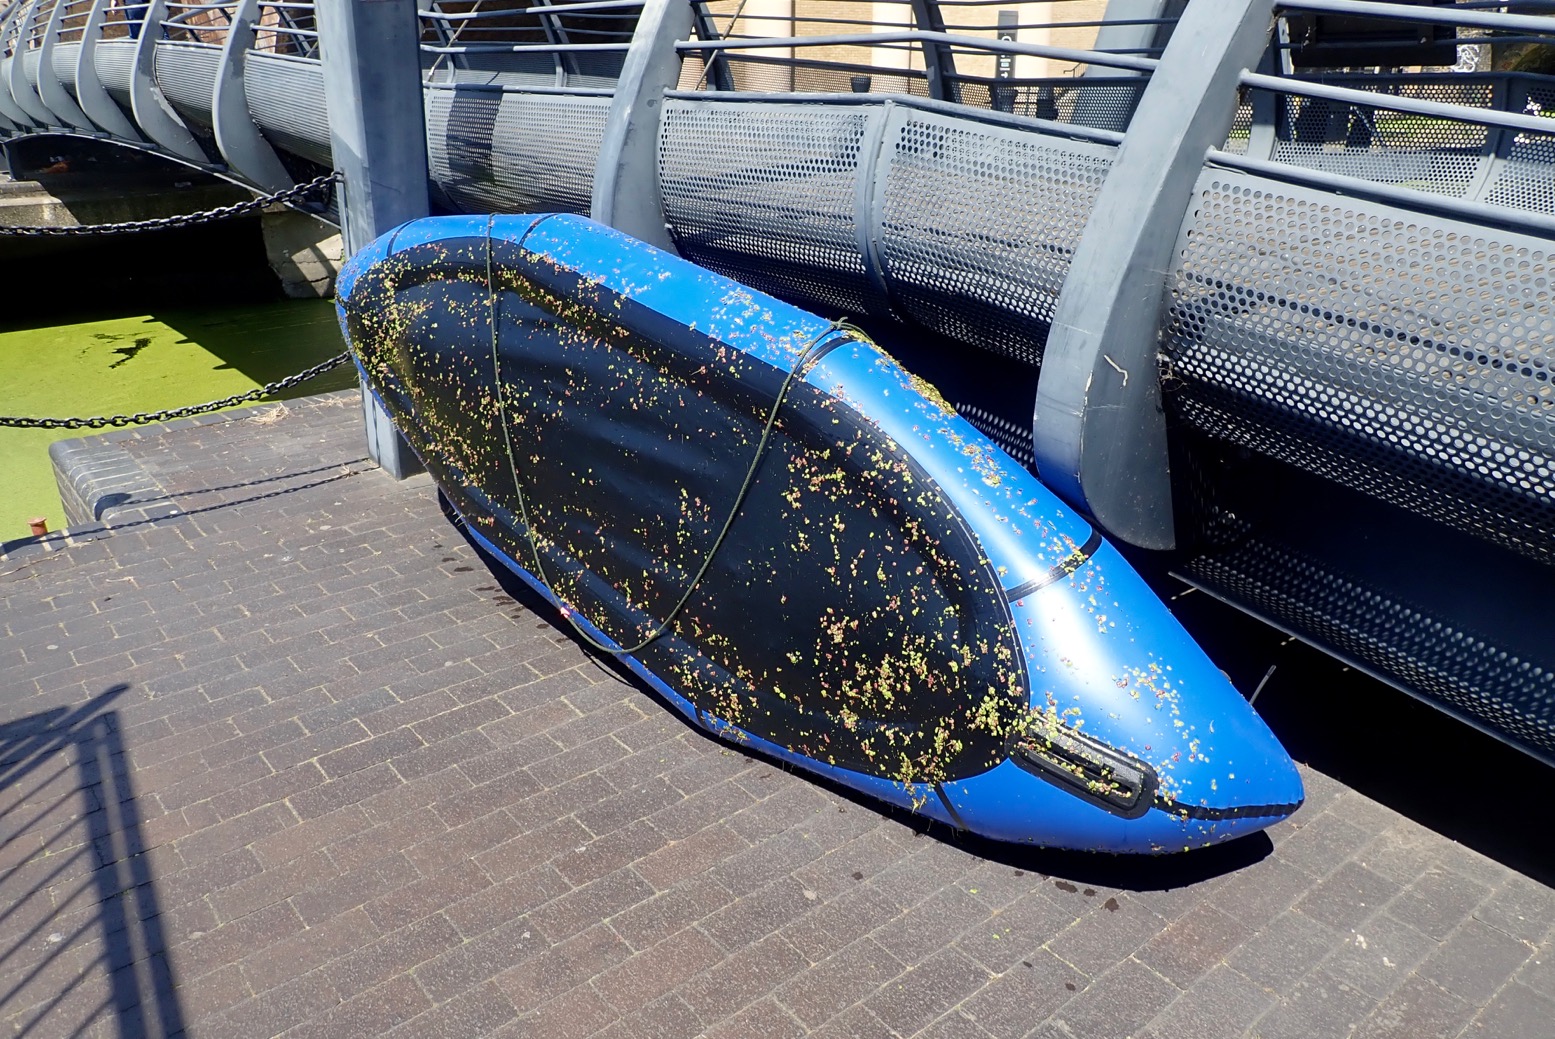
A lot of weed to clean off.

OLYMPUS DIGITAL CAMERA

All wiped down and rolled up.

OLYMPUS DIGITAL CAMERA

I set off to walk upstream along the Thames for a bit.
OLYMPUS DIGITAL CAMERA

The river looks really quite choppy and a strong spring tide shoves an abandoned kayak upstream towards Wapping.

OLYMPUS DIGITAL CAMERA

Bored [sic] as a coot? Not on the Regents Canal!

Thanks for reading.

OLYMPUS DIGITAL CAMERA
Want to head back and beyond. Watch this series of vids from The Londonistas

Tested: Anfibio DeckPack

See also: Packraft Deckbags

In a Line
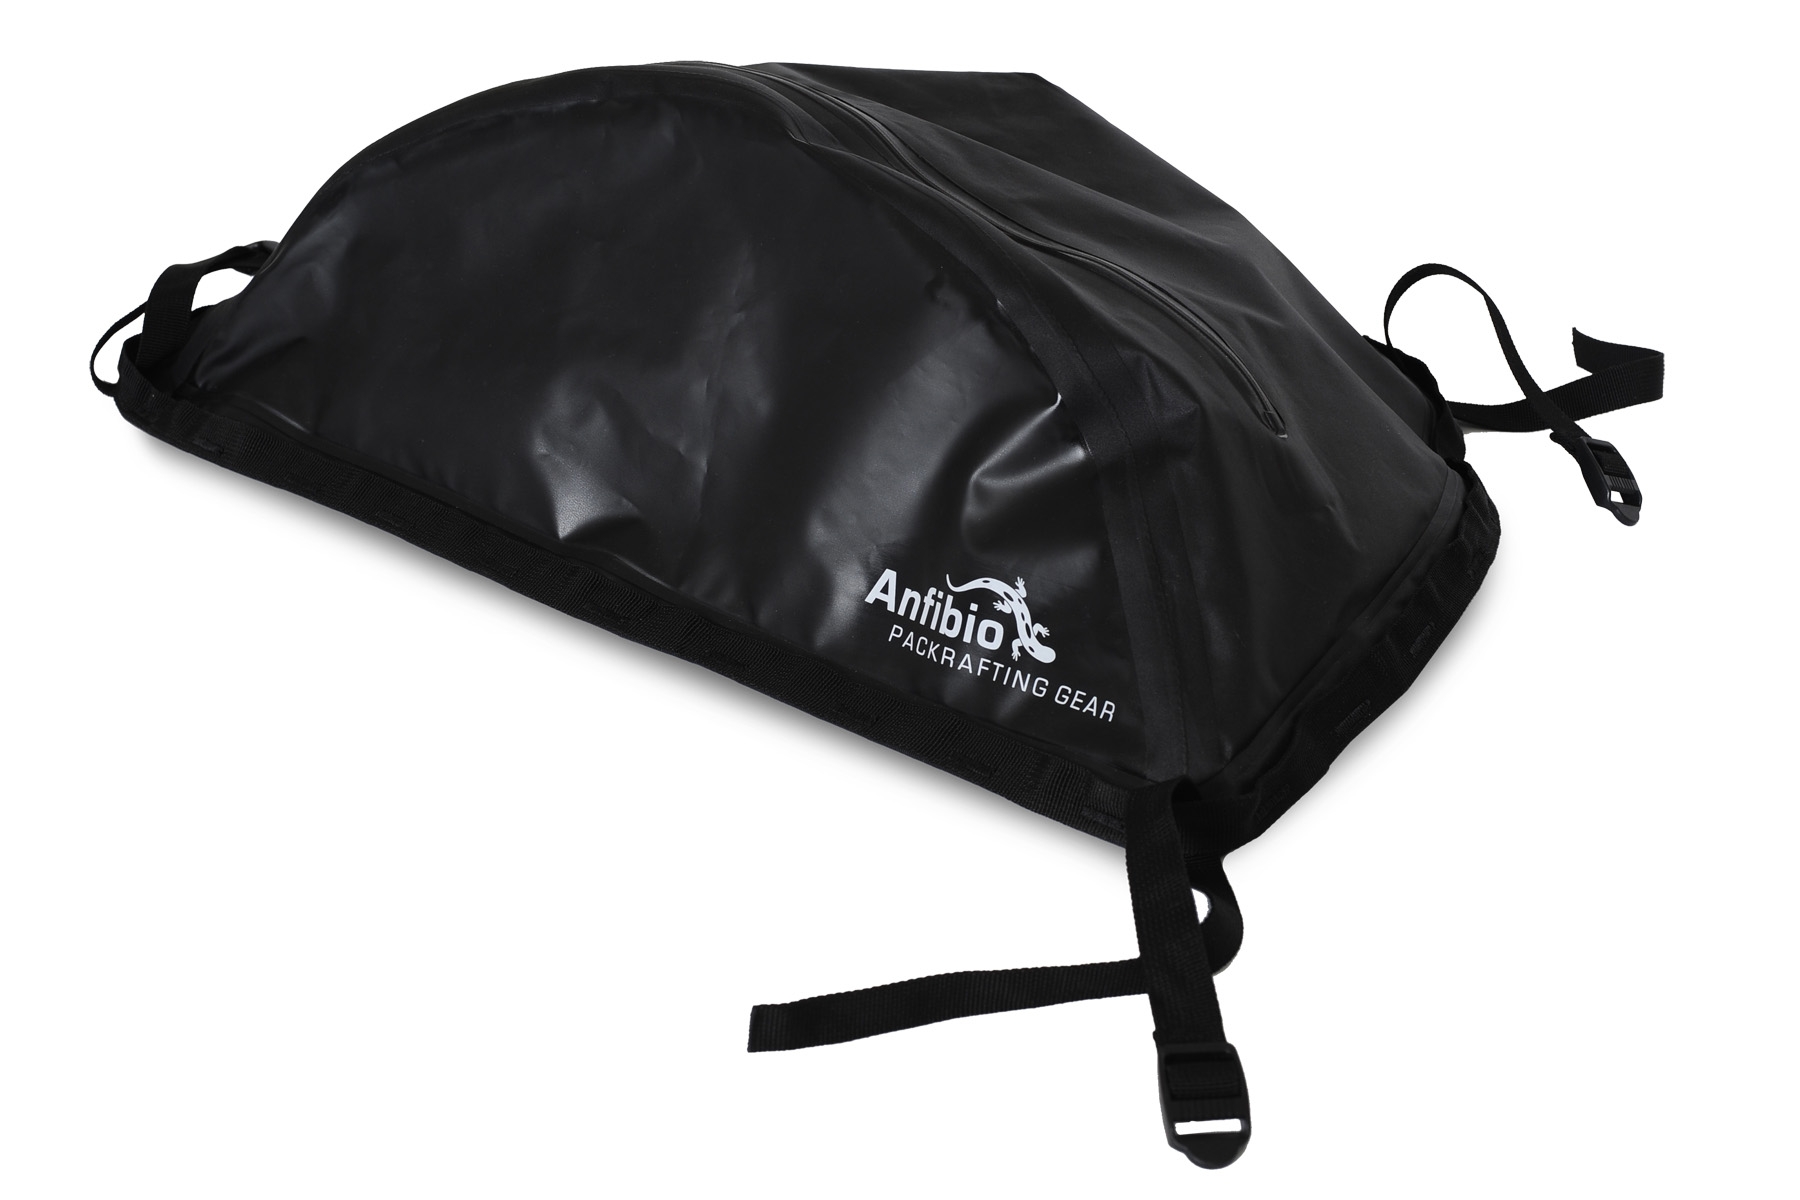
Easily fitted, low-profile 22-litre bag with waterproof zip and works off the boat as a shoulder bag too.

Cost: 99 euro from Anfibio Packrafting Store (supplied free for editorial work)

Weight, Size & Volume
Bag: 224g; straps 11g each (verified)
59cm wide, 43 cm long and ~15 high when full. Volume: 22 litres.

Where tested
Northwest Scotland, Medway, Knoydart, Jurassic Coast

• Waterproof construction including IPX7 zip 
• Light
• Variety of attachment options, providing you have the mounts
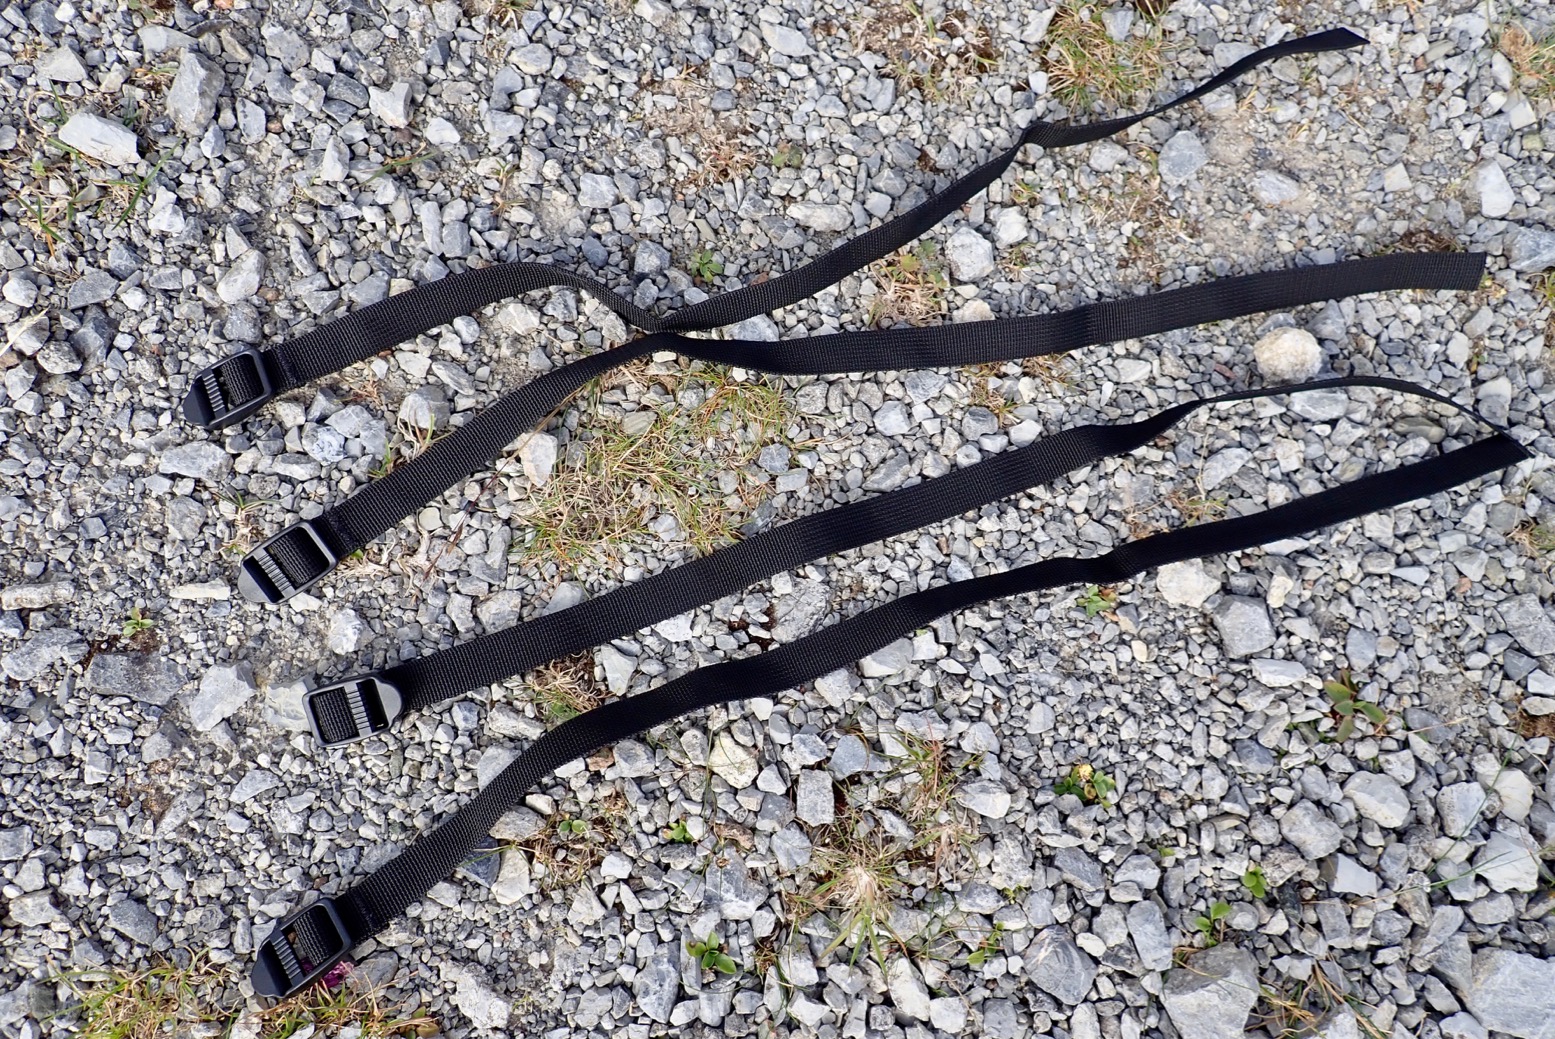
• Four 58-cm straps included
• Works great on the trail as a shoulder bag too
• Handy Molle rim tapes
• You can easily tuck a once-folded WindPaddle underneath or even inside

• On the bow of my Nomad was a bit of to reach; better on the Rebel 2K and TXL
• Not convinced it works well as a floor bag
• Won’t stay up to be a pillow
• A white interior and external mesh pocket would be really good
• Drop the straps and use reusable zip ties – quicker and easier


What they say
Waterproof zippered packraft bow or stern bag for easily accessible essentials on the water. Fits any Packrafts (and a lot of other boats) by full perimeter daisy chain (for variable fastening).
With the Anfibio DeckPack you can transport your essentials safely and securely in all conditions. Splash-sensitive valuables like a camera, keys or documents as well as emergency equipment and spare clothing are always at hand on the bow, the stern or on the floor beneath your knees. The DeckPack can also be quickly converted into a daypack for excursions on land or the use as hand luggage on your journey.


One great side benefit of a DeckPack is that a WindPaddle sail easily folds down and half tucks under the bag securely in seconds. A paddle can also tuck in under the bag securely while sailing.
Review
The problem with packrafts is there’s nowhere to put your stuff other than the bag it comes in, usually a backpack. I wrote more about it here, before making my own small Pakbag.

Otherwise, I like a 20-30L holdall, like my old Watershed Chattooga, or my current Ortlieb Travel Zip (right) with a handier TiZip and mesh-zip external pockets. These bags sit accessibly, but out of the way, under my knees, and on previous packrafts attached to a tab mount glued to the floor for when you flip.

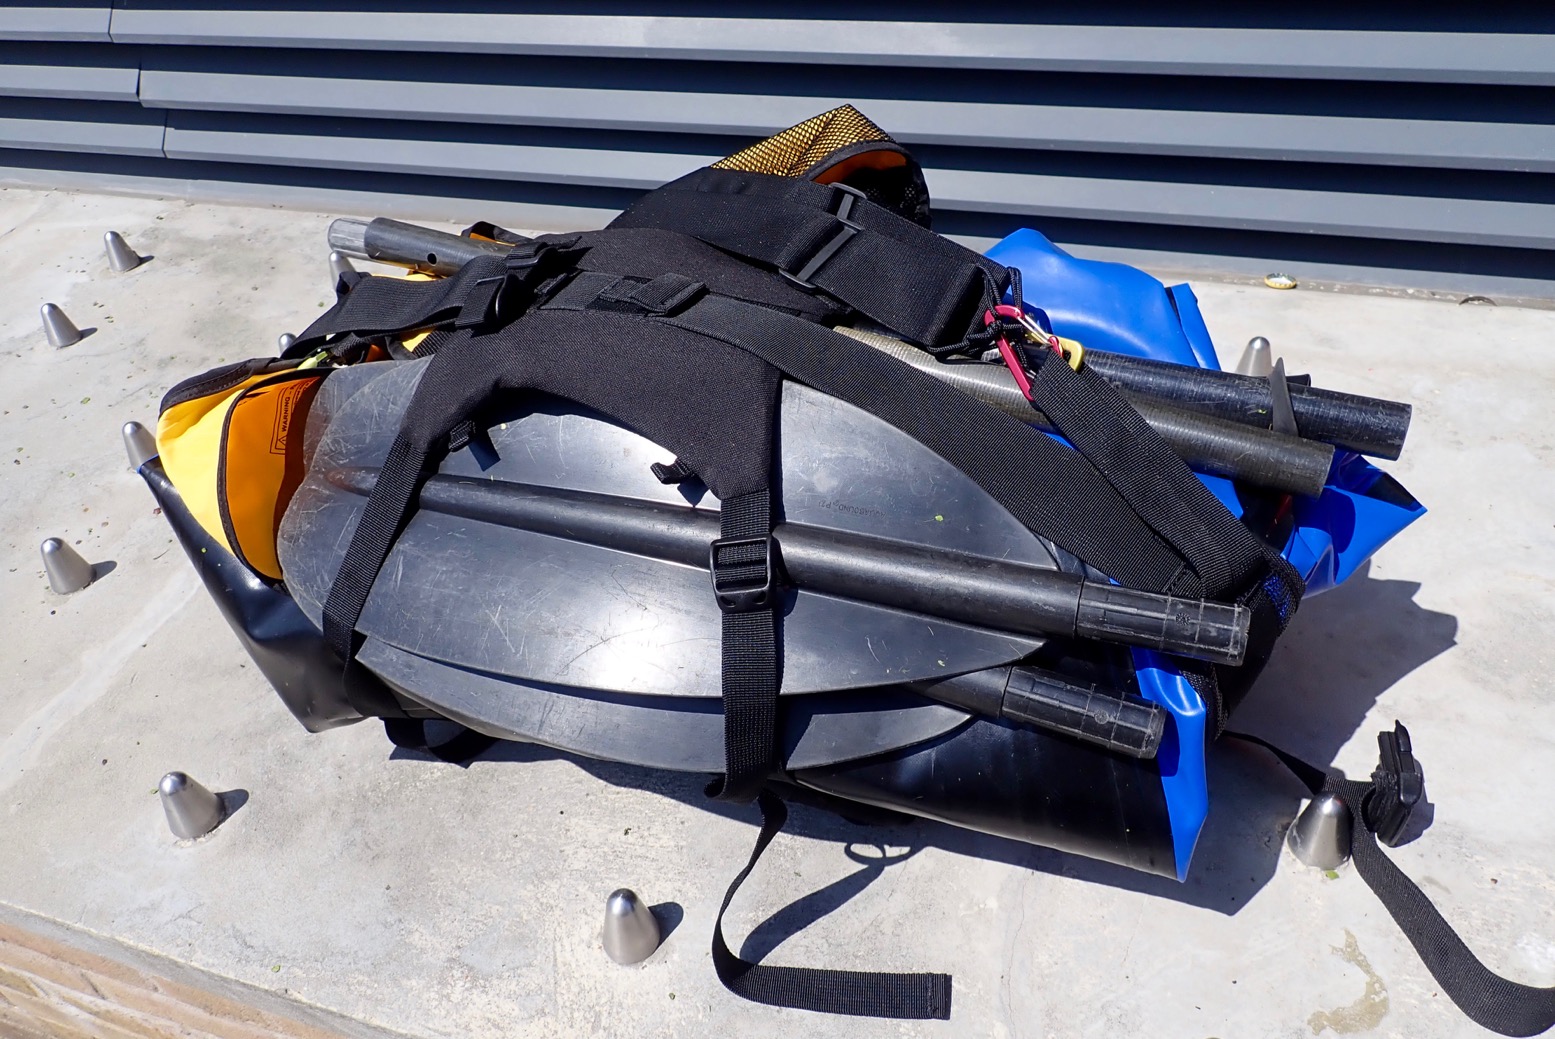
Anfibio’s DeckPack is another way of doing it. It resembles Alpacka’s larger, 24-litre Bow Bag but costs 25% less at current $/€ rates. It’s a vaguely semi-circular, PU-coated bag of around 22 litres which, unlike the Bow Bag, has a perimeter of daisy-chains (continuous attachment loops, a bit like Molle). It fits most obviously on a packraft’s bow, as this is where most packrafts have four tabs and where the weight trims the boat best. But you could as easily mount it on flatter sterns (as on my Nomad) if you already have a big backpack up front. Anfibio also suggest it can go inside on the floor too. Using the supplied straps, I’ve also used the pack as a shoulder bag while on the trail.

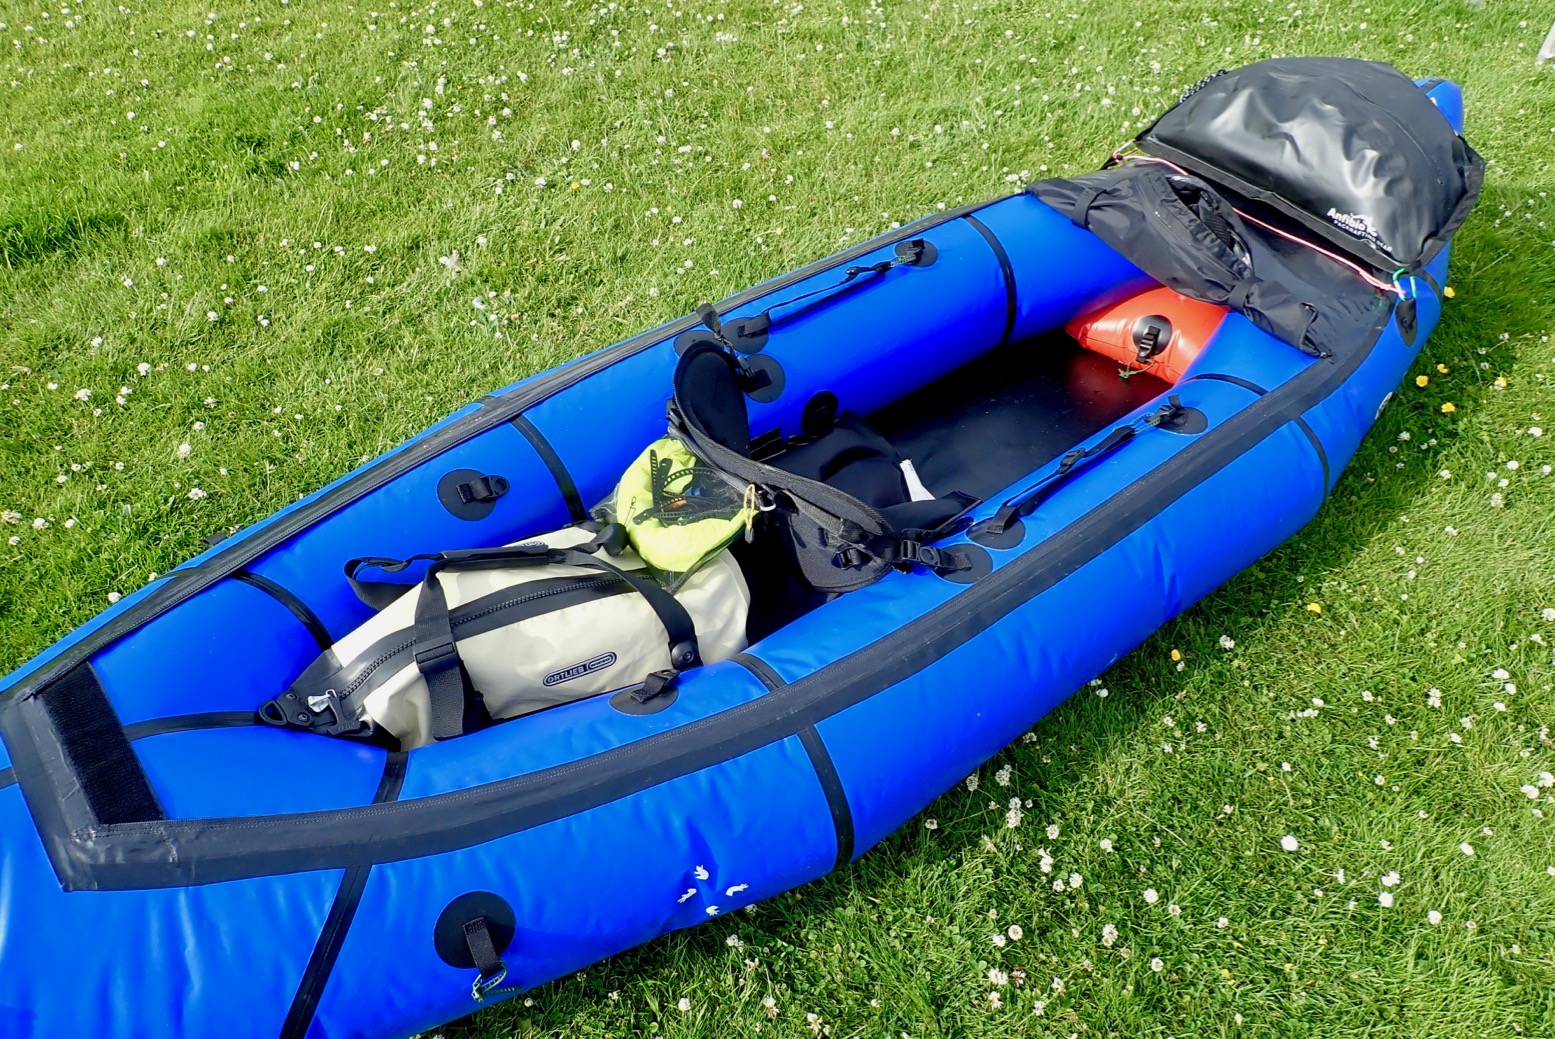
On my Nomad it just so happened the bow mounting tabs where just right to fit the bag without using the supplied straps. Reusable zip ties (below) are best. But mounted on the bow it was a bit of a reach on my Nomad unless I shuffled off the seat.

In fact there were enough hull mounts on my Nomad to position it further back (above right) using two front straps. Here it acts as a splash guard extension and was much more accessible on the water without making getting in and out too awkward.

Another very handy aspect of a DeckPack is that a mounted WindPaddle (left) or similar can be quickly folded in half and tucked under the bag out of the way when you’re setting off or need to change direction and start paddling. In strong winds this stashing of the sail is an important thing to be able to do easily and quickly; without a deck you can jam it under your knees, but with a deck the DeckPack or similar enables reliable stashing. Then, when you’re ready to sail again, you just pull out the sail and it’s up in a jiffy.

I submerged the DeckPack in the bath and, pushed underwater (ie: under some pressure) air bubbles slowly leaked out via the zip head. But Anfibio tell me:

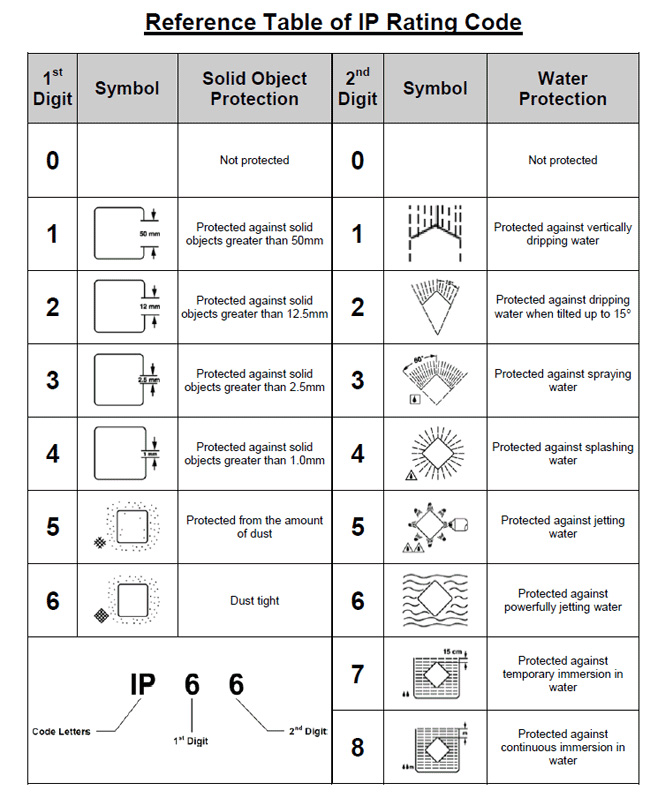
Please note, the zipper is one-way air penetrable, that means it will release air to the outside under some pressure along the zip, not only the head, but it remains watertight. It is actually rated IPX7. Under any circumstances, it can withstand submersion.

Without pressure, there may be no leakage and so the DeckPack doubles as a secondary buoyancy aid – always reassuring on single-chamber packrafts.

Once I realised it would work well on the IK, I ended up liking the Anfibio DeckPack a bit more than I expected, but here are a couple of suggestions:
• Drop the price and make the straps (right) optional. Most paddlers will have their own mounting means or ideas. I use four reusable zip ties.

OLYMPUS DIGITAL CAMERA

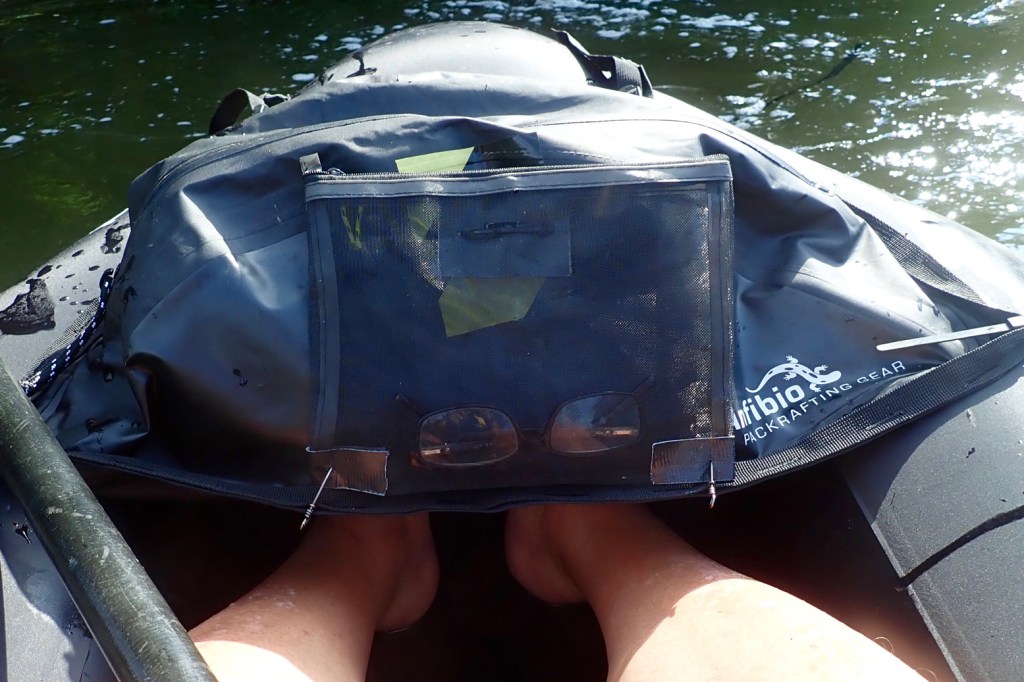
• A curved, meshed exterior zip pocket would be really handy for knick-knacks or having a GPS in a readable position. Or, run a line of daily-chains alongside the main zip, so you can DIY a mesh pocket to the outside without interfering with the main zip or bodging as I have done (left). It would make the DeckPack even more versatile and save over-working the waterproof zip to access stuff while on the water.


MYO Seatback Mesh Pouch
As mentioned above, zipped mesh pouches on exterior surfaces are dead handy. You can put stuff in them, they drain or dry fast and they enable handy access without digging into a main bag. It’s one of the things I like on my Ortlieb Travel Zip.

On eBay I found 9″ x 7″ zip mesh pouches for makeup at about 3 quid each and quite well made. I zip-tied one around the side hem to the buckles on the back of my packraft’s foam backrest (above and below). It’s a handy place to stash the inflation bag, some cord, snaplinks, zip ties and the top-up adapter for my K-Pump. I even fitted one to my Anfibio DeckPack.

DeckPack as shoulder bag

Tested: Anfibio Fly ultralight paddle

Paddles for packboats

anfibiologo
OLYMPUS DIGITAL CAMERA

In a line: Cheap, light and fully adjustable but may have too much flex for heavier paddlers/ boats or against headwinds

Cost: 99 euro from Anfibio Packrafting Store (supplied free for editorial work)

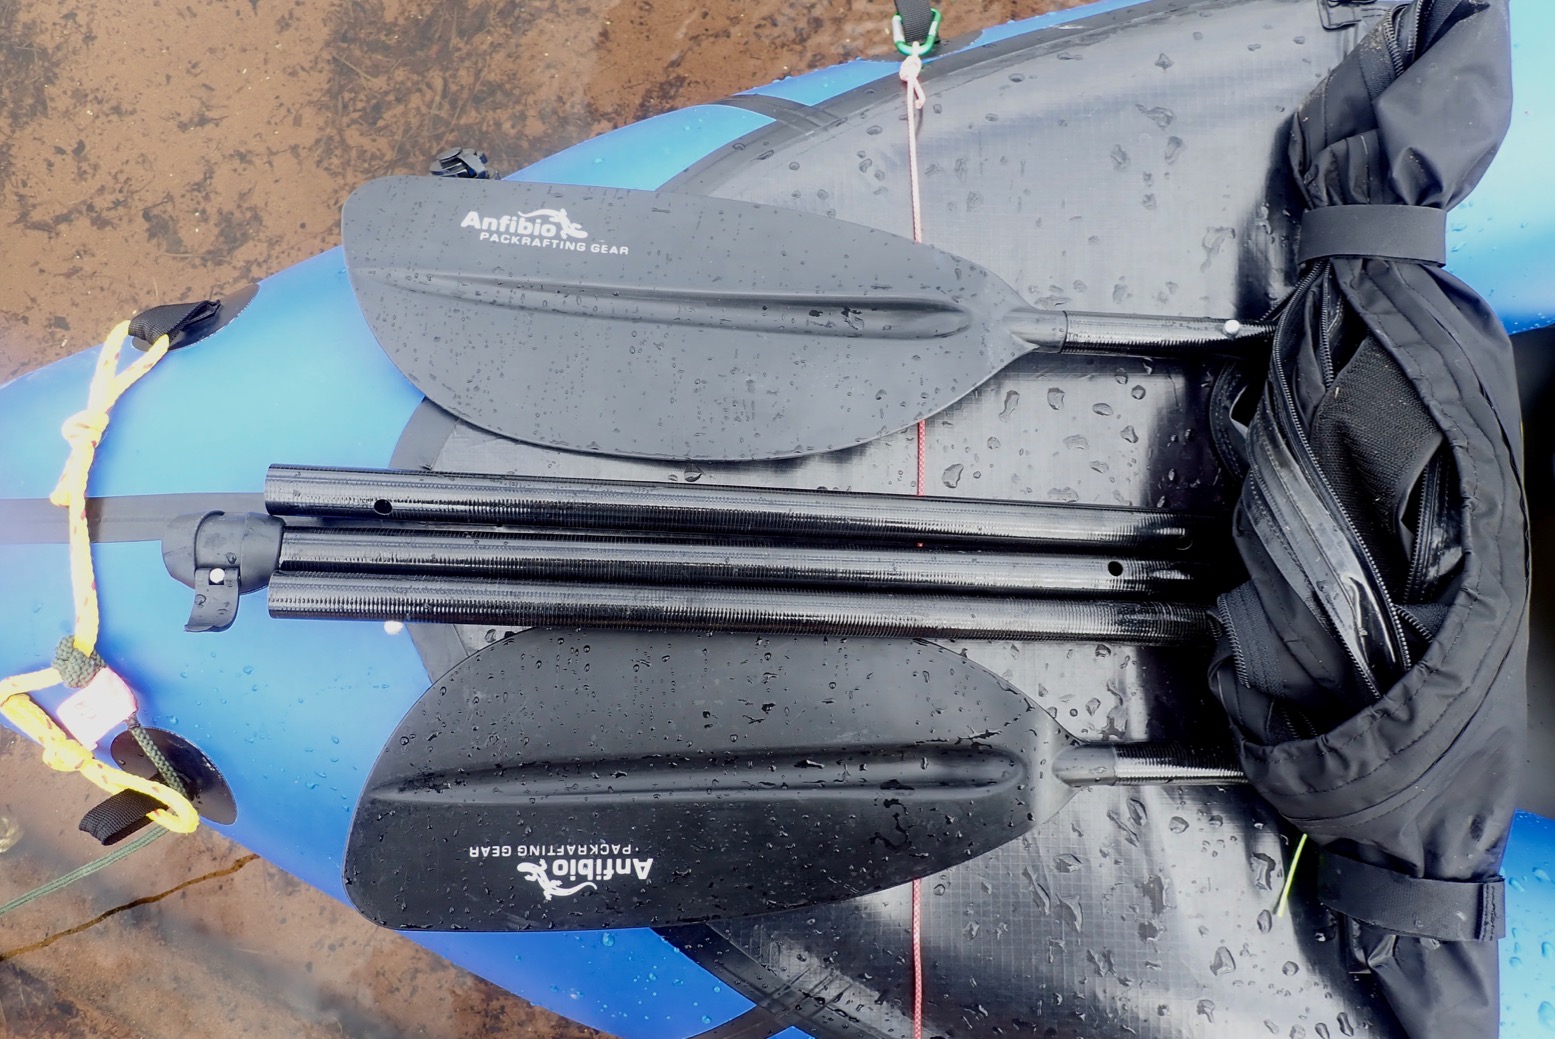
Weight: 451g (verified); length: 178-210cm, shaft 24mm; blades 34cm x 15.5cm

Where tested: Sardinia sea and lake kayaking; loch packrafting in Scotland

OLYMPUS DIGITAL CAMERA

tik
• Very light
• Inexpensive
• Collapses into 5 parts of 49cm or less
• Single lock clamp to vary length and blade offset
• Telescopes down to 178cm – good for short paddlers or kids
• Would work as an adjustable tarp pole

cros
• Feels flimsy
• Small, 34cm flexy blades
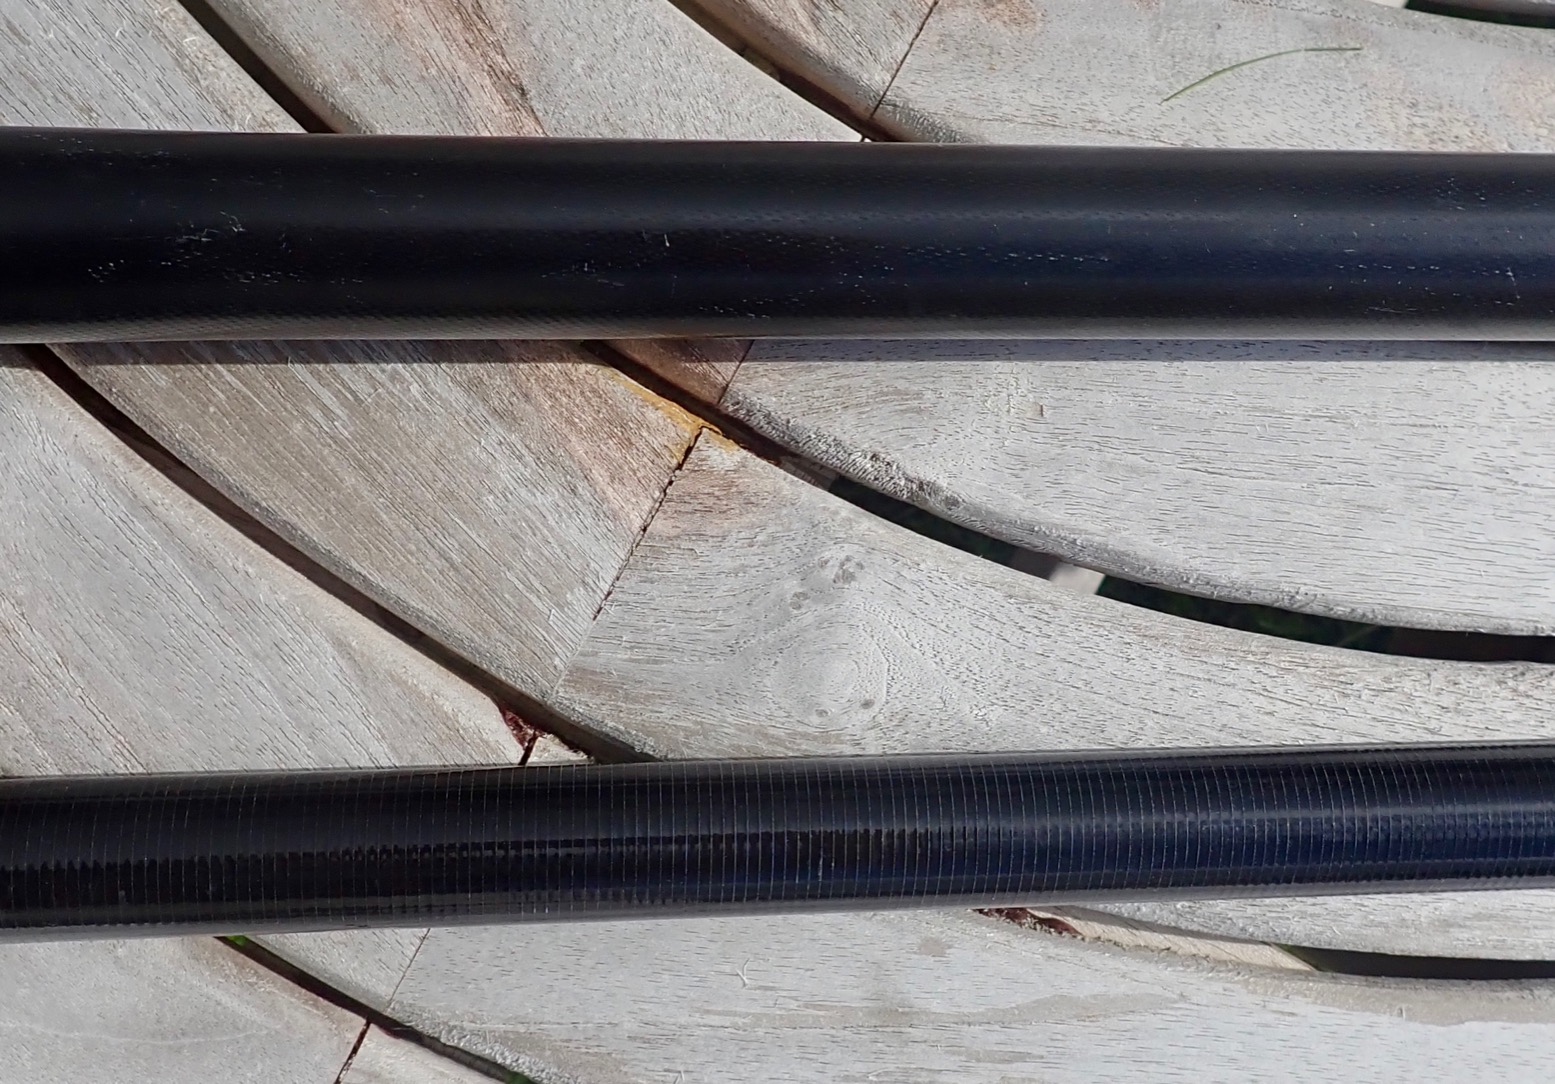
• Thin 24mm shaft diametre
• 210cm is a minimal useful length for chubby packrafts


pad-fly

What they say
Those who pay close attention to boat weight and packability should also make the right choice with the paddle. The Anfibio Fly has a minimum weight of just 460g making it an ideal ultra-light companion. It can be broken down into five segments none longer than 49cm so can be easily stored in any daypack. Despite its minimalist features, the Anfibio Fly is well featured for a wide range of uses.


Review:

OLYMPUS DIGITAL CAMERA
Fly set at 178cm and a big-bladed, 220cm Werner Corryvreken
OLYMPUS DIGITAL CAMERA

Held up and powered by your arms all day, a paddle wants to be light, but it also needs to be rigid so none of that input is lost in power-sapping flex. Combining the two effectively usually means spending hundreds while still compromising a little on durability.
The Anfibio Fly is about as light and compact as a usable paddle gets (a Supai Olo is lighter still). Paddling my packraft downwind I found the 5-piece Fly’s OK,

OLYMPUS DIGITAL CAMERA

but the thin shaft and small, bendy blades lacked the solid feel of a conventional, full-sized paddle. Add my ‘Maori-war-party’ paddling style (as I was told, once), and the Fly’s flex didn’t produce the sort of confident propulsion needed in a principle paddle. Even the much lighter and less energetic g-friend didn’t take to it – though that was in our 17-kilo kayak.
Used back-to-back against my Werner Corrywrecken, I paddled about 15% slower (5kph vs 6kph max). My other Aqua Bound Manta Ray 4-parter (left) may weigh all of 880g, but without spending at least $500 on something like a Werner Ovation (from 460g), this is simply the mass needed to get the job done at a reasonable cost.

A day later I was paddling into a 10-15mph wind with the solid Corry. It was hard on my arms and hard on the paddle; I needed to rest every 10 minutes and progressed at about 1mph. I’m sure I would have damaged the joints and maybe even broken the Anfibio Fly in such conditions, and yet at some stage, you may find yourself having to do paddle like this to get to shore.

OLYMPUS DIGITAL CAMERA

In calm conditions or as a back-up it will be fine and would suit a packrafting trek in a light packraft like an Anfibio Alpha XC where you’re crossing small calm lakes or briefly following benign rivers where you don’t need to power through rapids. The thin-diametre shaft, light weight and length adjustment down to a flex-minimising 178cm would also make the Fly an ideal children’s paddle.

OLYMPUS DIGITAL CAMERA

A Packboat in your Car

Overlanding with Packboats

Expedition Portal / April, 2019  

Packboat is my made-up word for easily portable boats that roll into a bag but deploy in minutes, in contrast with hardshell kayaks or canoes in aluminum, plastic, or composite. I’m here to suggest that if lugging a cumbersome hardshell on your overland rig isn’t for you, then a packboat weighing from 2 to 40 pounds and never bigger than a backpack might well be, while adding another great way to explore the outdoors…

Read the rest

2-up-fun-1500x1000

Review: Olympus TG-5 – the ‘Top Gear Hilux’ of cameras

tg5

I used Panasonic’s Lumix FT2 wet cameras for 13 years or more, a simple, slim, one-handed, all-weather P&S which didn’t have to be mollycoddled. In 2011 we even used them to make a series of packrafting videos.
Later FTs seemed to lose the functionality of the FT2, so as they died or sank, I replaced them with used cheapies off ebay until they got too hard to find. Desert, pocket or sea, I’ve always liked the Lumix range’s preference for a wider 24mm-ish lens. Ridiculous zoom levels were far less important because picture quality dived. But after a really old FT1 burner unsurprisingly failed to survive a few minutes of snorkelling the other month, I decided to step up to a used Olympus TG-5 after some paddle boarders rated them.

Ft7

Commonly the Olympus TG-5 (from 2025 a TG-7 but barely changed) and Panasonic FT7 (left) get rated as the best P&S waterproof cameras. But they seem expensive for what they are, and when you consider the tiny zoom lens tucked inside the inch-thick body, you’re never going to get great shots, especially in low light or at full zoom.

lumixevc

Even then, my FTs always needed to be tricked into slightly lower (better) exposures by half-clicking on the sky, pulling down and composing before clicking. It was only when I got a Lumix LX100 that I realised
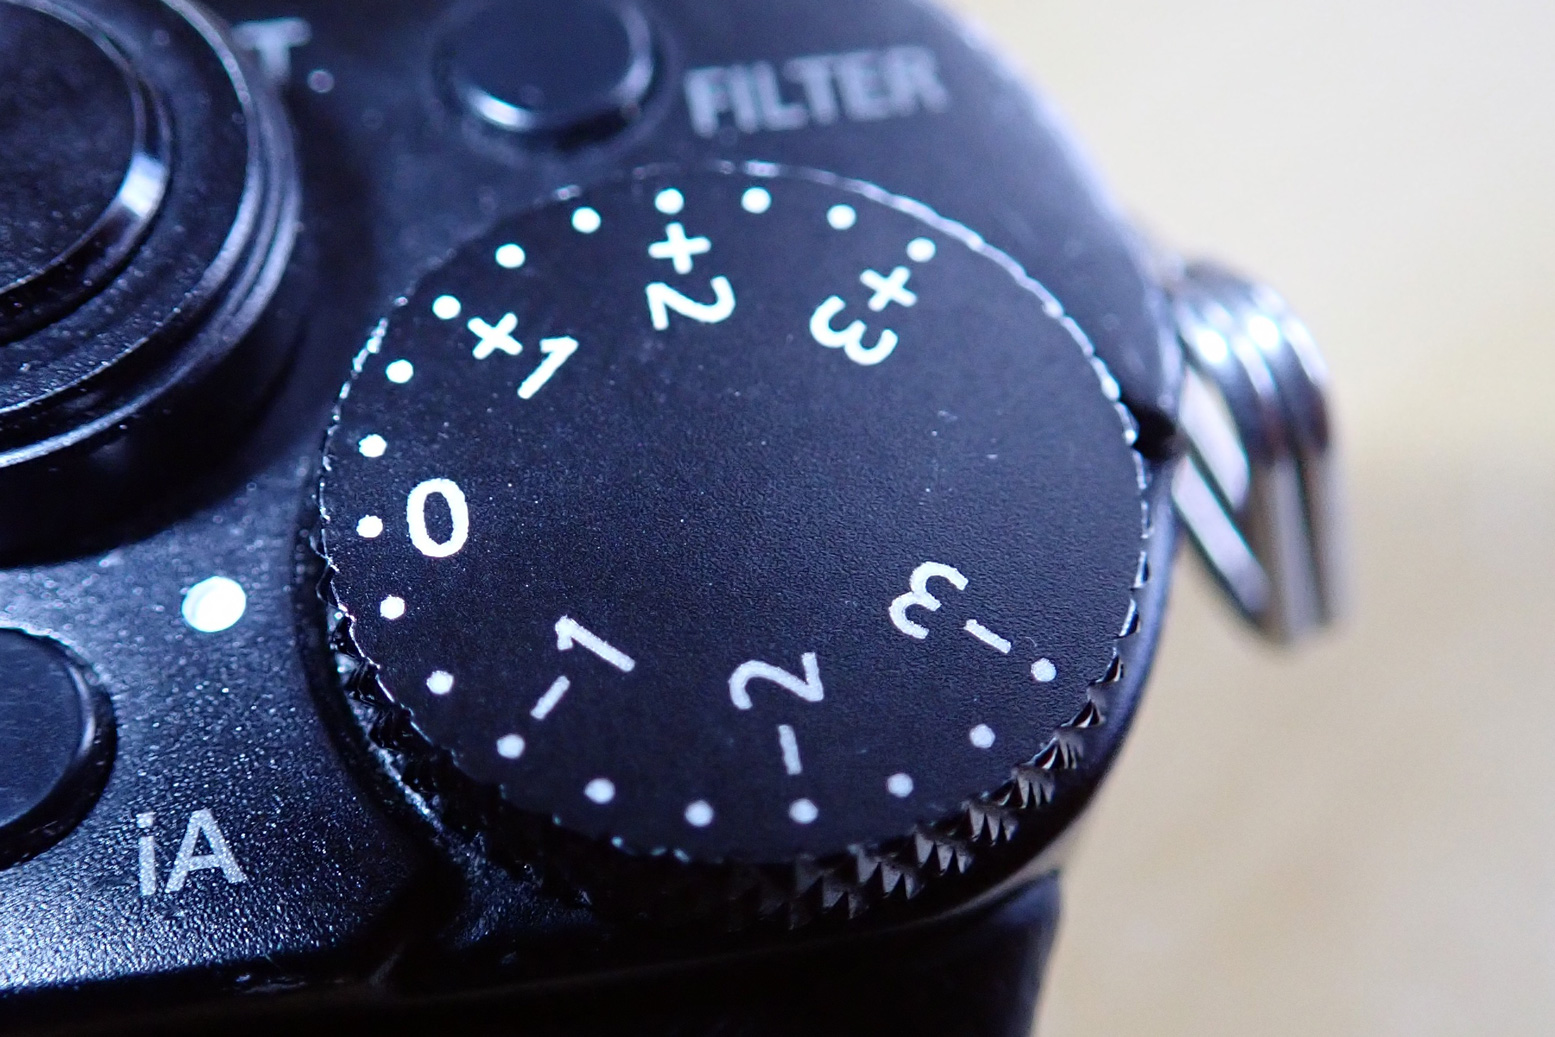
a: how handy an EV Comp dial (left) is; I use it on almost every shot. And
b: how relatively crappy some of my FT pics were. I used the FT less and less.

olyhoya

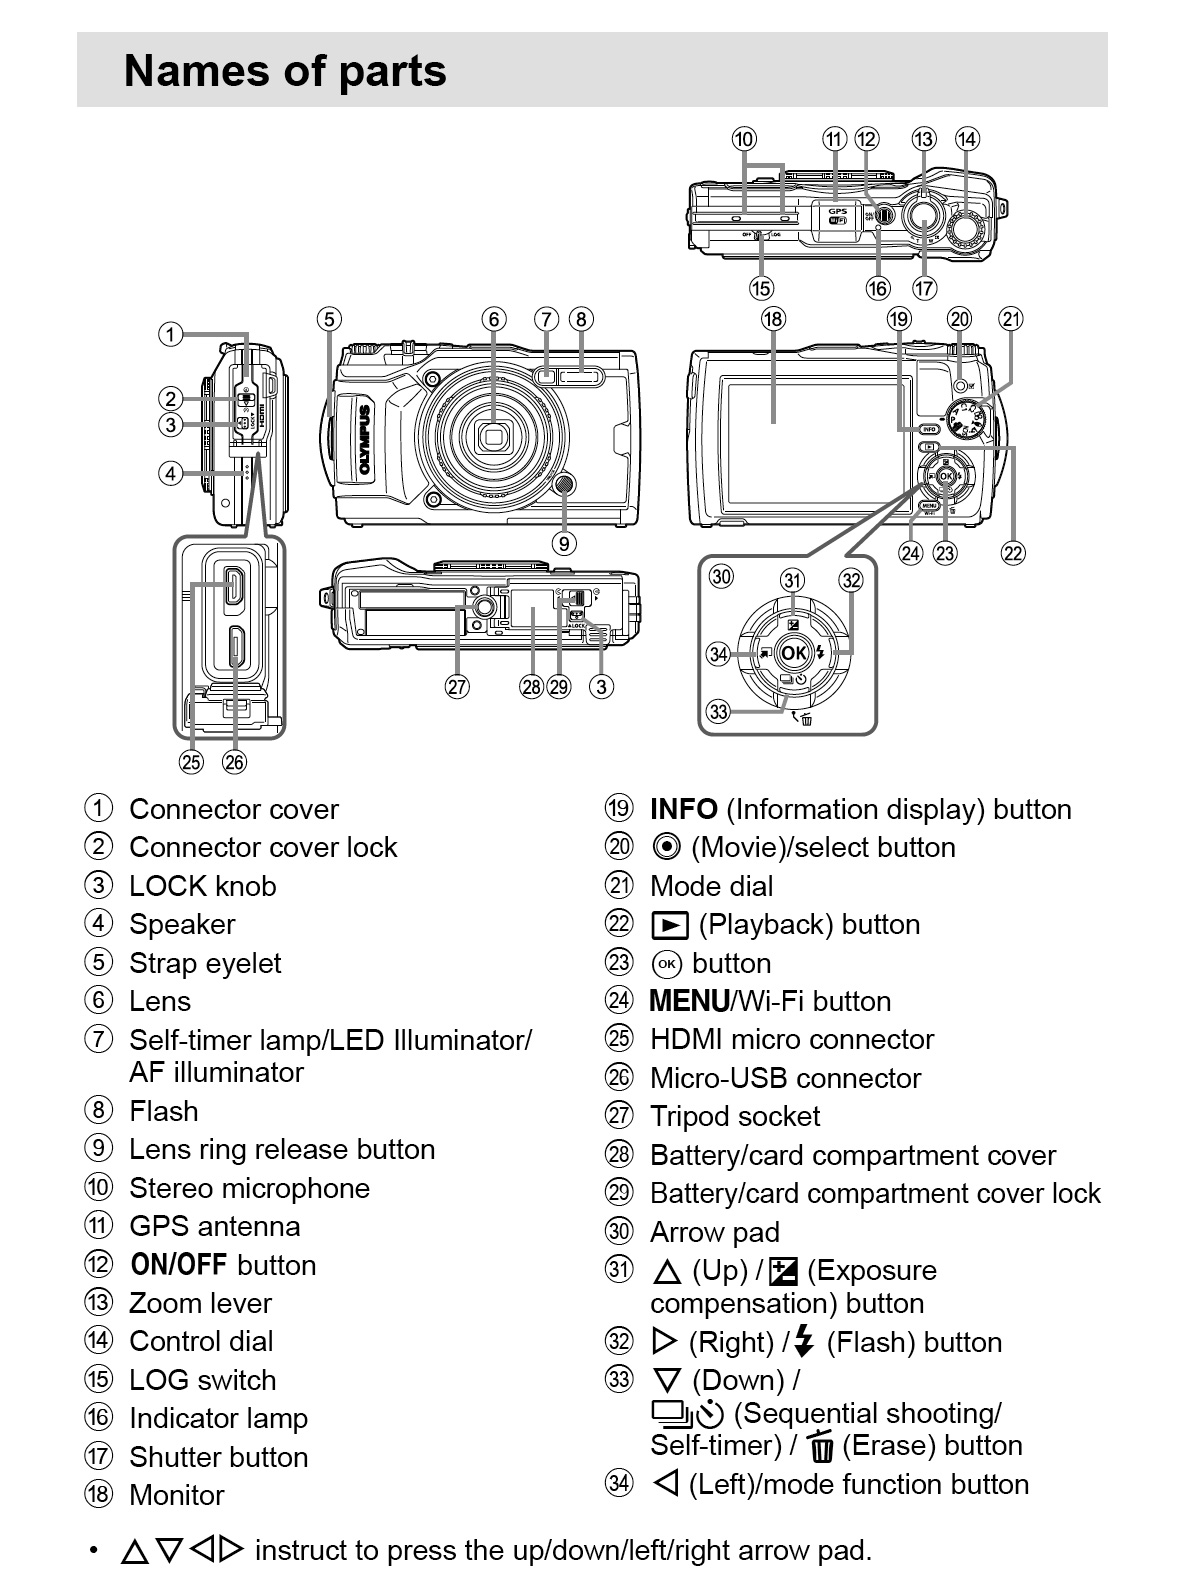
Back to the TG-5. Watching one of the vids below I learned it has an unmarked ‘control dial’ in the same, top-right position and which can work as an EV Comp dial. That alone is worth the price of the camera.

olyjjc

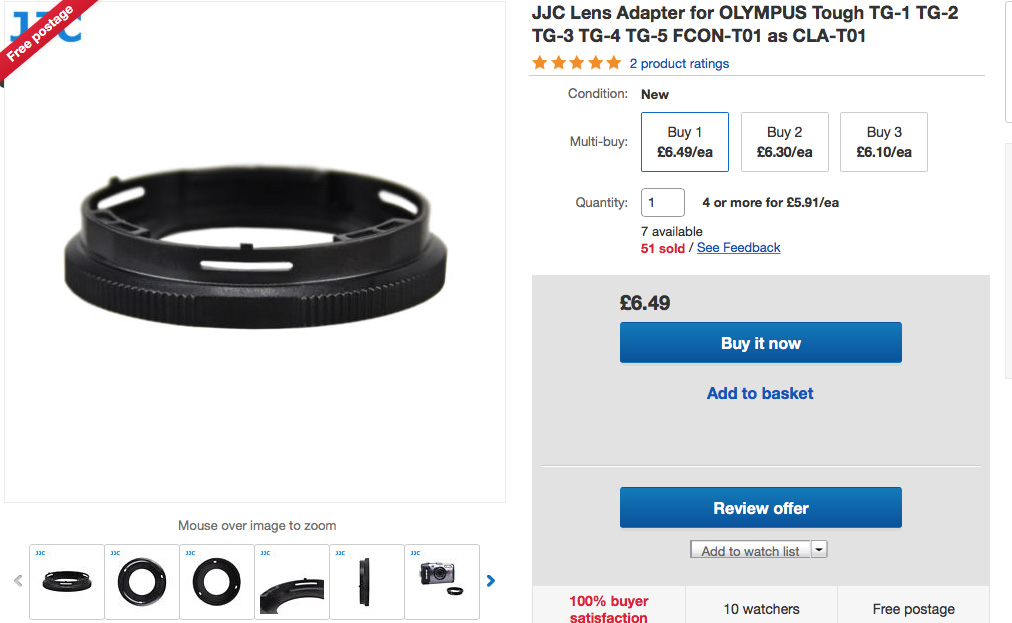
Having been inspired to RTFM for once, I now realise the TG-5 is actually much closer to the LX than I  though, not least in terms of the staggering number of things it can do. You can even clip on wide or tele converter lenses (a bodge, imo, if photo quality matters) but more usefully, you can fit a clear filter over the vulnerable lens window. For that you need the Olympus CLA-T01 adapter (£20; or a £6 JJC knock-off; above left) to which you then screw in a regular 40.5mm filter: UV, polarised, whatever (above).

With a piece of screen guard stuck over the LCD, the Olympus Tough can now be treated Olympus Rough, with both screen guard and UV filter being inexpensively replaceable. Note: towards the end of my TG’s life I dispensed with the 40-mm filter to make it slimmer in the pocket. Within a few months the stock built-in lens cover glass/plastic had become scratched (left) to the point of ruining pictures and finally finishing off the still-working camera for me. Moral: fit a quality UV lens filter; the stock cover is not up to it.

lympus

It also has an easy-to-use custom self-timer, a blessing for us paddle-blogging singletons. Normally I’ve had to settle for 3-shots-at-10 seconds, or simply shoot video and extract a cruddy still, but on the TG you press the sequential shooting (‘6 o’clock’) button and press the Info button to edit:
• delay (1–30 secs).
• number of frames (up to 10) and
• frame interval (0.5–3 secs).

I have tried doing selfies with the video and extracting stills, but even on the highest ‘SuperFine’ video setting, the extracted 16:9 still is 1920 x 1080 pixels, while a photo is 4000 x 2256. You do notice the difference so getting to grips with the custom self-timer is best, even if autofocusing on a passing boat can be hit and miss.

olychar

The battery is a slim 1270Ah which does masses of shots (four days or more) and you can charge it in the camera which is one less thing to carry. But for 20 quid I bought 3 clone batteries plus a travel-friendly USB housing rather than a mains charger (right) which will work off a laptop, battery pack, USB wall plug or a solar snorkel.

olycomp

Once I’d have said GPS position, elevation and a compass in a camera were gimmicks. Now I’d admit they add some redundancy when a proper GPS unit goes flat, as it did on me one time. There’s an easy-access external switch to turn the GPS on to log a waypoint of the picture, for what that’s worth. Otherwise, all the other data, as above, is viewable by simply pressing the Info button with the camera off. Up it comes for 10 secs, north by northwest. The TG-5 will also take great pictures. At home I use my TG almost every day.

tik Tough by name and tough by nature (see below)
Red; easy to find on the river bed
EV Comp dial in the usual position
Battery charges in the camera
Easy to turn on and zoom one-handed (good on a moto)
Spare 3rd-party batteries from £4; USB charger from £8
Good hand grip
Rated at 15m of water so ought to survive some splashes
Slim and light (260g with chunky wrist strap)
GPS, elevation, compass, and even tracking with the camera off
Easy to access and configure custom self-timer
cros A baffling new menu to master – sigh
LCD text is a bit small
Expensive, but discounted to ~£330 new
Annoying ‘Olympus Digital Camera’ meta data on imports cannot be switched off
That’s it!
Camera fell down there

A smashing camera
Two times I thought I’d killed my TG, as I’ve done with so many cameras over the years. Biking in the Moroccan Sahara one time, the red wrist strap loosened unnoticed and the TG tumbled along a hard road at 30mph. Picking it up, one corner was smashed in, but amazingly it still worked. I taped up the hole, gluing it later and used it for a few more years.
Scotland 2021: lunch on a slatted plank bridge up a glen. The camera slipped out of my pocket and fell through the gap into the a stream bed where it lay for at least five minutes before I noticed. This must be it, surely; just as long as the SD card makes it. Because I never use it under water, I’ve never bothered silicone-greasing the two access doors as they recommend, but I fished it out, blew the water out of the battery compartment and it still took pictures!
But soon the screen gradually clouded over, so did the lens and one by one, functions dropped away. Eventually turning it on gave nothing. Water must have worked its way though the system, shorting everything out.
Back home, a couple of days later I bought another used TG and had just started stripping the old one when I thought, I’ll just slip a battery in on the off chance. To my utter amazement the TG5 fired up good as before. All functions resumed and photos saved to and exported from an SD card. This is a Tough camera! I now have a spare as-new TG5 one which I was thinking about getting anyway.

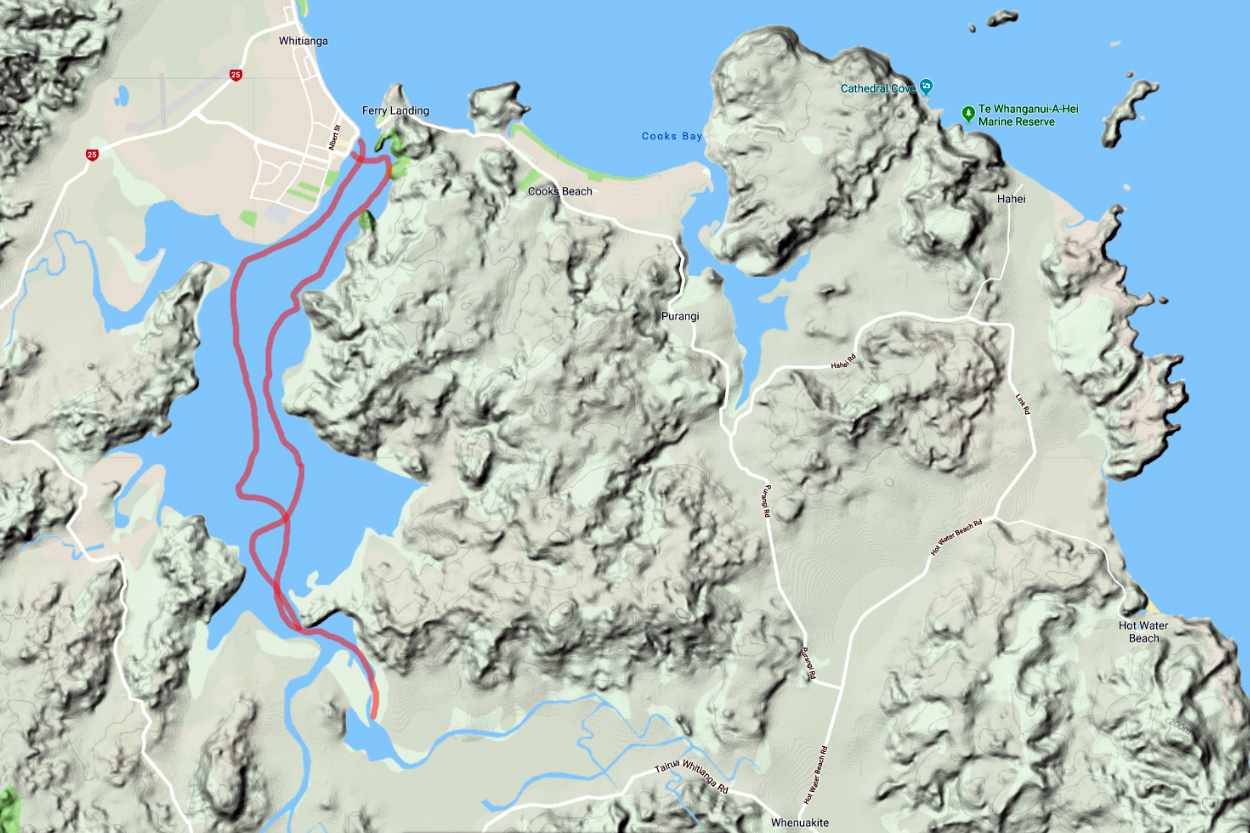
Packyaking in Whitianga (NZ)

MRS Nomad Index Page
Packrafting the Wairoa River (NZ)

nzwhitmap
diver

At a Dive shop in Whitianga on the North Island’s Coromandel peninsula half a day from Auckland, I asked the teenage girl left at the till which way the tidal currents flowed around here. She smiled at me like I was an idiot and explained slowly.
‘Well, when the tide comes in it like, comes towards you, and when it goes out, it sort of goes away.’
Before I got into sea paddling that’s what I would have said, but I explained what I meant, that tidal flows moved to and fro in a given direction along a coast, not just in out, in out, like a Can-Can dancer’s legs At any constriction or headland it’s a good thing to know when planning or timing a paddle. She looked it up on the internet.

‘Anticlockwise.’

‘Thanks.’

nzwhitibay
pacificoh

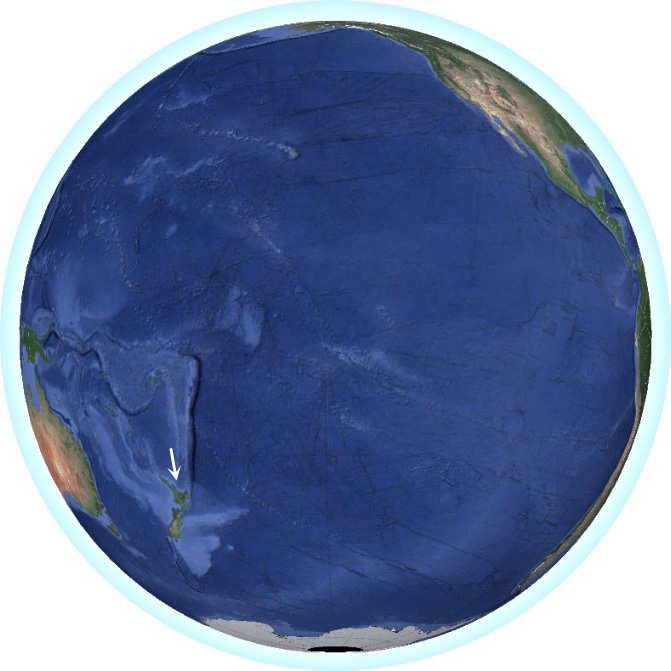
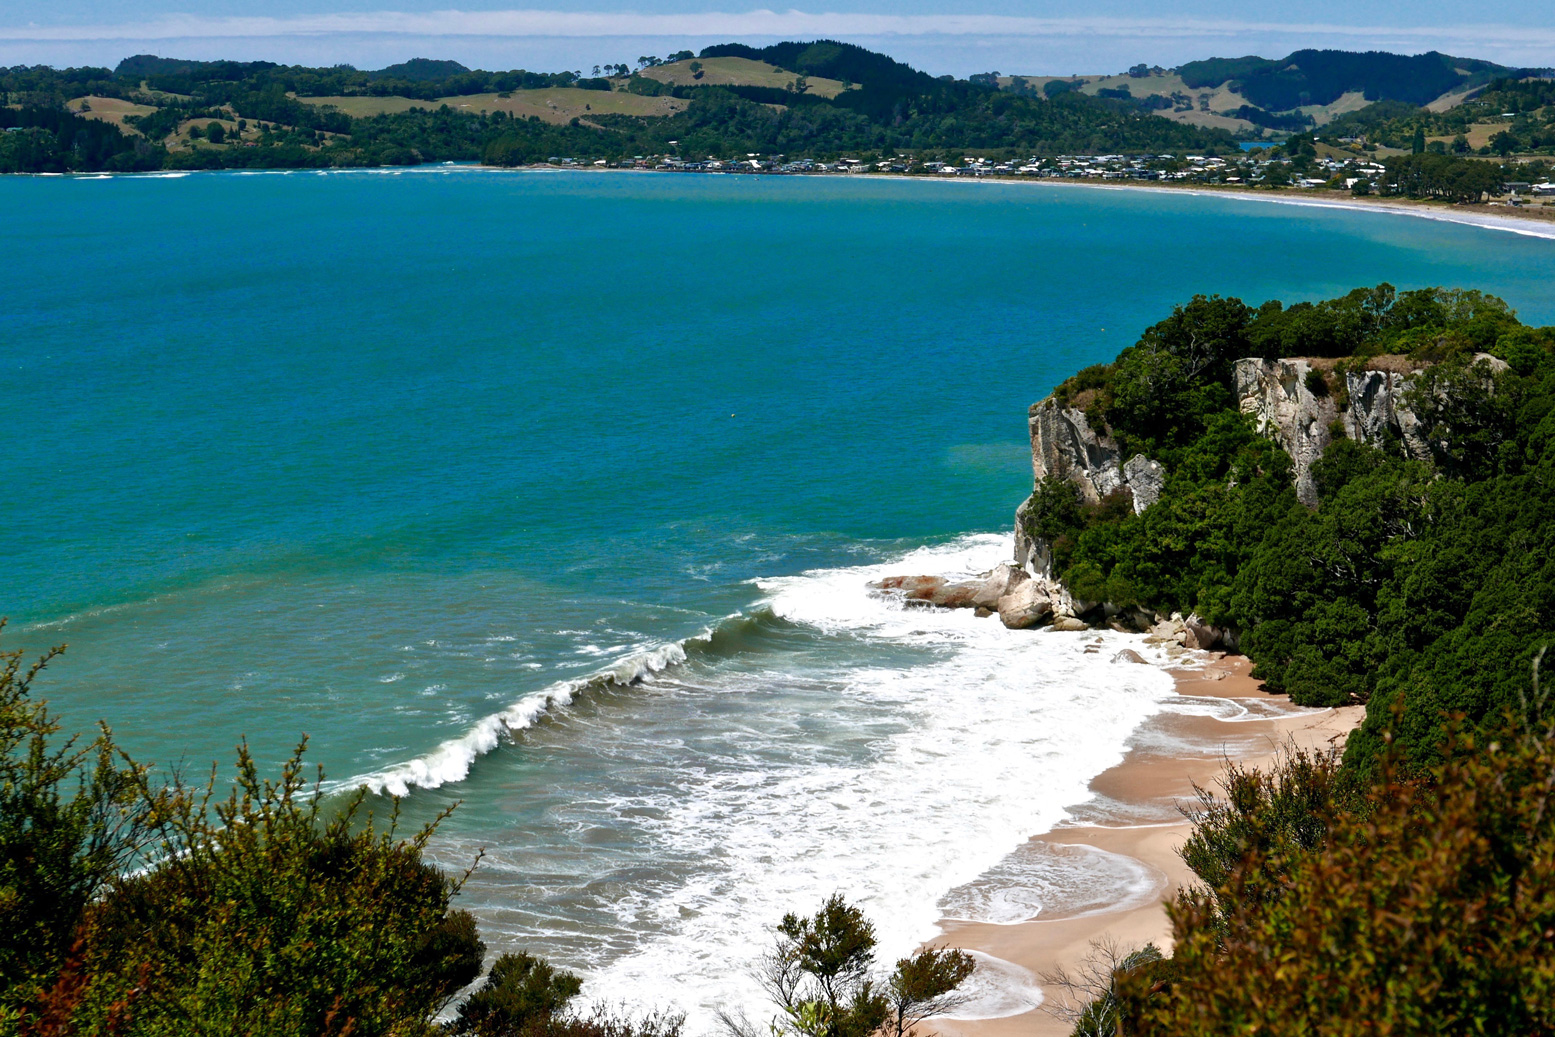
Tides apart, did I really think the surging expanse of the Pacific would be calm enough for a humble 10km coastal packayak round the cliffs of Cook Bluff to the famous and much fridge-magneted tourist icon of Cathedral Cove (painting below)? No, but now on my wavelength, Dive Girl went on to offer me tomorrow’s gloomy forecast: 4-metre swells, 35 knot gusts and occasional showers of razor-billed flying fish.
A good day for a cliff walk then. Coming back next evening from Cooks Beach, I  was a little appalled to see Mercury Bay awash with white-capped rollers, as if some tsunami was on the go. Surf’s up, if you have the nerve.
It was right here in 1769 that Captain Cook and his crew – on the hunt for the fabled Terra Australis – first raised the British flag on the New Zealand shore while engaged in observing the transit of Mercury.

cathcov.jpg
nzlonebay

Maybe I’d get a chance the day after, my last. But even in the calm morning, the storm’s after-swell was still pounding the cliffs and beaches of Mercury Bay. Who knows how it was at the Cove of Broken Dreams which, they said, was still closed from the land side, anyway.
Luckily, the cliff-rimmed natural harbour of Whitianga was sheltered from all this Pacific aggression. And better still, the tides were ideally timed to be swept into the inlet, before getting spat out on the mid-afternoon ebb like a retching gannet’s breakfast.

nzwhit - 3

Settling up on a grassy strand near the marina, I realised I’d left my pfd at the hostel – this after noting a warning sign advising that all in <6-m long boats required them. Oh well, if spotted hopefully the harbour master will zoom up alongside me on his jet ski and lend me one for the day. As it was, I was heading inland where there’d be no one.
Once tempered up via my hose extension, I scooted over the yacht-clogged harbour mouth, ferrying across the strong current filling the shallow inlet, tilting marker buoys as it went. I was told later that, partly as a result of dredging a channel for marina access, that Whitianga’s natural harbour was fastest flowing in New Zealand.

nzwirshelf
handpump
beg18

On the west side, under a wave-carved overhang (left) I hopped out to temper the MRS again. I like an inflatable as firm as possible but am finding, perhaps due to its larger than normal volume for a non-pump inflatable, that the S1 commonly needs a second pump up a few minutes in.
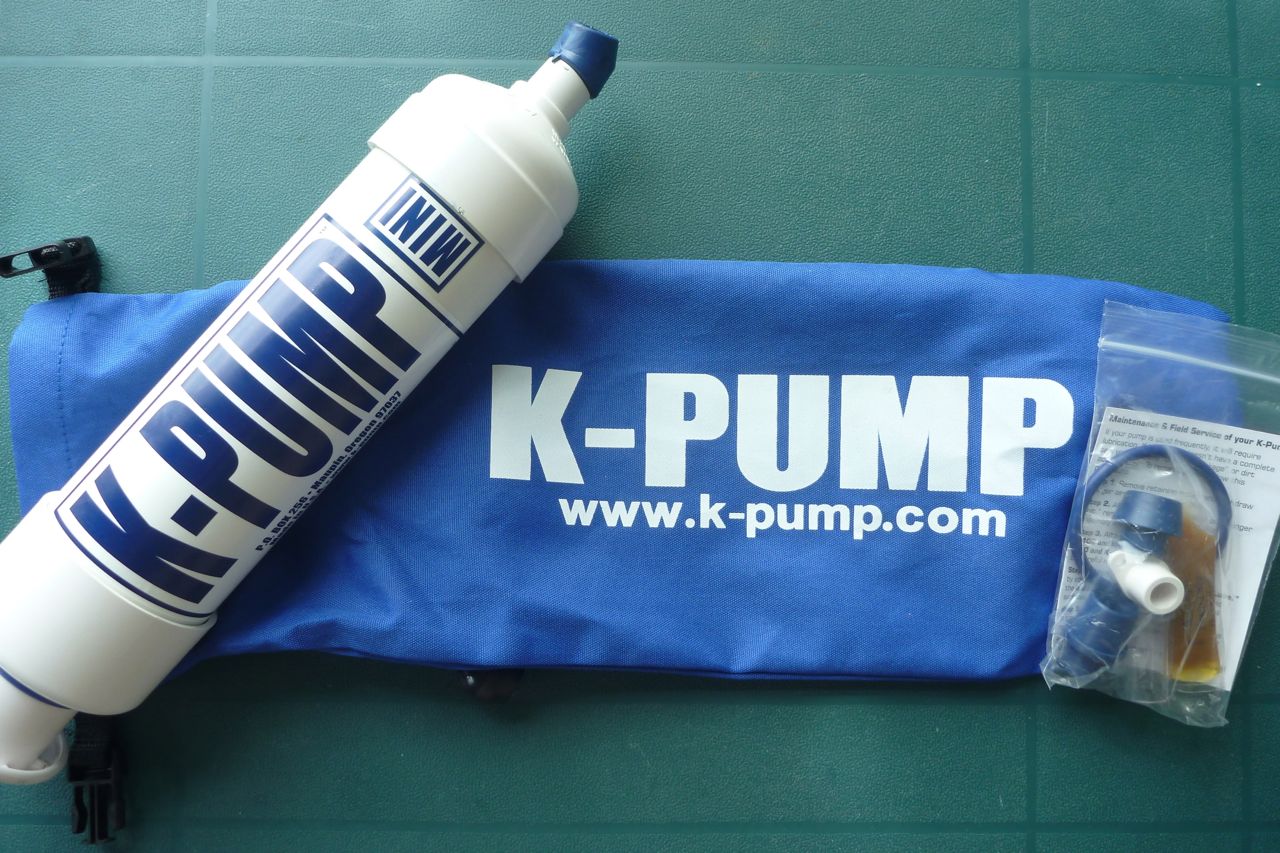
I’m now wondering if something about half the size or volume of my 600-g K-Pump Mini would be handy to get the Nomad up to operating pressure in one go. This eBay pump (right) cost me just 3 quid posted and is actually similar to the mini pump Alpacka initially offered with their $2000 Alpackalypse. With a pump like this, after high-volume air-bagging, you could judiciously pump to a highish pressure on the shore – assuming the cheapo eBay pump can hack it. Yes, a pump’s another thing to carry/lose and the comparatively bulky K-Pump will do the job in a few short strokes. But unlike a paddle, it’s not ‘mission critical’, as they say in the movies.

Fitting a PRV and being able to pump away until the PRV purged (as I do with my Seawave IK) would be even easier, because you could also happily leave the boat out on a hot beach without fear of it exploding into a thousand ribbons of ruptured TPU. PRVs are unknown on packrafts so maybe I’m over-thinking it, but double-tempering is a bit of a faff even if, as humans go, I have a good pair of nicotine-free lungs.

nzyacht

Anyway, I padded southwards, weaving among the lifeless yachts and cruisers, reminding me of our Hayling Island paddle last summer. Let me tell you, in this world there are a lot of massively under-used boats bobbing around and gathering algae.
Once past a sinister big black tug, the bay opened out and I was in the clear. Nearby, alongside a jetty below a cliff leading to a dwelling hidden in the bush, I spotted this pioneering-era carving.

nzwhit - 2
nzwhit - 1

Beyond here the shore looked oddly mangrovey and inaccessible. Mangroves this far south at nearly 37°? I’d only ever seen then around Darwin where I’d once eaten a so-called oolie worm which feeds in their trunks. Sure enough, turns out hereabouts is the southermost extent of mangroves.
I’m not so keen on this sort of drab coastline, but live and let alternative lifeforms live, I suppose. In fact it was fun to probe the passages below the shady groves as it was due to reach 30°C today.

s1nzmangro
nzwhit - 7

It took a bit more idle nosing about before I finally located the channel leading southeast to the two small rivers which fed the harbour inlet. The channel narrowed as the supposedly slack tide swept me into the tangled maze of salt-loving woodland. Curving left and right, south and east, as the scaly boughs closed in, it occurred to me that this far down in the bay wouldn’t be a great place to get lost and then stranded in thigh-deep, oolie-ridden silt for the next few hours. Who knows how quick the tide turns. Anticipating this, I’d clocked a hilltop landmark over on the western hills to help orientate myself, then pushed on in as far as I dared, getting maybe 500m from shore before spinning around into the still-rising tide and scuttling back out into the open.

nzwhitbaymapp

The tide really ought to have turned by now, carrying me back the way I’d come, but the forecast nor’westerly was on time and in my face. Luckily the Nomad’s generous stub nose stopped me making a mockery of the harbour’s 5-knot limit so it was a long hour’s slog back to the harbour mouth, bent against the breeze and slapping waves. A similarly windy afternoon on the Wairoa River a few days back must have got me into paddling shape, so the effort was all put down to good exercise.
Once past the marina, I’d hoped to slip below the jetty, under the harbour master’s cabin and out into Mercury Bay itself. Maybe cruise below Shakespeare Cliffs and then land on Buffalo Beach, like a proper Pacific navigator. But it was not to be. Chances are I’d have just embarrassed myself, tumbling through the surf and into the shore fishermen’s barbed hooks.

nzwhit - 6
nzwhit - 12

My time was up in NZ. Next day, rolling my cleverly adapted UDB (more below) to the bus stop, all was as calm as a kiwi’s cozy nest. I was reminded how sea kayakers must feel when they haul all the way up to the Summer Isles to be met by tent-bothering gales, only to find great conditions as they pack up.
It’ll be there next time and for sure the east side of the Coromandel looks like the fantastic place for some fabulous sea paddling. The beachside hostel I stayed at laid on hefty old SoTs for free and there were plenty of kayak touring outfits in town and around. Give it a go if you ever find yourself down here.

nzwhit - 9

nzwhit - 10
trolley
ort140
ortliebrolled

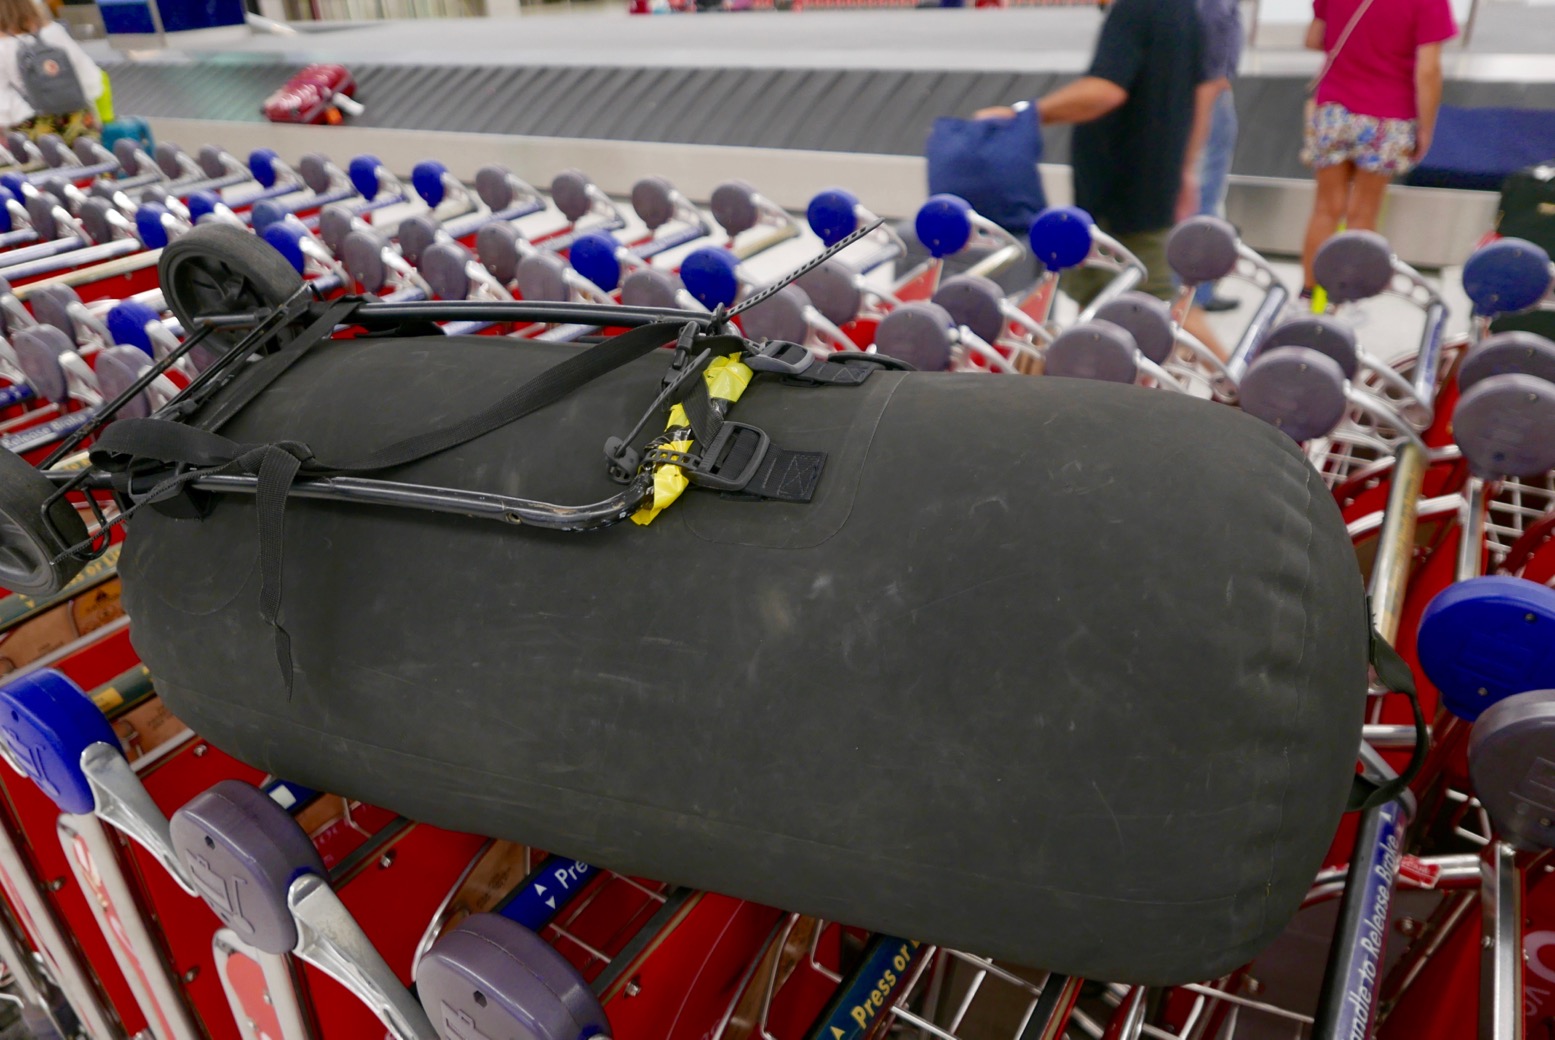
For this trip moving from airport to airport and in a bid to spare my creaking back, I mated my trusty Watershed UDB to a chopped-down lightweight folding trolley I’ve used on previous packboating trips. With chunky zip ties and a strap, the shortened frame fitted securely to the rugged UDB’s back harness tabs.
My load was way under the airline limit, but the thinking was that, once packboating my planned river for a few days, the UDB and small trolley would still be compact, compared to a regular wheeled travel bag.
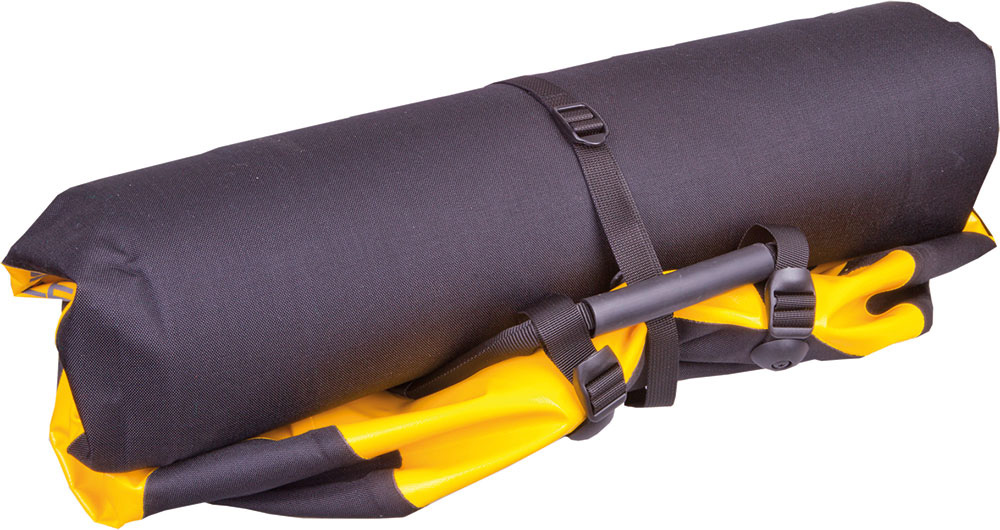
It was all a way of stopping myself buying the painfully pricey but actually only 500g heavier Ortlieb Duffle RS 140 I’ve been eyeing up. Fitted with an IP67 TiZip (not as good as the UDB’s brass drysuit zip), it’s the biggest one they do, so ought to take my Seawave IK and gear. Lacking a backbone frame of Ort’s RG duffles,
the 140 actually rolls up even smaller (right) than my DIY contraption.
A handy side benefit (which might also apply to the airtight Ortlieb), was that being able to inflate my UDB into a rigid airtight sausage made it easier to wheel around (but not as comfy as a full-framed wheel bag). I got some odd looks giving my bag a blow job by the arrivals luggage carousel, because at departure check-in I had to tug the zip open a bit to ensure it would air-off safely at 32,000 feet.
In my hand I carried my nifty Ortlieb 30-L Travel Zip.

Preview: Itiwit Strenfit X500 Droptitch kayak

See also:
Full drop-stitch inflatable kayaks main page
Itiwit Packraft

nanook

First Gumotex and now Europe-wide, French sports retail giant Decathlon have turned to dropstitch (DS) technology in a bid to improve rigidity and so, the performance of their inflatable kayaks.
The Strenfit X500 is again sold in UK Decathlons, currently reduced to £599. A drop stitch bargain.

decpump

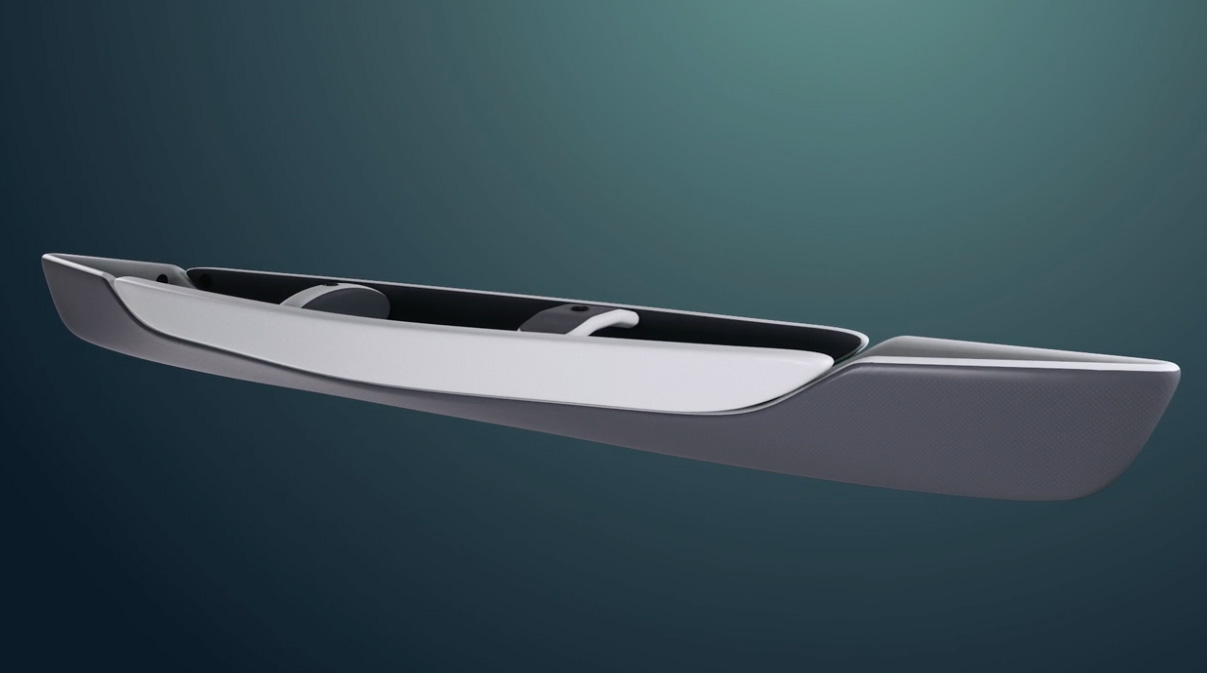
Only Decathlon haven’t just added a DS floor to an existing model, but with the single-seater X500 Strenfit have designed an entire 10psi (0.7 bar) DS hull, complete with a deck and coamed hatch supported by two D/S beams. (Do you need a deck?) Above left, Serge and Nanook take their X-boats for a spin. UK price is very reasonable and delivered with a two-year guarantee, although the essential SUP two-way pump (right) is another 30 quid.

inuit
dechull

‘Itiwit‘ is a Decathlon water-sports brandword, contracted from ‘itinerary’ and ‘Inuit’, the latter being fur-clad denizens of the Arctic who invented sea kayaks all those centuries ago. I suppose it sounds better than ‘Inuary’.
Watch the slick vid below to get your head round the unusual design. It looks like the dark grey V-floor panel is one chamber, plus a lighter grey sidewall panel each side and then the two deck-supporting thwarts or beams. And being French-designed, it conforms with their national watersports regs which allow it to stray a full 300 metres or more from the sea shore.

decmanual
deco

Vital stats are 3.8m long by just 64cm wide and 18kg, making it similar to an undecked but flat-floored Kxone Slider 375, and between a Gumotex Twist 2 and a decked Aurion or Swing II.
It’s made of PVC and, like most other FDS IKs, you can be sure it’s made in China. But there have been reports that the fabric cracks when folded and creased hard. Sounds like the usual PVC issue and is why we like old school rubber IKs.
Because DS hulls have less air volume than regular tubed IKs, they’re slimmer (thinner walled, giving more space in the boat) and are quicker to pump up (3 mins, claimed on the X500). But that lower volume explains a modest payload of just 125kg. No dims are given on the hatch size, but based on the length, I’d guess it’s 80cm long. Below, David Poots liked his first X500 he got another one which he reckoned was more stable – the issue some have with the X500 and who I bet would include me.

The roll-top rear hatch is a clever idea; not seen that before, though it looks like water may pool there. And the proper wave-slicing V-hull dispenses with the need for a skeg to aid tracking.
Like most IKs, the X500 sits fairly high in the water, unlike a proper hardshell sea kayak which is barely above it. With the narrow V-hull and poor knee bracing, many report it feels unstable until it’s moving. Lighter paddlers have found dropping the pressure a bit make the boat float lower and improves stability. David P above added a cross-strap to pull the sides in and improve bracing which looks a bit dodgy to me, entrapment-wise. I’d make it a quick-release, like an airline seat, but he’s a kayaking pro so we’ll leave it there. This all adds up to a fast boat, in 2018 making it most sea-kayak-like IK since Feathercraft’s short-lived Aironaut. It’s not an exaggeration to say it’s a revolutionary DS IK, but with the mentioned flaws in durability.

itiwitX500

It would be good to see a longer version, but that will probably be a tandem which, with the fixed deck, won’t adapt to solo long-range touring. They did produce a tandem version, but it’s since been dropped.
The X500 has strap–adjustable footrests but he also mentions poor knee bracing – often an IK weak spot, even with decked boats. Nevertheless, he still manages to bang out a pretty smooth eskimo roll, and it would not be impossible to glue or somehow clip on some thigh bracing straps which would greatly improve the connection with and control of the boat.

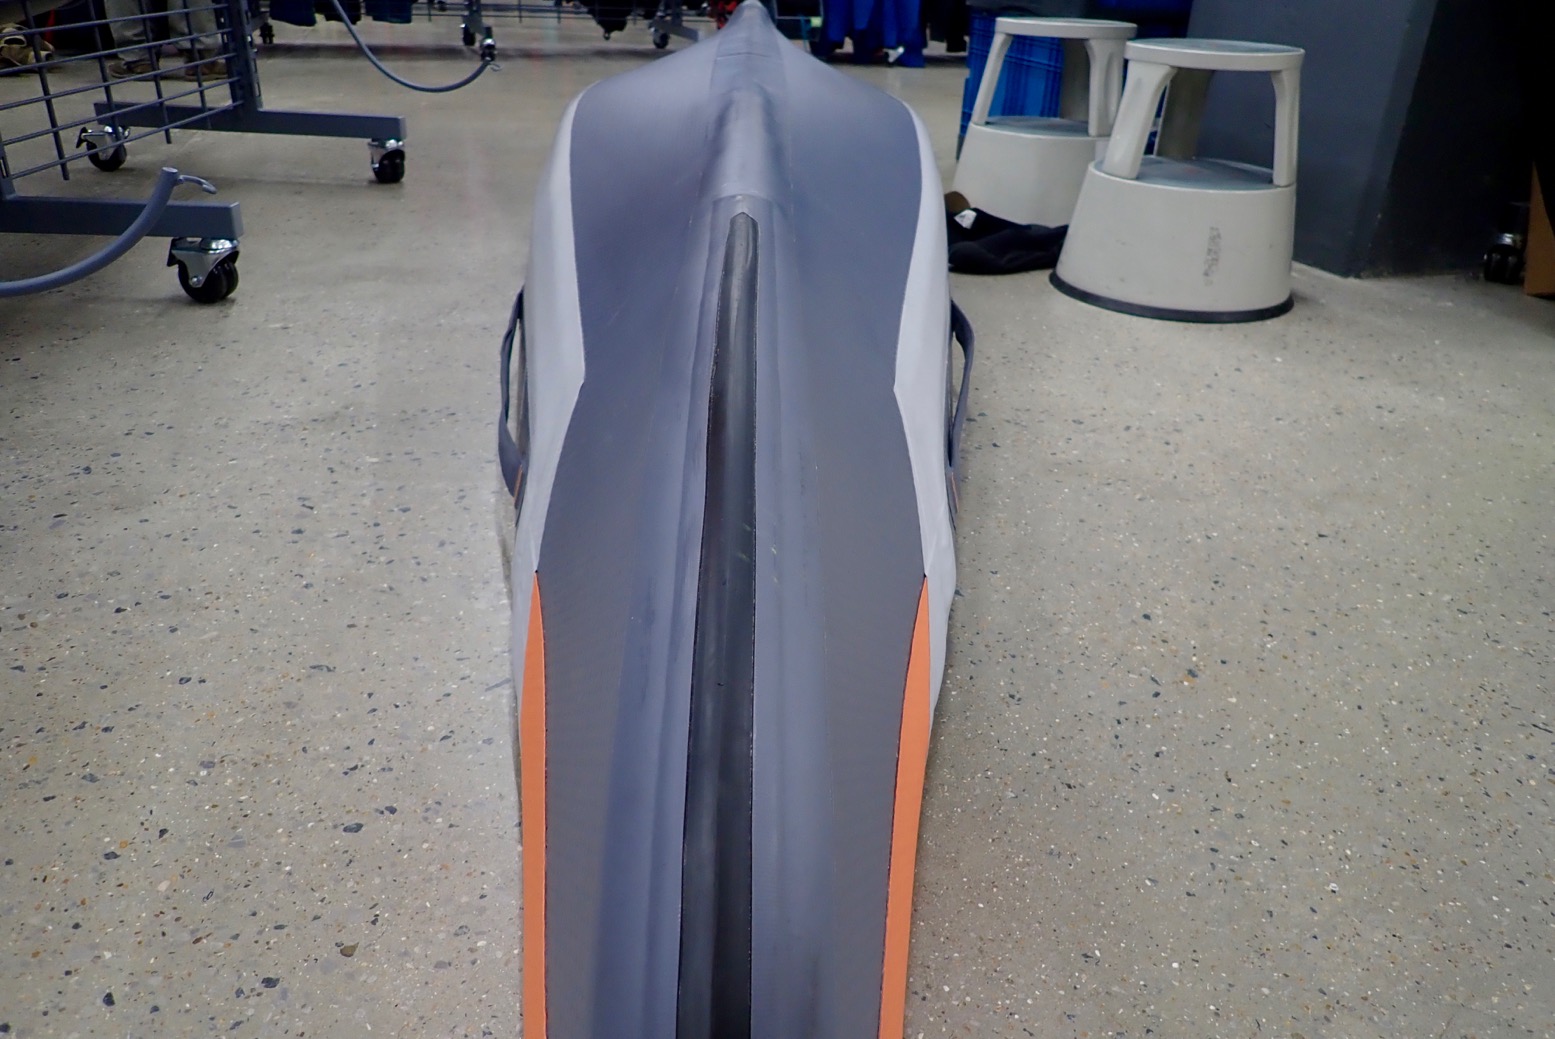
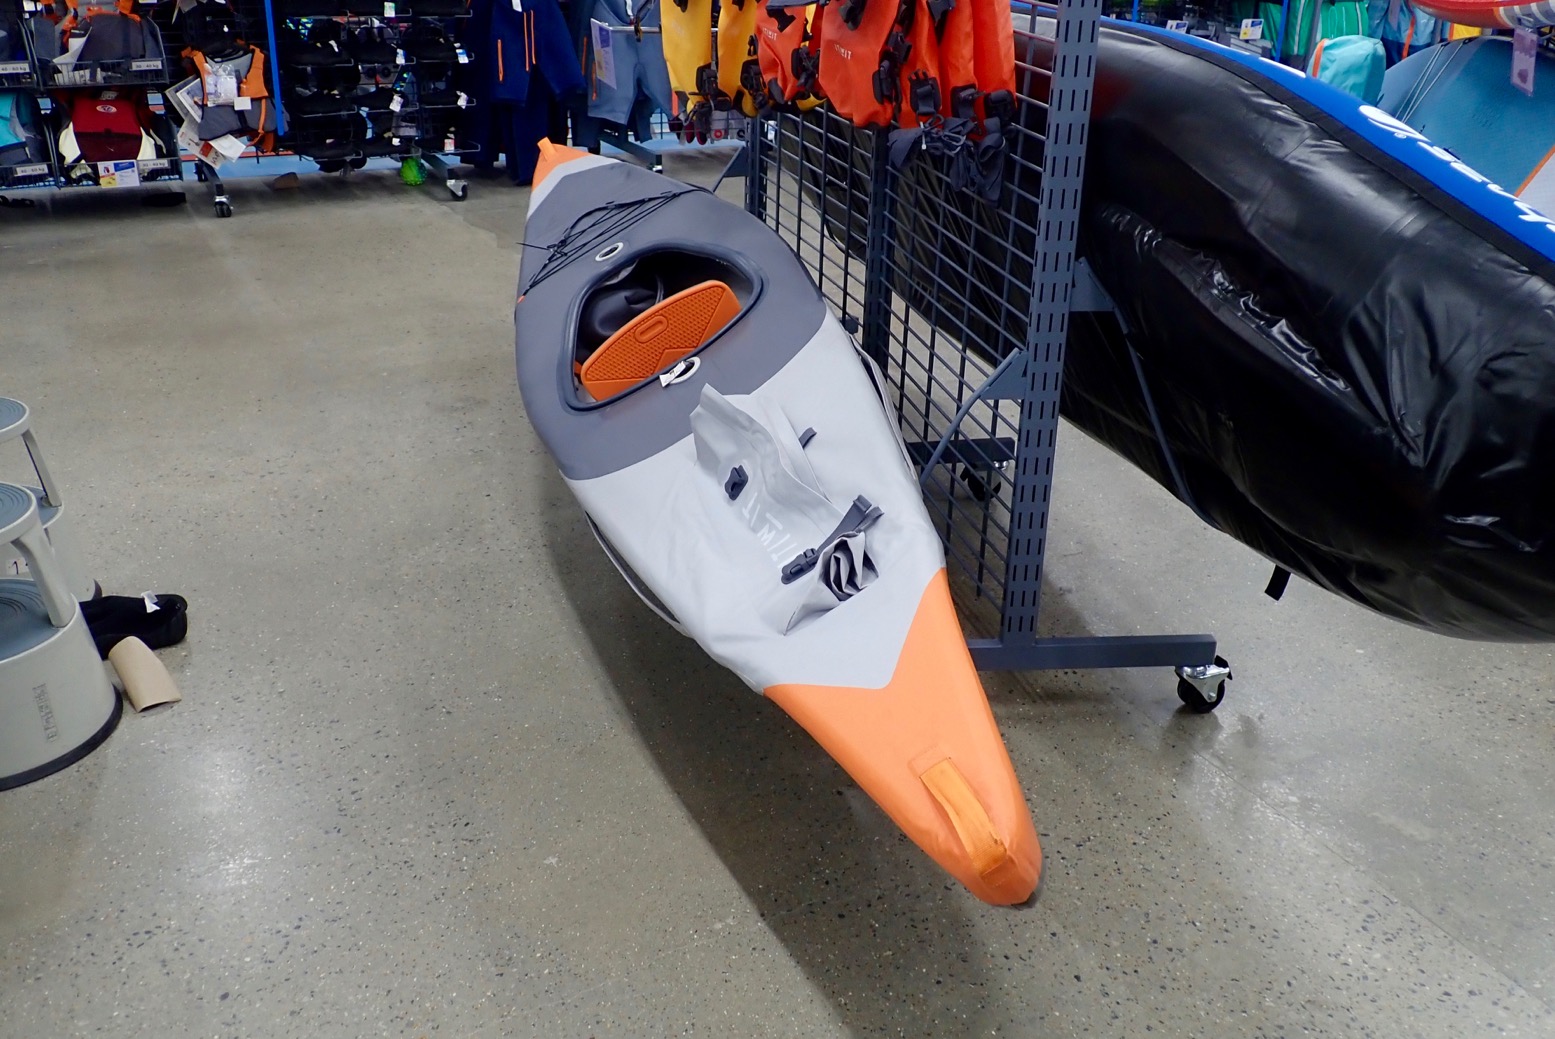
One the way back from the Regents Canal the other day, I dropped into my local Decathlon to have a closer look at the X-boat. First impressions were it wasn’t half as narrow as I expected – at least at cockpit level. The hatch is nice and big and it sure looks more kayak-like than the rest of the Itiwit range of bloats. That sure isn’t a typical flat DS floor which might explain the tippiness some report.

The boat wasn’t at all saggy as you’d expect from an Intex watersofa sat in a showroom for months. But as mentioned, if your boat has a slim V-hull, you really need some knee-bracing to control any rolling. The deck felt quite slack but as always, the good thing is others will see how Decathlon took a big step forward in DS IKs, and try to improve.

Pumps for inflatable kayaks and packrafts

Updated Summer 2026

See also:
Inflation valves and PRVs
My PoV on electric pumps for IKs
Tested: Flextailgear rechargeable packraft pump
Packraft air pressure

Your inflatable packboat needs a pump to take form as well as to top-up once on the water. These functions may be best performed by two different pumps. The folding bellows footpump (left) is history and even low-pressure IKs now come with some sort of hard plastic barrel pump. Some pump on both up and down strokes to fill your boat faster, but as you reach higher pressures they automatically or manually switch to downstroke-only inflation to reduce the effort. They work best on flat, firm ground where you can stand on the stirrup plates and get stuck in. The excellent Bravo 4 RED Kite pump below (newer ones are blue) is still well under £20 and will pump up an IK in 5 minutes.

sw05

I got a Bravo 6 with my Seawave once but found it hard work – who knows why. The cheaper Bravo 4 does claim to be an ‘R.E.D’ (‘reduced effort device’) and I can confirm this isn’t some gimmicky acronym. The other port on the Bravo’s handle can be used to suck air from an IK so it rolls up good and flat; you can see creases forming in the hull as you suck it down.
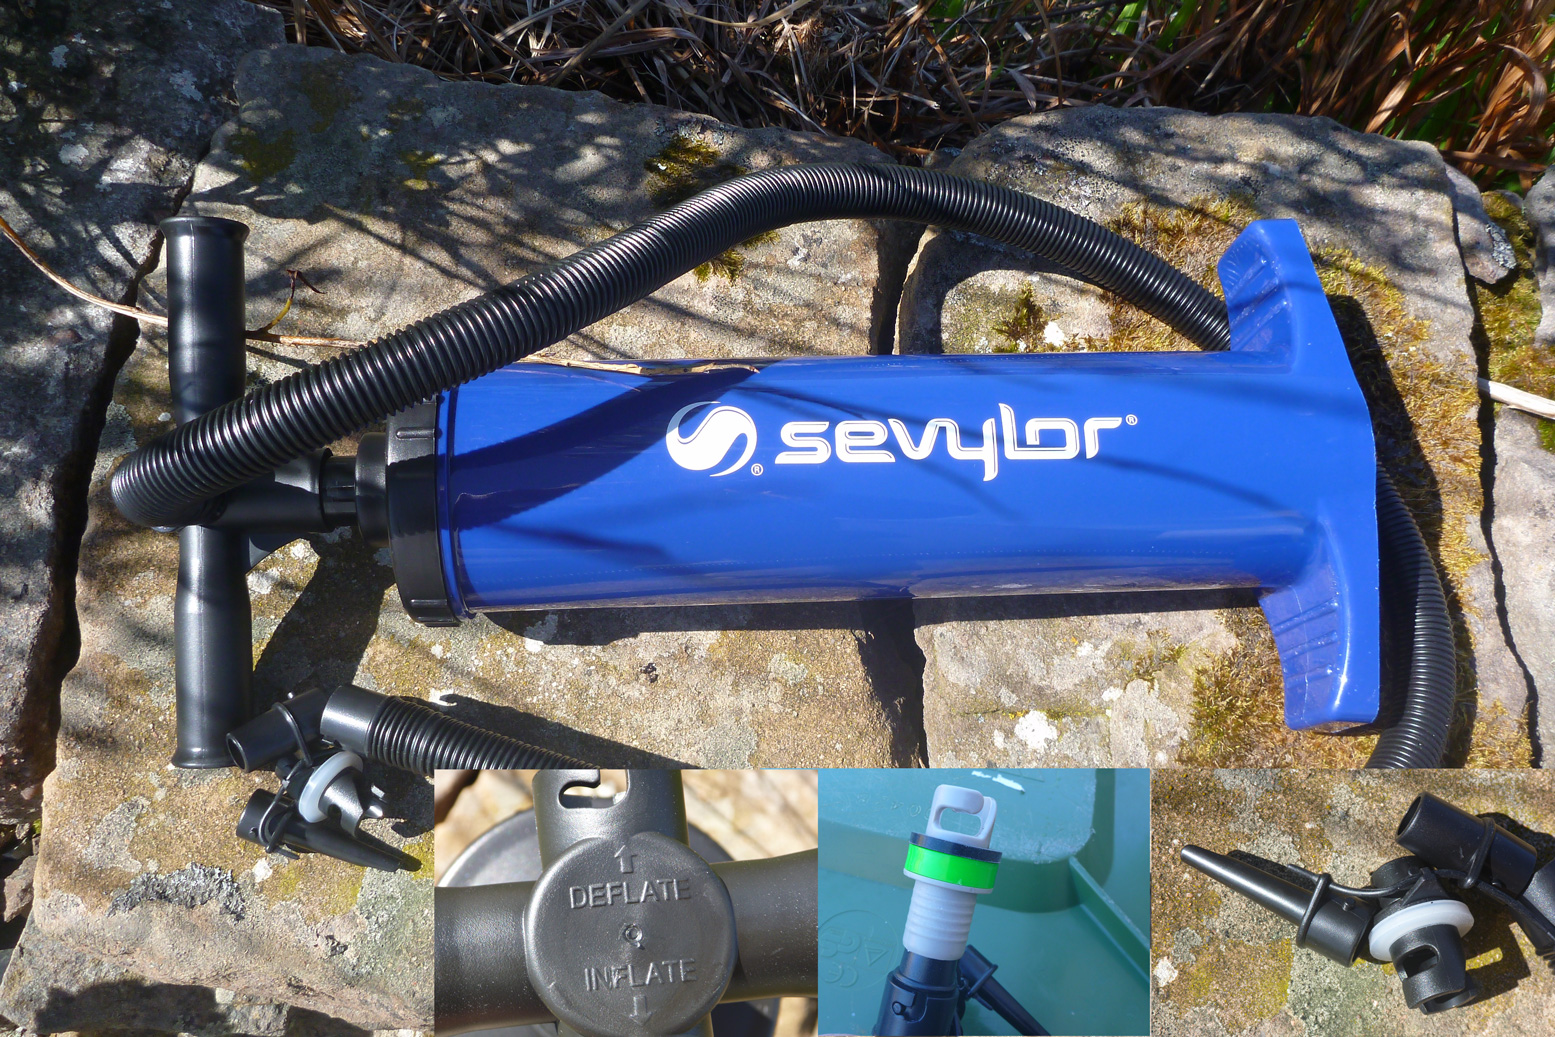
I left my Bravo 4 RED at home one time so bought a Sevylor RB2500G barrel pump (below left) for a tenner. Same size as the Bravo barrels, it did OK for the awkward topping-up of my Semperit’s lilo plugs and came with others adaptors plud sucked as well as pumped. But pumping up my Seawave from flat was exhausting towards the end: I actually got out of breath and had to rest! Morale of this fascinating anecdote: get a Bravo 4 RED and the right adaptor for your boat.
Not all barrels have a built-in pressure gauge which is obviously dead handy in getting the right pressure without needing to faff about with a separate manometer (see below). It’s worth an extra tenner to get a built-in gauge, especially with DS boats.

kpump200

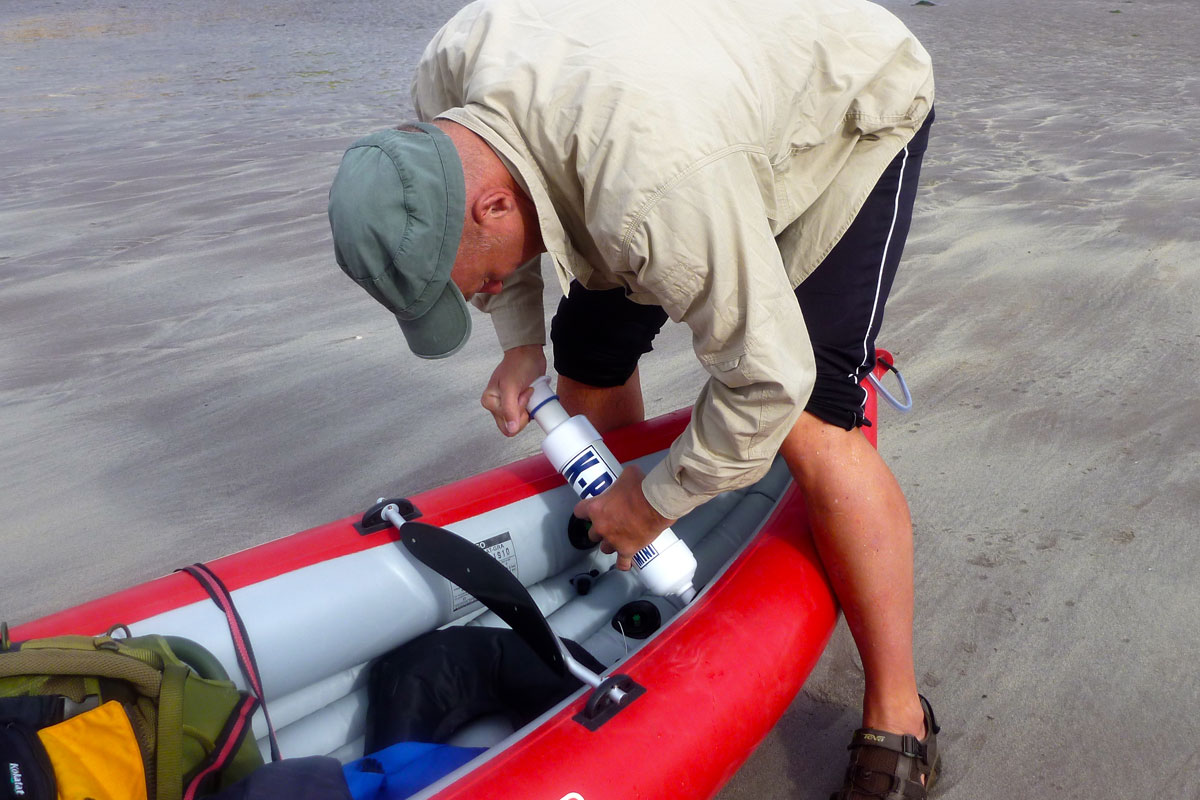
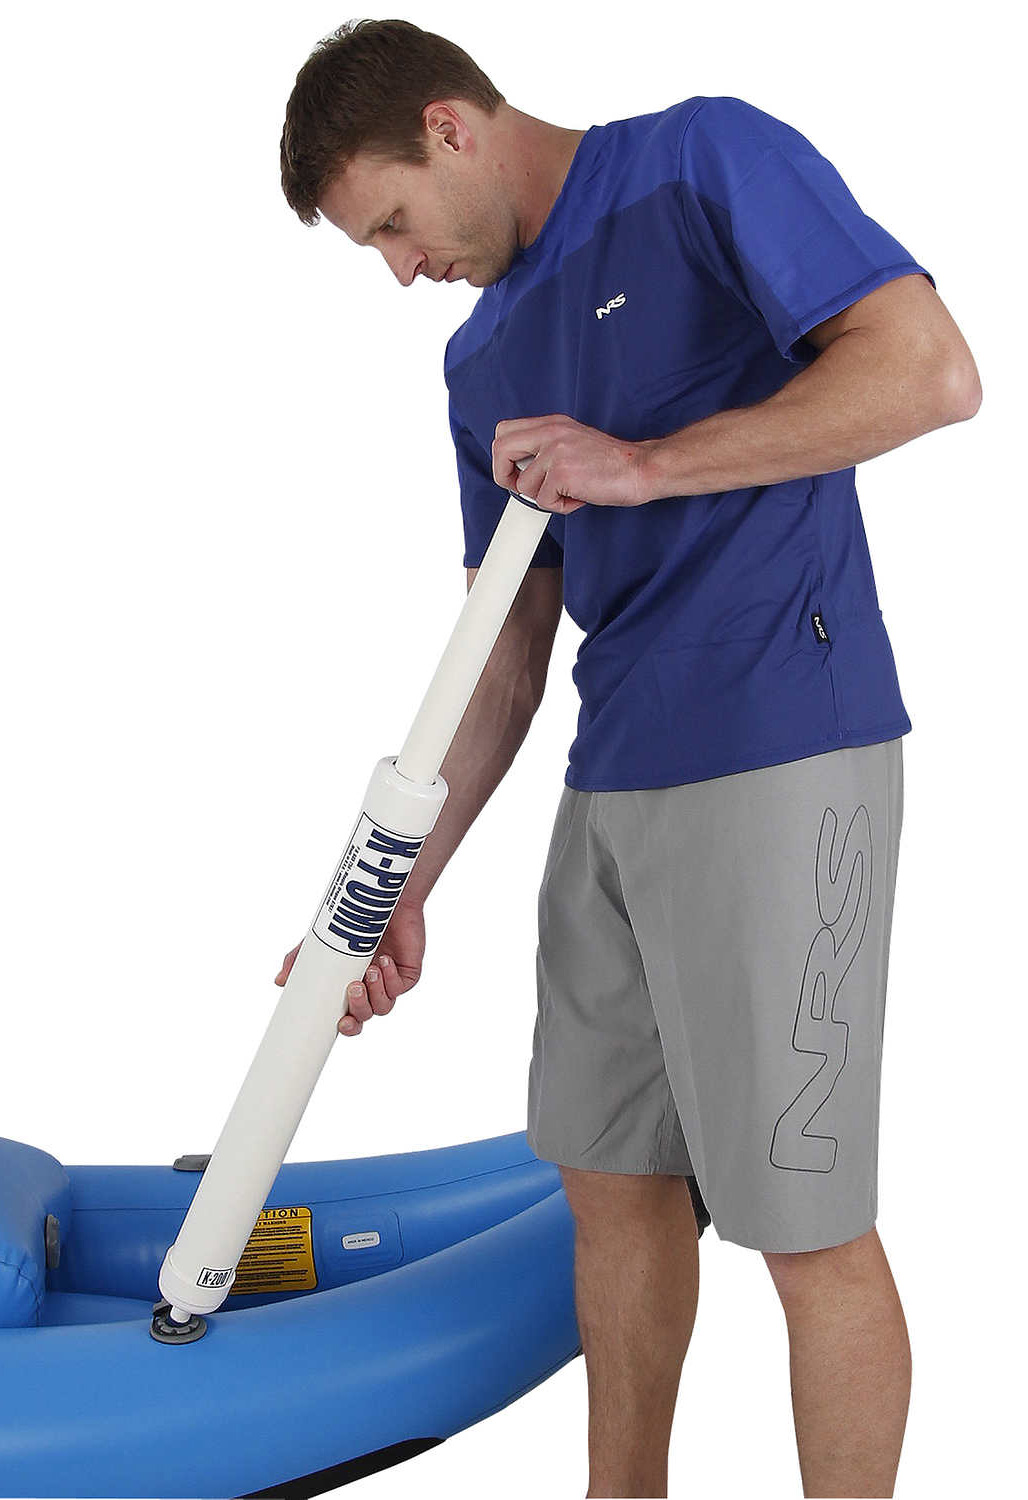
The K-Pump Mini (above right) is a handy top-up pump or compact 600-g travel pump. It took 15 minutes to fully inflate up my 14-foot Seawave; the push-fit nozzle works on any IK with one-way spring valves. You have to press and hold the nozzle against the valve. Using it a lot one time, I got the feeling it might break something or wear out the seal (which needs regreasing once in a while). I’ve also used the K-Pump to top up my Nomad S1 packraft which was too big and long to inflate firmly with just its airbag. Fuller review of the K-Pump Mini here. They’re hard to find in the UK, the very long, and slim US-made K-Pump 200 (right) may also be suited to higher-pressure dropstitch applications.

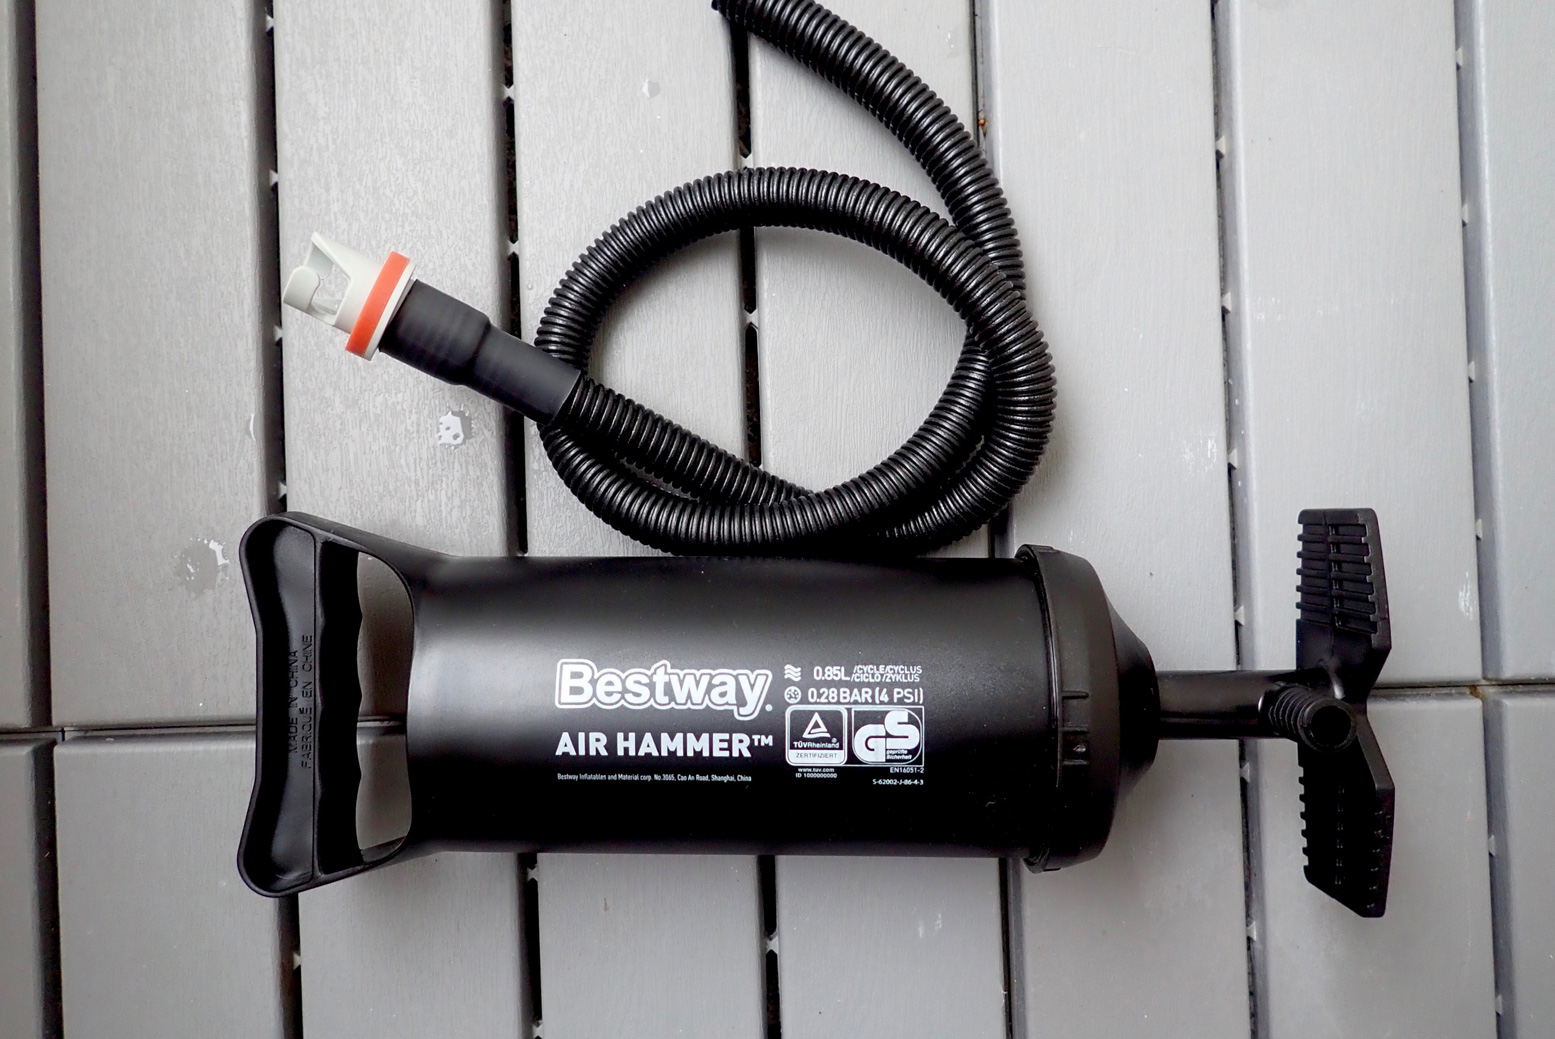
Left, the Bestway Air Hammer is an ‘upside-down’ barrel pump which comes in three sizes and costs from just £6 on eBay. If you don’t want to paddle with your full-size barrel pump, the smallest Air Hammer could work as a compact top-up pump like the K-Pump, but a tenth of the price. The one on the left came with a ROBfin and was rated at 4psi.

High-pressure pumps

More and more IKs now feature super-rigid, high-pressure dropstitch hulls – either just floors or the entire hull which runs 2–5 times higher pressures than regular IKs. Your old Bravo footpump will blow its brains out trying to reach a typical 7-10psi.
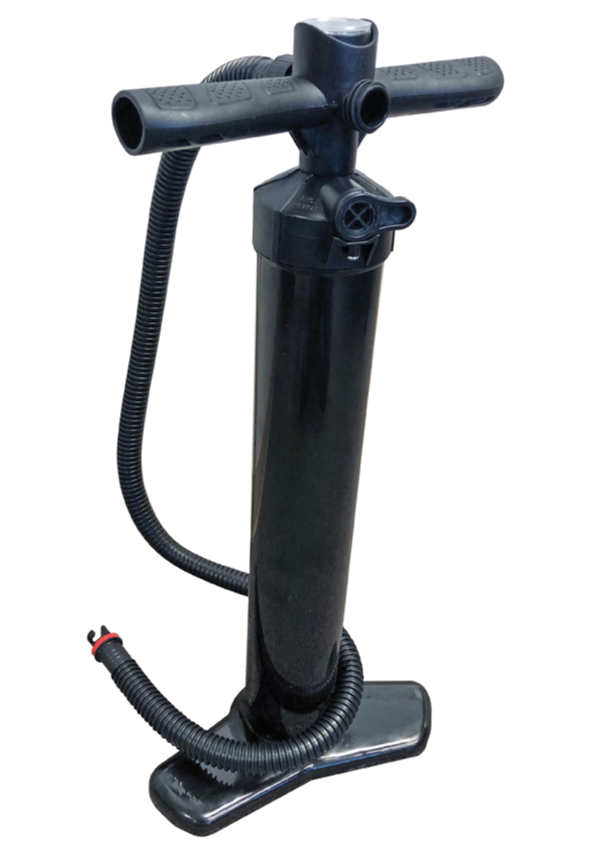
Barrel pumps with long, slim bodies, as opposed to the shorter, stockier examples above, put out less volume (DS IKs have less volume anyway) but can more easily attain higher pressures. It’s something to do with the ø of the pump face x the stroke. You don’t necessarily need a super high-pressure iSup board pump.

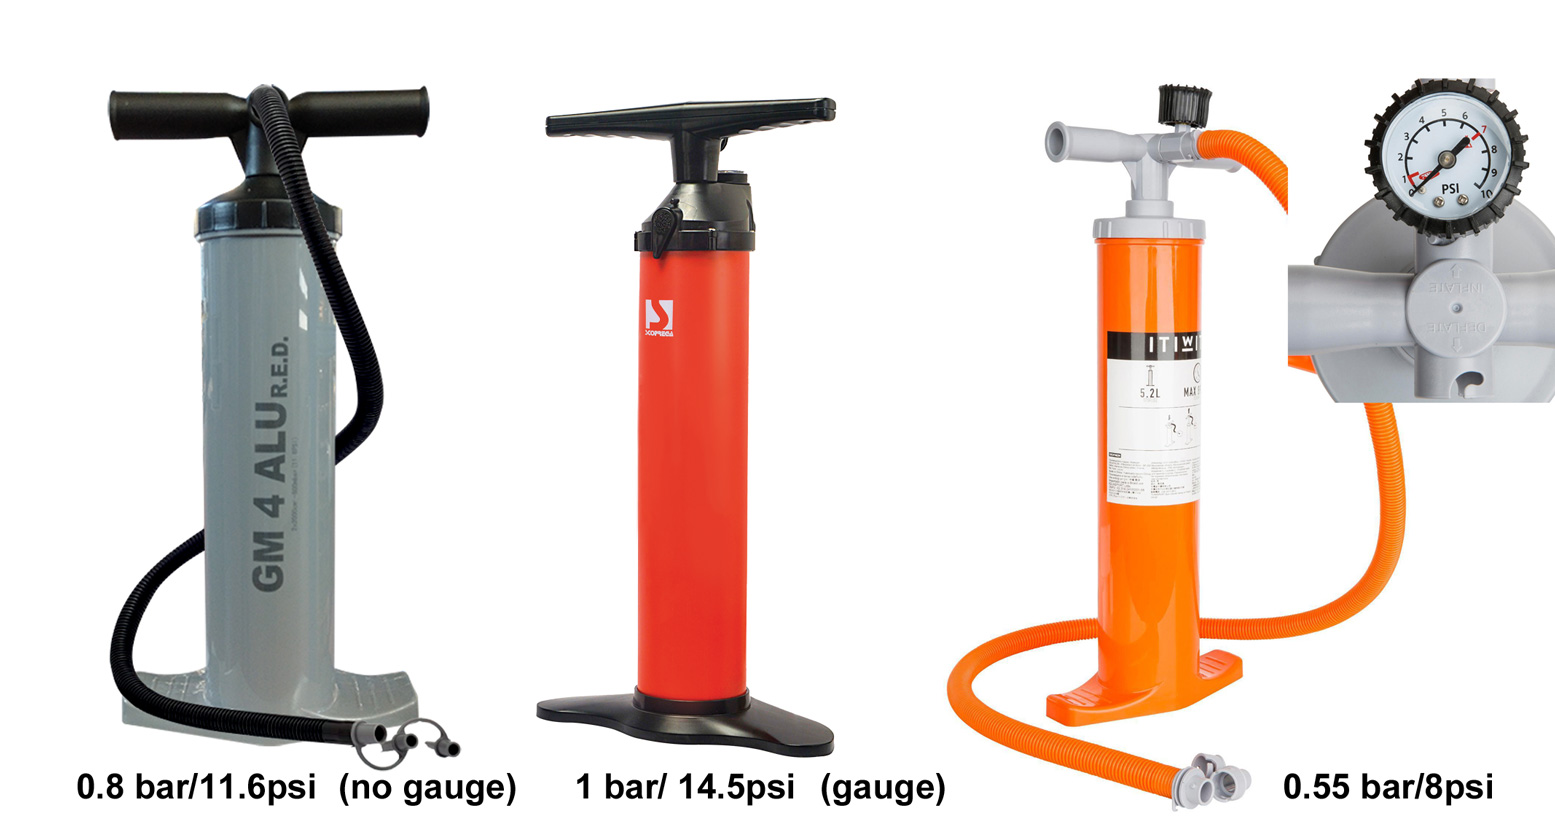
Left: Bravo Alu RED from £16 • Middle: Bravo 110 >£40 • Right Itiwit (Decathlon) £20

Some of these pumps may be double action. At a certain psi they become single action (downstroke only). I believe the Bravo Alu 4 RED (0.8 bar) works like that. Or they have a switch to do the same and help attain higher pressures. It works. Whatever pump you get for your DS IK, make sure it is rated to comfortably exceed your DS boat’s pressure rating.

What I call ‘raft’ valves

Bayonet nozzles for ‘raft’ valves.
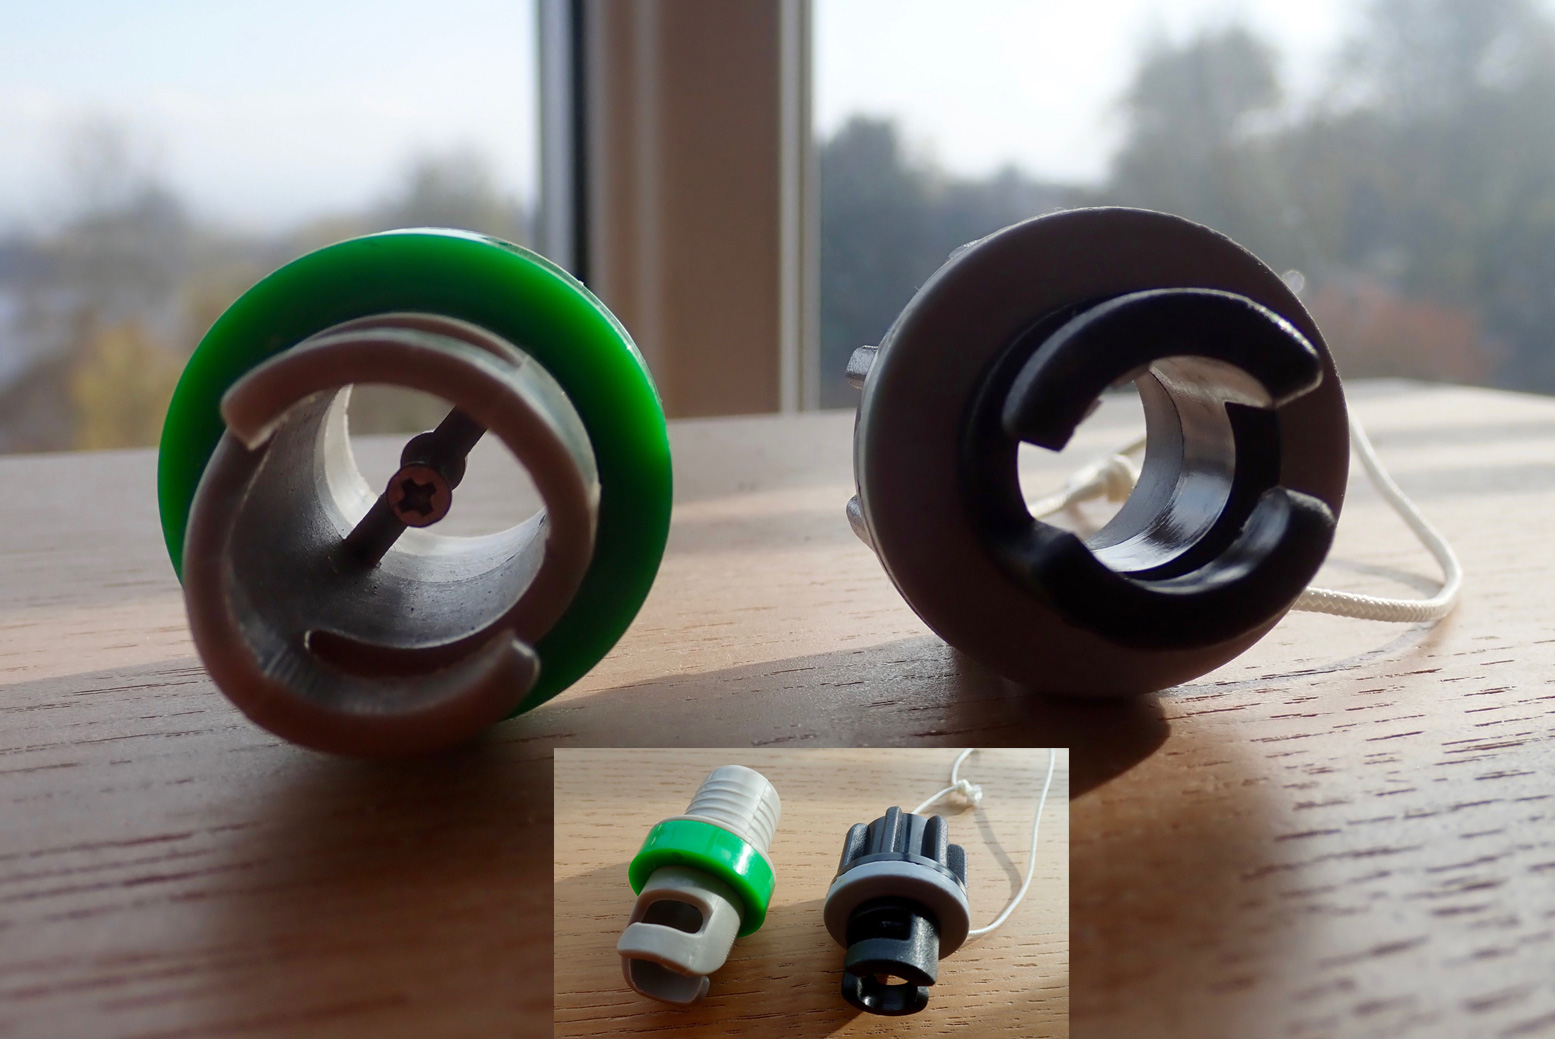
Who would have thought there’s something to be said about bayonet nozzles? Well there is. There are two types: plain (below right, Gumotex) and crossbar-peg or detent (left, Bravo). Both need soft spacer washers to fit snugly against your boat’s raft valve, but the small peg inside the green one will press open your valve stem as you connect it.

You will notice a similar peg on car tyre inflation hoses and also on a hand manometer (below). A manometer can’t get a pressure reading without this peg partially opening the valve as you push it on. A nozzle with a peg/detent means that:
a: you’re not pushing the valve spring open each time you pump (easier pumping) and
b: if your pump has a manometer you will get a constant/live reading as the pressure climbs which is the point of having a built-in manometer. The Bravo one goes from 3 quid; search: ‘Bravo Adjustable HP Valve adapter’.
The only drawback might be that you need to remove a pegged nozzle carefully with Push-Push (Gumotex) valves. Normally a little air escapes as you do this, but if the valve doesn’t spring back closed, air will rush out. Turn slowly then pull away briskly; you’ll get the knack.

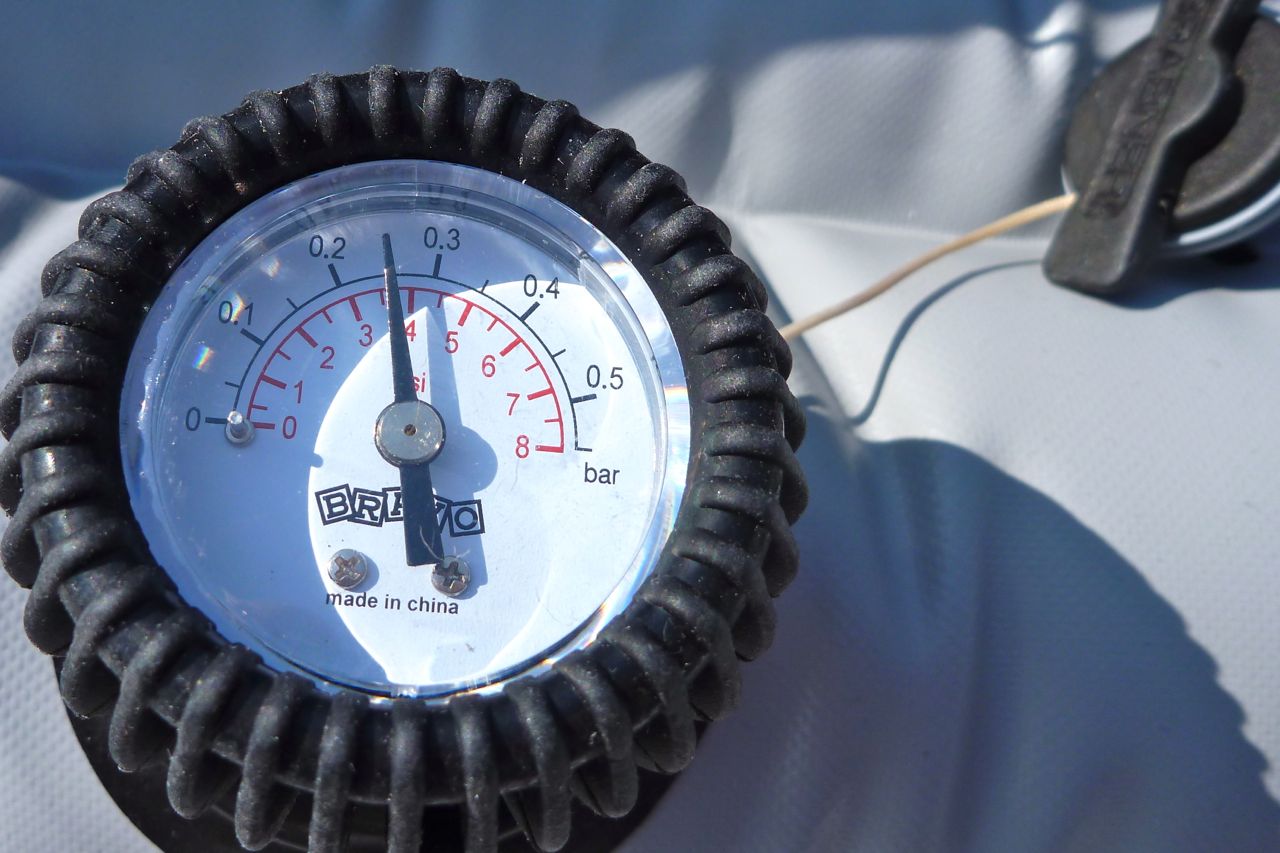
Pressure gauge (manometer)
Until I got a Grabner which has no PRVs but ran a relatively high, 0.3 bar (4.3 psi), I never bothered with a pressure gauge (manometer, below) and just pumped up by feel. A lot of people do this. Since then, I ran a Gumotex Seawave and fitted PRVs to all chambers. That meant I still didn’t need a pressure gauge to get the right pressure; I simply kept pumping until each PRV hissed: the boat was then at operating pressure. My Seawave 2 was left stock (no side PRVs) so I have got into the habit of keeping a Bravo manometer with the K-Pump Mini and checking the sides at each paddle when I top up. I have checked this manometer against the floor and it measured 0.25bar which matches with the PRV rating, so I think it’s pretty accurate. Try and get a model with a range of no more than 1 bar (as below left) as that is the range you’re working in. With high-pressure DS IKs, you probably want a pressure gauge as the boat will perform best at the right pressure which may be higher than you’re used to.

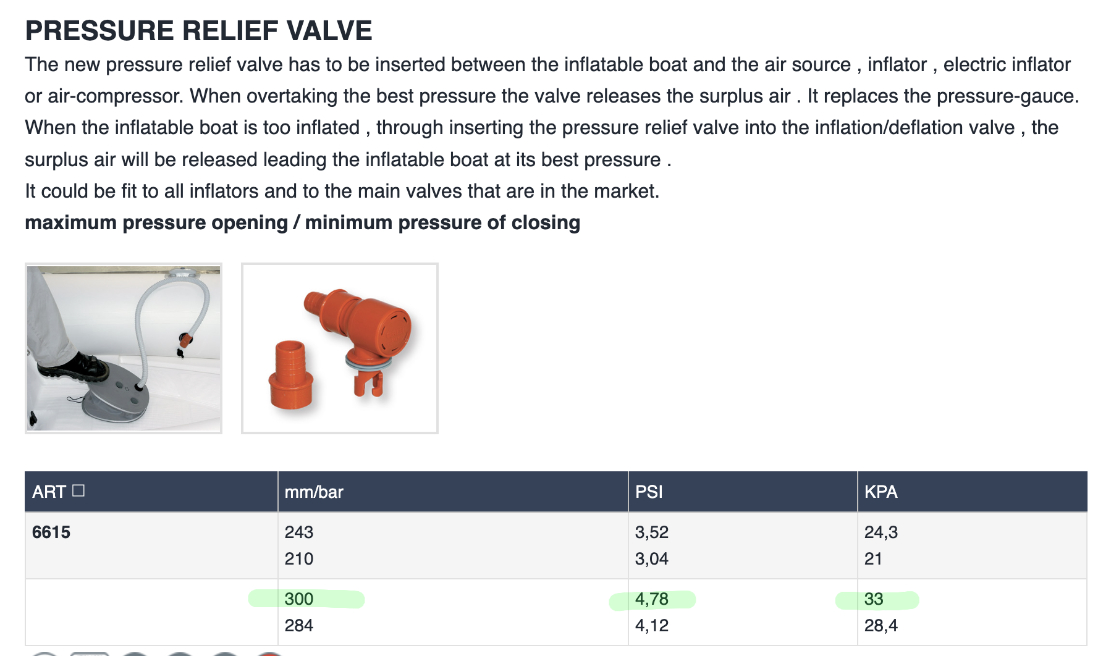
Ceredi 6615 PRV inflation hose adapter

PRV inflation adapter
No manometer? You can buy a PRV adapter to fit to the end of your pump hose to fill up a boat to a pre-defined purging pressure without needing to refer to a manometer. It’s a handy gadget providing that rating is right for your boat.
You pump away until the PRV hisses, then you know your boat is at the rated pressure. The 6615 Ceredi adaptors come in two ratings and cost just £12 in the UK. The lower rated one is the same pressure as a Seawave: 0.25 bar/3.5 psi. You could also use this one to moderately over-inflate a 0.2 bar factory-rated boat, like a Gumotex Twist by 25%, so making it stiffer but of course risking the thing blowing up if left in the hot sun too long. The ‘300’ version (highlit green below) is less easily found and rated at 0.33bar/4.78psi, the same as the in-hull PRVs I fitted to my old Gumotex Seawave. Grabner make one for €25 (see vid below), also rated at 0.33.

If you can’t track the 6615s down, try the similar black Grabner inflation relief valve which is also rated at 0.3 bar, but, like everything Grabner, is double the price of the Ceredis.

Packraft Pumps

Packrafts used to be inflated with a featherlight airbag which came with the boat. A nozzle on the bag screwed into the boat’s valve and you scoop air into the bag (easier with a breeze) and ‘bear hug’ it to cram the air into the boat. It’s takes about ten scoops and two minutes to inflate a boat this way, then unscrew the bag nozzle and quickly screw on the valve without losing too much air.
Next, you used to top off by mouth on a separate twistlock valve: the firmer the boat the better it rides. In the video below (speeded up x 15) from walking up to a beach with my paddle in my pack, to loading up and paddling away took 8 minutes.

Things have moved on. Most packrafts now have a single one-way Boston valve which tackles initial inflation and topping up to a firm pressure.
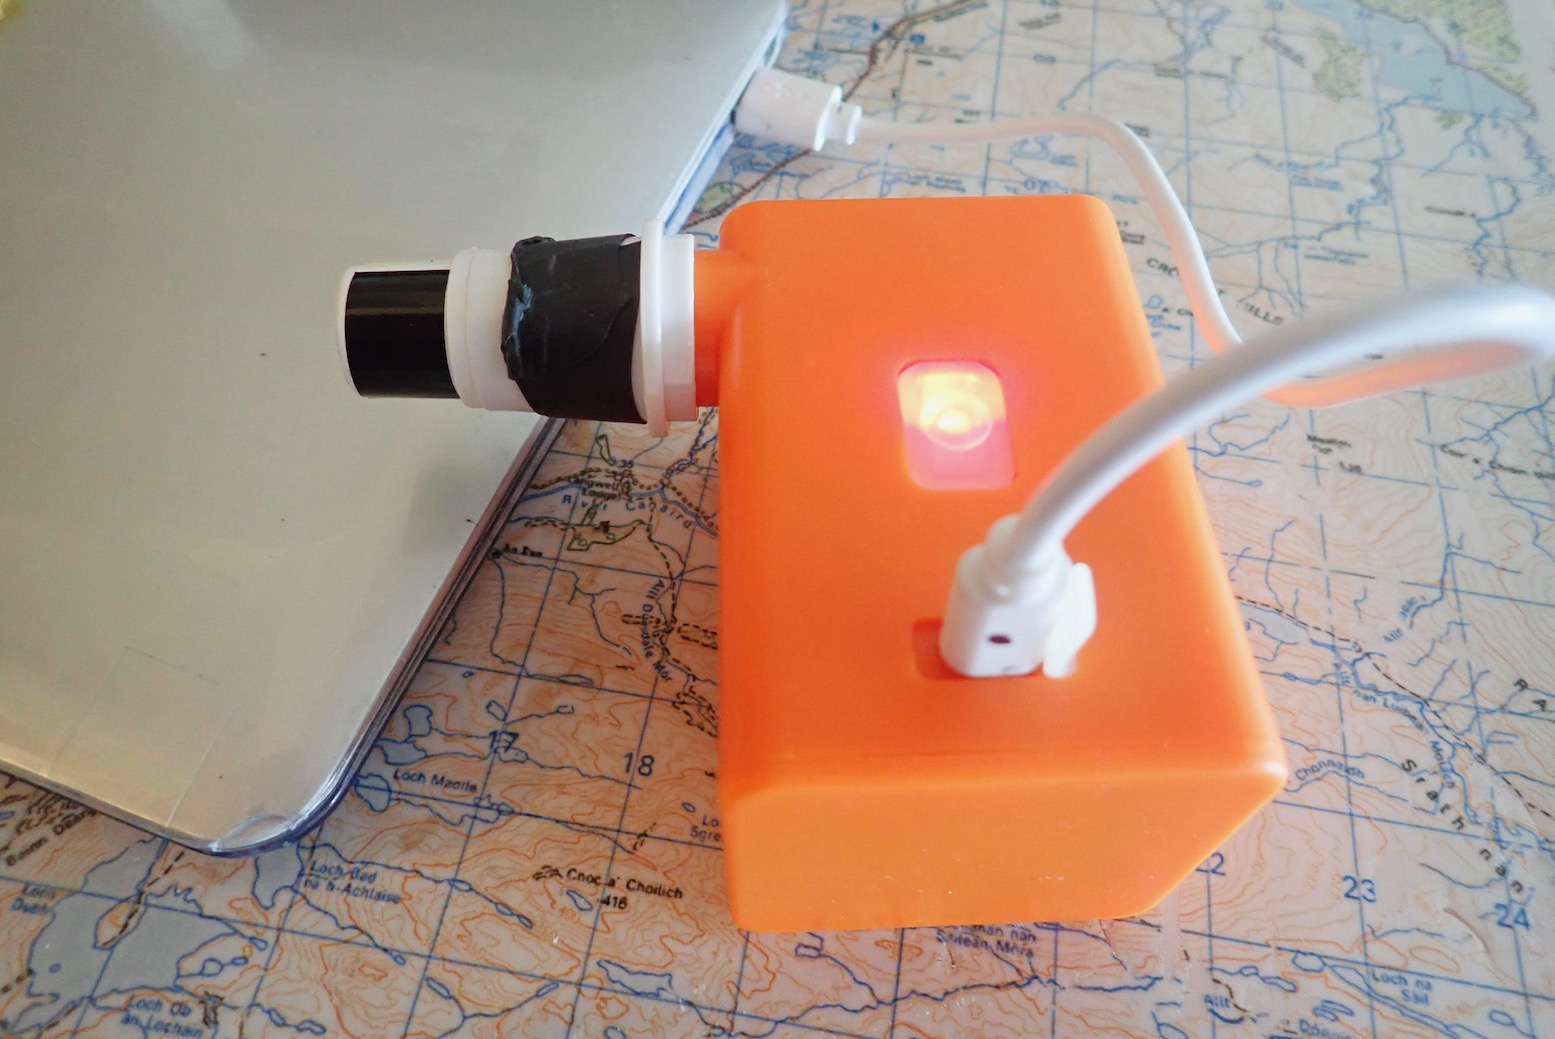
Inexpensive and tiny rechargeable electric pumps (left and below) now effortlessly do the initial job of the air bag, once you fit the right adaptor. Flextail minipump reviewed here.

Mini electric pump

And for those who don’t have lungs like Luciano Pavarotti, once aired up a light and compact mini handpump (left) will get the boat good and firm. Firm boats paddle better, and like IKs, a packraft that feels firmly inflated by hot ambient air on land will go soft once cooled in the water and will need more topping up.

The Anfibio pump above is an adapted eBay balloon pump with an added hose so you can top-up on the water, if needed. It also differs from eBay cheapies in that the handle now unscrews from the pumping shaft to make it less prone to snapping in transit (as I found with the earlier version).
With a Flextail and an Anfibio pump you’re packing good to go, but I always keep the original air bag plus a short section of garden hose (for topping up; below) with my boat in case either pump fails.

Note: a good packraft should hold air for days at a time, but don’t leave it fully inflated and out of the water in the hot sun. The air inside heats up and expands, pressures rise and the seams will get strained and may rupture.

Preview: Gumotex Thaya IK

See also:
More about Hybrid IKs
Gumotex Rush

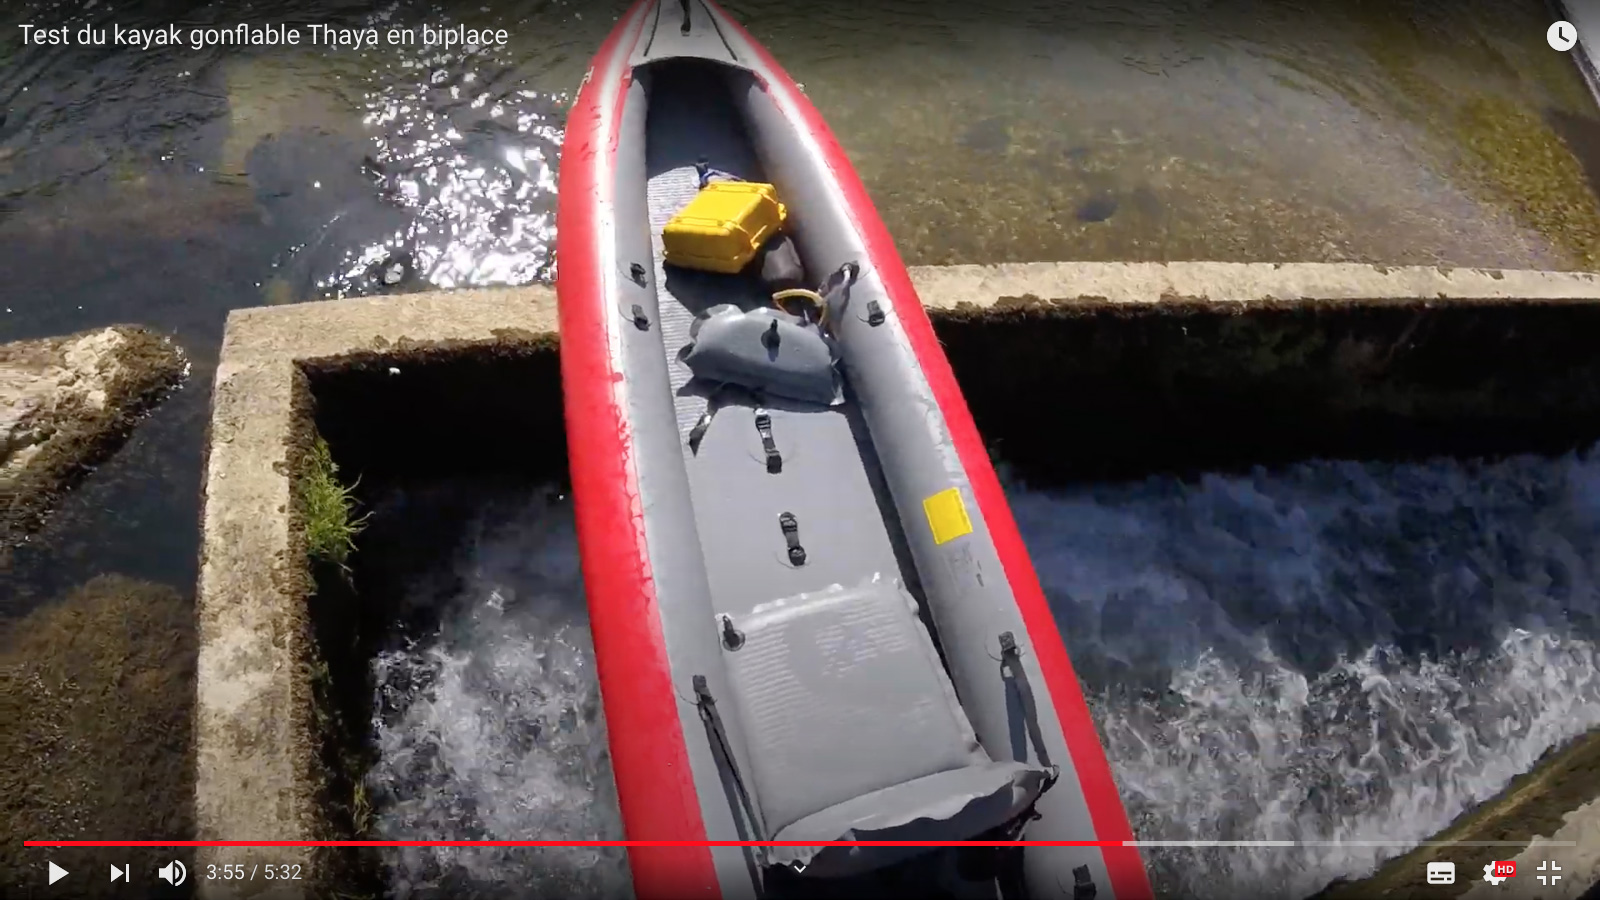
Since 2019 the Gumotex Thaya sits alongside the near-identical and 25% cheaper 4.1-m Solar on which it’s based, but with a drop-stitch (DS) floor to greatly improve rigidity. The Solar was not unlike my old Sunny, running just 3psi (0.2 bar) all round. That can get a bit saggy with a well-fed solo paddler. This was the first of Gumotex’s DS-floor boats, but a basic exercise in simply replacing a floor rather than trying anything more fancy like the Rushs of 2020.

decpump

Drop-stitch fabric now makes the complicated hand assembly of pressure-vulnerable I-beam floors (left) redundant. A DS floor is a flat panel with effectively 3-4 zillion ‘I-beams’ (see top of the page) all spreading the pressure load evenly to constrain the form into a plank shape, but at a much higher pressure than an I-beam floor can safely handle. In an IK, high pressure = a more rigid hull = better glide/less effort for barely any additional weight. The only drawback is that you need a more powerful high pressure barrel pump (above right). Your old Bravo foot bellows won’t do anymore.

DS is normally PVC and made in China, but Gumotex have found a way to manufacture threading and bonding a D/S floor with their durable, flexible and environmentally right-on Nitrilon rubber fabric. It can’t be that hard. The regular, normal-pressure 3psi sidetubes ought not need the higher pressures I ran on my adapted Seawave because the 7psi (0.5 bar) DS floor greatly aids rigidity (see action video below). Gumotex’s new tag line rubs it all in:
‘Made in EU [read: ‘not China’], made from rubber [read: ‘not PV … spit … C’].

thaya-family

The promo video below suggests something revolutionary, but combining DS with Nitrilon can’t be that much different from doing the same with PVC. It will certainly simplify or speed up assembly. One assumes drop-stitch floors supposedly don’t need a PRV necessary to protect I-beam floors from internal ruptures when they overheat in the hot sun. Some UK outlets where claiming the Thaya has a “Safety relief valve [PRV] in the bottom of the boat” but it’s probably just a copy and pasting error from the Solar. I can’t see one in any pictures and have yet to see a DS panel with a PRV until the AE AirVolution came out in 2020. The assumption is they don’t need it if it runs a modest 7psi, but some claim high-pressure DS floors won’t last as long as I-beams. Without a PRV, that may be true and much will depend on running the correct recommended pressure, the quality of manufacture/assembly and where possible, leaving the boat in the water on hot days so the large water-contact area keeps things cool.

One positive thing about old-style I-beam floors is the parallel I-tubes (left) probably don’t hurt tracking (even without a skeg). They also enable the desirable curved hull profile of a boat rather than the flat floor of a barge (for the moment DS panels can only be flat or maybe with a slight curve).

Payload ratings seem to have settled at 230kg and the movable seats are also made from DS panels. Initially I thought why? For the backrest and footrest that makes sense but who wants to sit on DS seat base on a DS floor? Of course you don’t have to pump DS up to the max to get its flat form constraining benefits and it looks like valves are regular twist-locks so you’d couldn’t get more than a couple of psi in there. Footrests are the usual inflatable pillow rubbish, but possibly also DS? I’d replace them with a section of sawn-down plastic drainpipe so you get a solid block to brace against. It makes efficient paddling much easier.

thaya-red-l

I’ve never tried one, but I do wonder how a flat-floored DS IK might handle in windier, choppier conditions where an IK isn’t exactly a hydrofoil at the best of times. A flat, raft-like floor will be stable, sure, but it will roll and pitch about more. Also, according to the specs (left) at 89cm the Thaya is a disappointing 6 or 9cm (3.5″) wider than the all-tube Solar 3 (Actual verified width seems to be 34″ or 86cm). Great for family-friendly stability; not so good for solo paddling speed and efficiency. My Seawave was 2cm narrower than a Solar 3 and with the usual care getting in, stability is not an issue. Out at sea my Seawave would swamp long before I’m tipped out. But then again, the near-rigid floor may cancel out the drawbacks of the greater width. At 18kg the Thaya is heavier than a Solar 3.

For most recreational, flatwater users the Thaya ought to be a nice family boat, but then so is a Solar 3. The Thaya costs 30% more than the Solar 3 whose days may be numbered, but it’s 2022 so maybe not.