A couple of fellow Seawave owners got in touch recently to share their ideas and modifications.

eBay rudder with DIY mount plate 
Lighter, bendy deck bars
Jules showed me his very nicely milled MYO rudder similar to my Mk2 design of 2016 made from HDPE chopping board. I doubt the alloy one is any heavier. He also uses a deck, but replaced the four bulky welded alloy bars fit for a Zeppelin with a much lighter arrangement in heat-bent plastic pipe with alloy end slots.
Were I to get a deck again (solo decks only go for around £145 – over half price of the full kit), I’d definitely make something similar, maybe with tent poles or even thick garden hose. It would pack much more compactly.
Jules adds:
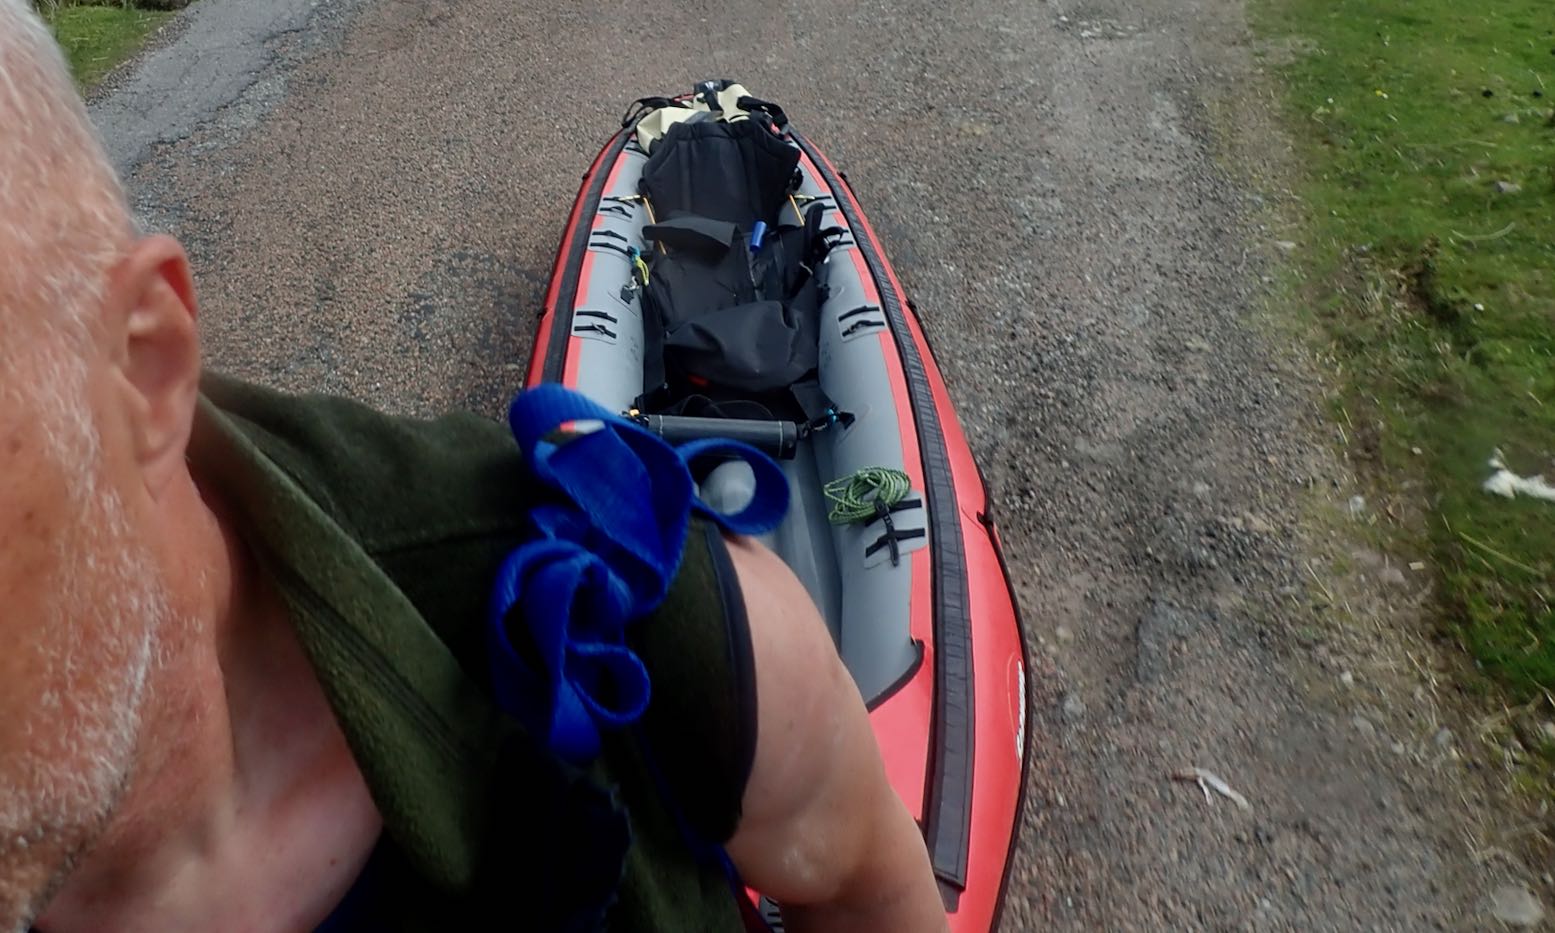
… I’ve made a very efficient rudder for the Seawave using a tube that pivots on tape as a pedal bar or locks off to form footpegs, with cables running in PTFE tubes under the velcro for the deck. It means no exposed lines and works very smoothly.
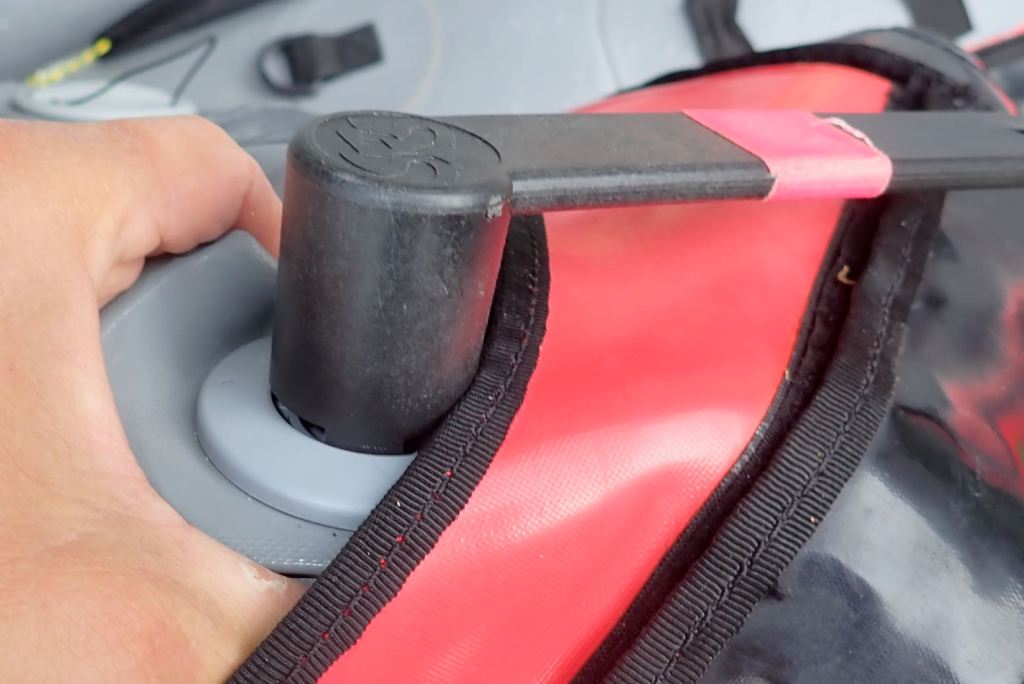
I take that to mean a hard drainpipe tube (like I use) which pivots from the centre like handlebars with the rudder lines attached at each end. In an IK that’s a much neater way of doing it than any pedal system. Tucking the lines under the deck velcro in tube sleeves is also much better. It’s about time that deck velcro did something useful! The photos below may help clarify Jules’ system
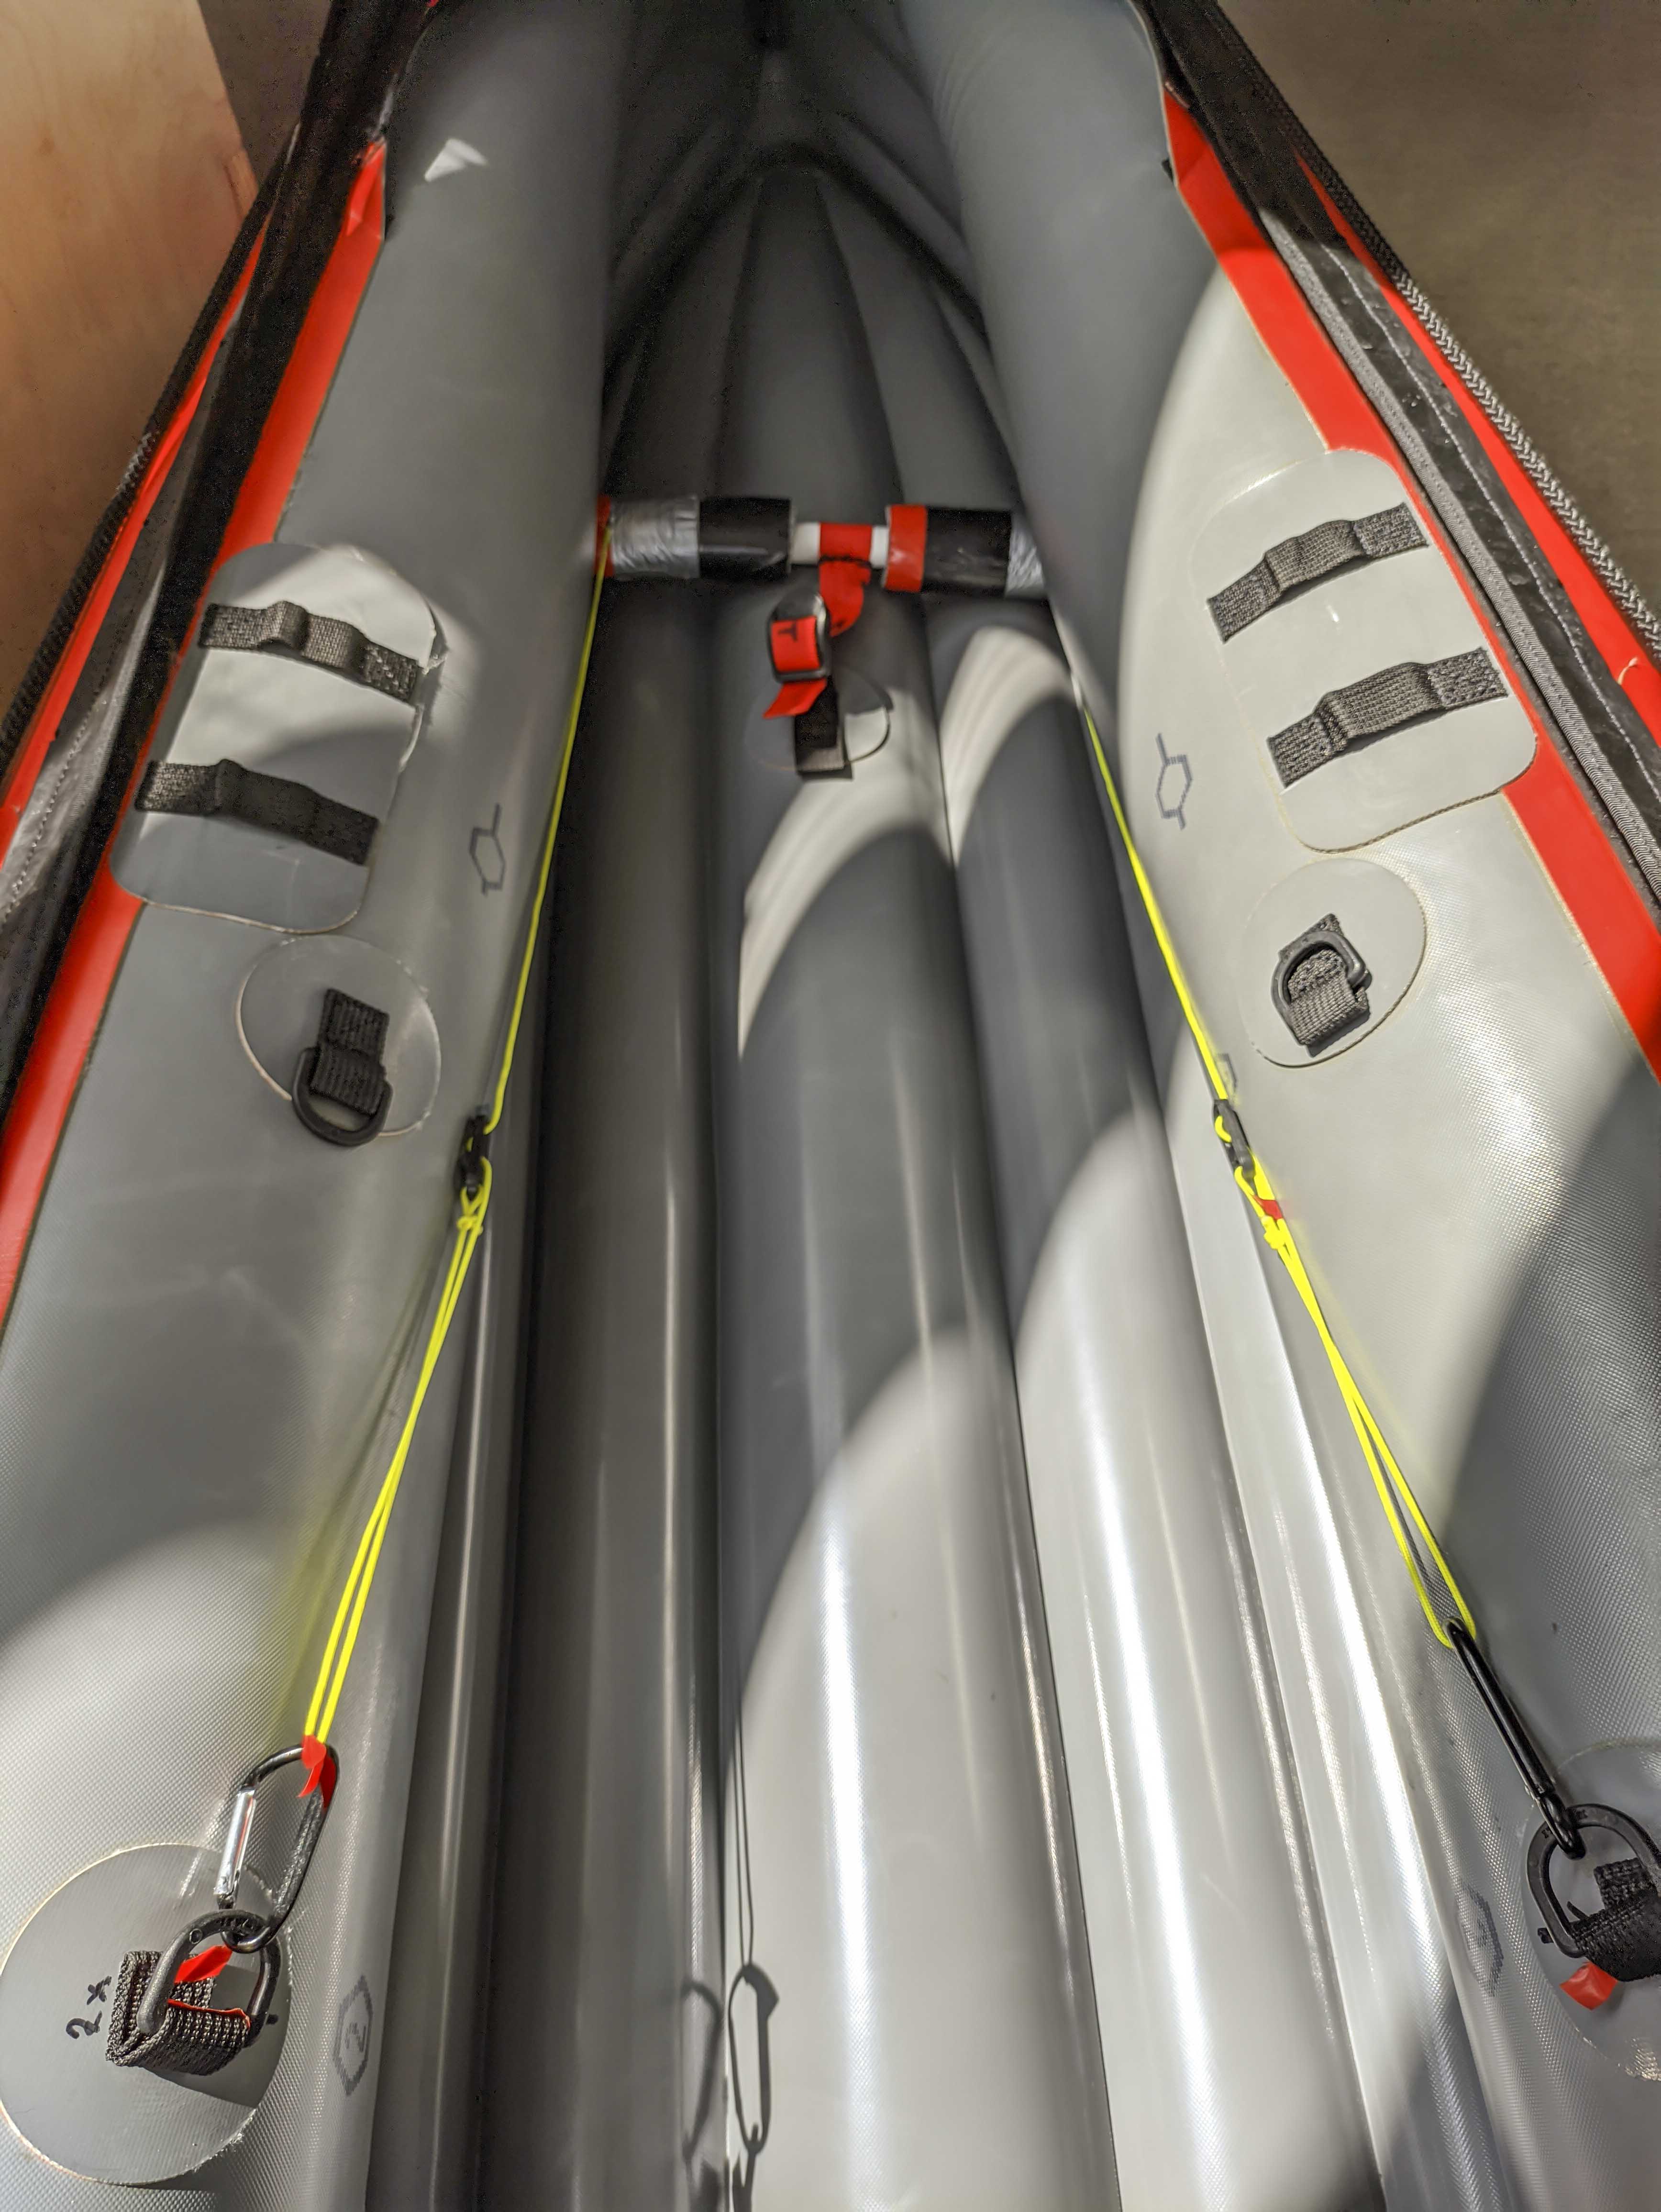
Front footrest locked off 
Rear footrest ruddered up 
PTFE rudder line tubing 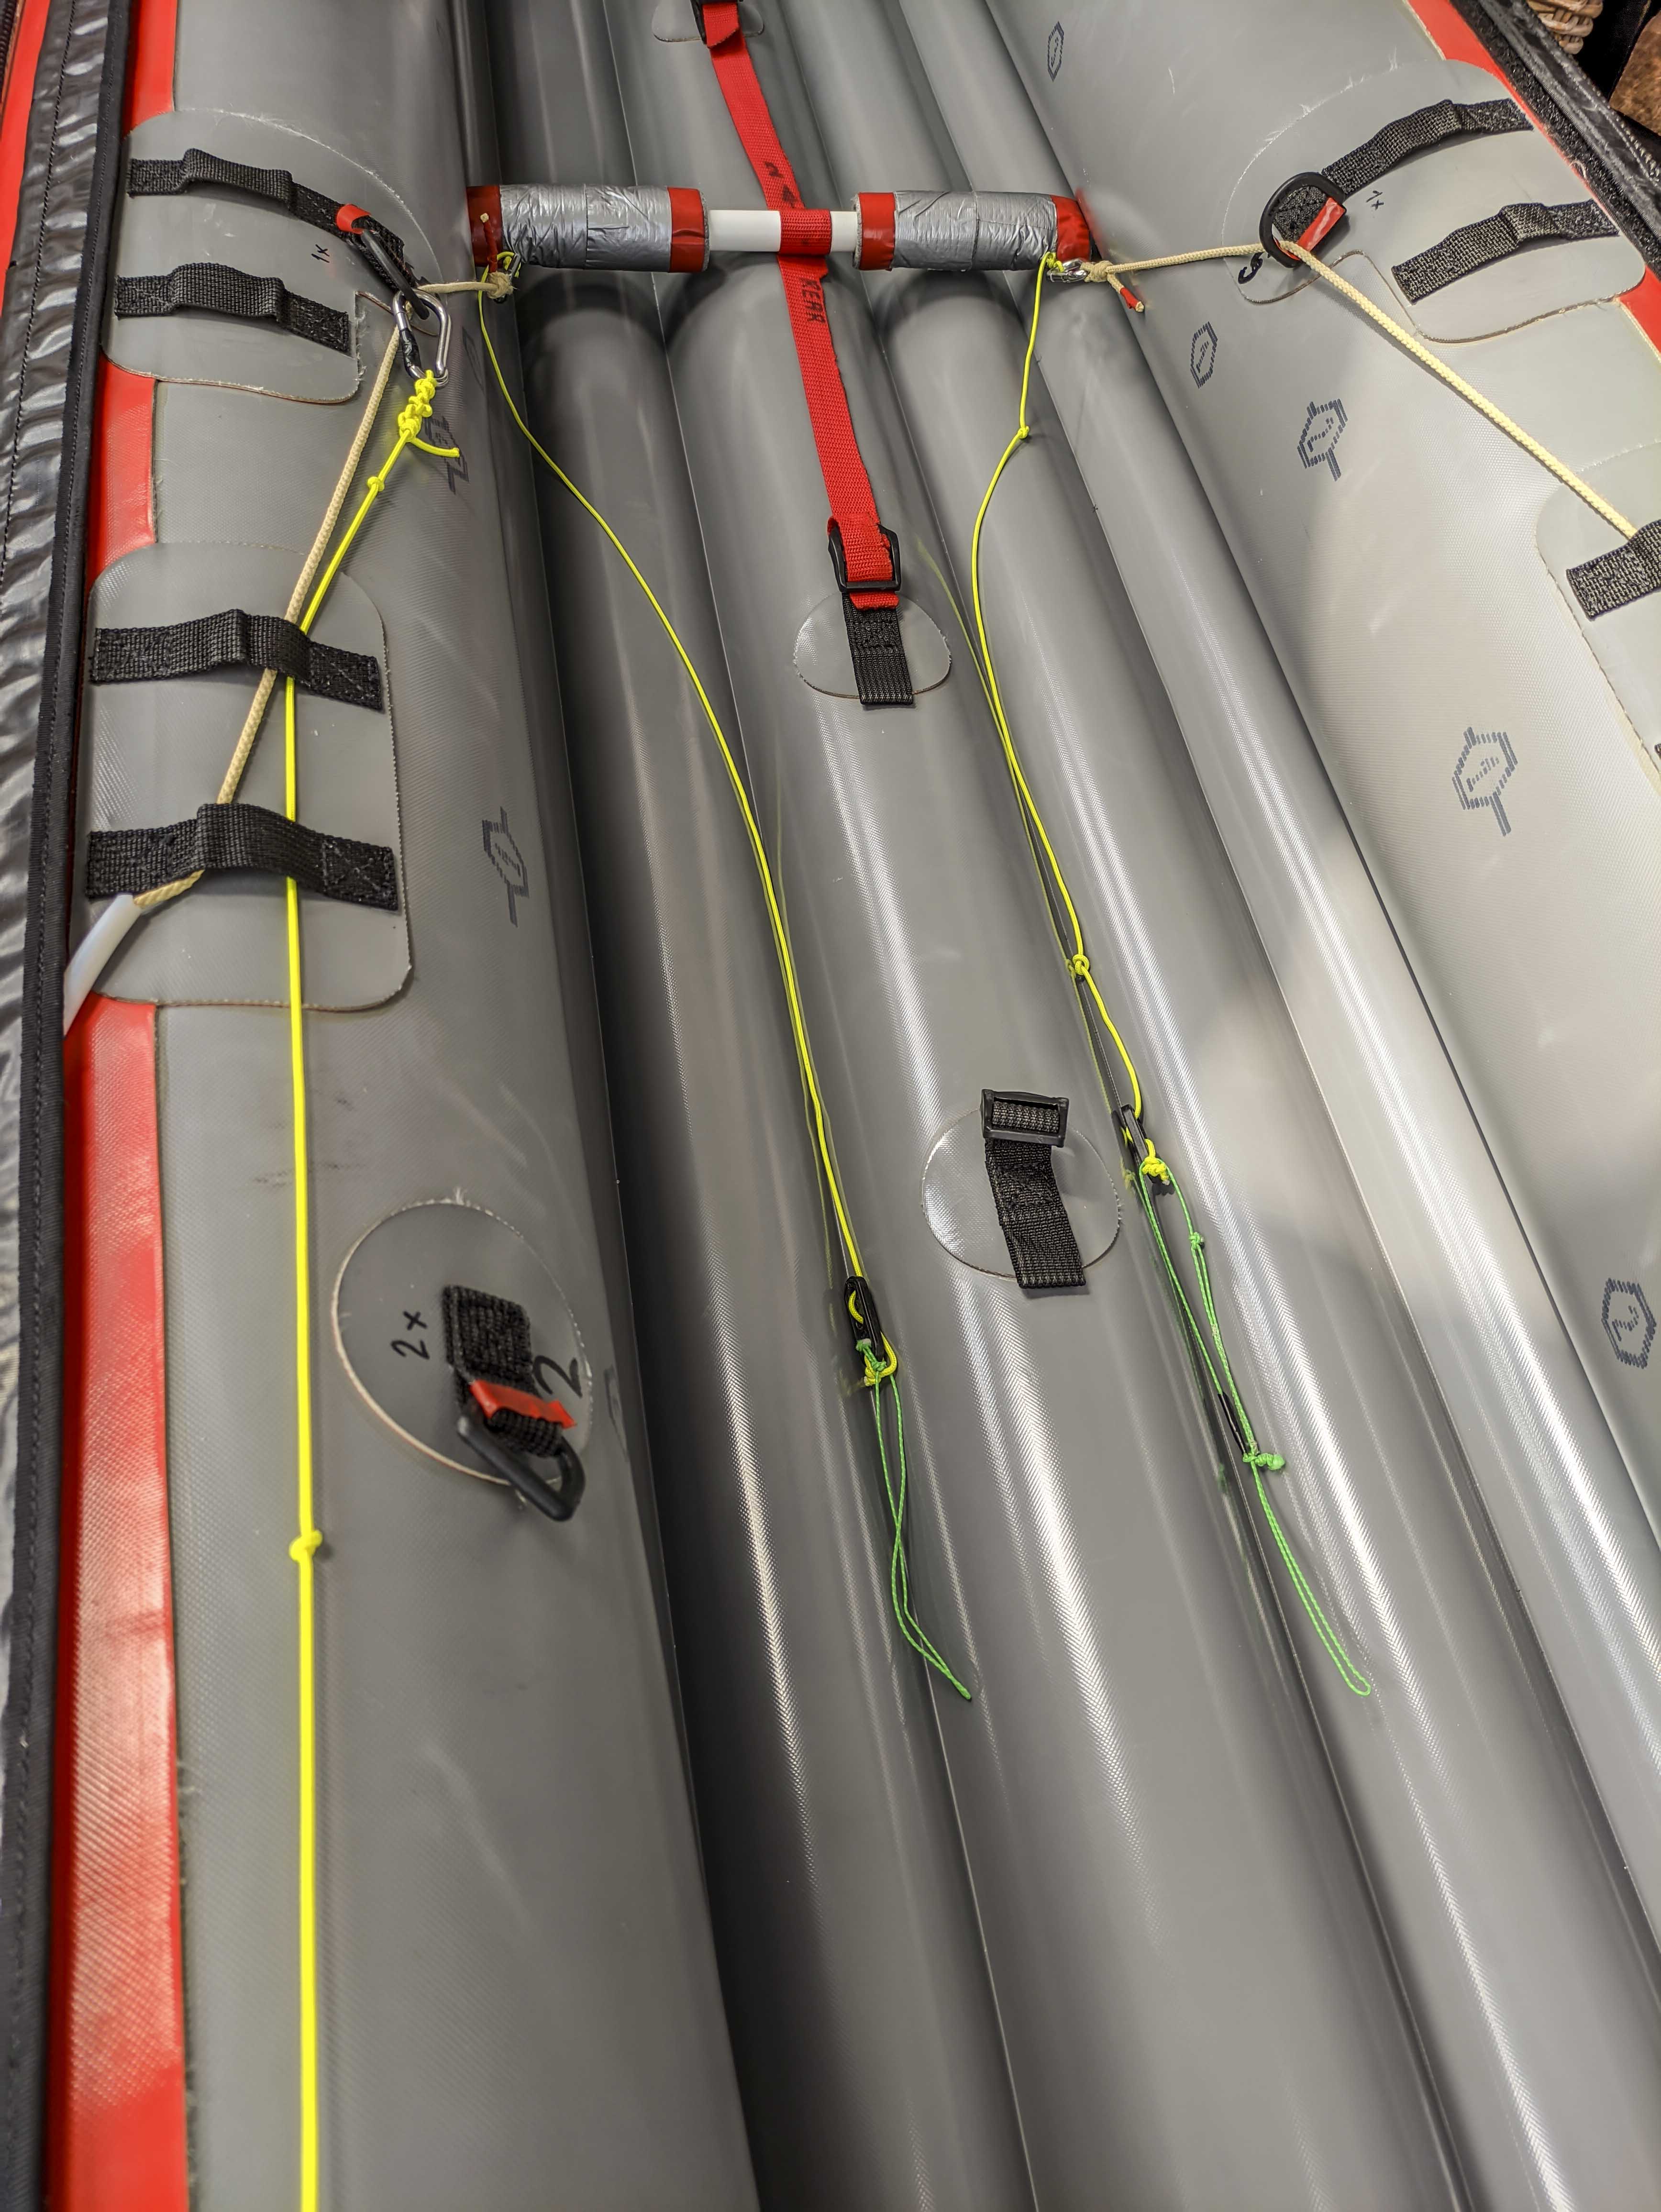
Rudder and lock off lines 
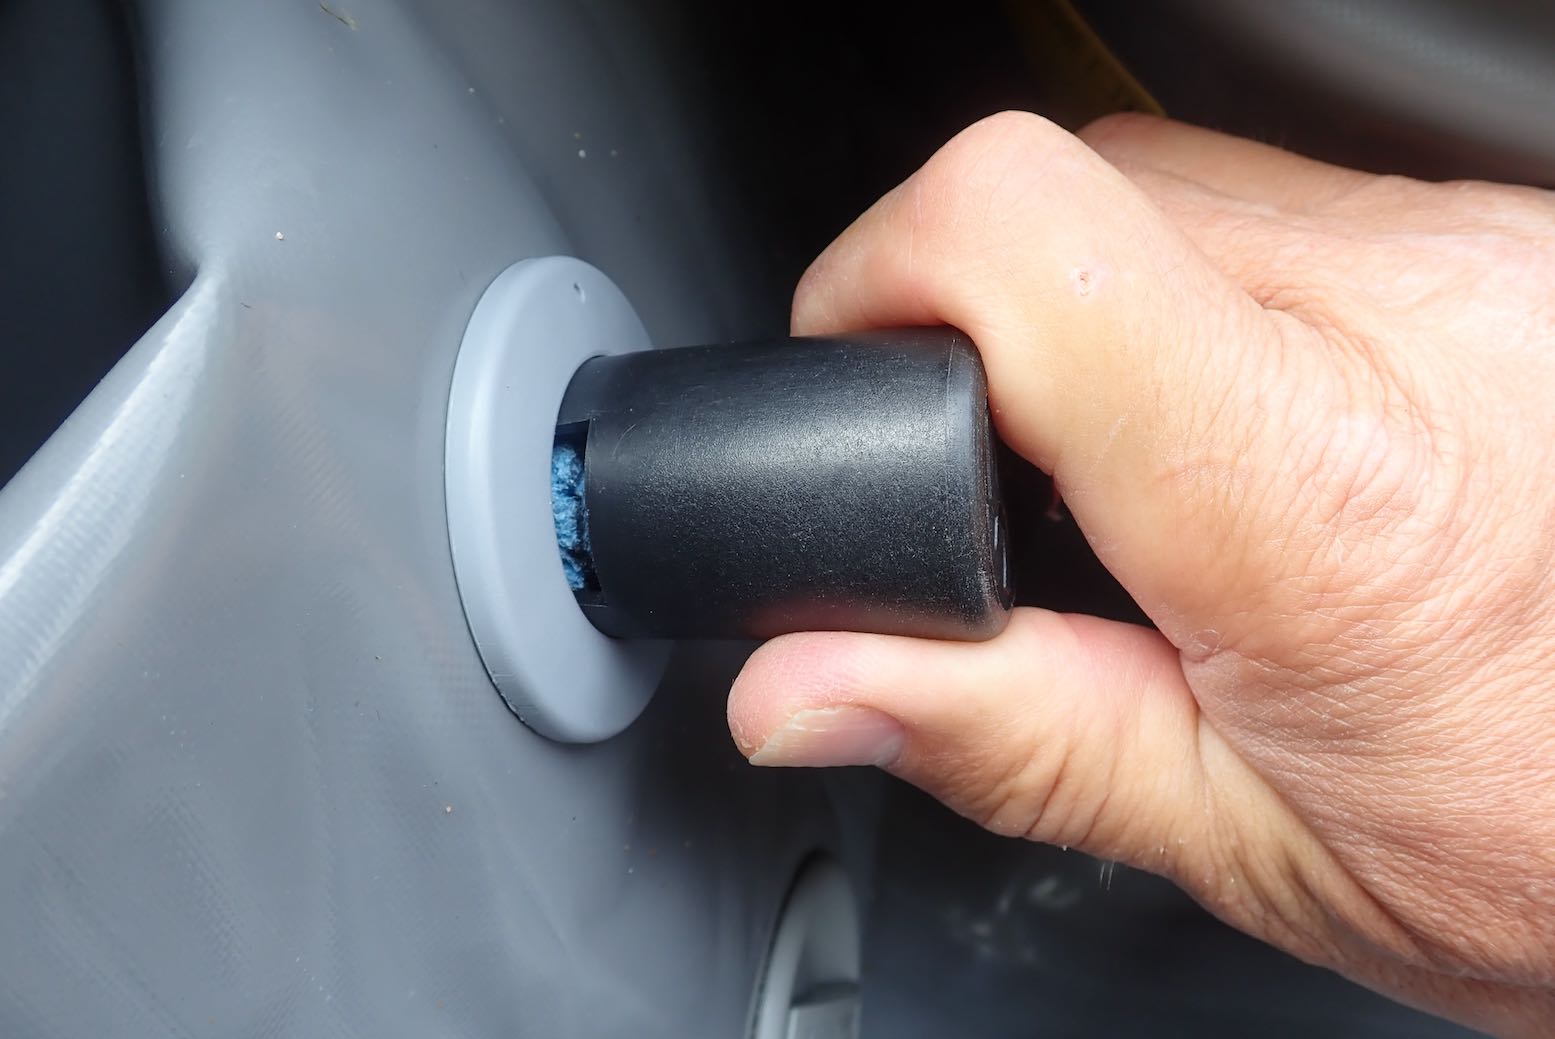
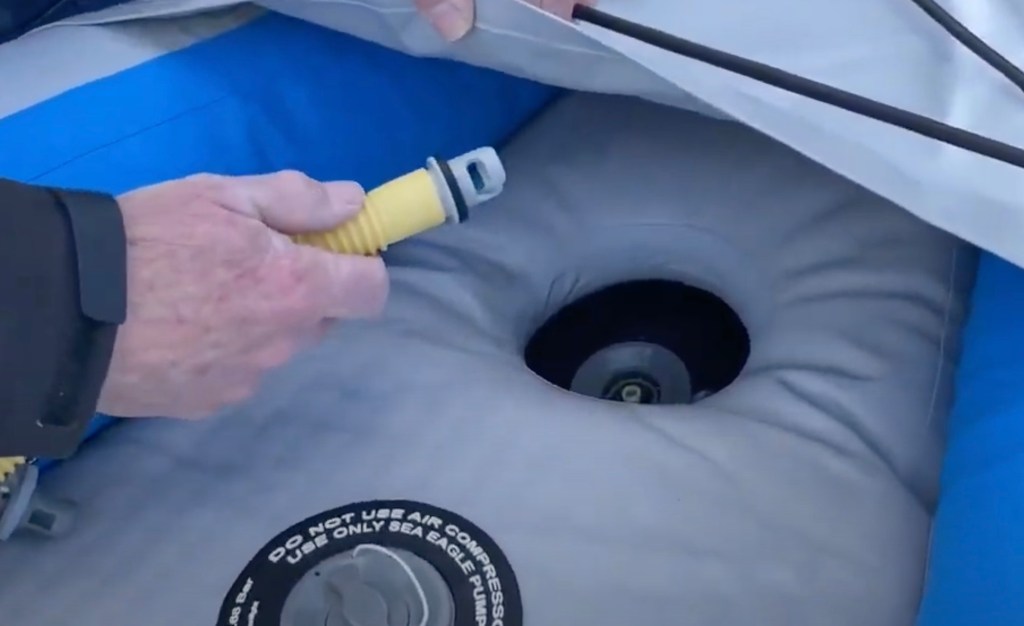
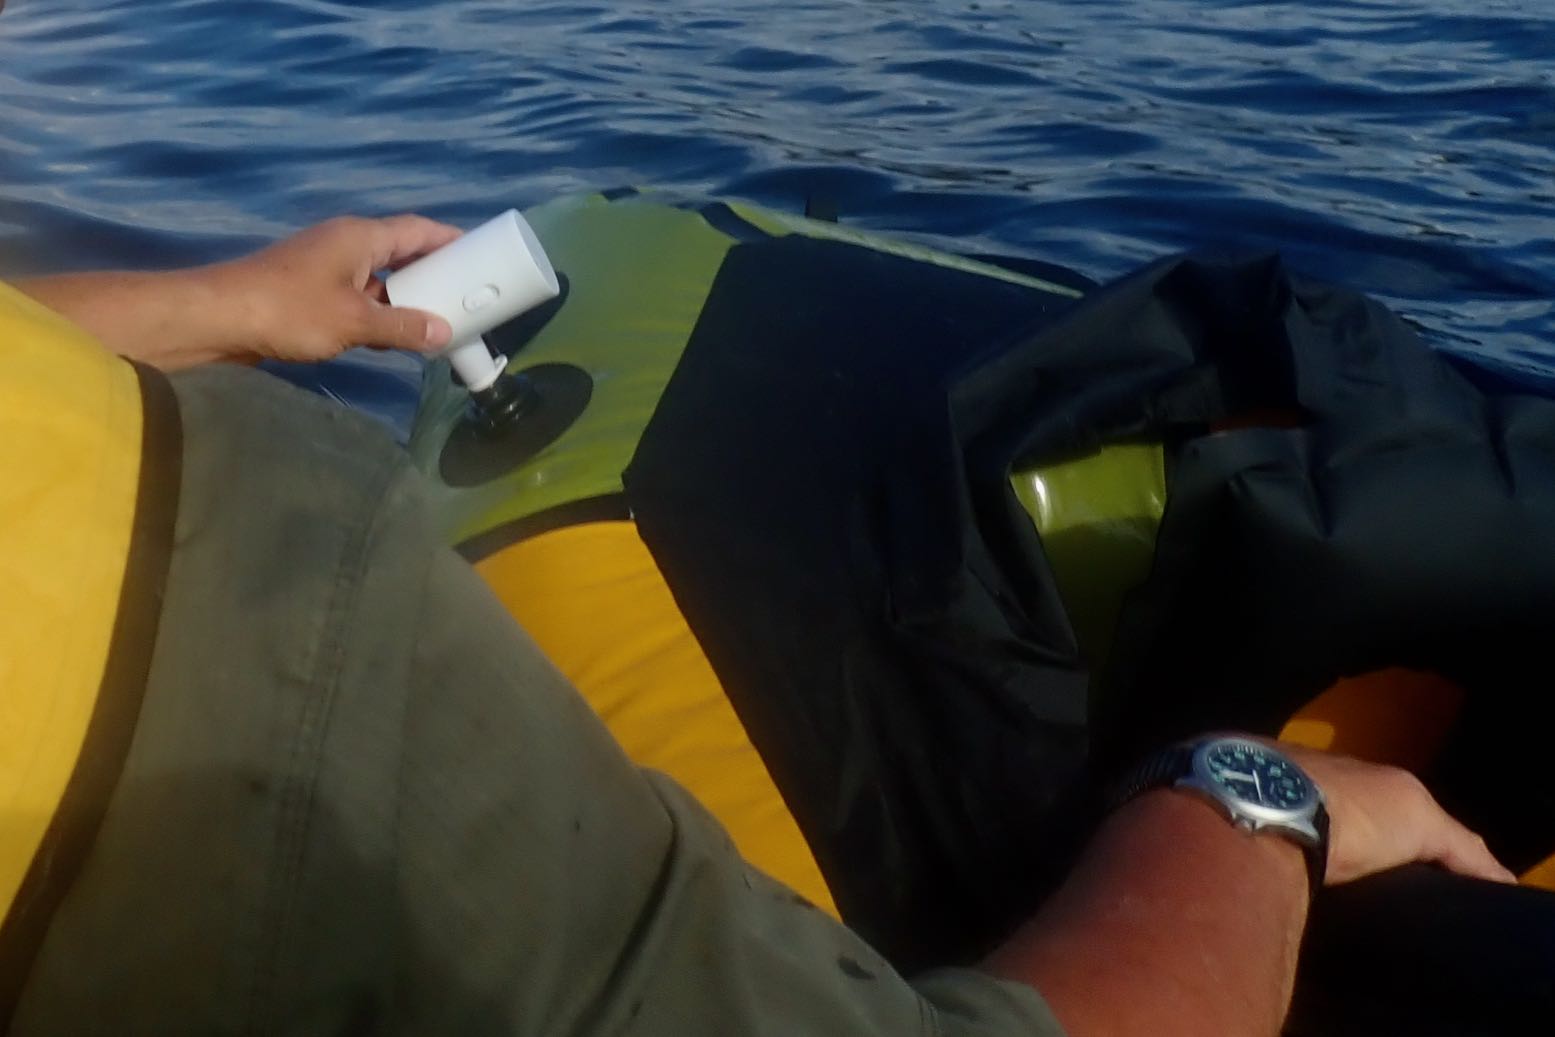
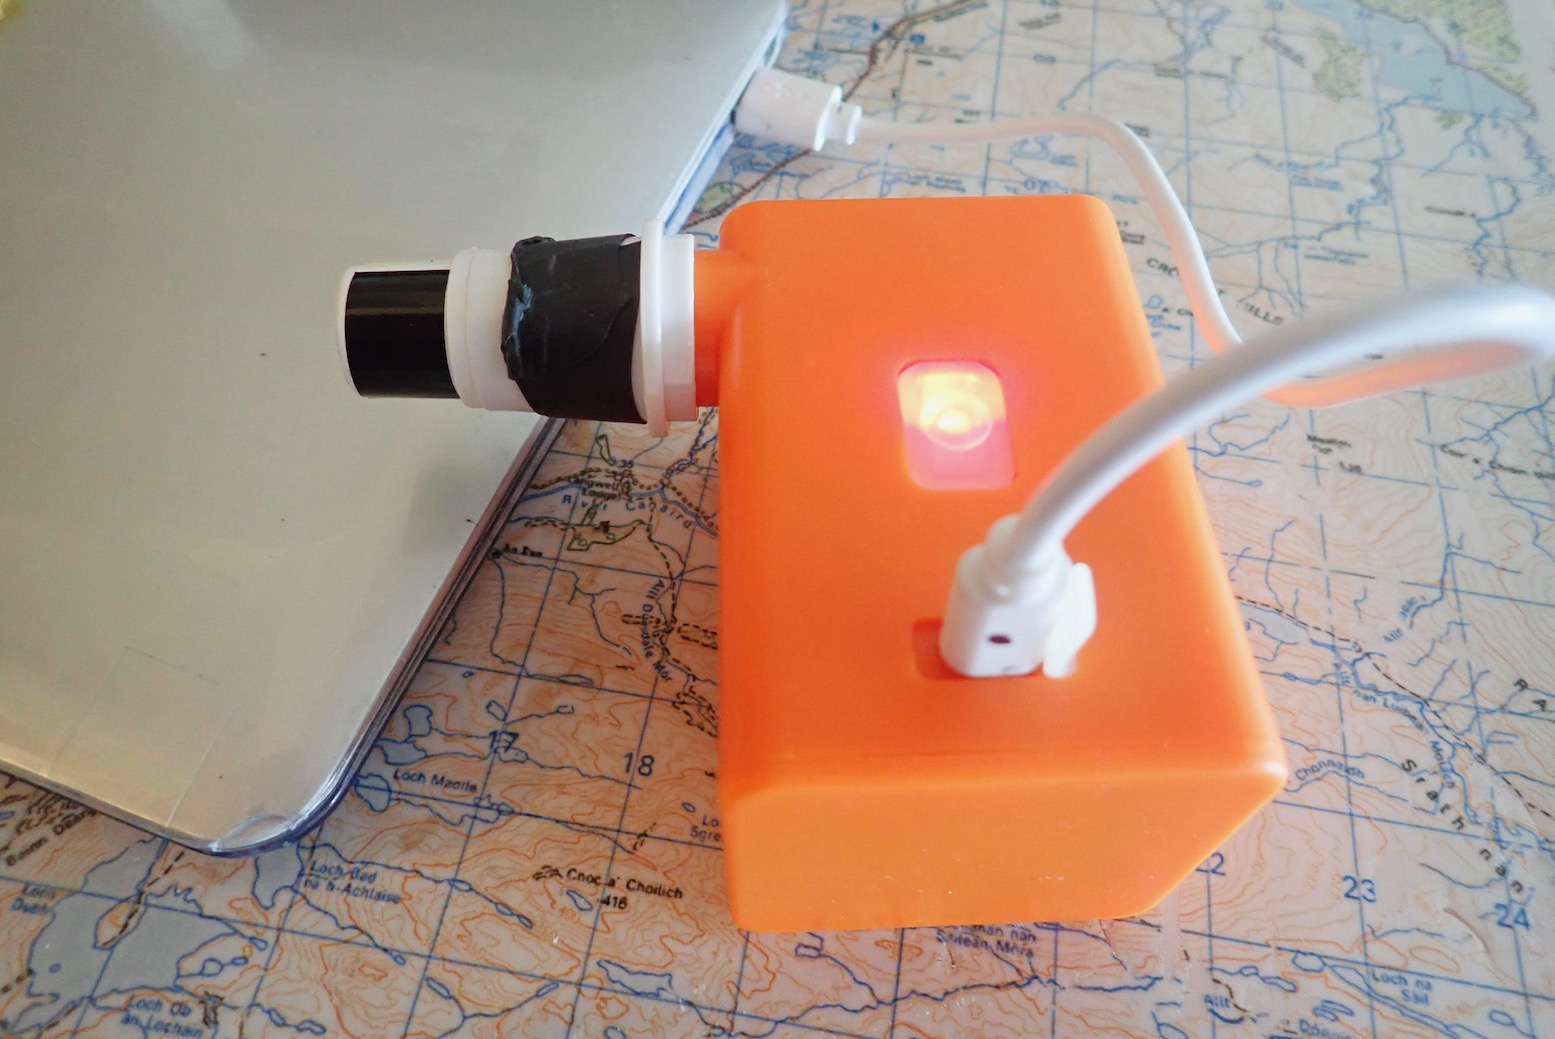
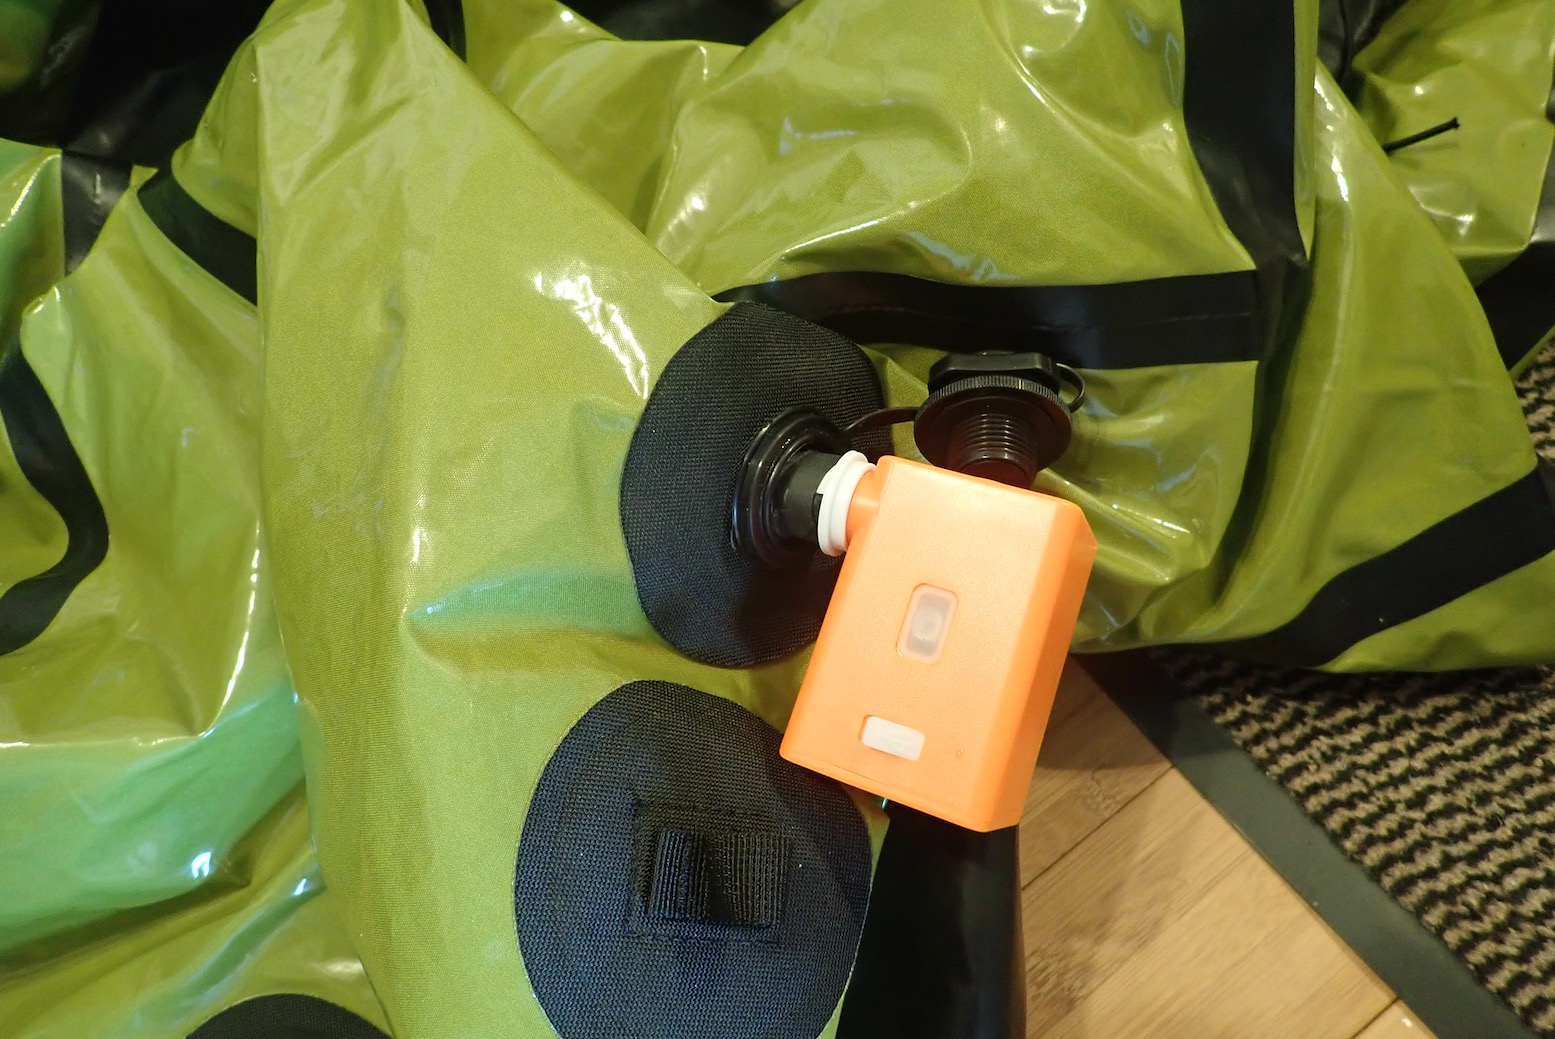
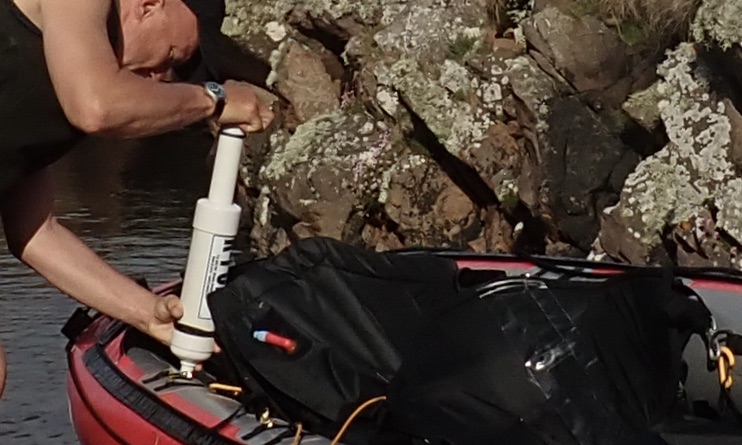
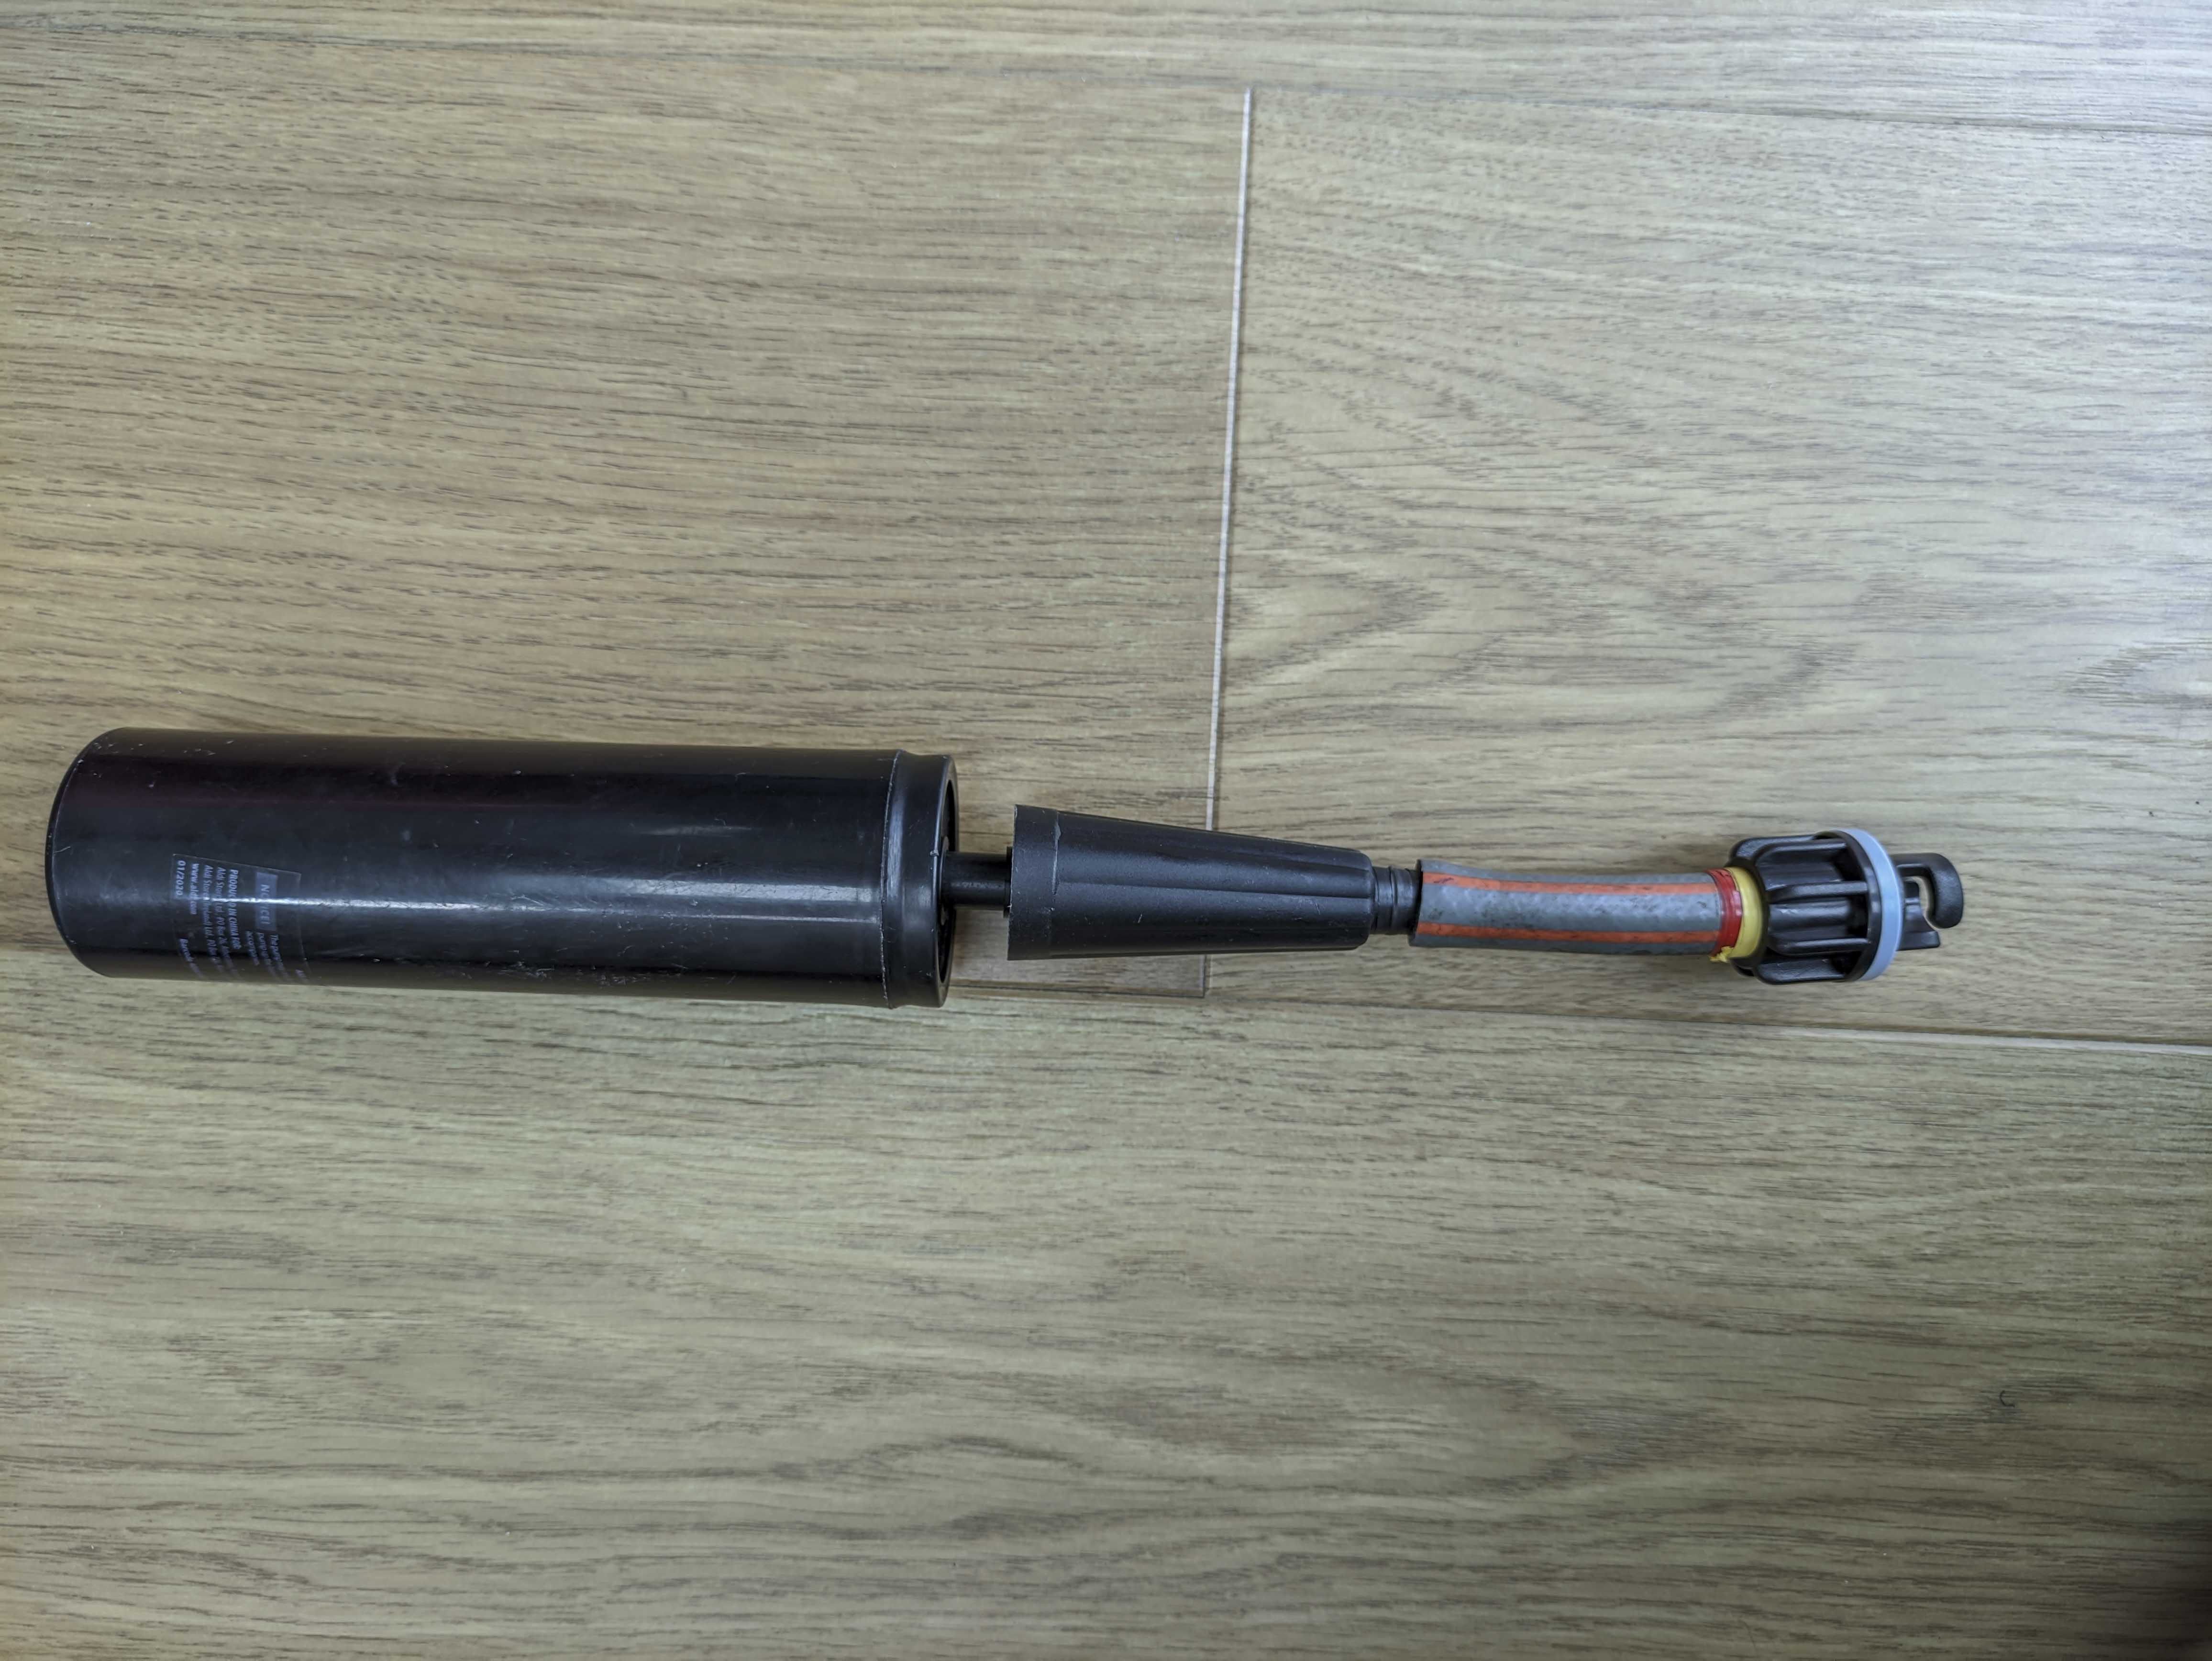
The ‘packraft’ pump can also get the Seawave up to 4.5psi, eventually 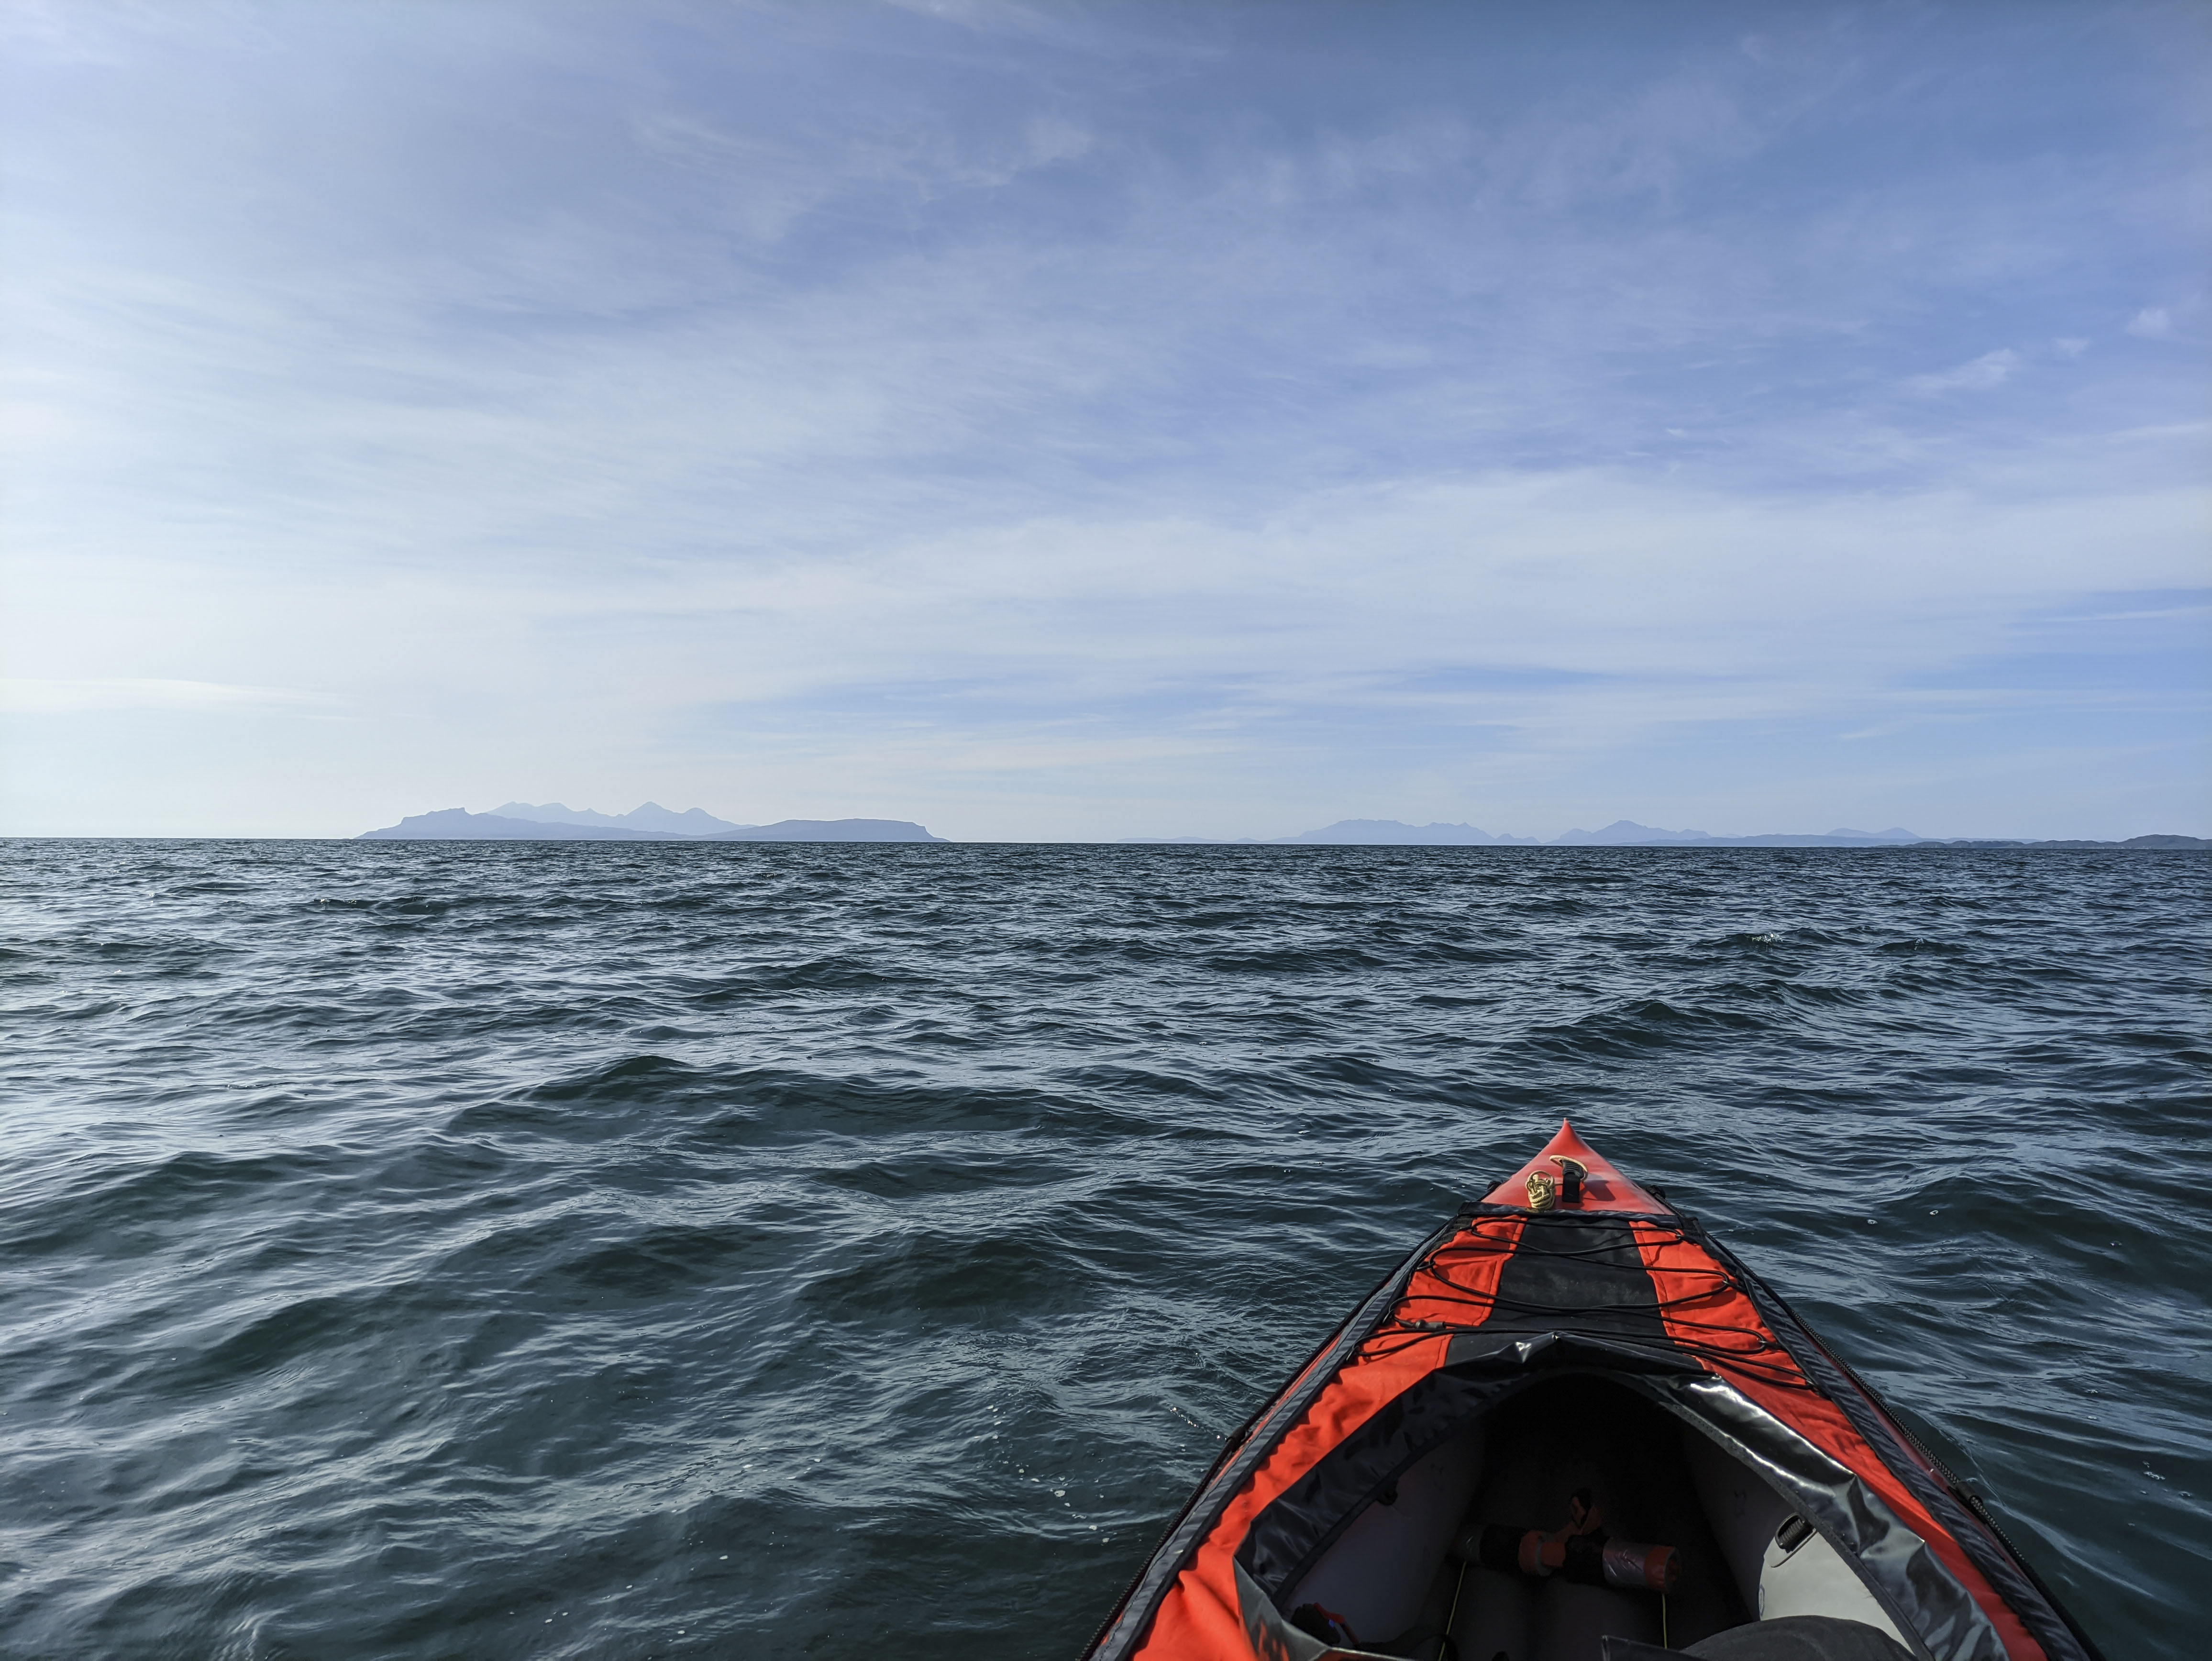
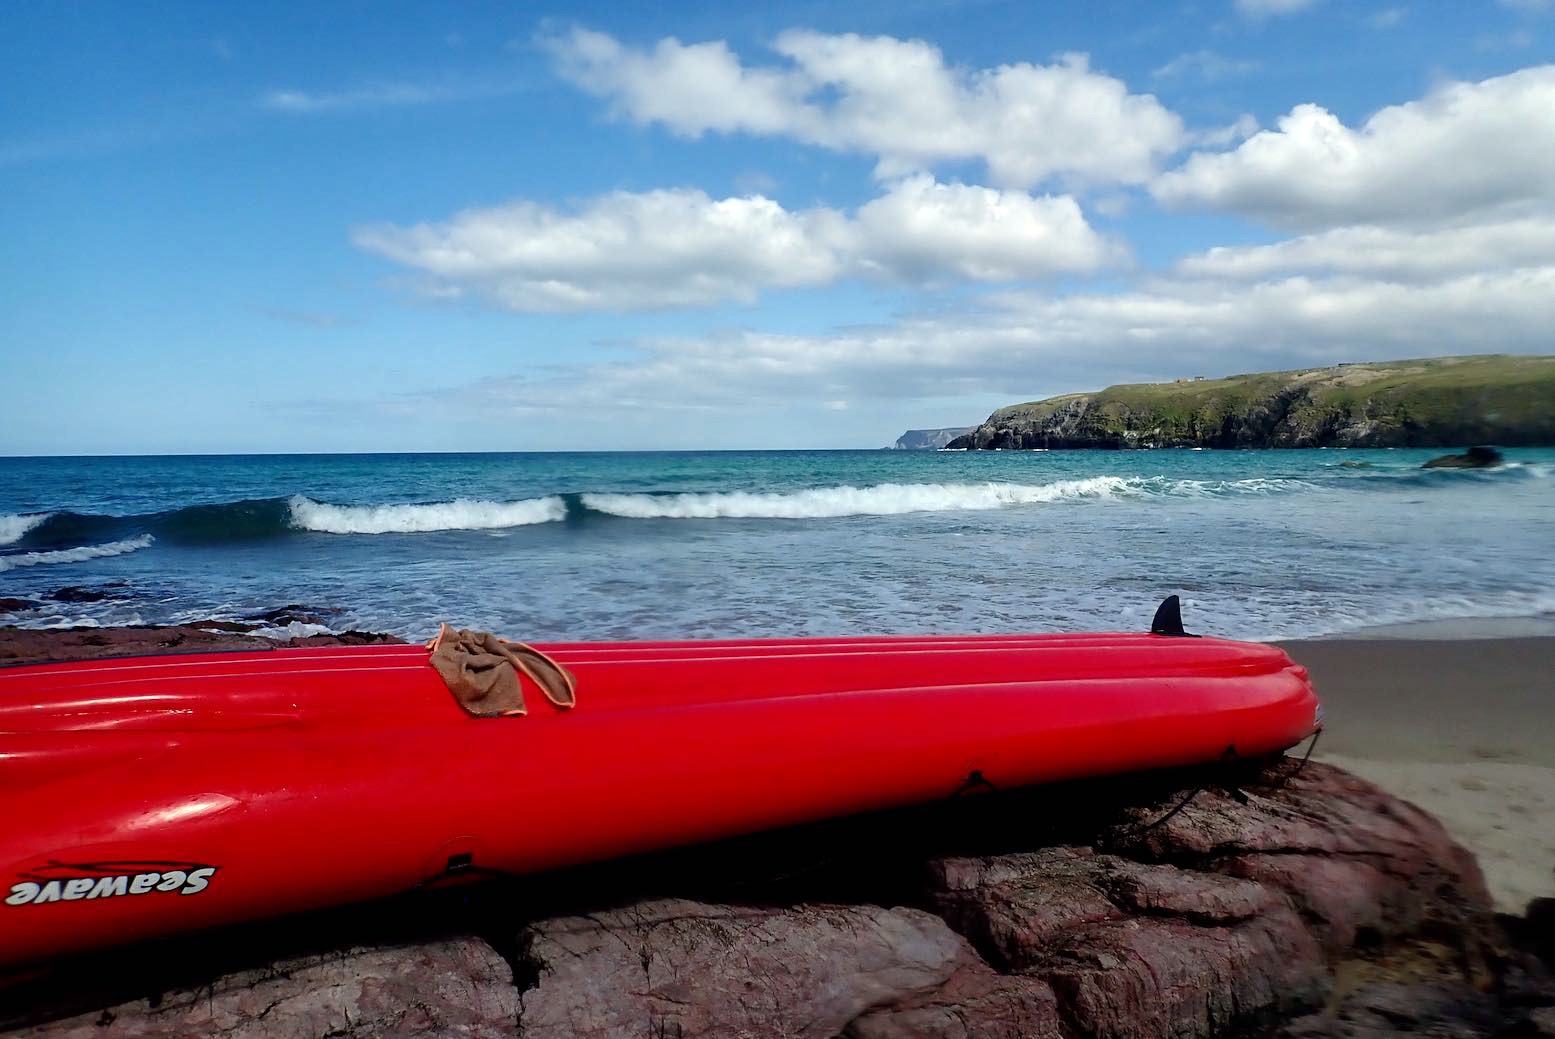
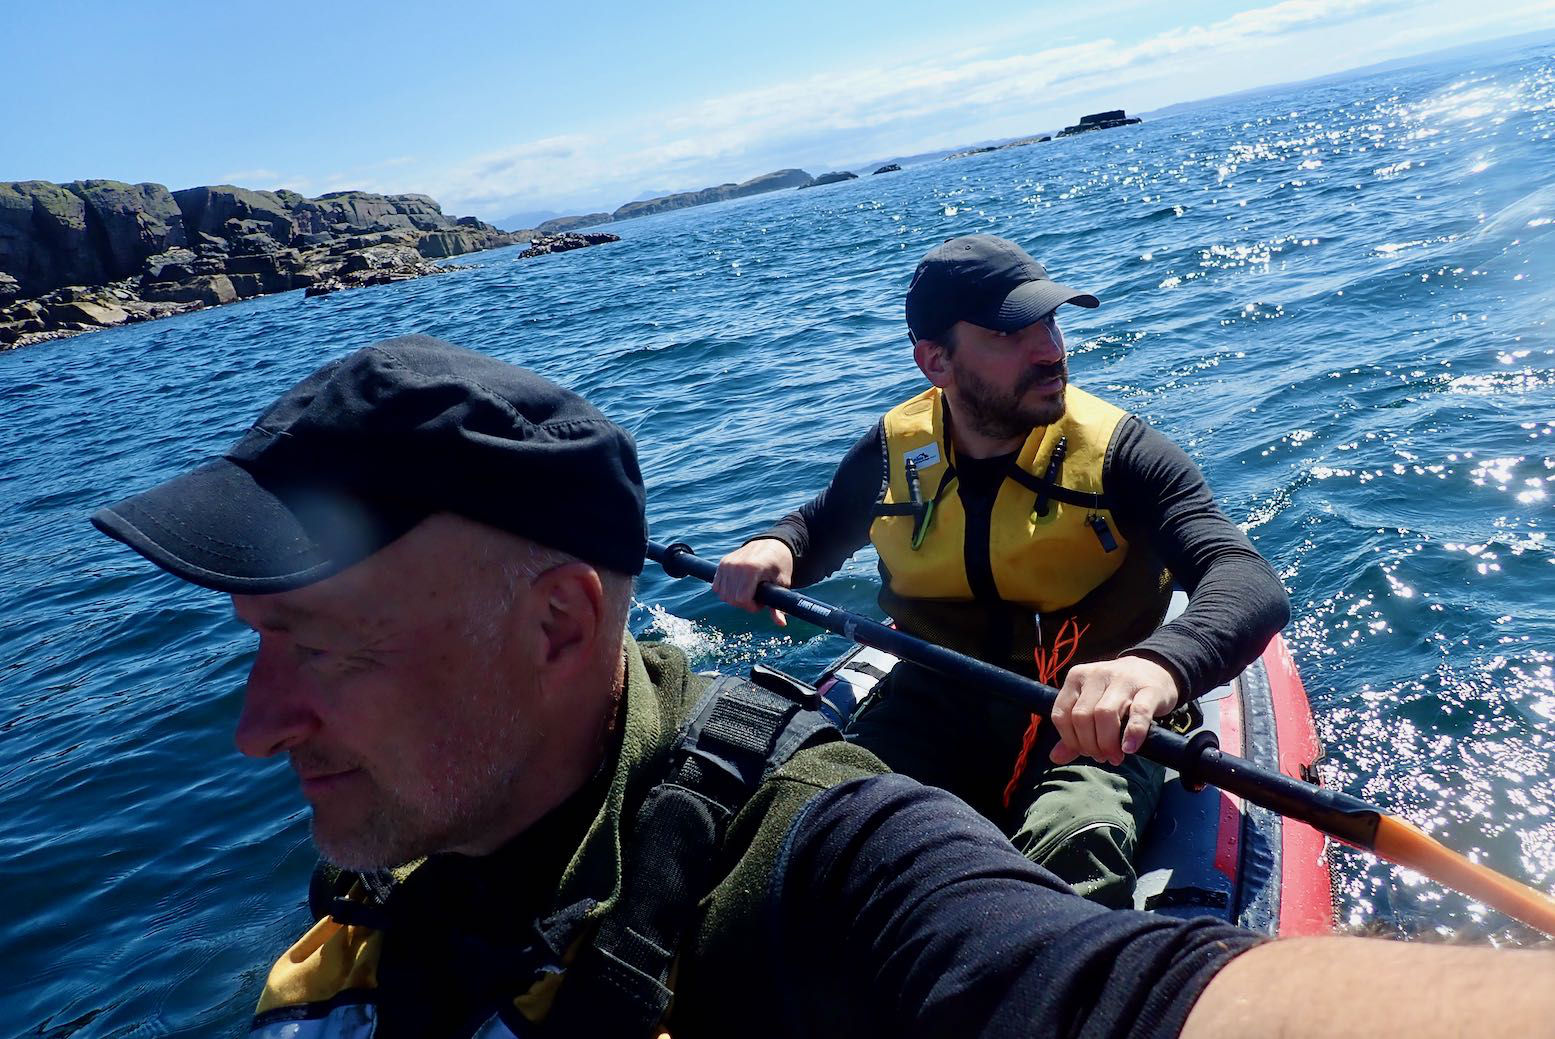
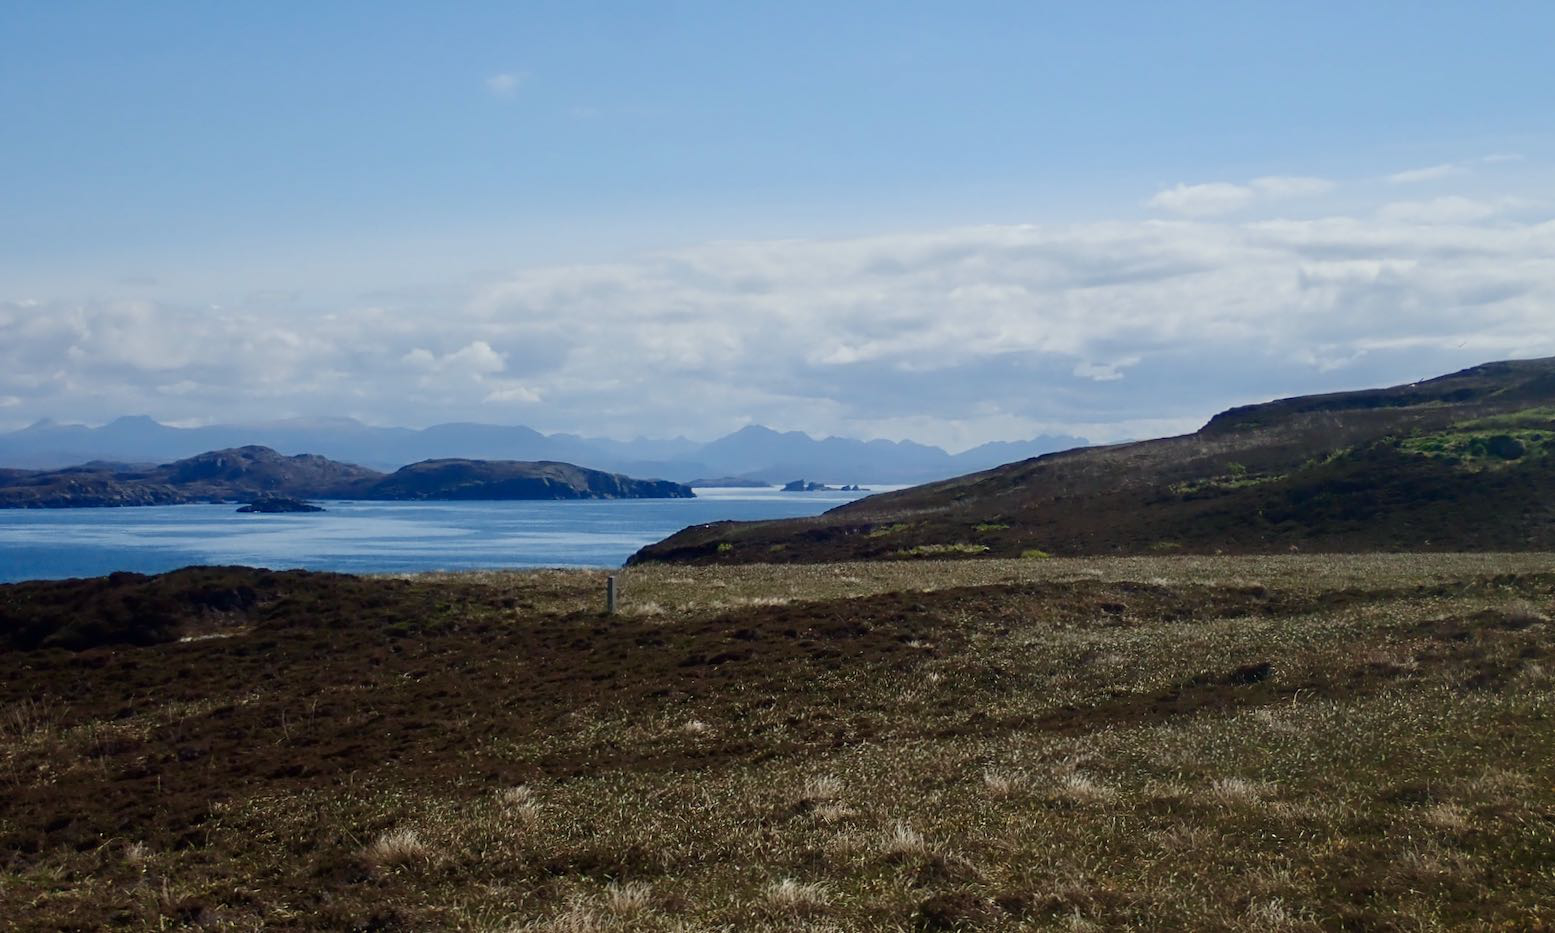
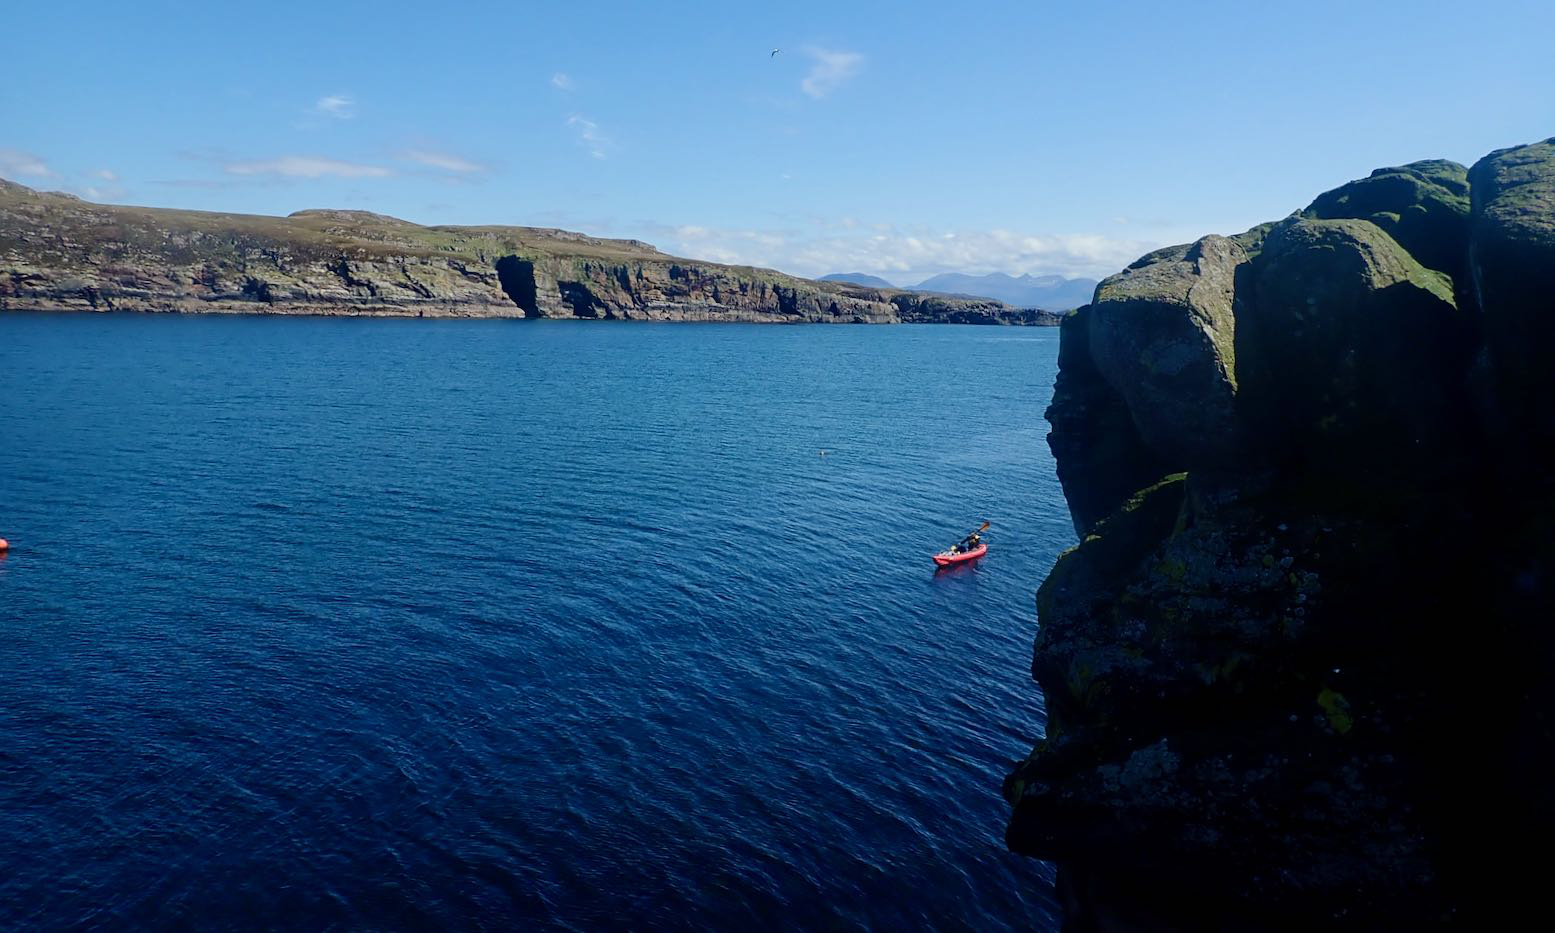
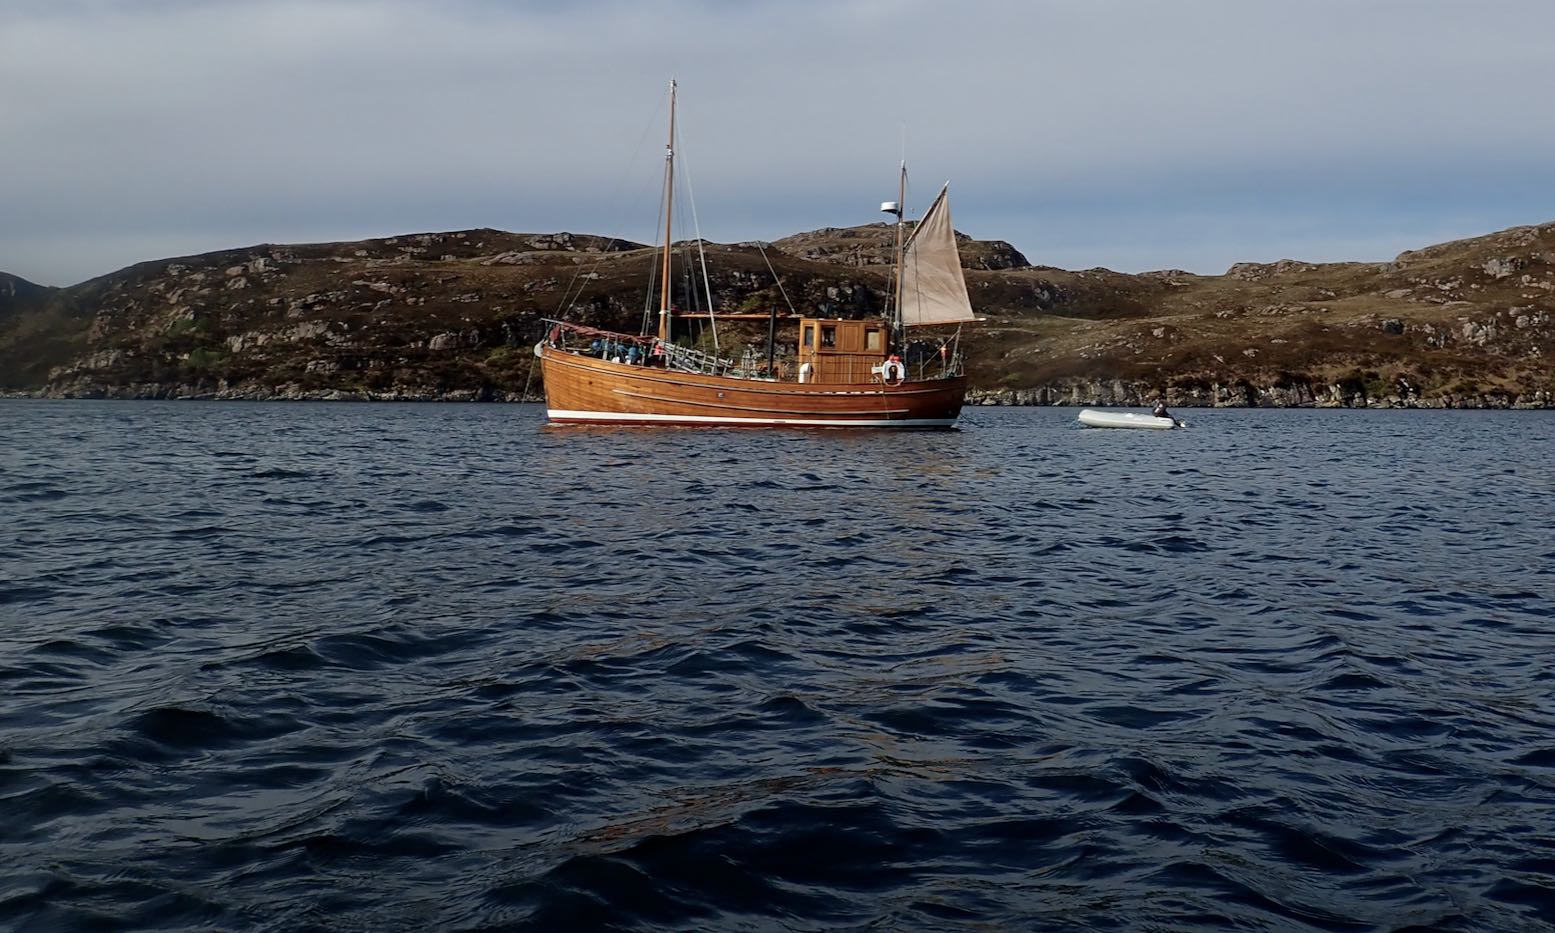
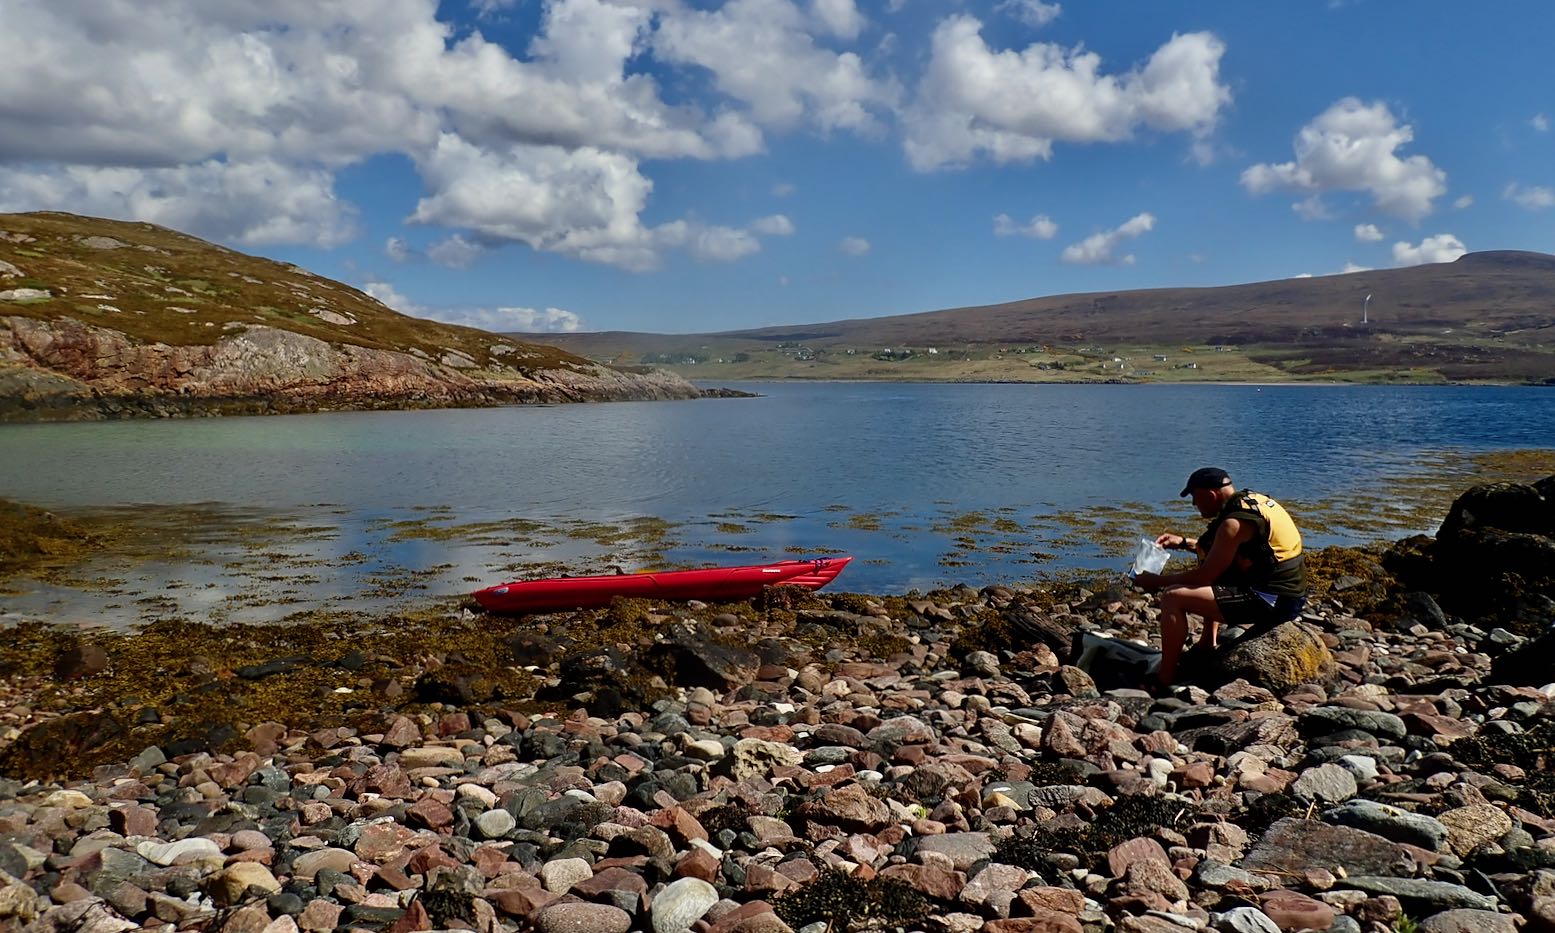
At sea with waves
Meanwhile Gavin adds:
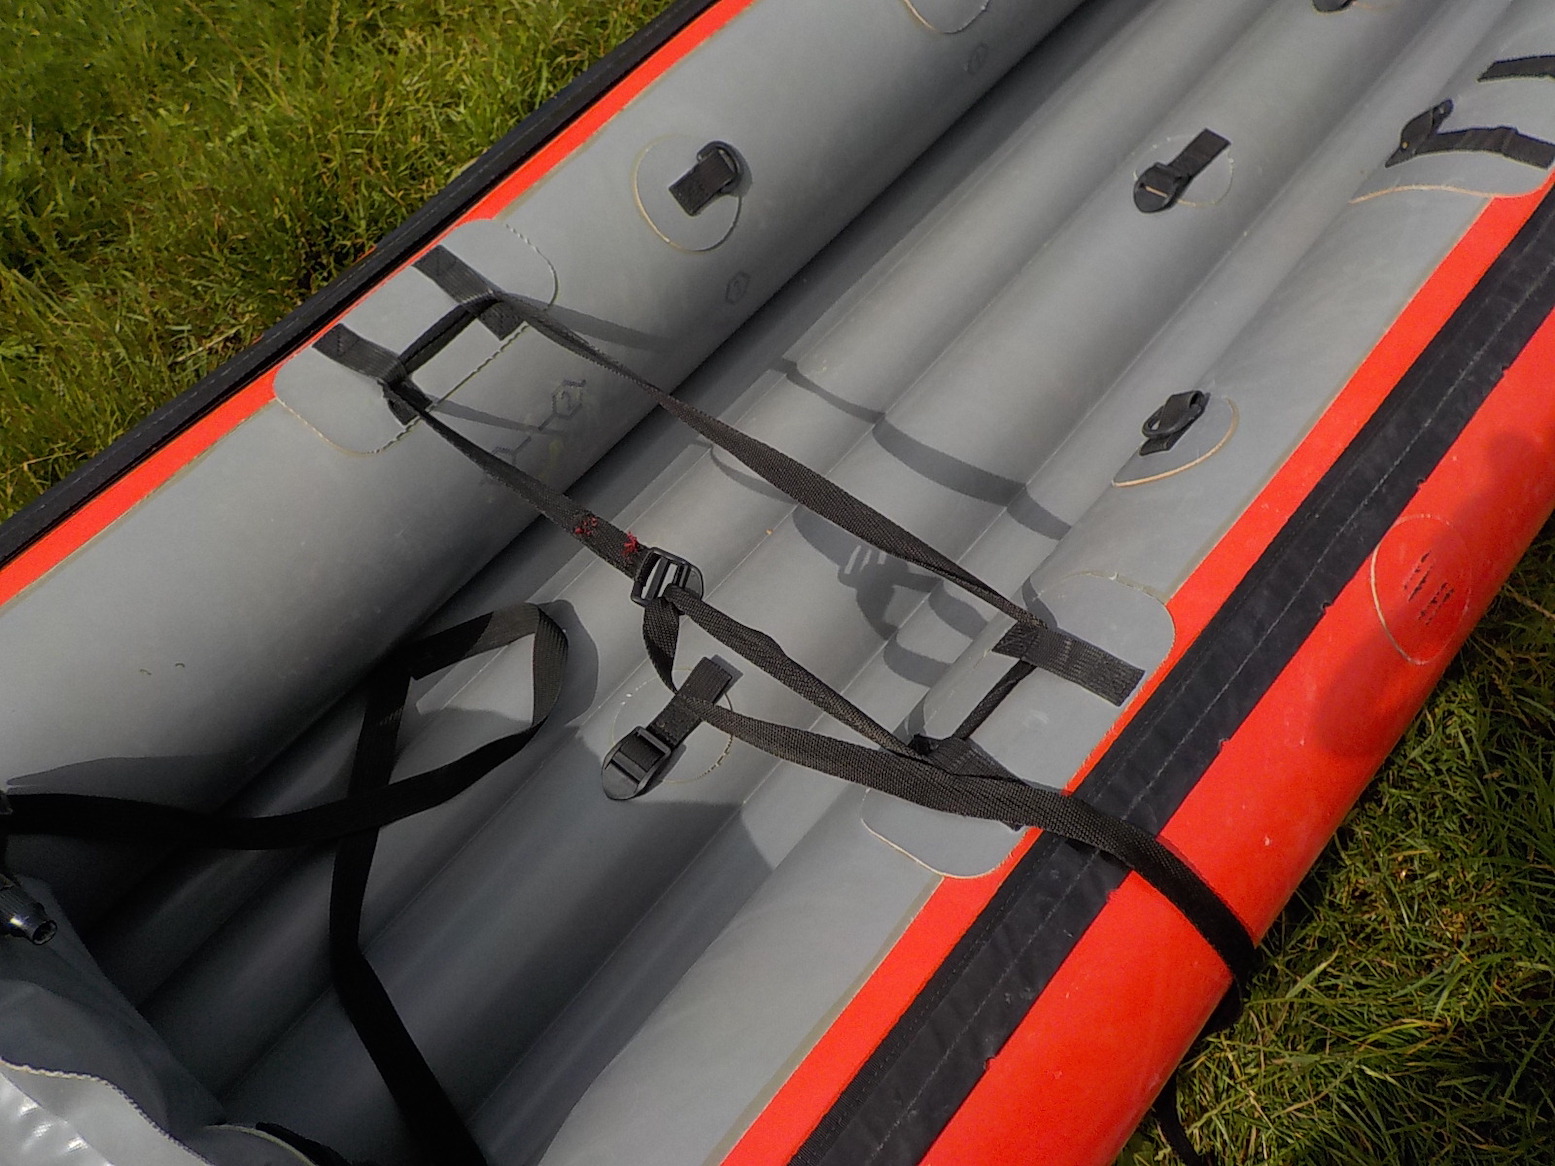
On my most recent trip I experimented with looping a couple of straps across from one side to the other around some of the attachment points, one strap near the bow and one near the stern. I then tightened the straps so that it pulled the side tubes closer together. It makes the kayak narrower, gives a slightly more pronounced keel from the floor being squeezed together, and seems to stiffen the kayak along its length as well as across its width. Obviously it takes away some stability, but I can live with that as a trade-off for being more efficient.
I usually paddle single-blade and sit on a bench seat held under the velcro on the side tubes. The Seawave is faster than the Palava paddled like that, although it lacks the width and stability… I’ve got a rudder steered with a tiller held in place by friction under the fixings for the deck support bars, so I can do straight strokes instead of having to J-stroke to keep a straight course.
I like the tiller idea too, though of course it works best for canoeing. Anything to dodge the clutter of foot pedals and rigging, though Jules’ idea improves on that.


Thinking over the mods and ideas I applied to my original Seawave over the years, on Seawave 2 I believe the best or most essential ones are:
Replacing the stock footrest cushion with a solid drainpipe footrest tube. Proper support, lighter.
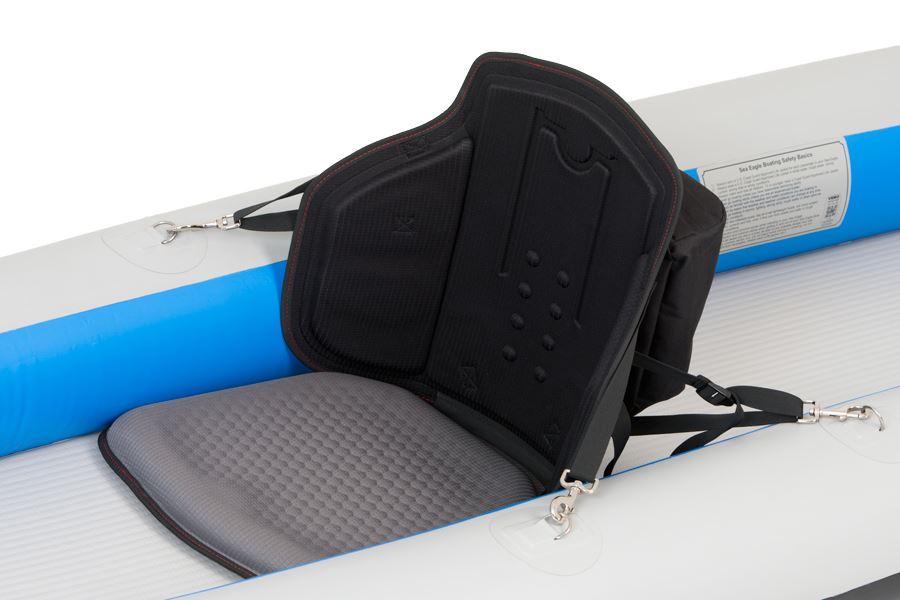
Replacing the stock inflatable seat/s with with a stiffened foam backrest and light packraft seat base. Better support, lighter, less bulky.
Adding a Gorilla tape strake under the bow; simpler than gluing on a strip of hypalon.
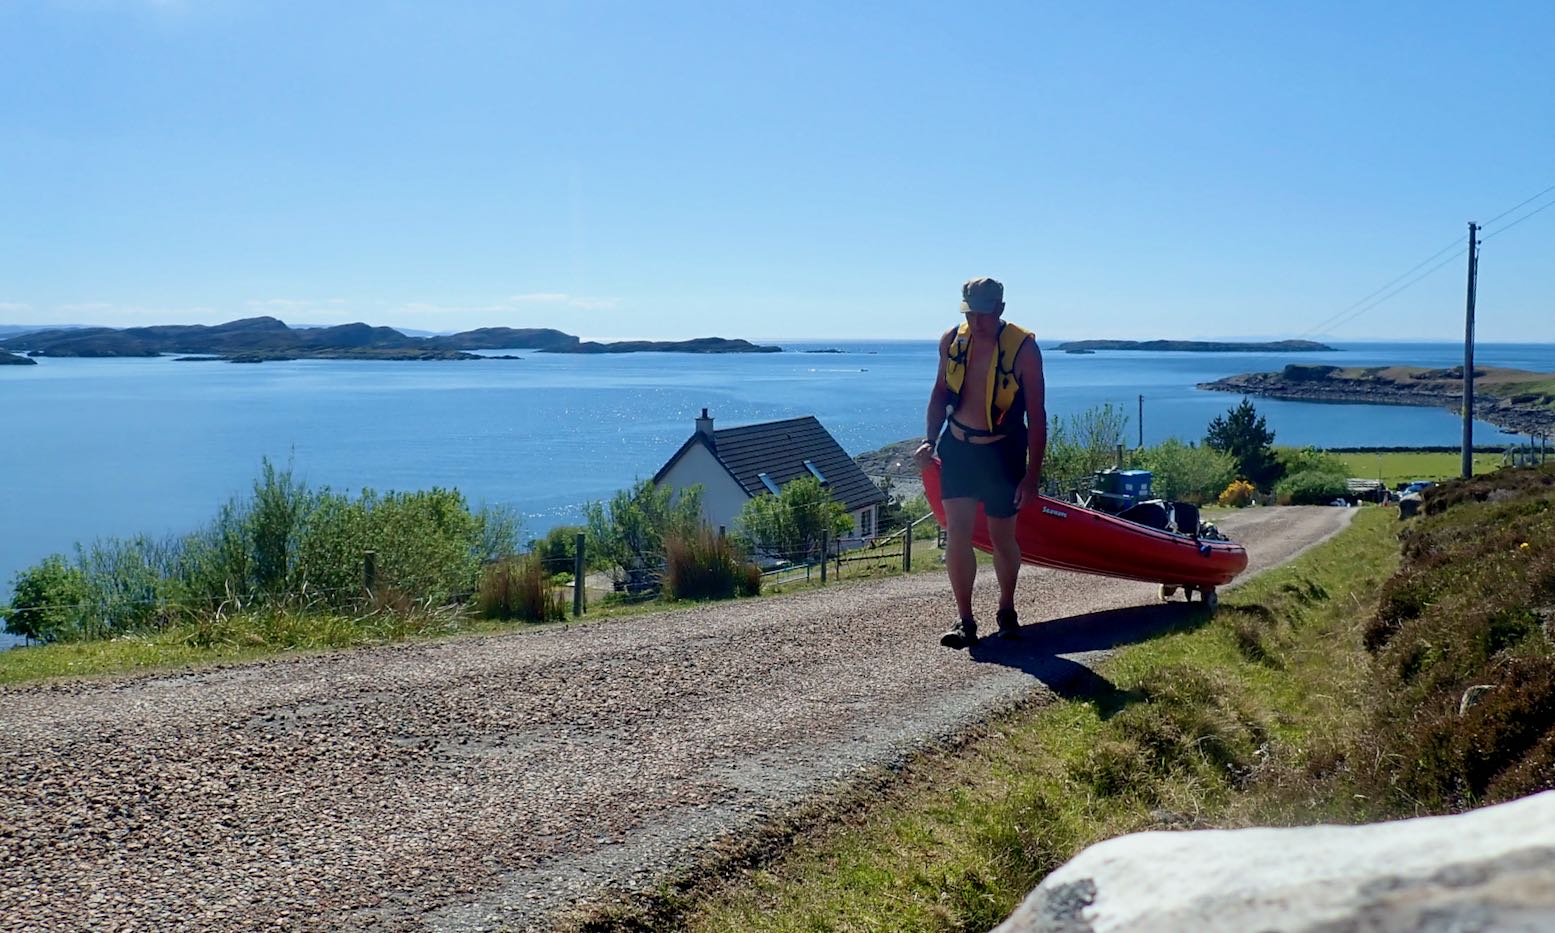
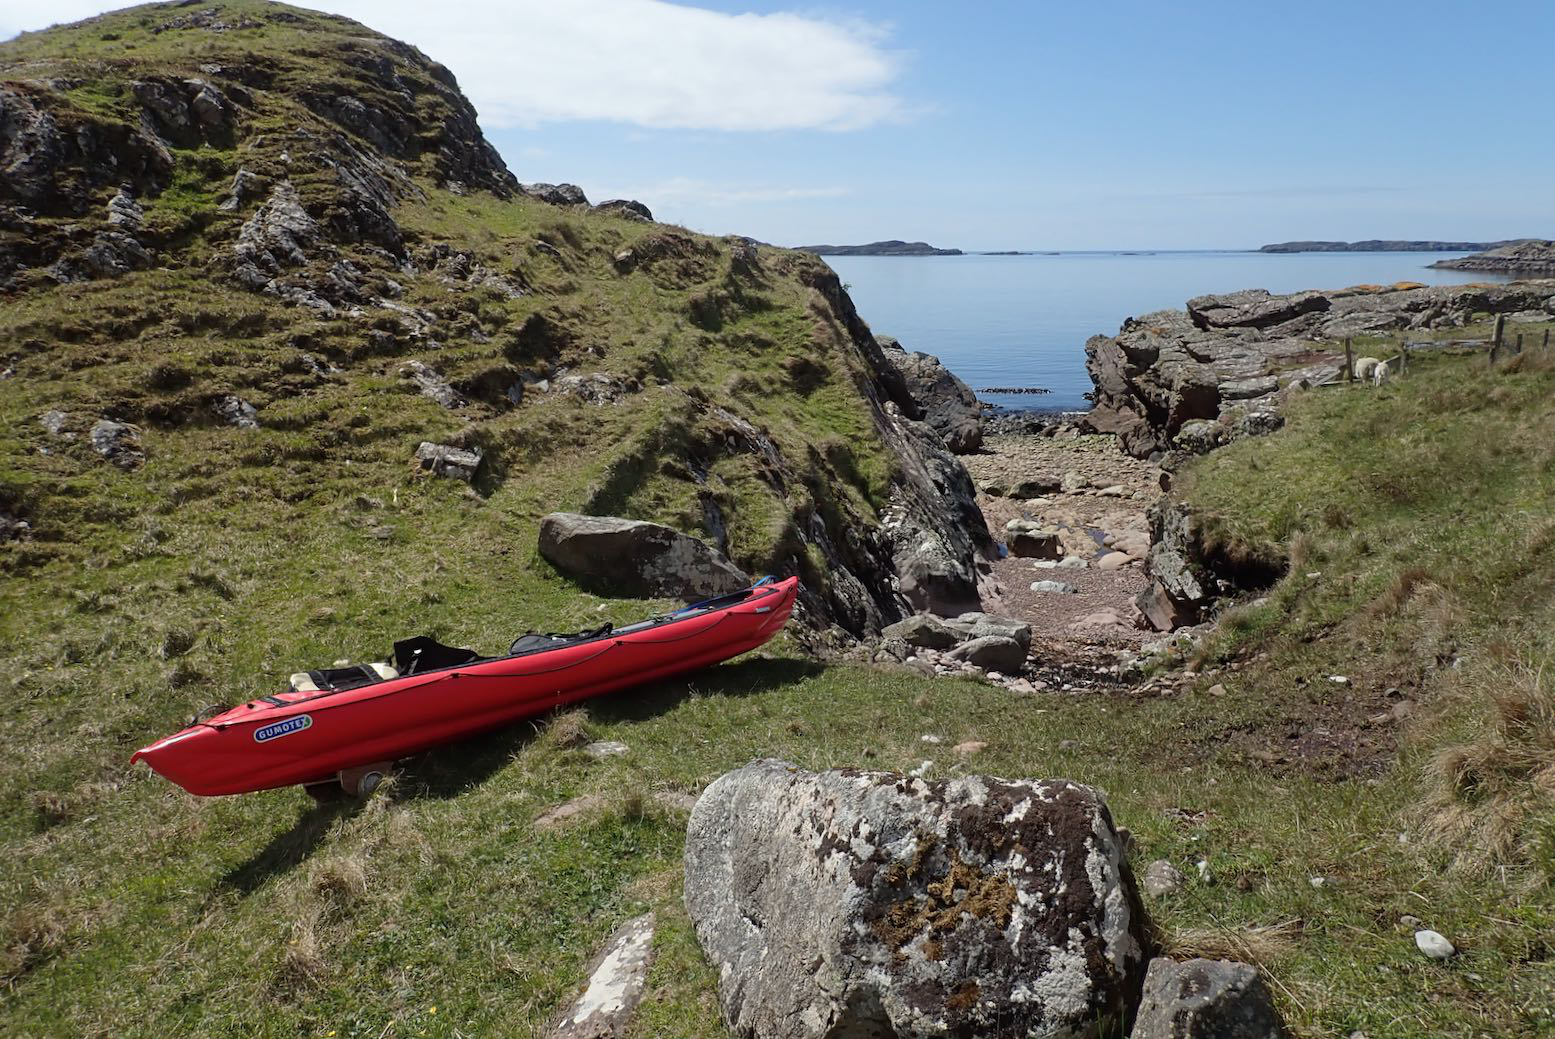
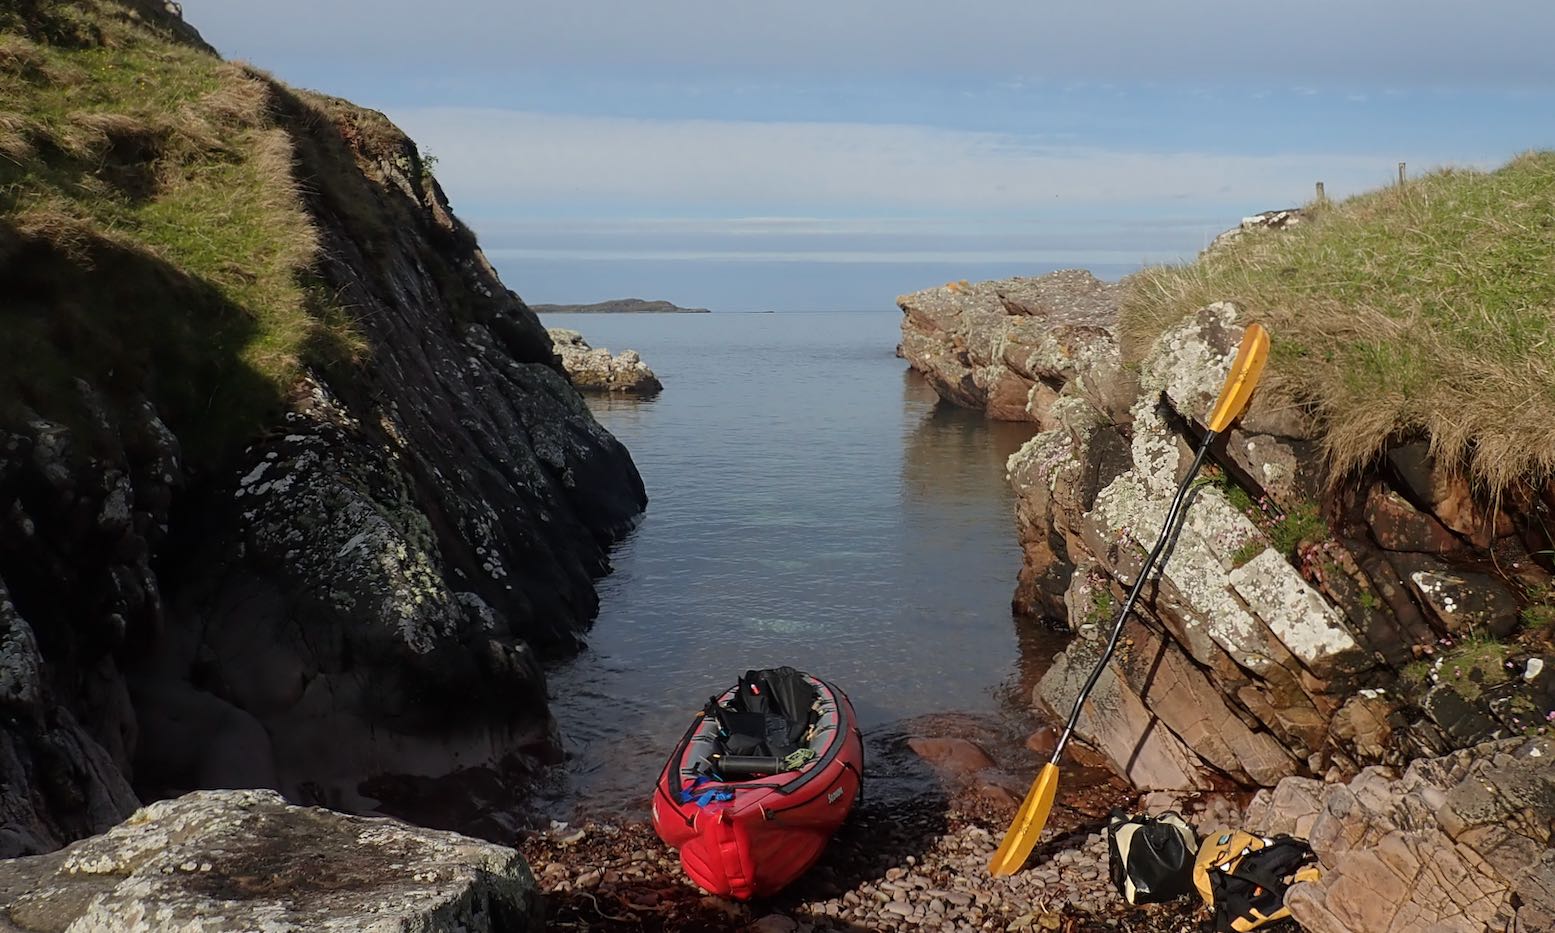
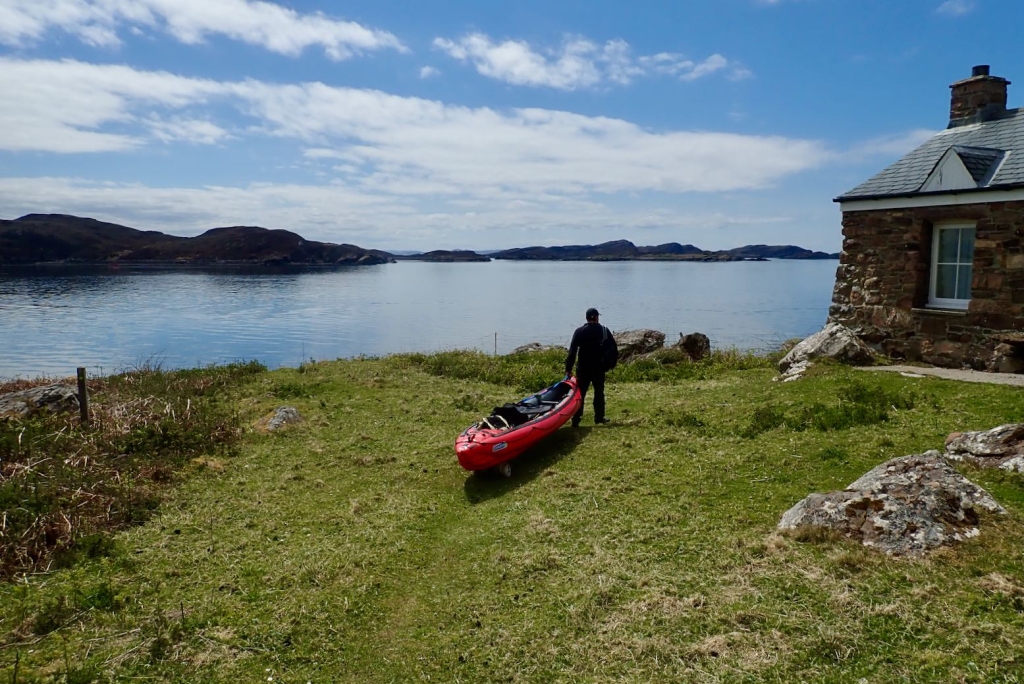
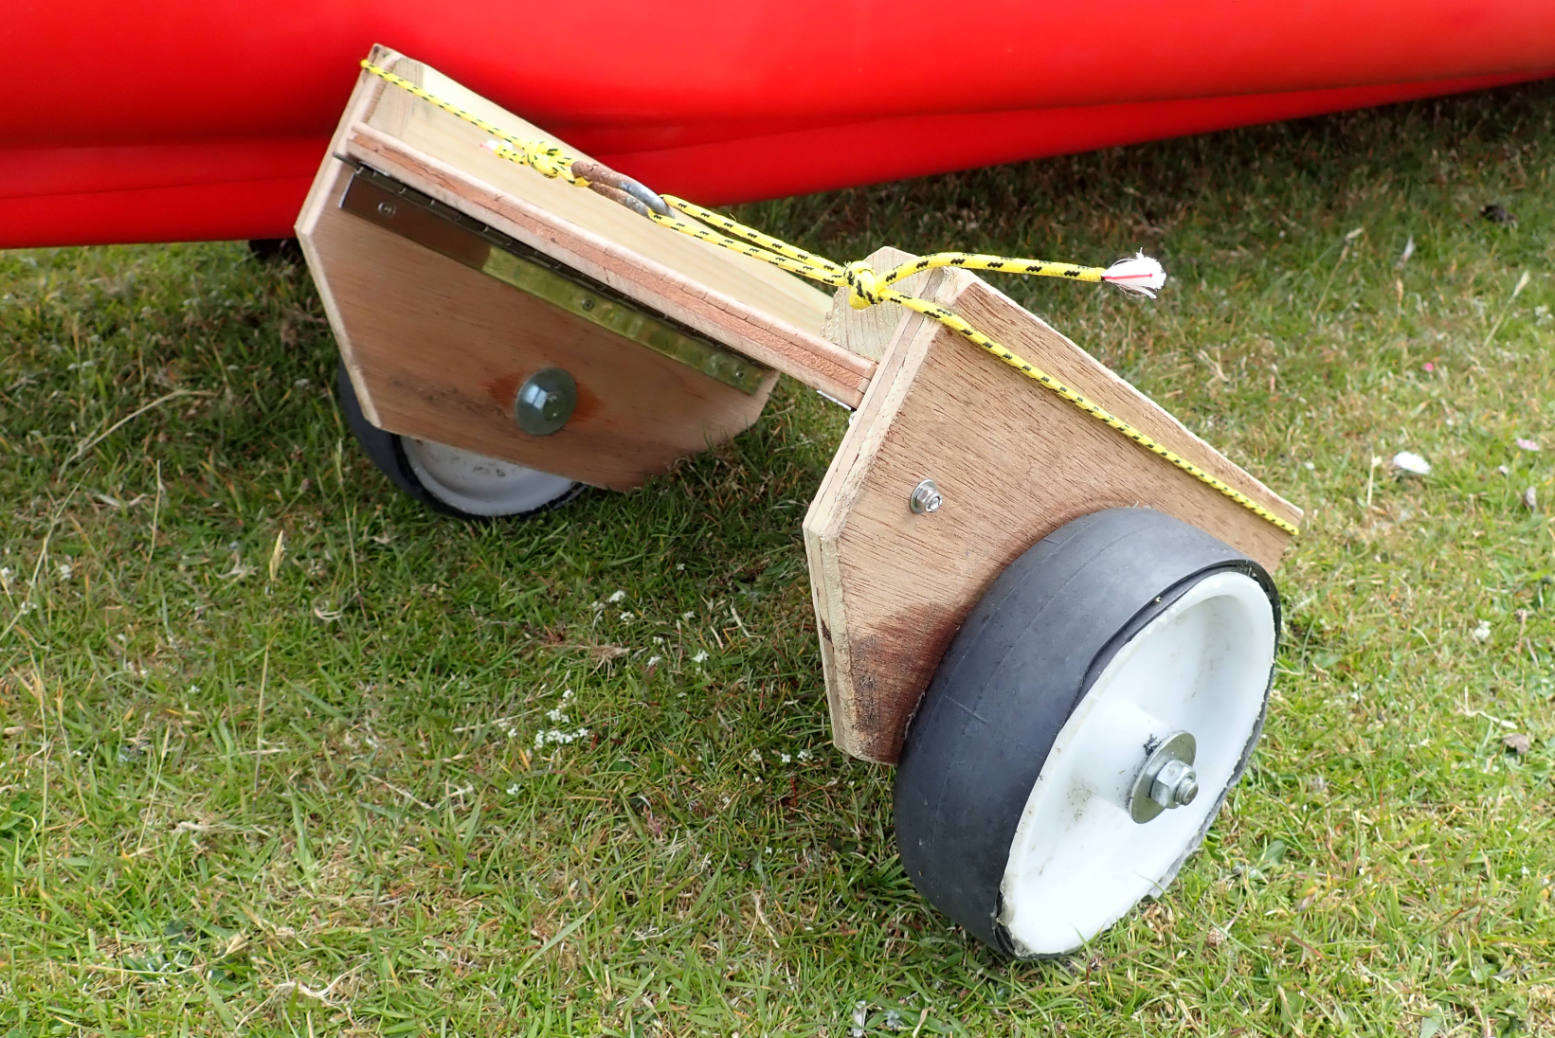
My skeg-wheel trolley is great too.
Other old Seawave mods I tried am not in a hurry to reimplement.
Rudder: too much faff for the fair-weather day paddling I do, but were I doing an overnighter at sea (with or without sailing) where you can’t always pick you winds, a rudder would be a very handy and I’d apply Jules’ ideas, starting with a 20-quid rudder mechanism off ebay.
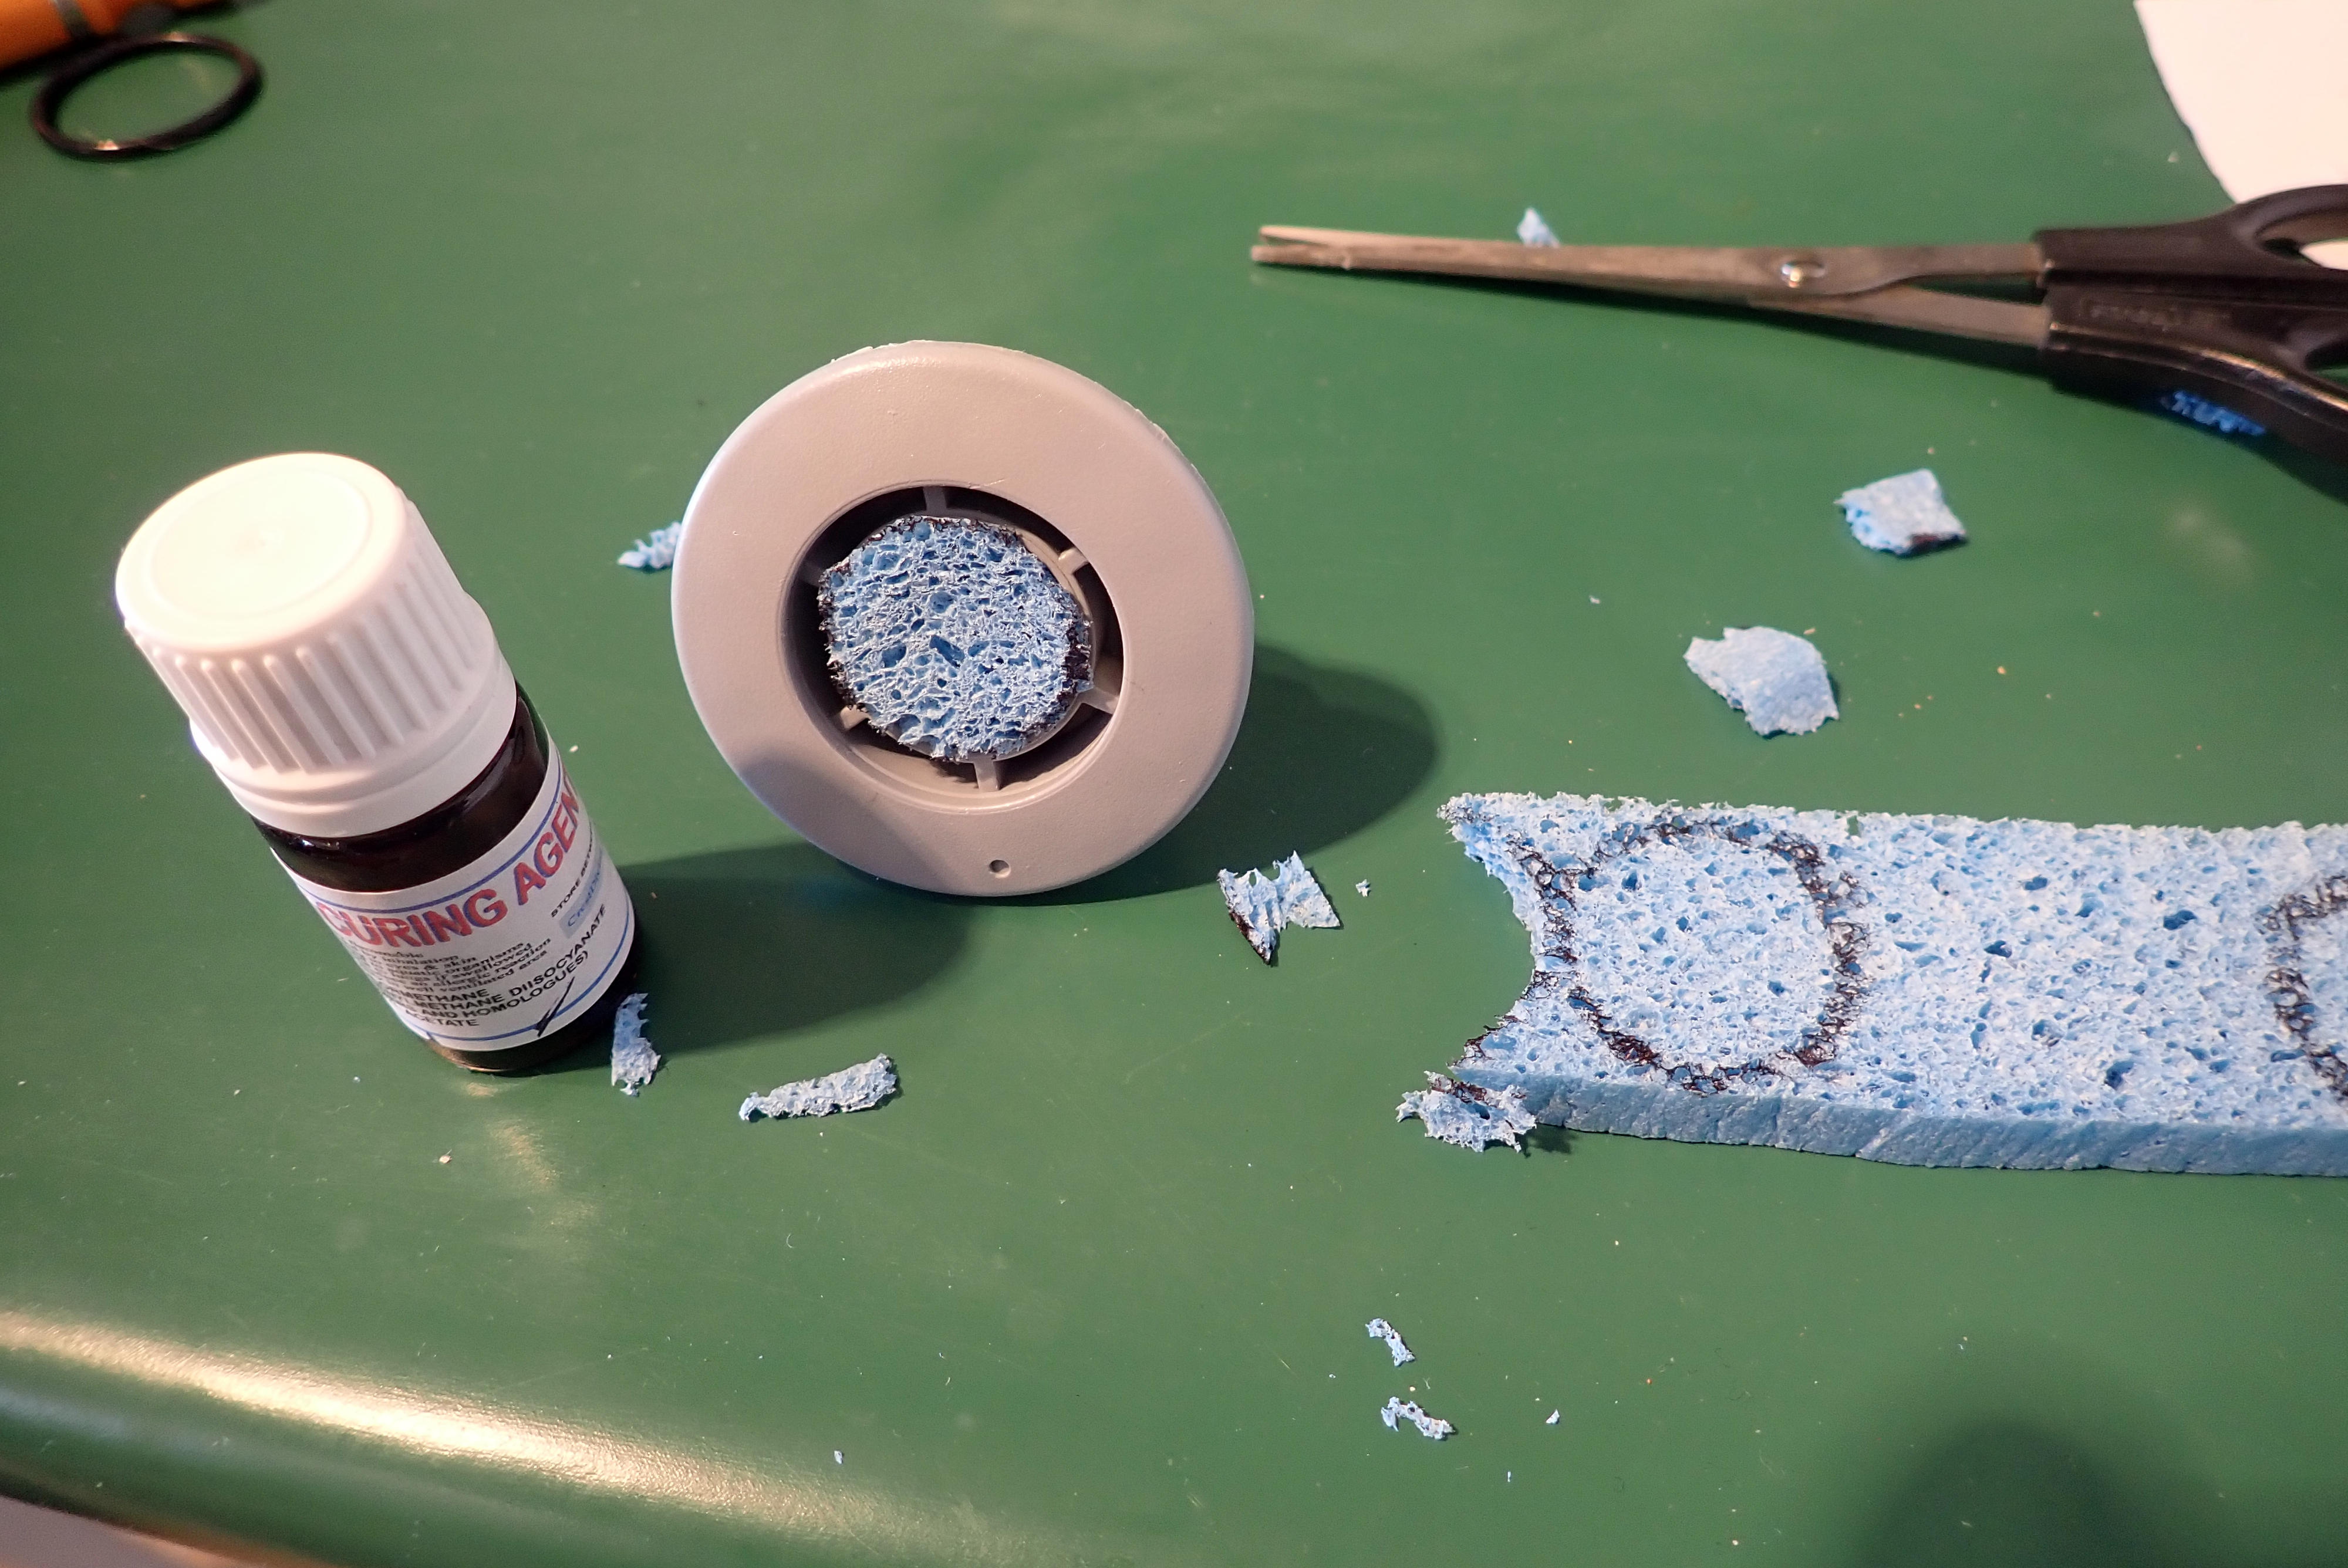
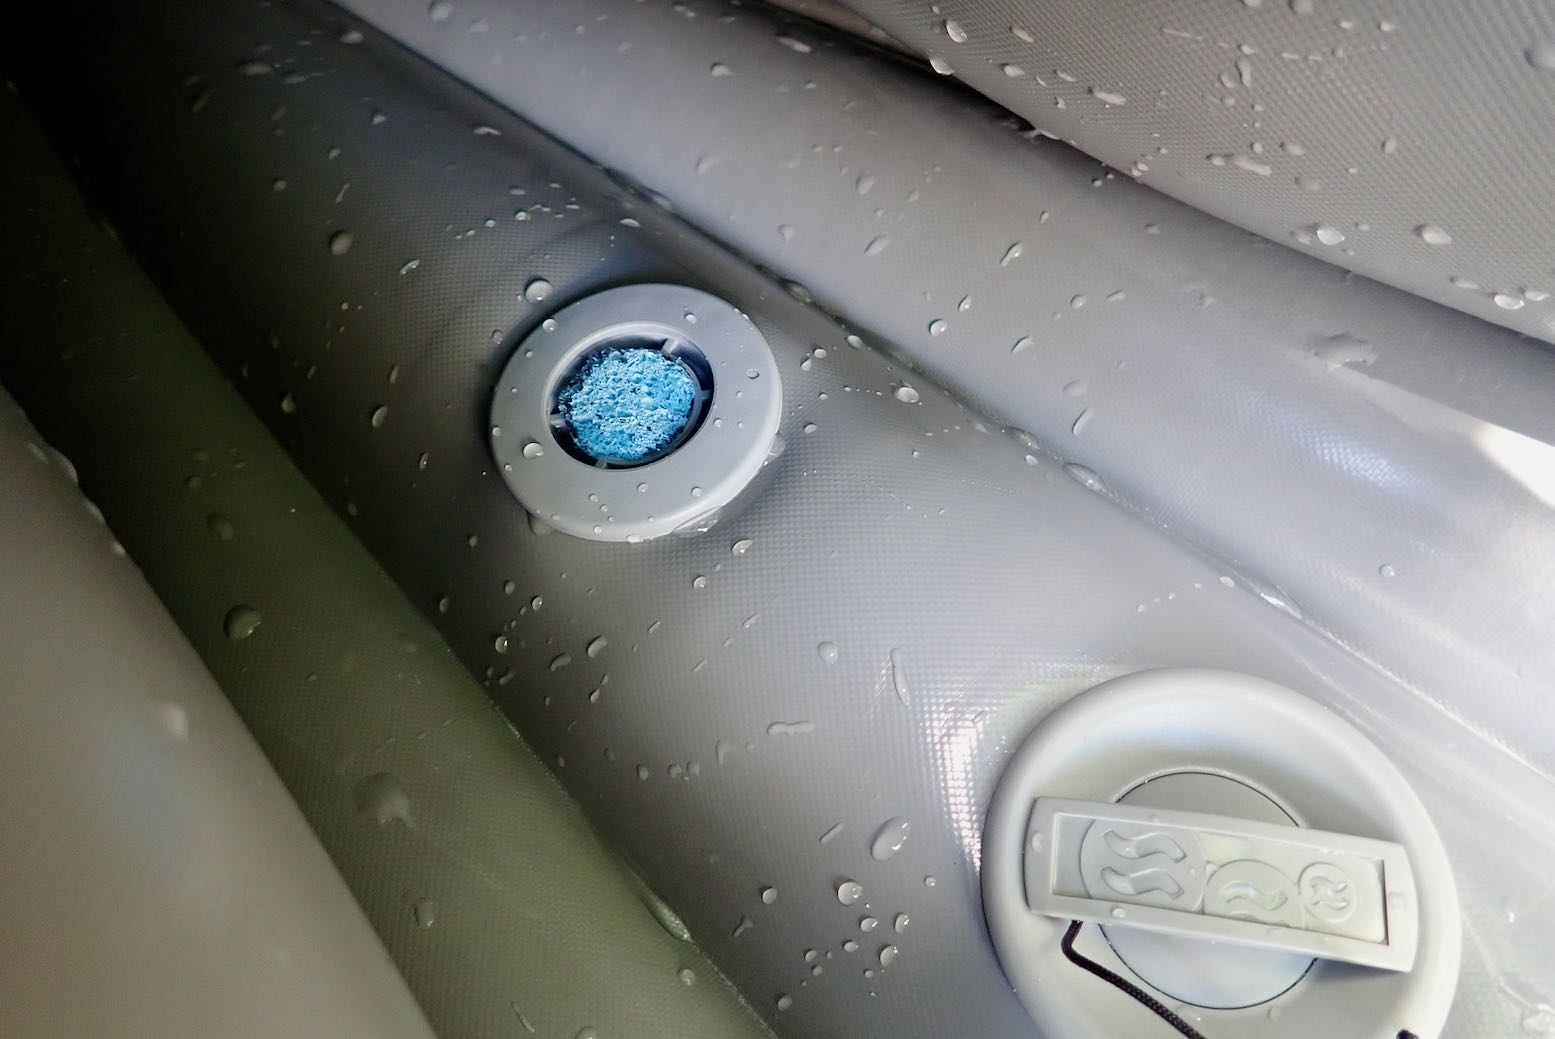
PRVs in the sidetubes: worked great but as explained here, after a recent paddle in Seawave 2, where I paddle heat is not a big problem and the extra care required and time saved is minimal. I still run 0.32 bar or so, not 0.25 but better to make use of an accurate pressure gauge.